

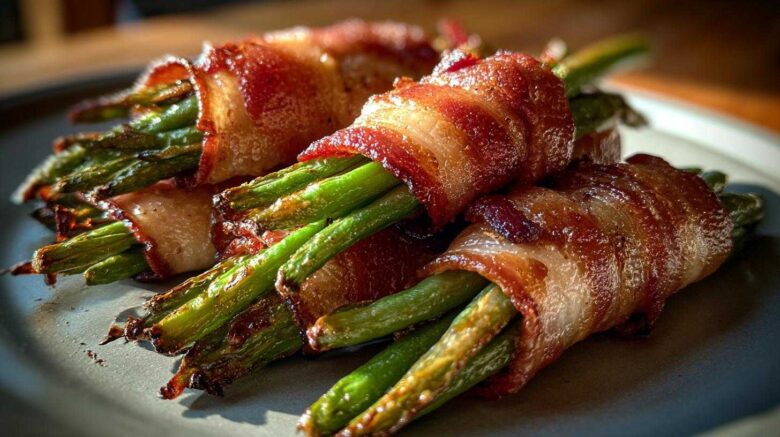
Sometimes, the simplest things bring the most joy. That’s absolutely true for these Bacon-Wrapped Green Bean Bundles. They’re a recipe that just makes sense, especially in my kitchen, which has always been my happy place. It’s where I love to create a little peace and share good food. Anya, with her artistic touch, and Sasha, our firecracker with bold flavors, both agree. These bundles capture that spirit. They’re festive, surprisingly easy, and always a hit. We created them to be a side dish that feels special without any fuss. It’s the perfect example of how simple ingredients can make something truly wonderful. They fit right into our philosophy here at Savor Sensations.
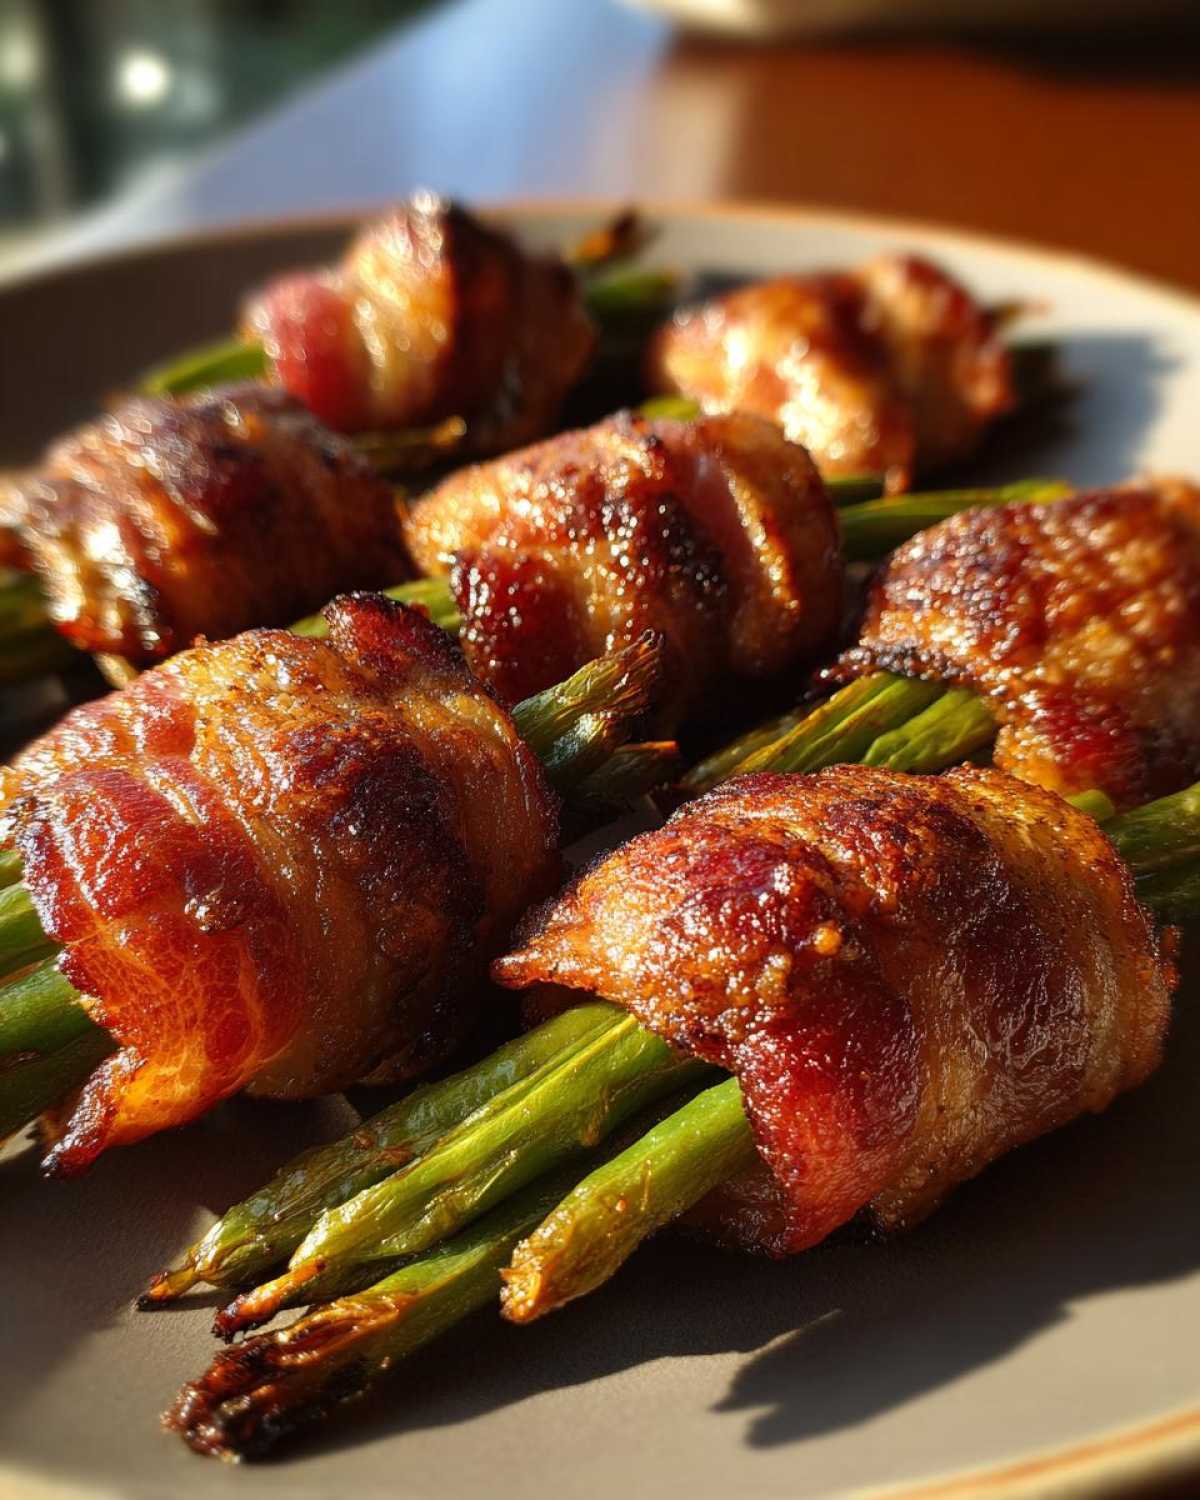
Why You’ll Love These Bacon-Wrapped Green Bean Bundles
These little bundles are a game-changer for any meal. They’re incredibly simple to whip up, making them perfect for busy cooks. Plus, they look so festive on your plate!
- Quick and Easy Preparation
- Visually Appealing Festive Side
- Delicious Combination of Salty Bacon and Fresh Green Beans
- Perfect for Holidays and Special Occasions
Gathering Your Ingredients for Bacon-Wrapped Green Bean Bundles
Let’s get cooking! The beauty of these Bacon-Wrapped Green Bean Bundles lies in their simplicity. You only need a few fresh ingredients to make them shine. I always grab the freshest green beans I can find; they should be crisp and bright green. For the bacon, standard pork bacon slices work wonderfully here. Just make sure they’re not too thick, or they might not crisp up evenly with the beans.
Here’s exactly what you’ll need:
- 1 pound fresh green beans, ends trimmed
- 8 slices bacon
- 1 tablespoon olive oil
- 1/4 teaspoon black pepper
- 1/4 teaspoon garlic powder (optional, but I love a little extra zing!)
Step-by-Step Instructions for Perfect Bacon-Wrapped Green Bean Bundles
Let’s get these festive bundles into the oven! It’s really quite simple. First, get your oven nice and hot. Preheat it to 400°F (200°C). While that’s warming up, grab a big bowl. Toss your trimmed green beans in there with a little olive oil. Add your black pepper and that optional garlic powder if you’re feeling it. This just gives them a little something extra.
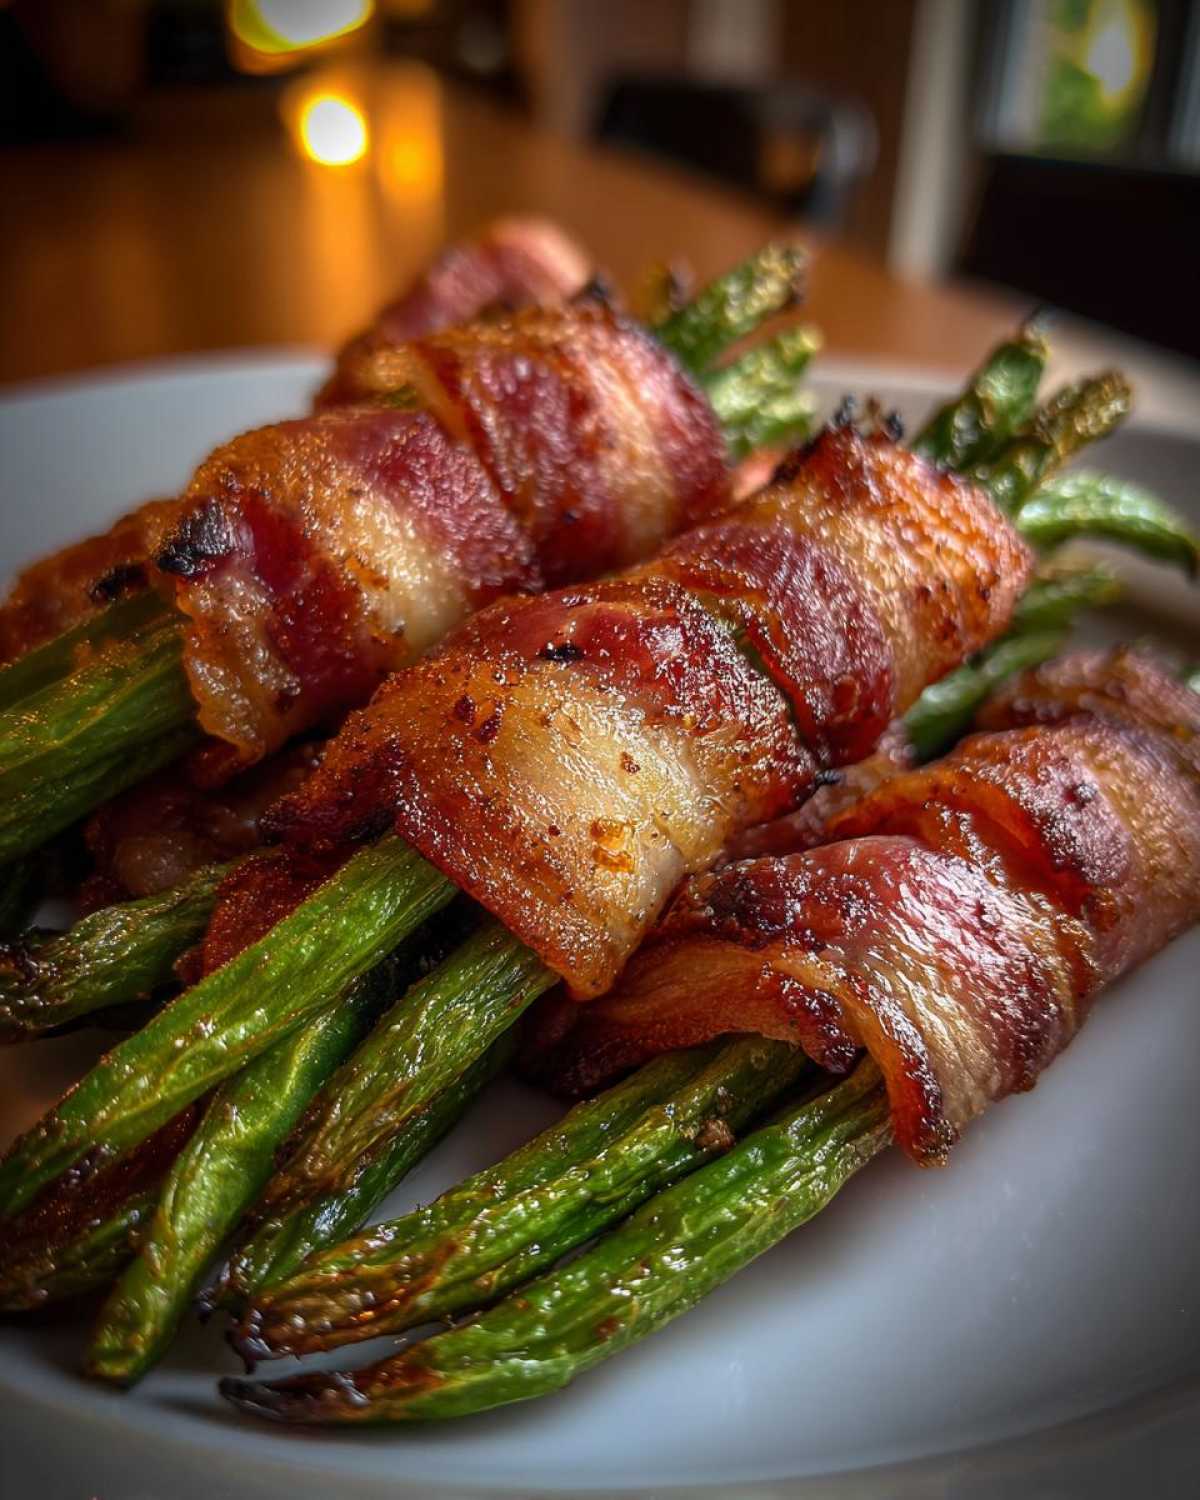
Now, divide those seasoned green beans into 8 equal little piles. Think of them as mini portions ready for their bacon blanket. Take one slice of bacon and wrap it snugly around each pile of green beans. You want it to hold everything together nicely. Place these beautiful bundles onto a baking sheet. Make sure they have a little space between them so the bacon can get all crispy.
Pop them into the preheated oven. They’ll bake for about 18 to 22 minutes. You’re looking for that bacon to be perfectly crispy and the green beans to still have a slight bite – tender-crisp is the goal. Once they’re done, pull them out. Serve them hot right away. They’re a wonderful addition to any meal!
Tips for Success with Bacon-Wrapped Green Bean Bundles
Want to take these bundles to the next level? A little trick I love is brushing the bacon with a touch of maple syrup before they go into the oven. It gives them a lovely sweet and savory glaze that my family adores. If you’re a serious bacon crispness enthusiast, you can give the bacon a quick fry in a pan first. This par-cook helps ensure it gets super crunchy. For even cooking, try to use bacon slices that are pretty similar in thickness. This way, they all crisp up at the same time, and you don’t have any sad, undercooked bits or burnt edges. These little tips make all the difference!
Variations for Your Bacon-Wrapped Green Bean Bundles
Feeling creative in the kitchen? You can totally make these bundles your own! Anya loves adding a little artistic flair, so why not tuck a fresh sprig of rosemary or thyme inside each bundle before wrapping it in bacon? It adds such a lovely aromatic touch. Sasha, with her love for a bit of kick, would definitely suggest a tiny pinch of red pepper flakes tossed with the beans for a subtle heat. And don’t be afraid to try different kinds of bacon! Peppered bacon or even a maple-cured variety can bring a whole new dimension to these already delicious bites.
Essential Equipment for Making Bacon-Wrapped Green Bean Bundles
You don’t need much fancy gear for these bundles. A good old baking sheet is key. You’ll also want a large bowl for tossing the beans. Measuring spoons ensure you get the seasoning just right. Tongs can be handy for arranging the bundles, but your fingers work just fine too!
Storing and Reheating Your Bacon-Wrapped Green Bean Bundles
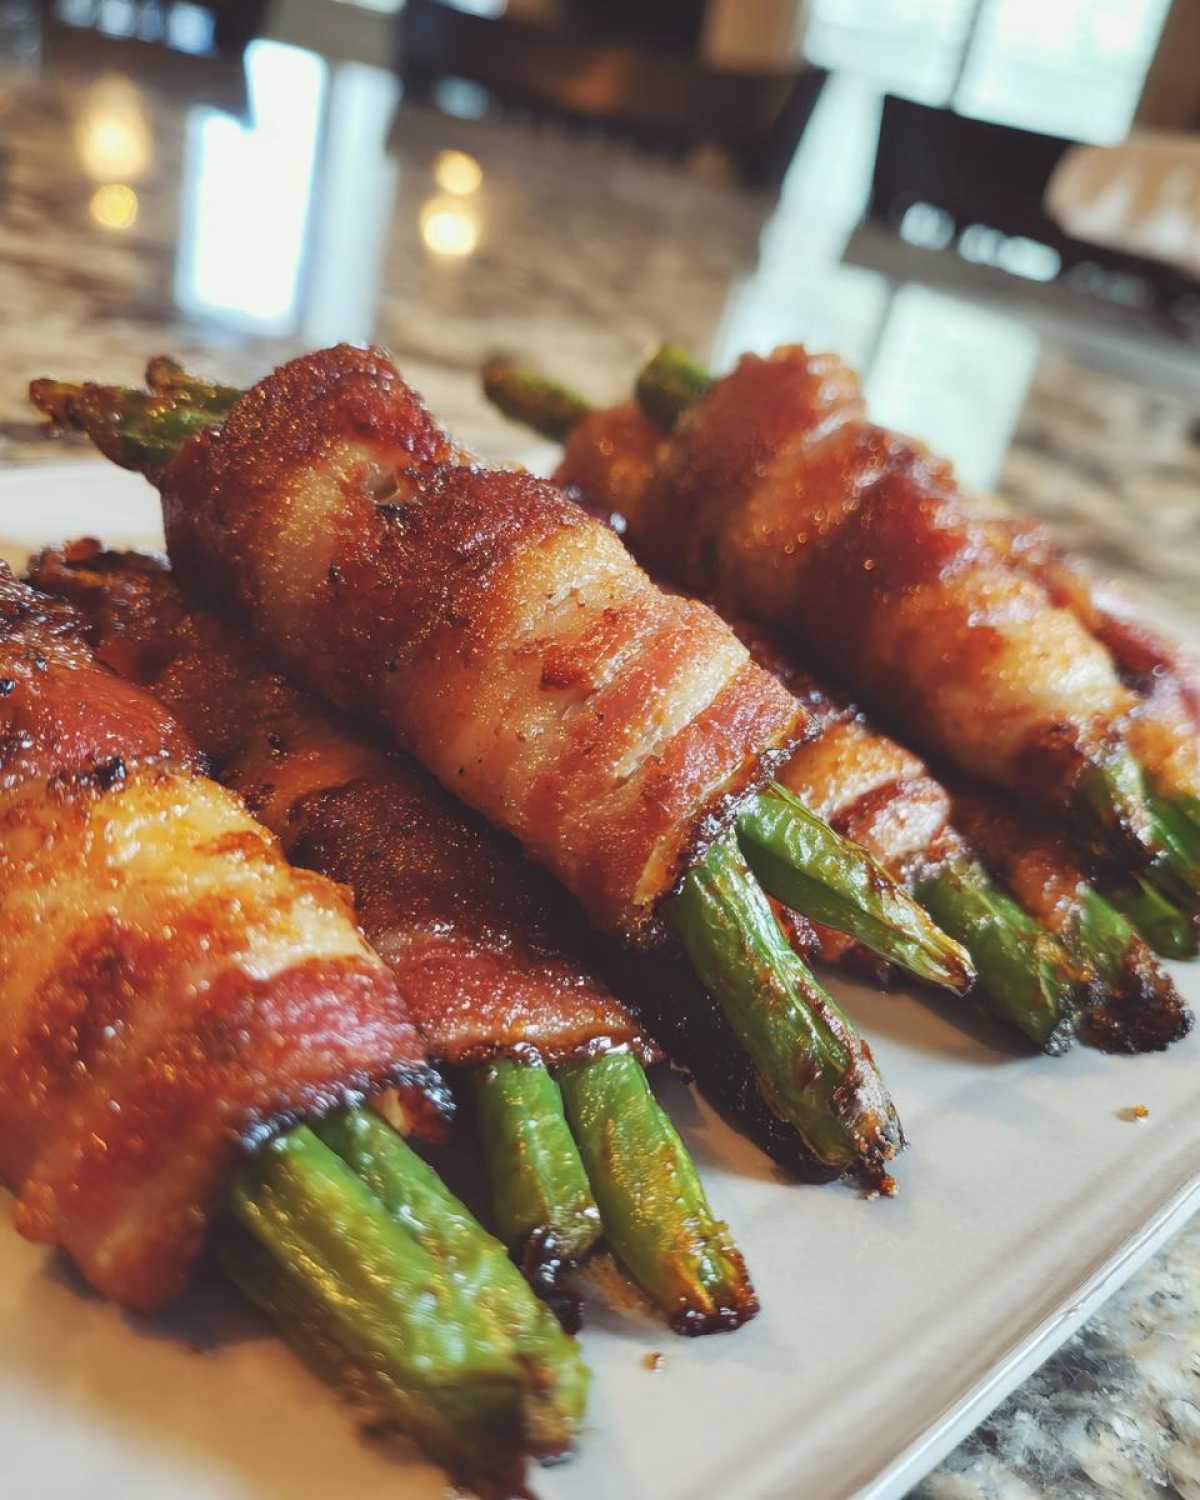
Leftovers? Lucky you! These bundles store like a dream. Once they’ve cooled down a bit, pop any extras into an airtight container. They’ll stay fresh in the fridge for up to 3 days. This makes them perfect for planning ahead for parties.
To reheat, I like to use the oven. Just preheat it to 350°F (175°C). Arrange the bundles on a baking sheet and warm them through for about 5 to 10 minutes. You want them heated all the way, and the bacon should still be nice and crisp. Enjoy your second-day feast!
Frequently Asked Questions About Bacon-Wrapped Green Bean Bundles
Got questions about these festive little bundles? I’ve got answers! Many of you ask if frozen green beans will work. While you *can* use them, I really recommend fresh green beans for the best texture. Frozen ones can get a bit mushy. What about the bacon shrinking? Wrap it snugly, but don’t stretch it too much. If you’re after super crispy bacon, try giving it a quick fry first. You can find more tips on cooking bacon to perfection on sites like Serious Eats.
Can you prep these ahead for a party? Absolutely! Assemble them earlier in the day and bake them right before guests arrive. Or, bake them and reheat later. For the bacon, standard pork bacon is fantastic. Thicker cuts are also great, but they’ll just need a bit more time to get perfectly crisp. These are such a crowd-pleasing side dish, and knowing these little tips makes them even easier!
Nutritional Information for Bacon-Wrapped Green Bean Bundles
Here’s a look at the estimated nutritional values for one serving (1 bundle) of our delicious Bacon-Wrapped Green Bean Bundles: Calories: 150, Fat: 10g, Saturated Fat: 4g, Carbohydrates: 4g, Protein: 10g, Sodium: 300mg. Please keep in mind these are approximate values. They can change depending on the specific ingredients you use, like the type of bacon or how much oil you add.
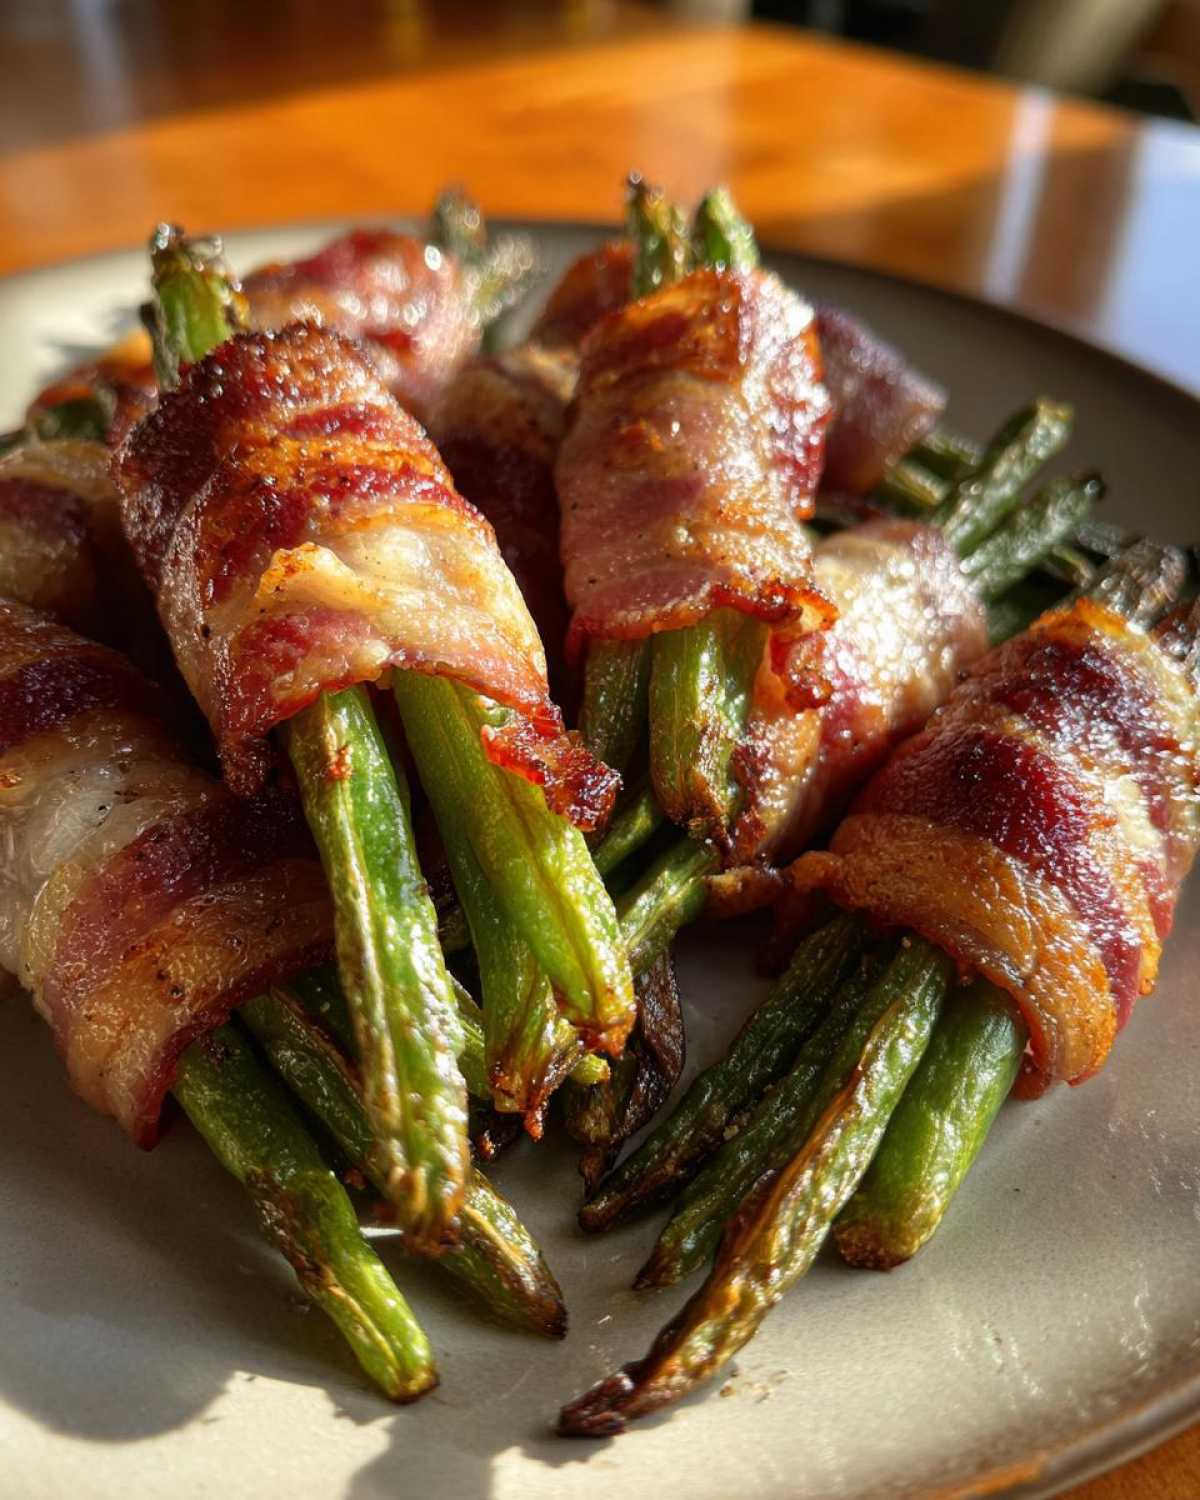
Share Your Bacon-Wrapped Green Bean Bundle Creations!
Have you tried these festive Bacon-Wrapped Green Bean Bundles? We’d love to hear about your experience! Please share your thoughts and rate this recipe below. Your feedback helps us create more delicious recipes for you! You can also explore more of our recipes for inspiration.
PrintBacon-Wrapped Green Bean Bundles: 8 Festive Bites

Wrap fresh green beans in crispy bacon for a festive and easy side dish that’s perfect for any occasion.
- Prep Time: 10 minutes
- Cook Time: 20 minutes
- Total Time: 30 minutes
- Yield: 8 servings
- Category: Side Dish
- Method: Baking
- Cuisine: American
- Diet: Vegetarian
Ingredients
- 1 pound fresh green beans, trimmed
- 8 slices bacon
- 1 tablespoon olive oil
- 1/4 teaspoon black pepper
- Optional: 1/4 teaspoon garlic powder
Instructions
- Preheat your oven to 400°F (200°C).
- In a large bowl, toss the green beans with olive oil, black pepper, and garlic powder if using.
- Divide the green beans into 8 equal portions.
- Wrap each portion with a slice of bacon.
- Place the bacon-wrapped green bean bundles on a baking sheet.
- Bake for 18-22 minutes, or until the bacon is crispy and the green beans are tender-crisp.
- Serve hot and enjoy your festive side dish!
Notes
- For extra flavor, you can brush the bacon with a little maple syrup before baking.
- If you prefer your bacon crispier, you can start by frying it slightly before wrapping the beans.
- These bundles can be made ahead of time and reheated in the oven.
Nutrition
- Serving Size: 1 bundle
- Calories: 150
- Sugar: 2g
- Sodium: 300mg
- Fat: 10g
- Saturated Fat: 4g
- Unsaturated Fat: 6g
- Trans Fat: 0g
- Carbohydrates: 4g
- Fiber: 2g
- Protein: 10g
- Cholesterol: 30mg
