

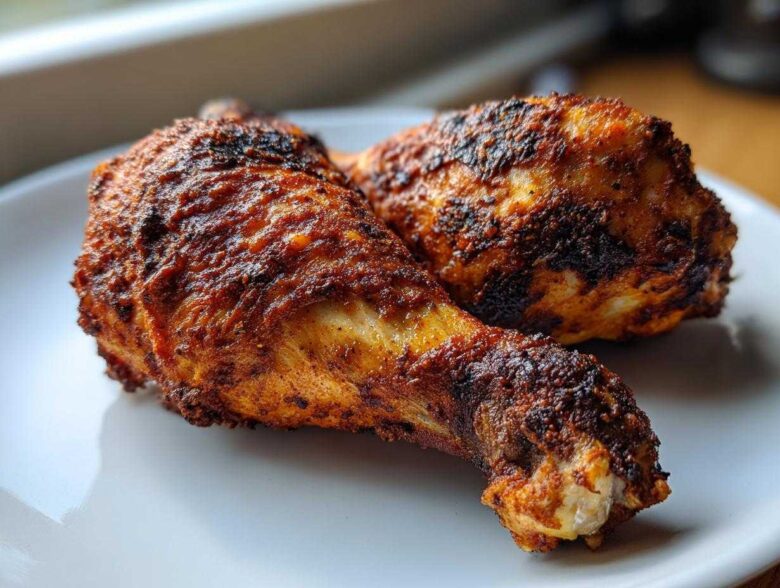
Oh my gosh, you guys, if you think chicken legs are destined to be either dry, chewy disappointments or soggy messes, I’m here to change your life—and your dinner routine! Seriously, there is nothing better than biting through crackly, perfectly seasoned skin right down to meat that is so unbelievably juicy, it practically melts. I spent way too many years fighting with the broiler trying to get that crunch!
But I finally cracked the code. This method for **Baked Chicken Legs** is the absolute bedrock of my quick weeknight cooking. It requires zero fuss, maybe ten minutes of prep time, and it guarantees that coveted contrast between the crispy exterior and the tender, fall-off-the-bone interior. Forget complicated frying—we’re going old school with just the oven, making this the most reliable dinner you’ll ever pull out of the heat. Trust me, once you nail this technique, you’ll be making these constantly!
Why This Oven Baked Chicken Legs Recipe Works (Easy Baked Chicken Legs)
So, what’s the big breakthrough here? It’s all about heat management, my friends. We are hitting this chicken with a solid 400 degrees Fahrenheit right out of the gate. This high temperature is non-negotiable if you want **juicy baked chicken legs**. That initial blast of heat seals in the moisture right away, meaning we trap all those delicious juices inside the meat where they belong.
This recipe is designed to be ridiculously easy, qualifying it as one of the most satisfyingly **easy baked chicken legs** methods out there. You don’t need to flip them halfway through like you might with other methods, either. Why? Because we maximize surface exposure by keeping them single-layer. If you want reliable, flavorful results every time you bake chicken—even on a chaotic Tuesday night—this formula is your secret weapon. You can find more quick dinner inspiration over on my main blog page, but trust me, this chicken is the star!
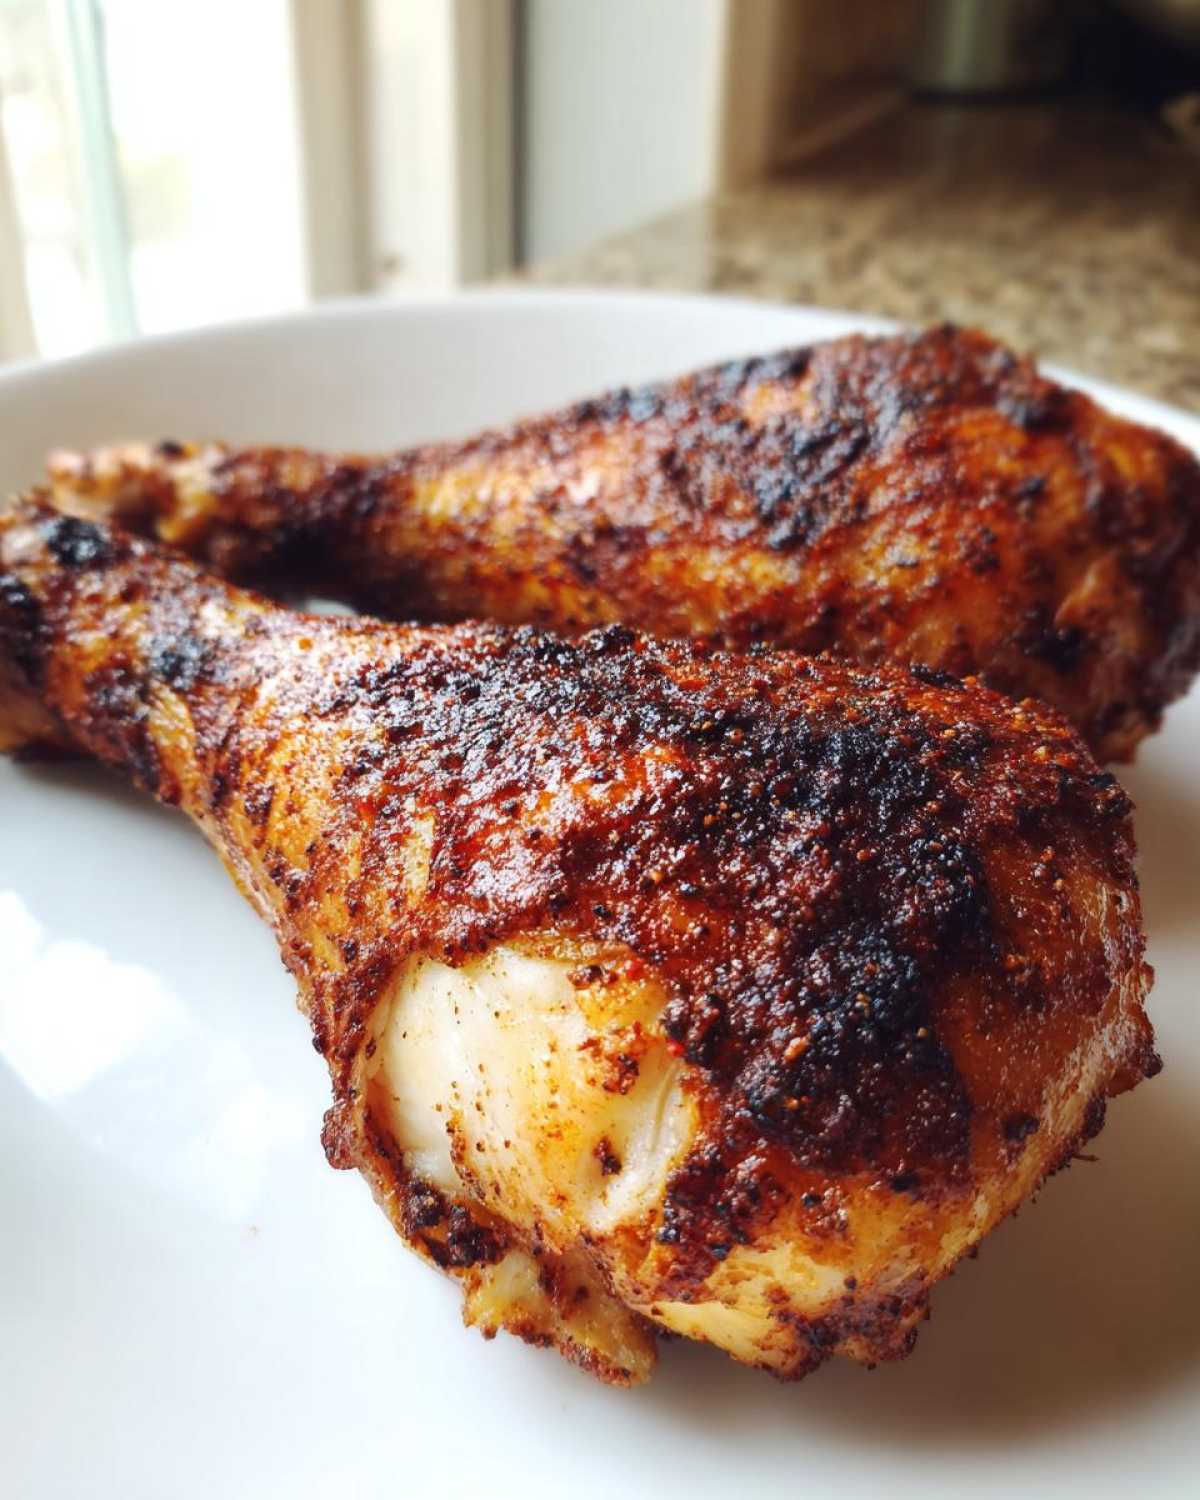
Gathering Ingredients for Flavorful Baked Chicken Legs
Okay, gathering supplies for these **baked chicken legs** is almost as fun as the final product! The ingredients list is super short, which is perfect for those nights when you realize dinner needs to be on the table, like, five minutes ago. But don’t let the simplicity fool you; the quality matters here. We need bone-in, skin-on legs because that skin is going to give us that beautiful crisp, and the bone keeps the meat from drying out way too fast.
A tip right off the bat: If you buy the extra-large legs in the package, just know that they might need an extra five minutes in the oven. You can always eyeball them, but when in doubt, grab your meat thermometer! Before anything touches the spice mix, you absolutely have to pat those legs bone-dry. Seriously, grab a stack of paper towels and blot them until they feel less like slippery jewels and more like suede. That moisture is the enemy of crispiness!
Here’s what you’ll need for this ridiculously good flavor:
- 8 bone-in, skin-on chicken legs (about 3 lbs)
- 2 tablespoons olive oil
- 1 tablespoon paprika
- 1 teaspoon garlic powder
- 1 teaspoon onion powder
- 1 teaspoon dried oregano
- 1 teaspoon salt
- 1/2 teaspoon black pepper
- 1/4 teaspoon cayenne pepper (optional)
Ingredient Notes and Substitutions for Baked Chicken Legs
Let’s talk about that cayenne pepper. If you have little ones, or if you just don’t like a single speck of heat, leave it out! Zero problems. You’ll still get incredible flavor from the paprika and oregano. If you have smoked paprika, feel free to swap that in for regular paprika—it adds a lovely, deep barbecue note without having to use actual barbecue sauce.
For the oil, I always default to standard olive oil, but avocado oil works just as well because it has a high smoke point. Just make sure you’re coating the chicken lightly before you rub in the spices. That oil acts as the glue that makes the seasoning cling perfectly to the skin.
Step-by-Step: How to Prepare Baked Chicken Legs
Now we get to the actual fun part—putting this together! If you’ve already patted your chicken legs dry (and I hope you have!), the rest moves lightning fast. First order of business? Get that oven cranking up to 400 degrees Fahrenheit. I usually line my baking sheet with foil or parchment—it makes cleanup truly laughable, which is essential when we’re talking weeknight meals. Washing pans is my least favorite activity!
Next, grab a little mixing bowl. This is where we build our **best baked chicken legs seasoning**. Just toss in the paprika, garlic powder, onion powder, oregano, salt, pepper, and that optional cayenne. Give it a quick whisk with a fork—that’s it! Then, put those lovely dry chicken legs in a big bowl, drizzle that olive oil over them, and use your hands to get them coated. Once they’re oily, sprinkle that entire spice mix right over the top.
This next part is important for **how to bake chicken legs** successfully: rub the spices in! Don’t just shake the bowl; really massage it onto every surface of that chicken. You want that flavor deep down into the skin folds. Then, arrange them neatly on your prepared sheet. And I mean *neatly*—they all need their own personal space on the pan. No overcrowding allowed!
The Secret to Crispy Baked Chicken Legs Skin
The two biggest secrets to achieving **crispy baked chicken legs** are the ones we already touched on, but they bear repeating because they make or break the texture. First, the patting dry is non-negotiable; water steams, and steam prevents browning. Second, single layer arrangement means hot air can circulate all around each piece, crisping up the whole surface uniformly.
But here’s a pro tip I found in the margins of my very first recipe note card: if your baking sheet is flat, you might find the chicken is sitting in its own rendered fat, which softens the bottom skin. To combat that 100%, use a wire rack! If you have one, put it on the baking sheet, place the chicken on the rack, and let the air circulate underneath. That allows maximum crispiness everywhere. If you don’t have one, don’t freak out, just make sure you follow the instructions in my garlic herb butter roast chicken recipe concerning turning the meat halfway through if the bottoms seem pale!
Baking Times and Temperatures for Perfectly Cooked Oven Chicken Legs
Now that your **baked chicken legs** are perfectly seasoned and spaced out, it’s time to send them into that hot oven! We set the temperature at 400 degrees Fahrenheit, and for average-sized legs, we’re looking at 35 to 45 minutes in total. But listen to me now: time is just a guideline. The real goal here is safety and deliciousness, which means we always check the internal temperature.
Stick a reliable meat thermometer right into the thickest part of the thigh, avoiding the bone. You absolutely must hit 165 degrees Fahrenheit (that’s 74 Celsius). Hitting this temperature guarantees that your chicken is cooked through and safe to eat, which is the most important thing for any **family favorite baked chicken** dinner. If you’re aiming for that ultimate crunch, here’s where you step up the game for the last minute or two.
After you confirm the temperature is perfect, switch your oven over to the broiler setting. I mean it—watch these babies like a hawk! Broiling happens fast, and you can go from golden brown heavenly crisp to burnt charcoal in about 45 seconds. A quick flash under the broiler gives you that final shatteringly crisp skin without drying out the meat underneath. Check out how I handle super crispy skin on bone-in pieces, which is similar to techniques used in my chicken parmesan recipe!
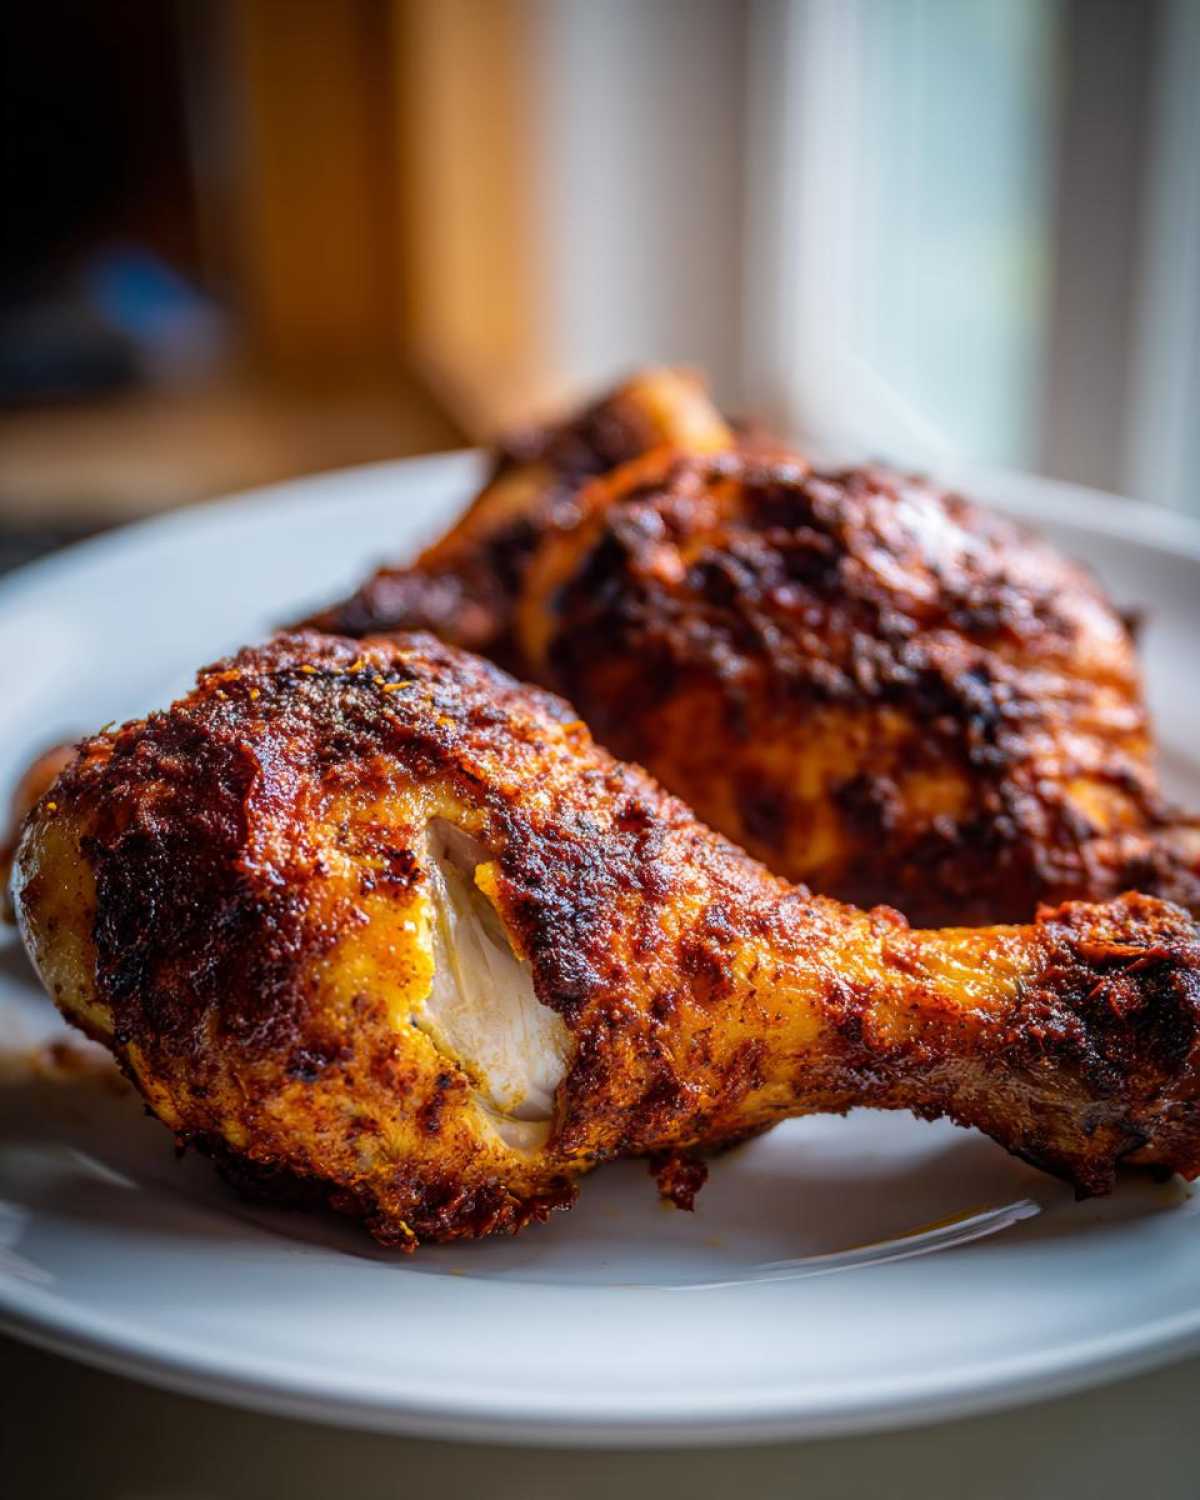
Mastering the Best Baked Chicken Legs Seasoning Blend
I know I touched on it before, but let’s dedicate a moment to this specific spice mix because it is what elevates these from just “chicken” to “Oh my gosh, what is this?” This combination, built around smoked paprika, robust oregano, garlic, and onion powder, is designed to caramelize beautifully under that high heat. It’s savory, slightly earthy, and it creates a gorgeous reddish-brown crust.
This is what I stand by when people ask me for the **best baked chicken legs seasoning**. The key isn’t just throwing spices on top; it’s ensuring every molecule of that skin gets coated before it hits the baking sheet. Remember how I told you to really massage the mix in after the oil? That deep rub ensures the spices don’t just burn off in the oven. They meld with the rendered fat, becoming part of the crust itself. It seriously tastes like you worked on them for hours! For more flavor inspiration, you can check out the spice blends I use in my Tikka Masala recipe, though this baked leg blend is much simpler!
Making This a Sheet Pan Chicken Legs Dinner
You know me, I love maximizing efficiency, which is why I rarely bake just chicken legs when I have the oven on! This recipe is honestly begging to be turned into a full **sheet pan chicken legs dinner**. Since we’re blazing hot at 400 degrees, we just need to choose veggies that cook in a similar timeframe.
I usually toss chunks of sweet potato, broccoli florets, or even some thick-cut carrots right onto the pan alongside the chicken. Make sure you give those veggies a good drizzle of olive oil and a pinch of salt and pepper so they don’t get all sad and bland while the chicken crisps up! Just make sure you spread the veggies out widely so they roast instead of steam. If you want some great inspiration for combining meat and veggies on one pan, you have to check out my tutorial on veggie fajitas; the principles of space and heat are the same!
Storage and Reheating Instructions for Leftover Baked Chicken Legs
I rarely have leftovers because my family devours these, but when I do, I’m very particular about how I store them. Place your cooled, leftover **baked chicken legs** in an airtight container and pop them in the fridge as soon as they’ve cooled down a bit, but no longer than two hours after they came out of the oven. They’ll stay good for about three to four days, which is great for lunch!
Now, the reheating part is critical if you still want that lovely crisp skin. Please, please don’t use the microwave unless you absolutely must; it turns the skin into sad, soggy leather. The best way to refresh them is back in a 375-degree oven for about 10 minutes, or if you’re feeling fancy, pop them into an air fryer for 4 minutes. That flash of dry heat brings the crisp right back!
Frequently Asked Questions About Baked Chicken Legs
I get so many questions about this recipe because everyone wants that perfect, easy result! Don’t worry if you have a little doubt before you start; that’s why I put this FAQ section together. If you have other burning questions after this, you can always reach out through my contact page!
Can I use frozen chicken legs in this recipe?
Oh, honey, please don’t try sneaking frozen chicken legs into a 400-degree oven! Because the outside and the inside are frozen solid, you run a huge risk. The outside will overcook and dry out trying to burn through the ice, and the center will remain dangerously undercooked. You absolutely must thaw them first. I usually just stick them in the fridge overnight. If you’re in a rush, put them in a sealed bag submerged in cold water, changing the water every 30 minutes.
What temperature should I use for Juicy Baked Chicken Legs?
The magic number for getting truly **juicy baked chicken legs** is setting your oven to 400 degrees Fahrenheit. That steady, hot environment is what helps crisp the skin beautifully while cooking the meat evenly. But remember what I always say: the oven temperature gets you in the ballpark, but the meat thermometer tells you the truth! You’re aiming for that internal temperature of 165 degrees Fahrenheit in the thickest part. If you pull them out even a tiny bit early, they won’t be safe, and if you leave them in too long, well, we all know what happens then!
How long can I marinate my chicken legs?
If you decide to go the marinating route, which I highly recommend for an even deeper flavor, you have a bit of flexibility! As I mentioned earlier, even 30 minutes helps the oils and spices sink in. But for maximum flavor penetration without compromising the meat, I wouldn’t push it past 12 hours. Keep that container tightly covered in the fridge, of course. Any longer than that, and you risk the slight acidity in some oils or spices starting to break down the meat structure too much.
Nutritional Snapshot for This Simple Chicken Leg Oven Bake
I know some of you are trying to keep things light during the week, and honestly, this **simple chicken leg oven bake** is fantastic for that! Because we aren’t deep-frying these at all—just using a tiny bit of olive oil—they stay surprisingly lean while still being packed with protein. It’s a winner for healthy eating!
Keep in mind these numbers are just estimates based on the specific ingredients listed above, especially the size of the chicken legs used. Nutrition is tricky, right? But this gives you a great baseline for logging your meal. We’ve got a big hit of protein here, which is what chicken does best, and the fat content is mostly healthy fats from that little bit of olive oil we used to coat everything.
Here is the quick breakdown for a serving of two legs:
- Serving Size: 2 legs
- Calories: 350
- Protein: 38g
- Fat: 20g (Saturated Fat: 5g)
- Carbohydrates: 2g
- Sodium: 450mg
If you are ever worried about tracking what you eat, make sure you check out the detailed information on my privacy and data policy page. It talks a bit about how I approach recipe creation and data transparency!
PrintSimple Oven Baked Chicken Legs

Follow these steps to bake chicken legs until the skin is crisp and the meat is juicy.
- Prep Time: 10 min
- Cook Time: 40 min
- Total Time: 50 min
- Yield: 4 servings
- Category: Dinner
- Method: Baking
- Cuisine: American
- Diet: Low Fat
Ingredients
- 8 bone-in, skin-on chicken legs (about 3 lbs)
- 2 tablespoons olive oil
- 1 tablespoon paprika
- 1 teaspoon garlic powder
- 1 teaspoon onion powder
- 1 teaspoon dried oregano
- 1 teaspoon salt
- 1/2 teaspoon black pepper
- 1/4 teaspoon cayenne pepper (optional)
Instructions
- Preheat your oven to 400 degrees Fahrenheit (200 degrees Celsius). Line a baking sheet with parchment paper or aluminum foil for easy cleanup.
- Pat the chicken legs completely dry using paper towels. This step helps achieve crispy skin.
- In a small bowl, mix together the paprika, garlic powder, onion powder, oregano, salt, black pepper, and cayenne pepper, if using.
- Place the dried chicken legs in a large bowl. Drizzle with olive oil and toss to coat evenly.
- Sprinkle the seasoning mixture over the chicken legs. Use your hands to rub the seasoning onto all surfaces of the chicken.
- Arrange the seasoned chicken legs on the prepared baking sheet in a single layer, ensuring they do not touch.
- Bake for 35 to 45 minutes, or until the internal temperature reaches 165 degrees Fahrenheit (74 degrees Celsius) when checked with a meat thermometer in the thickest part of the thigh.
- For extra crispy skin, switch the oven to the broil setting for the last 2 to 3 minutes, watching closely to prevent burning.
- Remove from the oven and let the chicken rest on the baking sheet for 5 minutes before serving.
Notes
- For a more intense flavor, you can marinate the chicken legs in the oil and spices for at least 30 minutes in the refrigerator before baking.
- Baking on a wire rack placed over the baking sheet allows air to circulate, promoting crispier skin all around.
- If your chicken legs are very large, you may need to increase the cooking time by 5 to 10 minutes.
Nutrition
- Serving Size: 2 legs
- Calories: 350
- Sugar: 1
- Sodium: 450
- Fat: 20
- Saturated Fat: 5
- Unsaturated Fat: 15
- Trans Fat: 0
- Carbohydrates: 2
- Fiber: 1
- Protein: 38
- Cholesterol: 130
