

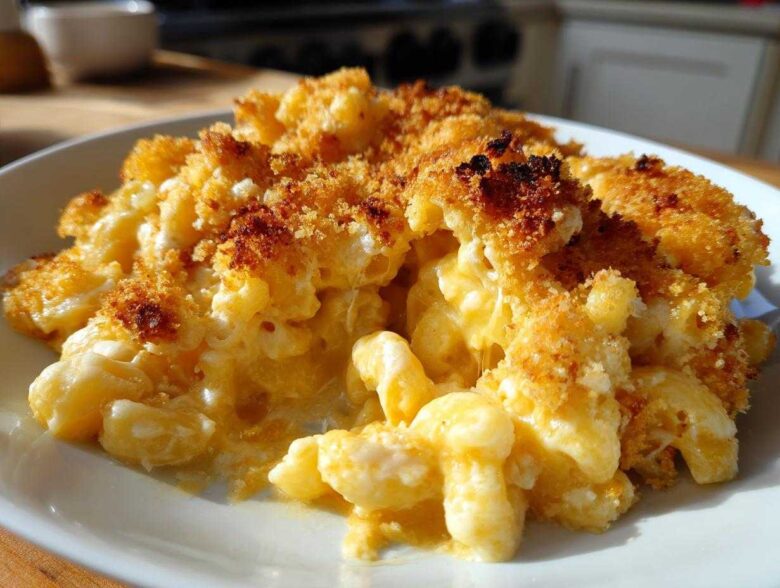
When I talk about comfort food, honestly, nothing beats a big, bubbling dish of baked macaroni and cheese straight from the oven. Forget those watery stovetop versions; we are aiming for the gold standard here! I spent years tweaking measurements—I’m not kidding, years—trying to balance the sharp bite of aged cheese with that impossibly smooth sauce. Trust me, I’ve had my share of grainy messes and dry disappointments, but I finally nailed what I call the Ultimate Baked Mac and Cheese Recipe.
This one is legendary at our house because it delivers that dreamy, lava-like creamy interior nestled right under the most glorious, golden-brown, crispy topping you can imagine. We’re talking serious texture contrast here. Getting that stovetop-to-oven magic just right took patience, but once you master the roux, you’re set for life. It’s the recipe you save for holidays, birthdays, or just those Tuesday nights where you desperately need a hug in a casserole dish.
Why This Is the Ultimate Baked Mac and Cheese Recipe
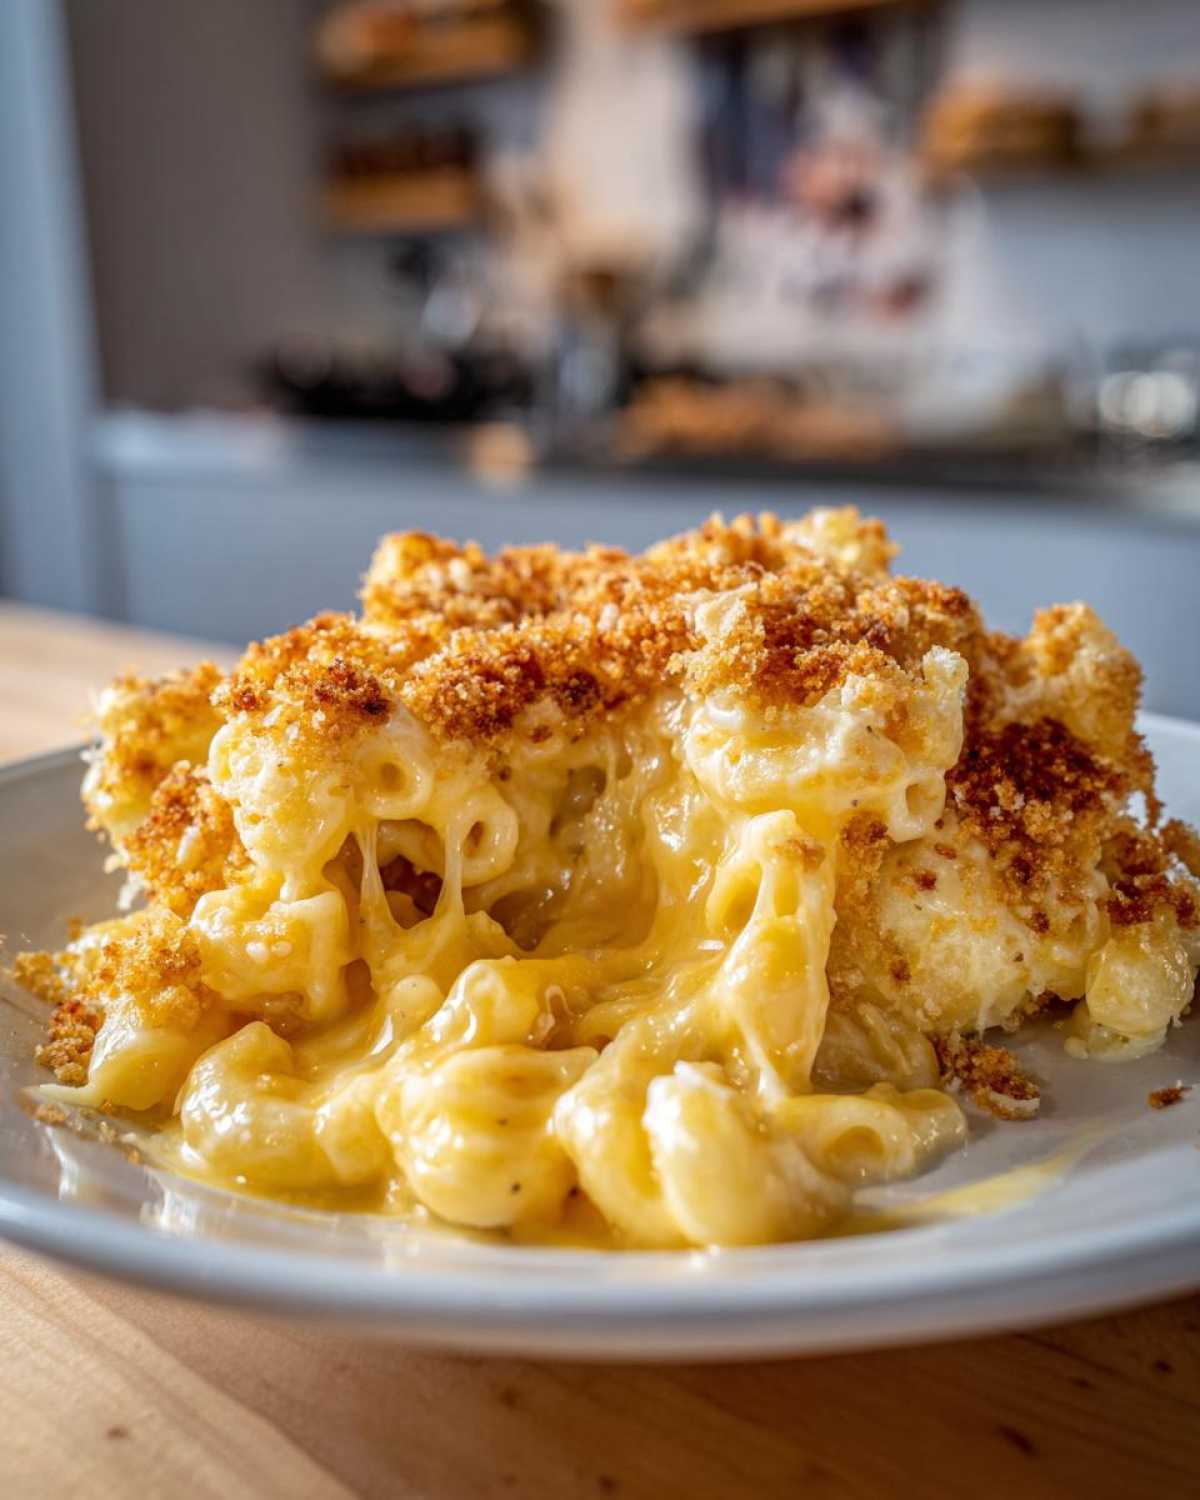
Friends, this isn’t just mac and cheese; it’s an engineering feat of comfort! I promise this recipe sets you up for success every single time you try it. It’s that perfect contrast between textures that makes it truly special.
- We use whole milk only—skim milk is a flat disaster for cheese sauce, trust me.
- The nutmeg and cayenne are tiny but mighty flavor boosters.
- The Gruyère melts like a dream, giving you that silky, luxurious mouthfeel.
- That panko topping gets absolutely shatteringly crisp while the inside stays liquid gold.
If you ever want to try a spicy twist later on, check out my buffalo chicken mac and cheese version for a kick!
Ingredients for Creamy Baked Mac and Cheese
Okay, let’s talk about what actually goes into this glorious casserole. When you gather your supplies, I have one major plea: DO NOT grab the pre-shredded cheese unless you absolutely have to. Those bags are dusted with stuff to keep them from clumping, but that same stuff ruins our beautiful cheese sauce! Grate your cheese fresh, fresh, fresh!
For this Creamy Baked Macaroni and Cheese, here is what you’ll need:
- 1 pound elbow macaroni
- 6 tablespoons unsalted butter
- 1/2 cup all-purpose flour
- 4 cups whole milk, warmed (this is key!)
- 1 teaspoon salt
- 1/2 teaspoon black pepper
- 1/4 teaspoon nutmeg
- 1/4 teaspoon cayenne pepper
- 4 cups shredded sharp cheddar cheese
- 1 cup shredded Gruyère cheese
- 1/2 cup shredded Monterey Jack cheese
- 1 cup panko breadcrumbs
- 2 tablespoons melted butter (for topping)
Cheese Selection for the Best Baked Mac and Cheese
This trio is no accident! The sharp cheddar brings that classic, tangy flavor we crave. Gruyère is the secret weapon; it melts like silk and adds a wonderfully nutty dimension. Monterey Jack just helps everything stay smooth and gooey. When you grate these blocks yourself, you guarantee a lump-free sauce that truly coats every piece of pasta perfectly.
How to Make Baked Mac and Cheese From Scratch
Alright, this is where the magic happens—moving from just ingredients to that beautiful, bubbly casserole. Preheating the oven to 375 degrees Fahrenheit first is essential, and grease up that 9×13 dish so nothing sticks to the edges. Cook your macaroni just until it’s al dente; remember, it has to survive a bake, so don’t overcook it now!
Creating the Perfect Roux and Sauce Base
In a big pot, melt those 6 tablespoons of butter over medium heat. Toss in your flour, and this is the roux! Stir it constantly for exactly one minute. Don’t let it brown, just cook out that raw flour taste. Now, here’s the super important part: slowly whisk in the warm milk, a little bit at a time. If you dump it all in, you get lumps, and nobody wants lumpy cheese sauce! Keep whisking until it gets thick enough to coat the back of a spoon—this usually takes about 5 to 7 minutes. If you want to see how I get my Alfredo sauce perfectly smooth, check out those tips right here.
Assembling and Topping Your Baked Mac and Cheese
Once the sauce is thick, pull it right off the heat. Stir in your spices—the salt, pepper, nutmeg, and that sneaky little bit of cayenne. Then, drop in all that glorious shredded cheese until it melts into one luxurious pool. Gently mix in your cooked pasta until every piece is coated in gold. Pour it into your prepared dish. For the topping, just toss the panko with the remaining 2 tablespoons of melted butter and sprinkle it on top. It bakes for just 25 to 30 minutes until it’s bubbly and that topping is perfectly crisp!
Tips for Success with Your Baked Mac and Cheese
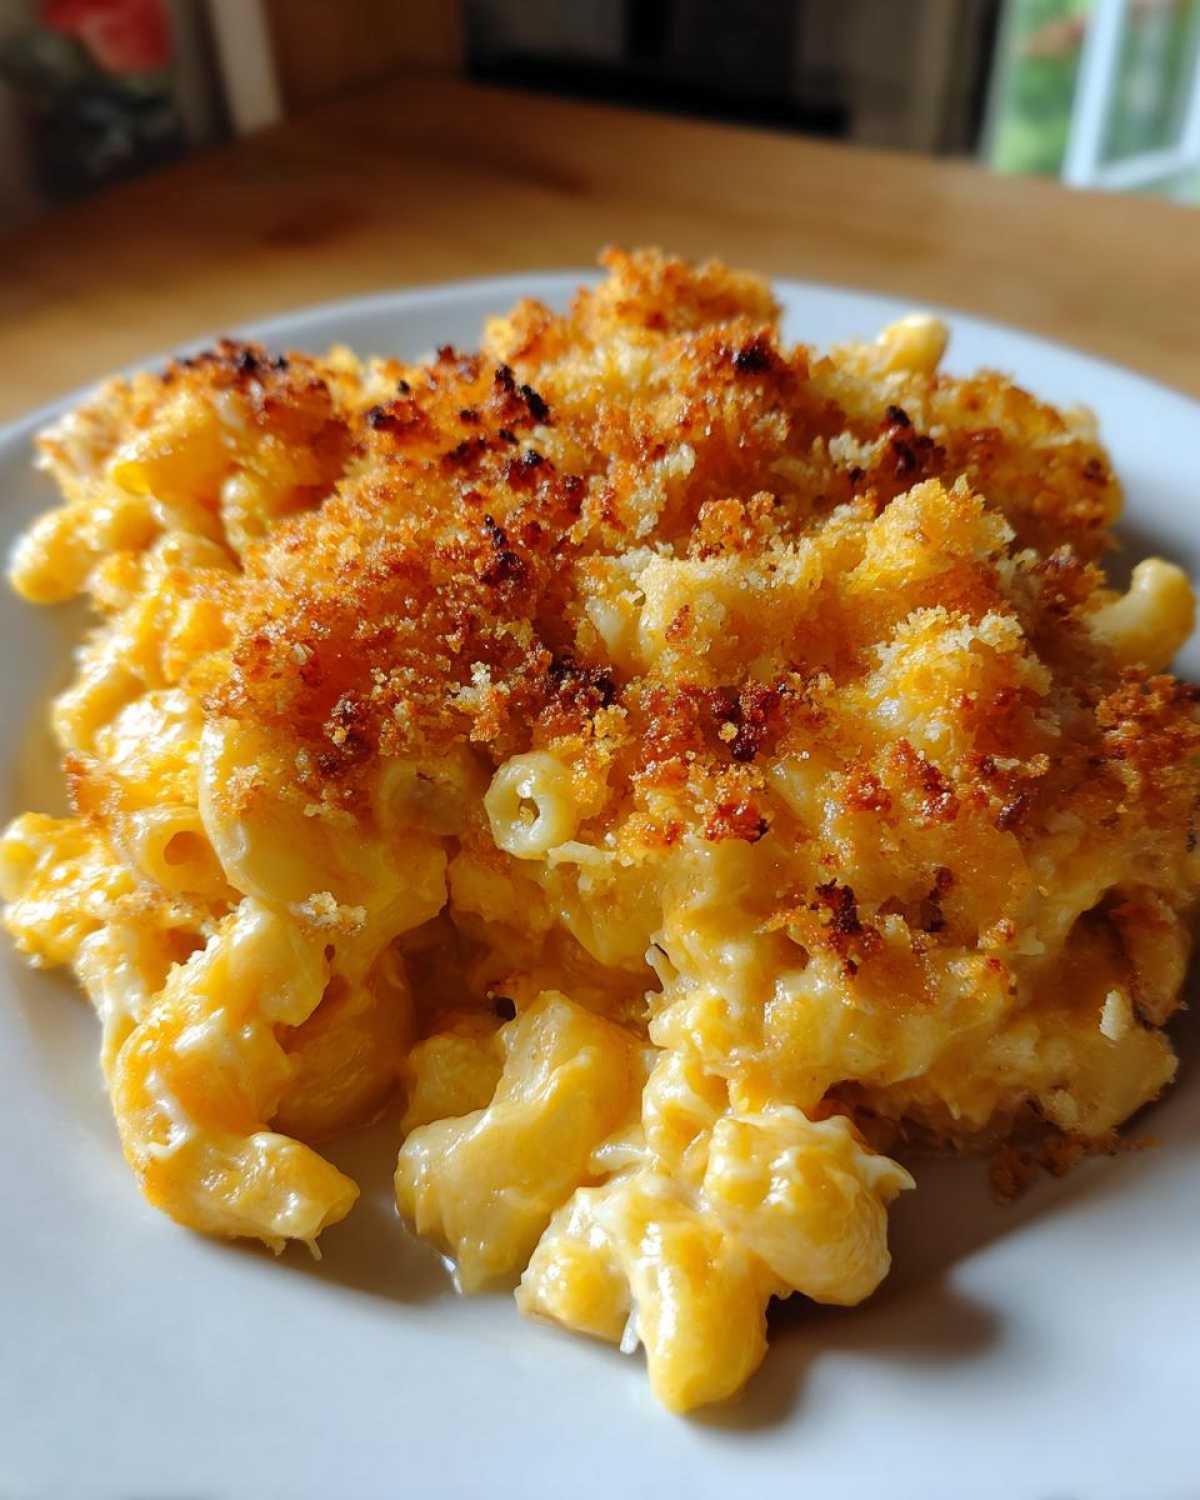
Even with this perfect roadmap, there are little secrets to elevate your results from great to truly legendary. My number one tip, which I can’t stress enough, comes straight from the cheese bag: use blocks of cheese and shred it yourself! Pre-shredded cheese has starches that stop it from melting beautifully, leading to that annoying grainy texture.
Also, when you’re making the sauce, use whole milk! Seriously, don’t try to thin it down with anything else, or you lose that decadent quality. You want the sauce to be slightly looser than you think before you add the pasta because it thickens up once it hits that cooked macaroni. If you want more cheesy ideas for side dishes, I shared some awesome thoughts on creamy cheesy rice.
Finally, let it rest! That 10 minutes after it comes out of the oven allows the sauce to settle down so it doesn’t spill everywhere when you cut into it.
Make-Ahead and Storage for Baked Mac and Cheese
I know life gets crazy, and sometimes you need to get ahead of dinner prep, especially when planning a big meal! The wonderful thing about this Homemade Baked Mac and Cheese is that it’s fantastic when made ahead. You can absolutely assemble the entire dish—pasta mixed into the cheese sauce, topping sprinkled on top—put it into your greased 9×13 dish, cover it tightly with plastic wrap, and stick it in the fridge.
When you’re ready to bake it straight from the cold, you’ll need to give it a little extra time in the oven. Don’t worry about the topping getting soggy; if you cover it with foil for the first 20 minutes, it stays nice. Plan on adding about 10 extra minutes to the total bake time, or until it’s bubbling vigorously all the way to the center.
As for leftovers? Oh my gosh. They are truly amazing. Once cooled, store any extra in a sealed container in the fridge for up to four days. When you reheat it, it can sometimes get a little stiff, so I always add a splash—maybe a tablespoon or two—of milk or even a slice of American cheese when I microwave individual servings. That little bit of extra liquid brings that creamy texture right back!
Variations on Classic Baked Mac and Cheese
While I live for this classic recipe, sometimes you just need to shake things up! If you’re looking to turn this side dish into a blockbuster main course, adding things is simple. You could stir in some crispy, crumbled bacon right before baking for a real salty punch. Or maybe you want a smoky flavor? Try swapping a cup of that cheddar out for some smoked Gouda!
For something a little bit different that still feels homey, I love making a cheesy squash bake sometimes; you can find my broccoli cheddar squash casserole inspiration here. It scratches that same comforting itch!
Adding Protein to Your Comfort Food Mac and Cheese
Making this Comfort Food Mac and Cheese into a true meal is ridiculously easy. A cup of leftover shredded rotisserie chicken mixed in with the pasta and sauce makes it instantly hearty. I also love using pre-cooked, crumbled sausage or bacon bits—just toss them in before the panko topping goes on. It makes leftovers even better the next day!
Serving Suggestions for Family Favorite Baked Macaroni
This Family Favorite Baked Macaroni recipe generously yields 8 satisfying servings, so make sure you have enough friends or family when you bring this out! Since this mac and cheese is so rich and decadent, it pairs wonderfully with something light and bright to cut through the creaminess.
I love serving it alongside a simple grilled chicken breast or some flavorful pulled pork. If you want a vegetable that really pops, try pairing it with roasted greens. My favorite pairing for contrast is this wonderful roasted root vegetable medley—the earthiness balances the sharp cheese perfectly!
Frequently Asked Questions About Baked Mac and Cheese
I get asked the same few questions every single time I make this dish, and I totally get it—you want perfection! Don’t be afraid; troubleshooting is part of the fun of cooking. These answers should keep your Baked Mac and Cheese running smoothly.
How do I stop my mac and cheese from getting grainy?
Oh, that grainy texture is the worst! It happens when the cheese separates because it overheats or because of those anti-caking agents in pre-shredded cheese. The solution is twofold: First, always remove the sauce from the heat before adding the cheese. Second, use good quality, freshly grated block cheese, like we discussed. Also, using that blend of cheeses helps; the Jack and Gruyère melt smoother than straight cheddar.
Can I use different pasta shapes instead of elbow macaroni?
Absolutely! But you need to pick a shape that can really hold onto that thick cheese sauce. Elbows are classic, but you could totally use shell pasta, cavatappi (those bouncy little corkscrews!), or even shells. Just make sure you cook whatever you pick to that perfect al dente stage, because pasta keeps cooking in the oven.
What’s the secret for that super crispy topping?
Everyone wants that perfect crust! The secret weapon here is Panko breadcrumbs. They’re lighter and flakier than regular breadcrumbs. I mix them with just a little bit of melted butter—don’t drown them, just coat them lightly—and then sprinkle them on top right before baking. Baking at 375 degrees ensures they crisp up fast while the inside finishes bubbling. If you want more casserole wisdom, I covered a few things over on my tuna noodle casserole post!
I want a seriously cheesy casserole—can I add more cheese?
You certainly can pump up the cheese quotient! This recipe already uses five cups of cheese, which is generous, but if you want to go absolutely overboard on the gooey factor, feel free to swap out half a cup of the Monterey Jack for Parmesan. Just remember, too much hard cheese can sometimes make the sauce tougher, so stick close to the original amounts for the best melt!
Nutritional Estimates for This Cheesy Baked Pasta Casserole
I always feel a little guilty calculating the nutrition for something this decadent, but knowledge is power, right? This Cheesy Baked Pasta Casserole is definitely an indulgence, but knowing the breakdown helps when planning the rest of the week. Remember, these numbers are just estimates based on the ingredients list I shared, and they can definitely change depending on the exact brand of cheese or butter you use.
Here are the general figures for one serving (this recipe makes 8 generous servings):
- Serving Size: 1 serving
- Calories: 550
- Fat: 35g
- Saturated Fat: 20g
- Carbohydrates: 40g
- Protein: 25g
- Sodium: 550mg
- Sugar: 5g
It’s got a decent hit of protein to keep you full, and I’m always amazed at how much calcium you pack into one bowl! If you want to know more about my philosophy on recipe development and what goes into running this little site, you can read about it on my About Us page.
PrintUltimate Baked Mac and Cheese
Follow this recipe for a creamy, decadent baked macaroni and cheese with a crisp, golden-brown topping.
- Prep Time: 15 min
- Cook Time: 35 min
- Total Time: 50 min
- Yield: 8 servings
- Category: Casserole
- Method: Baking
- Cuisine: American
- Diet: Vegetarian
Ingredients
- 1 pound elbow macaroni
- 6 tablespoons unsalted butter
- 1/2 cup all-purpose flour
- 4 cups whole milk, warmed
- 1 teaspoon salt
- 1/2 teaspoon black pepper
- 1/4 teaspoon nutmeg
- 1/4 teaspoon cayenne pepper
- 4 cups shredded sharp cheddar cheese
- 1 cup shredded Gruyère cheese
- 1/2 cup shredded Monterey Jack cheese
- 1 cup panko breadcrumbs
- 2 tablespoons melted butter (for topping)
Instructions
- Preheat your oven to 375 degrees Fahrenheit. Grease a 9×13 inch baking dish.
- Cook the macaroni according to package directions until al dente. Drain well and set aside.
- In a large saucepan, melt 6 tablespoons of butter over medium heat. Whisk in the flour and cook for 1 minute, stirring constantly to create a roux.
- Gradually whisk in the warm milk until the mixture is smooth. Continue cooking, stirring often, until the sauce thickens enough to coat the back of a spoon, about 5 to 7 minutes. Do not let it boil rapidly.
- Remove the sauce from the heat. Stir in the salt, pepper, nutmeg, and cayenne pepper.
- Add the cheddar, Gruyère, and Monterey Jack cheeses to the sauce, stirring until completely melted and smooth. This is your cheese sauce.
- Add the cooked, drained macaroni to the cheese sauce and stir gently until the pasta is fully coated.
- Pour the mixture into the prepared baking dish.
- In a small bowl, toss the panko breadcrumbs with 2 tablespoons of melted butter. Sprinkle the breadcrumbs evenly over the top of the macaroni mixture.
- Bake for 25 to 30 minutes, or until the sauce is bubbly and the topping is golden brown and crisp.
- Let the mac and cheese rest for 10 minutes before serving.
Notes
- For the best flavor, shred your cheese from a block rather than using pre-shredded varieties.
- You can prepare the sauce and pasta mixture up to the baking step a day ahead. Cover and refrigerate, then add topping and bake when ready, adding 10 minutes to the baking time.
- Use whole milk for the creamiest sauce base.
Nutrition
- Serving Size: 1 serving
- Calories: 550
- Sugar: 5
- Sodium: 550
- Fat: 35
- Saturated Fat: 20
- Unsaturated Fat: 15
- Trans Fat: 1
- Carbohydrates: 40
- Fiber: 2
- Protein: 25
- Cholesterol: 90
