

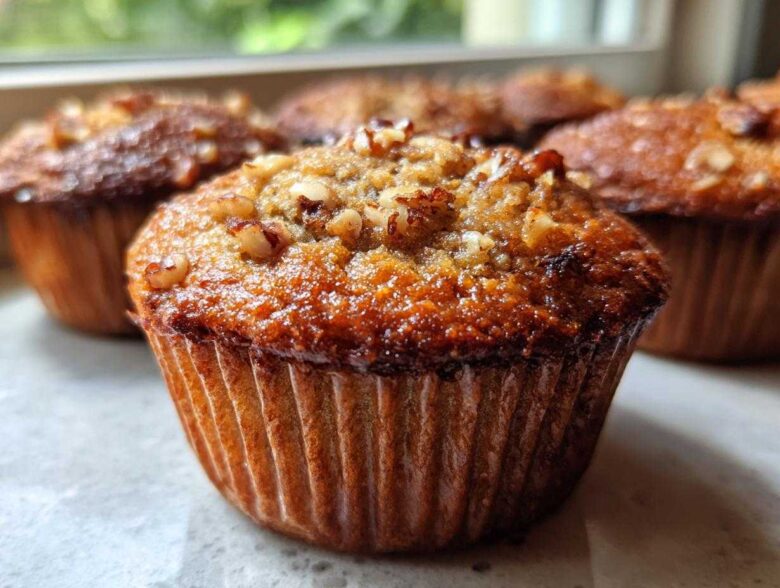
If you’ve ever bitten into a muffin that felt suspiciously light, like eating sweetened air, you know the heartbreak. We don’t do heartbreak here! We are aiming for that dense, perfectly crumbly, absolutely soaked texture that only the best bakeries achieve. Trust me, these banana nut muffins are going to change your breakfast game forever. Anya, bless her heart, has perfected this recipe using techniques she learned from her grandmother, ensuring every single bite is bursting with flavor and moisture. It’s a simple, one-bowl wonder that delivers bakery-style results, every single time. This is the ripe banana recipe you’ve been searching for, and you can read more about how our little team came together over great food on our About Us page!
Why You Will Make These Bakery Style Banana Nut Muffins Again and Again
Seriously, once you try these, they’ll replace every other sad, dry muffin recipe you’ve ever attempted. We keep coming back to these because they check every single box a great breakfast treat needs!
- They stay wonderfully moist banana muffins for days—thanks to the oil and bananas!
- Everything goes into one bowl! Less cleanup means more time for coffee.
- Perfect for breakfast meal prep; they freeze like a dream for quick grab-and-go breakfasts.
- The nut crunch provides that essential textural contrast we all crave.
The Essential Ingredients for Moist Banana Muffins
When you look at this ingredient list, you might think, “It’s just banana muffins,” but the details here are what separates a decent muffin from an absolutely decadent, bakery style muffin experience. We’re going for maximum flavor and moisture, and every single item plays a critical role in that goal. You’ll notice we use vegetable oil instead of butter, and that’s intentional! Oil stays liquid at room temperature longer than butter, which means your muffins stay softer for longer on the counter—critical for those breakfast meal prep days.
Let’s walk through what you need. For the dry side, grab 1 3/4 cups of all-purpose flour, 1 teaspoon of baking soda, 1/2 teaspoon each of baking powder and salt, and 1 teaspoon of cinnamon for that warm hug of spice. Then, we move to the wet magic: you absolutely need 3 large very ripe bananas, mashed up until they look almost like soup—we need about 1 1/2 cups of that mush! Mix that with 1/2 cup of granulated sugar, 1/4 cup of packed light brown sugar for depth, 1/2 cup of vegetable oil, 2 eggs, and 1 teaspoon of vanilla extract. Don’t forget the stars of the show: 1/2 cup of chopped walnuts or pecans!
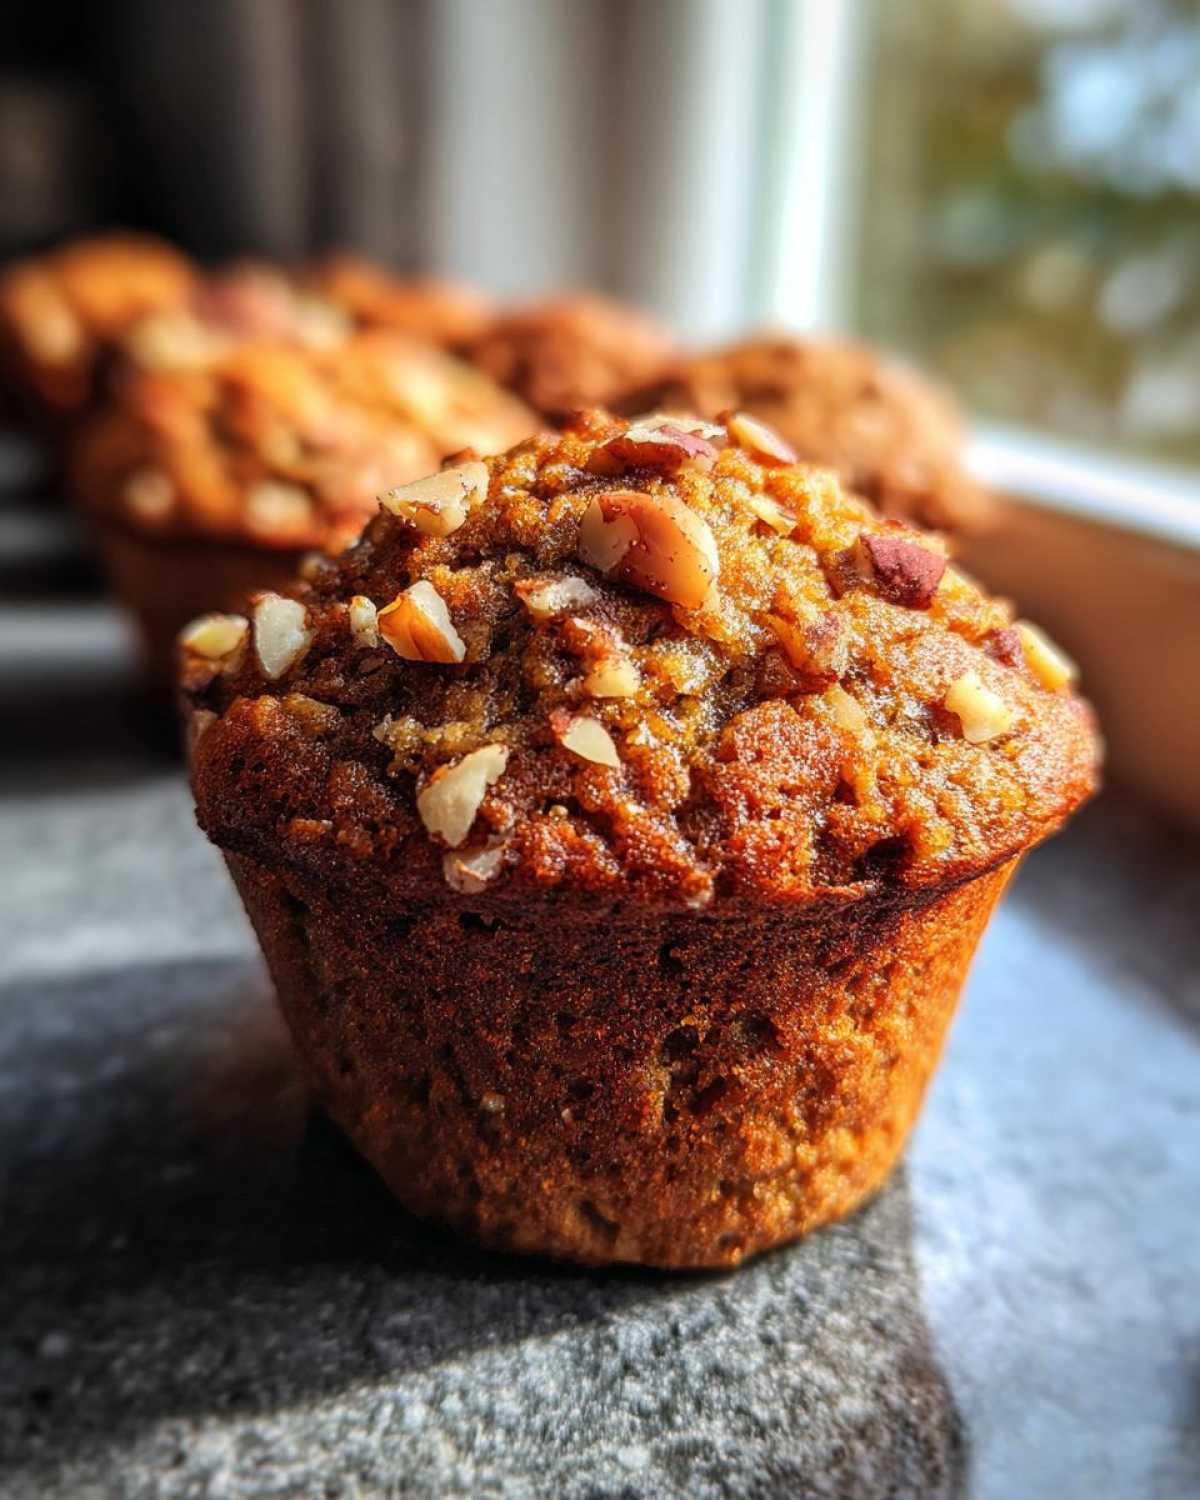
If you’re in a rush and your bananas are only yellow, don’t despair! I’ve seen Anya quickly ripen them up by baking them on a sheet pan at 300 degrees F for about 15 minutes until they are deeply spotted—it totally works! You can check out more general baking science tips over on the main Savor Sensations blog if you’re curious.
Ingredient Notes and Substitution Tips for Your Banana Nut Muffins
Okay, listen up about the bananas! They need to look tragic—black spots covering most of the peel. If they aren’t that ripe, these moist banana muffins just won’t have the sugar punch or the necessary softness. As for the nuts, you can use walnuts, pecans, or even skip them if you need a plain version, but I highly recommend the walnut banana muffins combo for the best crunch!
Remember that oil is our secret weapon for moisture, so swap it out for melted butter only if you plan on eating these muffins the same day. For keeping them soft for days, stick to the oil. And hey, if you’re desperate for ripe bananas, that little trick of baking them in the oven for fifteen minutes—I mentioned it above—really saves the day and gets you closer to that perfect, sweet base!
One Bowl Banana Muffins: Simple Preparation Instructions
This is where the real magic happens, and honestly, you can clean up your prep dishes while these bake! Because we are making the best banana nut muffins here, we need to start hot, so crank that oven to 400 degrees F immediately. Get your 12-cup muffin tin lined with those cute paper liners—or just grease it really well if you’re feeling rustic!
First, we combine all our dry goods—the flour, baking soda, powder, salt, and cinnamon—in the biggest bowl you have. Give that a quick whisk just to get everything happy. Next, in a separate bowl (yes, we use two for this one crucial step!), mash those bananas until they weep sweet liquid. Then whisk in all your sugars, the oil, the eggs, and vanilla.
Now, pour the wet stuff right into the dry stuff. Use a spatula to mix, mix, mix—but stop right when you think you should stop! Seriously, don’t go any further. We grab those nuts and gently fold them in right at the end. Divide that gorgeous batter up between your cups, filling them up nicely, and then pop them in the oven. You can find all my favorite Breakfast recipes right here if you need more quick ideas!
Mixing Secrets for Perfectly Tender Banana Nut Muffins
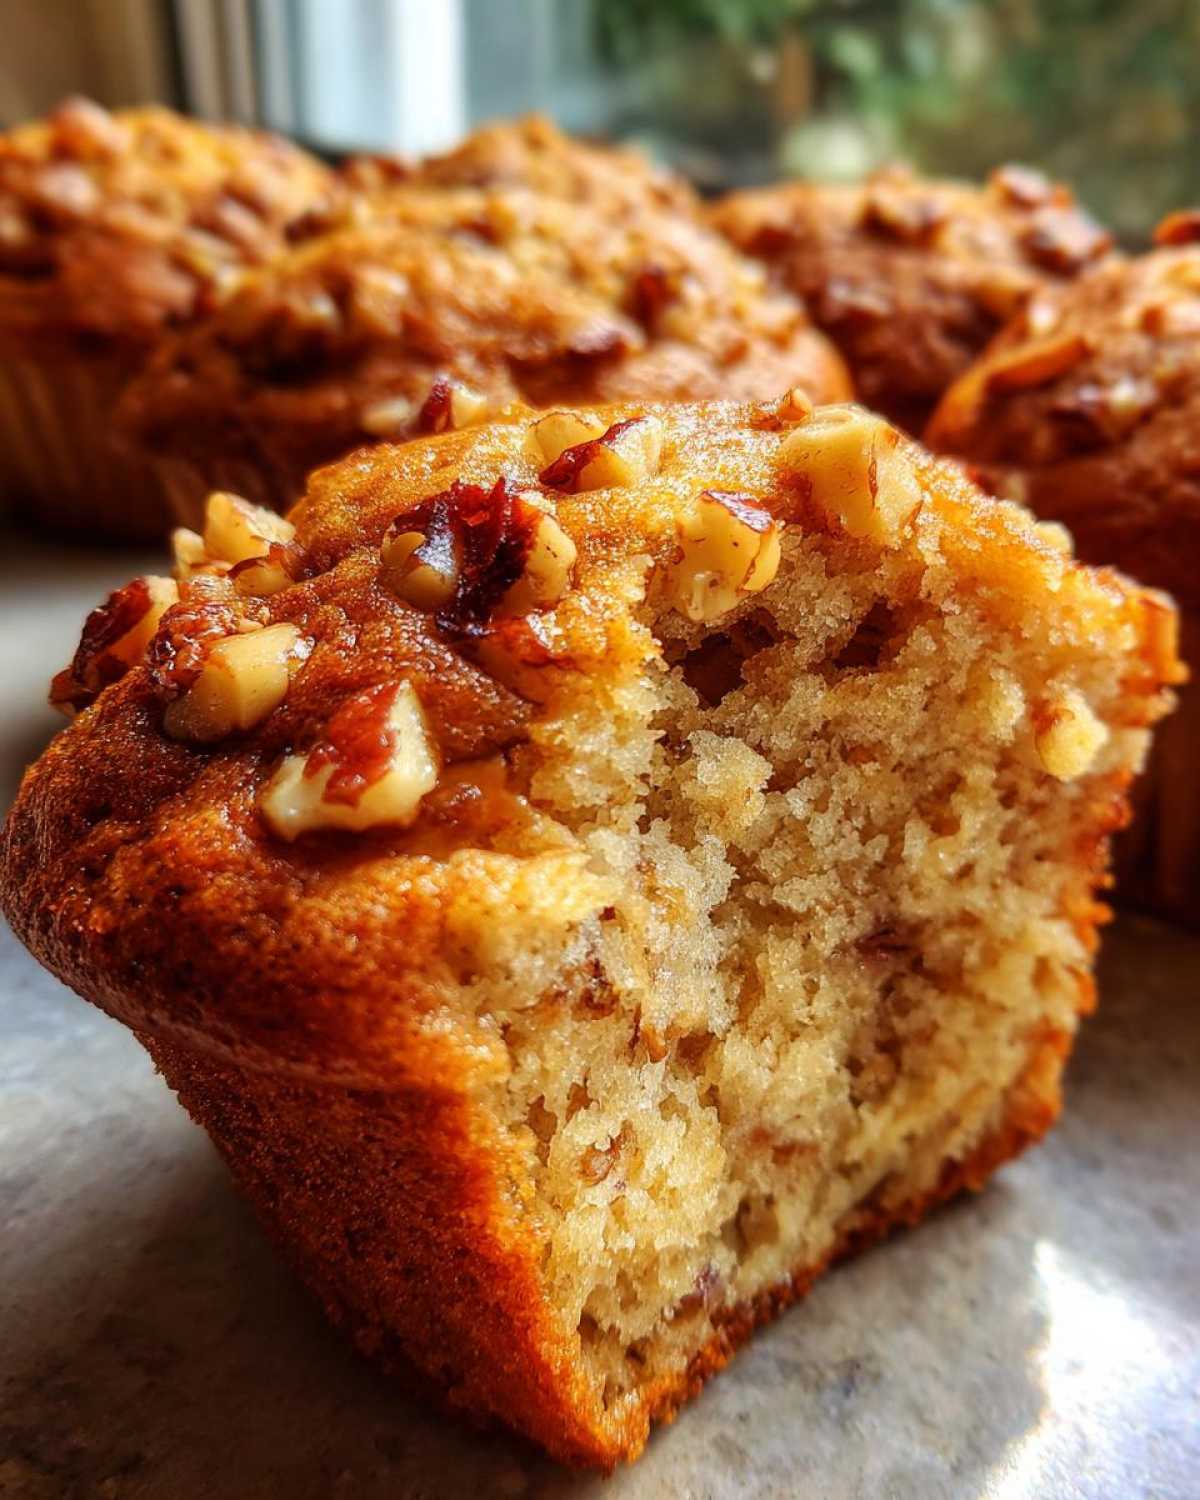
This is non-negotiable, people: Do not overmix! If you keep stirring after the wet and dry meet, you develop gluten, and gluten turns fluffy sweetness into rubbery hockey pucks. We are aiming for tenderness, so stop stirring as soon as the flour streaks mostly disappear. A few little white streaks are totally fine; they’ll vanish while baking.
After you stop mixing the batter, gently fold in those chopped walnuts or pecans. You just want them distributed evenly without beating the air out of the batter we worked so hard to keep. That’s the whole secret to superior banana nut muffins texture!
Baking Time and Doneness Test for Your Banana Nut Muffins
Bake these beauties at that high heat—400 degrees F—for about 18 to 20 minutes. At that point, you need to check for doneness. Forget squinting; grab a toothpick and stick it right into the center of the biggest muffin. If it comes out clean, or just with a few moist crumbs clinging to it—perfect! If it has raw batter, give it three more minutes and check again. Don’t forget to let them cool in the pan for five minutes before moving them to a wire rack. That short rest helps firm them up so they don’t collapse when you lift them out!
Tips for Success Making Ultra Moist Banana Muffins
Even with the best recipe, little mistakes can happen, right? I’ve watched Anya fix every beginner blunder possible, so I gathered her top tips for ensuring these banana nut muffins are moist every single time. These aren’t fussy rules; they are just little nudges to get that perfect texture!
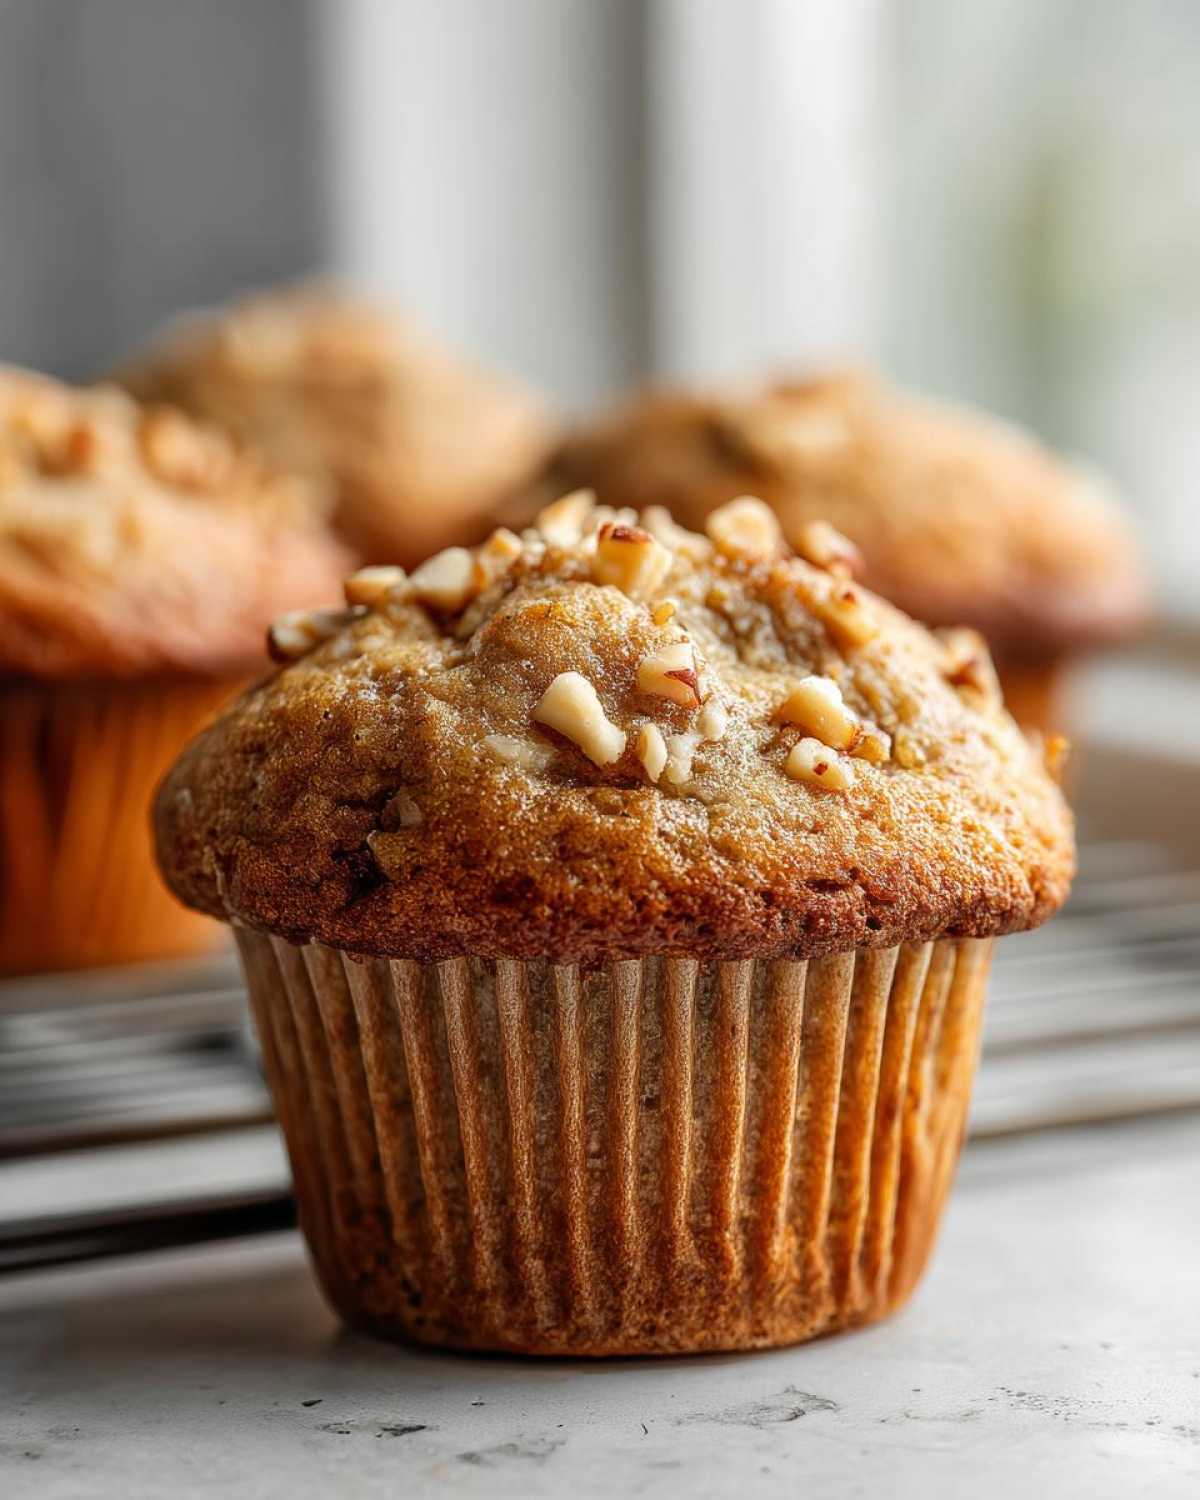
First, let’s talk sugar topping, which Anya insists gives that genuine bakery appeal. Before they go into the oven, lightly dust the tops of the batter with some coarse sugar, like turbinado sugar. It doesn’t dissolve right away, so as they bake, it creates this slightly sparkly, delightfully crunchy crust. It’s visually stunning and adds a little welcome snap!
My second big tip focuses on the bananas again because it’s just that important: they must look ugly! If your bananas are still yellow or only lightly freckled, they aren’t sweet enough, and you’ll end up compensating with extra sugar or missing out on natural moisture. We need those nearly black fruits for truly moist banana muffins.
The third thing I learned is how crucial temperature control is. Don’t open the oven door before the 15-minute mark! Those first few minutes are when the muffins are setting up their structure. If you let cold air rush in too early, they can collapse and you end up with that dense, mushy center we are trying to avoid. They need that blast of high heat to rise beautifully.
If you want even deeper insights into preventing muffin mishaps—because honestly, who doesn’t want perfect bread-like muffins?—you should check out Anya’s post on Moist Chocolate Chip Zucchini Muffins; the science behind the moisture is basically the same for all quick breads!
Breakfast Meal Prep: Storing Your Banana Nut Muffins
One of the absolute best things about these banana nut muffins is that they are totally designed for life on the go! I made a double batch last week, and honestly, having them ready for quick breakfasts has saved me from grumpy mornings more times than I can count. This recipe is fantastic for breakfast meal prep because they keep that incredible moisture level for days, even if you’re not reheating them!
Before you store them anywhere—and I mean *anywhere*—they absolutely must be cool. I know you’ll be tempted to sneak one while they are slightly warm, but resist! If you try to store them warm, the steam gets trapped, and you’ll end up with soggy bottoms instead of a perfect crumb.
For short-term storage, keeping them on the counter is fine. Just stack them in a large Ziploc bag or an airtight container. They should stay perfectly fresh and soft for about three days like this. If your kitchen is super warm or humid, maybe aim for two days.
Now, for the real life-saver: freezing! These are totally freezer friendly. After they’ve cooled completely, line them up on a baking sheet, pop that sheet in the freezer for about an hour until the muffins are solid little rocks. This flash-freeze step prevents them from sticking together later. Once they are frozen solid, transfer them to a large freezer-safe container or heavy-duty freezer bag. You can keep them tucked away safely for up to three months! When you need one, just pull it out the night before or let it sit on the counter for an hour while the coffee brews. They thaw out perfectly, retaining most of their incredible softness. If you love banana flavors in your morning routine, check out our Maple Pecan Banana Oatmeal too!
Variations on Classic Walnut Banana Muffins
Sometimes you want the perfect banana nut muffin, but other times you want to shake things up just a touch! That’s the beauty of this base recipe—it’s just so forgiving. Anya is usually such a traditionalist, sticking to her grandmother’s exact recipe card, but even she agrees that sometimes a little creativity is necessary. Because this recipe has such a rich banana flavor already, it handles additions really well without losing that signature moist texture.
Here are a couple of ways my friends and I like to play around with these!
First up, let’s talk about that texture contrast again. Since we already included walnuts or pecans, if you want to skip those altogether, that’s fine! But if you want *more* texture, try adding about 1/2 cup of mini chocolate chips right in with the nuts. Chocolate and banana? It’s a match made in heaven, making them taste almost like little cakes. We often use dark chocolate chips if we do this, as the slight bitterness balances the sweetness of the banana.
Another simple tweak is in the spice cabinet. The cinnamon we use provides that lovely warmth, but if you want something a bit deeper, try swapping out half the cinnamon for ground cardamom, or just add 1/4 teaspoon of fresh nutmeg. Nutmeg really wakes up the brown sugar flavor. It’s subtle, but it makes the muffins feel extra cozy, like they take longer to bake than they actually do!
If you’re looking for a slightly different flavor profile altogether, you could try swapping out half the flour for oat flour. This works wonderfully for us when we are leaning into making these for a post-workout breakfast meal prep session, as it adds that nutty, heartier component. Just be aware that oat flour can sometimes absorb a tiny bit more moisture, so taste that batter before you scoop it!
If you are looking for another fantastic way to incorporate chocolate into a quick bread format, Sasha’s recipe for Chocolate Chip Zucchini Bread is incredible and follows a similar “mix wet and dry” method!
Serving Suggestions for Your Banana Nut Muffins
These banana nut muffins are honestly fantastic naked, straight out of the cooling rack—that’s how perfect the texture is! But if you happen to have a few extra minutes when you’re serving them up, transforming them into a true brunch experience is super easy. The key here is balancing out that rich banana flavor with something a little tangy or creamy.
For a simple morning treat, they are just heavenly next to a steaming hot mug of black coffee or a nice cup of strong tea. The warmth and the slight bitterness of the drink really cut through the sweetness of the muffin perfectly. They hold up really well, so you don’t need to re-warm them!
However, if you want to go full bakery mode, you absolutely have to try a smear of something delicious on top! A classic cream cheese frosting is wonderful, but if you want something slightly more complex that echoes the nuts and spices, you need to try a flavored butter.
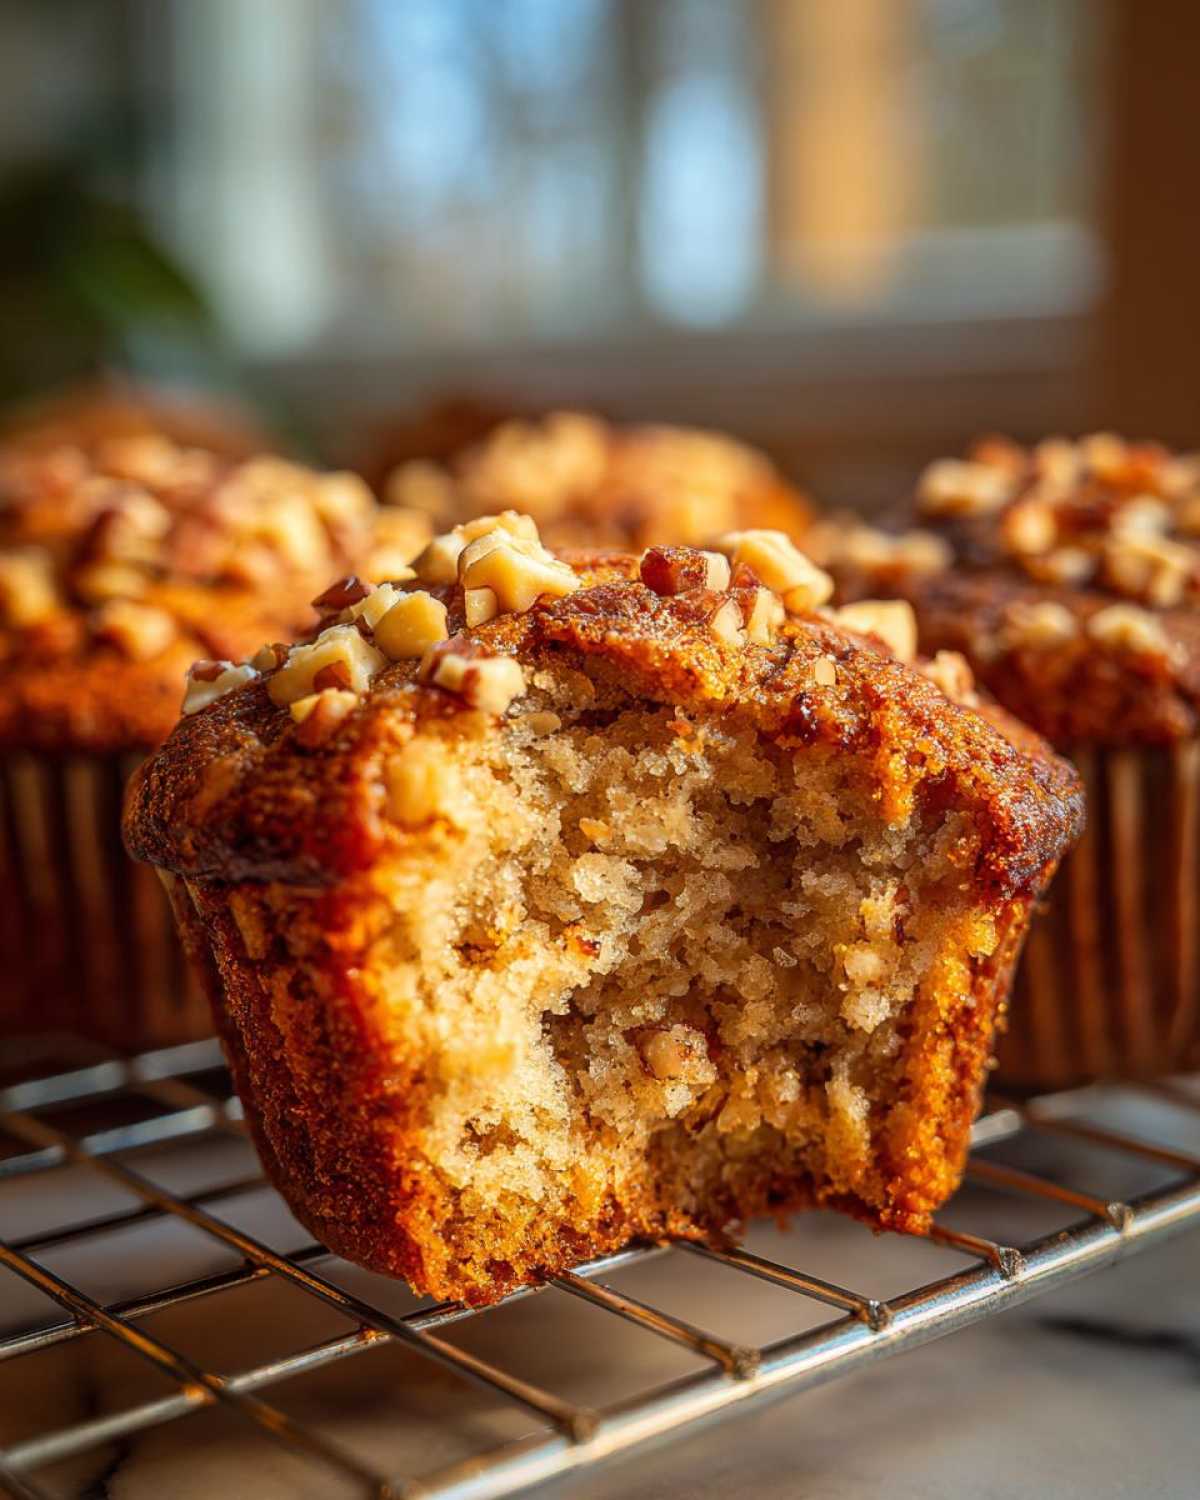
We recently whipped up a batch of our Tahini Maple Butter, and it was out of this world on top of these muffins. The slight earthiness of the tahini combined with that sweet maple syrup just elevates the whole experience. You can find the recipe for that amazing spread right here: Tahini Maple Butter Spread Recipe. Trust me, warming up a dollop of that butter and letting it melt right into the warm nooks and crannies of your moist banana muffins is pure happiness. It makes even a weekday breakfast feel like a luxurious weekend event!
Frequently Asked Questions About Banana Nut Muffins
Can I substitute melted butter for the vegetable oil in this recipe?
I know some recipes call for butter because of that classic flavor, but for these specific banana nut muffins, I really, really recommend sticking to the oil! If you use melted butter, the muffins set up differently. Butter is solid when cool, which means your beautiful, moist banana muffins might feel a little firmer or even crumbly when they come out of the container a few days later. The oil keeps them tender and soft at room temperature much longer. If you must use butter, melt it first, then let it cool almost completely before combining it with the wet ingredients.
What happens if I use bright yellow, not-quite-ripe bananas?
Oh, if only my grandmother knew how many times I’ve tried to cheat this step! The short answer is: they won’t be as good. The black spots on the banana peel are where the starches have converted to sugar—that’s natural sweetness and moisture, which is essential for a truly ripe banana recipe. If your bananas are only yellow, they won’t mash as smoothly, and you’ll miss out on that deep, caramelized flavor. Honestly, if you can’t wait for them to ripen, try Anya’s trick of baking the yellow bananas on a sheet pan at 300°F for about 15 minutes until they start looking bruised and spotted. That simple step helps tremendously!
How can I make these freezer friendly for grab-and-go breakfasts?
These are absolutely designed to be freezer friendly! The oil helps them survive the freezer like champs. The most important thing is cooling them down completely—we talked about not trapping steam—and then wrapping them well. I like to wrap each individual muffin tightly in plastic wrap first, then place them all into one large airtight container or freezer bag. They hold up beautifully for up to three months. When you want one, just pull it out, leave it on the counter for an hour, and it tastes like it just came out of the oven. It’s the best breakfast meal prep trick!
Are there good gluten-free options for these one bowl banana muffins?
Yes! I am so glad you asked, because we actually have a dedicated version for you. You can absolutely adapt this base recipe. If you want to try an adjustment without following a whole new recipe immediately, try replacing the all-purpose flour with a high-quality 1-to-1 gluten-free baking blend that already contains xanthan gum. You might need just a tiny splash more liquid since GF flours can be thirsty, but otherwise, the method stays the same. For my full guidance, check out our specific Gluten-Free Banana Muffins post!
Do I really need both granulated and brown sugar?
You totally do! It’s one of the secrets that keeps these from tasting flat. The granulated sugar provides general sweetness and helps with aeration during the mix. The brown sugar, though—that’s where we get that rich, deep, molasses note that elevates these beyond basic banana bread flavors. It really punches up the spice notes and ensures these taste like those deluxe bakery style muffins you adore!
Nutritional Estimate for These Banana Nut Muffins
Okay, let’s talk about the numbers, because even though these are basically breakfast candy, we all get curious about what we’re actually eating! You know how it is—we want the deliciousness without all the guilt, right? Since these are made with oil and lots of fruit, they actually pack a decent punch of energy for your morning, but the exact breakdown can change depending on whether you use walnuts or pecans, or even the sweetness level of your particular batch of bananas.
Based on the recipe measurements provided, here is the general estimate for one single, glorious banana nut muffin:
- Serving Size: 1 muffin
- Calories: 250
- Sugar: 15g
- Fat: 13g
- Protein: 4g
- Carbohydrates: 32g
- Fiber: 2g
- Sodium: 200mg
Just remember, this is a snapshot! If you use extra-large eggs or maybe sneak in a little more brown sugar because your bananas were pale, those counts will shift a tiny bit. Also, these numbers don’t account for any sprinkles of coarse sugar you might add on top for that amazing bakery style muffin crunch we talked about! Eat happy, friends; they’re still packed with real fruit!
PrintBakery-Style Moist Banana Nut Muffins
Make incredibly moist, bakery-style banana nut muffins using overripe bananas. This simple one-bowl recipe is perfect for breakfast meal prep and freezes well.
- Prep Time: 10 min
- Cook Time: 20 min
- Total Time: 30 min
- Yield: 12 muffins
- Category: Breakfast
- Method: Baking
- Cuisine: American
- Diet: Vegetarian
Ingredients
- 1 3/4 cups all-purpose flour
- 1 teaspoon baking soda
- 1/2 teaspoon baking powder
- 1/2 teaspoon salt
- 1 teaspoon ground cinnamon
- 3 large very ripe bananas, mashed (about 1 1/2 cups)
- 1/2 cup granulated sugar
- 1/4 cup packed light brown sugar
- 1/2 cup vegetable oil
- 2 large eggs
- 1 teaspoon vanilla extract
- 1/2 cup chopped walnuts or pecans
Instructions
- Preheat your oven to 400 degrees F. Line a 12-cup muffin tin with paper liners or grease well.
- In a large bowl, whisk together the flour, baking soda, baking powder, salt, and cinnamon. This is your dry mix.
- In a separate medium bowl, mash the ripe bananas well. Add the granulated sugar, brown sugar, vegetable oil, eggs, and vanilla extract. Whisk until just combined.
- Pour the wet ingredients into the dry ingredients. Use a spatula to mix until just combined. Do not overmix; a few streaks of flour are fine. Overmixing develops gluten and makes tough muffins.
- Gently fold in the chopped nuts.
- Divide the batter evenly among the 12 muffin cups, filling each about two-thirds full.
- Bake for 18 to 20 minutes, or until a toothpick inserted into the center comes out clean.
- Let the muffins cool in the pan for 5 minutes before transferring them to a wire rack to cool completely.
Notes
- Using oil instead of butter keeps these banana nut muffins incredibly moist for days.
- For extra bakery appeal, sprinkle a little coarse sugar on top of the batter before baking.
- These are freezer friendly; cool completely, place in an airtight container, and freeze for up to three months. Thaw on the counter.
- If your bananas are not very ripe, you can bake them on a sheet pan at 300 degrees F for 15 minutes to speed up the ripening process.
Nutrition
- Serving Size: 1 muffin
- Calories: 250
- Sugar: 15
- Sodium: 200
- Fat: 13
- Saturated Fat: 2
- Unsaturated Fat: 11
- Trans Fat: 0
- Carbohydrates: 32
- Fiber: 2
- Protein: 4
- Cholesterol: 30
