

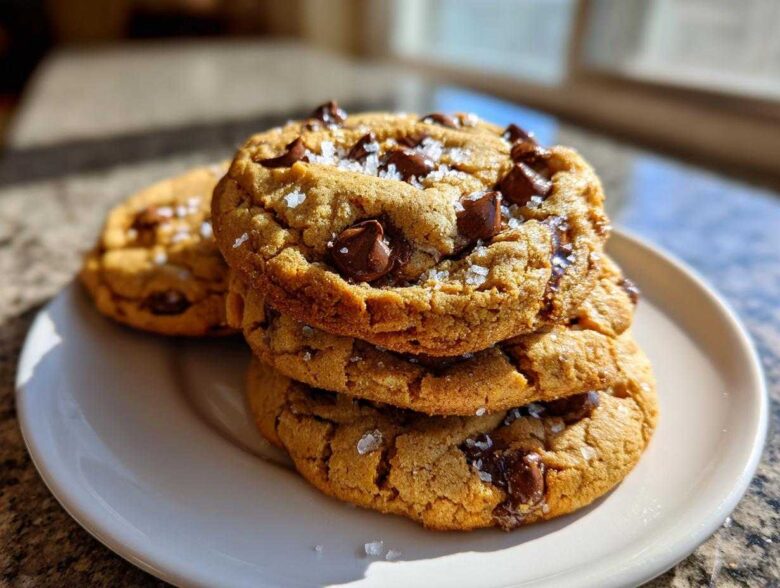
Oh, my heart! Are you ready to throw out every other cookie recipe you’ve ever tried? Because I promise you, what we’re about to bake together is pure magic. I’m Sasha, and Anya, Lena, and I have poured our collective energy into perfecting one thing: The most outrageously soft, chewy, bakery-style chocolate chip cookies you will ever meet. Forget those flat, crispy disappointments! These beauties have that perfect pull when you break them open, and you can just taste the rich chocolate. I still get excited every time I pull a batch out of the oven—it’s the best kind of kitchen chaos!
Why This Chocolate Chip Cookie Recipe Is Your New Favorite
We all want that cookie, right? The one that looks like it came straight from a famous spot downtown, yet tastes better because you made it right here. This recipe hits all three texture notes we obsess about. Trust me, saying goodbye to tough cookies is worth the few extra minutes of attention!
- Perfectly crispy edges that snap just a little bit.
- Soft, almost underbaked centers that are wonderfully gooey.
- That undeniable, satisfying chew factor running through the middle.
We’ve shared recipes before on our blog, but this one is truly built for texture lovers.
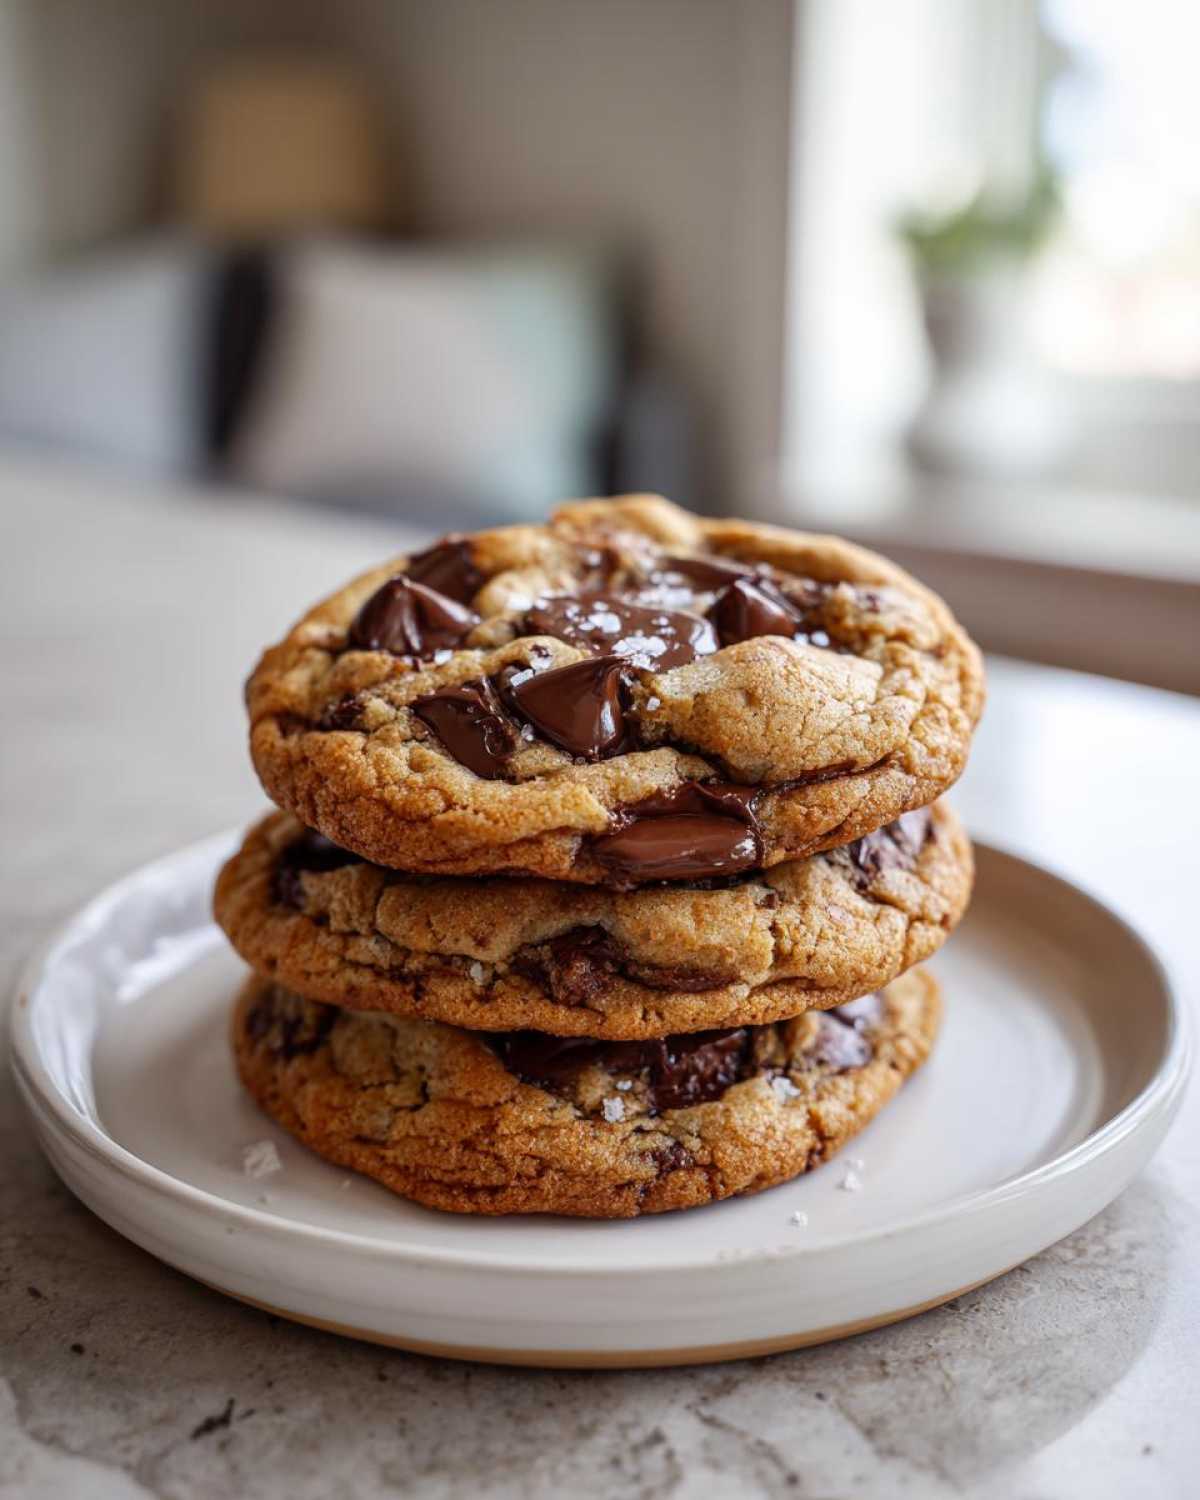
Achieving the Perfect Chewy Chocolate Chip Cookies Texture
So, what’s the magic behind the chew? It actually comes down to two things that sound small but make a huge difference. First, we use slightly more brown sugar than white sugar. That molasses content is the secret sauce for moisture retention, which equals chewiness!
Second? Time. Even though this recipe says it’s quick, if you can resist temptation and chill the dough for even 30 minutes, you are setting yourself up for success. Chilling means the butter solidifies again, spreads less, and packs all that rich flavor right where we want it.
Gathering Ingredients for The Ultimate Chocolate Chip Cookie
Okay, gathering supplies is almost as fun as eating them, right? But for these cookies, you have to pay attention because every single item is doing heavy lifting! You need one cup of unsalted butter that you’ve melted and let cool just slightly—we don’t want hot butter scrambling our eggs! Grab a full cup of that gorgeous, packed light brown sugar, which gives us that deep flavor base.
We need room temperature eggs; don’t skip that because they incorporate better! And make sure your flour, baking soda, and salt are whisked together first in a separate little bowl. This whole list is exactly what guarantees this is a foolproof cookie recipe.
Ingredient Notes and Substitutions for Your Chocolate Chip Recipe
Listen, you can get fancy here and the result will only get better! For the filling, don’t just settle for basic semi-sweet chips. I absolutely love using a mix—half chips and half chopped chocolate chunks. When they melt, you get these gorgeous pools of chocolate running through the middle. That’s what pushes it over into that real bakery style we love.
Also, don’t skip the flaky sea salt if you can help it! A tiny sprinkle right after they come out of the oven is critical. It cuts through the sweetness and just makes every bite taste instantly more complex and gourmet. It’s one of those little things that makes people ask, “Wait, what did you put *in* these?” For more on crispy edges that make the salt shine, check out the experts over at Inquiring Chef!
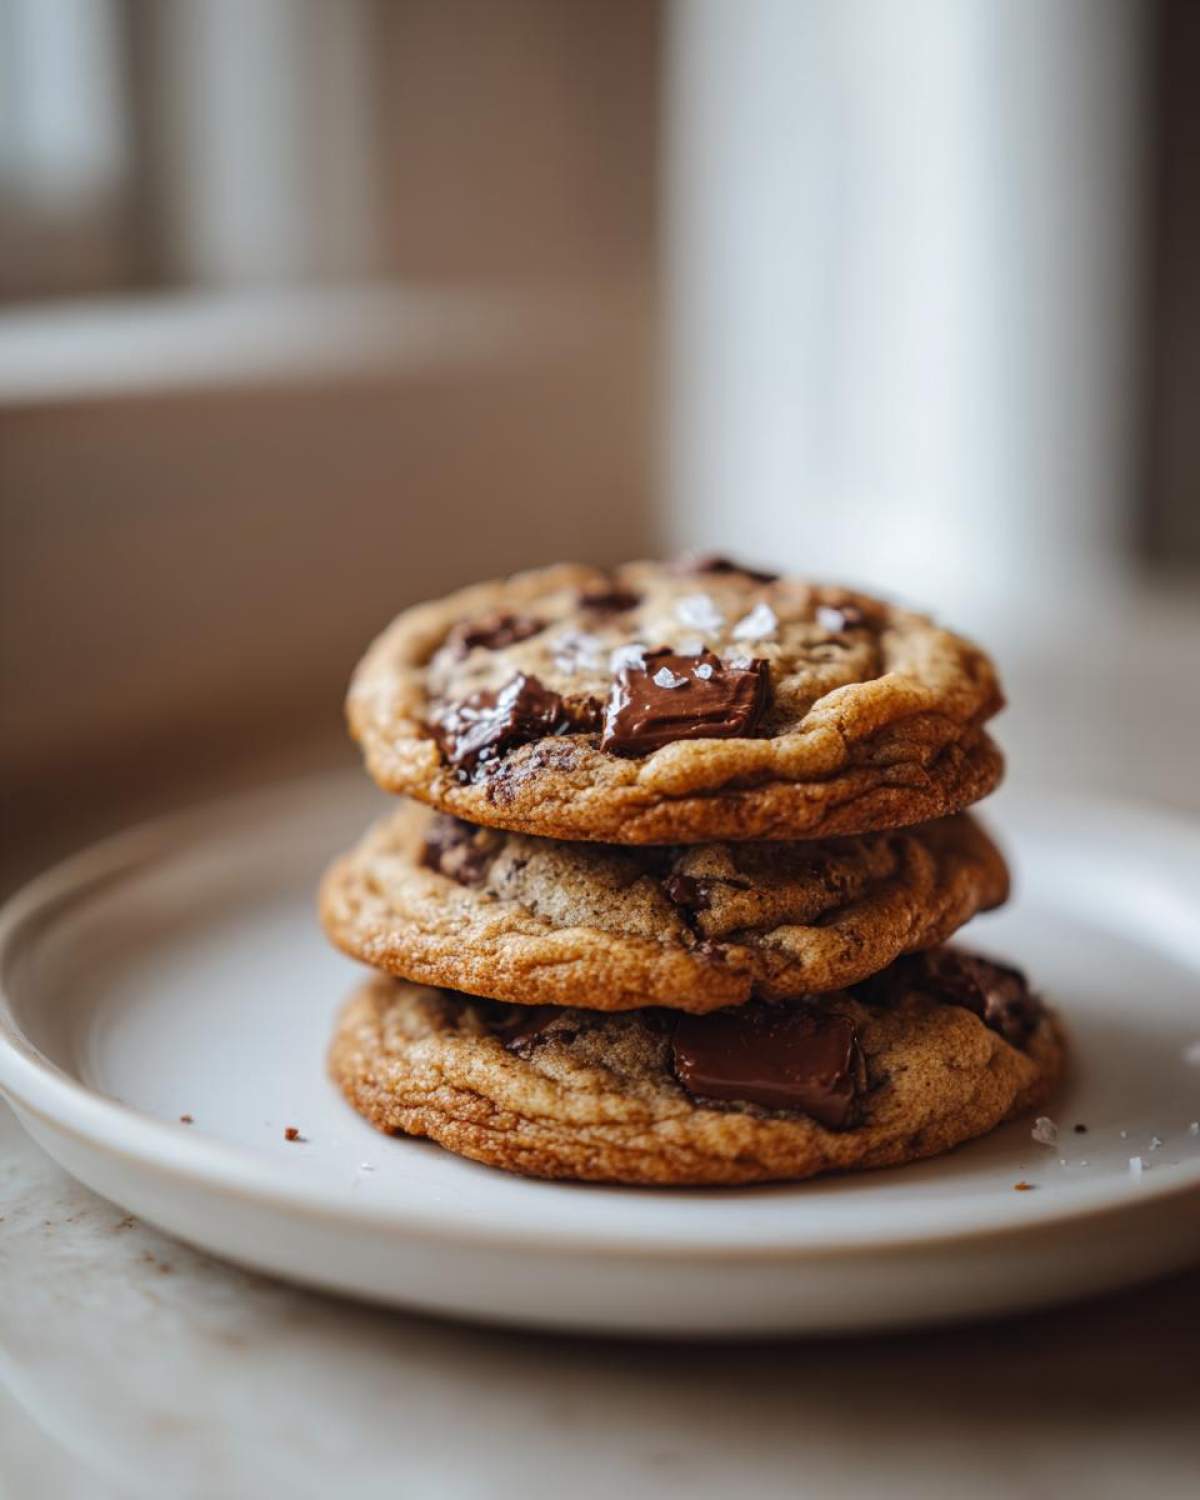
Step-by-Step Instructions for Bakery Style Chocolate Chip Cookies
Alright, let’s get messy! First things first, crank that oven up to 375°F (190°C). Line those baking sheets with parchment—it saves so much grief later, trust me. We start in a big bowl, vigorously whisking that lovely melted butter with both sugars until they look totally unified. It’s going to look a bit wet, and that’s perfect, it means you’ve got the base ready for those two room-temperature eggs. Beat them in one at a time, then splash in that vanilla. It smells amazing already!
Now, this is where patience keeps our cookies foolproof, not tough. We need to handle the dry stuff carefully. We just whisked the flour, baking soda, and salt separately for a reason—it makes sure everything is distributed evenly so you don’t get salty bites.
Mixing the Wet and Dry Components of Your Chocolate Chip Dough
When it comes to combining, go low and slow! Add the dry bowl ingredients gradually to your wet mixture, mixing only on low speed until you *just* don’t see streaks of flour anymore. I mean it: stop mixing the second they combine. Overmixing develops gluten, and gluten makes tough cookies, not deliciously chewy chocolate chip dough. Finally, grab your spatula and fold in those gorgeous chocolate chips. Don’t use the mixer for this part; we want pockets of chocolate, not just streaks!
Baking Tips for Perfect Chewy Chocolate Chip Cookies
Scoop tablespoon-sized mountains of dough onto your pans, leaving space because they will spread just a bit. We are aiming for 9 to 12 minutes in the oven. This is the most crucial timing detail! You want the edges to look nicely golden brown, but the center absolutely must look slightly pale and soft, almost slightly underdone. Don’t panic! Immediately sprinkle on that flaky sea salt if you’re using it—it melts right in.
The biggest mistake people make is moving them too soon! Let those cookies sit right on that hot baking sheet for a full five minutes after they come out. They are still cooking internally, setting up that soft, pillowy center we want. Then, gently move them to a cooling rack to finish setting up completely.
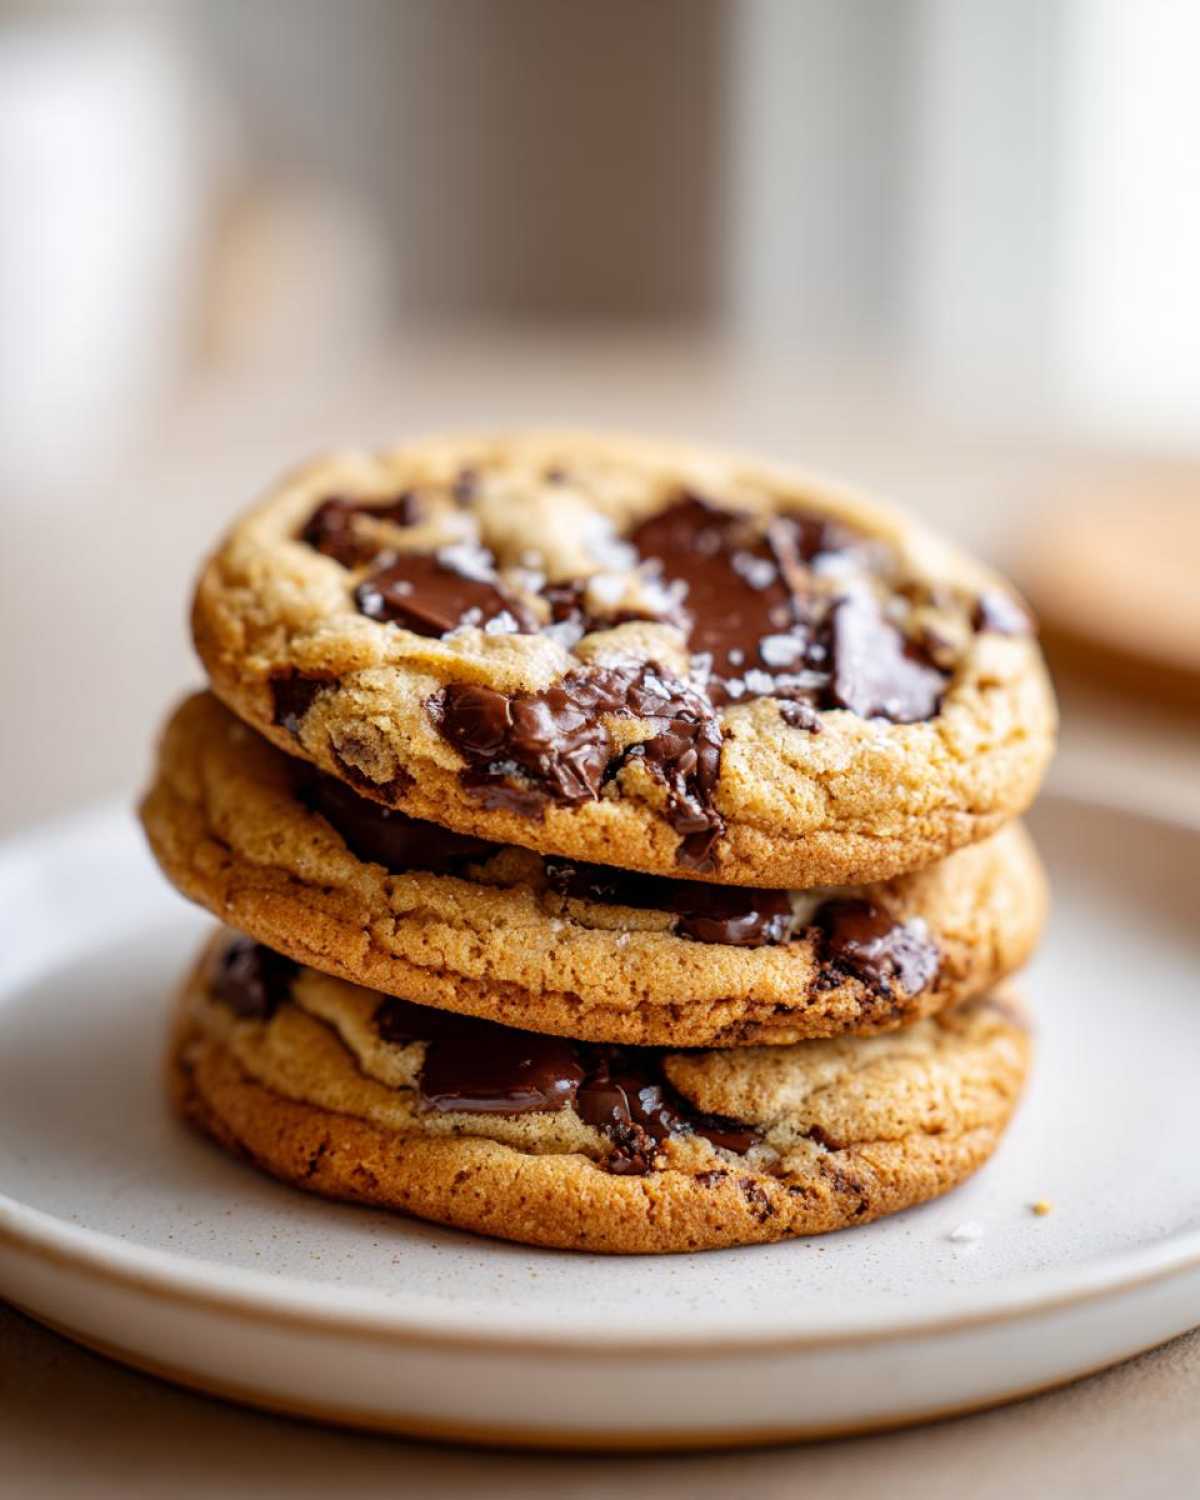
Sasha’s Chocolate Chip Cookie Secrets for Success
When I was first messing around with this recipe—and trust me, there were many messy batches—I learned a few non-negotiables that turn good cookies into the kind people beg you for. This is what separates my kitchen from the rest; these are my personal chocolate chip cookie secrets!
The number one thing I preach, again and again, is chilling the dough. I know, you have to wait, and waiting is the hardest part of baking! But putting that bowl in the fridge for at least an hour, or even overnight if you’re planning ahead, is genuinely transformative. For more baking ideas that showcase moisture, check out our chocolate chip zucchini bread recipe!
Chilling is not just about spreadability, though that helps big time. Chilling concentrates the flavors. All that vanilla, all that sugar, all that butter—they get happy together and mingle instead of rushing off into the oven prematurely. When you bake that cold dough, you get that incredible contrast: super chewy inside, crisp outside.
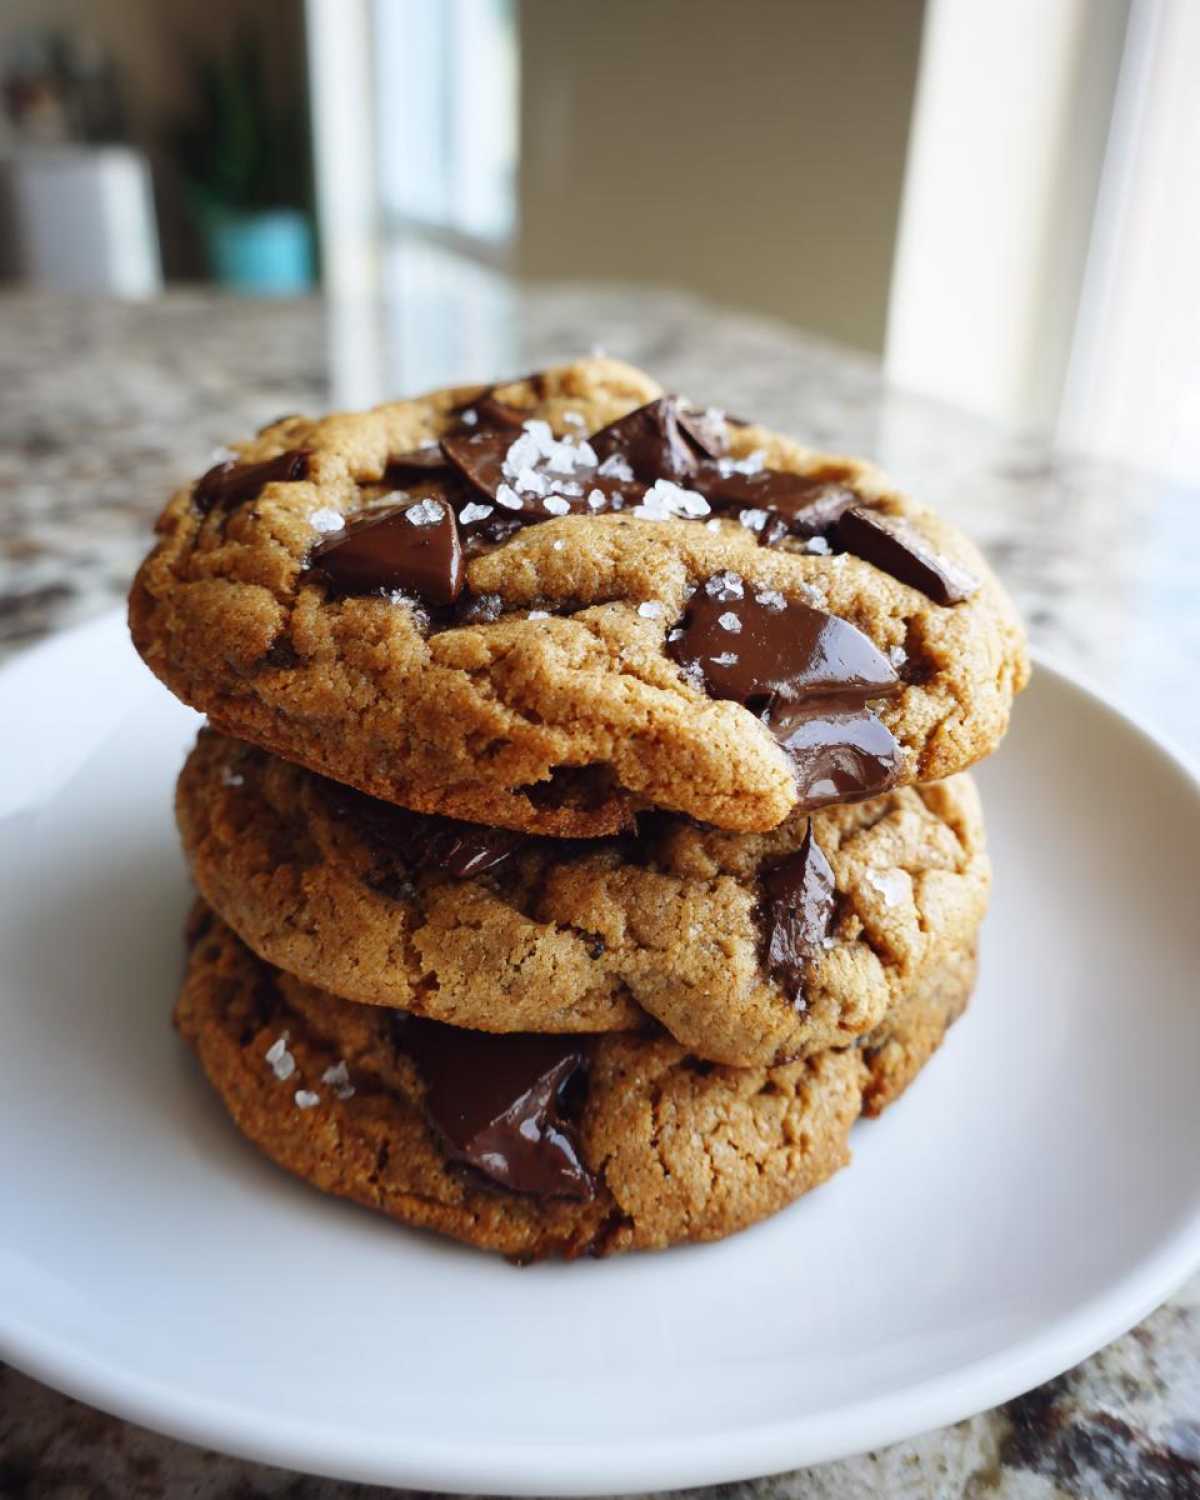
Also, don’t be afraid to use slightly less flour than you think you need. If it looks a little sticky when scooping, that’s fine! That stickiness translates directly into gooeyness later. If you are looking for even more tips on achieving those perfect textures, I loved reading about how the folks at Inquiring Chef approach their crispy edges. It’s all about the balance!
If for some reason you absolutely can’t wait, I suggest adding an extra tablespoon of melted butter to the wet ingredients, because that extra fat helps keep things soft quickly. But honestly, for the *best* result, give that dough some quiet time!
Storage and Keeping Your Chocolate Chip Cookies Fresh
Okay, the hardest part is over—you baked them perfectly! Now, how do we make sure they stay soft and chewy instead of turning into little hockey pucks by tomorrow? This is super important, especially if you managed to not eat the entire batch in one sitting (which, let’s be real, is a miracle).
The key to keeping these beauties soft is cutting off the air supply! You absolutely need an airtight container. Glass ones are pretty, but plastic can sometimes work better at really sealing things up tight. Once the cookies are completely cooled down—and I mean totally cool, otherwise you’ll get condensation and sogginess—stack them up in your container.
For the absolute softest experience, you can throw a regular slice of white bread in there with them. Seriously! The cookies absorb the moisture from the bread, keeping them perfectly tender for days. Change the bread every day or two if it gets rock hard.
Keep the container on the counter at room temperature. Don’t bother with the fridge; that cold temperature actually dries out baked goods faster and ruins that chewy texture we worked so hard to create. If you’ve made extra and frozen them properly (wrap them tight before freezing!), they should last me about three months. Thaw them on the counter overnight, and they taste almost as good as fresh!
Serving Suggestions for Your Classic Chocolate Chip Recipe
Now that you have the *best chocolate chip cookies* ever sitting on your counter, how should you serve them? Honestly, just eating one straight up is a win, but I love taking things up a notch!
If they are fresh, warm from the oven (centers still molten!), you absolutely must have a tall, ice-cold glass of milk beside them. It’s non-negotiable perfection. For an afternoon treat, they pair gorgeously with hot coffee.
But if you’re feeling extra fancy, you have to try them à la mode! Grab a scoop of vanilla bean ice cream—maybe even try Anya’s iced cappuccino mousse if you’re feeling ambitious—and make a tiny cookie sandwich. The warm cookie melting the cold cream? Oh, you’re going to thank me for suggesting that!
Frequently Asked Questions About Making Chocolate Chip Cookies
I know baking this perfect cookie can sometimes bring up weird questions! Don’t stress, that’s totally normal when you’re trying to achieve homemade perfection. Here are the things Anya and I get asked about most often when folks try this recipe for the first time.
Why are my cookies coming out flat instead of thick and bakery style?
This usually happens for two reasons, and we’ve fixed both in this main recipe! First, if your butter was melted *and* slightly hot, it spreads everything out too fast. Second, if you didn’t use enough flour, or—and this is common—if you didn’t chill the dough, they will flatten out quickly. If you want truly thick, Soft Baked Chocolate Chip Cookies, that chilling step is your best friend!
Can I skip chilling the dough completely? I want cookies NOW!
Oh, I hear you wanting those Gooey Chocolate Chip Cookies immediately! You technically *can* skip the chill, but you risk making them too thin and sacrificing that deep, buttery flavor. However, if you are in a major rush, make sure your dough is very thick and firm to start. It buys you an extra 15 minutes before they start spreading too much in the oven. For the absolute best results, though, chill them for at least 30 minutes like we recommend!
What if I used salted butter instead of unsalted butter?
If you used salted butter, the answer is simple: skip the extra salt we put in the dry ingredients! If you decide to add flaky sea salt on top, taste a tiny bit of your dough first—you might even need to skip the topping salt, too. For more secrets on moisture control, pop over to see how they approach things on Broma Bakery!
My cookies look doughy when I take them out; should I bake them longer?
Nope! This is the key to the chewiness! If they look slightly doughy or underbaked in the very center when you pull them out, you’ve hit the jackpot. They continue to cook on that hot pan for about five minutes afterwards. Bending the rules here is actually following the rule for a perfect cookie. For more tips on keeping things moist, take a peek at how we talk about moisture in our chocolate chip zucchini muffins!
Nutritional Snapshot of These Homemade Chocolate Chip Cookies
Now, I know we are focusing on flavor and texture here—because that’s what really matters in a homemade treat! But for those of you keeping tabs, here is the rough estimate for what you’re looking at per cookie based on the recipe measurements provided. Remember, these are just guidance because we all scoop differently, right? If you use more chocolate chunks or a different type of sugar, the numbers will shift a tiny bit!
We are making one batch of these glorious homemade chocolate chip cookies, which yields about 18 large ones, and here is the breakdown:
- Serving Size: 1 cookie
- Calories: 220
- Fat: 12g
- Saturated Fat: 7g
- Trans Fat: 0g
- Cholesterol: 45mg
- Sodium: 110mg
- Carbohydrates: 27g
- Sugar: 18g
- Protein: 3g
See? Totally worth it for that perfect chew! Because we used melted butter rather than softened, and we’re using high-quality chocolate chips, the fat content is slightly higher than standard, but that’s precisely what keeps them soft and prevents them from hardening up the next day. Enjoy these delicious treats knowing you’re creating memories, not just tracking macros!
Share Your Best Chocolate Chip Creations
Now that you’ve got the blueprint for the absolute ultimate, softest cookie ever, I truly hope you’re already whipping up the first batch! Seriously, I want to see them! When our kitchen gets chaotic here at Savor Sensations, the best part is seeing what you all create.
Please, if you loved these cookies—and I know you will—take a second to click over and give the recipe a five-star rating right at the top of the page. Those ratings really help other bakers find our little secret weapon for the perfect bake, just like the fantastic results you can see on Eats Delightful!
And if you snapped a picture of those gooey centers or those crispy edges, tag us on social media or send it through our contact page! Tell us if chilling the dough really changed the game for you, or if you decided to try mixing up the chocolate type. We love hearing how you’re making this recipe your own. Happy baking, friends!
PrintThe Ultimate Chewy Chocolate Chip Cookies: Bakery Style at Home

You can make the best soft, chewy chocolate chip cookies with crispy edges right in your kitchen. This foolproof recipe gives you bakery-style results every time.
- Prep Time: 15 min
- Cook Time: 12 min
- Total Time: 27 min
- Yield: 18 large cookies
- Category: Dessert
- Method: Baking
- Cuisine: American
- Diet: Vegetarian
Ingredients
- 1 cup (2 sticks) unsalted butter, melted and slightly cooled
- 1 cup packed light brown sugar
- 1/2 cup granulated sugar
- 2 large eggs, room temperature
- 1 tablespoon vanilla extract
- 2 1/4 cups all-purpose flour
- 1 teaspoon baking soda
- 1/2 teaspoon salt
- 1 1/2 cups semi-sweet chocolate chips (or a mix of chips and chunks)
- Flaky sea salt for topping (optional)
Instructions
- Preheat your oven to 375°F (190°C). Line baking sheets with parchment paper.
- In a large bowl, whisk together the melted butter, brown sugar, and granulated sugar until fully combined. The mixture will look wet.
- Beat in the eggs one at a time, mixing well after each addition. Stir in the vanilla extract.
- In a separate medium bowl, whisk together the flour, baking soda, and salt.
- Gradually add the dry ingredients to the wet ingredients, mixing on low speed until just combined. Do not overmix.
- Fold in the chocolate chips using a spatula.
- Scoop rounded tablespoons of dough onto the prepared baking sheets, leaving about 2 inches between each mound. For thicker cookies, press the dough balls slightly flatter.
- Bake for 9 to 12 minutes. The edges should be golden brown, but the centers should still look slightly soft and underbaked.
- Remove the sheets from the oven. Immediately sprinkle a tiny pinch of flaky sea salt over the tops of the cookies, if using.
- Let the cookies cool on the baking sheet for 5 minutes before transferring them to a wire rack to cool completely. They will continue to set up as they cool.
Notes
- For the chewiest texture, chill the dough for at least 30 minutes before baking. This concentrates the flavor and prevents excessive spreading.
- Use high-quality chocolate chips or chopped bars for the best melt and flavor.
- If you prefer a copycat bakery style, make the dough balls larger, about 3 tablespoons each, and reduce the baking time slightly.
Nutrition
- Serving Size: 1 cookie
- Calories: 220
- Sugar: 18
- Sodium: 110
- Fat: 12
- Saturated Fat: 7
- Unsaturated Fat: 5
- Trans Fat: 0
- Carbohydrates: 27
- Fiber: 1
- Protein: 3
- Cholesterol: 45
