

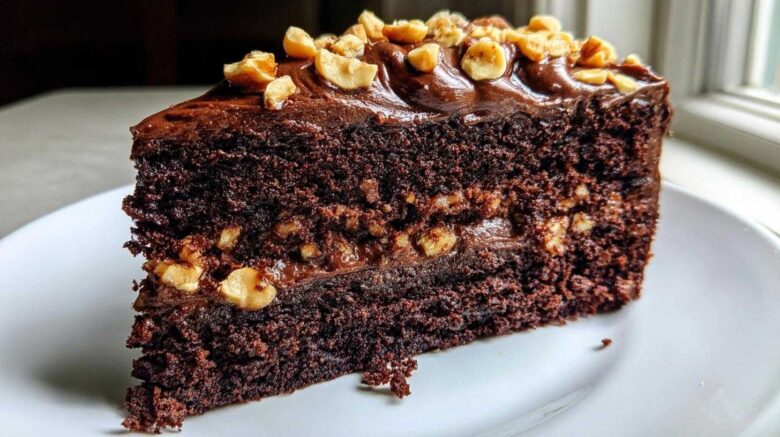
The Ultimate Chocolate Hazelnut Layer Cake: A Recipe from Our Kitchen
No heading needs to be written for the introduction.
Welcome, friends, to Savor Sensations!
I’m Lena, and I’m so happy you stopped by.
Today, we’re sharing something truly special.
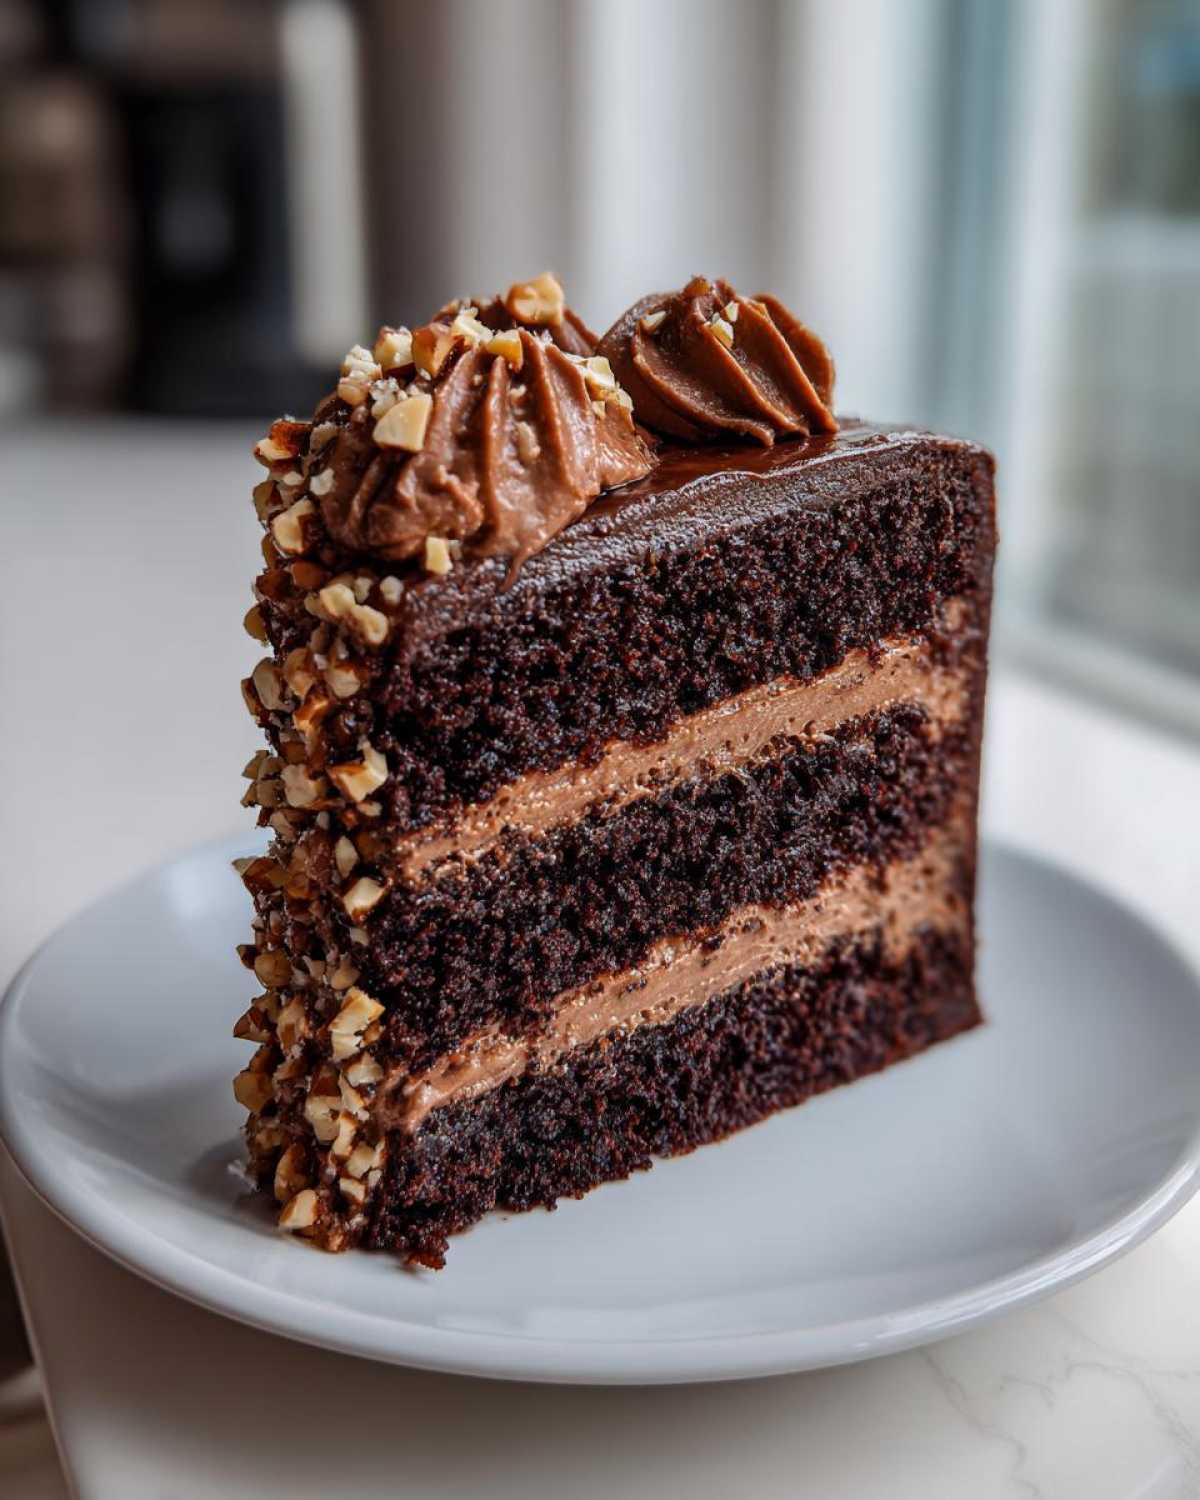
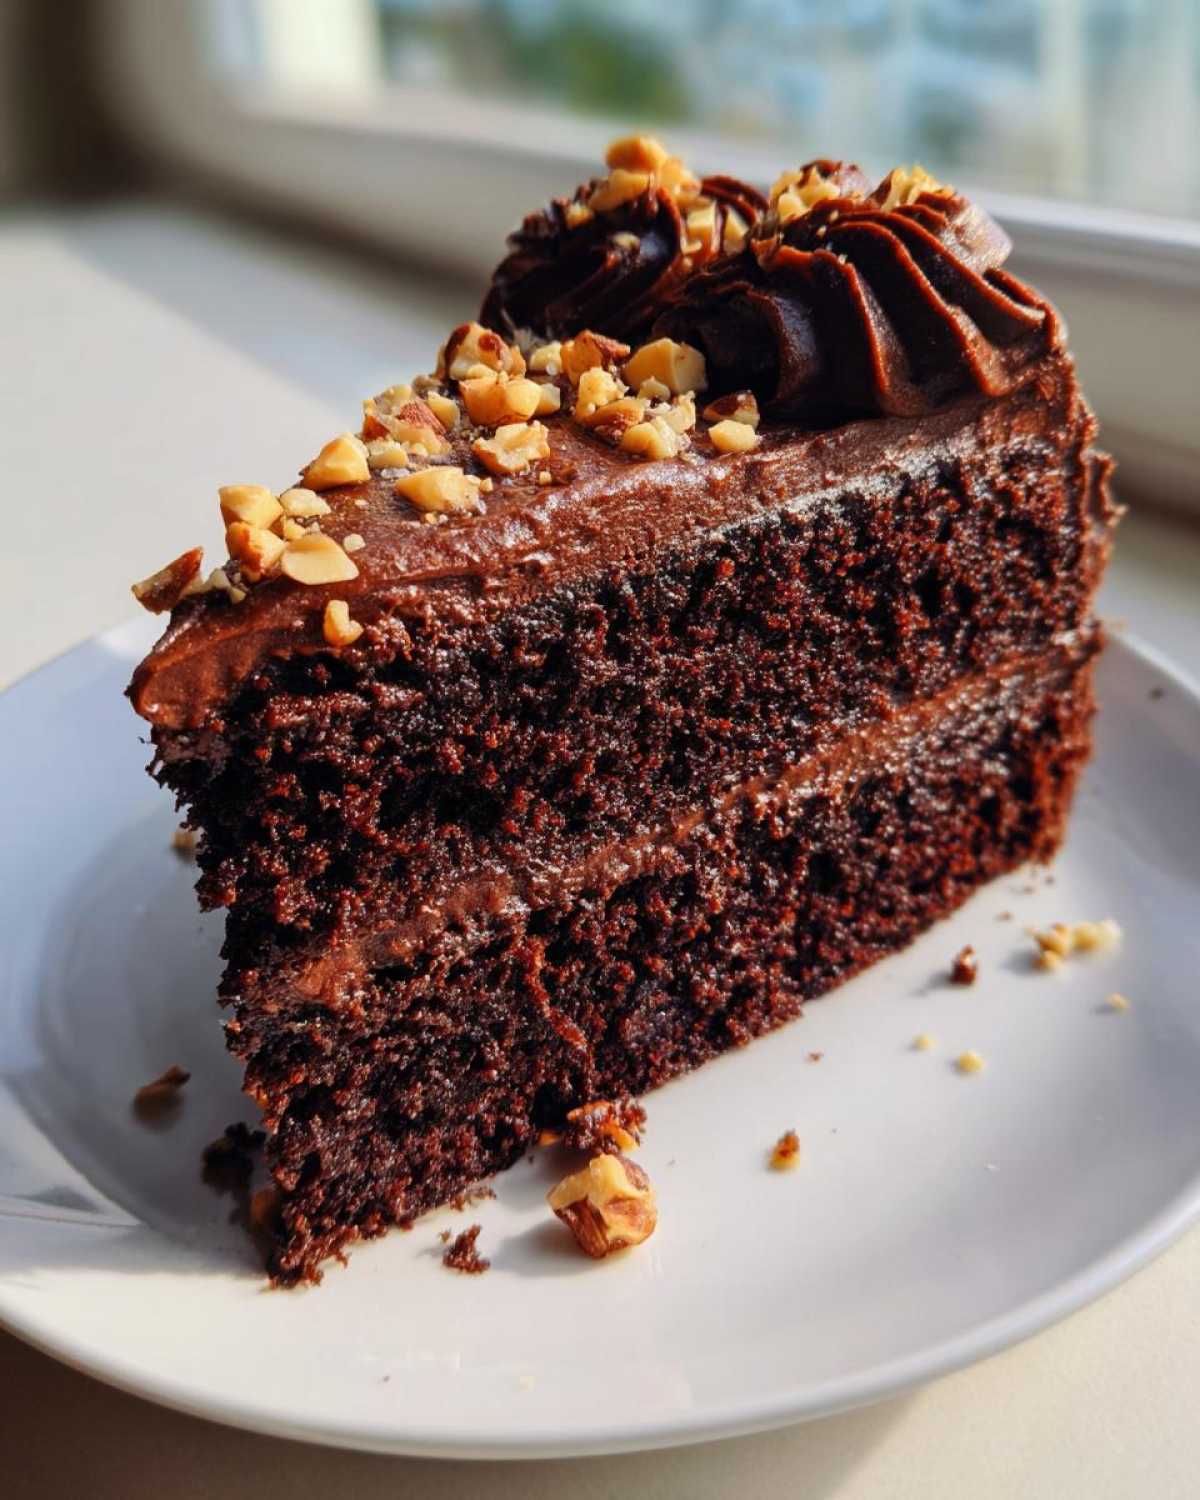
This Chocolate Hazelnut Layer Cake is pure decadence.
It brings together Sasha’s bold baking spirit and my love for hosting.
This dessert marries deep, dark chocolate with warm, toasted hazelnut notes.
It’s rich, it’s nutty, and it’s utterly unforgettable.
You know Anya, Sasha, and me, right?
We started this journey in our apartment hallway.
Our kitchens were just steps apart.
Sasha, our intuitive baker, insisted on this flavor pairing.
She said the hazelnut cuts the richness perfectly.
I agree completely.
Making this showstopper feels like a celebration.
It’s perfect for birthdays or just a Tuesday treat.
Get ready to bake something amazing.
This cake proves that the best things come from shared effort.
Why You Will Love This Chocolate Hazelnut Layer Cake
I know your time is precious in the kitchen.
That’s why this recipe is a winner for us.
It gives you big flavor fast.
Here’s why this cake lands on our weekend rotation:
Quick Preparation and Baking Times
- Prep time is only 30 minutes.
- Baking wraps up in just 35 minutes.
- Total time is under two hours!
Deep Flavor Profile
The secret lies in two things we love.
We use strong, hot coffee.
It really deepens that dark chocolate taste.
Plus, ground hazelnuts go right into the layers.
Perfect for Sharing
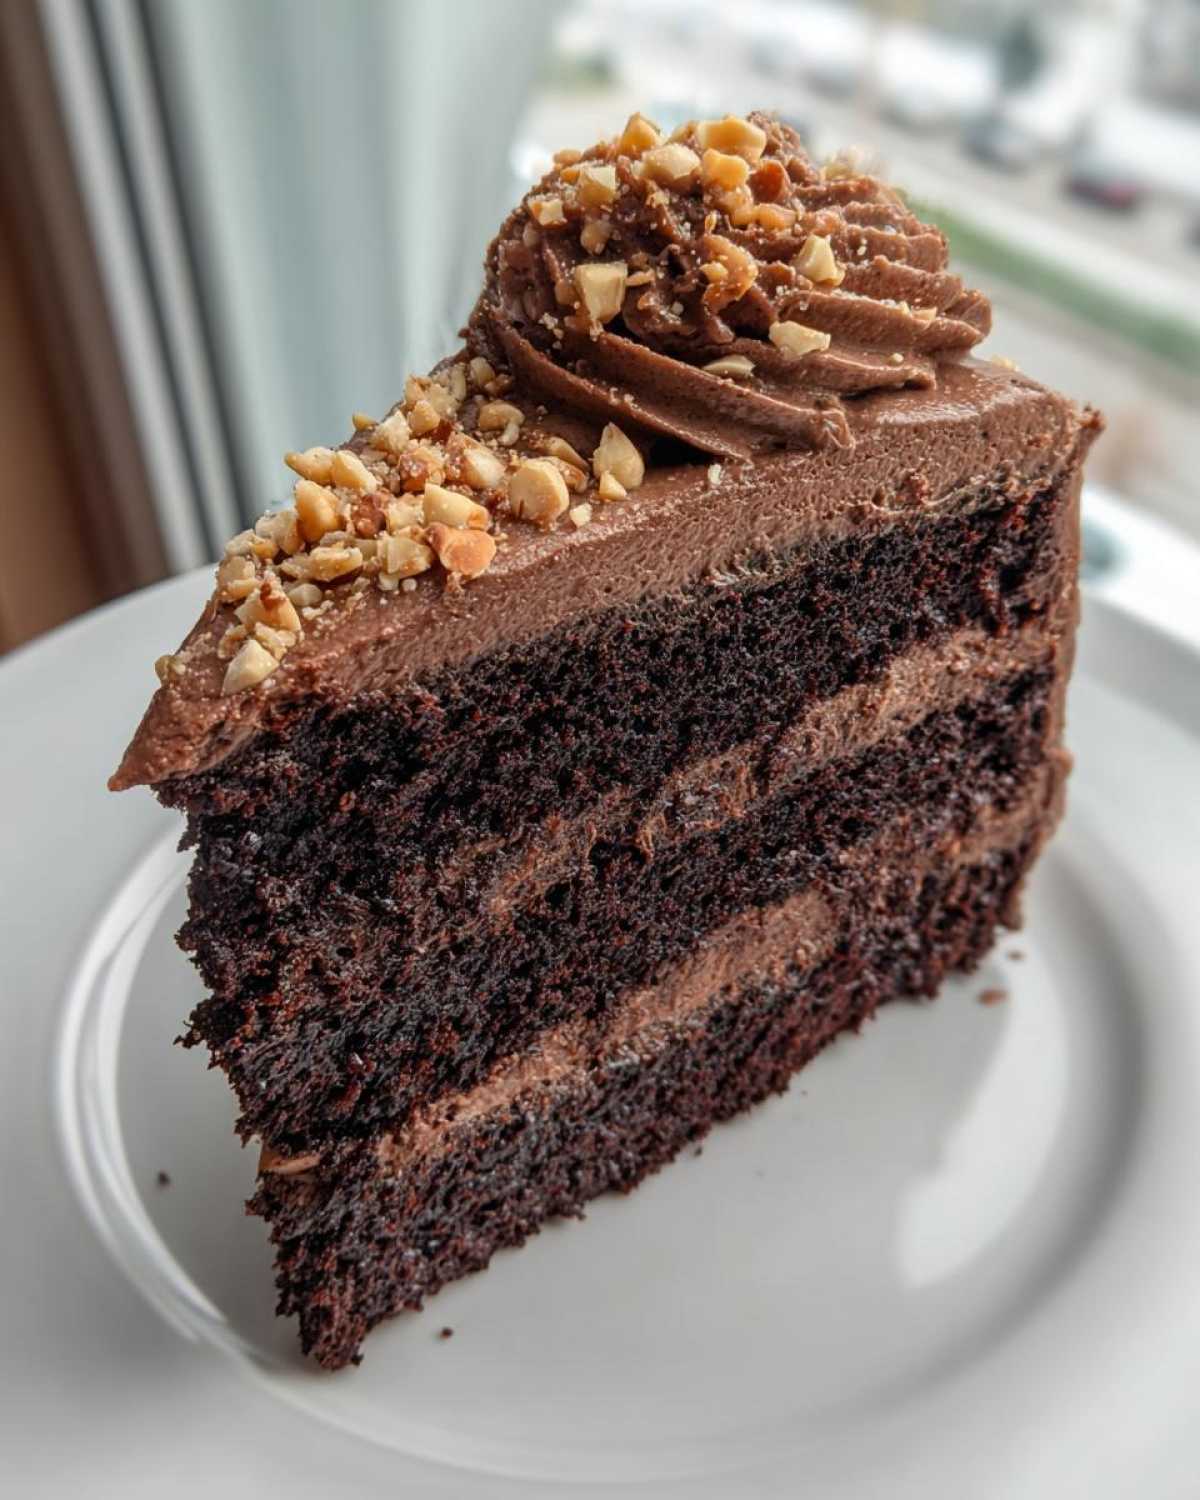
This recipe yields 12 generous slices.
It’s a wonderful centerpiece dessert.
Prepare for happy faces all around the table.
Gather Your Ingredients for the Chocolate Hazelnut Layer Cake
Let’s get organized before Sasha starts tapping her foot impatiently.
When we bake this Chocolate Hazelnut Layer Cake, preparation keeps things calm.
Having everything measured out helps a lot.
This ensures we don’t miss any of those crucial flavor notes.
Grab your largest bowls and measuring cups now.
Dry Ingredients and Cake Structure
- Flour: One and three-quarter cups of all-purpose flour.
- Cocoa: Three-quarters cup of unsweetened cocoa powder.
- Leaveners: One and a half teaspoons of baking soda.
- Also, three-quarters teaspoon of baking powder.
- Don’t forget three-quarters teaspoon of salt.
- We need two cups of plain white sugar.
Wet Ingredients and Flavor Boosters
These ingredients bring moisture and depth.
- Two large eggs are essential for structure.
- One cup of tangy buttermilk adds richness.
- Half a cup of vegetable oil keeps it tender.
- Two teaspoons of vanilla extract boost the aroma.
- One cup of hot, strong brewed coffee is mandatory.
- Finally, one cup of finely ground hazelnuts for texture.
Hazelnut Frosting Components
The frosting needs to be creamy and decadent.
- One cup of softened unsalted butter starts the base.
- Three cups of powdered sugar will sweeten it up.
- Half a cup of creamy hazelnut spread goes in next.
- A quarter cup of heavy cream makes it smooth.
Essential Equipment for Baking Your Chocolate Hazelnut Layer Cake
We don’t need fancy gadgets for this bake.
Just good, solid kitchen tools will do the trick.
Having the right gear makes the process much smoother.
- Two 9-inch round cake pans are required.
- An electric mixer helps with the smooth frosting.
- You need bowls for mixing wet and dry items.
- A sturdy wire rack is key for cooling layers.
Step-by-Step Instructions for Your Chocolate Hazelnut Layer Cake
Now for the fun part, putting it all together!
Follow these steps closely for a perfect Chocolate Hazelnut Layer Cake.
Sasha always says baking is just following directions, then adding love.
Preparing the Cake Pans and Dry Mix
First, set your oven to 350 degrees Fahrenheit.
This is 175 degrees Celsius for our international friends.
Grease and flour both 9-inch cake pans well.
In a big bowl, whisk the flour, cocoa, and salt.
Add the baking soda and powder next.
Stir in all that lovely granulated sugar too.
Combining Wet Ingredients and Mixing the Batter
In a separate bowl, whisk your eggs quickly.
Add buttermilk, oil, and vanilla extract to that.
Pour the wet mix into the dry ingredients now.
Mix until everything is just barely combined.
Carefully stir in that hot, strong coffee.
The batter will look very thin, don’t worry about it!
Baking and Cooling the Layers
Gently fold in your finely ground hazelnuts now.
Divide the thin batter evenly between the pans.
Bake these layers for 30 to 35 minutes.
A toothpick inserted in the center should come out clean.
Let them rest in the pans for 10 minutes.
Then flip them onto a wire rack to cool fully.
Creating the Rich Hazelnut Frosting
Beat your softened butter until it looks creamy.
Slowly add the powdered sugar bit by bit.
Beat until the mixture is smooth and creamy.
Now, beat in the hazelnut spread you love.
Add the heavy cream until it gets light and fluffy.
Add more sugar if you need a thicker frosting.
Assembling and Finishing the Chocolate Hazelnut Layer Cake
Place one completely cool layer on your serving plate.
Spread a generous amount of frosting right on top.
Carefully place the second cake layer on top of that.
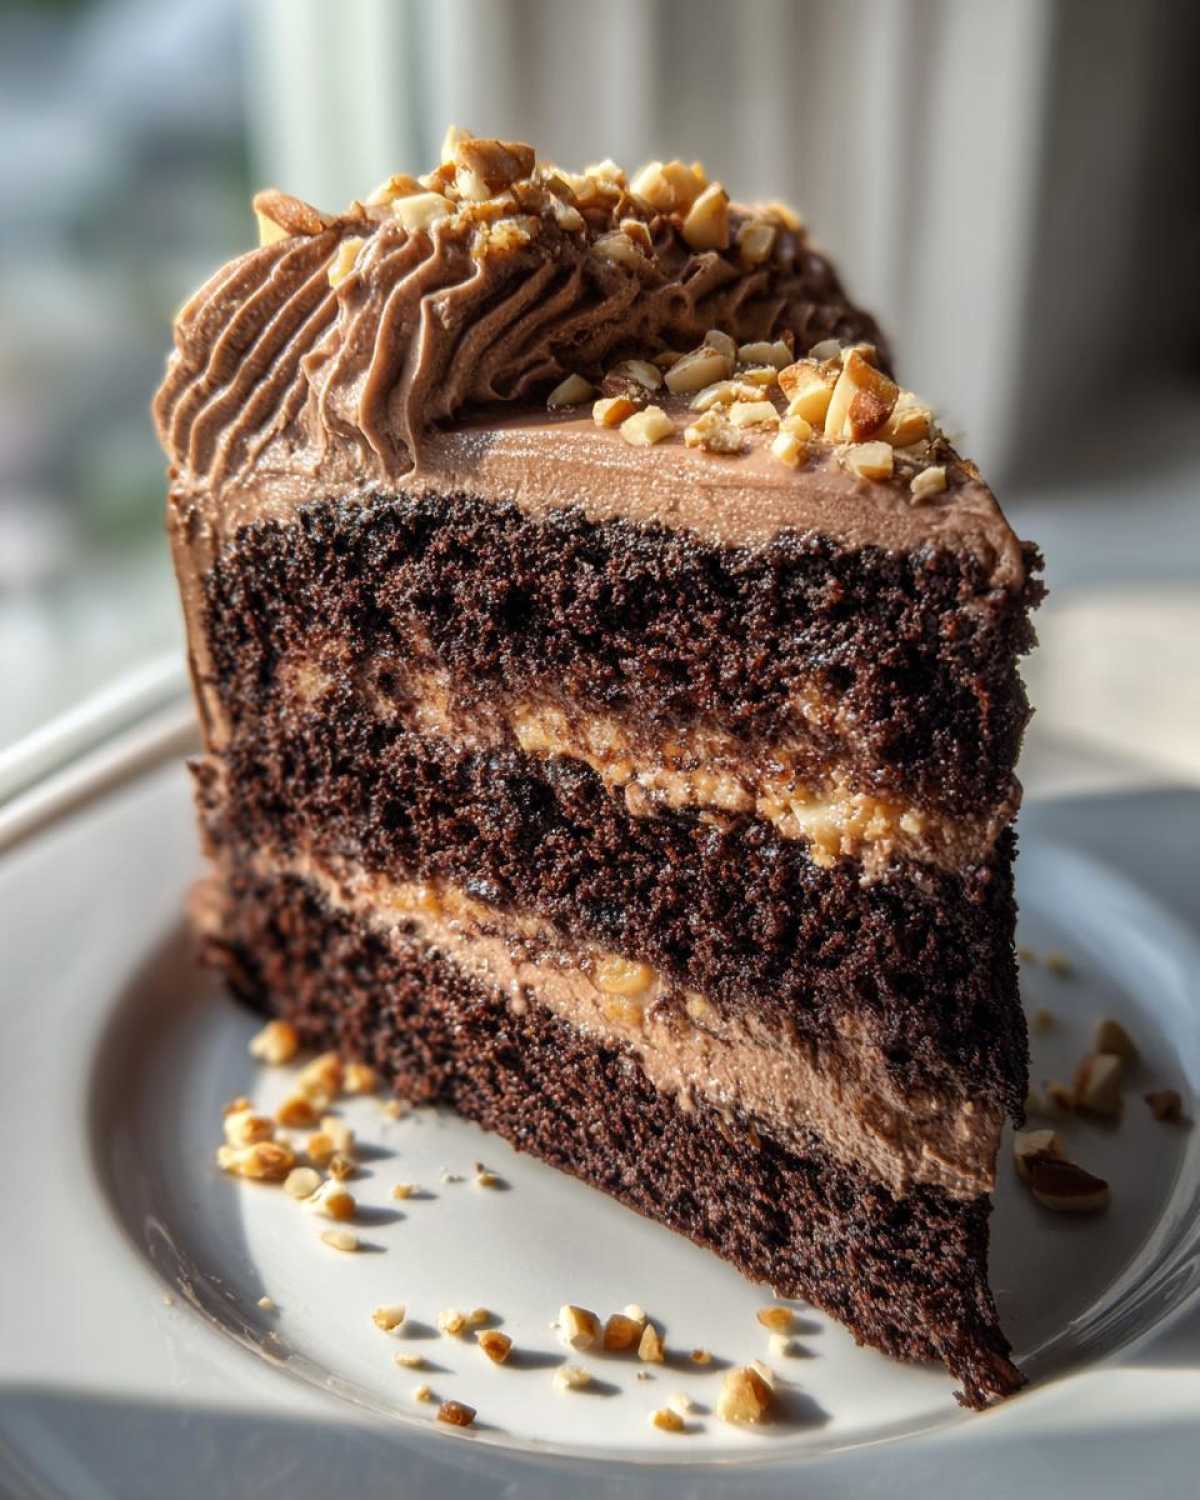
Frost the top and sides of the whole cake.
Garnish with those chopped, toasted hazelnuts.
Serve this beauty right away for the best taste.
Tips for Perfecting Your Chocolate Hazelnut Layer Cake
Even Sasha admits some steps need attention.
Baking this Chocolate Hazelnut Layer Cake is easy.
A few small tweaks make a huge difference though.
These little secrets are what my family always does.
Ingredient Preparation for Best Results
Toasting your hazelnuts is a non-negotiable step.
Just dry-toast them in a pan until fragrant.
This wakes up their nutty flavor immensely.
Also, use the strongest coffee you can brew.
That hot coffee blooms the cocoa powder beautifully.
Preventing Sticking
I learned this trick from Anya years ago.
It saves so much heartache later on.
Line the bottoms of your cake pans with parchment paper.
Grease and flour over the paper too.
Your layers will slide out like a dream.
Frequently Asked Questions About This Chocolate Hazelnut Layer Cake
We get so many questions about this recipe.
It’s natural when you are making a showstopper like this.
Here are some common things folks ask me.
I hope these help your baking go smoothly.
Can I substitute the buttermilk in the Chocolate Hazelnut Layer Cake?
Yes, you absolutely can make a substitute.
If you lack buttermilk, try this simple fix.
Measure one cup of regular milk first.
Add one tablespoon of white vinegar or lemon juice.
Let it sit for five minutes until it curdles a bit.
This creates a very good buttermilk replacement.
How long does the finished Chocolate Hazelnut Layer Cake last?
This rich dessert keeps well for a few days.
Store it covered at room temperature for one day.
For longer storage, keep it refrigerated.
It lasts about four days in the fridge.
Bring slices to room temperature before serving.
What if I don’t have ground hazelnuts for the batter?
The ground nuts really add a lovely texture.
You can use hazelnut flour instead of grinding them.
If you must skip them, the cake will still taste good.
Just know the texture will be less interesting.
It will be more like a standard chocolate cake then.
Storing and Reheating Your Homemade Chocolate Hazelnut Layer Cake
Keeping this beauty fresh is really important.
We want your Chocolate Hazelnut Layer Cake to taste great later.
Store leftovers covered on the counter for one day.
For longer freshness, use the refrigerator.
It keeps well for about four days in the cold.
If you need to reheat a slice, do it gently.
A few seconds in the microwave works well.
This brings back that soft, moist texture fast.
Serving Suggestions for Your Delicious Creation
This dessert is truly complete on its own.
However, a little something extra never hurts!
We love pairing this rich cake with simple sides.
Vanilla bean ice cream melts perfectly alongside it.
Fresh raspberries offer a lovely, tart contrast.
A dusting of powdered sugar looks nice too.
A Note on Nutrition for This Chocolate Hazelnut Layer Cake
I want to be completely open with you all.
We focus on flavor, not counting every gram here.
Nutrition facts change based on brands used.
Your flour or sugar choice shifts the numbers.
Therefore, we haven’t calculated precise data.
This is a rich, celebratory dessert, after all!
For more general baking tips, check out our blog.
Share Your Savor Sensations Experience
Did you try making this cake for your crew?
I hope your Chocolate Hazelnut Layer Cake turned out amazing.
Tell us how it went in the comments below!
Did Sasha’s intuitive baking style work for you?
Share your photos and stories with Savor Sensations.
We love celebrating these sweet moments together.
PrintAmazing 12-Slice Chocolate Hazelnut Layer Cake Joy
Create a stunning Chocolate Hazelnut Layer Cake, a rich dessert perfect for sharing. This recipe comes from Sasha, blending deep chocolate flavor with nutty hazelnut notes for a truly memorable treat.
- Prep Time: 30 minutes
- Cook Time: 35 minutes
- Total Time: 1 hour 45 minutes
- Yield: 12 servings
- Category: Dessert
- Method: Baking
- Cuisine: American
- Diet: Vegetarian
Ingredients
- 1 3/4 cups all-purpose flour
- 3/4 cup unsweetened cocoa powder
- 1 1/2 teaspoons baking soda
- 3/4 teaspoon baking powder
- 3/4 teaspoon salt
- 2 cups granulated sugar
- 2 large eggs
- 1 cup buttermilk
- 1/2 cup vegetable oil
- 2 teaspoons vanilla extract
- 1 cup hot strong brewed coffee
- 1 cup finely ground hazelnuts (for cake layers)
- 1 cup unsalted butter, softened (for frosting)
- 3 cups powdered sugar (for frosting)
- 1/2 cup hazelnut spread (Nutella style) (for frosting)
- 1/4 cup heavy cream (for frosting)
- 1/2 cup chopped toasted hazelnuts (for garnish)
Instructions
- Preheat your oven to 350°F (175°C). Grease and flour two 9-inch round cake pans.
- In a large bowl, whisk together the flour, cocoa powder, baking soda, baking powder, and salt. Add the granulated sugar and mix well.
- In a separate bowl, whisk the eggs, buttermilk, vegetable oil, and vanilla extract. Pour the wet ingredients into the dry ingredients and mix until just combined.
- Carefully stir in the hot coffee until the batter is smooth. The batter will be thin.
- Fold in the finely ground hazelnuts. Divide the batter evenly between the prepared pans.
- Bake for 30 to 35 minutes, or until a wooden pick inserted into the center comes out clean. Let the cakes cool in the pans for 10 minutes before inverting them onto a wire rack to cool completely.
- To make the frosting, beat the softened butter until creamy. Gradually add the powdered sugar, beating until smooth.
- Beat in the hazelnut spread and heavy cream until the frosting is light and fluffy. Add more powdered sugar if you need a thicker consistency.
- Once cakes are completely cool, place one layer on a serving plate. Spread a generous layer of frosting over the top. Place the second layer on top.
- Frost the top and sides of the entire cake with the remaining frosting.
- Garnish the top with chopped toasted hazelnuts before serving.
Notes
- To easily remove cake layers from pans, line the bottoms with parchment paper before greasing and flouring.
- For the best flavor, use freshly brewed, strong coffee. It deepens the chocolate taste.
- Toast your hazelnuts lightly in a dry pan before chopping for a more intense flavor.
Nutrition
- Serving Size: 1 slice
- Calories: 450
- Sugar: 45g
- Sodium: 250mg
- Fat: 25g
- Saturated Fat: 8g
- Unsaturated Fat: 17g
- Trans Fat: 0g
- Carbohydrates: 55g
- Fiber: 3g
- Protein: 6g
- Cholesterol: 60mg
