

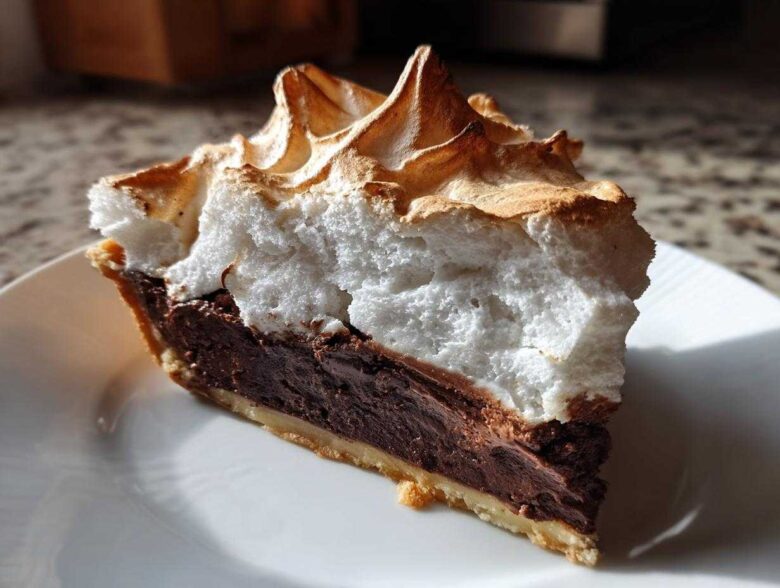
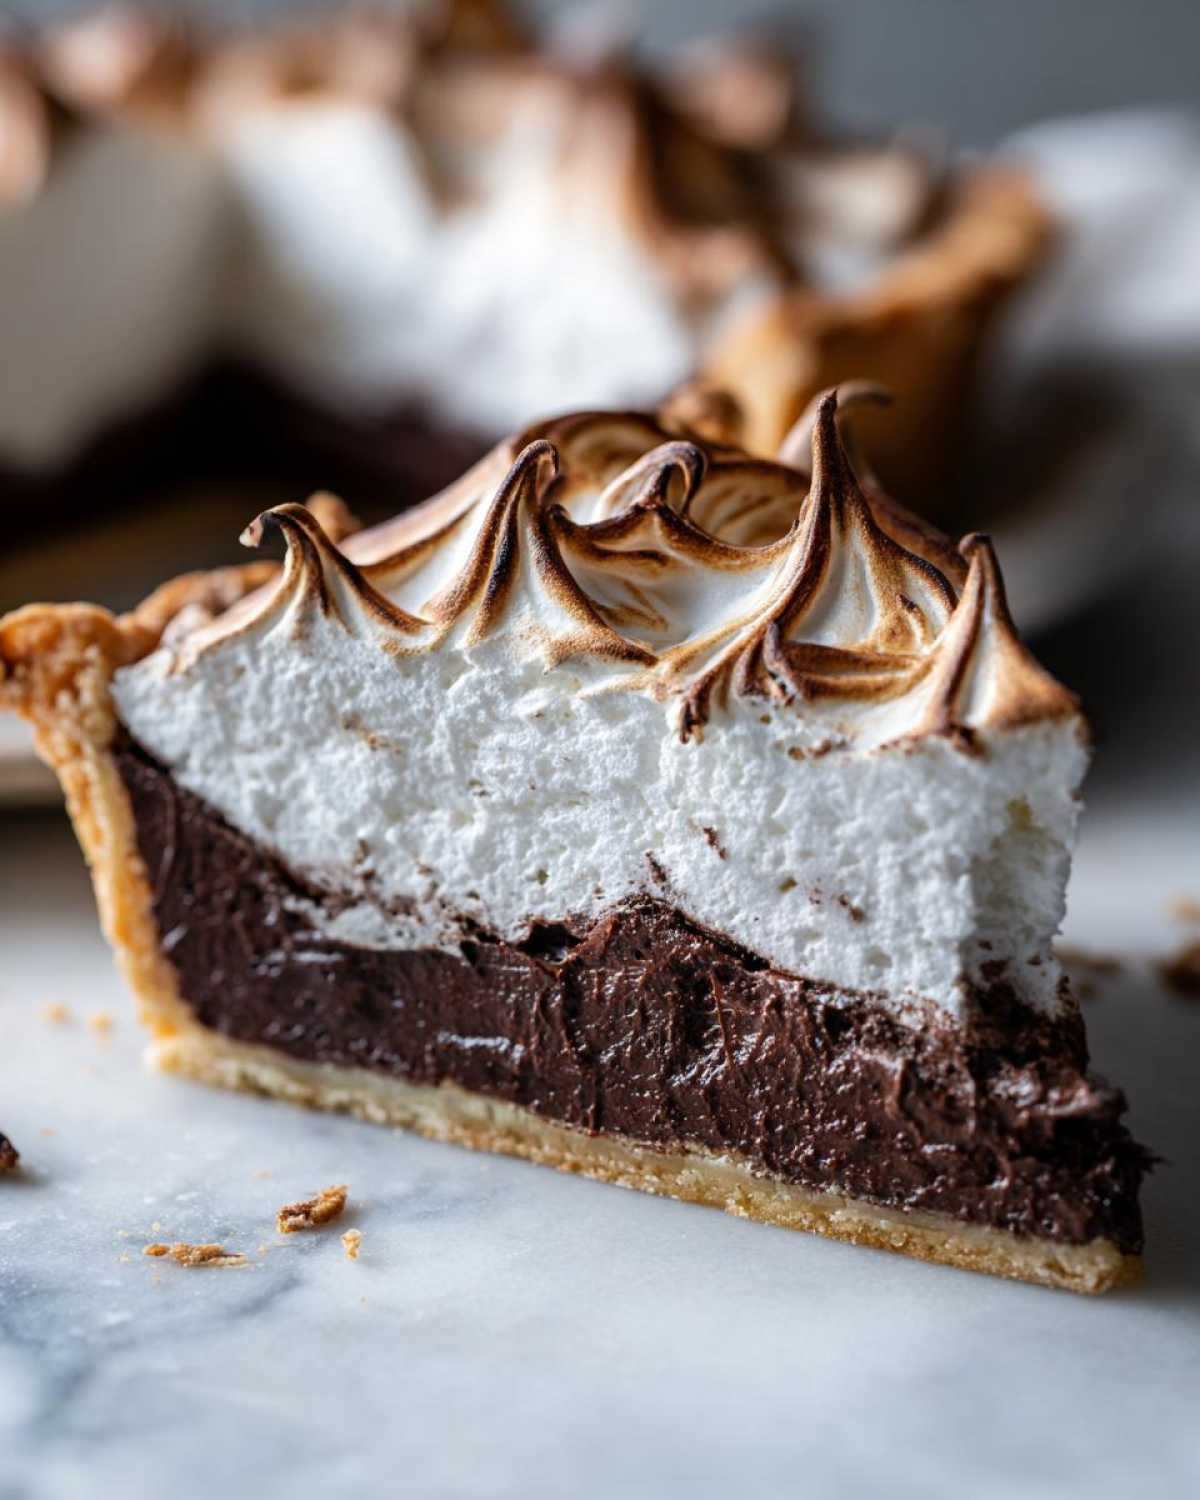
Listen, I know the fear is real. You get everything mixed perfectly, that chocolate custard is glossy and rich, and then you top it with the meringue—and BAM! It looks like a sad, deflated cloud studded with cracks after it bakes. It’s enough to make you swear off them forever, isn’t it? Well, put down the store-bought topping, because I’m here to tell you that we are ending the meringue tragedy right now. This isn’t just any recipe; this is the ultimate classic chocolate meringue pie that my aunt perfected over thirty years of trial and error in her kitchen. If you want to see more of my general baking wisdom, check out my main thoughts over at my favorite baking adventures. Trust me when I say this particular formula guarantees a velvety, rich filling and a towering, stable, crack-free topping, every single time. We’ve cracked the code!
Why This Is The Best Chocolate Meringue Pie Recipe
If you’ve had enough of sad, sunken pies, this is your recipe! We aren’t messing around with fancy shortcuts here. This is the recipe for the best chocolate meringue pie because it delivers exactly what you want.
- You get an unbelievably smooth, deeply flavored filling.
- The meringue stands sky-high and stays put—we promise no weeping or cracking!
- It tastes exactly like the treasured, classic homemade pie recipes from my childhood.
If you want more tips on reliable custards, you should really check out my guide on fail-proof egg custard pies.
Achieving a Rich Chocolate Custard Pie Filling
The secret here is patience during the heating process. We whisk constantly until that mixture comes to a solid rolling boil and we let it boil for a full minute. Don’t panic; that starch needs that time to activate and thicken properly. That’s what locks in the moisture and gives us that intensely flavorful and rich chocolate custard pie texture that just melts in your mouth. You just can’t fake that depth!
Secrets to a Fluffy Meringue Topping
Meringue is honestly all about temperature and cleanliness. You absolutely must use egg whites that are at room temperature—it lets them whip up way fluffier. Also, that pinch of cream of tartar? It’s not optional; it’s your insurance policy against collapse! These small steps are why we get that magnificent, fluffy meringue topping that browns up perfectly in the oven.
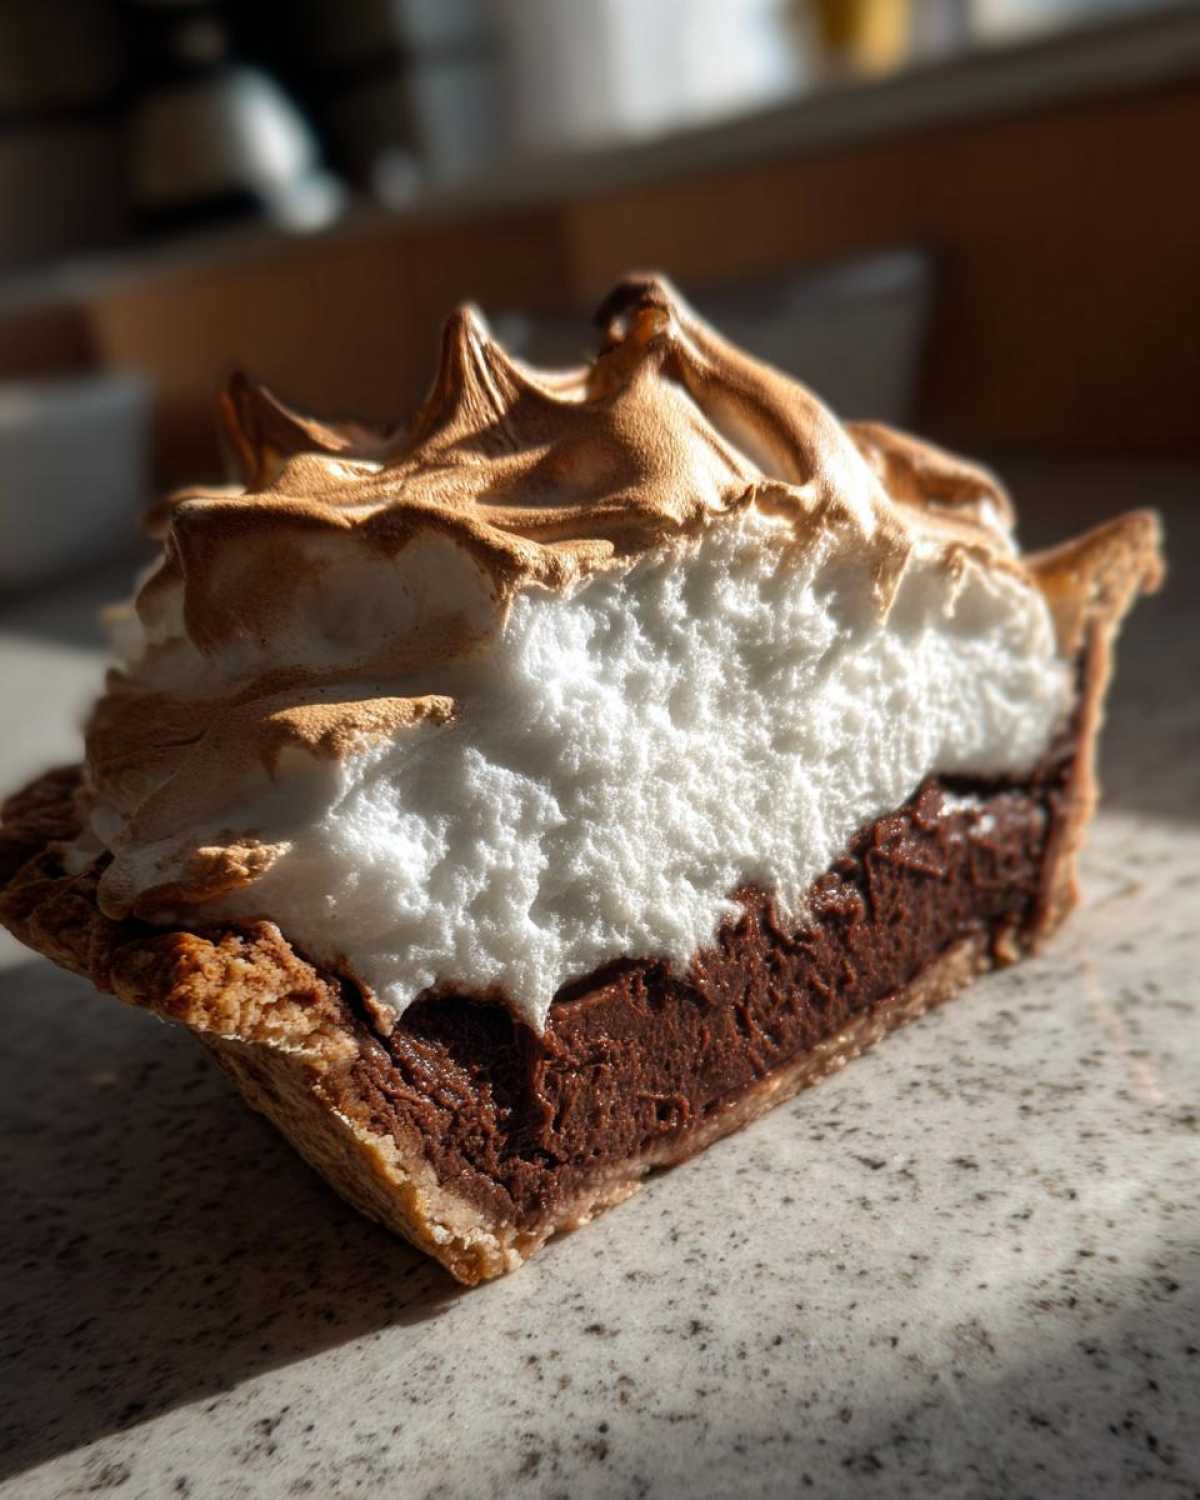
Gathering Ingredients for Your Chocolate Meringue Pie
Okay, let’s get ready to bake! Having everything measured out beforehand—we call that ‘mise en place’—is half the battle won, especially with an intense recipe like this chocolate meringue pie. When things move fast, you don’t want to be scrambling for the sugar! Here is exactly what you need, broken down so you can check your pantry:
For the Crust (You’ll need one 9-inch crust, either store-bought or your favorite classic homemade pie recipes version, which you will bake until lightly golden first):
- 1 (9 inch) unbaked pie crust
Now for that dreamy, rich filling. Remember, we’re making a custard here, so precision matters!
- 1 1/2 cups granulated sugar
- 1/2 cup cornstarch
- 1/4 teaspoon salt
- 1 1/2 cups cold water
- 3 large egg yolks, lightly beaten
- 2 tablespoons unsalted butter
- 1 teaspoon vanilla extract
And finally, the star of the show—the towering topping! I can’t stress this enough: make sure your egg whites are completely at room temperature. Cold whites just won’t whip up with the volume we need for that perfect loft, so plan ahead and pull them out about 30 minutes before you start the meringue stage.
- 4 large egg whites, room temperature
- 1/4 teaspoon cream of tartar
- 6 tablespoons granulated sugar (for meringue)
Everything laid out? Fantastic. Let’s move on to assembling this masterpiece!
How to Make Chocolate Meringue Pie: Step-by-Step
Alright, buckle up, because following these steps carefully is the key to mastering your very first show-stopping chocolate meringue pie. We start by getting the oven preheated to 350 degrees F. You need that crust baked first—make it golden according to the package directions, and then you let it cool down completely. This is non-negotiable! A hot crust will melt your perfect filling later, so have a little patience here. Once it’s cool, we build that gorgeous chocolate layer.
Prepping the Crust and Making the Rich Chocolate Custard Pie Filling
First things first: fully preheat your oven to 350°F and get that 9-inch crust baked off until it’s just lightly golden. Let it cool completely while you focus on the filling. In a saucepan, you’ll whisk together the sugar, cornstarch, and salt, and then slowly add the cold water until it’s perfectly smooth—no lumps allowed! Cook this over medium heat, stirring like crazy until it bubbles and thickens up. You absolutely must let it boil for that crucial full minute after it thickens; that’s how we guarantee a creamy chocolate pie filling that won’t weep later. Then we temper those egg yolks before mixing everything back together to boil for the final minute. Stir in the butter and vanilla last. Pour that hot mixture straight into your cool crust!
Constructing the No-Fail Meringue Topping for Chocolate Meringue Pie
Here comes the magic! Grab your stand mixer (or a strong arm!) and make sure that bowl is squeaky clean and grease-free. Beat those room-temperature egg whites and cream of tartar until you get soft peaks—they look like soft waves in the ocean. Now, slowly sprinkle in that last 6 tablespoons of sugar, a little bit at a time, while the mixer is running. You keep beating until you get stiff, glossy peaks; they should hold their shape when you lift the whisk. Spread this beautiful cloud right over the hot chocolate meringue pie filling. Here’s my best trick for stabilization: make sure the meringue actually touches the crust edge all the way around. This seals it in and stops it from shrinking down as it bakes and cools. For more deep dives on getting that top perfect, check out my baking tips for meringue!
Baking and Cooling Your Ultimate Chocolate Meringue Pie
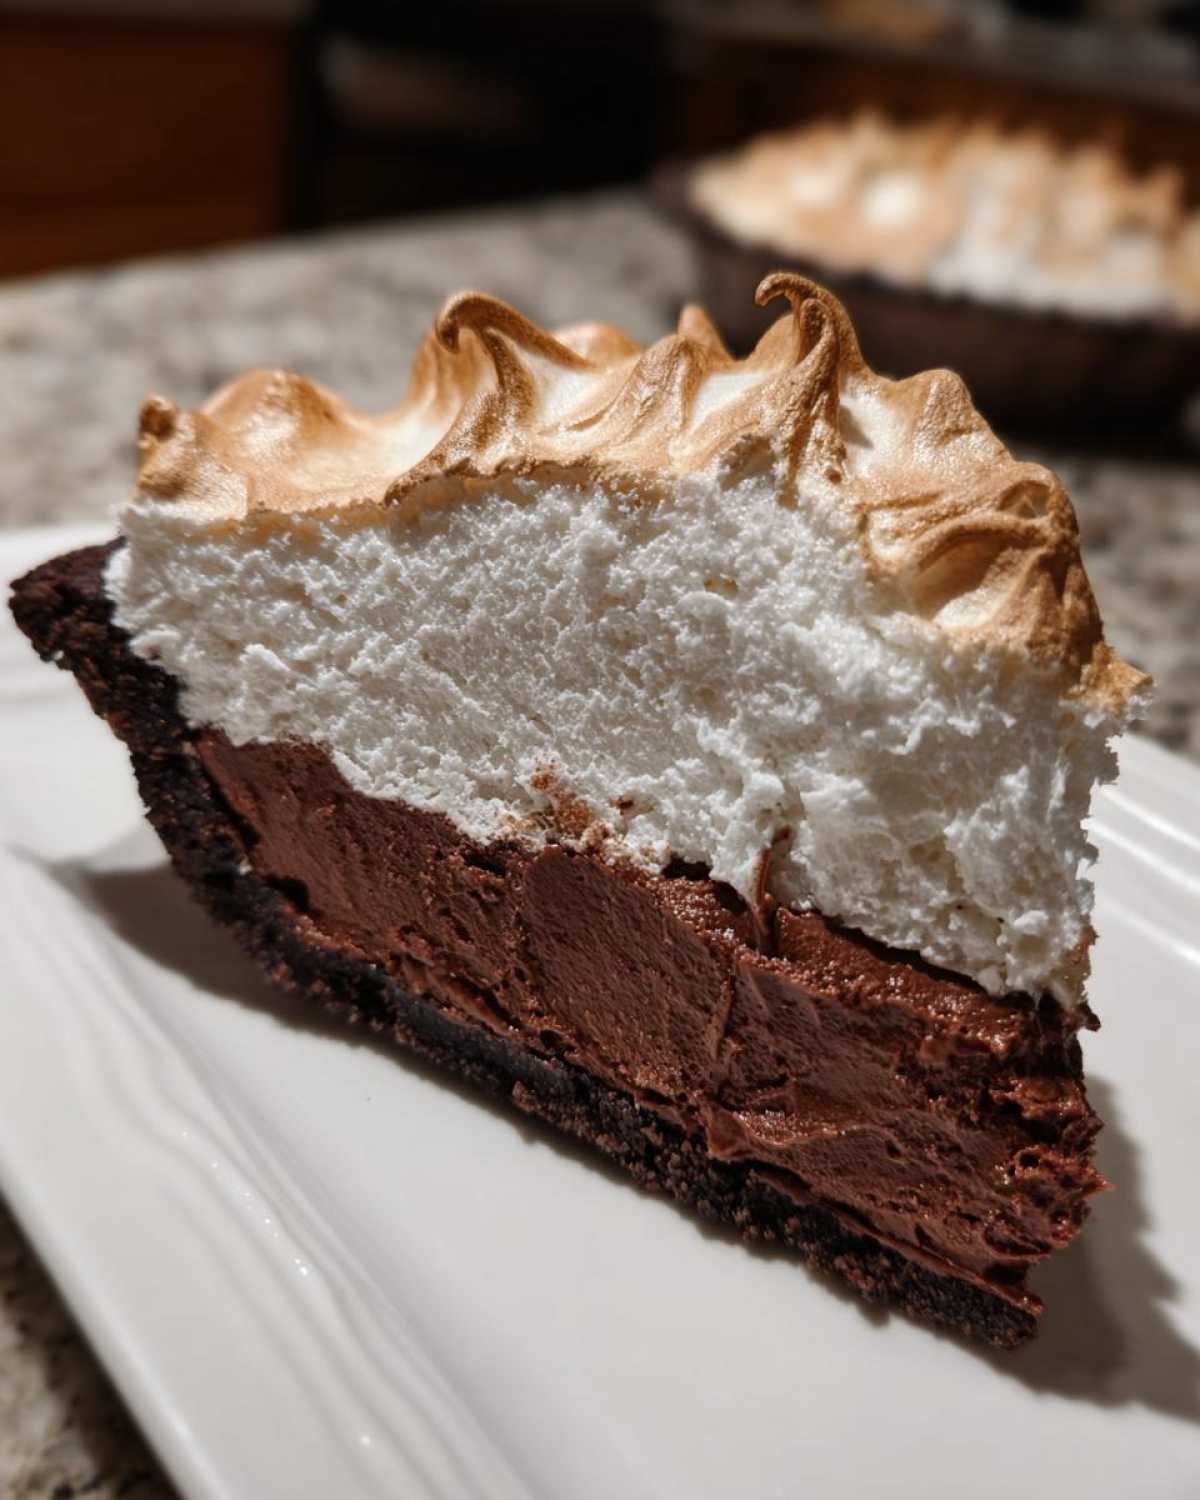
We only need to lightly toast that meringue, so pop the pie into the 350°F oven for just 12 to 15 minutes. You’re looking for those lovely golden swirls! Once it’s browned, pull your ultimate chocolate meringue pie out of the oven. Now, resist the urge to slice it! Cooling is just as important as baking. You must let it cool slowly on a wire rack, completely undisturbed, for at least four hours. Trust me, rushing this step is the number one reason for meringue cracking. Slow and steady wins this meringue race, keeping everything perfectly stable underneath.
Expert Baking Tips for Perfect Chocolate Meringue Pie
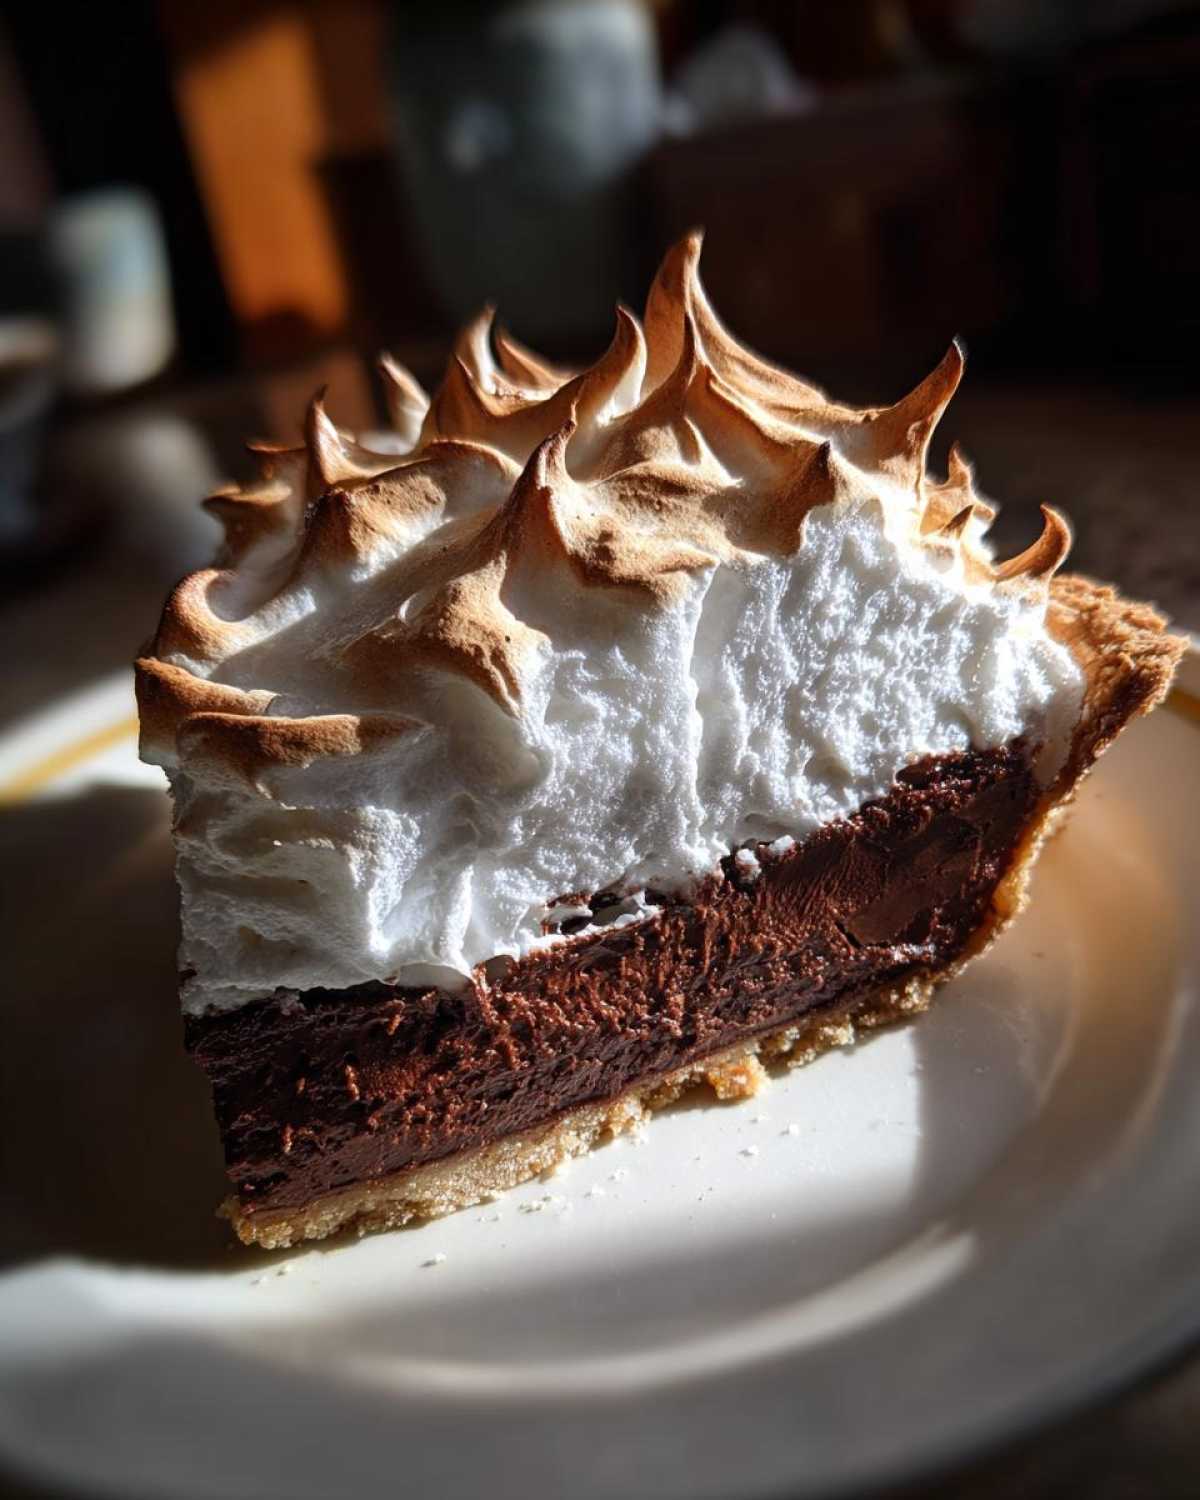
You’ve made the pie, the meringue is high, and now comes the waiting game. Sometimes, even following directions perfectly leads to a little moodiness in the kitchen, especially with delicate tops like this. That’s why I want to arm you with my best baking tips for meringue so you feel confident troubleshooting! Getting that filling set and keeping the topping glued tight are the real secrets to success here. I’ve found that if you know what to look for, you can save almost any pie. If you’re looking for other classic recipes trusted through the years, I always go back to my favorite classic homemade pie recipes collection.
Troubleshooting Common Chocolate Meringue Pie Issues
If you see little beads of liquid sugar forming on top of your meringue, that’s called weeping. It usually means the custard filling wasn’t quite hot enough when you put the meringue on, or maybe you didn’t bake the meringue long enough to set it through. If your meringue decided to shrink away from the crust edges, that’s because you failed to seal it all the way around! Make sure that fluffy topping kisses the crust all the way to the edge. If it doesn’t, the steam escapes, and the meringue pulls back, leaving a sad, naked ring of custard peeking out.
Ingredient Notes and Substitutions for this Classic Homemade Pie Recipe
Even though this recipe is wonderfully classic, I know sometimes you hit the pantry and find you’re missing one little thing. Totally normal! This isn’t a rigid legal document; it’s a recipe meant to bring joy! But, I swear, quality ingredients make all the difference here, especially with something as simple and elegant as this chocolate meringue pie.
Let’s talk about the vanilla first. Please, please, please use real vanilla extract, not that imitation stuff. You only use one teaspoon, but that small amount carries a huge payload of flavor against the chocolate and eggs. If you don’t have it, you might be better off leaving it out than using imitation. Also, if you’re looking for other traditional flavor profiles, you might enjoy looking through my old fashioned chocolate pie ideas for inspiration!
Now, about that cream of tartar for the meringue—that’s the real hero for stabilizing those egg whites and keeping them crack-free. If you’ve run out, don’t sweat it! You can substitute it with 1/2 teaspoon of white vinegar or 1/2 teaspoon of lemon juice. The acid works the same way by strengthening the protein structure of the egg whites. Just make sure you add it at the exact same time you would have added the cream of tartar, right when the whites start getting foamy.
And for the butter? Only unsalted. Since we control the salt level with the quarter teaspoon in the filling mix, using salted butter just throws off the balance we worked so hard to achieve. Always stick to that real butter for the creamiest results.
Storage and Reheating Instructions for Chocolate Meringue Pie
This is where the challenge of any great custard pie comes in: storage! Because we used real egg yolks for that rich flavor in our chocolate meringue pie, covering this beauty and putting it in the fridge is essential for safety. The meringue really is best eaten the day you make it, sadly. If you have leftovers, cover the pie loosely with plastic wrap—don’t press it directly onto the meringue, or it’ll stick! Fridge storage is fine for about three days. When you want to serve it, let it sit on the counter for about 15 minutes before slicing. Don’t even think about microwaving it; that’ll just ruin the meringue texture immediately!
Serving Suggestions for Your Decadent Chocolate Desserts
You’ve done the hard part, and now it’s time to present this masterpiece! While this chocolate meringue pie stands perfectly well on its own as one of the ultimate decadent chocolate desserts, sometimes a little something extra just makes the moment feel complete.
I love serving slices alongside a few fresh raspberries or sliced strawberries—the little bit of tartness cuts through the rich chocolate filling beautifully. If you want to get fancy for the holidays, take a fine-mesh sieve and lightly dust the entire top with high-quality cocoa powder right before serving. It’s simple, pretty, and adds a lovely little bittersweet finish that really elevates the whole experience! For more inspiration on incredible chocolate treats, you might want to peek at my rich chocolate peppermint mousse recipe for another dessert idea!
Frequently Asked Questions About How to Make Chocolate Meringue Pie
I always get asked the same things when folks try this pie for the first time, especially since getting a stable meringue feels like high-stakes baking. Don’t worry if you have questions, that just means you care about making the absolute **best chocolate meringue pie**! We’ve all been there. If you’re looking for simpler options, I do have a great easy chocolate meringue pie recipe floating around too, but let’s stick to making this classic perfect for now.
Can I use pre-made whipped topping instead of homemade meringue?
Oh, honey, you technically *can* use that tub of whipped topping, but if you’re making my **ultimate chocolate meringue pie**, then no, you really shouldn’t! Homemade meringue is what gives this dessert its characteristic height, beautiful toasted swirls, and that slightly marshmallowy texture when you bite into it. Store-bought topping just doesn’t hold up to the heat or provide that flavor contrast against the rich chocolate custard. Trust me, putting in the extra ten minutes to whip those whites is worth the show-stopping result!
What is the best way to slice a chocolate meringue pie cleanly?
This is a tricky one because that delicious filling is super soft! If you want slices that look as good as they taste, always use a long, thin knife. The trick I swear by is dipping that knife into a tall glass of hot water—like, steamy hot—and wiping it clean *between every single slice*. The heat melts the filling just enough to glide right through without dragging that gorgeous meringue or squishing the custard out the sides. It takes an extra second, but your presentation will look professional!
Share Your Perfect Chocolate Meringue Pie Experience
Now that you’ve conquered the meringue and made what I know is the best chocolate meringue pie ever, I desperately want to hear about it! Did you manage to get a truly towering top? Don’t be shy—leave a rating down below and tell me all the details about your pie adventure. If you have a gorgeous photo, feel free to share it over on the contact page at my contact corner. Happy baking, everyone!
PrintThe Ultimate Classic Chocolate Meringue Pie: Flawless Filling and Towering, Crack-Free Meringue

Make a rich, creamy chocolate custard filling and top it with a tall, stable, and crack-free meringue using this classic recipe.
- Prep Time: 25 min
- Cook Time: 45 min
- Total Time: 70 min
- Yield: 8 servings
- Category: Dessert
- Method: Baking
- Cuisine: American
- Diet: Vegetarian
Ingredients
- 1 (9 inch) unbaked pie crust
- 1 1/2 cups granulated sugar
- 1/2 cup cornstarch
- 1/4 teaspoon salt
- 1 1/2 cups cold water
- 3 large egg yolks, lightly beaten
- 2 tablespoons unsalted butter
- 1 teaspoon vanilla extract
- 4 large egg whites, room temperature
- 1/4 teaspoon cream of tartar
- 6 tablespoons granulated sugar (for meringue)
Instructions
- Preheat your oven to 350 degrees F. Bake the pie crust according to package directions until lightly golden. Let it cool completely.
- For the filling, whisk together 1 1/2 cups sugar, cornstarch, and salt in a medium saucepan. Gradually whisk in the cold water until smooth.
- Cook the mixture over medium heat, stirring constantly, until it thickens significantly and comes to a boil. Boil for 1 minute, stirring constantly. Remove from heat.
- In a separate bowl, whisk the egg yolks lightly. Slowly temper the hot sugar mixture into the yolks by whisking about 1 cup of the hot mixture into the yolks, then pour the yolk mixture back into the saucepan with the remaining hot mixture.
- Return the saucepan to medium heat. Cook, stirring constantly, until the filling returns to a boil. Boil for 1 minute. Remove from heat.
- Stir in the butter and vanilla extract until the butter melts and is fully incorporated. Pour the hot filling immediately into the cooled, prebaked pie crust.
- For the meringue, beat the egg whites and cream of tartar in a clean, grease-free bowl with an electric mixer until soft peaks form. Gradually add the 6 tablespoons of sugar, beating until stiff, glossy peaks form.
- Spread the meringue over the hot filling, making sure the meringue touches the edges of the crust all around to prevent shrinking. Create swirls for appearance.
- Bake the pie at 350 degrees F for 12 to 15 minutes, or until the meringue is lightly golden brown.
- Cool the pie completely on a wire rack for at least 4 hours before slicing.
Notes
- To prevent a watery filling, make sure you boil the cornstarch mixture for the full minute after it thickens.
- For a stable meringue, use room temperature egg whites and ensure your mixing bowl is completely free of grease or yolk residue.
- To achieve a crack-free meringue, bake the pie immediately after topping the hot filling, and cool it slowly at room temperature.
Nutrition
- Serving Size: 1 slice
- Calories: 380
- Sugar: 45
- Sodium: 180
- Fat: 15
- Saturated Fat: 7
- Unsaturated Fat: 8
- Trans Fat: 0
- Carbohydrates: 60
- Fiber: 1
- Protein: 6
- Cholesterol: 85
