

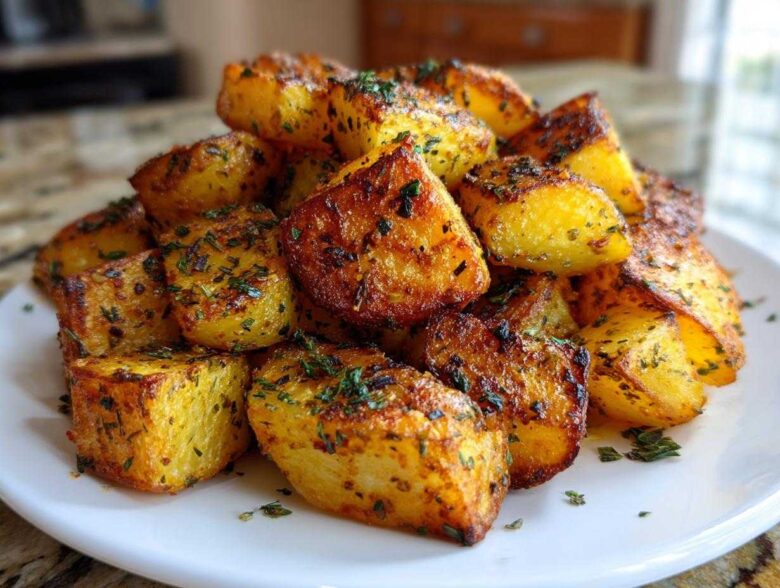
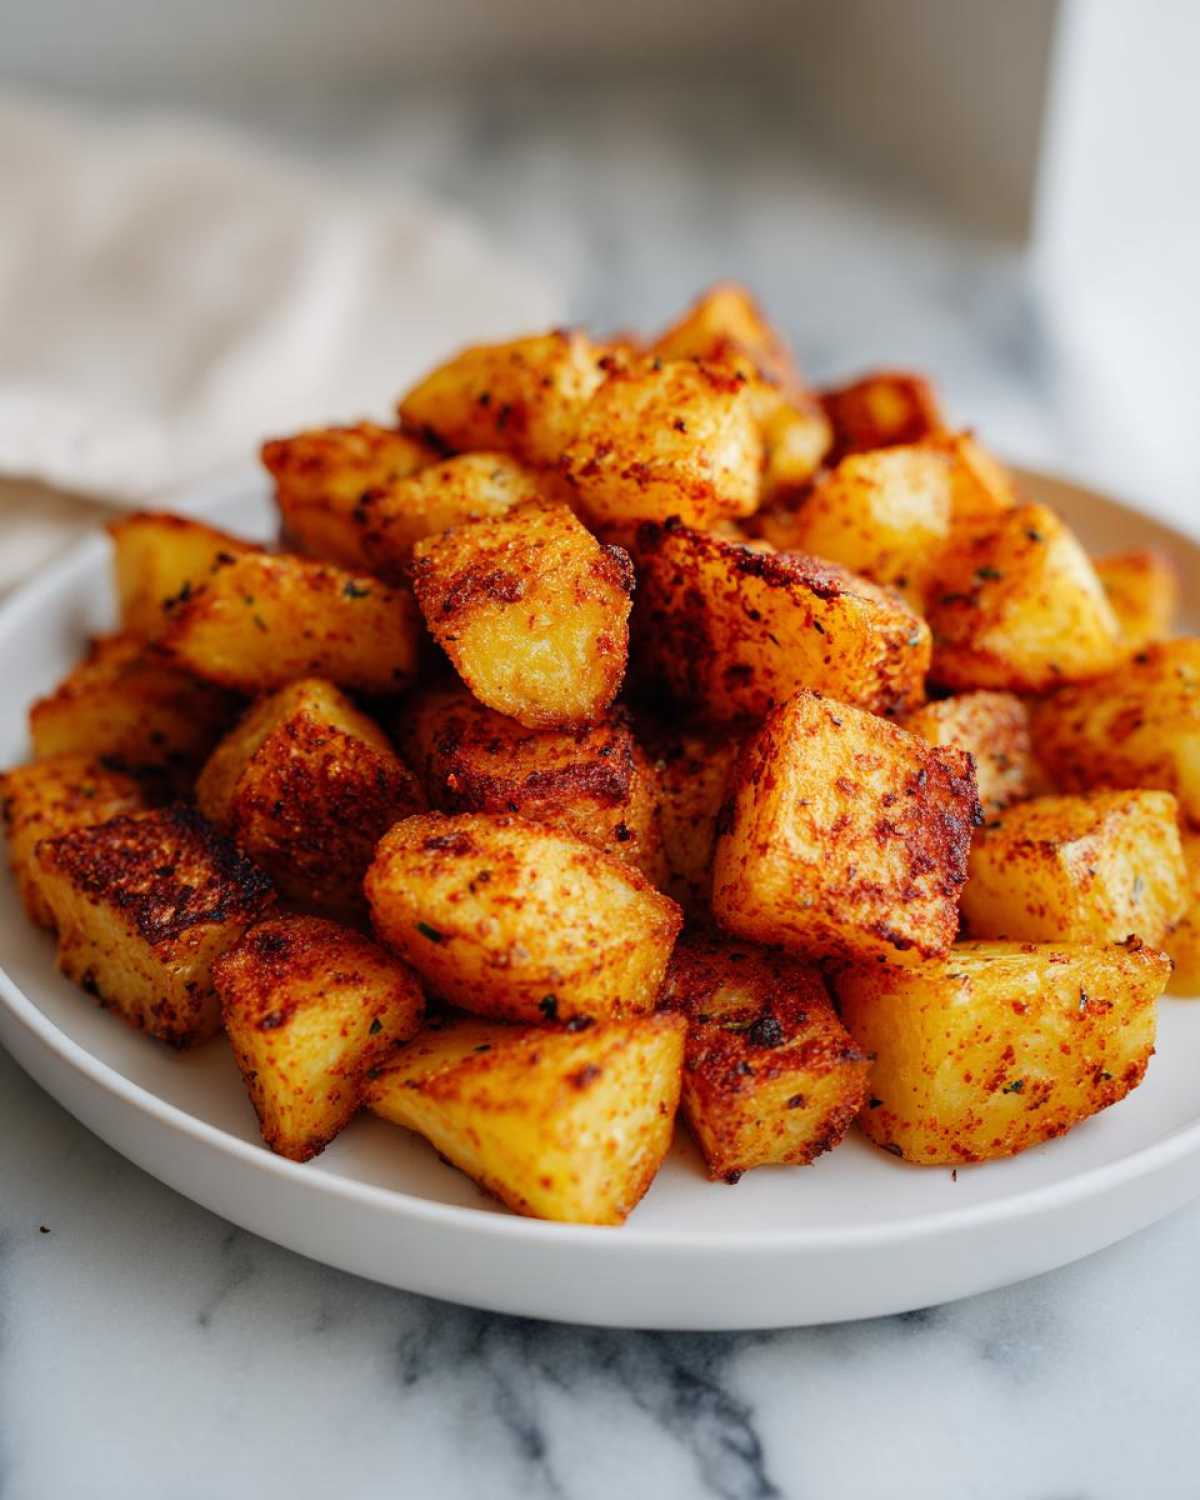
Mornings can be such a rush, right? You want something hearty, something that truly tastes like a weekend treat, but you only have twenty minutes before you have to run out the door. I totally get it. That’s why I’m sharing what I think is the absolute **Best Crispy Breakfast Potatoes** recipe—we nail that golden, crunchy exterior every single time. My grandmother always knew that potatoes could make or break a meal, and the secrets she taught me about starch and heat transfer are what make these oven-roasted beauties so reliably delicious. Forget soggy sides; these are the real deal, and they’re fantastic for a quick breakfast staple!
Why These Are the Best Crispy Breakfast Potatoes You Will Make
Seriously, I’ve spent years trying to perfect breakfast potatoes because I just refuse to eat one that’s limp or chewy. These oven-roasted ones are my non-negotiable favorite because they deliver that shatteringly crisp exterior we all dream about. We use simple spices, but the technique is where they truly shine. You get that satisfying crunch, plus the flavor profile is spot-on for pairing with anything—from fancy weekend eggs Benedict to a quick weekday scramble. Trust me, once you master these **crispy breakfast potatoes**, you’ll never look back!
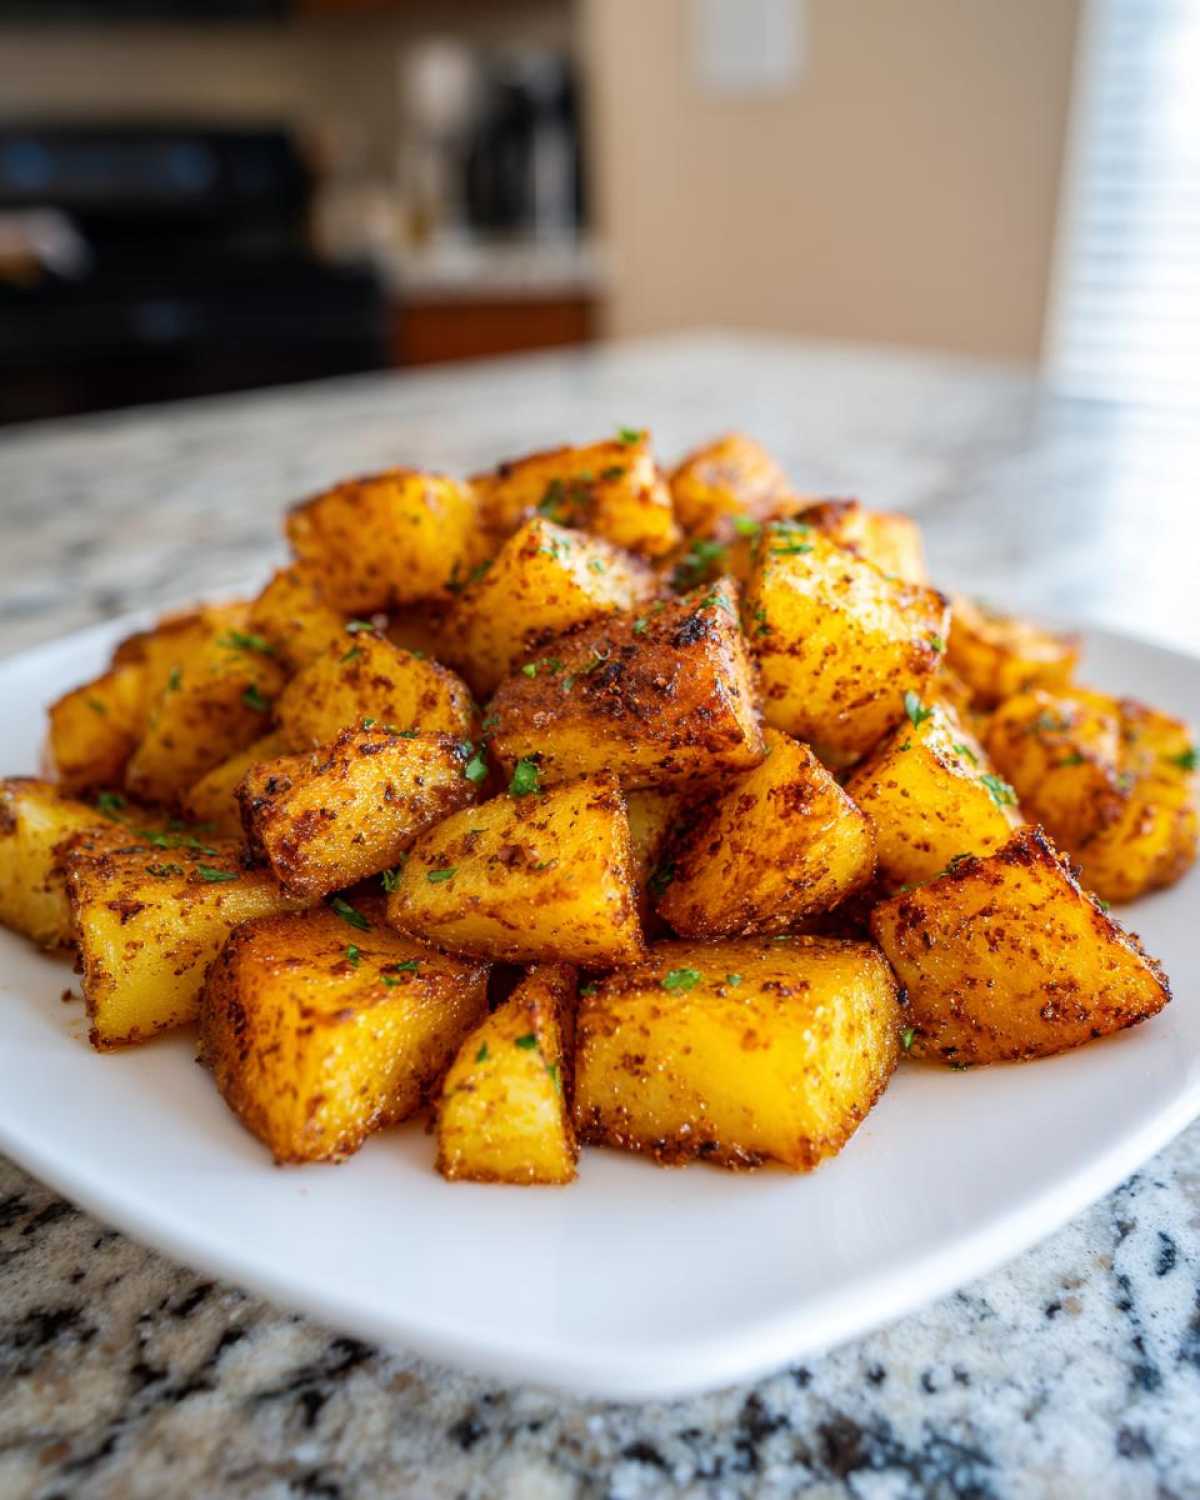
- Guaranteed Crispy Exterior: We remove the surface starch, so they crisp up beautifully golden brown.
- Incredible Flavor: Smoked paprika, garlic, and rosemary make these so much better than plain spuds.
- So Versatile: Perfect as a side dish or added right into a big breakfast bake.
Quick Breakfast Side Dish Ready Fast
The best part about this method? It’s so simple for busy mornings! Even with the prep work—which isn’t complicated, I promise—the whole process, from dicing to golden perfection, takes under 45 minutes. That’s fast enough for a Saturday when you want to sleep in but still eat well. Since we’re using the oven, you set the temperature, toss them in, and then you have 30 minutes free to actually make your coffee and get dressed. If you’re looking for another side that’s surprisingly quick, you have to check out my recipe for roasted garlic and parmesan potatoes!
Ingredients for Flavorful Morning Potatoes
I call this mix my go-to blend for savory morning sides. When it comes to making truly **flavorful morning potatoes**, you can’t skimp on the quality of your base ingredients, especially the oil and the spices. Anya here, and I learned from my grandmother that measuring accurately for seasoning is key, even if she often tossed things in based on smell! For this recipe, sticking closely to these amounts ensures you get that perfect balance of earthy and savory without burning anything.
We are using Yukon Golds here. They hold their shape so much better than Russets when roasted, which is vital for keeping that beautiful cube shape!
- 2 lbs Yukon Gold potatoes, scrubbed and diced into 1-inch pieces
- 3 tablespoons olive oil or avocado oil (don’t use cheap stuff, it impacts the crisp!)
- 1 teaspoon smoked paprika (this is what really gives them that deep, golden color)
- 1 teaspoon garlic powder
- 1/2 teaspoon onion powder
- 1/2 teaspoon dried rosemary
- 1/2 teaspoon salt
- 1/4 teaspoon black pepper
- 1/4 cup chopped fresh parsley (for garnish right at the end—that pop of green brightens everything up)
Expert Tips for Perfect Crispy Breakfast Potatoes
Look, anyone can toss some potatoes and spices on a tray, but if you want those beautiful, crunchy little nuggets—the kind you hunt for on your plate—you have to know the tricks. This is where we separate the decent **breakfast potatoes** from the truly magnificent ones. These techniques feel technical, but honestly, they are super easy once you know them. My grandmother used to call this process ‘preparing the soldiers’ before battle; they need to be ready for high heat! I always find checking out other people’s favorite insights helps too; I love reading up over at the main Savor Sensations blog for general kitchen inspiration.
Quick choice: If you are using Russets, you get more internal fluff, but they tend to break apart more easily. For robust, hold-their-shape crispy cubes, stick with the Yukon Golds we use in the recipe. They are just naturally better suited for roasting!
The Secret to Golden Brown Potatoes: Managing Moisture
This is honestly the single most important thing you can do to guarantee those **golden brown potatoes**. You have to get the surface starch off! If you skip the water bath, the starch dissolves into the oil during cooking and turns gummy. I know it seems weird to soak something you want to keep dry later, but trust me on this one.
Here’s the drill: Soak those diced potatoes in cold water for at least 15 minutes. Then, drain them totally. Next, lay them out on a few layers of paper towels or a clean kitchen towel and physically pat them until they feel dry to the touch. I’m not kidding, you have to really work at it. If they are wet, they steam. If they steam, they get soggy. We want crunch!
Oven Roasted Potatoes Breakfast Technique
Once those potatoes are dry and seasoned, the oven needs to be screaming hot—we’re talking 425 degrees Fahrenheit. High starting heat shocks the exterior and encourages that wonderful crisping action before the inside fully cooks through. This is key for any good **oven roasted potatoes breakfast** dish.
Equally important is space! Think about it: If you pile those potatoes up, they trap the steam released by the potato itself, and boom, you’re back to soggy town. Spread them out in a single layer on your baking sheet. If your pan looks too crowded, grab another one! They need room to breathe and roast, not squat together and steam. I always toss them halfway through cooking for even browning, but the *first* 20 minutes must be undisturbed so that crust can form!
How to Prepare Easy Breakfast Potatoes Step-by-Step
Okay, now that you’ve done the crucial prep work—soaking and drying those little starch monsters—it’s time to assemble these **easy breakfast potatoes**! This method is designed to be mindless once they hit the oven, which is perfect because morning duties always seem to pile up at once. We’re going for that maximum crispy effect using the heat of the oven, just like my grandmother used for her roast potatoes on Sundays.
First off, make sure your sheet pan is ready. I always line mine with parchment paper. Yes, you need to do this even if you greased the pan; it helps the potatoes release so much easier, and cleanup is just a dream. You can check out my trick for homemade pan release if you are baking something sweet, but for these savory spuds, parchment is the way to go.
- Get the Oven Hot: Set your oven way up high—we need 425 degrees Fahrenheit (that’s about 220 Celsius) roaring before those potatoes go in.
- Season Them Up: Toss those beautifully dry potato cubes with your olive oil first until they look slick. Then, sprinkle on the paprika, garlic powder, onion powder, rosemary, salt, and pepper. Mix everything until every single piece has some spice clinging to it!
- Layout for Success: This is where we lock in the crisp! Spread the seasoned potatoes out onto that lined baking sheet. Remember what I said? Single layer! If they are touching too much, they’ll steam, and we are going for golden-brown glory here. Give them space!
- The First Roast: Slide that tray into your hot oven and let them roast undisturbed for exactly 20 minutes. Don’t peek too much! This time is vital for setting that first layer of crust.
- The Flip: After 20 minutes, pull the pan out carefully. Use a sturdy spatula to flip every pile of potatoes over. We want all sides to get crunchy, not just the bottoms.
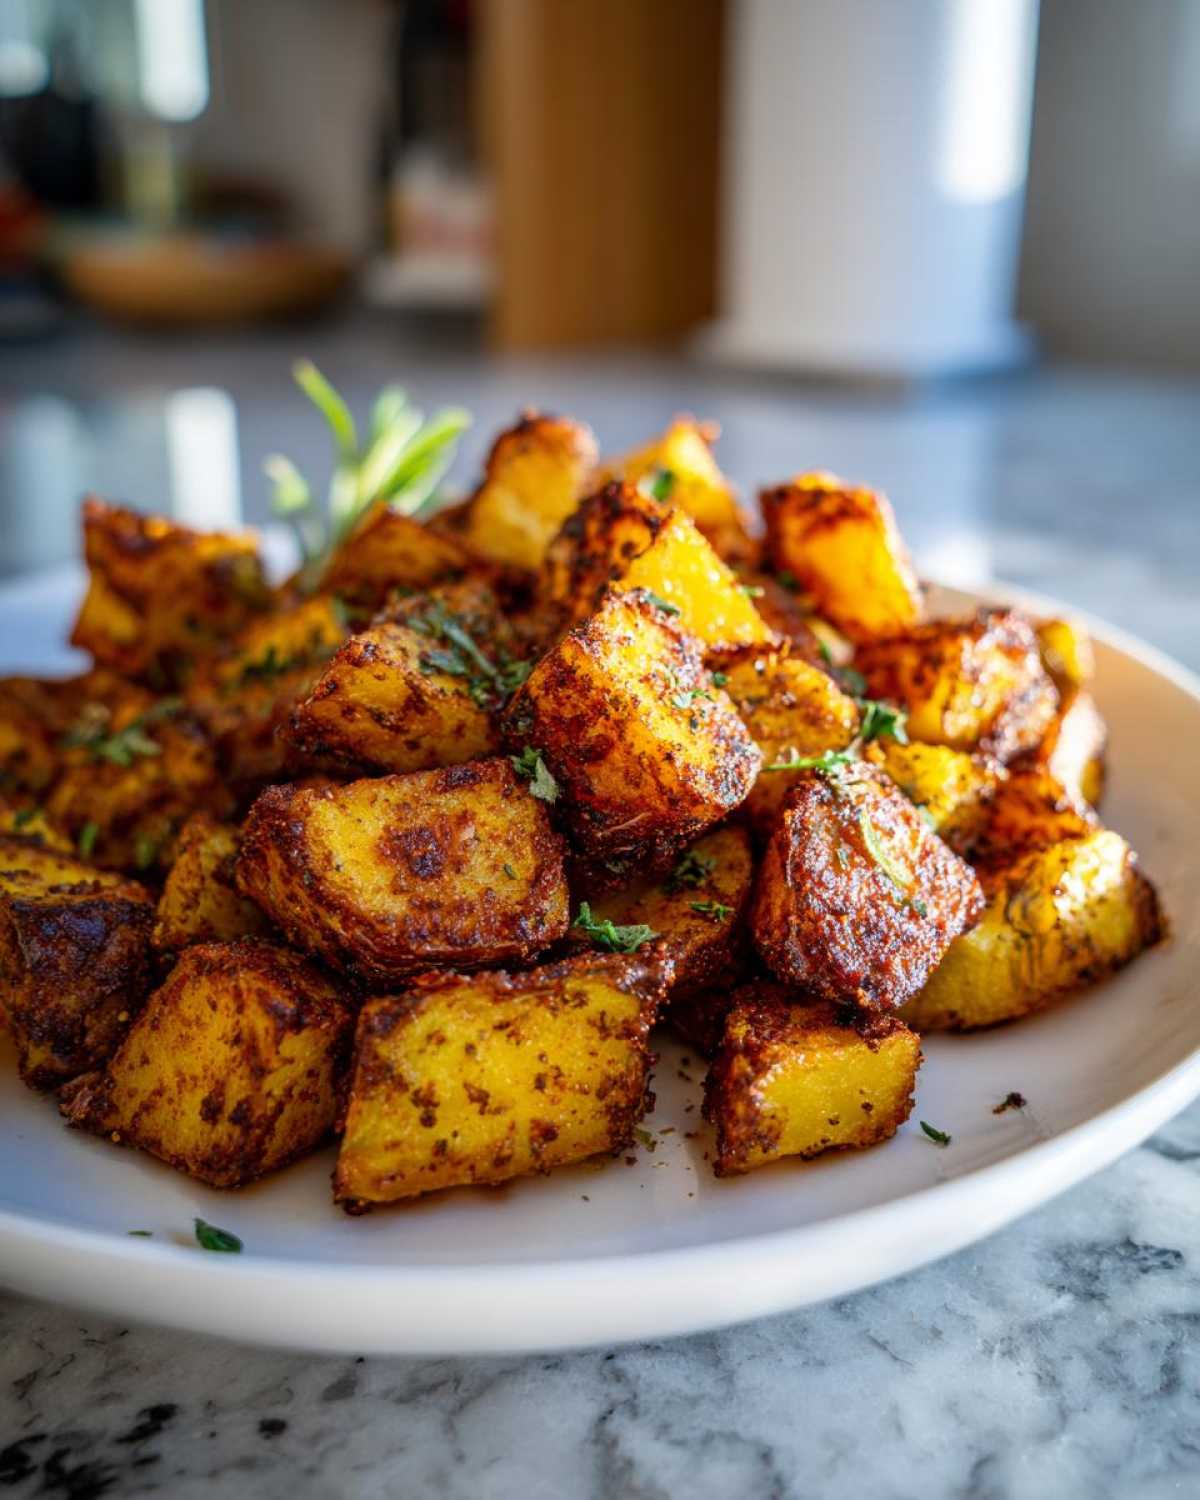
- The Finish Line: Slide them back in for another 15 to 20 minutes. Keep an eye on them after the 35-minute mark in total. You know they are done when they look deep golden, almost reddish-brown in spots, and they sound hollow when you tap them with the spatula.
When they come out, immediately sprinkle on that fresh parsley. The sizzle and that burst of fresh flavor against the warm, savory potato? That’s pure breakfast magic. These are so good, I sometimes make a batch just so I can sneak a few before the eggs are even done!
Skillet Breakfast Potatoes Alternative Method
Now, I know not everyone wants to fire up the oven, especially if you’re having a smaller breakfast or maybe it’s summer and you don’t want to heat up the whole house! That’s why I want to give you the stovetop version for **skillet breakfast potatoes** too. You can absolutely get that crispness this way, but it requires a little more attention from you because you’re standing right there over the heat. It’s a little more hands-on, but sometimes the stovetop can actually crisp up the bottom edges faster than the oven can!
The key difference here is managing that heat and resisting the urge to stir immediately. If you’re using a cast-iron skillet—which I highly recommend for this method because it holds the heat so beautifully—you need to get it truly hot over medium-high heat before anything touches it.
Here’s the quick rundown for cooking these on the stove:
- Heat your cast iron skillet over medium-high heat. Add about half the oil needed from the main recipe—we still want them coated, but we don’t want a grease bath!
- Once the oil is shimmering (a tiny drop of water should sizzle immediately), carefully add your seasoned potatoes.
- Do not touch them! This is critical. Let them sit, undisturbed, for a full 5 to 7 minutes. You need that bottom layer to form a serious golden crust. Listen for the sizzling sound to quiet down slightly; that means the crust is developing.
- Once you see those gorgeous brown edges, give them a stir, breaking up any clumps. Spread them back out so as many potatoes as possible are touching the hot metal surface.
- Keep cooking and stirring every 5 minutes or so until they are tender all the way through and have that crispy coating all over. It takes about 20-25 minutes total on the stovetop.
If you find yours are taking forever to brown, it usually means one of two things: either the pan wasn’t hot enough to start, or you overcrowded it. If you have too many potatoes in the pan, they’ll start boiling in their own juices instead of frying! If you have a big batch, just cook them in two rounds. It’s worth it for the crunch! For more general tips on getting that perfect texture, I always reference the detailed guide over at Cook Grape for comparison!
Serving Suggestions for Your Homemade Breakfast Potatoes
Once these beauties come out of the oven—golden, fragrant, and screaming hot—the real fun begins: deciding what glorious things to smother them in! These **breakfast potatoes** are robust enough to handle anything you throw at them, whether you’re keeping it light or going all-out for a feast. While they are technically just a **simple potato side**, they really do have the power to elevate any plate.
For speed, you absolutely can’t beat serving them next to perfectly sunny-side-up eggs. The yolk mixing with the salty potato crust? That’s just heaven, plain and simple. Of course, crispy bacon or sausage links are the classic companions, and they complete that traditional savory breakfast profile we all crave.
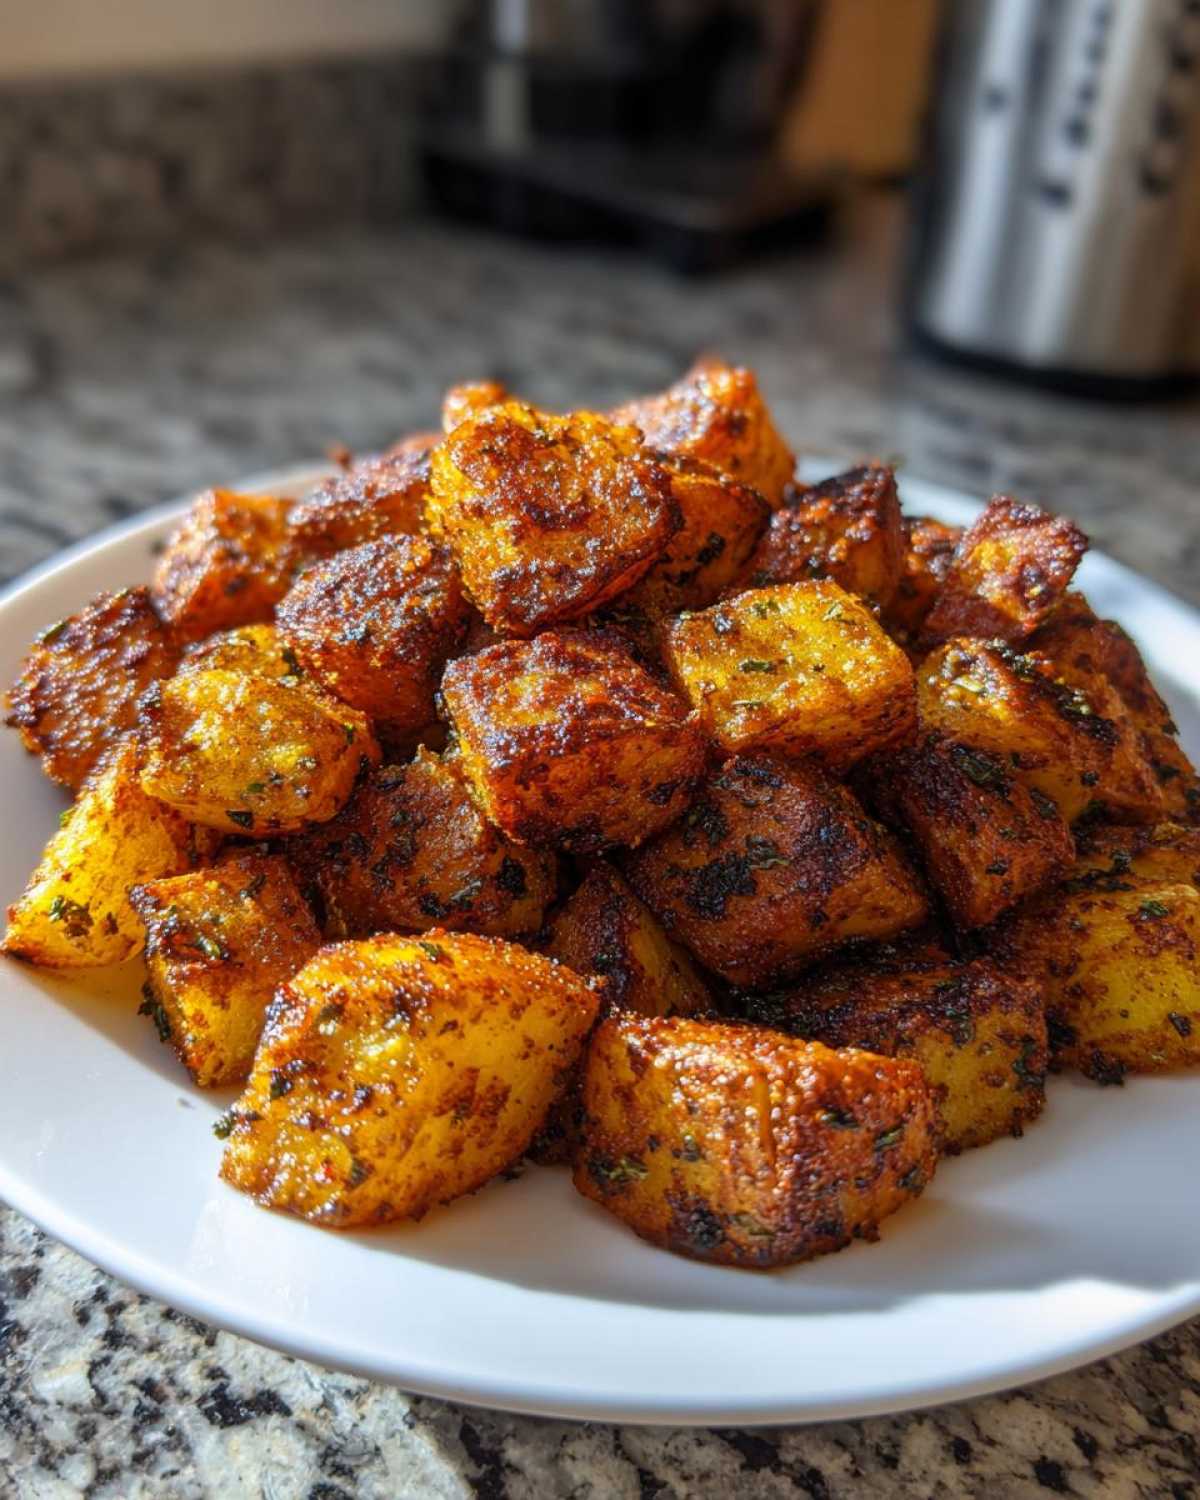
But for the weekend brunch when Sasha and Lena are over, I love to get a little fancy. I’ll often serve these alongside a big stack of my custardy French toast. It sounds wild—savory potatoes next to sweet cinnamon bread—but that salty, herbaceous potato cuts through the richness of the syrup perfectly. It’s this balance of flavors that makes our shared meals so fun! Don’t forget a side of sliced avocado or a little fresh salsa if you need a little zing.
Storing and Reheating Your Best Breakfast Potato Recipe
Okay, we’ve made the absolute **best breakfast potato recipe** known to humankind, and now you have leftovers (if that’s even possible in my house!). The big question is how to keep that glorious crispness for tomorrow morning. You definitely don’t want to waste these crispy gems, but sadly, they won’t stay crackly if you just leave them sitting out in the open air overnight.
The storage step is simple enough. Make sure the potatoes have completely cooled to room temperature—putting hot food into a sealed container creates condensation, and you know what condensation equals? Soggy potatoes! Once fully cool, tuck them into an airtight container. They’ll keep well in the fridge for about three, maybe four days max, but honestly, they are best eaten within the first 48 hours.
Oven vs. Air Fryer for Reheating
When it comes to reheating, you have two goals: reheat the inside until it’s warm and bring back that original crust. The microwave is the enemy here! If you microwave them, you are guaranteed a rubbery, steamed texture, and that breaks my heart just thinking about it.
For the best results, you need dry heat again. I highly recommend popping them back on a baking sheet in a hot oven—say, 375 degrees Fahrenheit—for about 8 to 10 minutes. This dries out the surface moisture that accumulated in the fridge and refreshes that lovely crispness. If you happen to have an air fryer, they are even quicker! Shake them in the air fryer basket at 375°F for about 5 minutes. They come out shockingly close to fresh-made.
Can I freeze these potatoes?
That’s a great question that comes up a lot, especially if you were making a big batch for a crowd! Yes, you absolutely can freeze them, but you have to accept they won’t be quite as perfectly crispy when you reheat them later, even with the best methods. If you plan to freeze them, let them cool completely first, lay them in a single layer on a baking sheet, and freeze them solid for an hour or two. Once they are rock hard, transfer them to a heavy-duty freezer bag. They are good for about a month in the freezer. When you are ready to eat them, skip the microwave and go straight to the oven or air fryer—low and slow at first, then maybe bump the heat for the last few minutes to try and encourage some crisping!
Frequently Asked Questions About Breakfast Potatoes
I get so many great questions about these spuds! Since the technique is what makes the difference between a sad, soggy side and a spectacular one, people are usually worried about substitutions or timing. Don’t you worry one bit! We’ve worked through all the kinks here at Savor Sensations. If you have more questions after reading this, feel free to ask, or check out the tips over at Bake Grove for even more inspiration!
Can I use sweet potatoes instead of Yukon Golds for this recipe?
Oh, you totally can! Sweet potatoes are delicious, especially with smoky paprika. However, the texture will change quite a bit. Yukon Golds hold their shape better because of their starch content. Sweet potatoes naturally have more sugar, so they caramelize much faster and tend to get softer on the inside. If you switch to sweet potatoes, I really recommend dropping the oven temperature down to about 400°F and watching them closely, maybe checking for doneness around the 25-minute mark so they don’t turn to mush before they brown. They are a lovely, slightly healthier option for a morning side dish!
What is the best type of oil to use for the crispiest results?
This is a fantastic question because the fat you choose really impacts the final texture and flavor. For the absolute best flavor and crispiness—since we are roasting at such a high heat—I swear by avocado oil or a high-quality olive oil. Avocado oil has a higher smoke point, which means it can handle the 425°F oven without smoking or breaking down. If you use regular butter, it’s going to burn way before the potatoes are done. If you want that buttery flavor, try melting a tablespoon of butter and mixing it with two tablespoons of olive oil before tossing everything together. That gives you the richness without sacrificing the high-heat cooking capability we need for **golden brown potatoes**.
Can I make these ahead of time, or do I need to start from scratch?
This is the key to making **easy breakfast potatoes** work for a weekend brunch crowd! Yes, you can totally make these ahead! The roasting process is what takes the most time, so you can fully roast them the night before. Let them cool completely, store them airtight, and then the next morning, you don’t have to worry about a thing until serving time. I already shared the reheating tips earlier, but if you’re serving a crowd, skip the microwave entirely and finish them on a sheet pan in a 375°F oven for about 10 minutes. They reheat beautifully and you save valuable oven space for pancakes or sausage!
Are these breakfast potatoes naturally gluten-free?
Absolutely! Potatoes are a naturally wonderful gluten-free option, and since this recipe only uses whole spices, herbs, salt, pepper, and oil—no flour or gluten-based thickeners anywhere—they are perfectly safe for anyone avoiding gluten. It’s such a reliable dish for serving friends with dietary restrictions. If you want to explore more of our naturally **gluten free breakfast potatoes** options, I’d send you over to check out some of our baking experiments when Lena isn’t looking, like my savory zucchini muffins!
Can I add other vegetables to this oven roasted potatoes breakfast mix?
You can, but you have to be careful about cook time! Root vegetables like carrots or chunks of sweet potato are generally fine to add in right at the beginning because they take about the same amount of time to get tender. However, things like onions, peppers, or mushrooms release a lot of water, and that water can mess up the crisping process for the potatoes. If you want to add onions, I suggest slicing them thinly and tossing them in halfway through the roasting time, or simply sautéing them separately in a skillet and stirring them in at the end. When it comes to maximizing the crunch, simplicity is sometimes the *best* policy!
Nutritional Estimate for These Breakfast Potatoes
Okay, let’s talk fuel for the day! I know some of us (maybe Anya included when she’s deep in a baking project) want to keep an eye on the numbers, but honestly, potatoes are amazing! This recipe for our **breakfast potatoes** is super simple, made with just whole foods, oil, and spices, making them a naturally wonderful side dish. It’s easy to see these are far more satisfying than some of those heavily processed breakfast options out there.
Keep in mind, these are just estimates, sweet friend. The exact totals look different if you use a different type of oil or add a splash more salt. This breakdown is based on dividing the whole recipe into four decent servings, which is usually what Sasha can barely handle before she needs a nap!
Here is the estimated breakdown for one serving:
- Calories: 250
- Fat: 12g (And most of that is good fat from the olive oil!)
- Saturated Fat: 2g
- Trans Fat: 0g
- Cholesterol: 0mg
- Sodium: 300mg (This can go up depending on how salty you like your spuds!)
- Carbohydrates: 33g
- Fiber: 4g (Hello, digestion!)
- Protein: 4g
- Sugar: 1g
The main thing I love here is that these are naturally *healthy breakfast potatoes*—they are vegetarian and **gluten free**. If you are looking for other gluten-free baked goods for your morning spread, you should totally check out my recipe for gluten-free zucchini muffins! These potatoes are a balanced mix of complex carbs for energy and heart-healthy fats to keep you feeling full until lunchtime.
PrintThe Best Crispy Breakfast Potatoes: Oven Roasted Perfection
Learn the simple secrets to making perfectly crispy breakfast potatoes every time. These oven-roasted potatoes are golden brown on the outside, tender inside, and packed with garlic and paprika flavor. They are the ideal quick side dish for your weekend brunch or weekday breakfast.
- Prep Time: 10 min
- Cook Time: 35 min
- Total Time: 45 min
- Yield: 4 servings
- Category: Side Dish
- Method: Oven Roasting
- Cuisine: American
- Diet: Gluten Free
Ingredients
- 2 lbs Yukon Gold potatoes, scrubbed and diced into 1-inch pieces
- 3 tablespoons olive oil or avocado oil
- 1 teaspoon smoked paprika
- 1 teaspoon garlic powder
- 1/2 teaspoon onion powder
- 1/2 teaspoon dried rosemary
- 1/2 teaspoon salt
- 1/4 teaspoon black pepper
- 1/4 cup chopped fresh parsley (for garnish)
Instructions
- Preheat your oven to 425 degrees Fahrenheit (220 Celsius). Line a large baking sheet with parchment paper for easy cleanup.
- Place the diced potatoes in a large bowl. For extra crispiness, soak the potatoes in cold water for 15 minutes, then drain them completely and pat them very dry with paper towels. This step removes starch and helps them crisp.
- In the same bowl, toss the dry potatoes with olive oil until they are evenly coated.
- Add the smoked paprika, garlic powder, onion powder, rosemary, salt, and pepper to the potatoes. Toss well until all the seasonings adhere to the potatoes.
- Spread the seasoned potatoes in a single layer on the prepared baking sheet. Do not overcrowd the pan; use two sheets if necessary to ensure they roast instead of steam.
- Roast for 20 minutes. Remove the pan and carefully flip the potatoes using a spatula.
- Return the pan to the oven and roast for another 15 to 20 minutes, or until the breakfast potatoes are deeply golden brown and crispy.
- Remove from the oven, sprinkle with fresh parsley, and serve immediately alongside your eggs or favorite breakfast items.
Notes
- For the crispiest results, make sure your potatoes are completely dry before adding the oil and seasonings. Moisture prevents browning.
- If you prefer a skillet method, use a large cast-iron skillet over medium-high heat. Cook in batches, ensuring the potatoes have contact with the hot surface for at least 5 minutes before stirring to build a crust.
- These flavorful morning potatoes are naturally gluten-free and vegetarian.
Nutrition
- Serving Size: 1/4 of recipe
- Calories: 250
- Sugar: 1
- Sodium: 300
- Fat: 12
- Saturated Fat: 2
- Unsaturated Fat: 10
- Trans Fat: 0
- Carbohydrates: 33
- Fiber: 4
- Protein: 4
- Cholesterol: 0
