

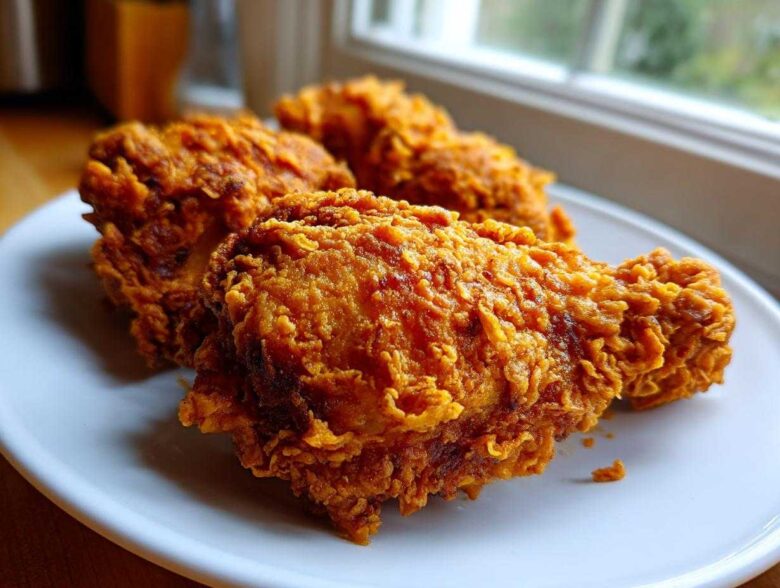
Oh, the quest for truly perfect fried chicken! It’s like chasing the most wonderful legend, isn’t it? We’ve all had sad, soggy experiences that leave you wondering if that golden, crunchy crust is even possible at home. Well, I’m here to tell you, it absolutely is! This recipe right here—Sasha’s Ultra-Crispy Buttermilk Southern Fried Chicken—is the one that finally ended our search. The secret is nailing that magnificent contrast: the meat stays incredibly juicy thanks to the buttermilk brine, while the coating shatters perfectly when you bite into it. Sasha, with her intuitive, never-measure approach, stumbled upon the dredging trick that made this Southern Fried Chicken legendary in our kitchen. Forget everything else; this is your new go-to comfort food.
Why This Buttermilk Southern Fried Chicken Recipe Delivers
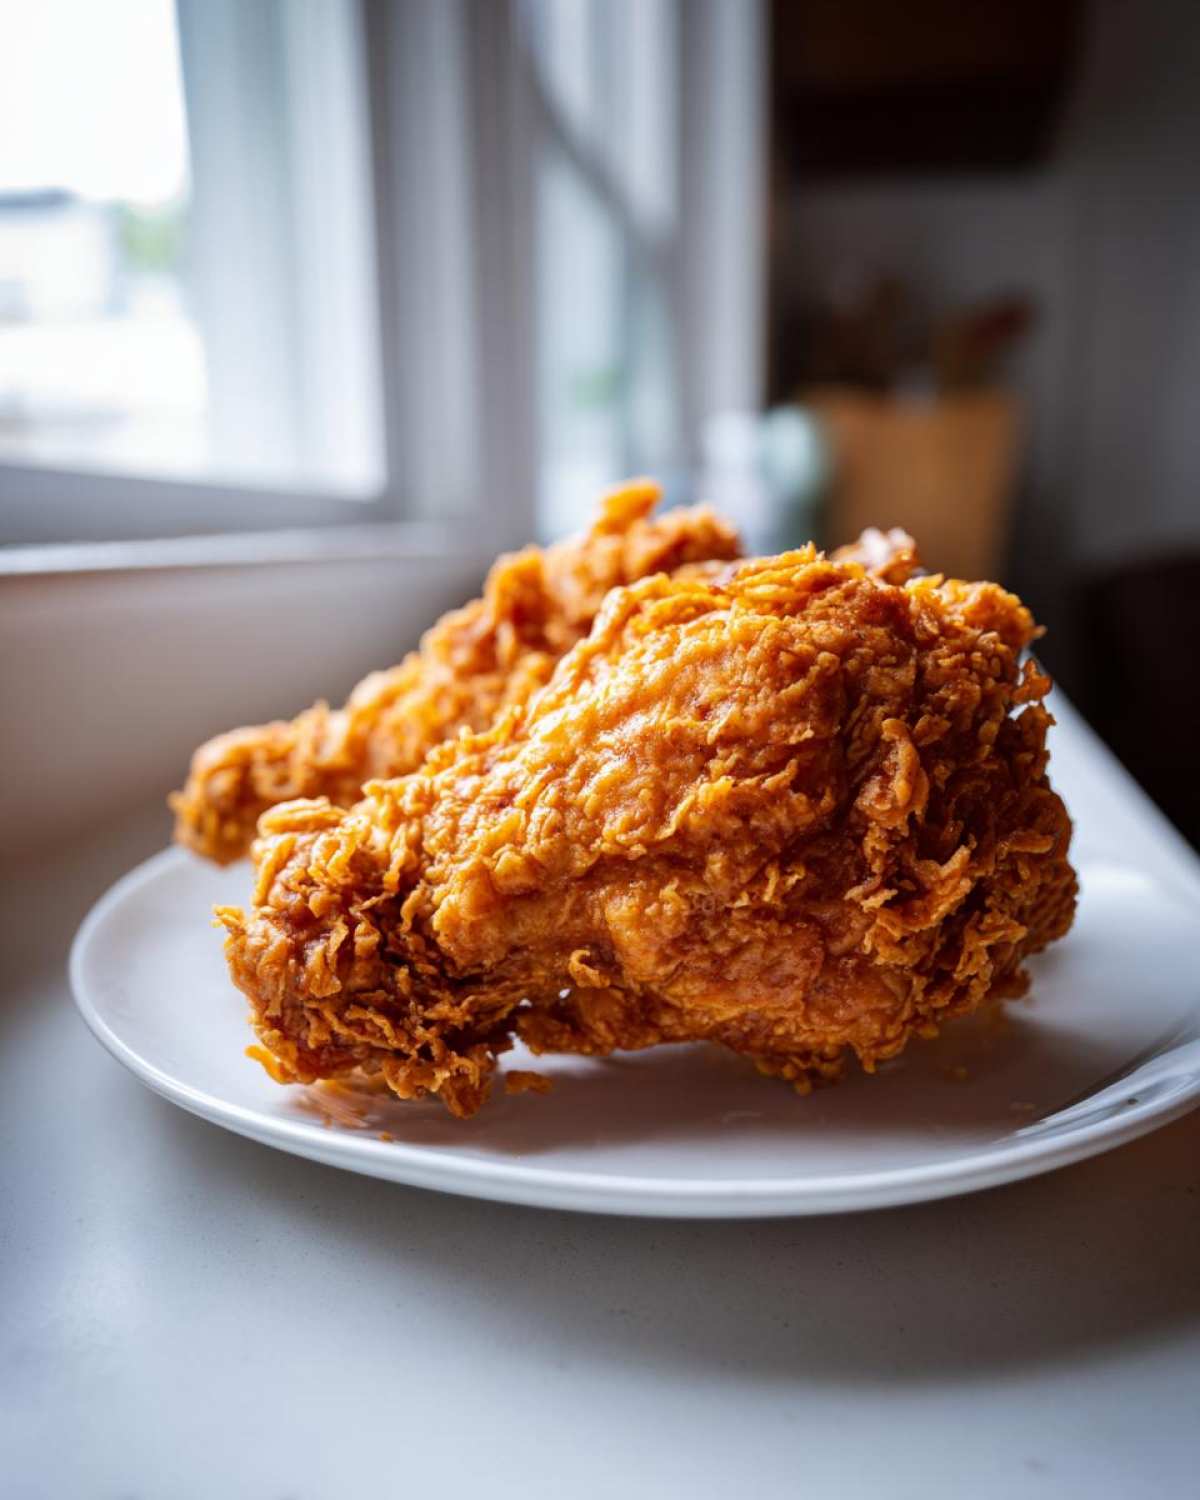
When it comes to truly excellent fried chicken, we aren’t just aiming for ‘good’—we want that incredible, memorable experience! This recipe is designed to be foolproof, giving you that juicy and crispy chicken combination every single time. We skip the fussy steps that other recipes use and focus only on what actually matters for that perfect crunch and tenderness.
- You get that deeply flavorful, classic Southern seasoning built right in.
- The breading adheres perfectly and doesn’t fall off in the fryer.
- It cooks evenly to ensure the inside is tender while the outside stays golden brown.
The Secret to Ultra-Crispy Fried Chicken Coating
Okay, listen up, because this is where we separate the good from the legendary! We add cornstarch directly into the flour dredge, and trust me, that makes a huge difference in creating that rough, craggy surface that locks in flavor. Then, we perform the double dip—a quick trip back into the buttermilk. Press that flour hard onto the chicken after the second dip! That layering creates the ultimate crunchy chicken coating.
Buttermilk Brined Chicken for Maximum Juiciness
If you skip the brine, you’re making bland, dry chicken—it’s that simple. The lactic acid in the buttermilk actually tenderizes the meat beautifully before it even hits the oil. For the best results possible, you need to let those pieces soak for at least four hours, even better if you can let them chill overnight! This step is the core of achieving truly juicy and crispy chicken.
Gathering Your Ingredients for Classic Fried Chicken
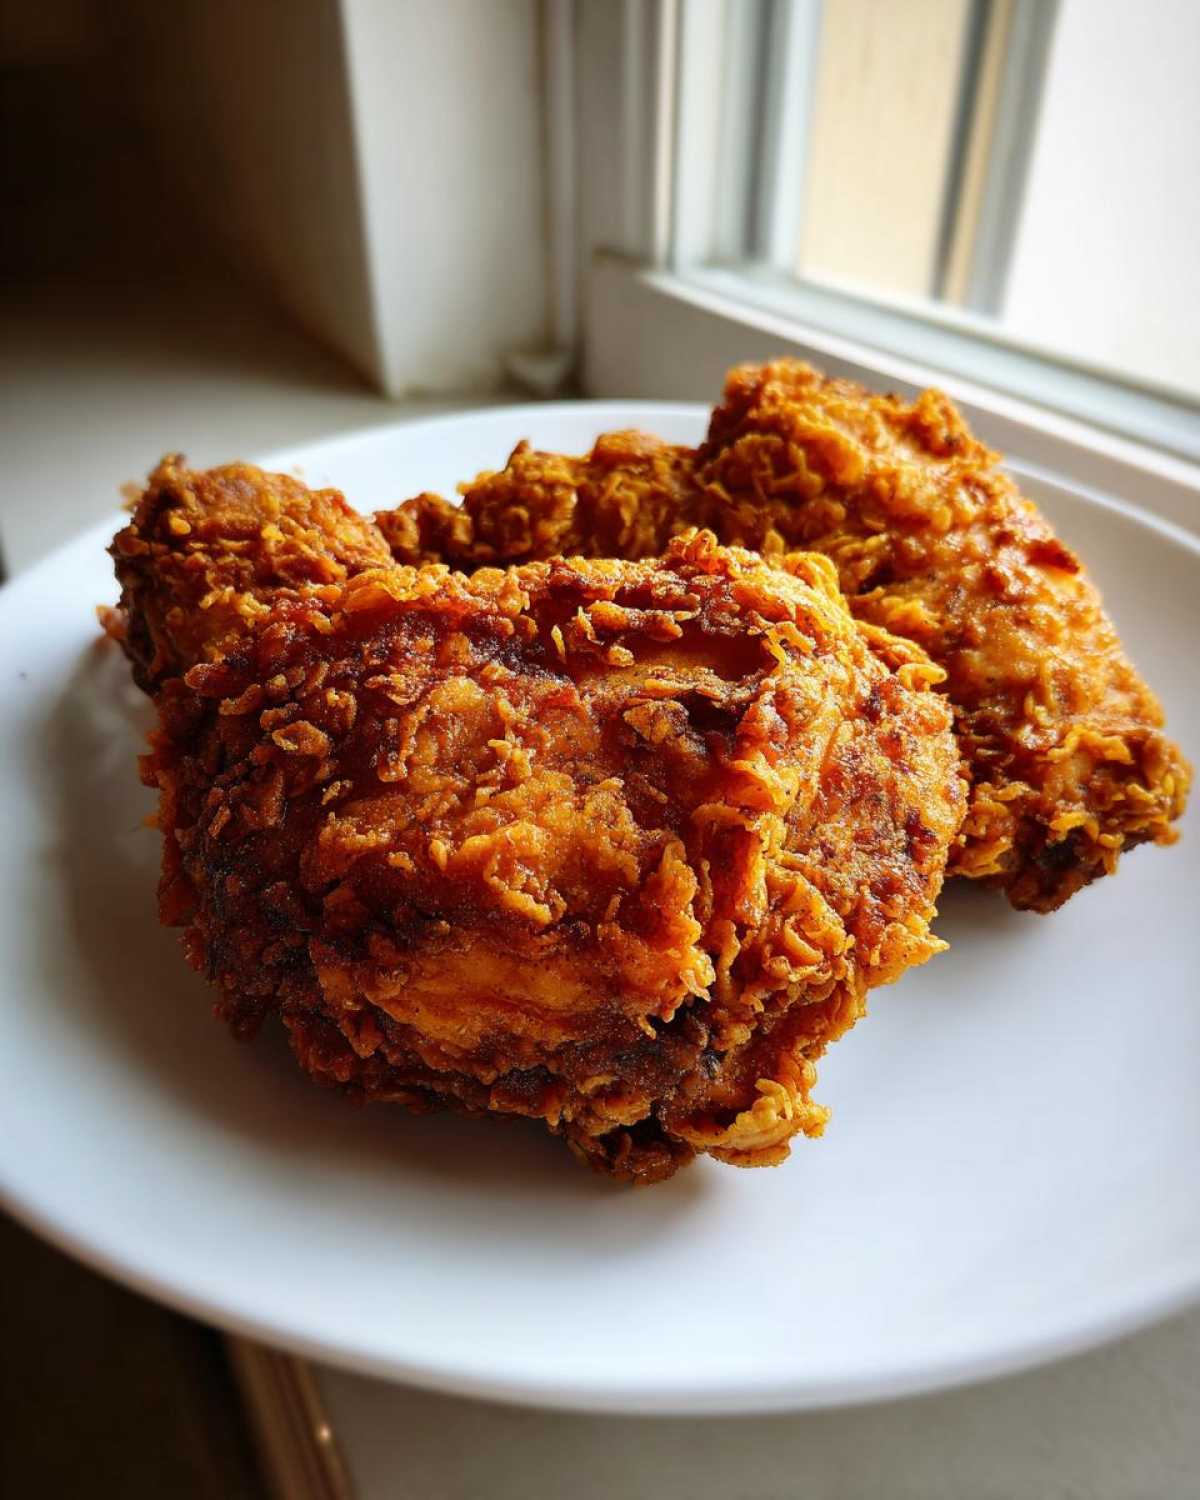
Alright, let’s talk about what you need to get this Southern Fried Chicken masterpiece underway! Don’t go grabbing those boneless, skinless cuts—we need the bone in these babies for maximum flavor infusion. As Sasha always says, flavor sinks into the bone marrow, and we need every last drop!
When you look at the list, everything looks pretty standard, but the attention to detail here is what turns this into more than just ‘easy fried chicken dinner’; it becomes *the* best homemade fried chicken.
Specifics on Chicken Cuts and Oil Selection
I insist on bone-in, skin-on pieces—thighs and drumsticks are my favorites for frying because they heat up evenly. Now, for the oil, you need something with a high smoke point, like vegetable oil or shortening. You need enough to cover those pieces by about two inches in your pot. Remember, we’re going for **deep fried chicken**, so safety and depth are crucial!
Step-by-Step Instructions: How To Make Fried Chicken
Getting this right is all about pacing yourself, which is funny because frying itself feels fast! We’re moving from the cold fridge right into hot oil, so we need to be ready. If you follow these steps carefully, you’ll have the most delicious, golden brown chicken you’ve ever made at home. This entire process is geared toward making incredible fried chicken that rivals anything you’ll find!
The Brining Process for Tender Fried Chicken
First things first: get that chicken soaking! Pop those seasoned pieces into the buttermilk mixture and cover it up. Remember, I said overnight is ideal? Seriously, give it at least four hours so that buttermilk can work its tenderizing magic. When you pull the pieces out to dredge them, don’t rush to wipe them off. A little excess buttermilk clinging to the chicken provides the perfect sticky base for our flour mixture.
Building the Crunchy Chicken Coating
Now for the coating—this is where we build texture! Dredge each piece aggressively in that flour mix, pressing down like you’re trying to seal a letter. If you’re doing the double dip (which you should be!), dip it back into the wet, then press it hard into the dry again, making sure you get those lovely little crags and flakes. After you coat everything, set it on a wire rack and walk away for 20 minutes. That rest time sets the coating so it won’t fall apart in the fryer.
Frying Techniques for Perfect Golden Brown Chicken
Heat management is non-negotiable here! You need that oil steady between 315°F and 325°F. If it’s too cool, the chicken gets greasy; too hot, and the outside burns before the inside cooks. Fry in small batches—never crowd the pot! Smaller pieces like wings cook faster than breasts, so keep an eye on them. Always check that internal temp reads 165°F. That’s how you guarantee a safe, perfectly cooked piece of fried chicken.
Expert Tips for the Best Homemade Fried Chicken
You know, I used to stand over Sasha’s shoulder, clipboard in hand, trying to write down exactly how much salt she dumped into the buttermilk. It drove me nuts! She’d just laugh and say, “Lena, you don’t measure love, and you don’t measure flavor—you just feel it.” While I’m the one who likes exact instructions, learning to trust her intuition was key to perfecting this **fried chicken**.
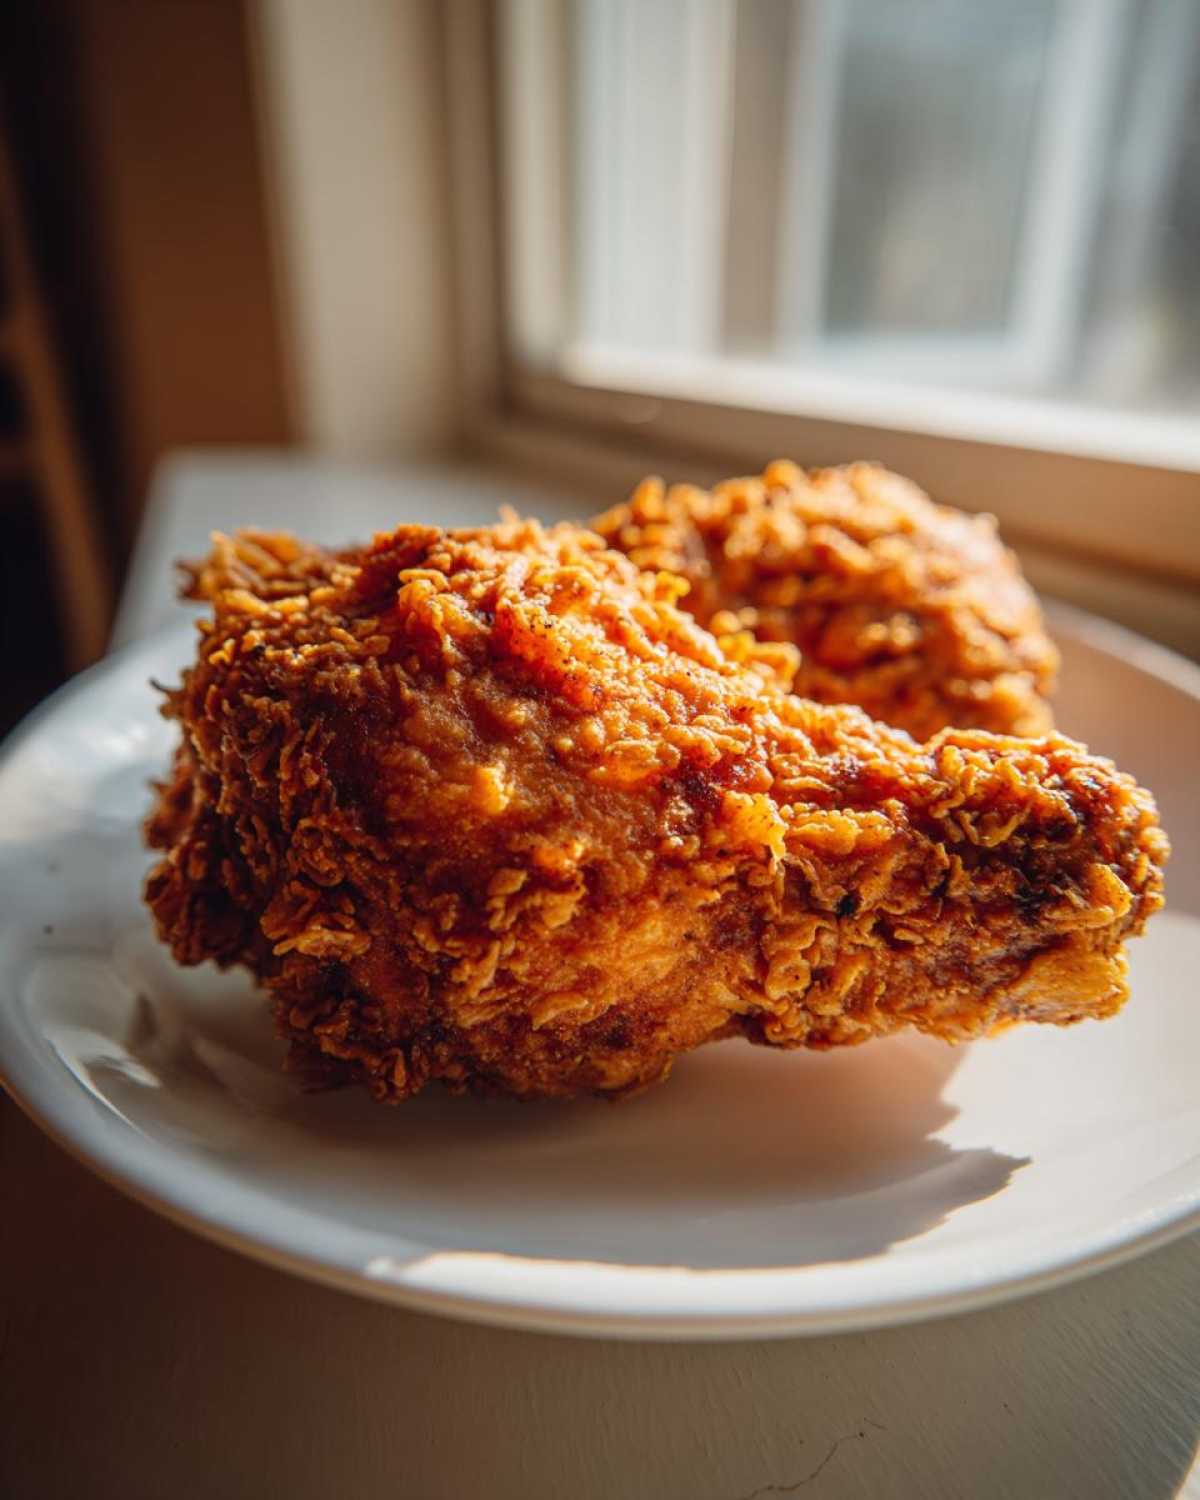
If you pull your chicken out and the crust seems pale or too soft, don’t panic! Usually, that means your oil temperature dropped too low mid-fry. Next time, just keep that thermometer glued to the side of the pot. Also, never skip that 20-minute rest after dredging; it allows the moisture to stabilize before it hits the heat, leading to that magnificent, crunchy crust every single time. You can check out some other ways folks handle things over at The Rustic Elk if you’re curious, but I promise, sticking to our brine and double-dip will give you the best homemade fried chicken!
Keep checking back on our blog for more family favorites!
Variations on Classic Fried Chicken
Once you’ve mastered this ultra-crispy Southern Fried Chicken, you might want to shake things up a bit! It’s so simple to take this base recipe and tweak it just slightly for a whole new flavor experience. If you want that unmistakable flavor you tried to get at the Colonel’s place, just sneak in a few extra secret spices—think a pinch of dried mustard or thyme in your flour dredge. That’s my little KFC copycat trick!
For those who love heat like I do, just double or triple the cayenne pepper in the initial buttermilk soak. This allows the spice to penetrate deep into the meat, not just sit on the crust. It’s so much fun twisting a classic recipe!
Making Country Fried Chicken (A Different Style)
Now, don’t confuse this beautiful Southern Fried Chicken with its cousin, Country Fried Chicken. If you wanted to make that style—which relies more on a creamy gravy finish—you’d need to pound your chicken thin. You also skip the whole buttermilk brine step; you’d generally use a simple egg wash instead before dredging. It’s delicious, but it’s a completely different texture game!
Check out how we handle bold flavors in our Kung Pao Cauliflower if you ever want to go spicy in a totally different direction!
Serving Suggestions for Your Easy Fried Chicken Dinner
What’s a plate of perfect, crispy **fried chicken** without the right company? This isn’t just a standalone meal; it’s the star of a true comfort food spread. To balance out that rich, savory flavor, you need sides that bring something cool, creamy, or tangy to the table.
For a truly authentic feeling, you can’t beat creamy mashed potatoes smothered in gravy, but if you want something a little lighter, a sharp coleslaw cuts through the grease beautifully. I absolutely love serving ours alongside my famous Broccoli Cheddar Squash Casserole—the cheesy richness is the perfect partner for that crunchy coating. Just make sure you have plenty of napkins ready for your **easy fried chicken dinner**!
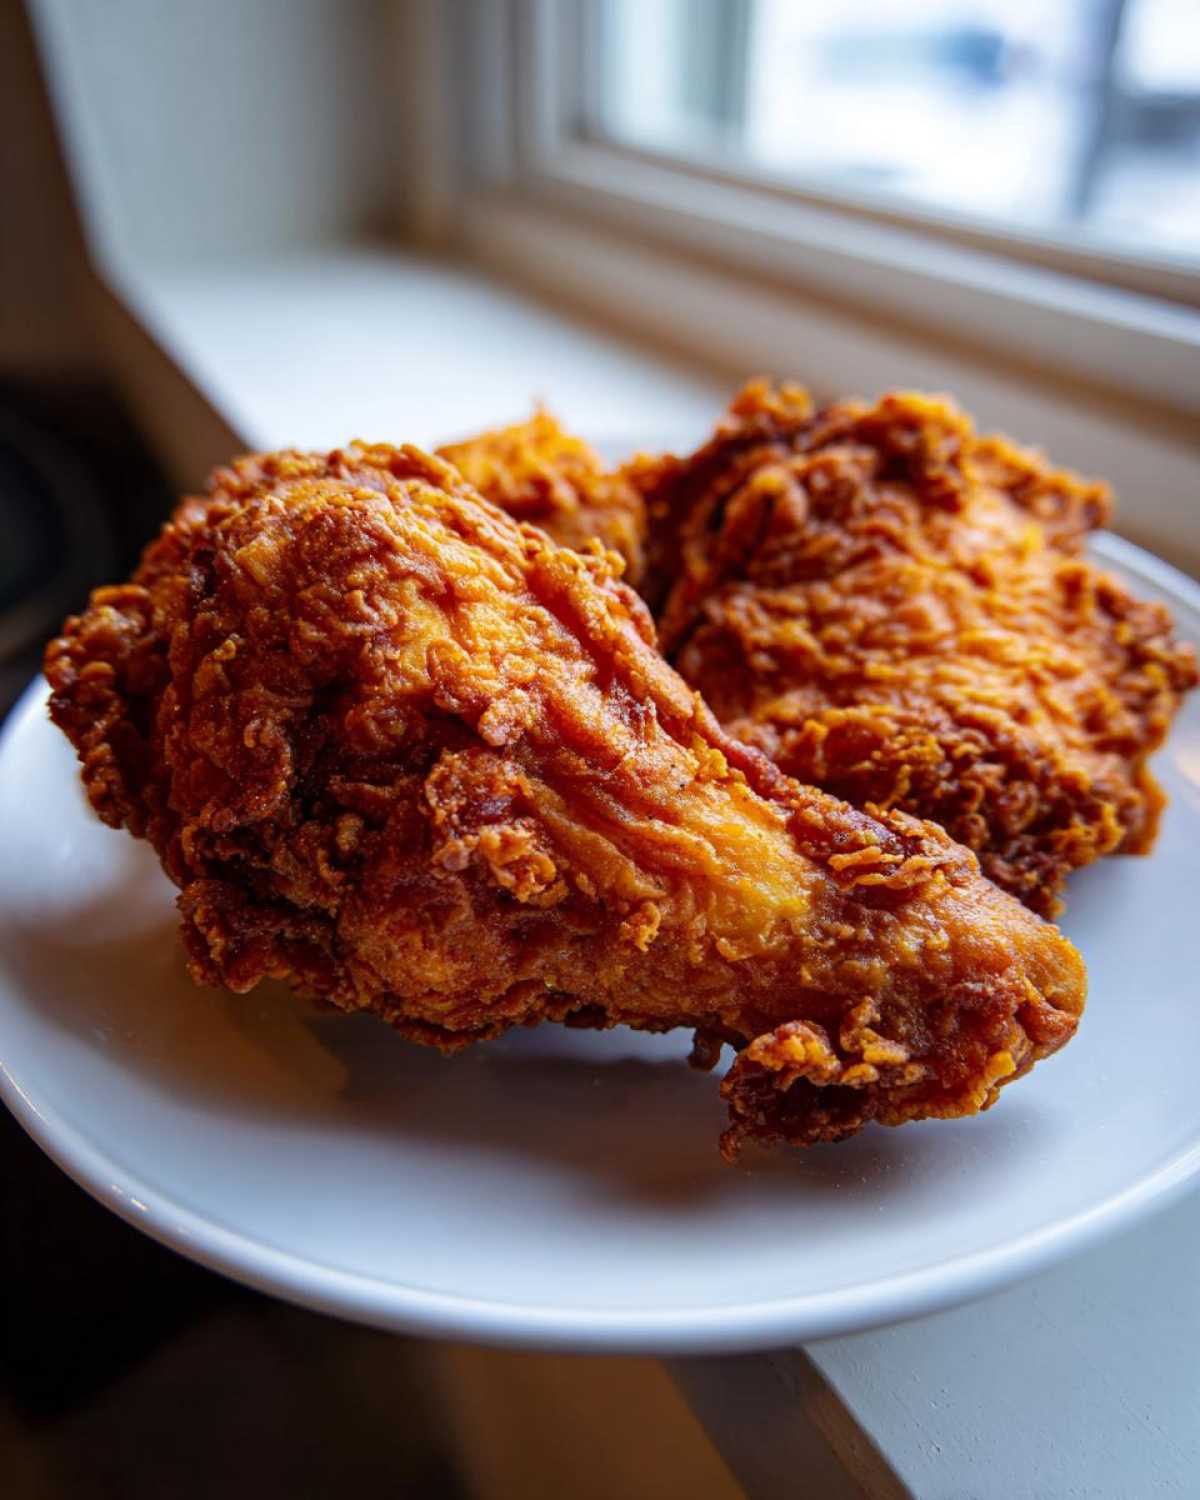
Storage and Reheating Instructions for Leftover Fried Chicken
It’s rare that we have any leftover fried chicken, but when we do, knowing how to store it so it stays magnificent is important! You’ve done all that work for that golden crust, so please, don’t ruin it by reheating it in the microwave—it just steams the beautiful coating right into mush. Immediately after the chicken cools down, place the pieces in an airtight container.
Try layering them with paper towels between each piece to absorb any residual moisture sneaking out. It keeps well in the fridge for about three days. When you’re ready for round two, ditch the microwave entirely! My favorite trick for reviving that crust is popping it into a 375°F oven or an air fryer for about 8 to 10 minutes. It gets that exterior crispy again without drying out the tender meat underneath!
Frequently Asked Questions About Perfect Fried Chicken
It figures that after all these steps, you might have a few more questions bubbling up—that’s how you know you’re about to make something truly special! We get asked the same things all the time, especially when people are about to commit to making a big batch of this **fried chicken**. Don’t hesitate to reach out if you have more questions after you try it; you can always drop us a line over at our contact page!
Can I bake this fried chicken recipe instead of deep frying?
You totally *can* try to bake it, and you’ll get a decent piece of chicken, but I’m going to be honest with you: it won’t be the same experience as our **deep fried chicken**. Baking tends to dry out the coating a little, and you just don’t get that authentic, craggy, shatteringly crisp texture that the hot oil creates. If you want the real deal, you gotta fry it!
What is the best oil temperature for crispy chicken?
This is the most important part of the *how to make fried chicken* process, hands down! You want to keep your oil consistently between 315°F and 325°F. If it dips below 315°F, your **juicy and crispy chicken** will absorb too much oil and taste greasy. If it climbs over 335°F, the outside will burn before the inside is even done. Stability is the key to that gorgeous **golden brown chicken**.
Does the buttermilk brine really make a difference?
Absolutely, yes! This step gives you the **best homemade fried chicken** because the acid starts breaking down the tough fibers in the meat, making it incredibly tender and moist from the inside out. Honestly, if you’re serious about **buttermilk brined chicken**, try to let it sit for the full 24 hours. It’s worth the planning, I promise!
Can I use chicken tenders or boneless pieces instead of bone-in?
For this specific recipe, I really push for bone-in, skin-on cuts because they give you the best flavor and they are more forgiving while frying. However, if you are using tenders for a quick snack, just reduce your frying time drastically—maybe four to six minutes total until the coating is golden. They cook so fast!
Sharing Your Savor Sensations Fried Chicken
Whew! Now you have the knowledge, the confidence, and the recipe to create the ultimate golden, crunchy, and juicy **fried chicken** right in your own kitchen. This isn’t just a recipe we developed for the blog; this is the real deal we serve up when Lena, Anya, and I just need that perfect night in.
I really, truly hope you give Sasha’s method a shot! The best part of Savor Sensations for us is seeing how this recipe shows up on your tables. When you’ve made this batch of **Southern Fried Chicken** and the whole house smells incredible, please, come back and tell us how it went!
Drop a star rating down below—I want to see how many stars you think Sasha deserves for cracking this code! And if you take a picture of that perfect, shattered crust, tag us on social media. We love seeing your triumphs. Happy cooking, friends!
PrintSasha’s Ultra-Crispy Buttermilk Southern Fried Chicken
Achieve the best homemade fried chicken with this recipe. We use a buttermilk brine and a special dredge to give you juicy meat and an ultra-crispy, golden-brown crust every time. This is classic comfort food perfection.
- Prep Time: 30 min
- Cook Time: 45 min
- Total Time: 4 hours 15 min
- Yield: 6 servings
- Category: Dinner
- Method: Deep Frying
- Cuisine: Southern American
- Diet: None
Ingredients
- 4 lbs bone-in, skin-on chicken pieces (thighs, drumsticks, breasts)
- 4 cups buttermilk
- 2 tablespoons kosher salt
- 1 tablespoon black pepper
- 1 teaspoon cayenne pepper (optional, for a kick)
- 4 cups all-purpose flour
- 1/2 cup cornstarch
- 2 tablespoons paprika
- 1 tablespoon garlic powder
- 1 tablespoon onion powder
- Vegetable oil or shortening, for frying (enough to reach 2 inches deep)
Instructions
- Combine the buttermilk, kosher salt, black pepper, and cayenne pepper in a large bowl or zip-top bag. Add the chicken pieces, ensuring they are fully submerged. Cover and refrigerate for at least 4 hours, or preferably overnight, for the juiciest results.
- In a separate shallow dish, whisk together the flour, cornstarch, paprika, garlic powder, and onion powder. This is your crunchy chicken coating dredge.
- Remove the chicken from the buttermilk, letting the excess drip off, but do not rinse.
- Working with one piece at a time, dredge the chicken thoroughly in the flour mixture. Press the flour firmly onto the chicken to create a thick, craggy coating.
- For an extra crispy fried chicken texture, perform a double dip: dip the floured chicken back into the remaining buttermilk for just a second, then immediately return it to the flour mixture, pressing again to build up a thick crust. Place the coated chicken on a wire rack set over a baking sheet. Let it rest at room temperature for 20 minutes; this helps the coating adhere during frying.
- Pour enough oil into a heavy-bottomed pot or deep fryer to reach about 2 inches deep. Heat the oil to 325°F (160°C). Use a thermometer to monitor the temperature closely.
- Carefully place 3-4 pieces of chicken into the hot oil, ensuring you do not overcrowd the pot, which lowers the oil temperature. Fry drumsticks and thighs for about 12-15 minutes, and breasts for 14-18 minutes, turning occasionally until deeply golden brown and cooked through (internal temperature of 165°F or 74°C).
- Remove the cooked chicken and place it on a clean wire rack set over paper towels to drain excess oil. Sprinkle lightly with a pinch of salt immediately after removing from the oil.
- Maintain the oil temperature between 315°F and 325°F for subsequent batches. Serve your golden brown chicken hot.
Notes
- For the crispiest coating, use a mix of all-purpose flour and cornstarch in your dredge. The cornstarch prevents the coating from becoming soggy.
- Do not skip the resting period after dredging; this step is key to getting that signature craggy, crunchy texture.
- If you are making Chicken Fried Chicken instead, you will pound the chicken thin and skip the buttermilk brine, using only an egg wash before dredging.
Nutrition
- Serving Size: 1 piece
- Calories: 450
- Sugar: 1
- Sodium: 550
- Fat: 28
- Saturated Fat: 8
- Unsaturated Fat: 20
- Trans Fat: 0
- Carbohydrates: 15
- Fiber: 1
- Protein: 32
- Cholesterol: 110
