

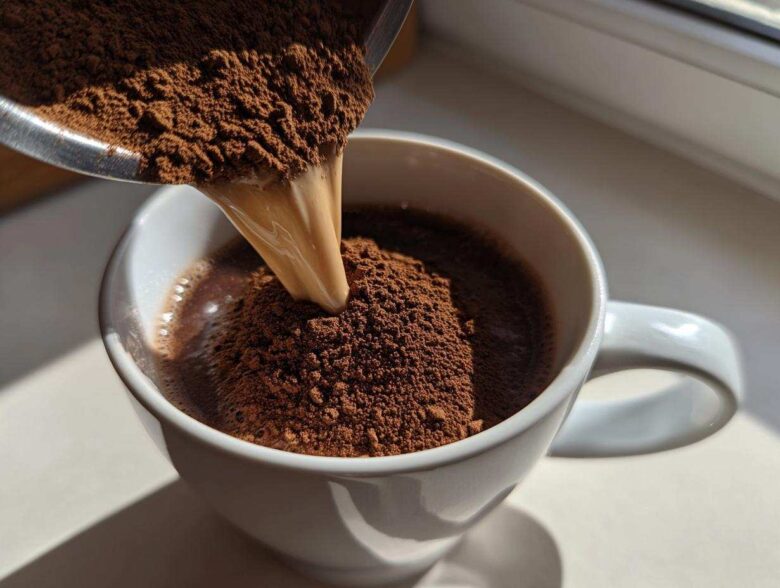
You know those days? The minute the temperature dips below sixty and you start dreaming about curling up under three blankets with a massive mug? That’s when the craving for good cocoa hits, and honestly, the stuff in the little packets just doesn’t cut it anymore. I’m Anya, and when I want that hug-in-a-mug feeling, I go straight to making my own hot cocoa mix from scratch. Trust me, homemade is so much richer and creamier—you won’t believe it’s better than store-bought! The best part is that this whole recipe is totally no-cook, and we’re whipping up a big batch so you can keep it stocked all winter long. It’s one of my favorite things to keep ready in the pantry!
Why This Big Batch hot cocoa mix Recipe is Your Winter Staple
I’m telling you, once you try this big batch recipe, you’ll never go back to those dusty old packets again. We’re talking about a truly rich and creamy hot cocoa mix that tastes miles better than anything you buy off the shelf. Seriously, this is where we shine—taking simple things and making them spectacular!
Quick Assembly for Your Easy hot cocoa mix Recipe
The best part about this whole process? It’s completely no-cook! You won’t even turn on the stove. I had the whole thing measured, mixed, and ready to go in about ten minutes flat. It’s the definition of an easy hot cocoa mix recipe. If you can stir, you can make this!
Perfect hot cocoa mix for Gifting and Sharing
Because we’re focused on a big batch, this mix is custom-made for sharing! Think about it—you make one massive container, and suddenly you have enough material for a dozen thoughtful presents. I love putting layers of this dry mix in cute glass jars with some fluffy marshmallows on top. It turns into the sweetest chocolate gift in a jar that looks impressive but took virtually no effort on our end. It just feels more special when it’s from our kitchen to theirs.
Ingredients for the Ultimate Creamy hot cocoa mix
When it comes to flavor, the ingredients really do matter here, but don’t panic—you probably already have ninety percent of this in your pantry! Because we want that signature rich taste, I absolutely insist you use the best unsweetened cocoa powder you can find. It makes a huge difference in the final cup, trust me!
- 4 cups granulated sugar
- 2 cups unsweetened cocoa powder (use high quality for best flavor)
- 1 3/4 cups powdered milk (or substitute with 1 cup coconut milk powder for dairy-free)
- 1 teaspoon salt
- 1 teaspoon cornstarch (this helps create a creamier texture)
- 1 teaspoon vanilla powder (optional, for depth)
Step-by-Step Instructions for Your DIY hot chocolate powder
The actual process is faster than boiling water for your first cup! Just pull out your biggest bowl—since we are making a big batch, you’ll need the space. We dump everything right in. We aren’t cooking, so no need to worry about measuring spoons over a hot flame; just measure and pour! The absolute most important thing here is the whisking part. Don’t rush it!
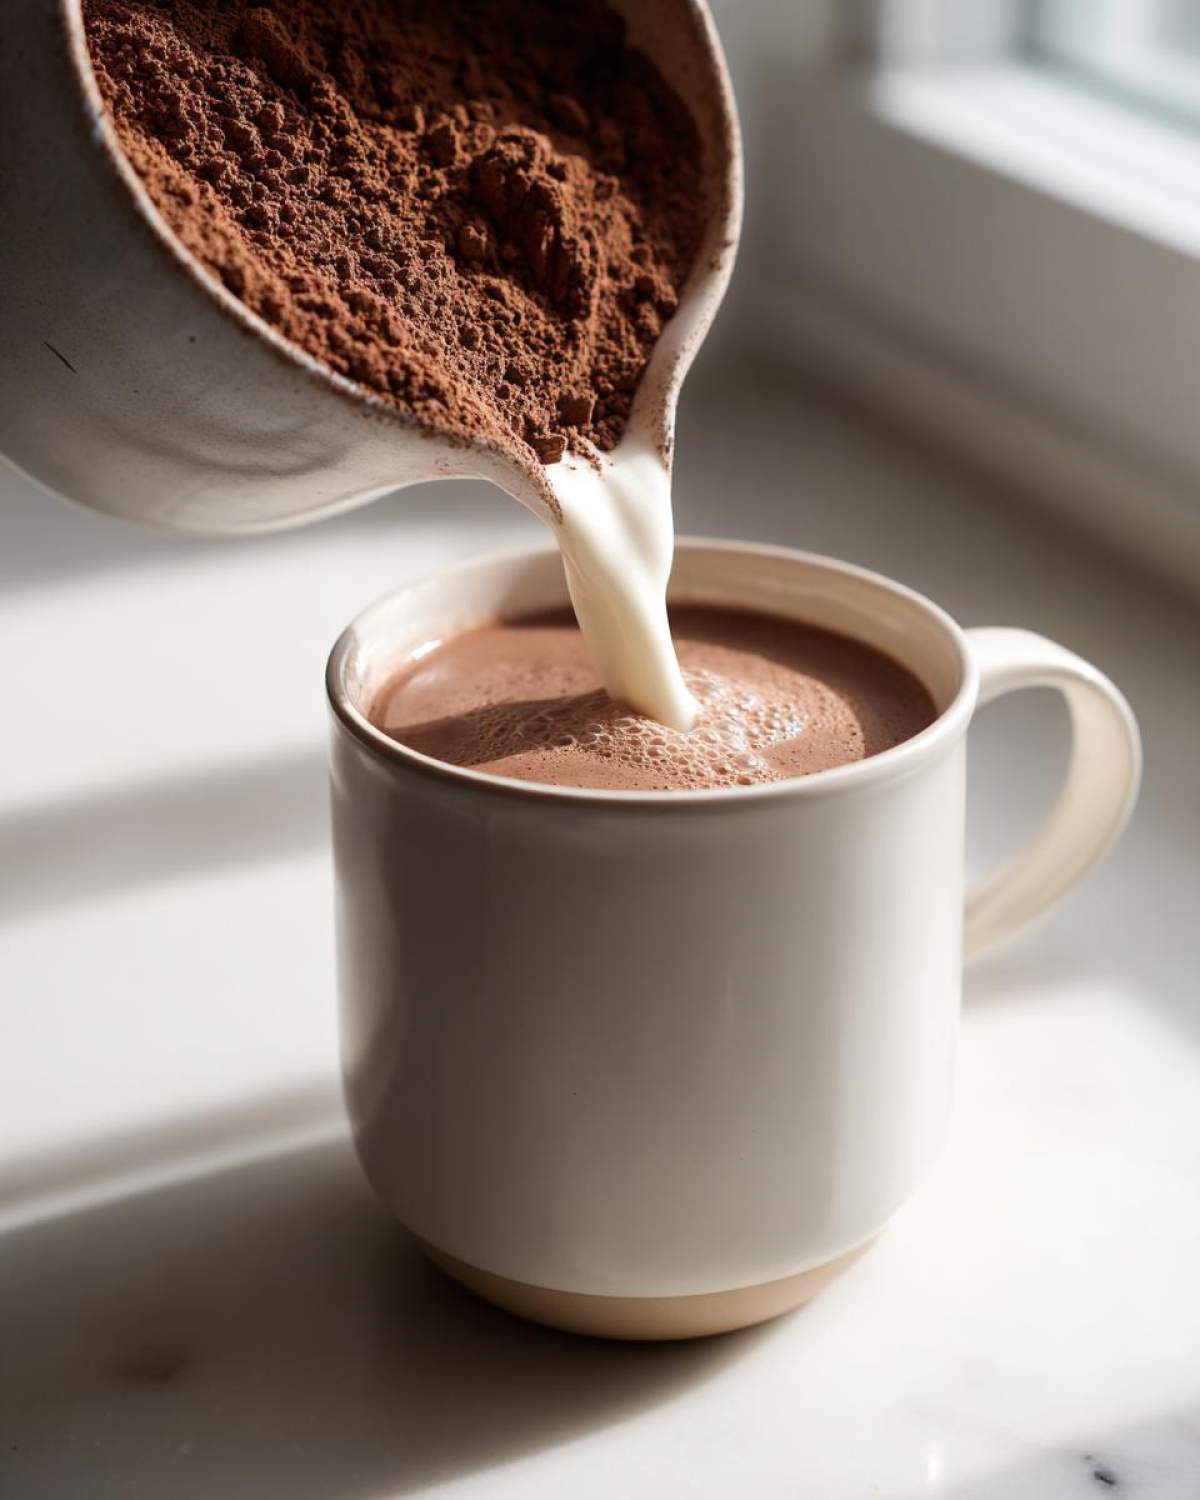
- Gather all your dry ingredients: sugar, cocoa powder, powdered milk, salt, cornstarch, and vanilla powder if you are using it.
- Place all ingredients into a very large bowl.
- Use a whisk to thoroughly combine all the components. Whisk for at least two minutes to ensure the cocoa powder is fully incorporated and there are no lumps.
- If you want an ultra-smooth mix, you can pulse the mixture a few times in a food processor or blender, being careful not to over-process.
- Store the finished hot cocoa mix in an airtight container. This recipe makes a big batch perfect for keeping in your pantry.
- To serve, mix 1/3 cup of the dry mix with 1 cup of hot milk or water. Stir well until completely dissolved and enjoy your rich, homemade hot chocolate.
Achieving a Silky Smooth hot cocoa mix Texture
Now, about that optional step in instruction number four? That’s where you get that heavenly, almost velvety texture that just melts away instantly when the hot liquid hits it. If you have a big food processor, you can pulse the whole dry batch for about ten seconds. This just breaks down the sugar crystals and the cocoa particles even finer. It ensures zero grittiness, giving you that luxurious mouthfeel that makes this hot cocoa mix taste so incredibly rich. If you skip it, just whisk for an extra minute—it’ll still be wonderful!
How to Prepare Your hot cocoa mix When You Are Ready to Drink
Finally—time to drink it! This instruction is super important because using the right liquid changes everything. For one serving of this dreamy chocolate, scoop out just 1/3 cup of your homemade mix and stir it into 1 cup of hot liquid. If you want that true, decadent experience that’s way better than anything from the store, please, use hot milk. Milk makes it instantly creamy! If you’re using water, you’ll still get a good chocolate flavor, but milk is the secret to locking in that gorgeous texture we worked so hard for. You can find some other cozy warmers right here if you love this style of drink!
Ingredient Notes and Substitutions for hot cocoa mix
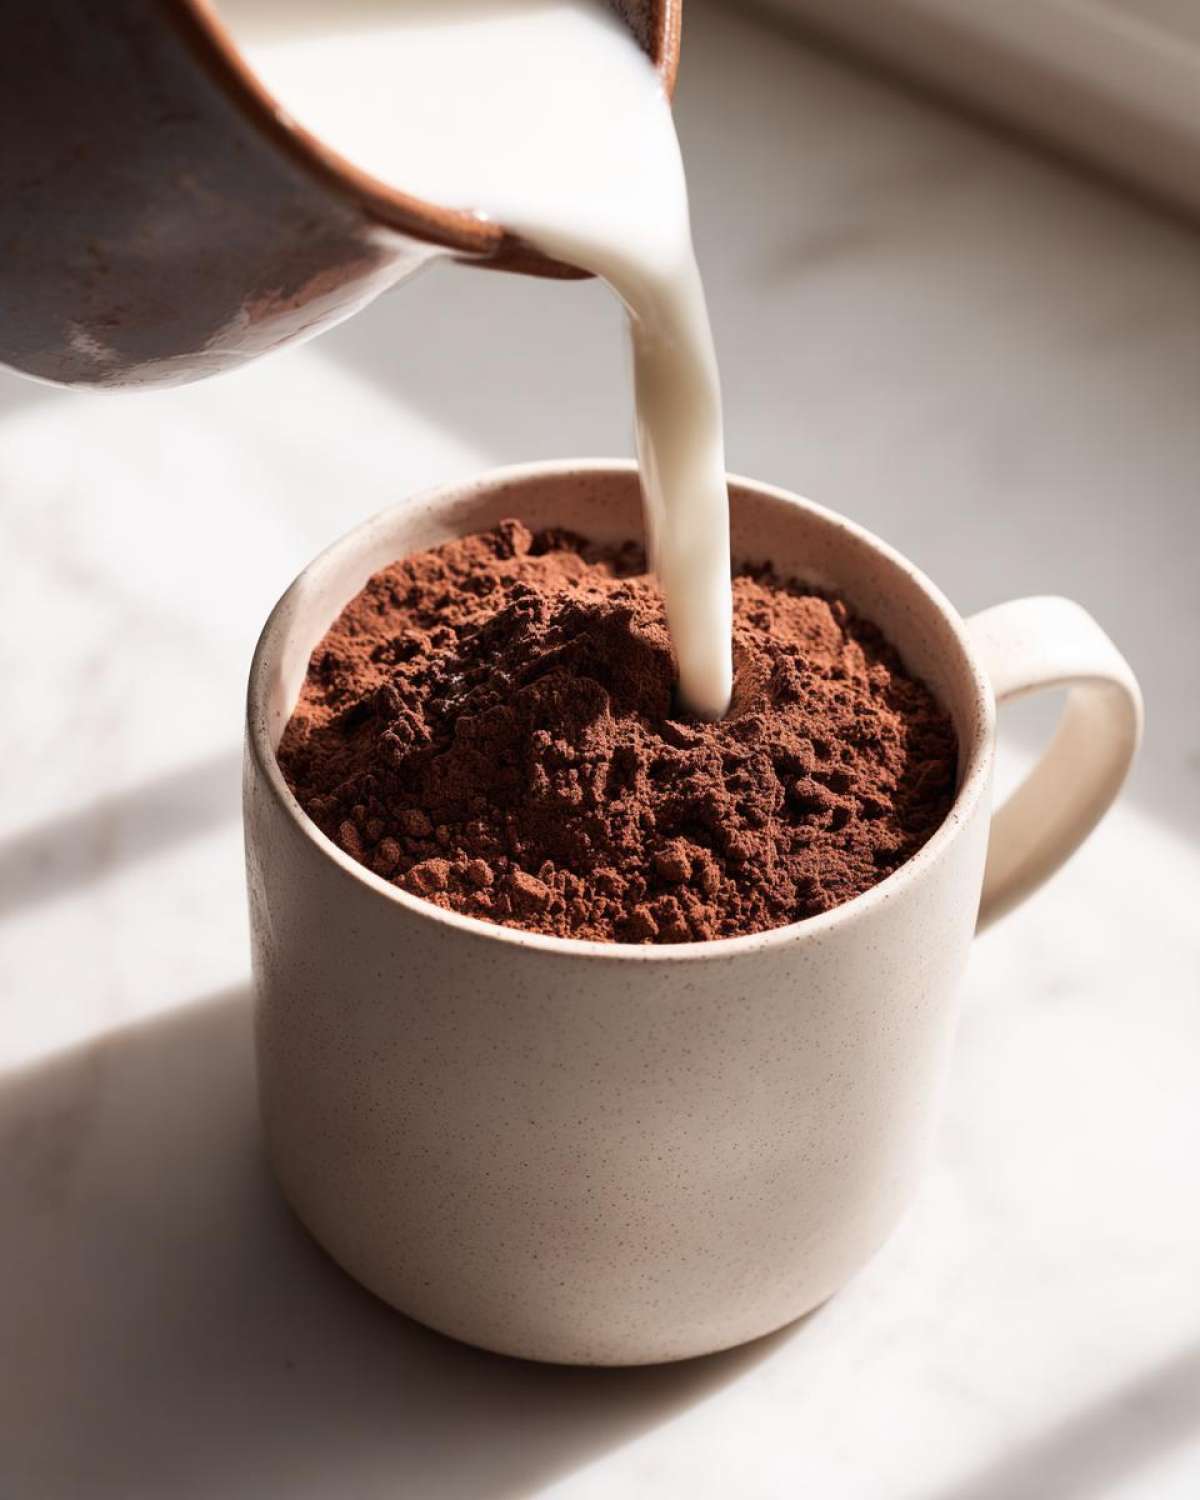
Because we made a big batch, you might run into times when you’re missing just one thing, or maybe you need to tailor it for a friend who can’t have dairy! That’s totally fine—this hot cocoa mix is incredibly adaptable. My biggest question I always get asked is: “Can I make this without the powdered milk?” And the answer is yes, you absolutely can!
If you need to skip the powdered milk, just follow the note in the recipe: increase your cocoa powder to 2 1/4 cups total. Then, you need to make up that lost creaminess, so toss in about 1/2 cup of those finely ground white chocolate chips. They melt right into the liquid later and give you that wonderful richness back. Also, don’t be a slave to the sugar! If you like your chocolate a little darker, start by cutting the sugar down by half a cup and taste testing it before you jar the whole thing up. It’s your mix, after all!
Tips for Success with Your Make Ahead hot cocoa mix
Since we went to the effort of making a huge batch, let’s make sure it stays perfect for when the winter chill really sets in! The single most non-negotiable rule for this pantry staple drink mix? You have to use an airtight container. Seriously, if air gets in there, the sugar can start to clump up, and we want this powder to stay free-flowing for the best mixing experience later on. A big Mason jar with a tight-sealing lid works beautifully.
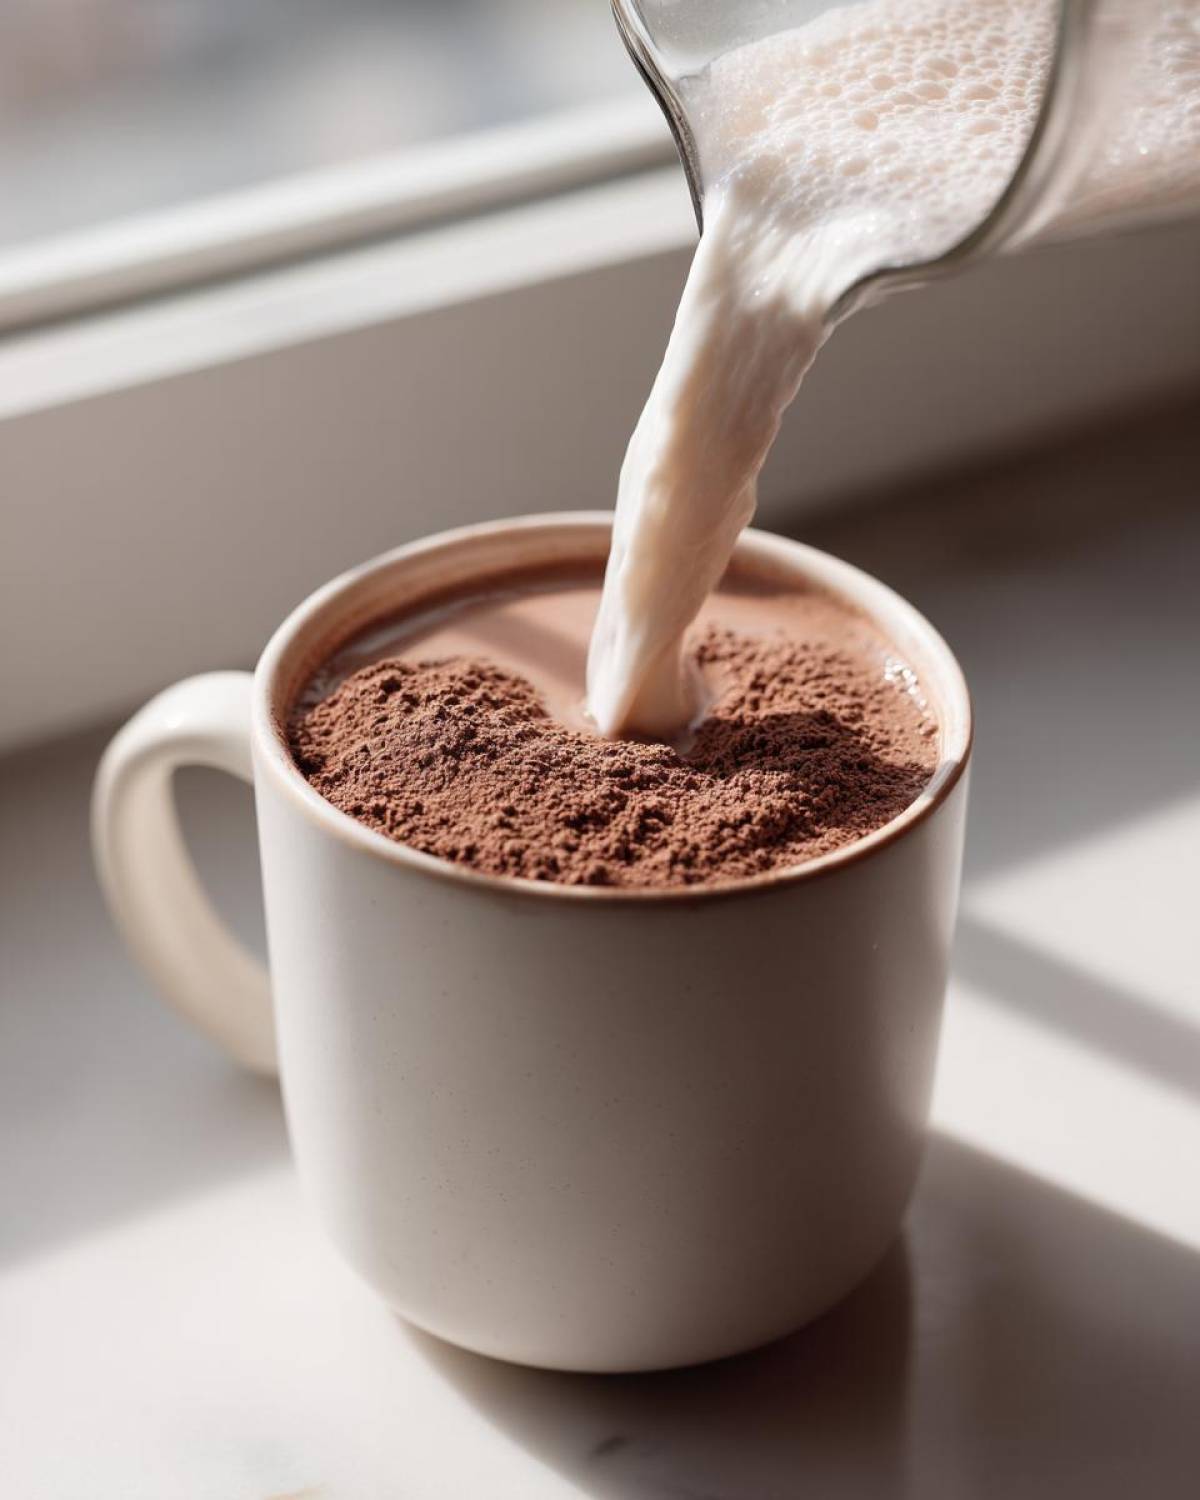
And if you are making this up as gifts, presentation is everything! I love taking a wide-mouth jar and layering things visually. Put the bright white sugar layer down first, then the dark cocoa, then the white powdered milk on top. It looks so festive sitting on a kitchen counter, ready to go! It’s that little bit of extra care that makes a simple homemade goodie feel like a real treasure.
Storage and Shelf Life for Bulk hot cocoa mix
Since we went to the effort of making a huge batch, let’s make sure it stays perfect for when the winter chill really sets in! The single most non-negotiable rule for this pantry staple drink mix? You have to use an airtight container. Seriously, if air gets in there, the sugar can start to clump up, and we want this powder to stay free-flowing for the best mixing experience later on. A big Mason jar with a tight-sealing lid works beautifully.
If you store this dusty dry mix correctly—meaning, somewhere cool and dark, away from the heat of the stove—it will last you for months! I’ve never had a batch go bad before the next holiday season, honestly. It keeps its flavor even longer than those commercial mixes because we skipped all the weird preservatives they use to hide in the back of the shelf.
If you aren’t going to gift it all right away, just seal it up tight. When you go to scoop some out months from now, give it a good whisk one last time before you measure out your serving (the 1/3 cup scoop we talked about). That just stirs everything back into perfect distribution. Isn’t it great having this cozy comfort ready to go whenever you need it?
Variations: Customizing Your hot cocoa mix Recipe
One of the things I love most about having a baseline hot cocoa mix is how easy it is to get creative! Since the base is so perfect, you just stir in your favorite additions right before you store it. If you like a little kick, throw in about two teaspoons of cayenne pepper and a teaspoon of ground cinnamon for a spicy Mexican chocolate vibe. It’s surprisingly amazing!
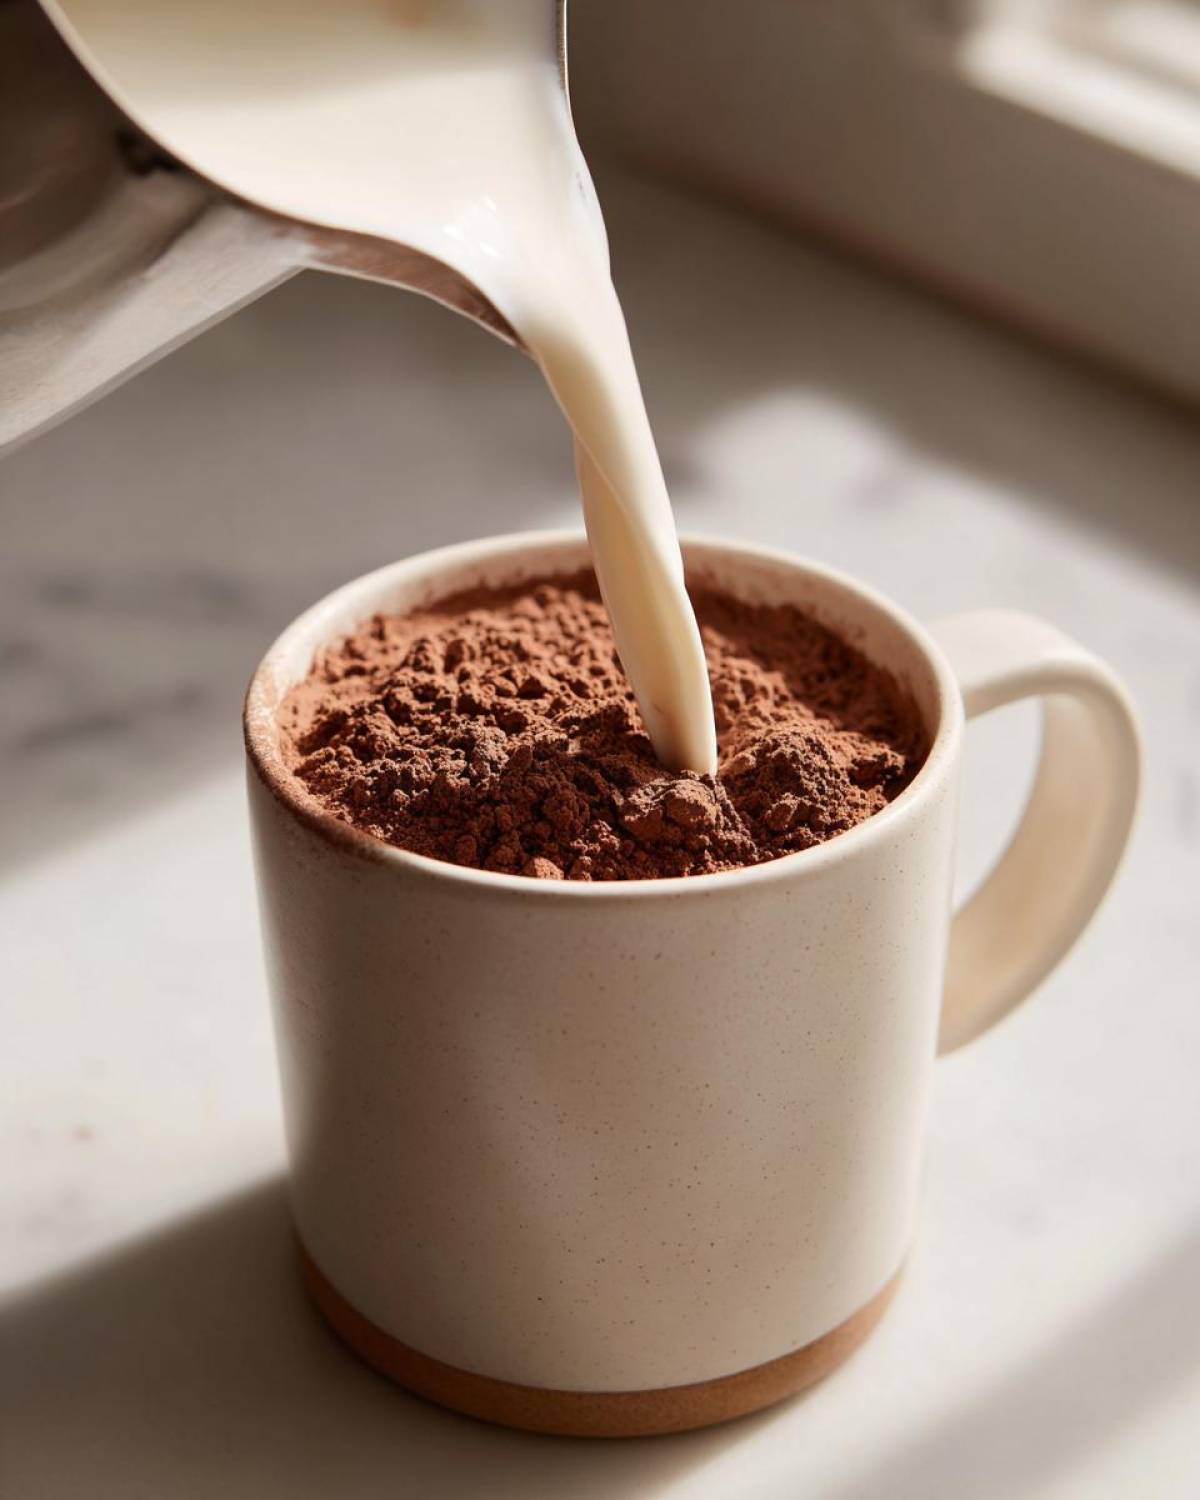
Or, for those mornings when you need a real jumpstart, add about 1/4 cup of instant coffee granules into the big dry batch. Suddenly, you have a beautiful, rich mocha powder ready to go. It’s all about adapting the kitchen to what *you* need that day. Don’t be afraid to experiment!
Frequently Asked Questions About Homemade Cocoa Mix
I know you’ve done the whisking, and now you might have a few lingering thoughts! That’s okay because when you’re diving into a brand-new pantry staple like this, it’s good to be thorough. I tried to answer everything I hear most often about storing and customizing this big batch hot cocoa mix.
Can I make this vegan?
Absolutely! This recipe is so easy to adapt if you are avoiding dairy. The recipe notes tell you to swap out the regular powdered milk for coconut milk powder. If you do that, the mixture is totally plant-based, which is fantastic! Just make sure you use water or a non-dairy milk alternative like oat or almond when you go to prepare your cup later on.
Does this mix require milk to prepare?
Nope! You can use hot water, and you’ll still get a very rich chocolate flavor because we used premium cocoa powder. However, if you want that truly rich and creamy hot cocoa mix experience, heat up some milk instead. That’s the secret to a velvety texture that really feels like a treat!
How long does this hot cocoa mix last?
Since this is a dry mix, as long as you keep it sealed up tight in an airtight container and store it in a cool, dark spot in your cabinet, it lasts for months. Seriously, months! I usually make mine late in the fall and it lasts me right through the end of winter. You know it’s fresh if it stays powdery and doesn’t clump.
What is the cornstarch for in the DIY hot chocolate powder?
Ah, that little bit of cornstarch is my secret weapon for creating that luxurious texture! It doesn’t thicken the liquid visibly once it’s dissolved, but it does bind to the fat and cocoa particles slightly, preventing separation and giving you just a touch more body. It’s key to that ‘creamy’ sensation we’re aiming for in this homemade hot cocoa mix recipe!
PrintBig Batch Creamy Homemade Hot Cocoa Mix (Perfect for Gifting)
Create your own rich, velvety hot cocoa mix using simple pantry staples. This easy, no-cook recipe makes a large batch that tastes better than store-bought and is ideal for cozy winter drinks or thoughtful gifts.
- Prep Time: 10 min
- Cook Time: 0 min
- Total Time: 10 min
- Yield: About 16 servings
- Category: Beverage
- Method: Mixing
- Cuisine: American
- Diet: Vegetarian
Ingredients
- 4 cups granulated sugar
- 2 cups unsweetened cocoa powder (use high quality for best flavor)
- 1 3/4 cups powdered milk (or substitute with 1 cup coconut milk powder for dairy-free)
- 1 teaspoon salt
- 1 teaspoon cornstarch (this helps create a creamier texture)
- 1 teaspoon vanilla powder (optional, for depth)
Instructions
- Gather all your dry ingredients: sugar, cocoa powder, powdered milk, salt, cornstarch, and vanilla powder if you are using it.
- Place all ingredients into a very large bowl.
- Use a whisk to thoroughly combine all the components. Whisk for at least two minutes to ensure the cocoa powder is fully incorporated and there are no lumps.
- If you want an ultra-smooth mix, you can pulse the mixture a few times in a food processor or blender, being careful not to over-process.
- Store the finished hot cocoa mix in an airtight container. This recipe makes a big batch perfect for keeping in your pantry.
- To serve, mix 1/3 cup of the dry mix with 1 cup of hot milk or water. Stir well until completely dissolved and enjoy your rich, homemade hot chocolate.
Notes
- For a richer, more decadent cup, use hot milk instead of water when preparing.
- If you are making this as a gift, layer the dry ingredients in a decorative jar and top with mini marshmallows or chocolate chips.
- To make this mix without powdered milk, increase the cocoa powder to 2 1/4 cups and add 1/2 cup of finely ground white chocolate chips to the mix.
- You can customize the sweetness by slightly reducing the sugar amount before mixing.
Nutrition
- Serving Size: 1/3 cup dry mix
- Calories: 180
- Sugar: 30
- Sodium: 110
- Fat: 2
- Saturated Fat: 1
- Unsaturated Fat: 1
- Trans Fat: 0
- Carbohydrates: 38
- Fiber: 2
- Protein: 3
- Cholesterol: 5
