

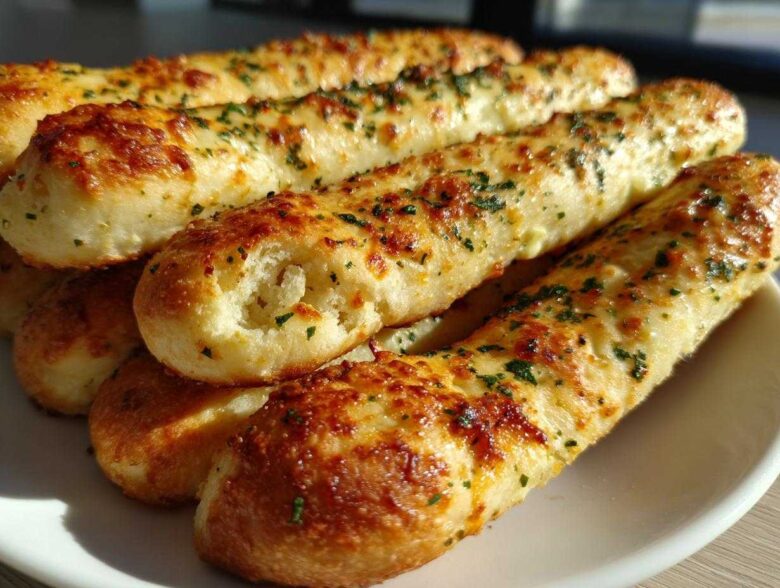
Okay, let’s be honest. When you’re sitting down to a big bowl of pasta, what’s the very first thing you look for? If you’re like me, you’re scanning the table, hoping someone remembered to bring those perfect, cloud-like, buttery sticks of happiness. I used to think achieving those incredibly soft and chewy restaurant **breadsticks** at home was some kind of secret magic only professionals knew. Trust me, I’ve spent entire weekends trying to nail that texture!
But Anya, bless her methodical heart, finally cracked the code. She took what we wanted—the absolute best breadsticks you can imagine—and turned it into something repeatable. This isn’t just a recipe; this is our ultimate Olive Garden Copycat Breadsticks recipe. They come out fluffy, drenched in the most sensational garlic Parmesan butter topping, and they are ridiculously easy to make. You can find more of our baking adventures over on the main blog page over at Savor Sensations. Say goodbye to sad, dry dinner rolls; these buttery breadsticks are here to change your life!
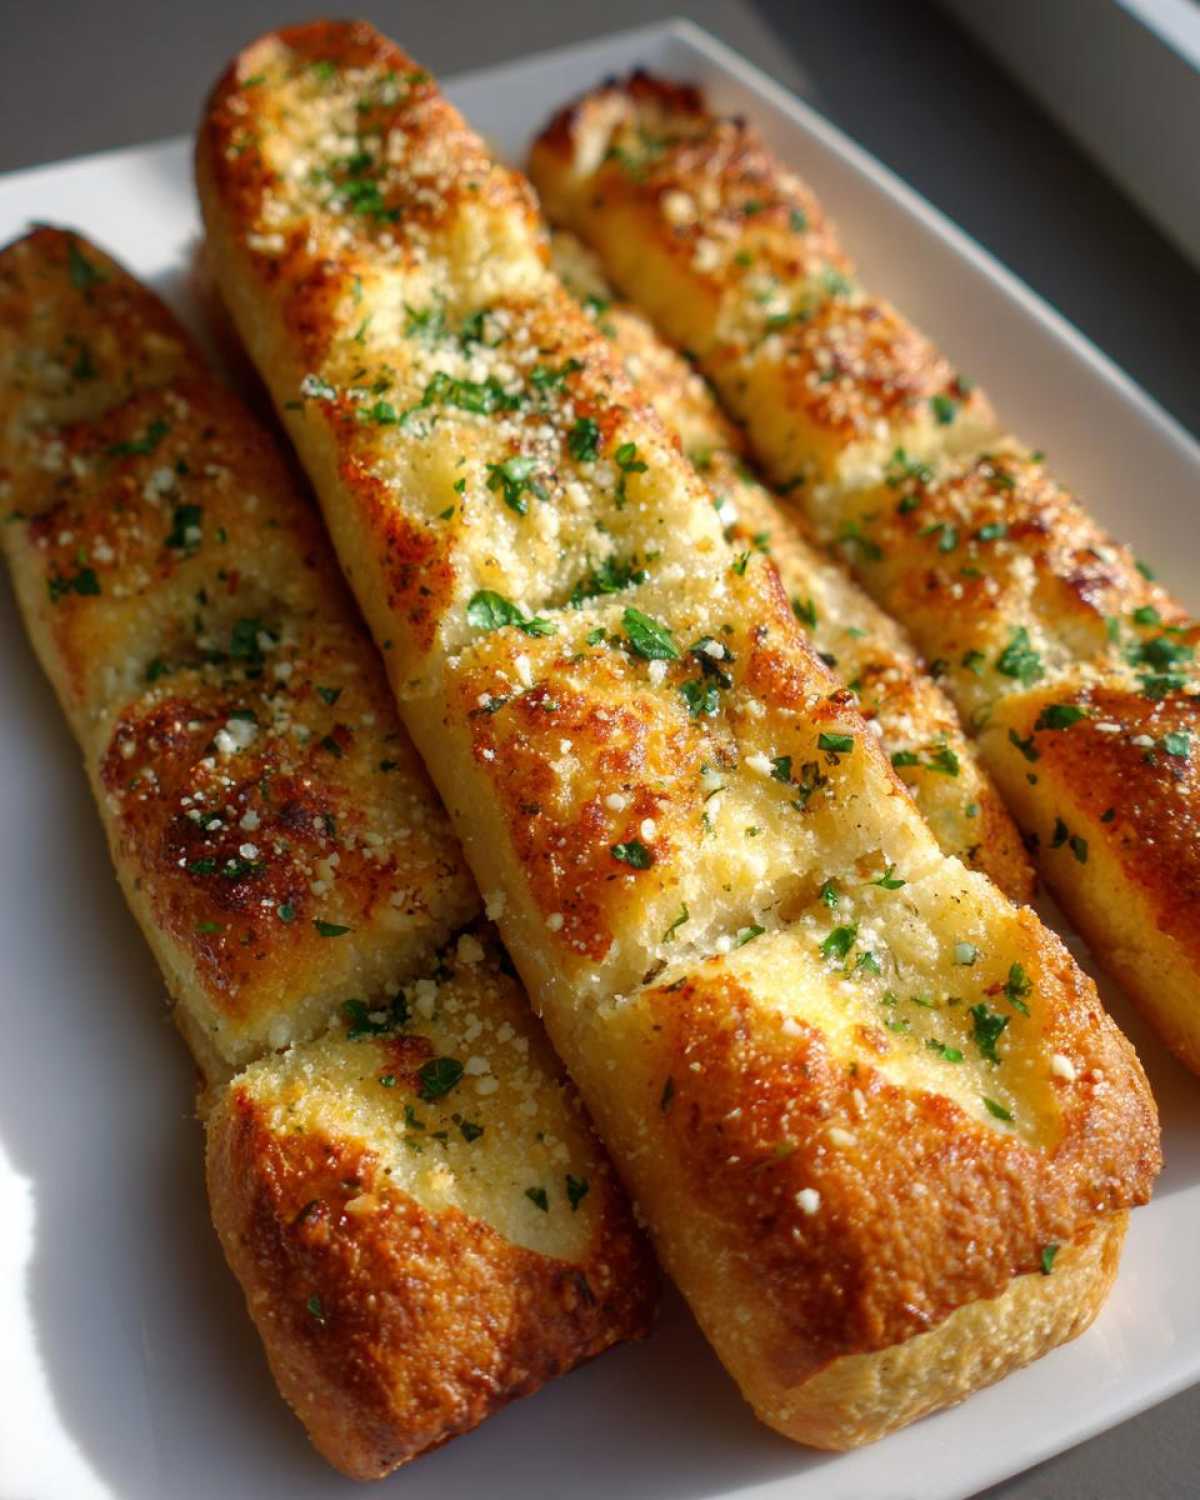
Why Our Soft Breadsticks Recipe is Your New Go-To
I know you’ve seen plenty of recipes, but listen, these homemade breadsticks are different. We focused intensely on getting that perfect texture—they are outrageously soft on the inside while still being slightly chewy, just like you want from restaurant style breadsticks!
- They nail that famous Olive Garden Copycat quality.
- The Garlic Parmesan Breadsticks topping is buttery and flavorful, applied right when they come out!
- It’s a simple homemade dough recipe that doesn’t require all day to proof.
Ingredients for the Ultimate Soft & Chewy Breadsticks
When Anya gathers these ingredients, you know it’s serious business! She insists on good basic ingredients for the dough, but the real star is definitely the topping. Seriously, that Garlic Parmesan Breadsticks mixture is what makes people ask for the recipe right away. We always make sure the garlic is truly fresh minced garlic for the best punch!
- 1 1/2 cups warm water (Make sure it’s about 110°F—hot enough, but not so hot it kills the yeast!)
- 2 1/4 teaspoons active dry yeast
- 2 tablespoons granulated sugar
- 4 cups all-purpose flour, plus extra for dusting (Don’t skimp here!)
- 1 teaspoon salt
- 2 tablespoons olive oil
- 1 large egg, beaten (This is just for a quick egg wash on top)
- For the Butter Topping:
- 1/2 cup unsalted butter, melted (Real butter makes all the difference!)
- 4 cloves garlic, minced
- 1 teaspoon dried Italian seasoning
- 1/2 cup grated Parmesan cheese (Use the good stuff for coating!)
If you love that garlicky flavor in other dishes, you absolutely have to try the butter on our Garlic Herb Butter Roast Chicken next week. It’s magic!
Step-by-Step Instructions for Perfect Homemade Breadsticks Recipe
Alright, let’s get this dough moving! This is where Sasha usually starts humming because the smell of yeast waking up is just the best signal that something great is happening. Remember, we need that dough to be soft, so don’t rush the waiting part. If you’re looking for other fantastic baking projects, check out Anya’s amazing Soft Gingerbread Whoopie Pies!
Making the Dough for Your Breadsticks
First, we need to wake up that yeast! Mix the warm water, sugar, and yeast together. See how it gets foamy? That’s crucial—it means your yeast is alive and ready to do its job. If it doesn’t foam up, toss it and start over with warmer, not hotter, water. Add your flour and salt, and when it comes together, drizzle in the olive oil. Now it’s time to knead! You want to work that dough on a floured surface for about five to seven minutes until it feels smooth and springs back when you poke it. That smoothness is what gives you those soft breadsticks later on.
Shaping and Second Rise of the Breadsticks
Once the dough has doubled (give it a good 60 to 90 minutes!), gently punch the air out. Divide it into two halves. Here’s where precision helps: roll each half into a rectangle that’s about 1/4 inch thick. That thickness is key for a chewy center! Then, just cut those rectangles into strips—about an inch wide should do the trick for perfect individual breadsticks. Lay them on your prepared baking sheets, cover them loosely, and let them relax for just 20 minutes while you get your oven roaring hot to 400°F (200°C).
Baking and Applying the Garlic Butter Topping to Your Breadsticks
Right before they go in, give them a quick brush with that beaten egg wash; this helps them get a lovely golden color. Bake them for about 10 to 12 minutes until they’re lightly golden. Now, listen carefully—the second they come out, you need to brush them immediately with the melted butter mixed with minced garlic and Italian seasoning. That warmth pulls all that garlicky flavor right into the bread! Finish by dusting them generously with the grated Parmesan cheese before they even have a chance to cool down. Serve them piping hot!
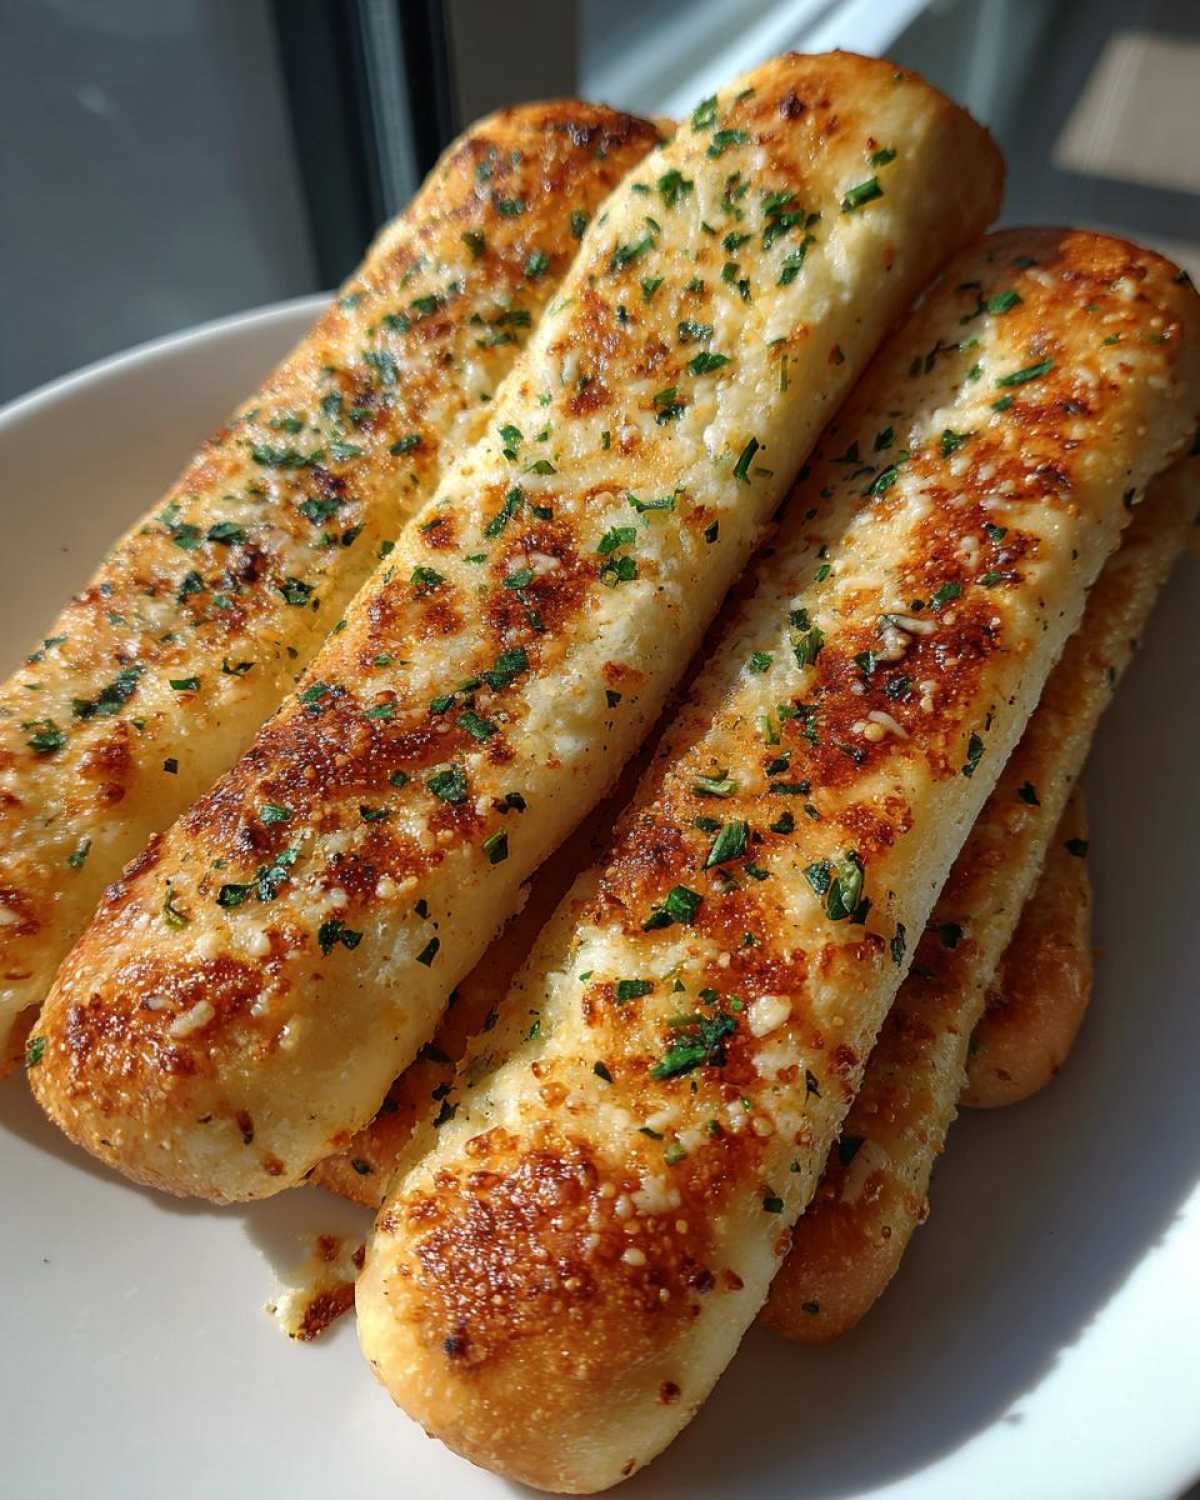
Expert Tips for Restaurant Style Breadsticks Success
You can use the steps above and get fantastic results, I promise you. But if you want to really step up your game and nail that unbelievably soft and chewy breadsticks texture, I have a couple of little secrets Anya and I discovered while perfecting this batch. This is how you move from “good homemade” to “better than the restaurant.”
If you have time, this next step is non-negotiable for that cloud-like center. After the dough finishes its first rise, instead of letting it sit out, stick the entire covered bowl in the fridge overnight. This slow, cold fermentation builds flavor like crazy. Now, if you use that option, just remember to let the dough warm up on the counter for about an hour before you go to shape those strips.
Also, don’t be lazy with the topping application! You need to brush on that garlic butter the very second those sticks leave the oven. If you wait even two minutes, the bread starts setting up and won’t soak up the flavor. It should sizzle when it hits the hot bread. A final note on cheese: use freshly grated Parmesan if you can—the pre-grated stuff sometimes clumps or doesn’t melt as evenly into that buttery crust.
Variations: Making Cheesy Breadsticks or Italian Breadsticks
Okay, so maybe you’re looking at the recipe and thinking, “This is great, Anya, but where’s the REAL cheese?” You are absolutely not alone! So many of you search for **Cheesy Breadsticks**, and honestly, I can’t blame you. It takes this amazing soft breadstick and makes it completely irresistible. We have a fantastic recipe for Cheesy Tuna Noodle Casserole, but these cheese breadsticks are something totally different!
It’s super easy to convert this recipe for your cheesy cravings. If you want that gooey, melted topping, you just need one extra ingredient: shredded mozzarella. About a cup should do the trick for one batch.
How to Make Cheesy Breadsticks
The key here is timing. You don’t want to add the mozzarella too soon, or it will burn before the bread is done baking through. In Step 5, after you’ve brushed the breadsticks lightly with the egg wash and set your oven to 400°F, bake them for about 7 minutes.
At that 7-minute mark, pull the tray out gently, sprinkle your mozzarella evenly over the top of all the sticks, and pop them back in for the final 3 to 5 minutes. You are watching for the cheese to get bubbly and just start turning golden at the edges. Then, right when they come out, hit them with that garlicky, buttery goodness and the dusting of Parmesan as usual. Wow, talk about comfort food!
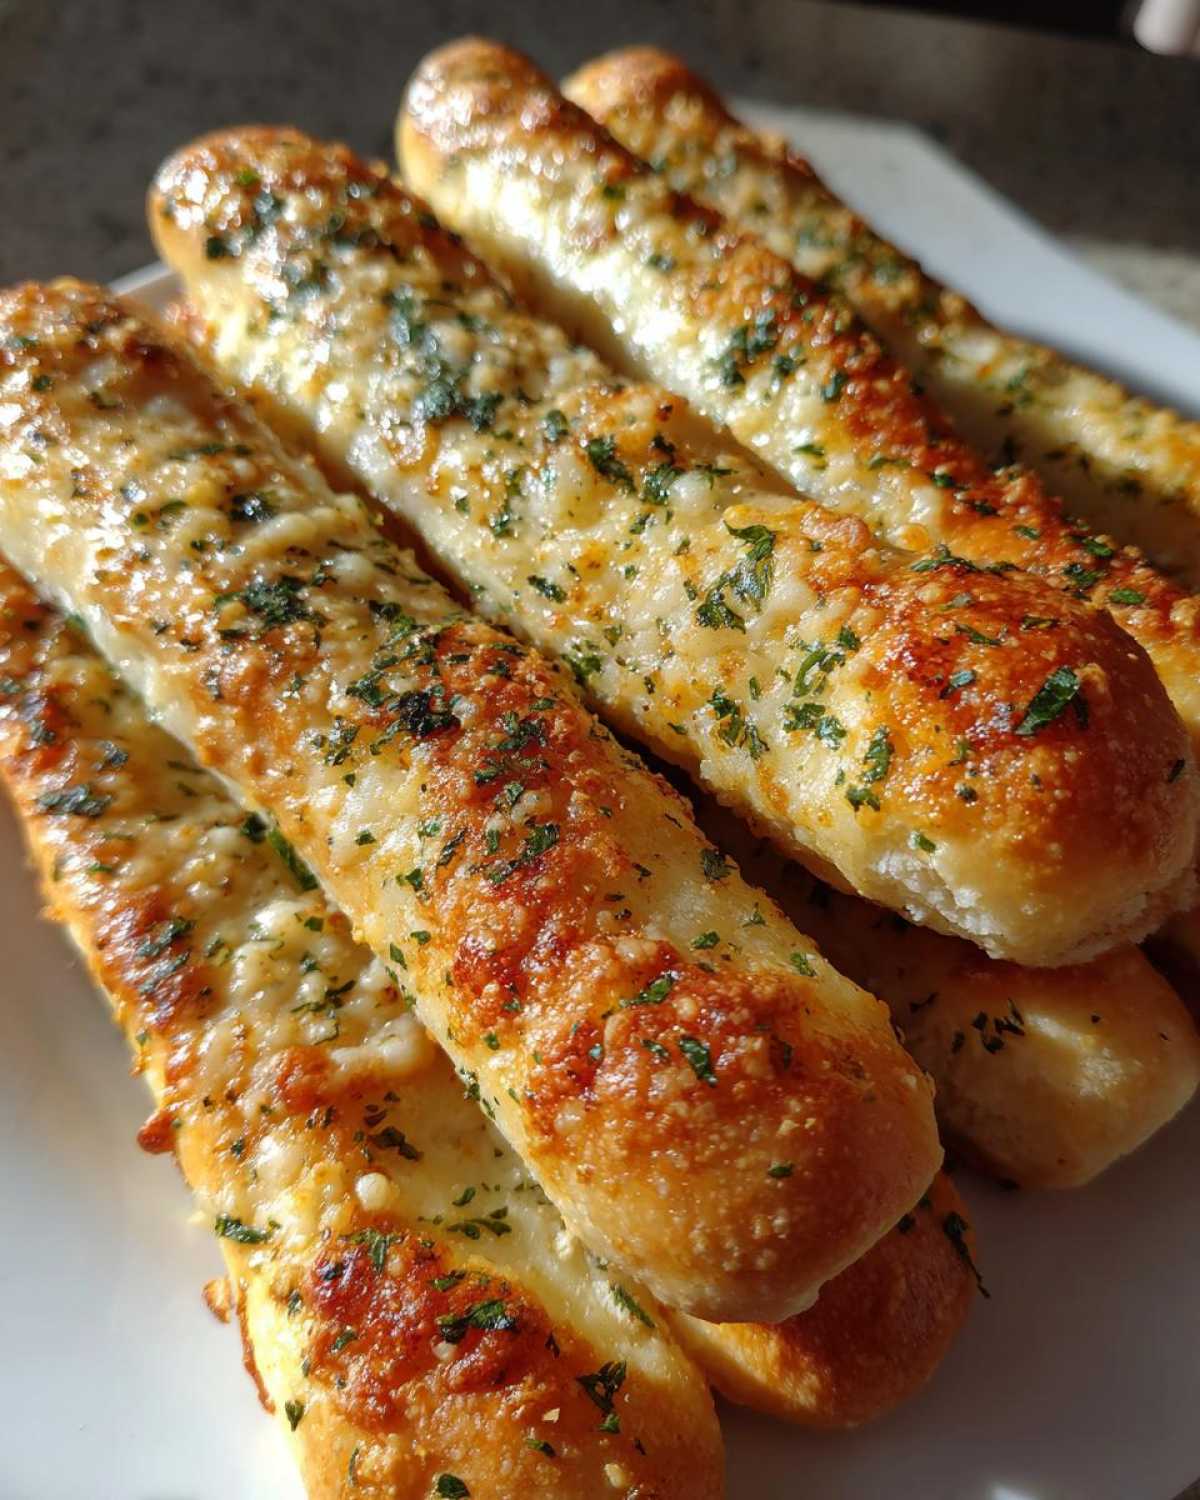
Switching it Up for Italian Breadsticks Flavor
If you’re not in the mood for cheese or copycat flavors and just want something that tastes more like classic Italian Breadsticks to serve with a light salad, you can tweak the seasonings in the butter topping. You already have the Italian Seasoning, which is great.
To lean into that more herbaceous, purely Italian profile, skip the Parmesan cheese dusting at the end. Instead, right after you brush on the garlic butter, sprinkle dried oregano and a pinch of dried rosemary over the hot sticks. Maybe add just a tiny bit more fresh minced garlic to the butter mixture, too. It gives them a completely different, slightly more rustic flavor that still pairs perfectly with any dinner.
Storage and Reheating Instructions for Buttery Breadsticks
The best part about these irresistible buttery breadsticks is that they are nearly as good the next day, which is perfect for those quick lunches! If you have any leftovers that weren’t devoured right away, store them in an airtight container at room temperature. Honestly, I wouldn’t trust them past two days, even though the original dough recipe is robust enough for make-ahead prep.
When you’re ready to enjoy them again, the key is warmth, not crisping. Don’t just toss them in the microwave; they get chewy in a bad way! For the softest dinner rolls experience, I wrap a small stack in foil and warm them in a preheated oven at 300°F (150°C) for about five minutes. If you love warm, gooey centers like in our Apple Cinnamon Rolls Recipe, wrapping in foil traps the steam and brings that fresh-out-of-the-oven softness right back!
Frequently Asked Questions About Homemade Breadsticks
I always get so many questions about these guys once people try them! It’s funny how making a simple side dish can spark so much curiosity. Since everyone wants to know how to make quick bread recipes that work every time, I rounded up the most common things I hear folks ask about achieving perfect homemade breadsticks. If you’re looking for more baking inspiration after you master these, you can always check back at Savor Sensations!
Can I use store-bought dough for these breadsticks?
Oh yes, you absolutely can, especially if you’re racing against the clock and need super **Easy Breadsticks**! You can certainly substitute a tube of refrigerated pizza dough for the homemade dough recipe here. Just keep in mind, the texture won’t be quite the same as these dedicated **Homemade Dough Recipe** breadsticks. Store-bought dough tends to be a bit softer and less chewy overall. If you go that route, skip the first rise and go straight to shaping after you’ve mixed the toppings. It’s a great shortcut for a weeknight side dish!
How long do these breadsticks stay soft?
If you store them correctly in that airtight container, they keep that amazing soft, **Chewy Breadsticks** texture for about 24 hours at room temperature—maybe pushing it to 36 hours if your kitchen isn’t too dry. Honestly, though, they are always best eaten the day they are baked! If you save them, please refer back to my reheating tips above, especially wrapping them in foil for the oven. That trick works wonders to bring back that fresh-out-of-the-oven softness!
What is the best dipping sauce for these appetizer bread sticks?
It’s hard to beat the classics when you have breadsticks this good! Since we were going for that Italian-American vibe, a rich, warm marinara sauce is the obvious answer. You can’t beat dipping these buttery beauties right into a good tomato sauce while you wait on the main course. I also love a side of creamy Alfredo sauce if I’m serving them up as an extra decadent appetizer. If you’re serving them alongside soup, a simple, high-quality garlic butter dip on the side is also spectacular for these **Appetizer Bread Sticks**!
Serving Suggestions for Your Garlic Breadsticks Recipe
Now that you’ve got a mountain of glorious, garlic-drenched breadsticks cooling on the counter, the fun part begins: eating them! Seriously, these aren’t just for scraping up sauce when you finish dinner; they deserve their moment in the spotlight. Since they are so incredibly rich and flavorful, they work perfectly as a standout **Appetizer Bread Sticks** all on their own, maybe just with a small bowl of ranch if Sasha gets her way.
But let’s be real, these were practically invented to go with Italian food. They make the *ultimate* **Dinner Side Dish Bread** experience. You absolutely must serve these alongside a big, steaming bowl of spaghetti and meatballs. After you’ve twirled all your noodles, you use these breadsticks to mop up every last bit of sauce from the bottom of your bowl. Don’t you dare waste that garlic butter!
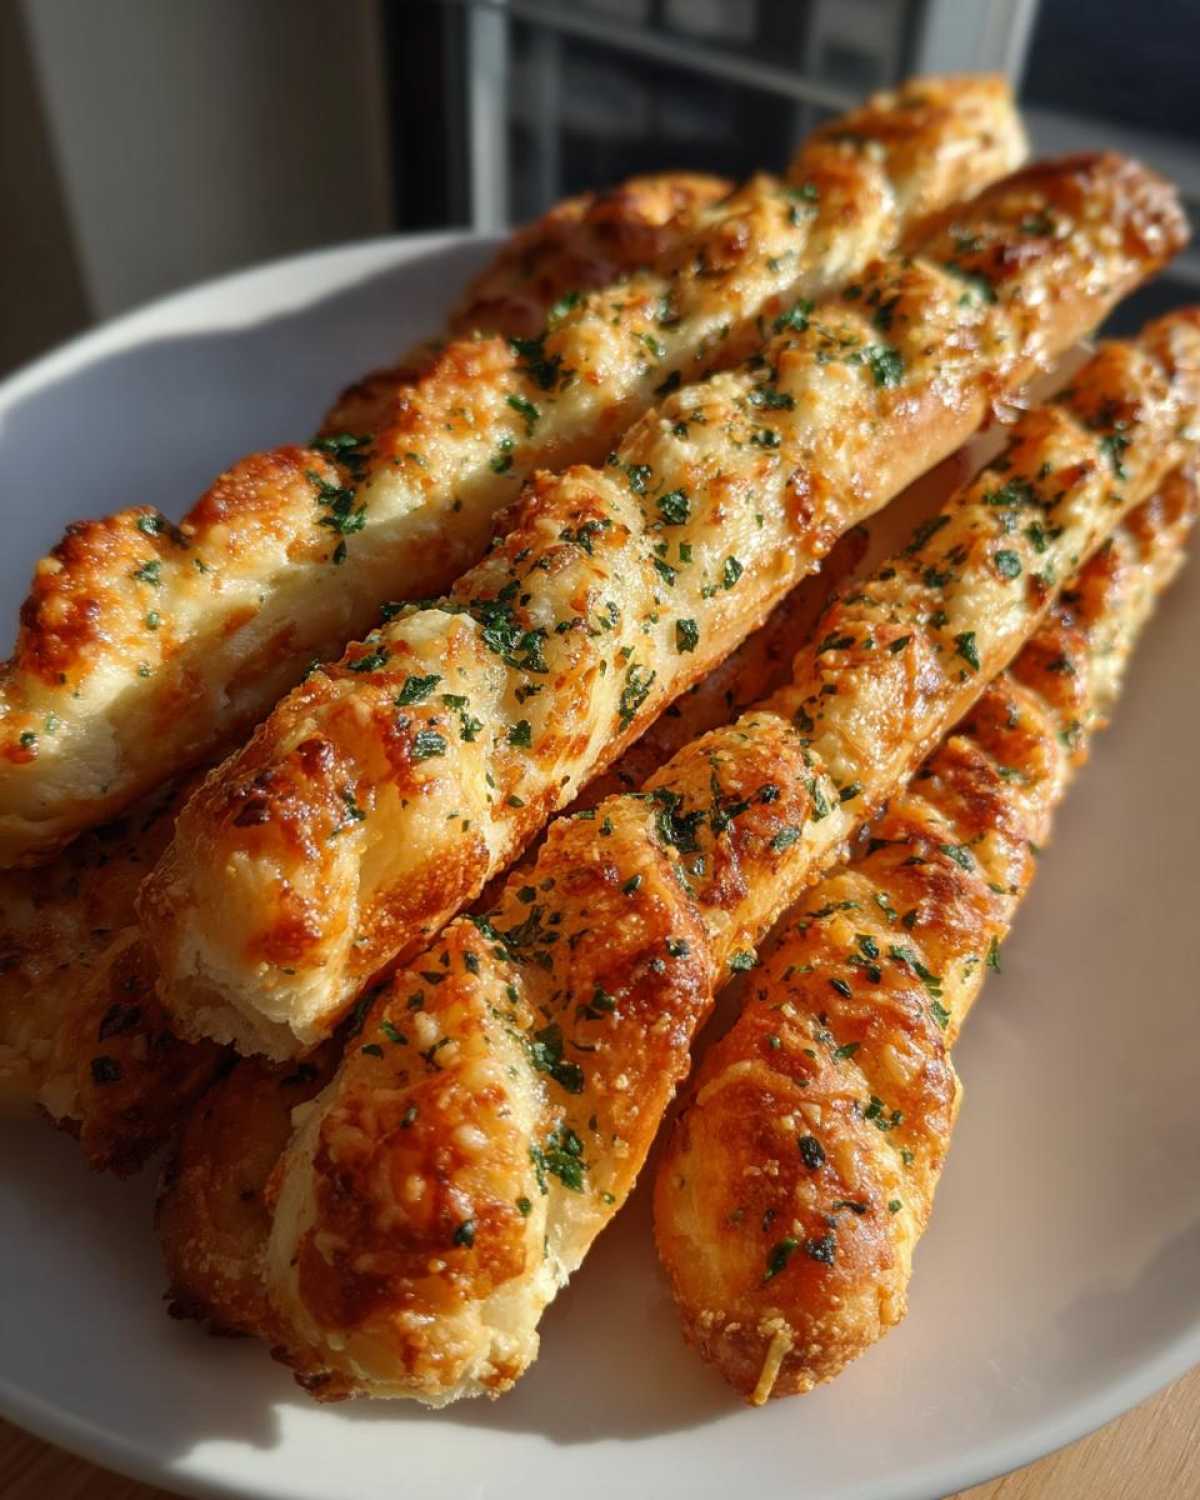
Anya always insists they are the perfect companion to soups. Think about it: dipping that soft, chewy goodness into a hearty minestrone or even a creamy tomato soup? Perfection! If you’re making something rich like our Creamy Tuscan Chicken Pasta, these breadsticks are the perfect vehicle for capturing all that extra sauce. They balance out the richness of the main dish while still being a super satisfying side all by themselves. Honestly, I’ve made a meal out of just these breadsticks and a glass of wine, so no judgment here if you bypass the main course entirely!
Nutritional Estimate for These Soft Dinner Rolls
Okay, I know once you pile on that melted butter, garlic, and Parmesan cheese, you stop thinking about things like calories, but just in case you were wondering how our soft dinner rolls stack up nutritionally—here’s the rundown! Since we’re using a full cup of butter and flour for that rich coating, these are definitely more of a treat than an everyday plain roll.
Remember, this is just an estimate! We aren’t certified nutritionists over here with fancy lab equipment; we’re just bakers who love to share! Sasha always tells people to focus on making memories, not counting grams, but here is the general idea based on one serving (one breadstick):
- Calories: Approximately 145
- Fat: Around 6 grams (with about 3.5 grams being that delicious saturated fat from the butter!)
- Carbohydrates: About 20 grams
- Protein: Around 4 grams
- Sugar: Seems low, about 1.5 grams
- Sodium: This is higher because of the salt in the dough and the Parmesan cheese, running around 210mg.
The takeaway here is that these are decadent and delicious, perfect for soaking up extra sauce! Enjoy these **Buttery Breadsticks** responsibly, best served alongside your favorite pasta dish, like the one Lena’s always making over on her side of the kitchen!
PrintThe Ultimate Soft & Chewy Olive Garden Copycat Breadsticks with Garlic Parmesan Butter
Recreate the famous soft, chewy, and buttery breadsticks from your favorite Italian restaurant right in your own kitchen. This easy recipe delivers restaurant-style breadsticks perfect for any dinner.
- Prep Time: 25 min
- Cook Time: 12 min
- Total Time: 97 min
- Yield: 20 servings
- Category: Appetizer
- Method: Baking
- Cuisine: Italian-American
- Diet: Vegetarian
Ingredients
- 1 1/2 cups warm water (110°F)
- 2 1/4 teaspoons active dry yeast
- 2 tablespoons granulated sugar
- 4 cups all-purpose flour, plus more for dusting
- 1 teaspoon salt
- 2 tablespoons olive oil
- 1 large egg, beaten (for egg wash)
- 1/2 cup unsalted butter, melted
- 4 cloves garlic, minced
- 1 teaspoon dried Italian seasoning
- 1/2 cup grated Parmesan cheese
Instructions
- Activate the yeast: In a large bowl, combine the warm water, sugar, and yeast. Let it sit for 5 to 10 minutes until foamy.
- Mix the dough: Add the flour and salt to the yeast mixture. Mix until a shaggy dough forms, then add the olive oil. Knead the dough on a lightly floured surface for 5 to 7 minutes until it is smooth and elastic.
- First rise: Place the dough in a lightly oiled bowl, turning to coat. Cover the bowl with plastic wrap or a clean towel and let it rise in a warm place for 60 to 90 minutes, or until doubled in size.
- Shape the breadsticks: Gently punch down the dough. Divide it into two equal pieces. Roll each piece out into a rectangle about 1/4 inch thick. Cut each rectangle into 10 to 12 strips, about 1 inch wide.
- Second rise: Place the breadstick strips on baking sheets lined with parchment paper. Cover loosely and let them rest for 20 minutes while you preheat your oven to 400°F (200°C).
- Bake: Brush the tops lightly with the beaten egg wash. Bake for 10 to 12 minutes, or until lightly golden brown.
- Prepare the garlic butter: While the breadsticks bake, combine the melted butter, minced garlic, and Italian seasoning in a small bowl.
- Coat the breadsticks: As soon as the breadsticks come out of the oven, brush them generously with the garlic butter mixture.
- Finish: Immediately sprinkle the tops evenly with the grated Parmesan cheese. Serve warm.
Notes
- For extra soft dinner rolls texture, you can let the dough rise in the refrigerator overnight after the first rise.
- If you want cheesy breadsticks, sprinkle mozzarella cheese over the tops during the last 3 minutes of baking before applying the garlic butter.
- You can make the garlic butter topping ahead of time and gently reheat it before brushing.
Nutrition
- Serving Size: 1 breadstick
- Calories: 145
- Sugar: 1.5
- Sodium: 210
- Fat: 6
- Saturated Fat: 3.5
- Unsaturated Fat: 2.5
- Trans Fat: 0
- Carbohydrates: 20
- Fiber: 1
- Protein: 4
- Cholesterol: 15
