

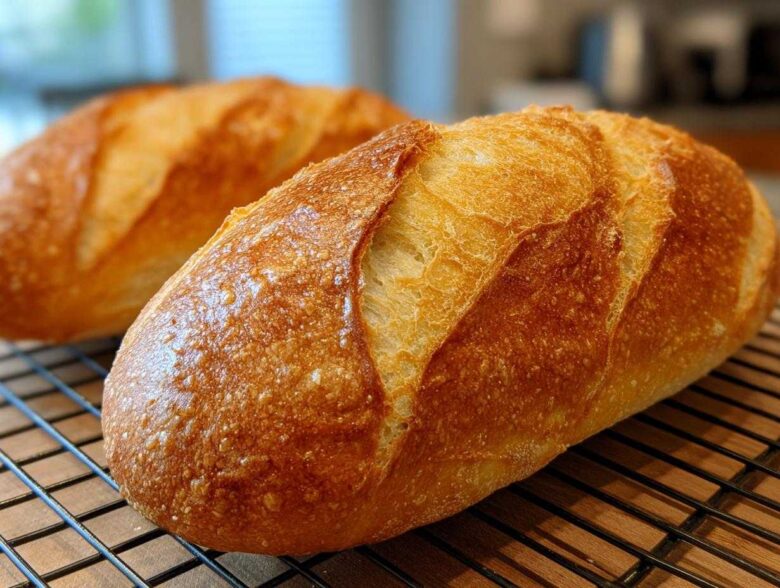
Oh, friends, there is simply no smell that beats the one that drifts from my oven when a loaf of truly fresh French bread is done baking. Forget those sad, squishy supermarket versions! Anya, our resident bread expert who learned everything from her grandmother, perfected this recipe because she needed a reliable, homemade French bread that didn’t demand her whole afternoon. Trust me when I say we cracked the code: you can get that beautiful, shatteringly crusty exterior paired with an unbelievably soft, fluffy interior in under two hours. It’s the perfect aroma to welcome everyone home for dinner, and it’s so simple, even if you’re new to yeast!
Why This Homemade French Bread Recipe Works So Well
When Sasha and I first tried making bread, we had a lot of dense hockey pucks! But Anya’s method is different. It really hits that sweet spot everyone wants: a bakery-style crunch on the outside and tenderness inside. This is the Easy French Bread that finally changed my definition of what homemade bread should be. It’s surprising how fast we get there, honestly. If you’ve struggled before, this is the jump-start you need!
Achieving the Perfect Soft French Bread at Home Texture
It all comes down to feeling the dough, friends. Getting that water just right—warm, not hot—is how we wake up the yeast perfectly. Then, you need to knead until your knuckles ache just a little! That work develops the gluten just enough so that when this bakes, you get that desired soft fluffy French bread crumb. It’s tender, not tough, which is key for lovely slices.
Quick French Bread Recipe: Less Waiting, More Baking
We know waiting around is the worst, right? That’s why Anya designed this as a Quick French Bread Recipe. We skip overly long rises by keeping the dough warm, and you’re looking at a total time of less than two hours. We’ve seen some pins claiming 90 minutes, and while this one is super speedy, we find that extra resting time ensures we don’t end up with flat bread. Trust the process; it’s worth the extra thirty minutes for that fantastic volume!
If you want to see more of our kitchen adventures and tips, feel free to browse our main blog page over at Savor Sensations Blog.
Gathering Ingredients for Your Easy French Bread
You know, this is the best part about baking bread—we aren’t raiding specialty stores for exotic flours or weird additives! This Homemade French Bread Recipe uses staple ingredients you probably have on hand right now. I always keep active dry yeast stocked because you never know when a bread craving will strike. We are using simple white flour here because we want that tender, light interior that’s perfect for soaking up soup.
Here is exactly what you need for two beautiful loaves:
- 1 packet active dry yeast (about 2 1/4 teaspoons)
- 1 1/2 cups warm water (105°F to 115°F)
- 1 teaspoon sugar
- 3 1/2 to 4 cups all-purpose flour, plus more for dusting
- 2 teaspoons salt
- 1 tablespoon olive oil, plus more for greasing
- 1 egg white, lightly beaten (for wash)
Ingredient Notes and Substitutions for Perfect French Bread
Let’s pause right here on the water temperature! If it’s too cold, your yeast won’t wake up, and if it’s too hot, you’ll kill it! Aim right between 105°F and 115°F—that’s comfortably warm, like bathwater. Also, that single egg white is what gives us that gorgeous, shiny, crusty finish. If you want a slightly softer crust to make it more of a casual Soft French Bread at Home, honestly, you can skip the egg white and just mist the tops with water right before it goes into the oven. Either way, it comes out great!
Step-by-Step Instructions to Make French Bread
Okay, deep breath! This is the fun part. We are going from sticky mess to golden loaf! I know kneading sounds intimidating, but Anya always reminds us that it’s really just a workout for the dough—and your arms! Just follow these steps closely, and you’ll have that amazing, Baguette Recipe Easy version baked before you know it. Remember to preheat that oven to 400°F while the dough is doing its second rest; timing is everything here so you don’t lose momentum!
If you want to see how we turn leftover slices into something amazing like bread pudding, check out Anya’s advice on our custard bread recipe!
Mixing and Kneading the Dough for Fluffy Loaf Recipe
First, we proof that yeast—it needs to look like a foamy jungle on top of the warm water to confirm life! Once that’s happy, we mix in the flour and salt until it’s just shaggy. Now, turn it out onto the counter. Anya says to treat the dough gently at first, then work it firmly for a solid 6 to 8 minutes. You stop kneading when it’s smooth, springs back when you poke it, and feels elastic. Don’t throw in all the flour at once, or you’ll lose that fluffy texture we’re aiming for!
The Rises: Creating Volume in Your French Bread
The first rise is the big one. Get your dough coated in oil and tucked into a warm spot—I usually use my oven, just turned off! It needs a full 60 to 75 minutes until it’s doubled. Resist touching it! After you punch it down gently, this is where we set up for the second rise. It only needs about 30 minutes this time, just long enough to warm up before hitting the heat. This recipe is great, but for lightning speed, you can look at how other bakers manage a fast French bread approach, though I prefer the full rising time for a better Fluffy Loaf Recipe.
Shaping and Scoring for Bakery Style Bread
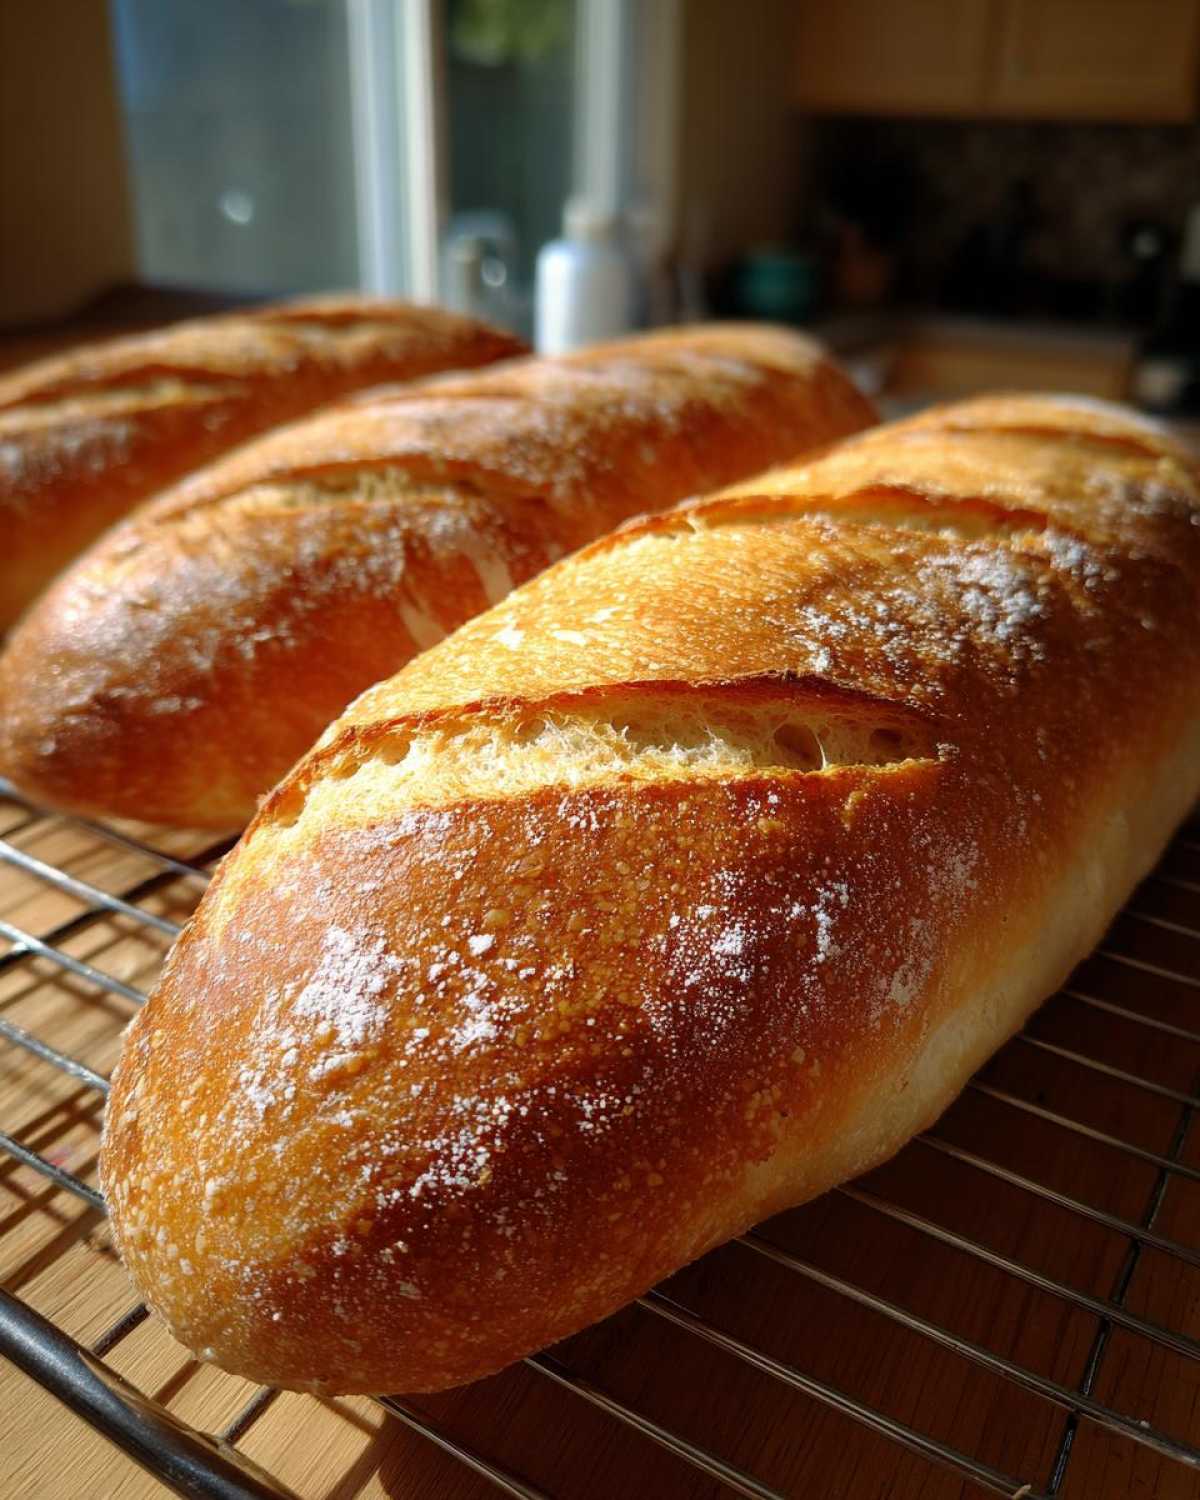
Once rested, divide the dough carefully in half. You are aiming for two even, long torpedo shapes, about 14 to 16 inches long. Roll them gently to create surface tension; this helps them bake beautifully and hold that shape. Before they bake, give the tops those signature diagonal slashes—that’s the scoring. It looks pretty, but it controls where the bread expands so it doesn’t burst randomly. If you can, toss some hot water in a pan underneath them right as you slide them in; that steam is magic for a gorgeous Bakery Style Bread crust.
Baking Tips for Crusty Exterior Bread
Alright, now that our beautiful loaves are proofed and ready to go, we need to talk about the *crust*. This is where baking homemade bread gets really fun, and it’s where Anya’s deep knowledge really helps us beginners!
First, brush those tops ever so lightly with that beaten egg white we talked about. It gives a lovely color and helps lock in that final shape. But the real showstopper for that perfect crunch is steam. Seriously, this is the secret weapon for that authentic, crackly finish you find at the best bakeries. Before you slide the bread in, drop a cup of very hot water into a hot, shallow pan sitting on the bottom rack.
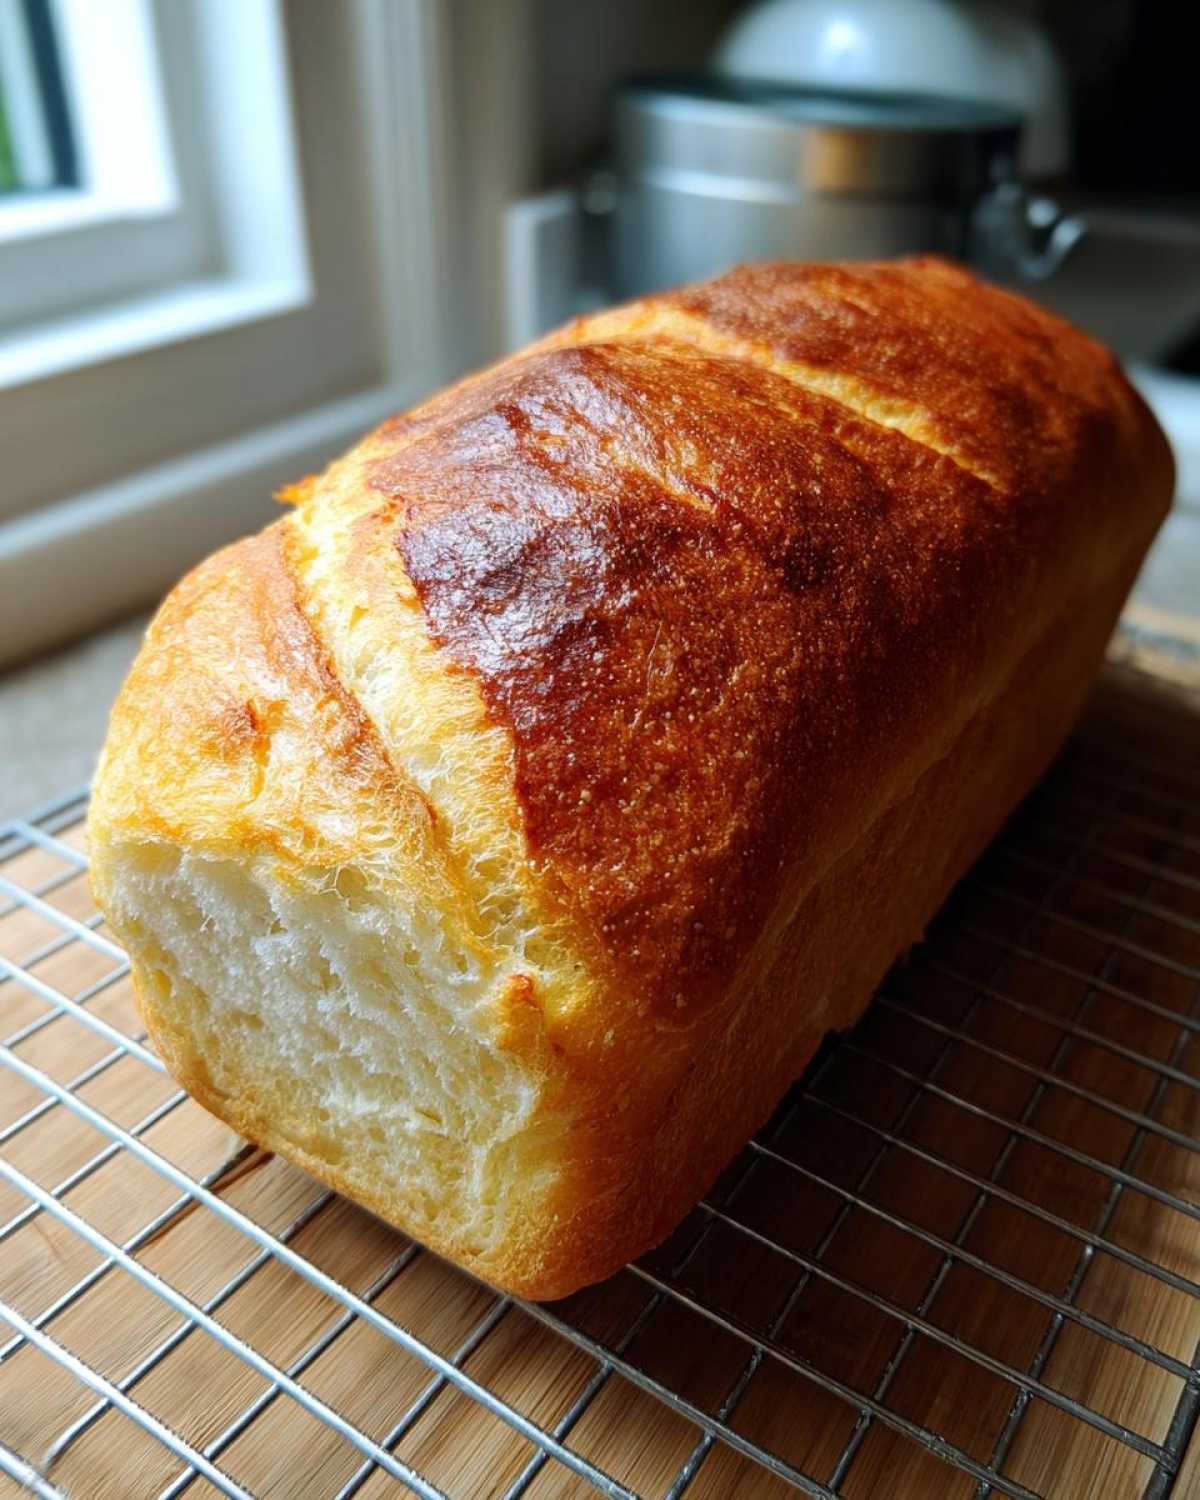
Bake at 400°F (200°C) for about 20 to 25 minutes. You want them golden brown—tap the bottom; if it sounds hollow, you nailed it! If you want to see how some of the best bakers achieve that real artisan shatter, check out these tips on getting that satisfying crunch.
Serving Suggestions for Your Fresh French Bread
Oh, the moment of truth! Pulling that beautiful, crusty loaf out of the oven deserves immediate celebration. This Dinner Side Bread is versatile—it sings when served simply, or you can dress it up for any occasion. We love slicing it thick and serving it warm with just good quality, soft butter. Seriously, melted butter dripping down the sides is pure heaven.
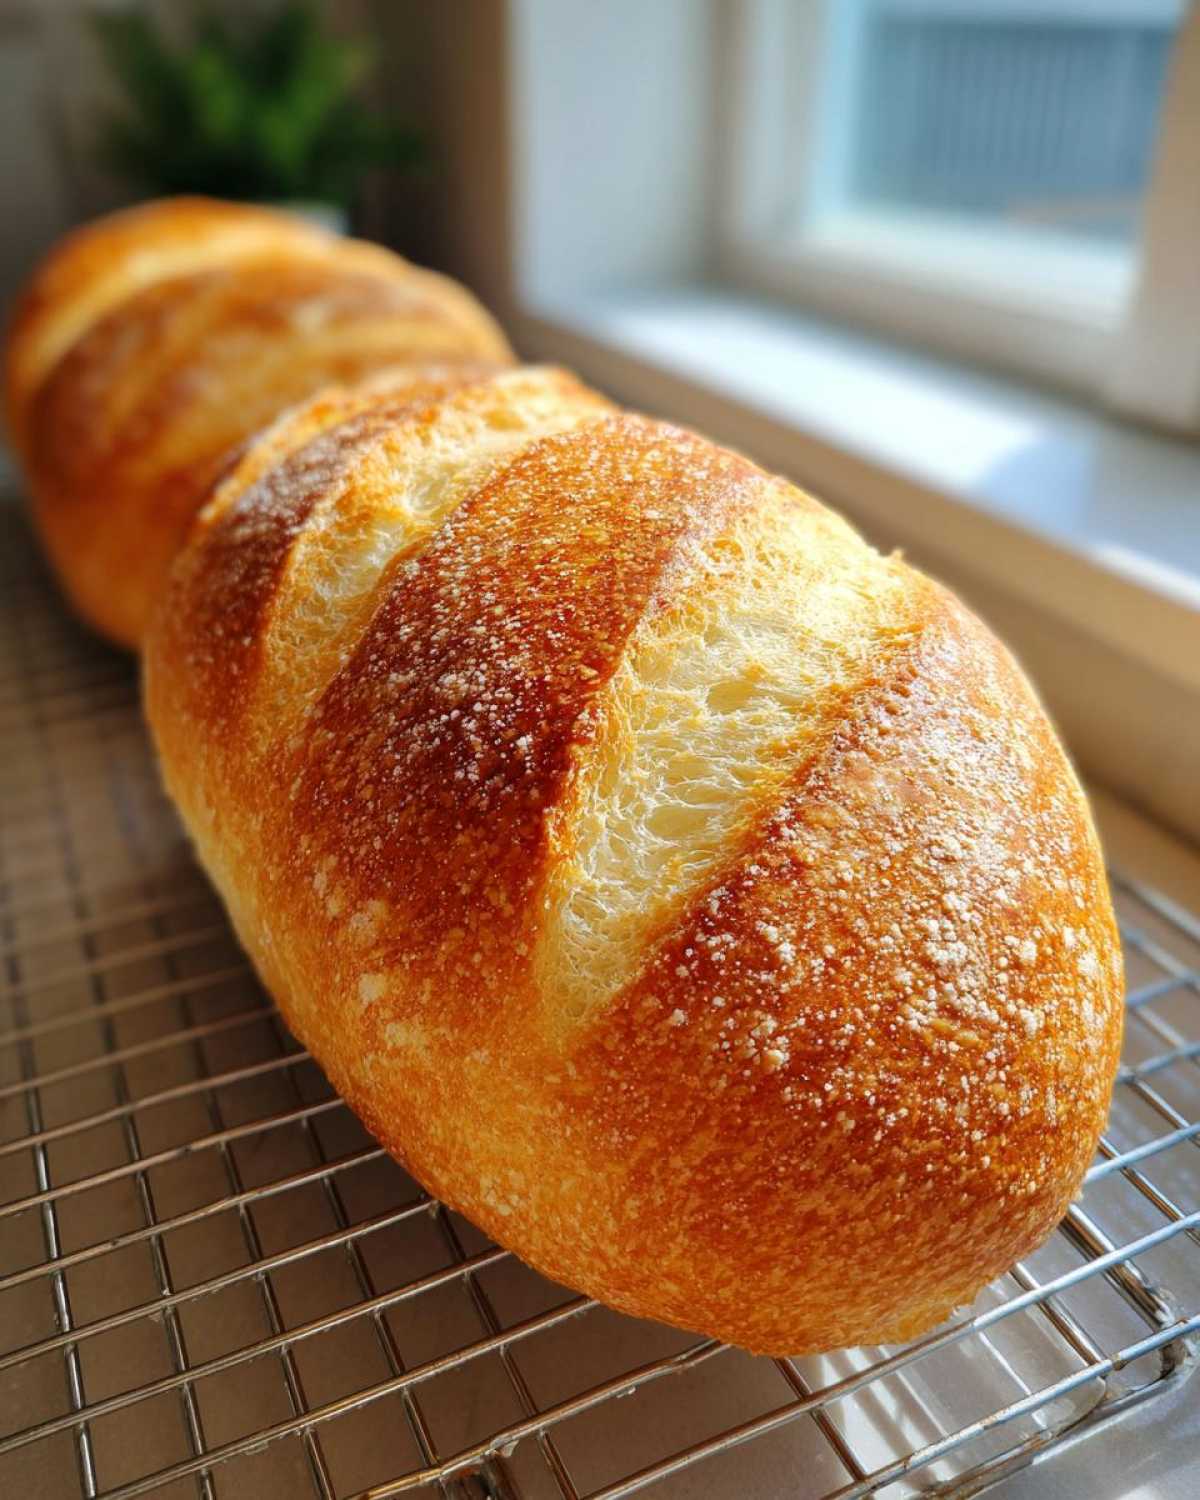
But don’t let those loaves just sit there! They are absolutely perfect for big, hearty meals. Think about dipping them into hearty soup or stew. Or, if you want to make incredible, sturdy sandwiches that won’t fall apart halfway through lunch, this is the bread you need. If you’re looking for other ways to use quality bread in your kitchen, you should definitely check out our recipe for cheesy garlic breadsticks!
Best Ways to Use Leftover French Bread
Because this bread is so sturdy, it lasts a couple of days beautifully on the counter—if it lasts at all! If you end up with an end piece or a heel that’s gone a little stale, don’t toss it! I quickly slice those bits up, toss them in olive oil and herbs, and bake them until they are crunchy. Homemade croutons are just superior, trust me. Or, they make the absolute best French toast when dipped in a nice custard base!
Storage and Reheating Instructions for Homemade French Bread Recipe
Look, the goal here is to eat this Homemade French Bread Recipe as fast as humanly possible while it’s still warm, I know! If you do somehow manage to have leftovers—which usually means Sasha got a little too enthusiastic with dinner—how you store it matters a ton. Do *not* put it in the refrigerator! That makes the crust go instantly soft and the inside stale, which defeats the whole purpose.
Keep it wrapped loosely in a clean kitchen towel at room temperature for up to two days. We want that slight give in the crust, not total moisture loss.
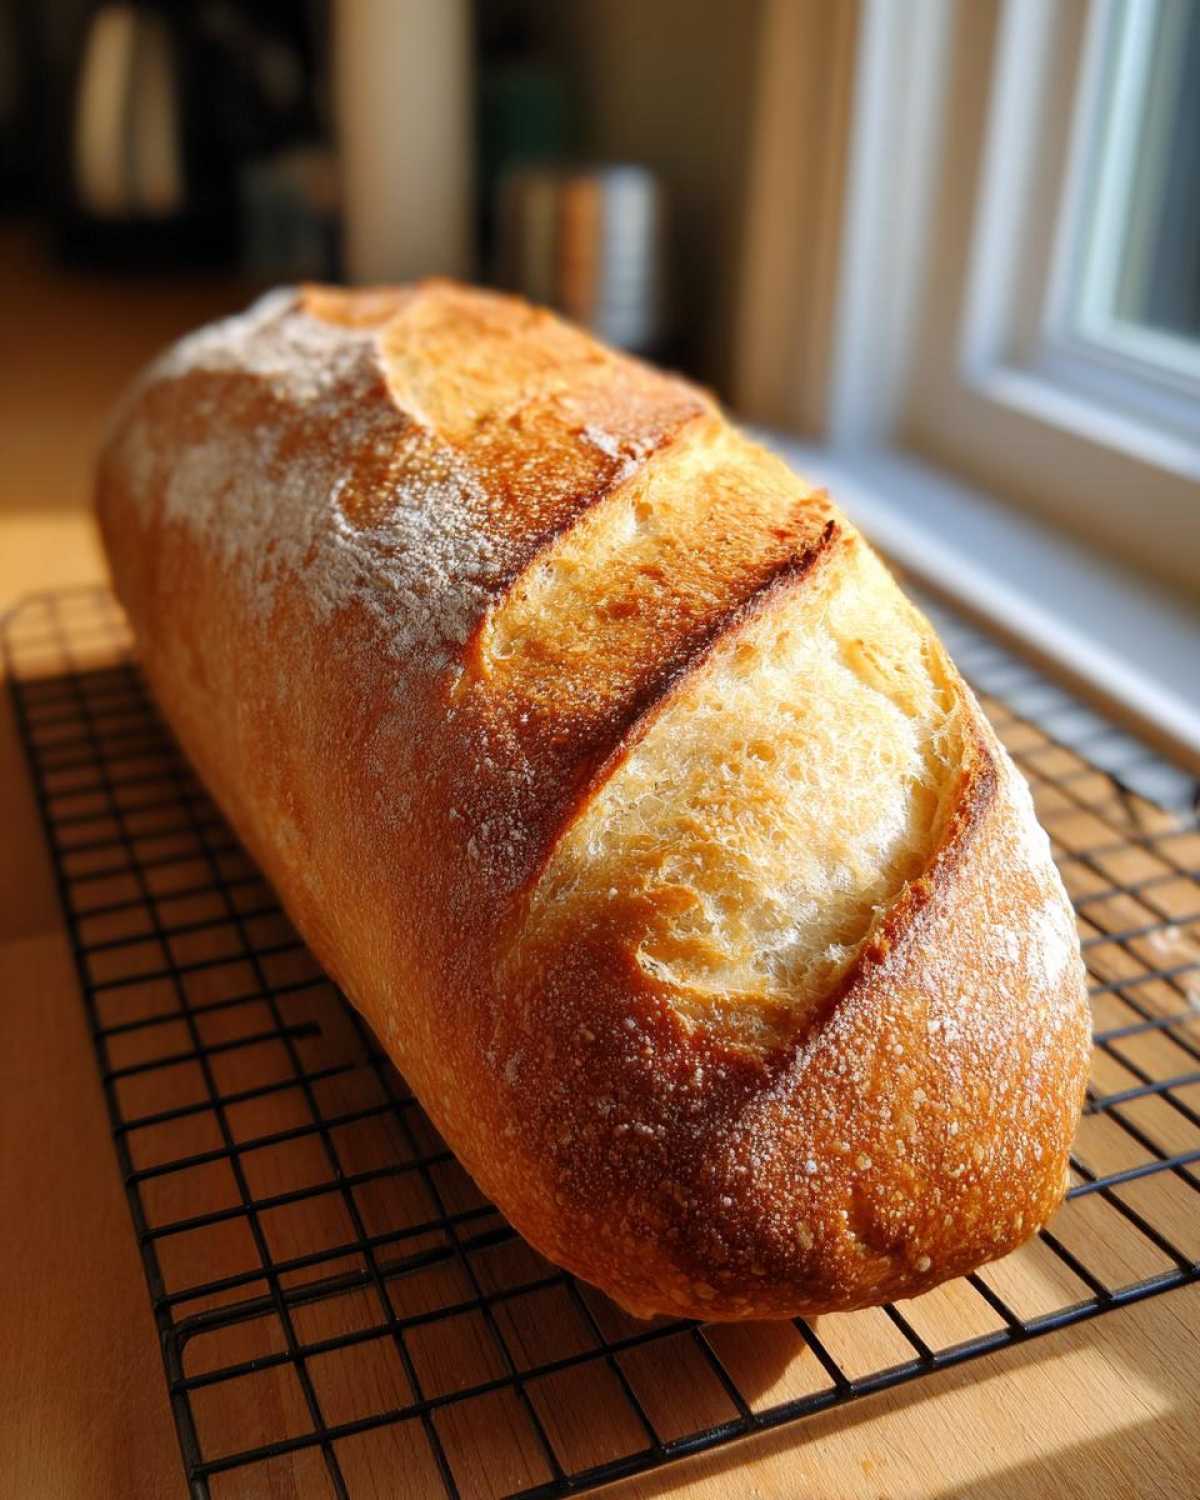
Now, for reheating to get that **crusty exterior bread** back? That’s easy! Wrap the loaf loosely in foil and pop it into a 350°F oven for about 10 minutes. The foil keeps the inner crumb soft while the heat brings the crust back to life. Voila! Instant fresh bread, just like magic.
Troubleshooting Common Beginner Bread Baking Issues
When I first started baking alongside Anya, things went wrong constantly! It’s okay if your first attempt isn’t postcard perfect; that’s how we learn. This is where knowing why things go sideways really helps us improve our baking intuition. If you ran into trouble, don’t panic; look at these common fixes. If you want more deep dives into baking science, check out our main Savor Sensations Blog for more detailed posts!
If your dough felt like super glue and stuck to everything—that means you added too much flour during kneading. Next time, hold back that extra flour until the very, very end. If your loaf came out almost flat, you might have accidentally over-proofed it, or maybe your yeast wasn’t active to begin with. A dense loaf usually means the gluten didn’t develop enough (knead a little longer next time!) or your oven wasn’t hot enough when it went in.
And if you were aiming for that hard, crackly crust but ended up with something soft? You probably skipped the steam trick. That blast of hot water vapor in the oven is crucial for that perfect Crusty Artisan Bread finish. Don’t feel discouraged; every loaf teaches you something new about your oven and ingredients!
Frequently Asked Questions About Making French Bread
I always get so many questions when I post about this bread because it seems too easy to be true! I’m happy to tackle the big ones right here. If you were looking for a Simple Yeast Bread that doesn’t take half a day, you’ve found it, but there are a few things worth confirming before you start mixing!
Can I make this a Quick French Bread Recipe using only one rise?
You technically could skip the second rise, but I really wouldn’t recommend it if you want that fluffy interior! Skipping that second rest means you miss out on crucial volume, resulting in a denser loaf that’s much closer to a standard roll than that light, soaring Quick French Bread Recipe we are aiming for.
What is the secret to a truly crusty exterior bread?
The absolute secret for that satisfying shatter is steam and scoring! Make sure your oven is toasty hot, and then, right before you bake, place a pan of hot water on the bottom rack. That immediate burst of steam keeps the crust soft just long enough for the bread to really expand before hardening into that perfect crusty exterior bread texture.
Is this recipe suitable for making a Baguette Recipe Easy version?
Absolutely! If you want that long, thin shape, just divide the dough into three parts instead of two and shape them into thinner cylinders. You’ll have a lovely Baguette Recipe Easy on your hands! Because they will be narrower, they might bake just a minute or two faster, so watch them closely near the end.
Nutritional Estimates for This Simple Yeast Bread
I always feel a little funny talking about numbers when food is all about joy, but I know some of you like to track things! Just remember that these figures are only estimates because we’re using scratch ingredients, and the final loaf size can vary slightly. This assumes you’re getting one slice out of the final yield of two loaves.
- Serving Size: 1 slice
- Calories: 150
- Sugar: 1g
- Sodium: 250mg
- Fat: 2g
- Protein: 5g
It’s a lovely, low-fat way to have a hearty slice of bread with your dinner, and honestly, I think knowing it’s not loaded up with preservatives makes it taste even better!
Share Your Homemade French Bread Creations
Wow, you did it! You made beautiful, homemade French bread! We are over the moon excited for you. Seriously, Anya, Sasha, and I live for seeing your creations—please snap a picture of your crusty loaves and tag us, or leave a quick rating below. We read every single comment we get through our contact page. Happy baking, friends, and thank you for letting us share this simple joy with you!
PrintEasy Homemade Soft and Crusty French Bread (Ready in Under 2 Hours)

You can make truly soft, fluffy French bread with a crusty exterior right in your kitchen. This simple recipe is perfect for beginners and delivers bakery-style loaves fast, making it ideal for dinner or sandwiches.
- Prep Time: 20 min
- Cook Time: 25 min
- Total Time: 1 hour 40 min
- Yield: 2 loaves
- Category: Baking
- Method: Baking
- Cuisine: French
- Diet: Vegetarian
Ingredients
- 1 packet active dry yeast (about 2 1/4 teaspoons)
- 1 1/2 cups warm water (105°F to 115°F)
- 1 teaspoon sugar
- 3 1/2 to 4 cups all-purpose flour, plus more for dusting
- 2 teaspoons salt
- 1 tablespoon olive oil, plus more for greasing
- 1 egg white, lightly beaten (for wash)
Instructions
- Activate the yeast: In a large bowl, dissolve the sugar in the warm water. Sprinkle the yeast over the top and let it sit for 5 to 10 minutes until foamy. This shows your yeast is active.
- Mix the dough: Add 3 1/2 cups of flour, salt, and olive oil to the yeast mixture. Mix with a wooden spoon until a shaggy dough forms.
- Knead the dough: Turn the dough out onto a lightly floured surface. Knead for 6 to 8 minutes, adding small amounts of the remaining flour only if the dough is too sticky. You want a smooth, elastic dough.
- First rise: Lightly grease a clean bowl with olive oil. Place the dough in the bowl, turning to coat. Cover the bowl with plastic wrap or a clean kitchen towel. Let the dough rise in a warm spot for 60 to 75 minutes, or until doubled in size.
- Shape the loaves: Gently punch down the risen dough. Divide it in half. On a lightly floured surface, shape each half into a long, even loaf, about 14 to 16 inches long. For a classic look, gently roll the dough to create surface tension.
- Second rise: Place the shaped loaves on a baking sheet lined with parchment paper or a baking stone dusted with cornmeal. Cover loosely and let rise for 30 minutes. Preheat your oven to 400°F (200°C) during the last 15 minutes of this rise.
- Prepare for baking: Just before baking, brush the tops of the loaves lightly with the beaten egg white. Use a sharp knife or razor blade to make 3 to 4 diagonal slashes (about 1/2 inch deep) across the top of each loaf. This helps control the expansion.
- Bake: Bake for 20 to 25 minutes, or until the crust is golden brown and the loaves sound hollow when tapped on the bottom.
- Cool: Transfer the baked French bread to a wire rack to cool completely before slicing. Enjoy this fresh baked bread warm with butter.
Notes
- For a crispier crust, place a shallow pan on the bottom rack while preheating and pour 1 cup of hot water into it right before you put the bread in to create steam.
- If you want a softer crust, skip the egg white wash and simply mist the loaves with water before baking.
- This recipe makes two loaves, perfect for serving as a dinner side bread.
Nutrition
- Serving Size: 1 slice
- Calories: 150
- Sugar: 1
- Sodium: 250
- Fat: 2
- Saturated Fat: 0.5
- Unsaturated Fat: 1.5
- Trans Fat: 0
- Carbohydrates: 29
- Fiber: 1
- Protein: 5
- Cholesterol: 0
