

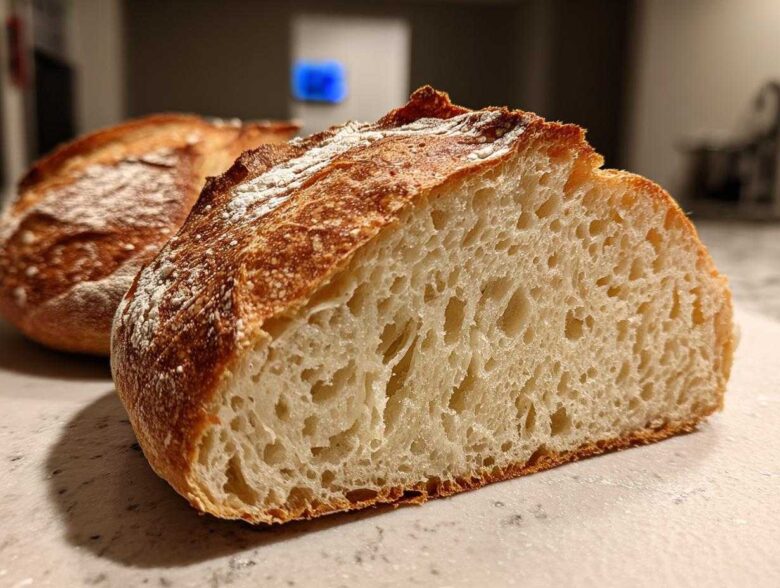
Oh my gosh, there is just nothing that beats walking into a kitchen filled with the warm, yeasty aroma of bread baking! Seriously, it’s like a big edible hug welcoming you home. I’m Sasha, and I am beyond thrilled to share this recipe for what I honestly think is the best homemade Italian bread you will ever attempt. Forget those intimidating artisan loaves; this is the genuinely easy, beginner-friendly tutorial for achieving that perfect bakery-style dream: a gloriously golden, crunchy crust giving way to the softest, chewiest interior. Here at Savor Sensations, Anya, Lena, and I believe cooking is about connection, and making bread together shows that spirit perfectly. Trust me, this truly simple Italian bread recipe will be a staple in your home!
Why This Homemade Italian Bread Recipe Works for Everyone
I get a little wild enthusiasm when people tell me they’re scared of baking bread, but seriously, you can do this! We designed this recipe so anyone—even if you’ve never touched yeast before—can nail that amazing crusty exterior AND the super soft middle everybody craves in a great Italian loaf. You’ll want to check out more of my favorite baking adventures on the Savor Sensations blog, because this isn’t some fussy, all-day project. This truly simple Italian bread delivers.
- It uses basic pantry staples, so no weird trips to specialty stores.
- The timing actually works for a weeknight dinner prep.
- It consistently delivers that restaurant-quality crackle for the perfect Italian bread.
Achieving the Perfect Soft Inside Crusty Outside Bread
The secret sauce for that stunning golden crust is totally steam, and it’s super easy. We build up heat in the oven before we ever put the dough in, and then adding that little splash of hot water right before baking creates the perfect moist environment for that first big crust expansion. It’s what turns simple flour and water into heavenly Italian bread!
Gathering Ingredients for Your Easy Crusty Bread Baking
Okay, this is my favorite part because I want you to see just how little you need to make magnificent Italian bread! Seriously, look at this list—it’s practically just flour, water, and a few pantry essentials. No strange, pricey flours needed for this! I always have these components for this easy crusty bread baking on hand, which is why it’s my go-to when I need a great dinner side bread fast. We’re keeping it simple so you can focus on the fun part: kneading!
- 3 1/2 cups all-purpose flour
- 1 1/2 teaspoons salt
- 1 teaspoon granulated sugar
- 2 1/4 teaspoons active dry yeast (that’s one standard packet!)
- 1 1/2 cups warm water (we’ll talk temperature in a second!)
- 2 tablespoons olive oil, plus more for the bowl
Ingredient Notes and Substitutions
The yeast is the boss here, so make sure when you check it in the first step that it actually foams up—that means it’s alive and ready to work its magic on your homemade Italian bread recipe! Also, that water temperature is critical. Too cold and the yeast just chills out; too hot and you kill it dead! Aim for that cozy, lukewarm feeling, like a baby’s bath, between 105°F and 115°F.
Step-by-Step Instructions for Bakery Style Italian Loaf
Alright, let’s get our hands dirty! This is where the magic happens and we turn simple ingredients into that beautiful artisan bread at home aesthetic. Every move here is designed to give you that perfect bake noted in these crusty Italian bread guides. Just follow my lead, breathe, and remember, we knead gently for the best texture!
Activating Yeast and Mixing the Italian Bread Dough
First things first: wake up that yeast! Mix your warm water, sugar, and yeast together in a big bowl. If you wait 5 to 10 minutes and you see foaminess bubbling up? Fantastic! That means your yeast is wide awake and ready to make this Italian bread rise beautifully. Once it’s foamy, toss in your flour, salt, and the olive oil, and mix it until it looks a bit shaggy. Don’t stress if it’s messy at this stage!
Kneading and First Rise for Chewy Italian Loaf Texture
Now it’s time to work that dough! Turn it out onto a lightly floured surface and knead it like you mean it for about 8 to 10 minutes. You’re looking for that perfect moment when it stops sticking to your hands and feels smooth, soft, and elastic—that’s the key to that lovely chewy Italian loaf texture. Once it’s happy, pop it in an oiled bowl, cover it up, and let it chill out (rise) for an hour to an hour and a half until it doubles. It needs that time to build flavor!
Shaping and Second Rise for Golden Brown Crust Bread
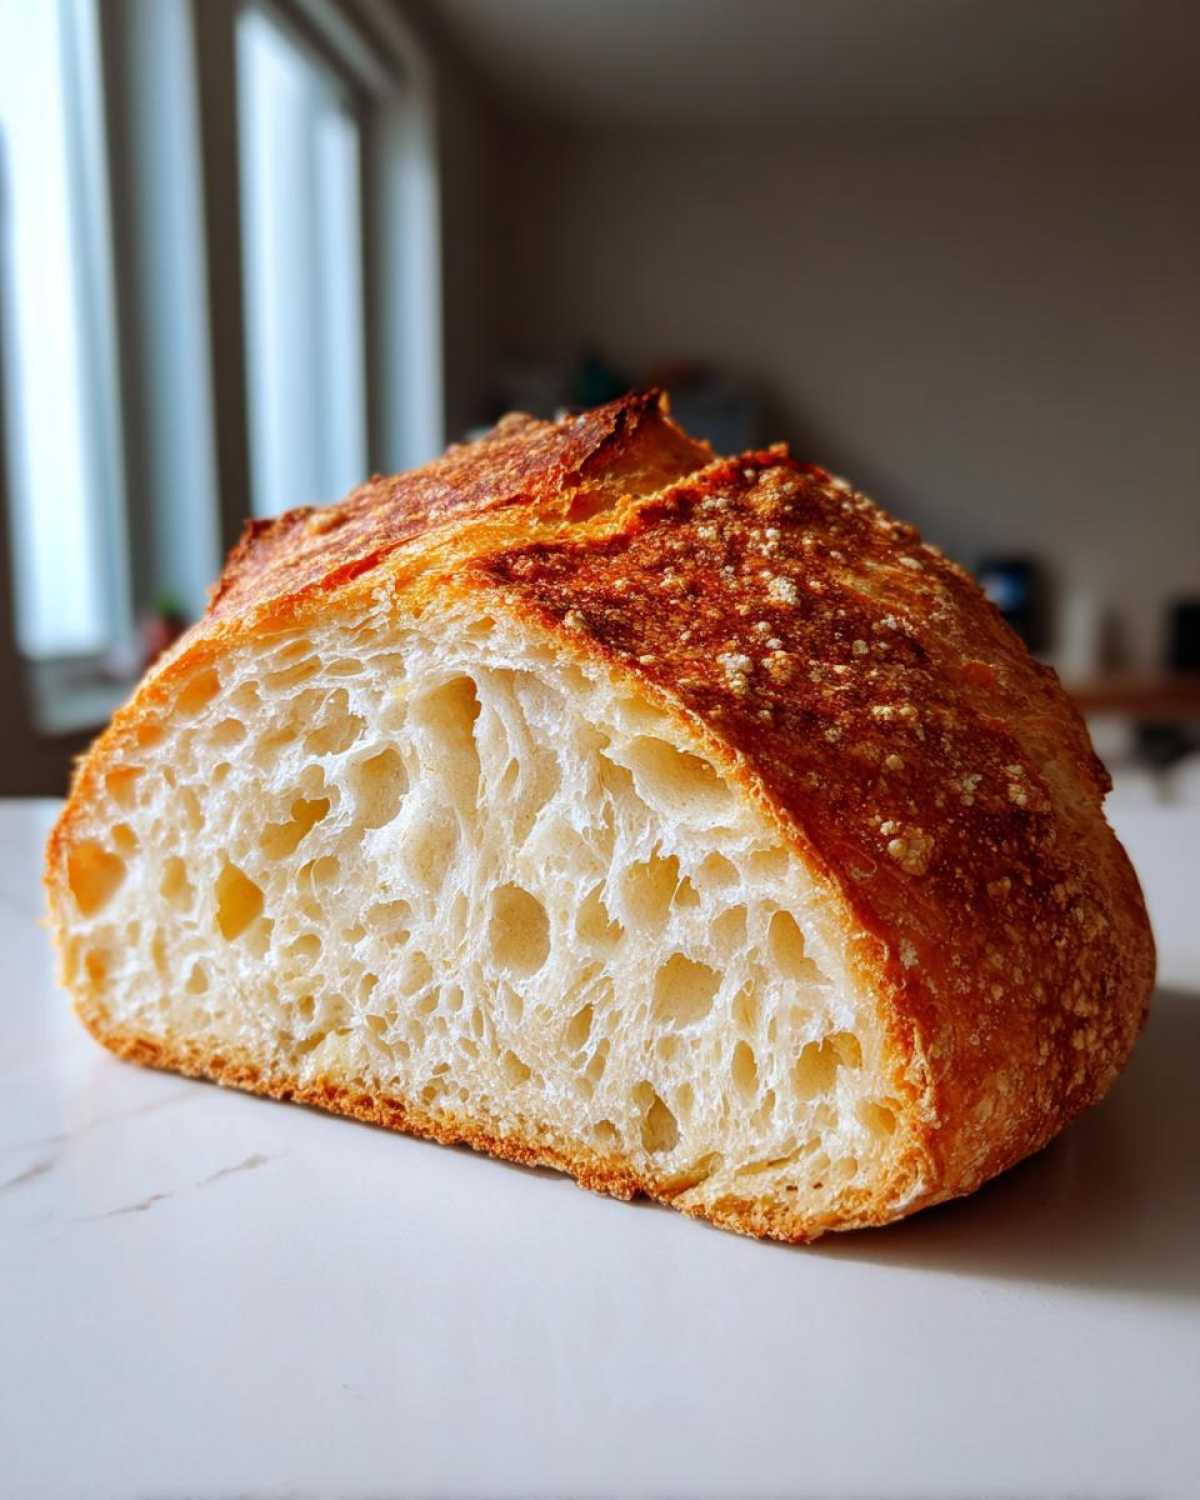
Gently punch that air out—don’t be aggressive! Shape your dough into a tight loaf, either an oval or a round, whatever feels right in your hands. Place it on your baking sheet lined with parchment paper. Cover it loosely again so it doesn’t dry out, and let it have its second nap for about 30 to 45 minutes. You want it to look puffy, ready for its gorgeous golden brown crust bread transformation.
Baking the Italian Bread with Steam for Maximum Crunch
Preheat that oven to 400°F (200°C) while that dough is rising! Pro tip: Put a shallow roasting pan on the bottom rack while preheating. When you slide your loaf in (maybe score it with a sharp knife first!), carefully pour about a half cup of hot water into that bottom pan and shut the door fast! The steam is mandatory for maximum crunch. Bake for 30 to 35 minutes until it sounds hollow when tapped. Listen for that sound—that’s the sound of perfect bakery style Italian loaf success!
Sasha’s Pro Tips for Perfect Italian Bread
Okay, now that you’ve mastered the steps, let me share a few of the little tricks I learned through trial and error—because that’s how Anya, Lena, and I learn best! If you want to elevate this already fantastic Italian bread, you have to pay attention to the oven environment. Also, I know firsthand that not every kitchen is warm and cozy!
If your kitchen is chilly, which mine sometimes is when I’m baking late at night, don’t let your dough suffer! I always use my oven as a cozy rising box. Turn the oven light on (don’t turn the heat on!) and put your covered bowl inside. That little bit of warmth works wonders for the rise. For an extra bakery-style boost, I used to slide my dough onto a baking stone that was preheated with the oven, just like the folks over at crusty Italian bread experts suggest. It makes that crust practically shatter when you slice it!
Serving Suggestions for This Dinner Side Bread Recipe
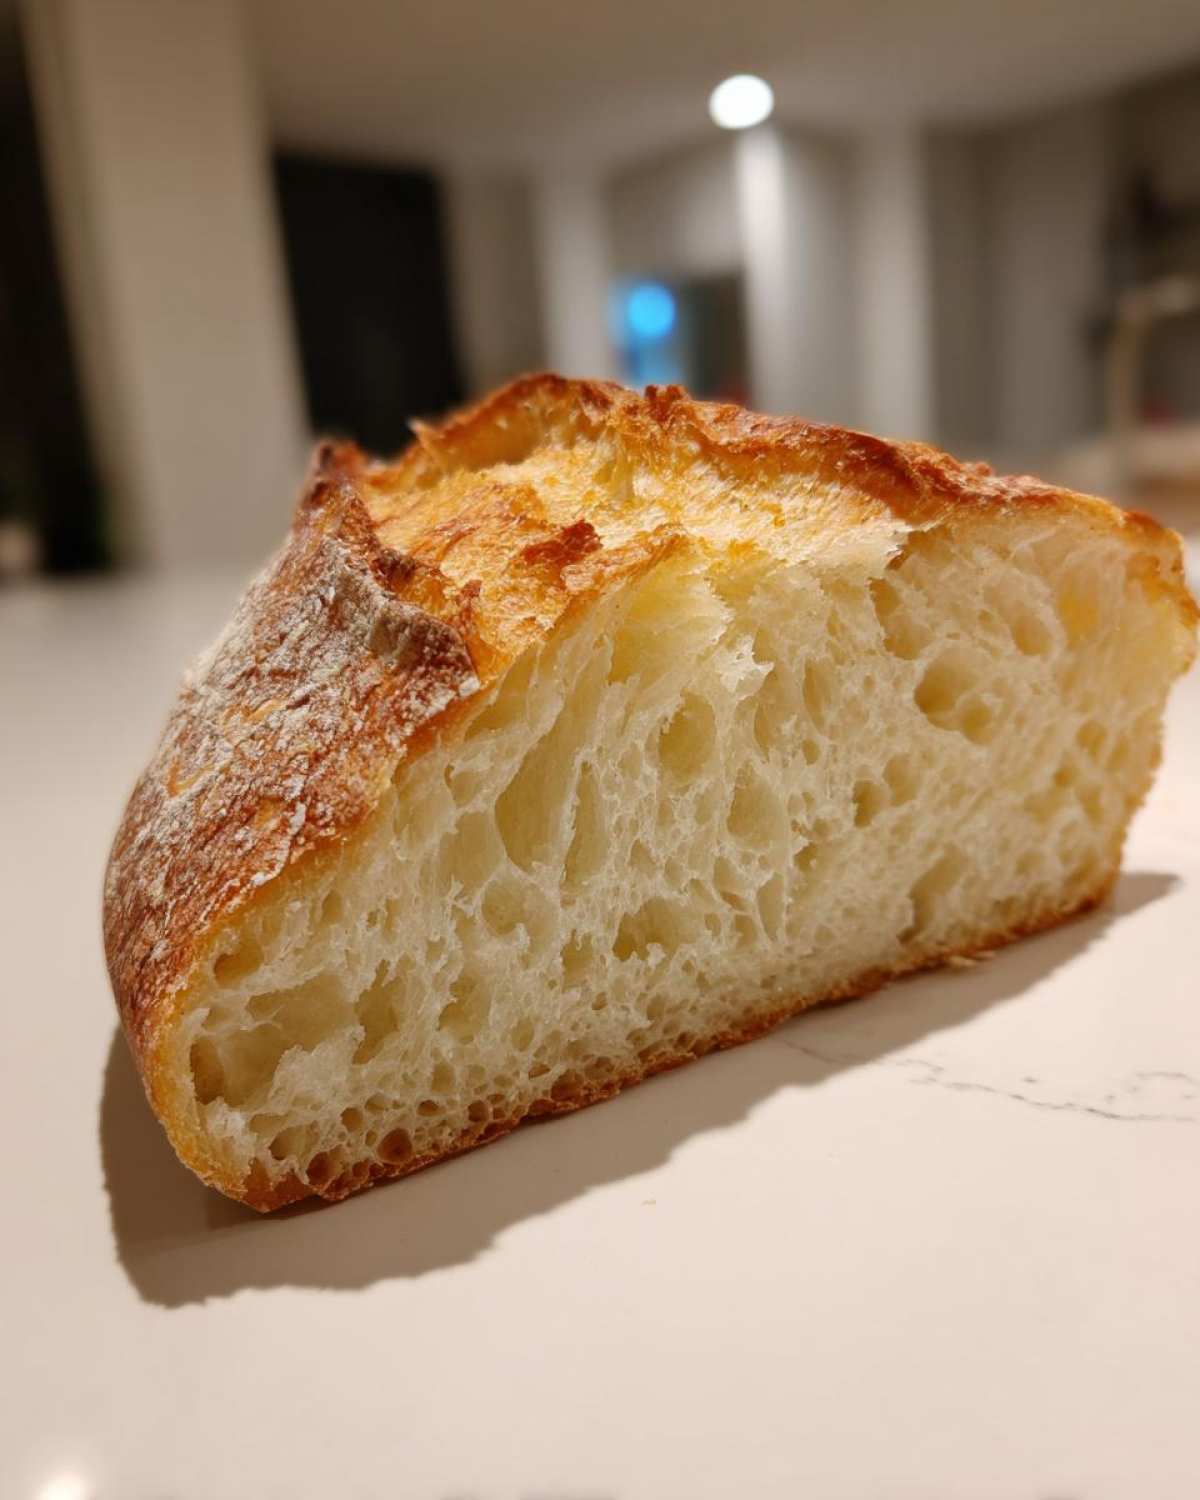
What on earth are you going to do with this gorgeous, warm loaf of Italian bread once it’s out of the oven? Well, the only right answer is to tear into it immediately! This is my absolute favorite dinner side bread recipe for dunking. Seriously, pour some quality olive oil into a small dish, sprinkle with pepper flakes, and dive in.
Of course, it’s the ultimate companion for any hearty Italian meal—think rich bolognese or marinara sauce. But don’t forget how amazing it is sliced up for simple sandwiches the next day, too. That crust holds up beautifully!
Storage and Reheating Instructions for Fresh Baked Bread Aromas
I hate to say it, but this amazing aroma doesn’t last! For the best experience, you really should try to eat this fresh baked bread the day it comes out of the oven. If you have leftovers, just keep it on the counter, cut-side down on a cutting board, or wrapped loosely in a clean kitchen towel. Please, never put homemade bread in the fridge; it makes it stale faster!
To bring back that amazing crunch, just pop the slices or half-loaf back into a 350°F oven for about 5 minutes. That heat blasts the moisture out of the crust just enough to make it crackle again. Instant gratification!
Frequently Asked Questions About Making Italian Bread
I know you might have a few burning questions when you’re about to try a new beginner bread making project. Don’t worry, we’ve been there! Here are the things Lena and Anya always ask me about this easy crusty bread baking process for making amazing artisan bread at home.
Can I skip kneading the dough entirely?
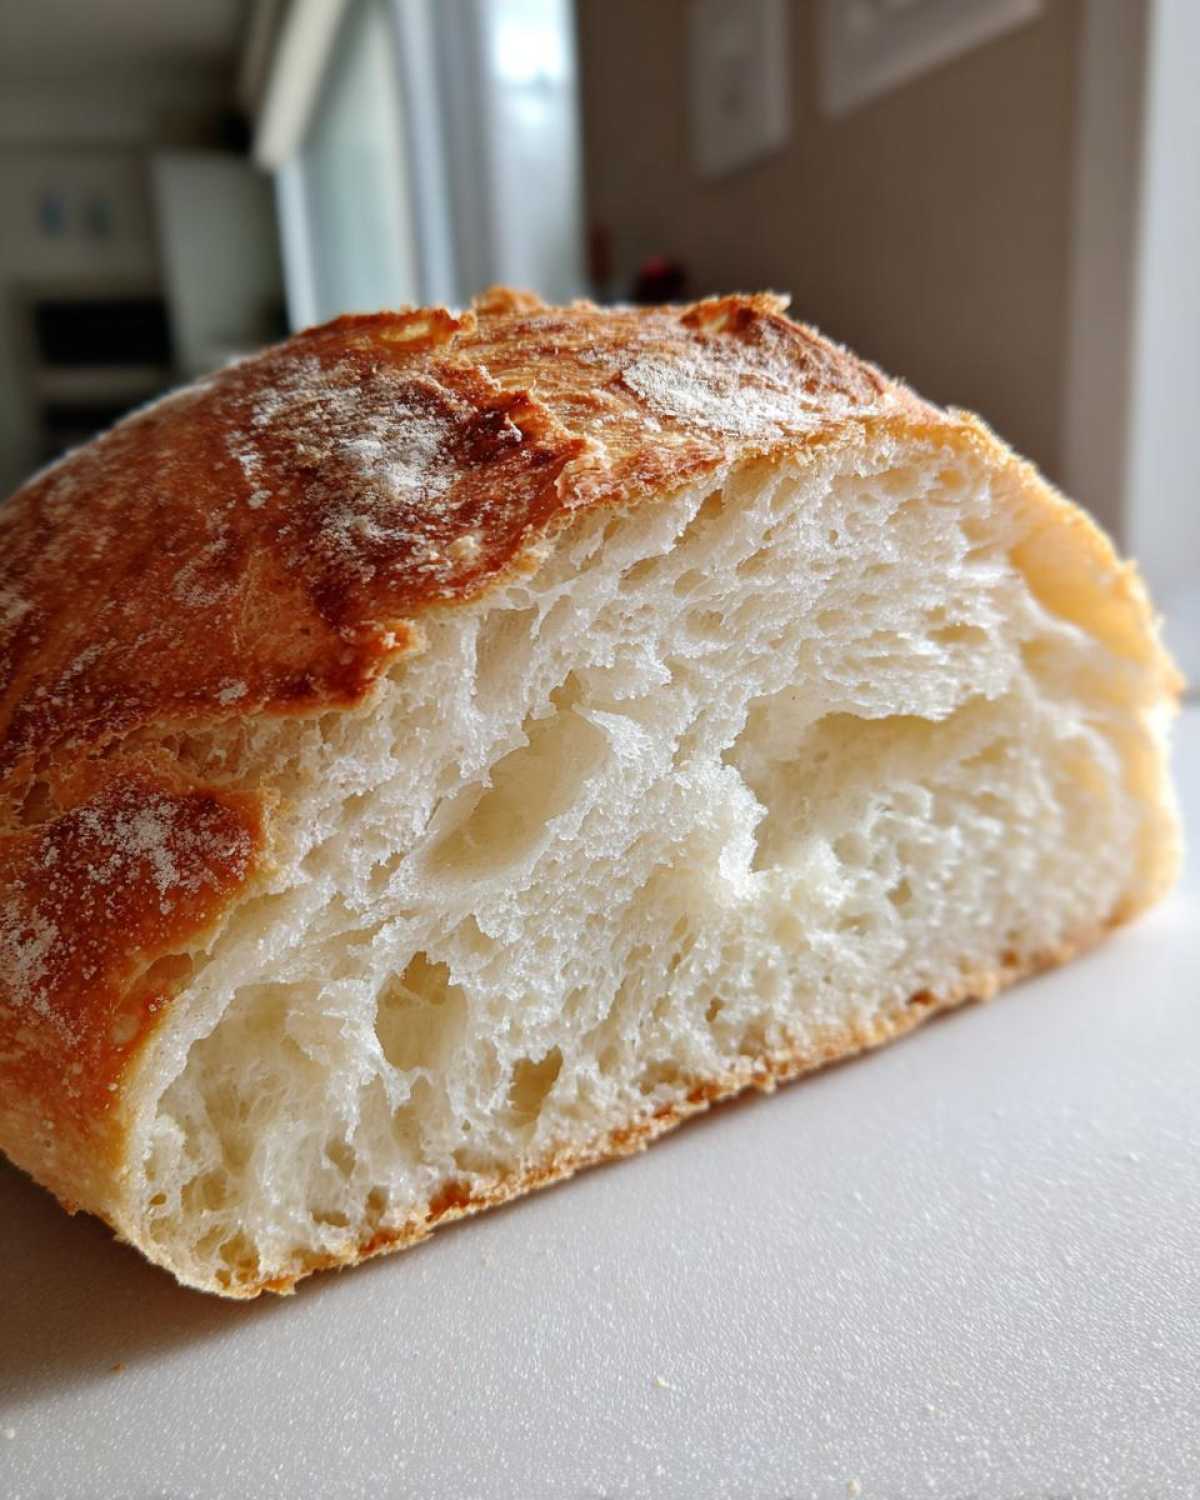
Oh, I wish you could! For this specific homemade Italian bread recipe, kneading is how we develop the gluten structure that gives you that beautiful, almost chewy Italian loaf texture. If you skip it, you’ll end up with something kind of dense, more like a flatbread. I suggest sticking to the 8 to 10 minutes; it goes fast!
Why didn’t my Italian bread crust get crunchy?
If your crust didn’t crunch, it was almost certainly a steam issue! Remember that shallow pan on the bottom rack? That’s your best friend for getting that golden brown crust bread look. If you forget the water, the crust dries out too slowly and becomes tough instead of crispy. Steam traps that initial heat and pushes that crustiness out.
Can I substitute the all-purpose flour for bread flour?
You absolutely can! Using bread flour will give you an even chewier texture, which I love for a hearty, simple sandwich bread base. Just know that bread flour absorbs a little more liquid sometimes, so if your dough feels too stiff after mixing, add an extra teaspoon or two of water. You can find more tips on different flours over at bensrecipes.com!
How can I make this a quick Italian bread tutorial?
If you’re trying to speed things up, make sure your water is right on the money temperature-wise so the yeast blooms fast. Also, using a slightly warmer spot in the kitchen (like my oven trick mentioned earlier) speeds up the rise time. Don’t rush the second rise too much, though, or you lose that nice puff for that beautiful bakery style Italian loaf.
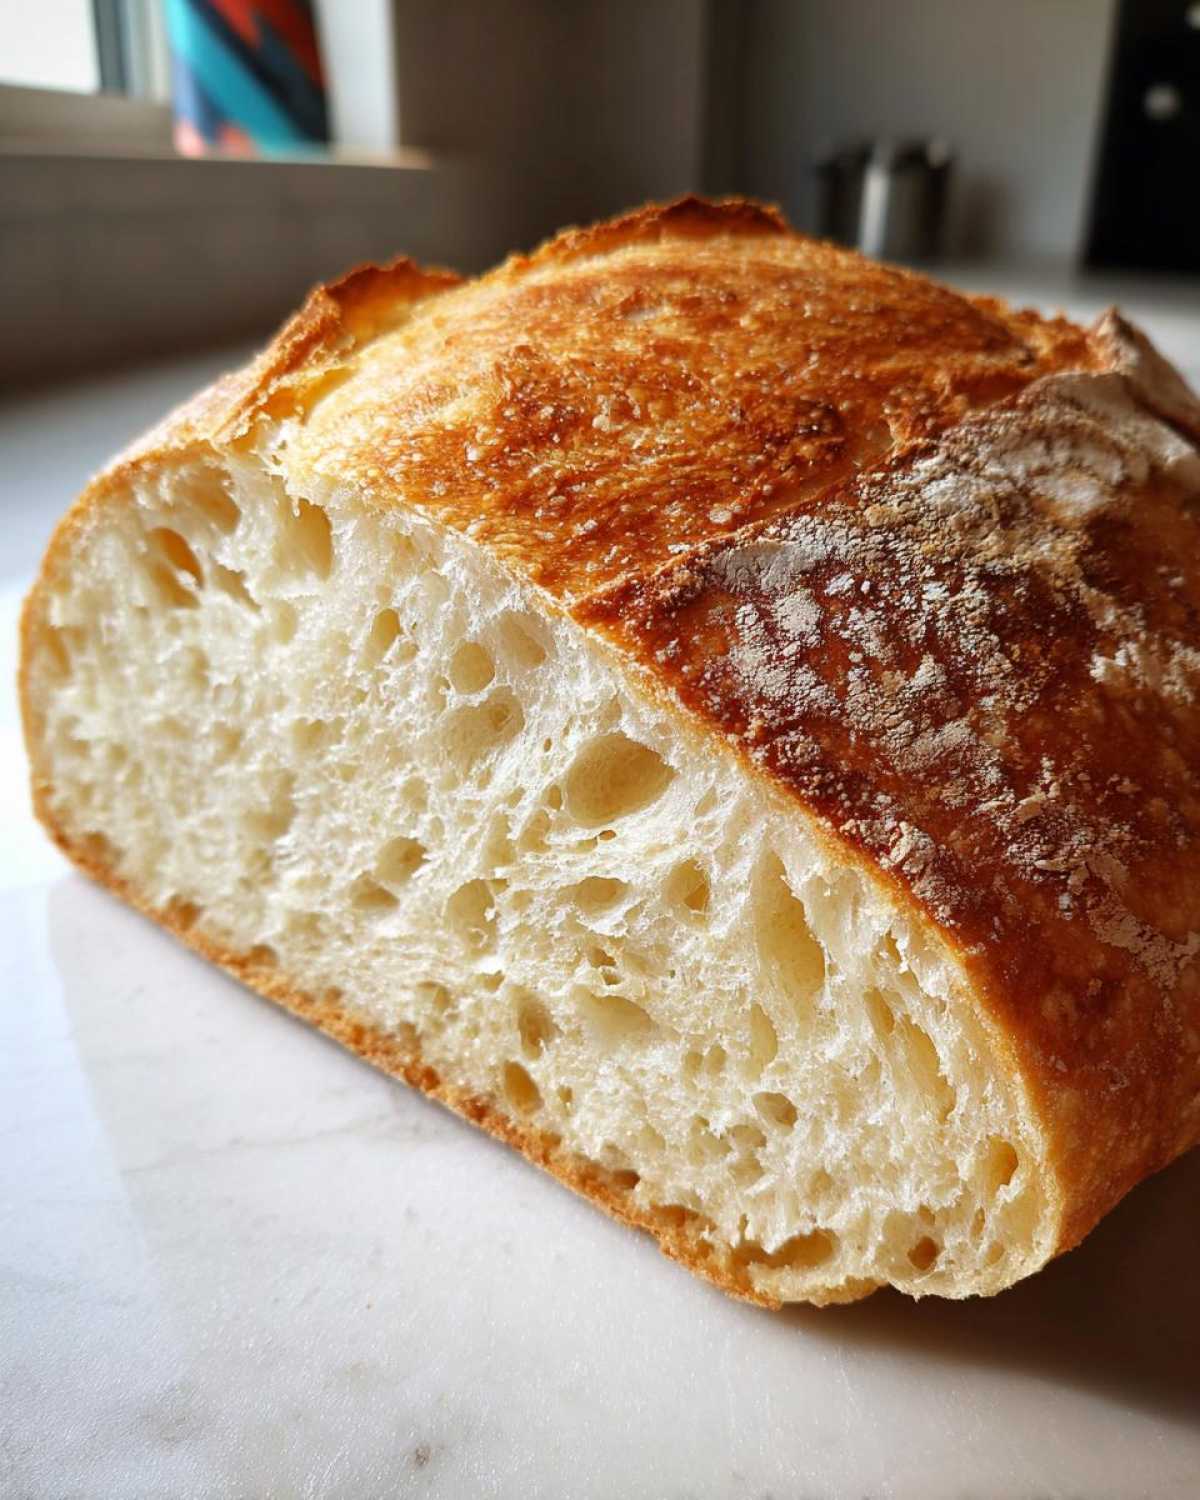
Estimated Nutritional Data for One Slice of Italian Bread
Now, even though this freshly baked Italian bread is purely comfort food, some of you might be curious about what you’re eating! Since we are all about sharing everything here at Savor Sensations, I pulled the estimations directly from the recipe details. Keep in mind, these numbers are just a good guideline because, you know, I cook by feel more than by precise lab measurements—and that’s okay!
These estimates are based on one standard slice of the loaf:
- Calories: 160
- Fat: 1.5g (mostly healthy fats from the olive oil, goodness!)
- Carbohydrates: 33g
- Protein: 5g
- Sugar: 0.5g
- Sodium: 280mg
I always want to be super clear about nutrition, so please check out our official disclaimer page. These values can shift slightly depending on the exact flour density you use or if you brush the top with extra oil before baking, but they give you a great idea of what’s in this amazing loaf.
Share Your Homemade Italian Bread Experience
Whew! That’s it! You’ve officially made a homemade loaf of gorgeous, crusty Italian bread, and I am SO excited for you!
Now, this is where you come into the Savor Sensations family! We absolutely thrive on seeing your creations and hearing your feedback. Did you get that perfect crackle on the crust? Did your kids devour it before you could even get it to the table? Tell us everything!
Please, if you loved this recipe, consider leaving us a quick 5-star rating right here on the page—it helps other new bakers find this simple, reliable recipe. And if you took a picture of your beautiful loaf ready for dipping, tag us on social media! Seeing your kitchen smelling like an authentic Italian bakery truly warms my heart.
If you ran into any hiccups or have a tweak that made it even better for your family, drop a comment below. Anya, Lena, and I read every single one. We love troubleshooting and celebrating your success! Don’t forget to check out our contact page if you have a longer question. Happy baking, and I hope this bread makes every dinner feel special, just like the ones found over at recipespecial.com!
PrintEasy Crusty Homemade Italian Bread Recipe
Bake bakery-style Italian bread at home with this simple recipe. You get a golden, crunchy crust and a soft, chewy interior using basic pantry ingredients. This is a beginner-friendly tutorial for making delicious bread for dipping or sandwiches.
- Prep Time: 20 min
- Cook Time: 35 min
- Total Time: 2 hours 5 minutes
- Yield: 1 loaf
- Category: Baking
- Method: Baking
- Cuisine: Italian
- Diet: Vegetarian
Ingredients
- 3 1/2 cups all-purpose flour
- 1 1/2 teaspoons salt
- 1 teaspoon granulated sugar
- 2 1/4 teaspoons active dry yeast (1 packet)
- 1 1/2 cups warm water (about 105-115°F)
- 2 tablespoons olive oil, plus more for the bowl
Instructions
- In a large bowl, mix the warm water, sugar, and yeast. Let this sit for 5 to 10 minutes until it becomes foamy. This shows the yeast is active.
- Add the flour, salt, and 2 tablespoons of olive oil to the yeast mixture. Mix everything with a wooden spoon until a shaggy dough forms.
- Turn the dough out onto a lightly floured surface. Knead the dough for about 8 to 10 minutes until it becomes smooth and elastic. You want a soft, chewy texture.
- Lightly oil a clean large bowl with olive oil. Place the dough in the bowl and turn it over to coat the surface with oil. Cover the bowl with plastic wrap or a clean kitchen towel.
- Let the dough rise in a warm place for 1 to 1.5 hours, or until it has doubled in size. This is your first rise.
- Gently punch down the risen dough to release the air. Shape the dough into a tight loaf shape (a round or oval).
- Place the shaped loaf on a baking sheet lined with parchment paper or in a prepared loaf pan. Cover it loosely again. Let it rise for a second time for about 30 to 45 minutes, or until it looks puffy.
- Preheat your oven to 400°F (200°C) about 20 minutes before the second rise finishes. For extra crust, place a shallow pan on the bottom rack while preheating to create steam.
- Just before baking, lightly brush the top of the loaf with water. If you want, score the top of the loaf with a sharp knife.
- Bake for 30 to 35 minutes, or until the crust is deep golden brown and sounds hollow when you tap the bottom. If you used the steam pan, carefully pour about 1/2 cup of hot water into the pan and quickly close the oven door.
- Remove the bread from the oven and let it cool completely on a wire rack before slicing. Enjoy the aroma of fresh baked bread!
Notes
- For a crispier crust, place a baking stone or heavy baking sheet in the oven while it preheats. Slide the loaf onto the hot surface for baking.
- If your kitchen is cold, place the dough bowl inside your oven (turned off) with the light on to create a warm rising spot.
- This bread is perfect for dipping in olive oil or serving alongside pasta meals.
Nutrition
- Serving Size: 1 slice
- Calories: 160
- Sugar: 0.5
- Sodium: 280
- Fat: 1.5
- Saturated Fat: 0.2
- Unsaturated Fat: 1.3
- Trans Fat: 0
- Carbohydrates: 33
- Fiber: 1.5
- Protein: 5
- Cholesterol: 0
