

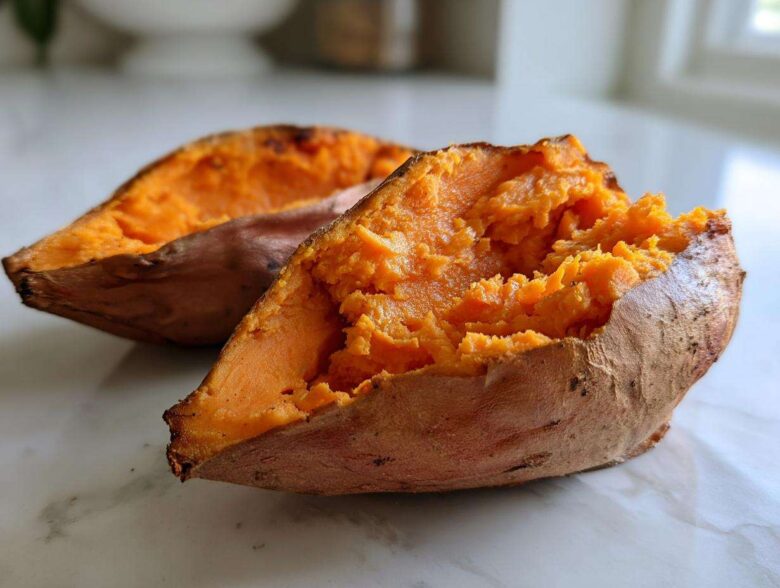
Oh, the sheer joy of a perfectly cooked sweet potato! If you’ve ever nursed a hard, underwhelming root veggie wishing it would just surrender into creamy goodness, you are in the absolute right place. Today, I’m sharing Anya’s secret—her completely no-fuss method for making the ultimate baked sweet potato. Anya brings that quiet grace she uses with delicate herbs right into this simple recipe. She insists that achieving that fluffy interior and beautifully caramelized skin is all about trusting a few key steps, and honestly, watching her patiently wait for the oven does all the work!
Why This Baked Sweet Potato Method is Foolproof
I know some of you might think, “It’s just a potato, how complicated can it be?” But trust me, the difference between a good baked sweet potato and one that melts in your mouth is all in the details Anya insists upon. This method guarantees you get that wonderfully creamy texture inside while the skin gets just crispy enough to give you a little crunch.
We love this because it requires almost zero hands-on time once it’s in the oven. It simplifies your dinner prep immensely. It’s seriously easy!
- Perfect Fluffy Interior: Every Time!
- Caramelized, Slightly Crispy Skin
- Minimal Prep Work Required
The Secret to a Fluffy Baked Sweet Potato
You absolutely must prick your potatoes all over before they go in. This isn’t just an old wives’ tale; it’s necessary! Those little jabs let the steam escape while the sweet potato is baking. If the steam gets trapped, you end up with a dense, slightly soggy center instead of that beautiful, fluffy texture Anya strives for. Also, make sure they bake directly on the rack—don’t wrap them in foil!
Gathering Ingredients for Your Baked Sweet Potato
Okay, the beauty of Anya’s approach is that it lets the sweet potato shine. You don’t need a pantry full of fancy spices here; we’re keeping things super simple so the natural flavor wins. This recipe is scaled perfectly for four wonderful servings, setting you up for a delicious side dish tonight or for easy meal prepping tomorrow.
Here is what you’ll need:
- 4 medium sweet potatoes—make sure they look nice and firm!
- 1 tablespoon of either olive oil or melted butter.
- Coarse salt, ready to go.
- Black pepper, freshly ground if you have it.
Ingredient Notes and Substitutions
When it comes to the fat, use whatever you prefer, but Anya holds a special spot in her heart for melted butter because it helps with browning. Now, about the salt: please use coarse salt! Anya swears by it because the larger crystals help draw just a tiny bit of moisture right out of the skin as it bakes, leading to that fantastic crispness we talked about.
Step-by-Step Instructions to Bake Perfect Sweet Potatoes
Okay, this is where the magic happens, and honestly, it’s so straightforward you’ll wonder why you ever complicated things. Getting that perfect texture on your next baked sweet potato is really about organization. Just follow these steps, and you’ll get a tender interior every single time, just like Anya does when she preps these for us.
Prepping and Seasoning the Baked Sweet Potato
First things first: get your oven warmed up to 400°F (200°C). Don’t rush this part! Next, take your sweet potatoes and give them a good scrub under running water. I mean, really scrub them clean. Then, here’s a step Lena always forgets until I gently remind her: make absolutely sure they are bone dry before they go near the oven. Moisture is the enemy of crispy skin!
Once they are dry, grab a fork and poke each potato several times all over. Remember, this is how the steam gets out. Then, rub them lightly with your oil or melted butter—just enough to coat them nicely—and sprinkle generously with salt and pepper. That’s prepping done!
Oven Baking Time for the Best Baked Sweet Potato
Now for the most important placement instruction! Skip the foil entirely; we want that skin exposed directly to the heat for maximum caramelization. Place the potatoes right onto the middle oven rack. This allows the heat to circulate all around them. They usually need about 45 to 60 minutes in the oven. You’ll know they are ready when the skin looks a little wrinkly and you can easily slide a fork right into the center. If you’re doubtful, just test one!
Finishing and Serving Your Baked Sweet Potato
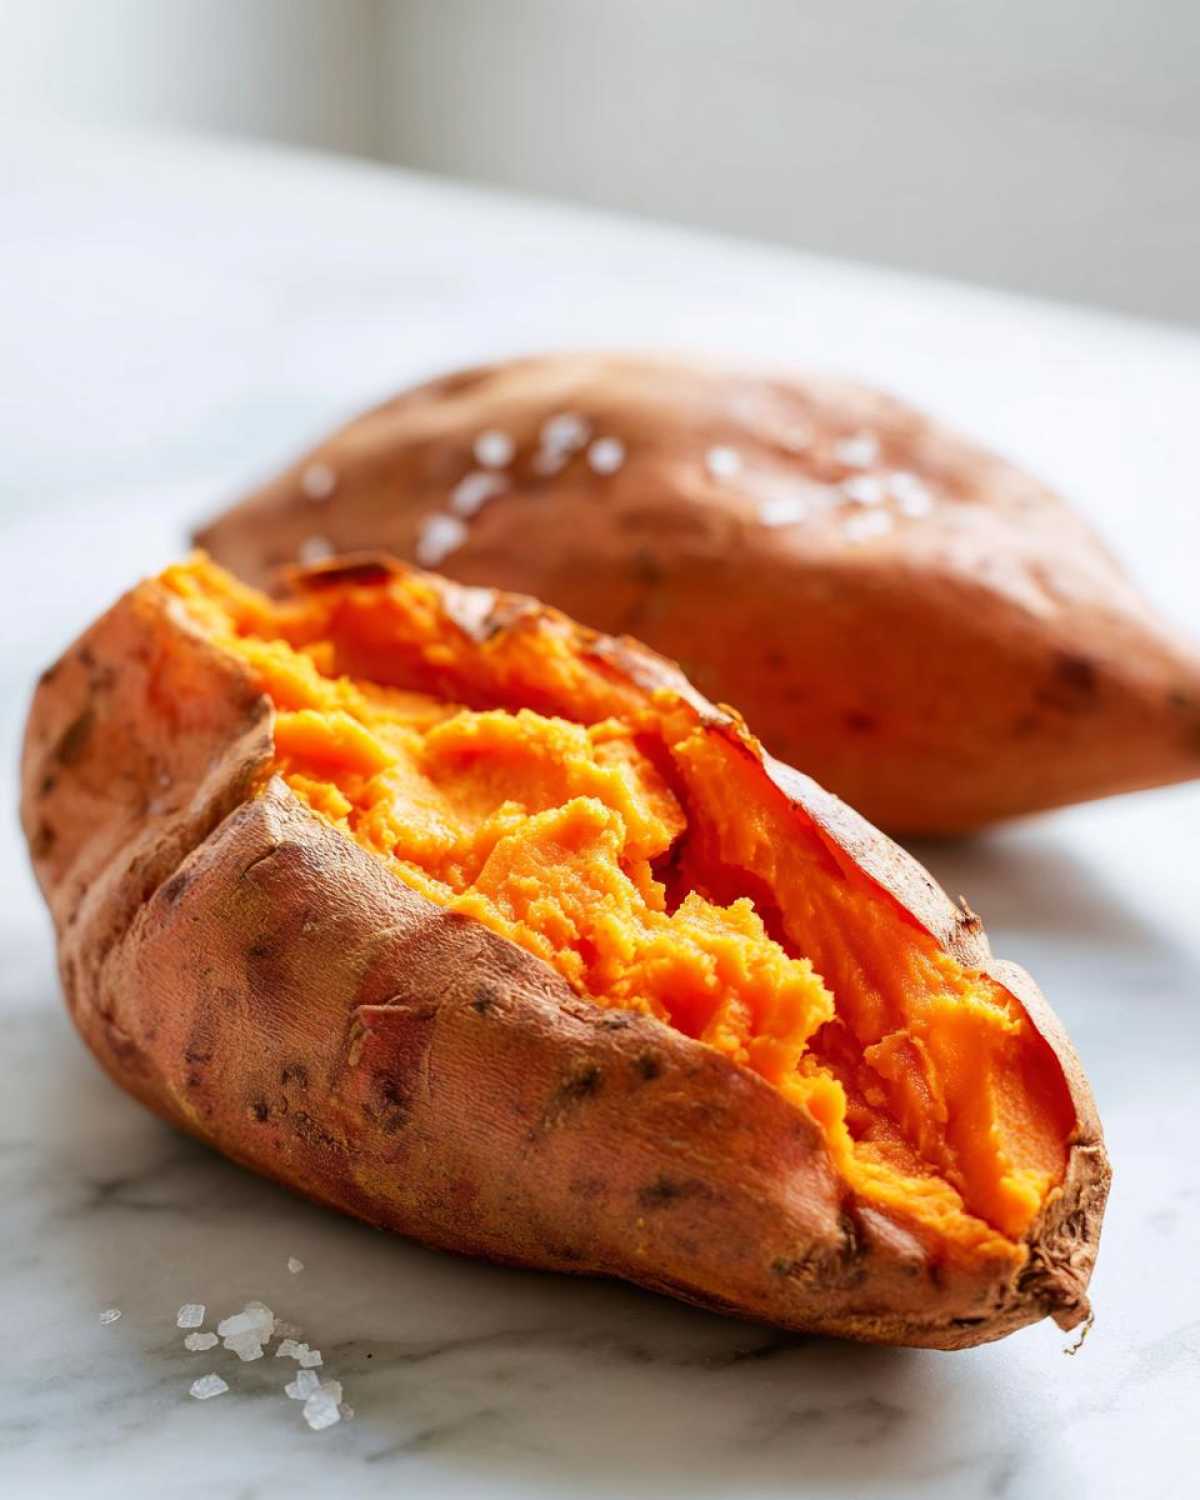
Once they feel done, carefully take them out. Use an oven mitt, please, they are super hot! Slice them right down the middle lengthwise, keeping the skin intact. This is the fun part: gently squeeze the ends of the potato towards the center. Watch that beautiful, fluffy orange flesh puff up! Scoop out a little bit if you need space for butter or toppings, and serve them right away while they are piping hot. If you want to see more of my favorite ways to dress these up, check out my whole collection of side dish ideas!
Tips for Achieving the Ultimate Fluffy Baked Sweet Potato
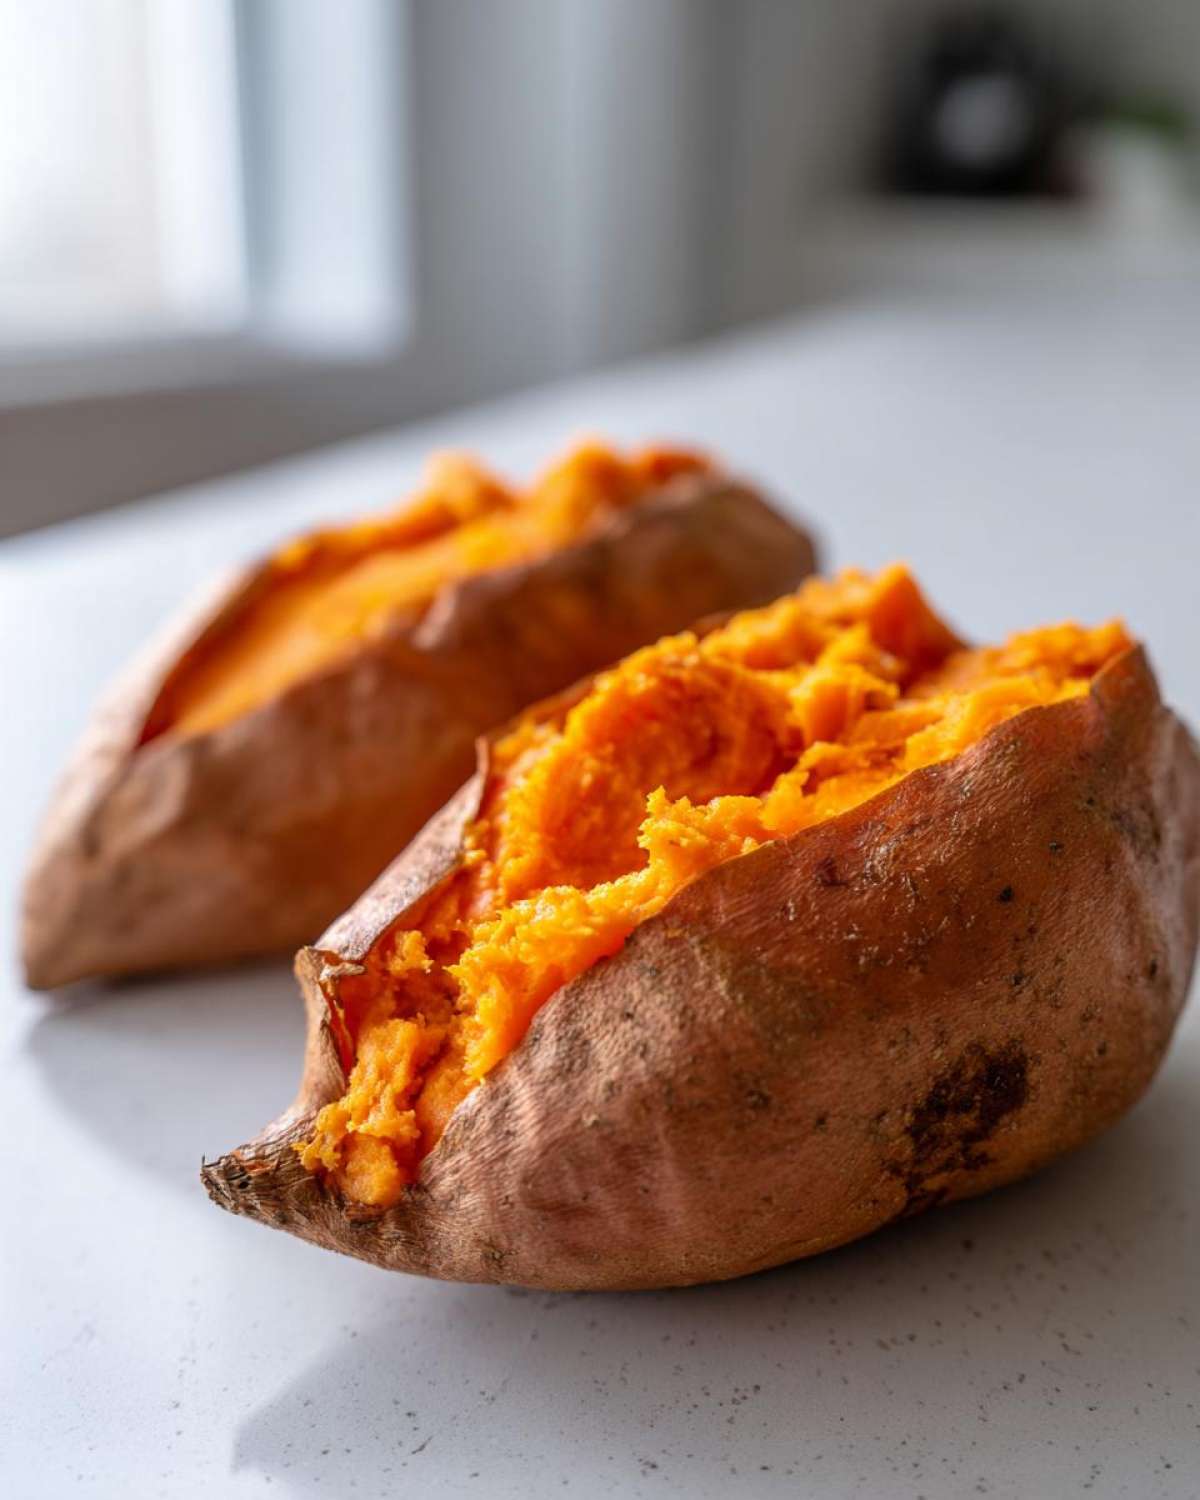
I know it seems basic, but Anya has a couple of extra tricks up her sleeve for when you want that baked sweet potato to be just heavenly, far beyond just soft. It’s about coaxing out every bit of fluffiness possible. Don’t be afraid to let them hang out a little longer once they pass the initial fork test if you have the time!
If you really want that extreme fluff factor—the kind that makes you sigh when you dig in—try putting them back in the oven for an extra five to ten minutes after you think they are technically done. They won’t dry out; they just get impossibly tender. That 400°F heat caramelizes the sugars just right, so a little extra time is actually your friend here.
Also, if humidity is high where you live, really focus on that initial drying step. A super dry skin is key to that superior baked texture, whether you end up topping them simply or transforming them into something amazing like my chicken fajita stuffed sweet potatoes!
Storage and Reheating Instructions for Baked Sweet Potato
One thing Anya and I absolutely agree on is that these aren’t just for immediate serving! Baked sweet potato is fantastic for getting ahead on meals. Once they cool down completely, place them in a sealed container in the fridge. They keep beautifully for up to four days—perfect for quick lunches!
When you’re ready for that fluffy reward, don’t reach for the microwave first if you want that great skin texture. Reheat them directly in a 375°F oven for about 10-15 minutes. That little blast of dry heat will crisp the skin back up and warm the center right through without turning the whole thing mushy. It brings that fresh-out-of-the-oven feeling right back!
Creative Variations for Your Baked Sweet Potato
So, you’ve mastered the basic, beautiful, fluffy baked sweet potato. Now what? This is where Sasha usually jumps in, encouraging us to throw caution to the wind! While Anya prefers the inherent sweetness, I love shaking things up with contrasting flavors. You really can take this simple vehicle for flavor in any direction you want.
For a sweet treat that feels decadent but is still good for you, try stirring in some cinnamon, a tiny bit of maple syrup, and a dollop of quality salted butter right when you fluff it open. If you need to turn that baked sweet potato into a main meal or a hearty side, go savory! A sprinkle of smoked paprika, cumin, and a squeeze of lime makes the flesh sing.
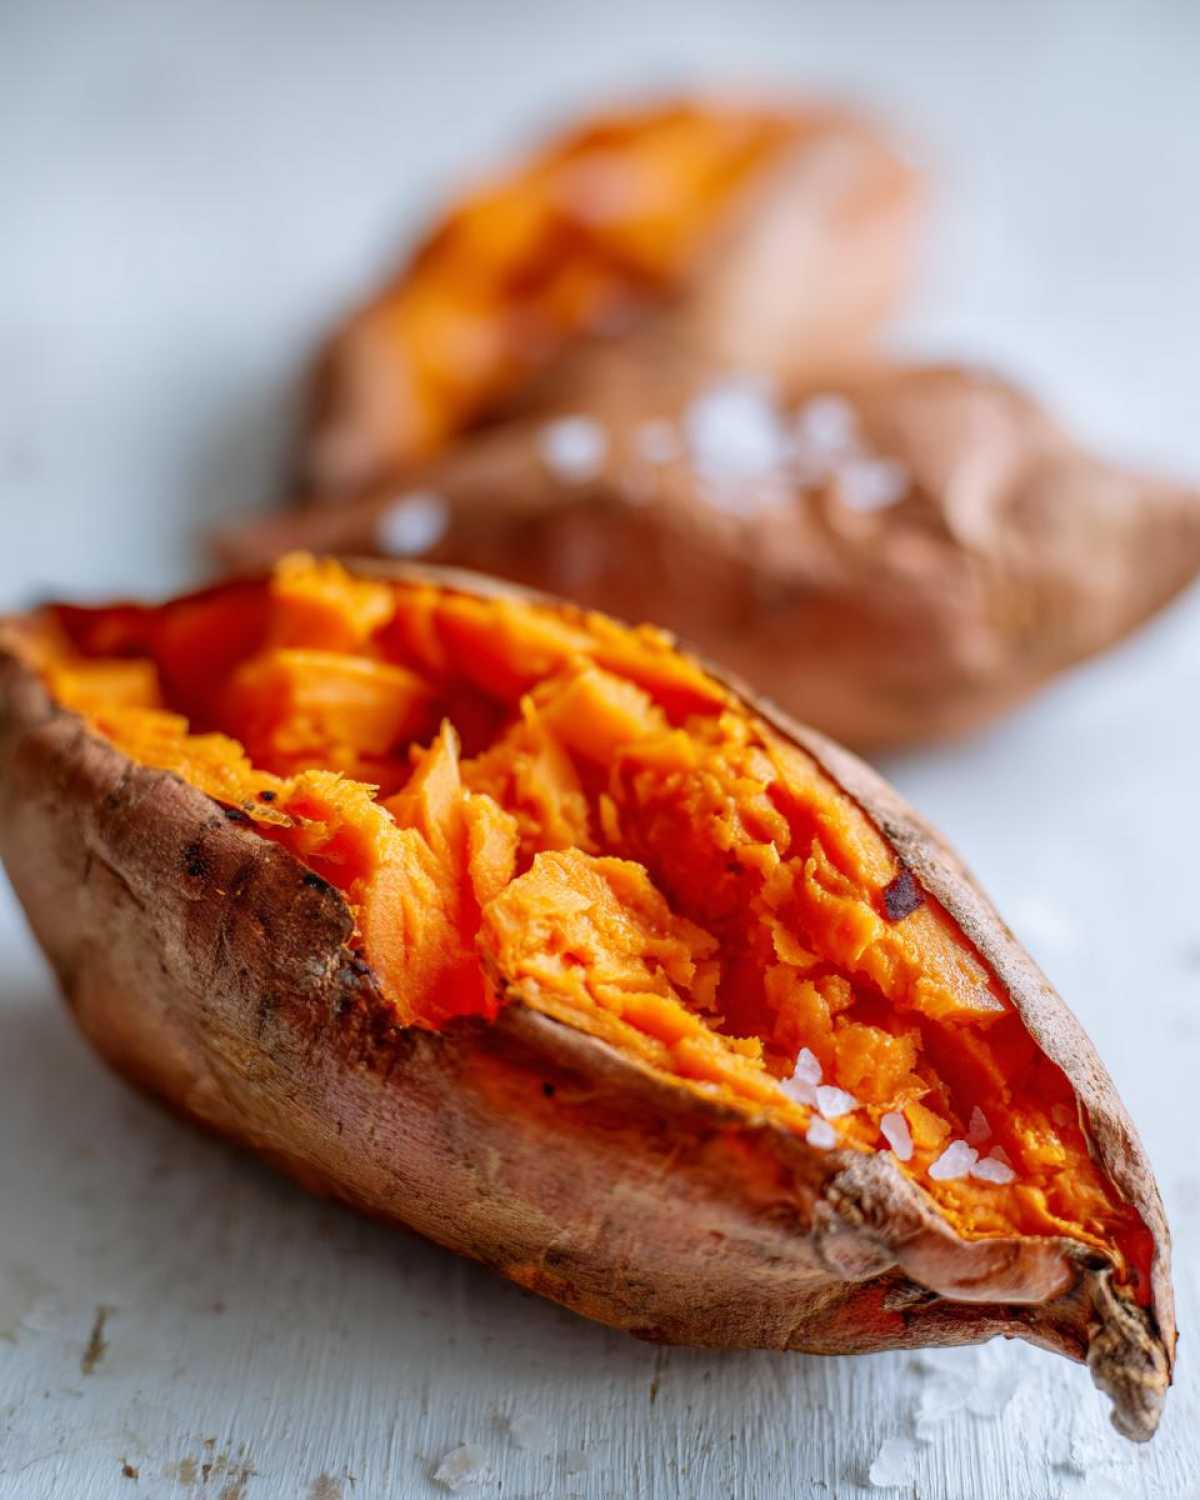
If you want a *really* hearty meal, scoop out the insides, mix them with some spices, put it back in the skin, and top it with cheese and beans—it’s incredible! For more dinner inspiration using this star ingredient, you absolutely must check out our sweet potato black bean chili.
And hey, if you want to see a professional take on a classic, I always love seeing how others approach it. Have a peek at this classic recipe from Simple Bites recipes for another take on the perfect baked sweet potato!
Serving Suggestions for a Baked Sweet Potato Side Dish
Now that you have this incredibly fluffy and easy baked sweet potato ready to go, you might be staring at it thinking, “What do I put next to this masterpiece?” Honestly, it pairs with almost anything, which is why it’s such a go-to side dish for me. It’s sweet enough to feel indulgent but healthy enough for any weeknight.
It’s absolutely phenomenal alongside a nice piece of slow-roasted pork shoulder, or maybe something lemony like baked fish. But my personal favorite, especially when I’m using savory spices on the potato itself, is placing it right next to Anya’s incredible garlic herb roast chicken. The savory herbs and the sweet fluffiness balance everything out perfectly. It just works!
Frequently Asked Questions About Baking Sweet Potatoes
It’s my job to make sure you feel totally confident tackling this recipe, so I wanted to answer a few things that pop up in my inbox about getting that perfect baked sweet potato. Don’t worry if you have doubts; everyone does when a recipe seems deceptively simple! We all want that fluffy, tender texture, and asking questions is the first step to getting it right.
Can I use foil when I bake a sweet potato?
This is the big one! My answer is a firm no, not if you want that beautiful skin. Baking directly on the oven rack is key because it lets the heat circulate all around the skin, which helps evaporate moisture and lets the sugars on the outside caramelize nicely. If you wrap them, you’re essentially steaming them inside the foil, and you won’t get that slightly crisp, almost crackly exterior we are looking for. It’s a small step, but it makes such a huge difference in texture!
What is the best temperature for a baked sweet potato?
We use 400°F (200°C) for this recipe, and Anya swears by it. It’s hot enough to roast the outside skin beautifully, giving you that caramelization, but it’s also low enough that the inside has time to steam and soften completely before the outside burns. If your potatoes are huge—like softball size—you might be tempted to go higher, but I really advise against it. Slow and steady wins the race for fluffy insides!
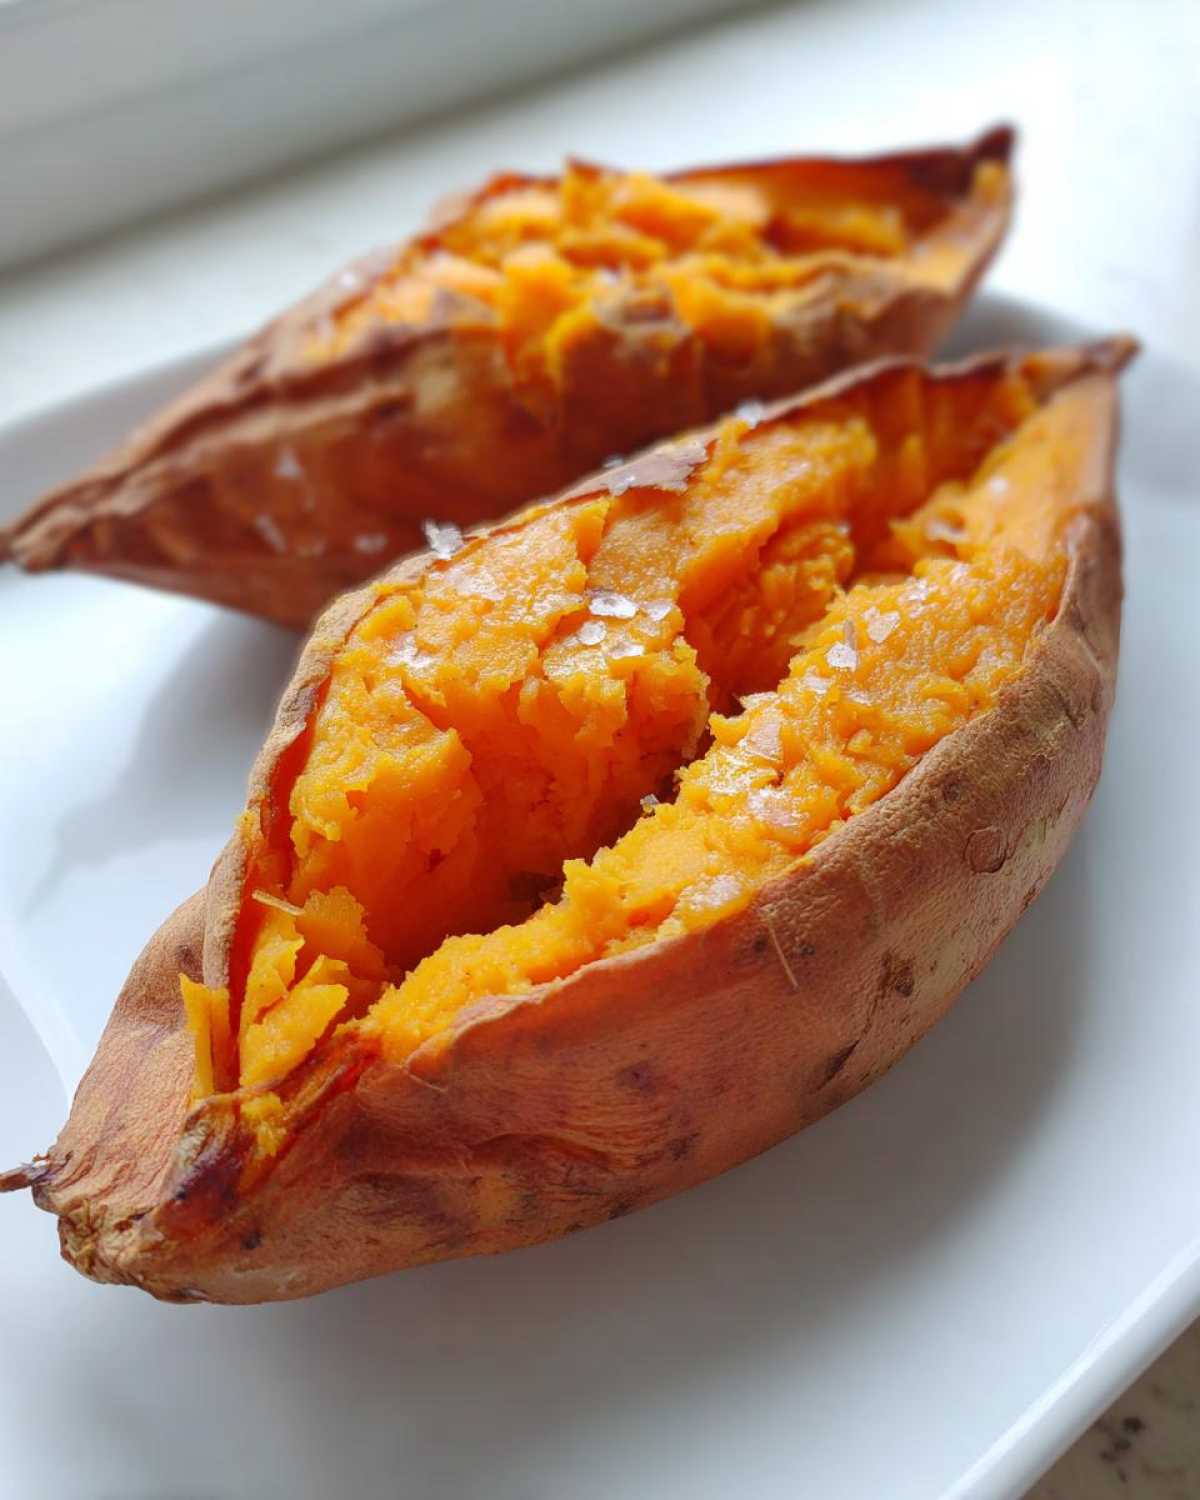
If your sweet potatoes are on the smaller side, you might be wondering how long to bake sweet potatoes; usually, 40 minutes does the trick instead of the full hour. Always go by feel, not just the clock! If you want to see another baker’s thoughts on timing, I always recommend checking out the good folks over at Mom on Timeout for their take on baking times.
Nutritional Snapshot of Your Baked Sweet Potato
I always feel a little better about eating a second helping because sweet potatoes are just packed with good stuff! Remember, because we are only using olive oil/butter, salt, and pepper, these numbers are pretty clean, but they are just estimates based on the ingredients listed. They really shine as a healthy side dish option!
- Calories: Around 180
- Fat: About 5g
- Carbohydrates: 33g
- Fiber: 5g (Yes!)
- Protein: 4g
It’s worth noting that the natural sugar content is around 13g, which gives them that wonderful sweetness without needing added sugars. If you want to check out another great resource for simple, budget-conscious recipes, check out Budget Bytes!
Share Your Perfect Baked Sweet Potato Results
Honestly, that’s it! You’ve done the work, and now you’re standing there with a perfectly fluffy, hot-from-the-oven baked sweet potato. The best part of all this cooking—besides eating it, of course—is hearing from you all! Anya really pours her heart into making sure these simple techniques work, and knowing they made it onto your family tables means the world to us.
If this method gave you the crispiest skin or the fluffiest inside you’ve ever had, please come back and let us know! Drop a rating right down below this post. Five stars is fantastic, but even a quick comment saying it worked perfectly is huge validation for us.
And please, if you snap a picture of your finished potatoes—maybe loaded up with butter and cinnamon, or perhaps savory with some black beans—we absolutely adore seeing them in the wild! You can tag us on social media or send a snap directly through our contact page. We can’t wait to see what wonderful things you do with this staple side dish!
PrintHow to Bake Perfect Sweet Potatoes: Fluffy and Tender Every Time
Learn Anya’s simple, no-fuss method for baking sweet potatoes that results in a creamy interior and perfectly caramelized skin. This is the ultimate healthy side dish for any meal.
- Prep Time: 5 min
- Cook Time: 50 min
- Total Time: 55 min
- Yield: 4 servings
- Category: Side Dish
- Method: Baking
- Cuisine: American
- Diet: Vegetarian
Ingredients
- 4 medium sweet potatoes
- 1 tablespoon olive oil or melted butter
- Coarse salt, to taste
- Black pepper, to taste
Instructions
- Preheat your oven to 400°F (200°C).
- Wash the sweet potatoes thoroughly under running water. Scrub the skin well to remove any dirt. Pat them completely dry with a paper towel.
- Prick each sweet potato several times all over with a fork or a sharp knife. This allows steam to escape and prevents them from bursting.
- Rub the outside of each potato lightly with olive oil or melted butter. This helps the skin become slightly crisp.
- Sprinkle generously with coarse salt and black pepper.
- Place the seasoned potatoes directly onto the oven rack. Do not use foil; baking directly on the rack helps the skin crisp up.
- Bake for 45 to 60 minutes. The exact time depends on the size of your potatoes. They are done when the skin is slightly wrinkled and firm to the touch, and a fork easily pierces the center.
- Remove from the oven. Slice lengthwise down the center of each potato. Gently squeeze the ends to fluff up the inside.
- Serve immediately with your favorite toppings.
Notes
- For extra fluffy results, you can bake them for an additional 5-10 minutes after they feel soft.
- If you prefer a softer skin, you can wrap them loosely in parchment paper before baking, but skip the foil for better caramelization.
- These baked sweet potatoes are fantastic for meal prep; store them in the refrigerator for up to four days.
Nutrition
- Serving Size: 1 potato
- Calories: 180
- Sugar: 13
- Sodium: 150
- Fat: 5
- Saturated Fat: 1
- Unsaturated Fat: 4
- Trans Fat: 0
- Carbohydrates: 33
- Fiber: 5
- Protein: 4
- Cholesterol: 0
