

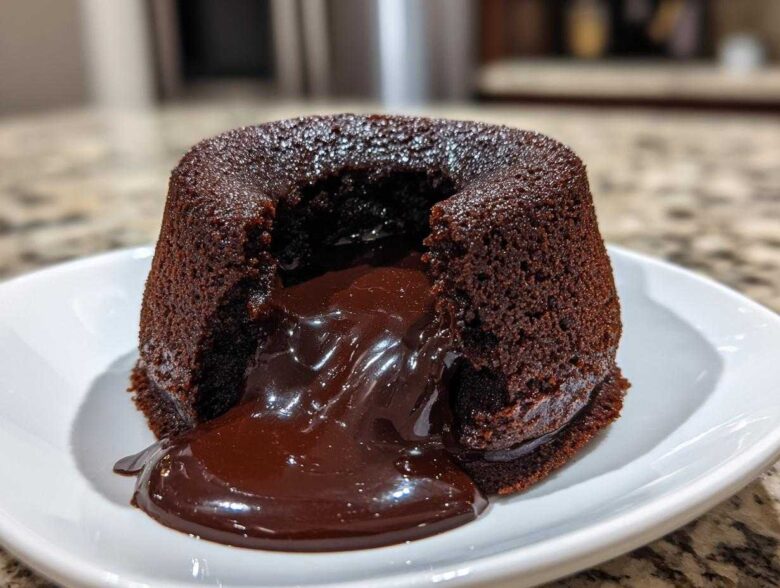
Okay, listen up, because when I tell you I have cracked the code on the ultimate, rich, gooey dessert, I mean it. Forget those sad, undercooked brownies or dry little cupcakes—we are talking about true chocolate decadence here. This is the definitive, foolproof recipe for a classic chocolate lava cake that guarantees that beautiful, warm, liquid gold center every single time. I swear, the first time I pulled one of these out of the oven and inverted it perfectly, watching that warm chocolate flow freely, I almost cried! It’s the perfect Chocolate Dessert for Two, or frankly, a perfect dessert for one if you’re having a rough Tuesday.
It’s so quick that you can whip it up after dinner on a Tuesday, but it looks sophisticated enough for a big celebration. Honestly, the secret isn’t some fancy imported ingredient; it’s just understanding the timing. You’ll want to check out my guide on making a batch just for two if you’re feeling extra selfish because this method scales so beautifully.
Why This Classic Chocolate Lava Cake Recipe Never Fails
People get so nervous about making a true lava cake because they fear overbaking it and ending up with a dry little chocolate muffin. But this recipe? This is the Best Ever Molten Cake because it cuts out all that guessing. The magic formula is actually about chemistry, not just luck!
We’re using a slightly higher ratio of eggs and egg yolks compared to the flour. That small amount of flour we add is just enough to give us those beautifully crisp edges and a fluffy cake layer on top, creating that contrast with the ooey center. It’s this specific structure that turns it into a wonderful Warm Brownie Center Cake instead of just a pudding you can’t get out of the dish.
If you want all the details on that perfect flow, check out how I break down the science of the center over at my deep dive on molten chocolate cakes. Trust me, once you see the timing, you’ll feel totally confident.
Achieving the Silky Gooey Dessert Center
The absolute key to that liquid center is the bake time—and I mean down to the minute! We bake at a high heat, 425°F, which sets the outside quickly. The mixture of two whole eggs plus two extra yolks adds richness and structure that prevents the whole thing from melting away, but crucially, there isn’t enough flour to set the very middle.
If you follow the 12 to 14-minute window, you’ll have that signature molten flow. Remember, the cake continues to cook slightly outside the oven, so we pull it when it still looks a baby bit soft in the middle. That’s the secret sauce!
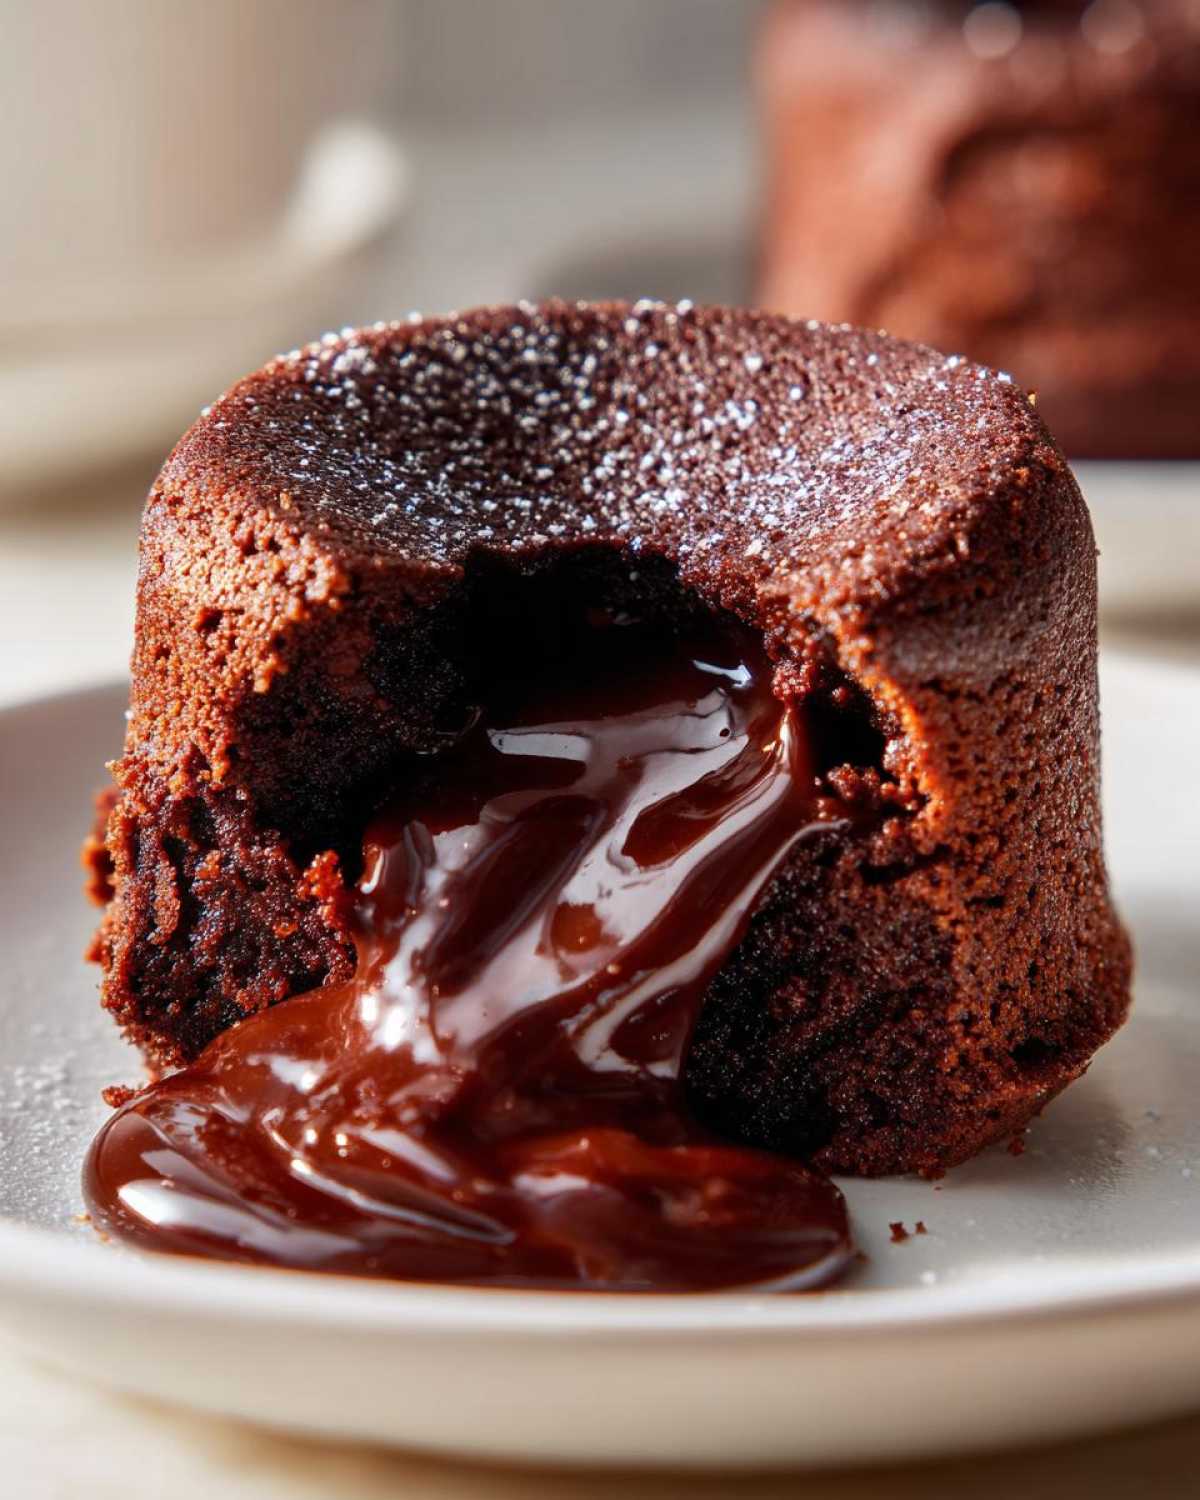
Quick Preparation for Your Chocolate Lava Cake
I love this recipe for date nights or when company drops by unexpectedly because it’s so ridiculously fast. If you have your chocolate and butter melting while you gather your eggs, you’ve already done half the battle.
We’re looking at only 10 minutes of actual prep time before these babies hit the heat. That rapid preparation time makes this one of my favorite Quick Chocolate Desserts that still feels incredibly gourmet. Seriously, it’s faster than ordering delivery!
Essential Ingredients for Perfect Chocolate Lava Cake
You don’t need a pantry full of fancy stuff to make magic happen here. We’re using basic, high-quality staples because for a dessert this simple, the ingredients really have to shine. Measuring accurately is critical, especially when we’re dealing with chocolate and eggs, so grab that kitchen scale if you can!
Here is exactly what you need for four stunning individual cakes:
- 4 ounces bittersweet chocolate, chopped into tiny pieces
- 4 ounces unsalted butter, cut into cubes
- 2 large eggs (the whole ones)
- 2 large egg yolks (save those whites for omelets!)
- 1/4 cup granulated sugar
- 1 tablespoon all-purpose flour – yes, just one tablespoon!
- A tiny pinch of salt
- Butter and cocoa powder for prepping those ramekins
For more baking tips related to other recipes, you can check out my zucchini bread guide—same precision, different vegetable!
Ingredient Notes and Substitutions for Your Lava Cake
Let’s talk quality control, because this is where many people slip up. You absolutely must use good quality bittersweet chocolate, around 60% to 70% cacao. Milk chocolate has too much sugar and not enough cocoa solids, and it just won’t give you that deep, rich flavor we want in this Decadent Chocolate Indulgence.
If you’re out of bittersweet, semi-sweet works as a last resort, but never use milk! As for butter, stick with unsalted! It lets us control the final salt level. The flour measurement is tiny—don’t be tempted to add more, or you’ll end up with a lovely chocolate dessert for two, but sadly, the lava feature will be missing.
Step-by-Step Instructions for Homemade Lava Cakes Tutorial
This whole process moves fast, so get everything ready before you start mixing! It’s called a Homemade Lava Cakes Tutorial for a reason—I’m walking you through every single step to ensure you get that clean release and molten middle. You’ll notice we’re starting with a screaming hot oven because we want that outside crust to firm up fast while the middle stays liquid.
First things first, get your oven cranked up to 425 degrees Fahrenheit. While that’s heating, melt your butter and chocolate together gently—either over simmering water or in short 15-second bursts in the microwave until it’s silky smooth. Let that cool down just a touch so we don’t accidentally cook the eggs by accident!
Next, whisk those eggs, yolks, and sugar together until they get pale and slightly fluffy—it only takes about a minute. Then, fold in the melted chocolate mix gently. Finally, whisk in that tiny bit of flour and salt until everything is just combined. Don’t stir it like you’re making bread; we need that air in there!
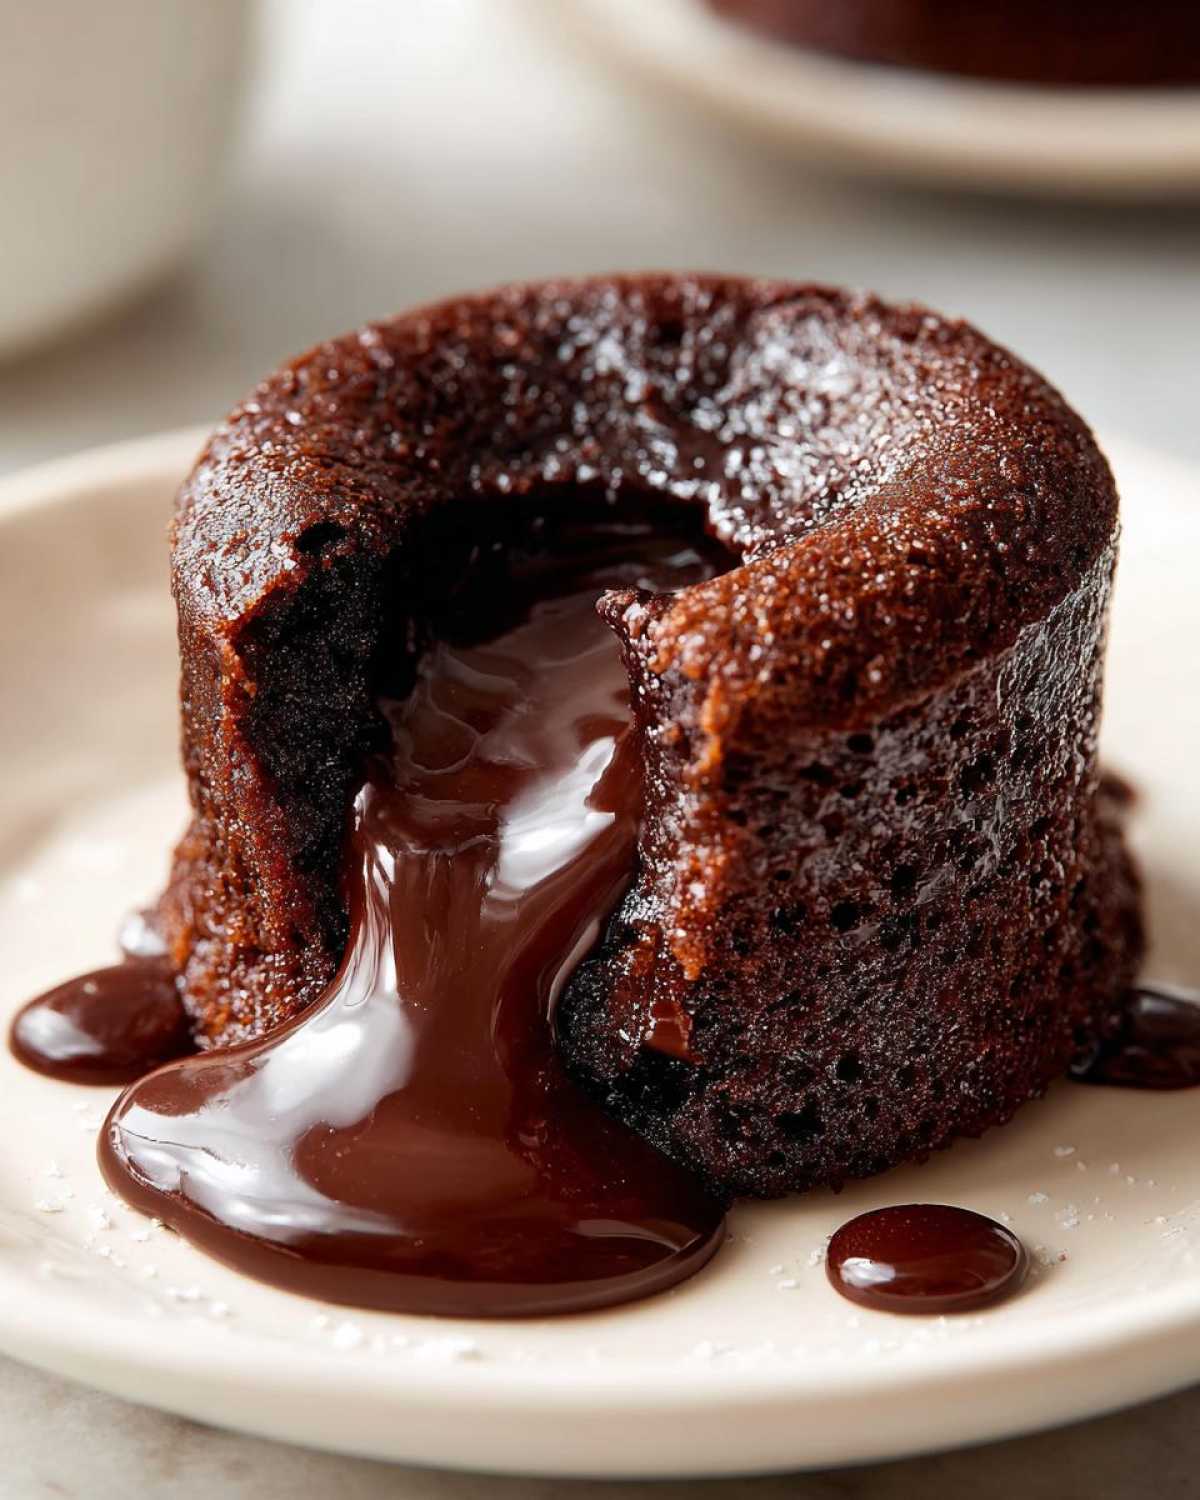
Divide the batter evenly into your prepared ramekins. If you want to see how I make the absolute smoothest chocolate pudding cake when I’m not doing lava cakes, check out the recipe here!
Preparing the Ramekins for Easy Release of Your Lava Cake
This step is non-negotiable if you want that beautiful molded shape! You need to generously butter the inside of your ramekins—get into all those corners. Then, dust them well with cocoa powder, tapping out the excess. The cocoa prevents sticking better than flour ever could!
Baking Time: The Secret to a Flowing Lava Cake Center
Place the ramekins on a baking sheet—this just makes moving them easier. Bake them for 12 to 14 minutes exactly. You’re looking for the edges to be firm and set, but the very center should still have a slight, noticeable wobble. That wiggle is your guarantee for a gorgeous flow when you flip it out onto the plate!
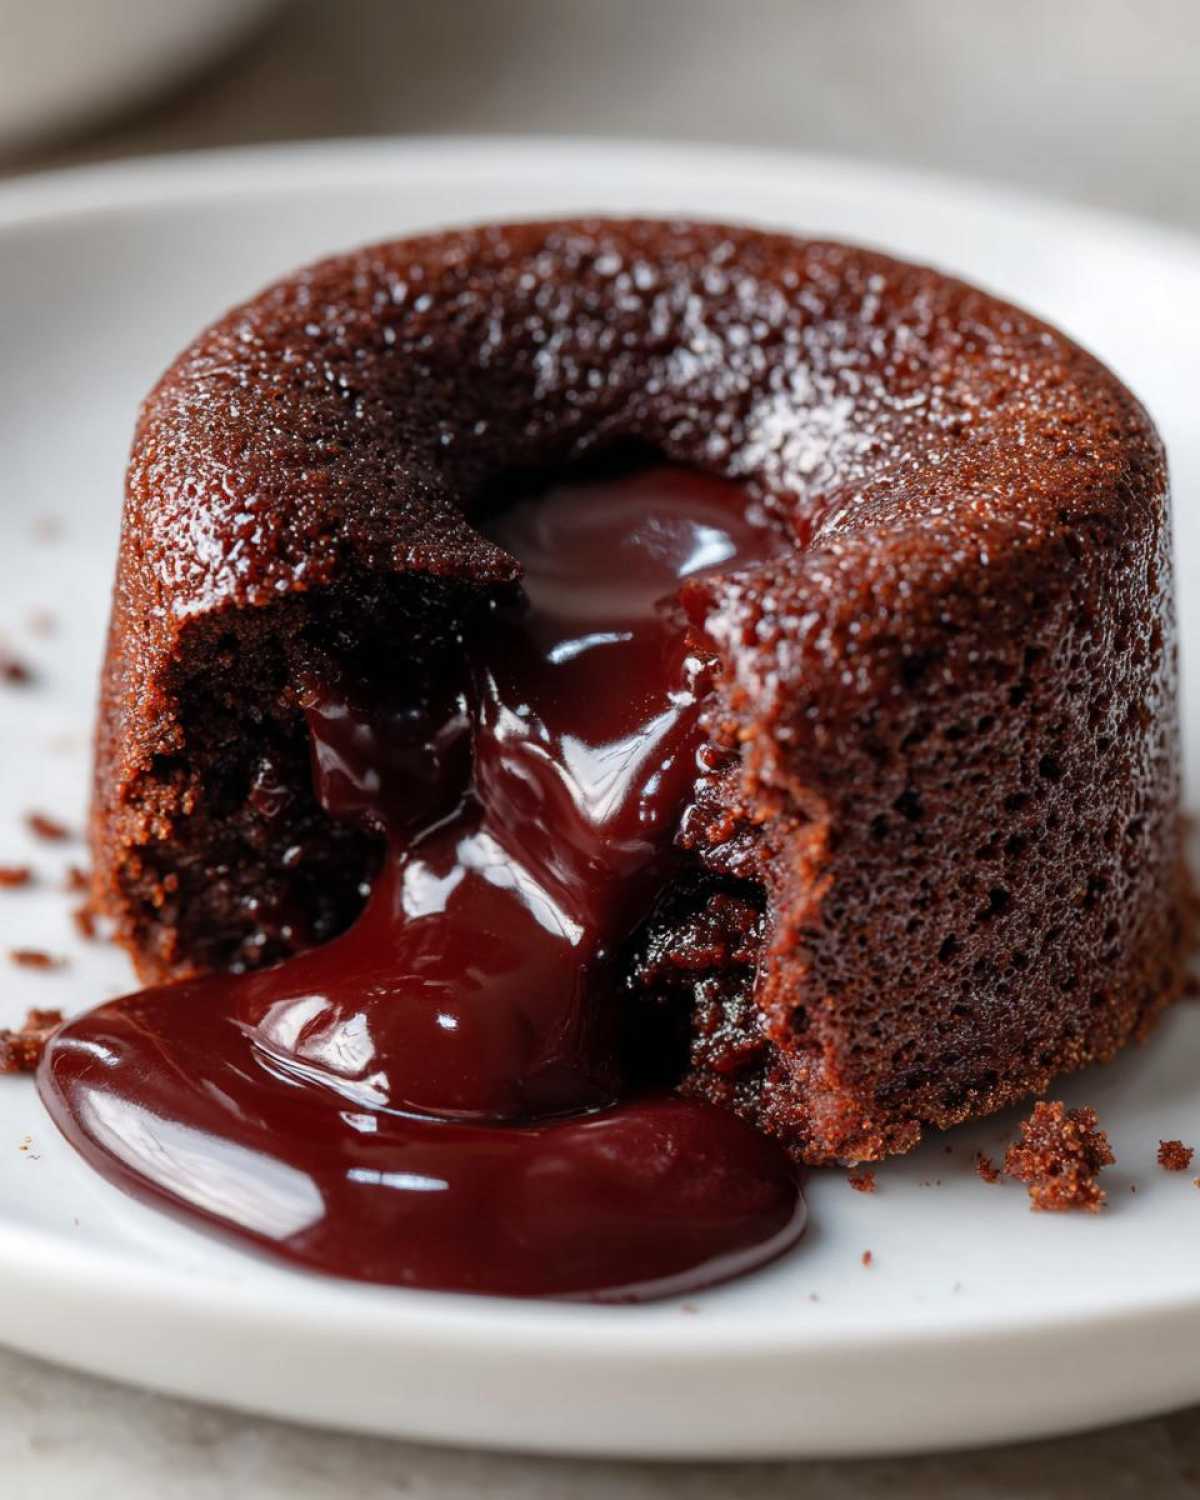
Troubleshooting Common Issues with Your Chocolate Lava Cake
Sometimes, baking doesn’t go according to plan, even with the best recipe in the world! Don’t panic if your first attempt doesn’t look exactly like a magazine spread. Most issues are easy fixes for the next batch where you’ll nail that perfect balance.
The number one complaint is always, “Mine didn’t flow!” This almost always means you baked it too long. If it looks fully set like a regular cupcake when you pull it out, it’s cooked through. For next time, shave off 30 seconds to a minute from the bake time, or check the center while it’s still in the oven!
If your beautiful little cake decided to glue itself to the ramekin, you know the culprit: the prep! Even if you think you buttered well, go back and use a thicker layer of butter, followed by a generous dusting of cocoa powder. That cocoa acts like a protective non-stick shield for our molten chocolate cake recipe. Be firm but gentle when you run that knife around the edge before inverting.
Serving Suggestions for Your Decadent Chocolate Indulgence
Now for the fun part—making these look as amazing as they taste! Since this is the perfect Date Night Dessert, presentation really matters. You want that molten center to be the star of the show. I always dust mine lightly with powdered sugar right before serving; it gives a beautiful contrast against the dark cake.
But for maximum impact, you need something cool and sharp to cut through that intense richness. A scoop of good vanilla bean ice cream is heavenly, especially as it starts to melt right into the flowing chocolate. Or, if you want a bit of tartness, pile on some fresh raspberries or sliced strawberries!
If you’re feeling ambitious and want an extra layer of creamy texture, you absolutely have to try pairing it with a light, airy mousse. I love making a batch of my iced cappuccino mousse ahead of time—it’s such a sophisticated partner for this intense chocolate.
Storage and Reheating Instructions for Leftover Lava Cake
So, what happens if you actually manage to have a leftover lava cake? Honestly, that’s a rare occurrence in my house, but yes, you can save them! If you have any baked individual cakes that you didn’t eat immediately, just wrap them loosely in plastic wrap and keep them on the counter for up to a day. They’ll have hardened up a bit, turning more into a dense, rich brownie.
To try and bring back some of that gooey factor, you’ll want to reheat them gently. Pop the wrapped cake into a low oven—maybe 300 degrees Fahrenheit—for about 5 to 8 minutes. Don’t zap it in the microwave unless you want rubbery edges; the oven will warm it through more evenly and give you a better chance at a soft center again!
Variations on the Classic Chocolate Lava Cake
Don’t feel like you have to stick to the strict standard every time! Once you master this basic formula, you can play a little bit. These small tweaks are what turn a great recipe into *your* recipe. They all keep that essential, fast bake time and the glorious molten middle intact.
For starters, if you love coffee, dissolve about half a teaspoon of instant espresso powder right into your melting chocolate and butter. It deepens the chocolate flavor so much—it makes it taste almost like a fancy coffee shop treat! Or, if you want a little excitement, whisk in a tiny pinch of cayenne pepper with your flour. It’s subtle, but that little bit of heat is fantastic paired with the sweetness, much like in my chili chocolate nut clusters.
If you use a higher percentage of dark chocolate—say, 75%—the result leans more toward a truly intense, almost bitter flavor, making it feel like a very sophisticated Rich Chocolate Pudding Cake instead of just a sweet treat. You can even swap out half the chocolate for high-quality hazelnut spread for a Nutella version. The possibilities are endless!
Equipment Needed for Baking Single Serving Cakes
You don’t need a thousand fancy gadgets to make dessert magic happen, even when you bake single serving cakes like these! Since we are focusing on individual portions, the right molds are important. You absolutely must have four 6-ounce ramekins on hand. Don’t skip them!
Beyond the ramekins, you’ll need a nice heatproof bowl for melting the chocolate—I just use the bowl my whisking mix goes into later. And of course, always have a sturdy whisk and a flexible spatula for gently folding everything together. For easy cleanup, you can check out my favorite tools for making all kinds of easy individual cakes!
Nutritional Snapshot of This Chocolate Lava Cake
Okay, so let’s talk nutrition. I know when you’re diving into a truly decadent chocolate lava cake, you aren’t really thinking about the macros, but sometimes people ask! Because this dessert is so rich and uses serious amounts of butter and dark chocolate, it definitely falls into the ‘indulgence’ category, and that is perfectly okay with me.
These numbers below are just estimates, mind you. They are based on using standard grocery store ingredients for the recipe as written, so if you swap out your bittersweet chocolate for something richer or add a giant scoop of ice cream on top, those numbers are going to change fast!
- Serving Size: 1 cake
- Calories: 380
- Sugar: 25g
- Sodium: 110mg
- Fat: 26g (with about 15g being saturated fat)
- Carbohydrates: 28g
- Protein: 7g
- Cholesterol: 160mg
See? Worth every single calorie when that center flows out like velvet. Just make sure to save room for this delightful treat!
PrintFoolproof Classic Chocolate Lava Cake: Perfect Gooey Center Every Time
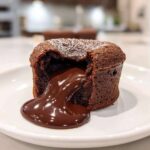
Make rich, individual chocolate cakes with crisp edges and a warm, flowing molten center. This recipe is simple to follow and consistently delivers a decadent dessert.
- Prep Time: 10 min
- Cook Time: 14 min
- Total Time: 24 min
- Yield: 4 servings
- Category: Dessert
- Method: Baking
- Cuisine: American
- Diet: Vegetarian
Ingredients
- 4 ounces bittersweet chocolate, chopped
- 4 ounces unsalted butter
- 2 large eggs
- 2 large egg yolks
- 1/4 cup granulated sugar
- 1 tablespoon all-purpose flour
- Pinch of salt
- Butter and cocoa powder for dusting ramekins
Instructions
- Preheat your oven to 425 degrees Fahrenheit. Generously butter four 6-ounce ramekins. Dust the inside of each buttered ramekin with cocoa powder, tapping out any excess.
- Place the chopped chocolate and butter in a heatproof bowl set over a saucepan of simmering water (or microwave in short bursts). Stir until completely smooth. Remove from heat and let cool slightly.
- In a separate medium bowl, whisk together the whole eggs, egg yolks, and sugar until the mixture is pale and slightly thickened, about 1 minute.
- Gently whisk the slightly cooled chocolate mixture into the egg mixture until just combined.
- Sift the flour and salt over the batter. Fold gently until no streaks of flour remain. Do not overmix.
- Divide the batter evenly among the four prepared ramekins.
- Place the ramekins on a baking sheet. Bake for 12 to 14 minutes. The edges should look set, but the center should still look soft and slightly jiggly.
- Let the cakes cool in the ramekins for exactly 1 minute. Run a thin knife around the edge of each cake.
- Invert each cake onto a small serving plate. Serve immediately while the center is molten.
Notes
- For the best flow, do not overbake. If you prefer a slightly firmer center, bake for 15 minutes.
- If you do not have ramekins, you can bake this batter in a standard muffin tin, reducing the bake time to 10 to 12 minutes.
- Dust the finished cakes with powdered sugar or serve with fresh raspberries for contrast.
Nutrition
- Serving Size: 1 cake
- Calories: 380
- Sugar: 25
- Sodium: 110
- Fat: 26
- Saturated Fat: 15
- Unsaturated Fat: 8
- Trans Fat: 0.5
- Carbohydrates: 28
- Fiber: 2
- Protein: 7
- Cholesterol: 160
