

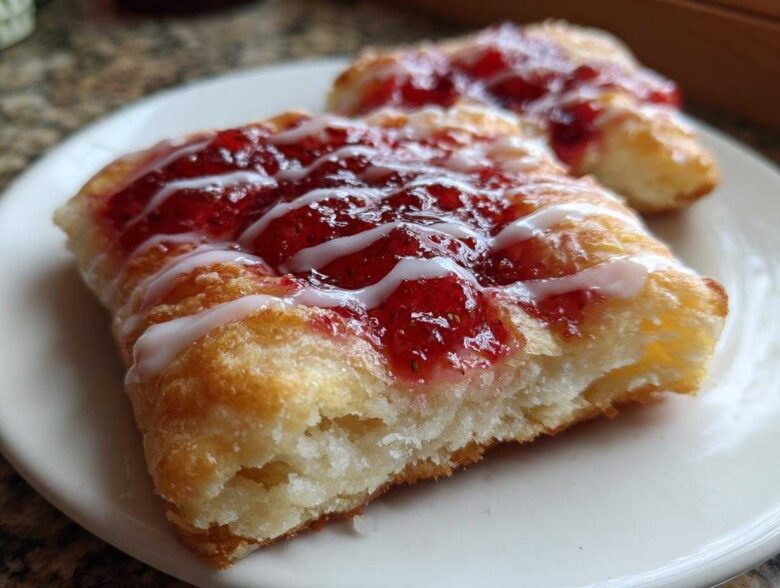
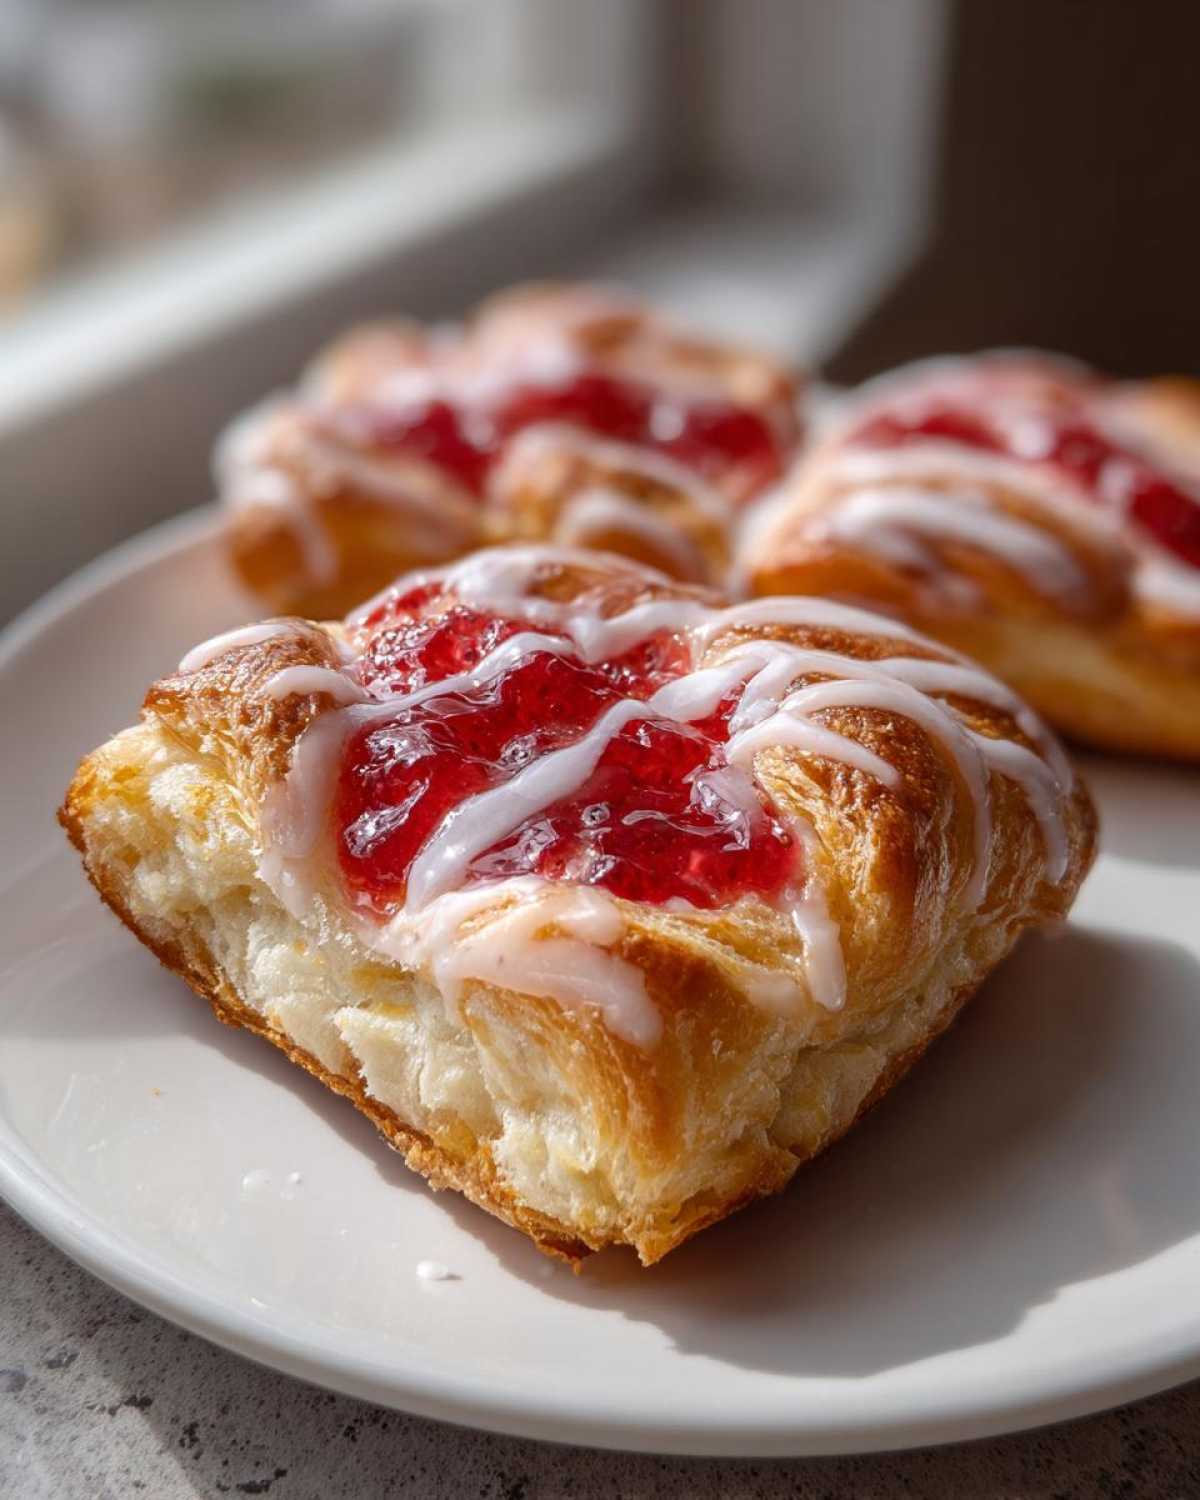
Oh my gosh, you are going to LOVE this! For years, I thought buttery, flaky pastries were just a distant memory now that we bake everything gluten-free. I’d given up on ever finding that perfect, laminated bite. But let me tell you, after way too many ruined attempts trying to fold homemade dough (it never works!), I finally cracked the code for amazing Gluten-Free Strawberry Cream Cheese Danishes using store-bought sheets. Trust me, these turn out golden, puffed up, and absolutely dripping with that amazing pink strawberry swirl and tangy cream cheese filling. They genuinely taste like they came from a fancy bakery, and they are surprisingly fast to pull together for a weekend brunch!
The secret here, honestly, is celebrating the high-quality gluten-free puff pastry we have available now. When I used to try making my own laminated dough, it was always dense and heavy. Now? We just focus on the filling and the assembly. I’m sharing all my little tricks to make sure those edges puff up perfectly high, keeping that delectable cream cheese center safe inside. Forget dense, sad GF baked goods; these are the real deal!
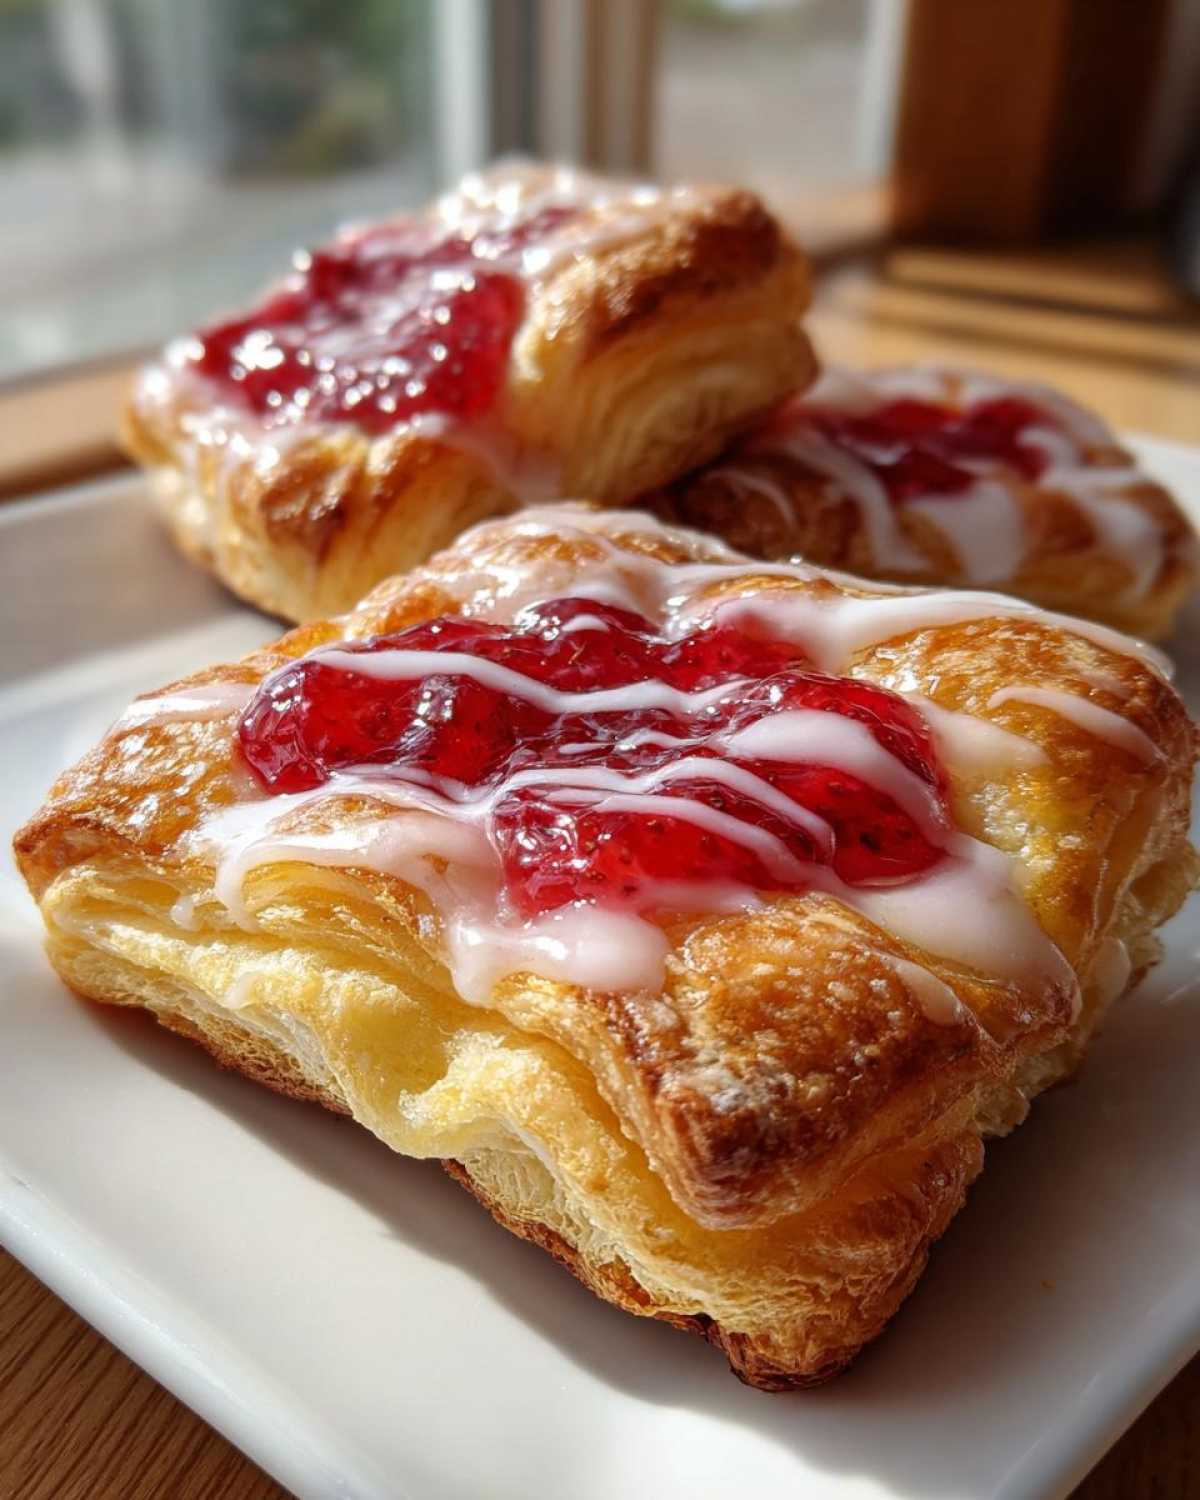
Why You Will Love These Gluten-Free Strawberry Cream Cheese Danishes
Seriously, once you see how these bake up, you’ll be making them every single weekend! They hit every single mark you want in a decadent breakfast pastry, but without any of the typical gluten stress. Here’s why this recipe is moving straight to your favorites folder:
- Incredible Flakiness: Even using pre-made sheets, the technique I show you for scoring and applying the egg wash makes the pastry edges puff up high and shatter beautifully when you bite into them.
- Zero Kneading Required: Because we rely on fantastic commercially available GF puff pastry, we skip the complex folding and chilling sessions. Prep time is ridiculously fast!
- Perfect Flavor Balance: That tangy, slightly sweet cream cheese filling cuts through the richness of the pastry dough and pairs so perfectly with the bright pop of strawberry jam. It’s sunshine in pastry form.
- Dietary Friendly Showstopper: These look and taste so bakery-worthy, no one will ever guess they are entirely gluten-free. Perfect for impressing guests at brunch!
- Quick Fix!: From start to finish, we’re looking at under 40 minutes total time, making them a fantastic last-minute treat when you need something special fast.
Ingredients for Perfect Gluten-Free Strawberry Cream Cheese Danishes
See? I told you this was simple! We aren’t making dough from scratch here, which is the biggest time-saver. Just make sure you follow the package directions for thawing the pastry—don’t try to rush that part! You’ll divide your list into two main parts: the filling that makes the pastry rich, and the simple finishing touches.
Here is exactly what you’ll need for eight gorgeous danishes. I always lay it all out on the counter first so I can just grab things as I go. If you want more on general GF baking tricks, check out my guide on Baking with Gluten-Free Flour Blends!
- 1 package (10 oz) gluten-free puff pastry sheets, thawed completely
- 8 oz cream cheese, make sure it’s softened up nicely
- 1/4 cup granulated sugar
- 1 large egg yolk (this gives the filling that perfect velvety look)
- 1 teaspoon vanilla extract
- 1/2 cup strawberry jam or compote (your favorite kind works best!)
- 1 large egg, whisked up with 1 tablespoon milk or water for the egg wash
- 2 tablespoons powdered sugar and 1 teaspoon milk or water for a thin little glaze drizzled on top
Essential Equipment for Making Gluten-Free Strawberry Cream Cheese Danishes
Because we’re using pre-made pastry, we save a ton of time, but you still need the right tools to make sure those layers puff up like they should! Gathering everything *before* you start assembling is my golden rule. Nobody wants to stop mid-way to hunt for a fork!
Don’t worry, you probably have most of this stuff hiding in your cabinets already. It’s all about having a clean workspace and the right containers for mixing.
- Baking Sheets (At least two): You need space for these pastries to breathe! Since they puff up quite a bit, you don’t want them touching each other. Two medium-sized sheets work perfectly for a standard pack of pastry.
- Parchment Paper: Non-negotiable! This is your insurance policy against sticking, especially when working with fragile gluten-free doughs that can tear easily.
- Mixing Bowls: Grab one medium bowl for whipping up that heavenly cream cheese filling and one tiny bowl for mixing your egg wash.
- Electric Mixer or Whisk: You need to get that cream cheese properly smooth. If your cream cheese is rock hard, a hand mixer will make short work of it. If you’re feeling strong, a sturdy whisk works too!
- A Sharp Knife or Scalpel: This is super important for scoring the dough. You want a clean, sharp edge to make those borders without tearing the bottom layers.
- Fork: We use this to prick the center area of the dough. This tells the sides to rise high while keeping the center flat enough to hold the fillings!
- Silicone Pastry Brush: For spreading out that golden egg wash perfectly evenly over the edges.
Step-by-Step Instructions for Your Homemade Strawberry Cheese Danish
Okay, let’s get baking! Because we are using store-bought sheets, this process moves along super quickly. The most important thing is that your pastry is fully thawed but still nice and cool when you start cutting it. If it gets too warm, the butter melts right out, and we lose that chance at flakiness! Remember, handle this Gluten Free Pastry Recipe gently—it’s delicate!
For a deeper dive into making easy GF pastries, I have a few more pointers in my guide on Easy Gluten Free Danish Recipe, but let’s get these beauties in the oven!
Preparing the Dough and Oven
First things first—turn that oven on! You need it hot and ready at 400°F (200°C) before we introduce the dough to the heat. Line your two baking sheets with parchment paper now, too. When the dough is unrolled, work quickly! Dust a clean counter very lightly with your favorite gluten-free flour blend. Unroll your thawed sheets and cut each one neatly into four equal squares. Precision helps them bake evenly!
Mixing the Cream Cheese Filling for Gluten Free Baking
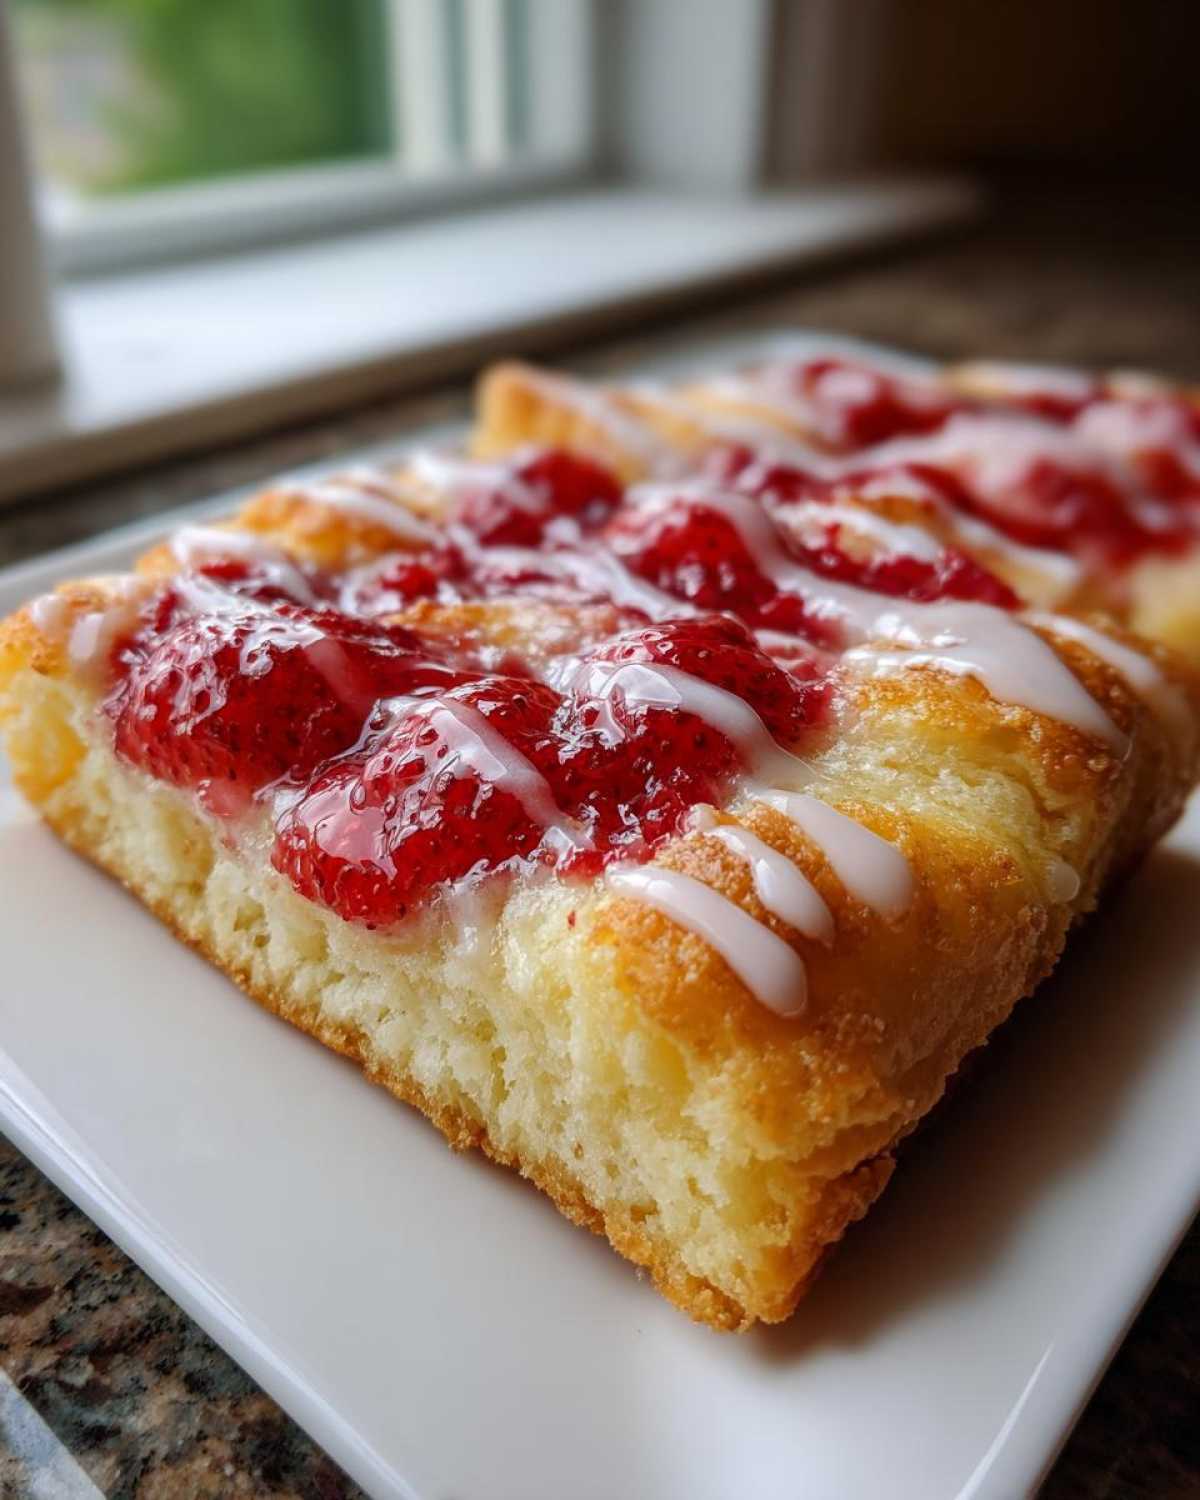
While the oven is heating, let’s whip up that glorious filling. In your medium bowl, combine that softened cream cheese with your 1/4 cup of sugar, the single egg yolk, and that splash of vanilla. Beat it well—I mean until it’s super silky and smooth. You shouldn’t feel any lumps of cream cheese whatsoever. If it’s grainy, keep mixing! This smooth base is what makes the center so luxurious.
Assembling and Filling Your Gluten-Free Strawberry Cream Cheese Danishes
Take your squares and lay them on the parchment-lined sheets. Now, take your sharp knife, and *gently* score a border, leaving about half an inch around the edge—don’t cut all the way through! This creates the crust “wall.” Then, grab your fork and prick, prick, prick the inside area many times; this stops the center from puffing up too much. Spread one good tablespoon of that cream cheese mix inside the border, then top it with a teaspoon of your strawberry jam. Finally, brush those bare edges—only the edges!—with the simple egg wash. That wash is what makes them turn that gorgeous deep gold color.
Baking and Glazing the Final Gluten-Free Strawberry Cream Cheese Danishes
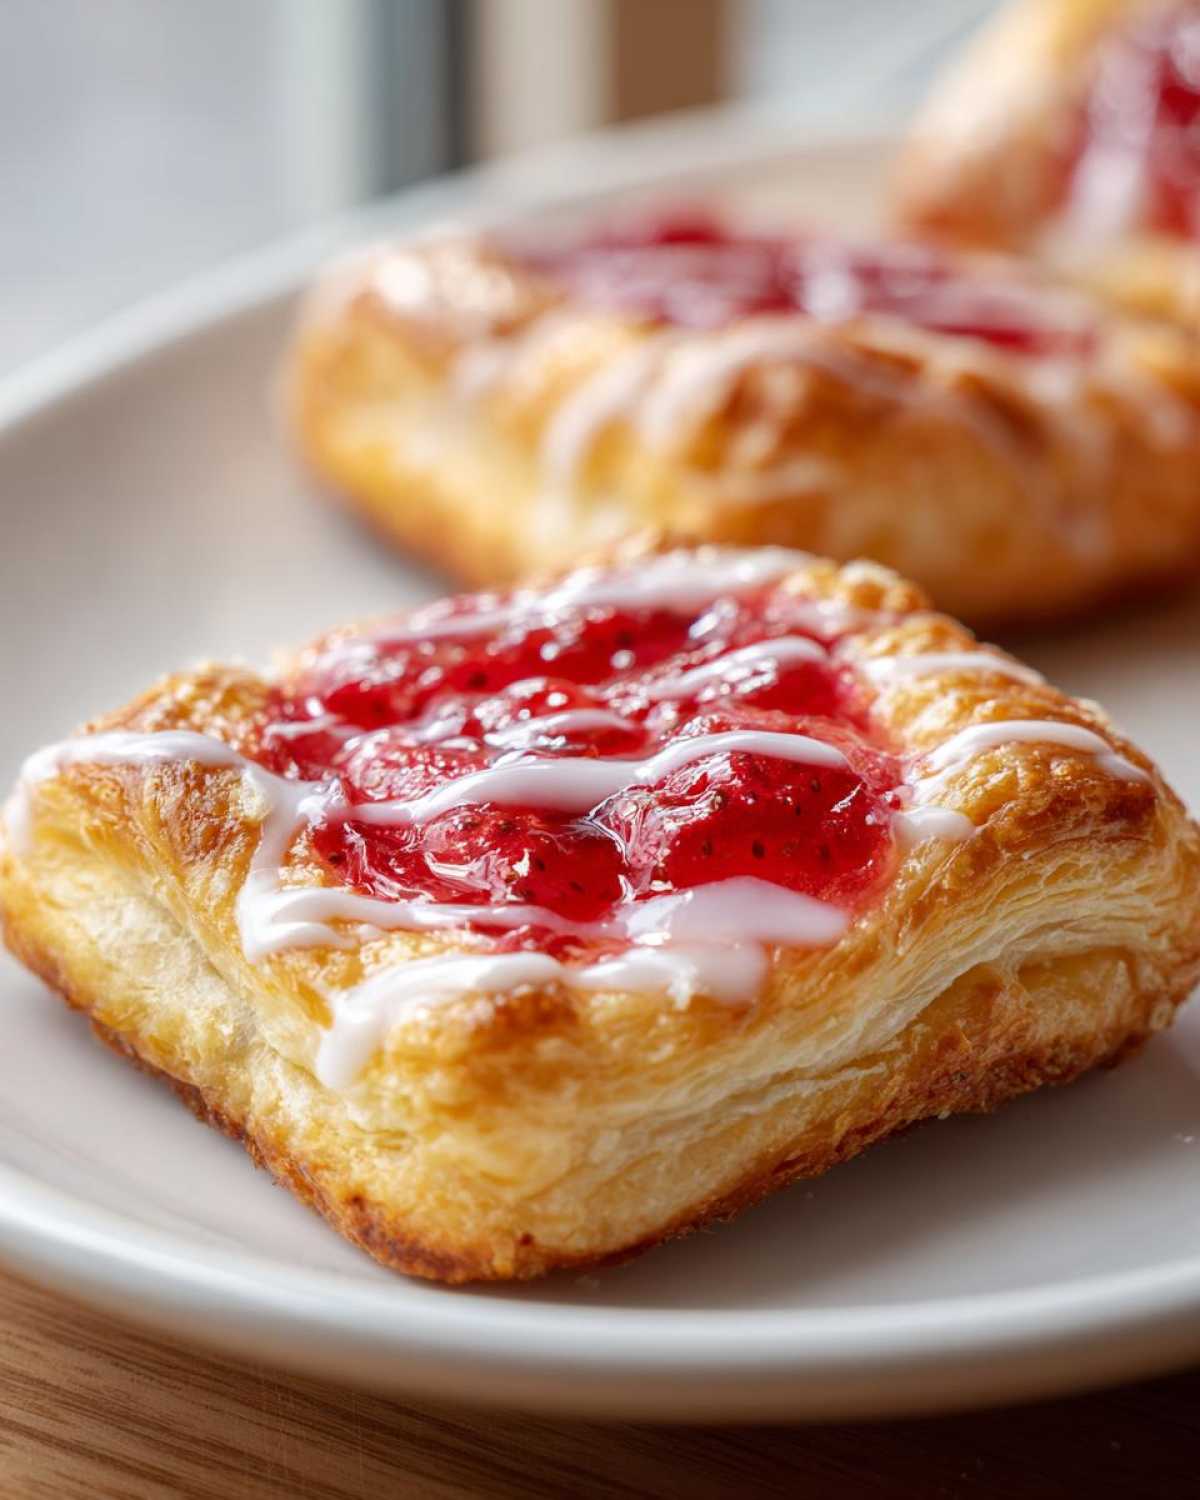
Pop those beauties into your 400°F oven and let them bake for 15 to 18 minutes. Keep an eye on them after the 14-minute mark; you want them puffed and golden brown all over. Once they are out and cooling just slightly on the pan, take two tablespoons of powdered sugar and whisk it with one teaspoon of milk or water until it’s a thin, drippy glaze. Drizzle generously across the top. Wow! They are ready to eat warm!
Expert Tips for Flaky Gluten Free Laminated Dough Success
This is where people stumble with any Flaky Gluten Free Laminated Dough, even when using sheets! Gluten-free pastry relies entirely on cold butter pockets to create steam and lift. If that butter gets warm during assembly, the layers fuse, and you end up with a cookie instead of a Danish. It’s the biggest hurdle, so pay attention to these three things—they are game-changers!
First, keep your work surface relatively cool. If your kitchen is warm, I actually put the pastry sheet on a large marble or glass cutting board for ten minutes before cutting. Second, when you score those borders, don’t press down hard! You are only marking the dough so the edges know where to puff. If you press too hard, you squish those tiny little layers right into each other.
My final tip relates to the egg wash: brush it gently! You are only painting the border. If the wash seeps into the scored center area where you pricked the dough, it seals it shut, and the center won’t rise properly. For more on building structure, you can check out my thoughts on How to Make Gluten Free Puff Pastry from scratch, though these pre-made sheets really save the day!
Ingredient Notes and Substitutions for Your Gluten-Free Strawberry Cream Cheese Danishes
Choosing the right ingredients is half the battle when you’re going gluten-free, especially with delicate pastries like these. Since we are using pre-made sheets for these Gluten-Free Strawberry Cream Cheese Danishes, the brand matters a ton! Look specifically for packages labeled “Gluten-Free Puff Pastry.” Some brands work much better than others at achieving that airy puff, so if you find one you love, stick with it—it’s worth the hunt!
When it comes to the strawberry component, you have options, but I am personally devoted to a high-quality, thick strawberry jam here. Why? Because a jam has cooked down sugars that won’t leak as much moisture as fresh fruit might, keeping our pastry base drier.
Jam versus Compote versus Fresh Strawberries
If you use store-bought jam, make sure it’s one that lists fruit first. A compote is usually a little wetter, but it’s great if you want a slightly less sweet flavor profile. If you absolutely have to use fresh strawberries—and I admire your ambition!—you must slice them paper-thin. Seriously thin, like maybe an eighth of an inch. And here’s a little secret: toss those thin slices with a quarter teaspoon of sugar and let them sit for five minutes before plopping them on the cream cheese. That draws out just enough liquid so they don’t sog up the dough during baking.
Cream Cheese Quality Matters
Please, please, please use brick-style, full-fat cream cheese. The whipped stuff in tubs has too much air and added water, and it just doesn’t set up right when baked. We want that dense, tangy flavor to stand up to the pastry, not melt into a puddle when it’s hot. If you’re making these ahead and worried about storage, check out my thoughts over on the Gluten-Free Zucchini Muffins Recipe page—the cold storage tips apply here too!
Sweetener Choices
I stick strictly to granulated sugar for the filling because it dissolves perfectly when whipped with the cheese. For the glaze, powdered sugar is a must for that smooth ribbon appearance. Brown sugar would make the glaze too dark and gritty, which just isn’t the right look for this particular Homemade Strawberry Cheese Danish.
Storage and Reheating Instructions for Leftover Gluten-Free Strawberry Cream Cheese Danishes
If you manage to have any leftovers of these amazing pastries—which frankly, I rarely do—you need to store them correctly. Since they contain dairy (that delicious cream cheese filling!), we can’t just leave them sitting out on the counter forever. Nobody wants a spoiled brunch treat!
For short-term storage, meaning one to maybe two days, you can keep them sealed tightly in an airtight container at room temperature. I find the counter is better for texture than the fridge. When you put anything with gluten-free pastry in the refrigerator, it tends to make the dough stiff and a bit sad and chewy. So, room temp is the way to go if eating them within 48 hours!
Short-Term Storage (1-2 Days)
Place them in a container with a tight-fitting lid. If you stack them, put a small square of parchment paper between each one. This keeps the glaze from smearing onto the pastry below it, which is just annoying when you pull them apart later. Keep the container away from direct sunlight or heat.
Longer Storage (Up to 3 Months)
If you need to keep these longer, like after a holiday weekend, freezing is the answer. You must freeze them *before* you add the glaze! Once fully cooled after baking, place the danishes on a baking sheet and freeze them solid for about an hour. Once they are hard little rocks, transfer them to a heavy-duty freezer bag. They keep really well for up to three months, just like that!
Reheating to Bring Back the Fluff
The secret to reheating any delicate pastry is to use dry heat and avoid the microwave at all costs—the microwave turns GF pastry into rubber! If they are room temperature, you can pop them in a toaster oven or a conventional oven heated to just 300°F (150°C) for four to five minutes. This warms the filling through and crisps the edges right back up beautifully.
If they came straight out of the freezer, let them thaw on the counter for about an hour first, then reheat as described above. If you skipped the glaze originally, this is the perfect time to whip up a teeny batch and drizzle it on warm!
Frequently Asked Questions About Gluten Free Pastry Recipe
I get so many questions about baking gluten-free, especially when we’re asking delicate pastry dough to perform bakery-level magic! I’ve gathered the top things folks ask me when they are trying out this Gluten Free Pastry Recipe for the first time. Don’t be shy; if you have a question, someone else probably does too!
Can I make the dough from scratch instead of using store-bought?
Oh, honey, you *could*, but I really wouldn’t recommend it for this specific recipe unless you are a seasoned expert in pastry architecture! Making the true Flaky Gluten Free Laminated Dough from scratch is intense. It involves folding precise quantities of cold butter into the dough many, many times, chilling in between each fold—and getting that done without the gluten structure to help you is a nightmare. It often ends up tearing or just becoming one solid, dense block instead of layers. For these wonderful square danishes, save your energy for perfecting that filling! If you want to learn all the nuance, I have a big post on Gluten-Free Chocolate Chip Muffins Recipe that touches on building volume, but trust me, stick to the good store-bought GF sheets here!
What is the best way to prevent the cream cheese filling from oozing out?
This is all about respecting the border we created! Remember how I told you to *gently* score that half-inch edge? That border is your dam. The most crucial step here is using the fork to prick the center a bunch of times. This is called docking. When you dock the dough, you create little weak points so the middle can’t inflate into one big bubble. Those walls stay firm, and the center stays relatively flat, happily holding your delicious Cream Cheese Filling for Gluten Free Baking right where it belongs. If the filling tries to escape, it means your border wall wasn’t tall enough or you didn’t prick the center enough!
Can these be made ahead for a brunch gathering?
Yes, they absolutely can be prepped ahead, which is a lifesaver for hosting! I recommend two ways, depending on when you want to serve them. My favorite method is assembling everything—cutting the dough, spreading the cheese and jam, brushing the sides—but leaving off the glaze, of course. You seal the assembled pastries in plastic wrap and chill them in the fridge for up to 12 hours. Bring them out, let them sit on the counter for 20 minutes to warm up just slightly, and then bake them off fresh. That gets you the best possible result for your Breakfast Pastry Gluten Free service! If you need to keep them longer, freezing them unbaked is fine, but you’ll need to add about 10 minutes to the baking time.
Serving Suggestions for Your Breakfast Pastry Gluten Free Treat
Now that you have these gorgeous, flaky, warm pastries cooling on the rack, the only thing left to do is decide how you want to present them! These aren’t just a casual snack; they deserve a beautiful accompaniment, especially if you’re serving them for brunch or a special morning.
The richness of the cream cheese and the sweetness of the strawberry mean you want something simple alongside them to balance it out. Think about pairing them with something slightly tart or wonderfully warm to wash it all down!
The Perfect Beverage Pairing
You absolutely cannot go wrong with a classic cup of coffee! Since these are rich, a strong black coffee or an Americano really cuts through the sweetness perfectly. If you’re feeling fancy, a latte or a cappuccino is wonderful—the milk froth complements the pastry texture.
For tea lovers, I always opt for something slightly earthy or spiced. A nice Earl Grey is lovely, but if you want to lean into that cozy home-baked feel, try a strong black tea with a slice of lemon. If you’re serving these to kids, warm milk is always a winner, obviously!
Fresh Fruit for Contrast
Even though we have strawberries *in* the dough, adding a small bowl of fresh, mixed berries on the side just elevates the whole plate. Fresh blueberries or raspberries offer a lovely cold, tart contrast to the warm pastry.
Keep the fruit simple. A little bowl of mixed berries looks elegant without being fussy. If you happen to be making homemade French toast later in the week, check out my recipe for Classic French Toast—the fruit topping ideas there work perfectly here too!
Making it a Full Brunch Spread
If you’re serving these as part of a larger spread, keep the dairy simple to maintain focus on the Danish. A small dish of plain Greek yogurt on the side, maybe lightly sweetened with honey, is a fantastic, slightly healthier contrast to the pastry. You want sides that complement, not compete, with that buttery, flaky crumble!
PrintGluten-Free Strawberry Cream Cheese Danishes

Make flaky, individual pastries with a sweet strawberry and cream cheese filling using gluten-free dough.
- Prep Time: 15 min
- Cook Time: 18 min
- Total Time: 33 min
- Yield: 8 servings
- Category: Breakfast
- Method: Baking
- Cuisine: American
- Diet: Gluten Free
Ingredients
- 1 package (10 oz) gluten-free puff pastry sheets, thawed
- 8 oz cream cheese, softened
- 1/4 cup granulated sugar
- 1 large egg yolk
- 1 teaspoon vanilla extract
- 1/2 cup strawberry jam or compote
- 1 large egg, whisked (for egg wash)
- 1 tablespoon milk or water (for egg wash)
- 2 tablespoons powdered sugar (for glaze)
- 1 teaspoon milk or water (for glaze)
Instructions
- Preheat your oven to 400°F (200°C). Line two baking sheets with parchment paper.
- In a medium bowl, beat the softened cream cheese, 1/4 cup granulated sugar, egg yolk, and vanilla extract until smooth. Set aside.
- Unroll the thawed gluten-free puff pastry sheets onto a lightly floured surface (use a gluten-free flour blend). Cut each sheet into four equal squares.
- Place the squares on the prepared baking sheets. Lightly score a border about 1/2 inch from the edge of each square using a sharp knife, being careful not to cut all the way through the dough.
- Using a fork, gently prick the center area inside the scored border several times.
- Spread about 1 tablespoon of the cream cheese mixture onto the center of each square, staying inside the border.
- Top the cream cheese with about 1 teaspoon of strawberry jam or compote over the filling.
- In a small bowl, whisk together the egg and 1 tablespoon of milk or water to create an egg wash. Brush the edges (the border) of each pastry with the egg wash.
- Bake for 15 to 18 minutes, or until the pastry is puffed and golden brown.
- While the danishes cool slightly, whisk together the 2 tablespoons of powdered sugar and 1 teaspoon of milk or water to make a thin glaze.
- Drizzle the glaze over the warm danishes before serving.
Notes
- Gluten-free puff pastry often requires careful handling; avoid overworking the dough to maintain layers.
- If you use fresh strawberries, slice them thinly and place them over the cream cheese before baking.
- For a richer flavor, use full-fat cream cheese.
Nutrition
- Serving Size: 1 danish
- Calories: 320
- Sugar: 18
- Sodium: 250
- Fat: 19
- Saturated Fat: 11
- Unsaturated Fat: 8
- Trans Fat: 0
- Carbohydrates: 32
- Fiber: 1
- Protein: 5
- Cholesterol: 65
