

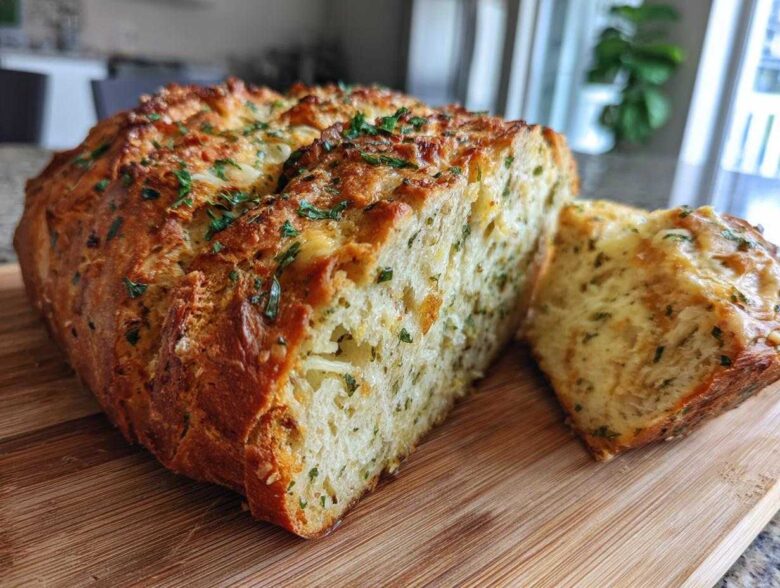
Oh my goodness, you know that feeling when you use your bread machine, and instead of a gorgeous, fluffy loaf, you end up with something that looks suspiciously like a dense brick? I’ve been there, darling, especially when trying to load it up with all the good stuff like cheese and herbs! Well, Anya, Sasha, and I put our heads together—my hosting skills, Anya’s precision baking, and Sasha’s willingness to take risks—to bring you what I genuinely believe is the best, easiest Italian herb and cheese bread recipe out there. Forget the sad, crumbly results; this one is designed by us to come out perfectly sliceable every single time, making it the ultimate loaf for quick sandwiches or serving alongside dinner. We wanted something full of flavor that wouldn’t require constant hovering, and wow, did we nail it!
Why This Italian Herb and Cheese Bread Is Your New Favorite Bread Machine Herb Bread
I know, I know, you see “bread machine” and think it’s cheating, but when you need that amazing aroma filling your house without committing an hour to kneading, it’s a lifesaver! This recipe is specifically engineered not just to survive, but to thrive in that little appliance. We promise, this isn’t just another heavy brick. It’s balanced, it’s flavorful, and honestly, it’s fantastic news for any beginner bread machine user!
- It’s tailored specifically for machine cycles to ensure even baking and prevent that sad hollow center.
- The hydration levels are spot-on so you get a beautifully structured loaf that doesn’t crumble when you look at it sideways.
- It’s one of those easy bread machine recipes that tastes incredibly gourmet without the effort.
Perfect Texture for Slicing
This is what matters most to us! Because we don’t dump the cheese in at the beginning, the yeast has room to work its magic, resulting in a lighter structure overall. That means you get a beautiful, tender crumb that holds up perfectly. You’ll find this makes an absolutely fantastic sandwich loaf—sturdy enough for your biggest fillings but still soft enough to melt in your mouth.
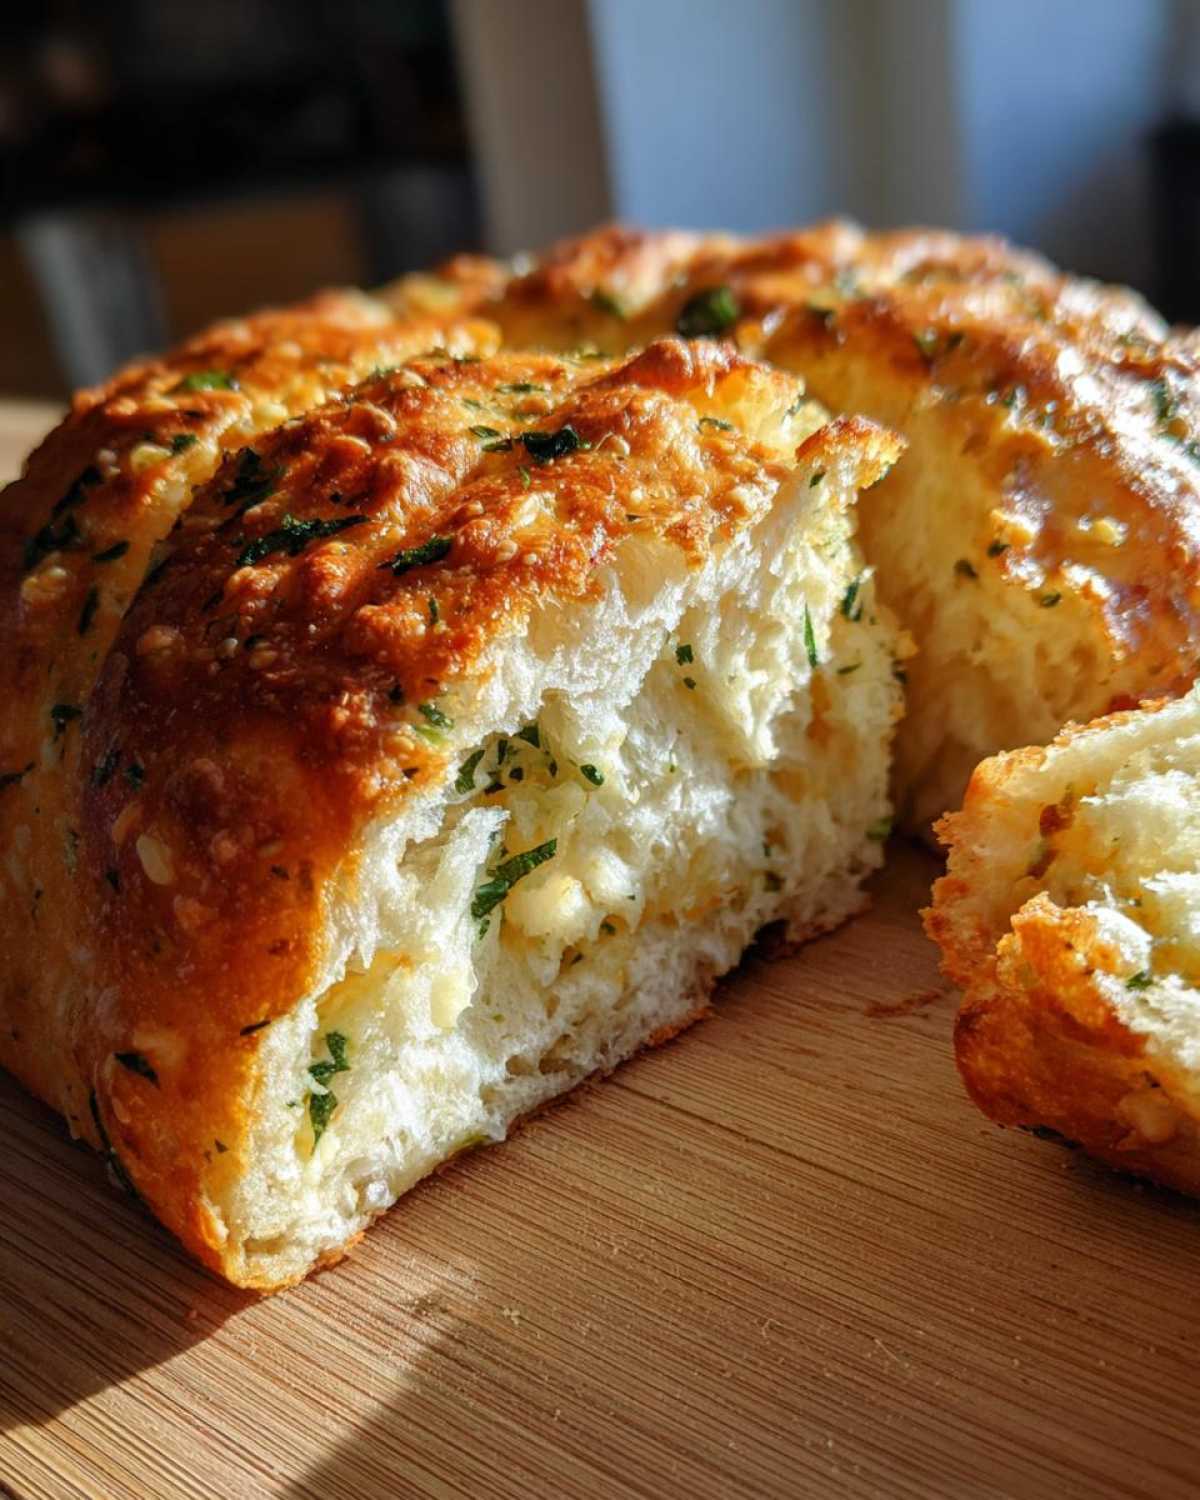
Flavor Profile: Rosemary Oregano Bread Meets Parmesan Herb Bread
Anya was obsessed with getting the spice balance right here. She insisted we use the Italian seasoning blend for that classic base, but then we added extra rosemary because honestly, who doesn’t want more rosemary? The combination of that robust herb mix with the sharp, salty tang of the Parmesan makes this a true Parmesan herb bread powerhouse. It smells like the best Italian bakery in town while it’s baking!
Gathering Your Ingredients for Italian Herb and Cheese Bread
Okay, now that you’re excited, let’s talk about what you need for this incredible loaf. Since we’re baking with a machine, precision matters, but don’t let that scare you! We listed out exactly what we use to make this the best Italian cheese bread. Anya made sure every measurement was clear so you get that perfect rise. I always raid my pantry the night before so I’m ready when the mood strikes!
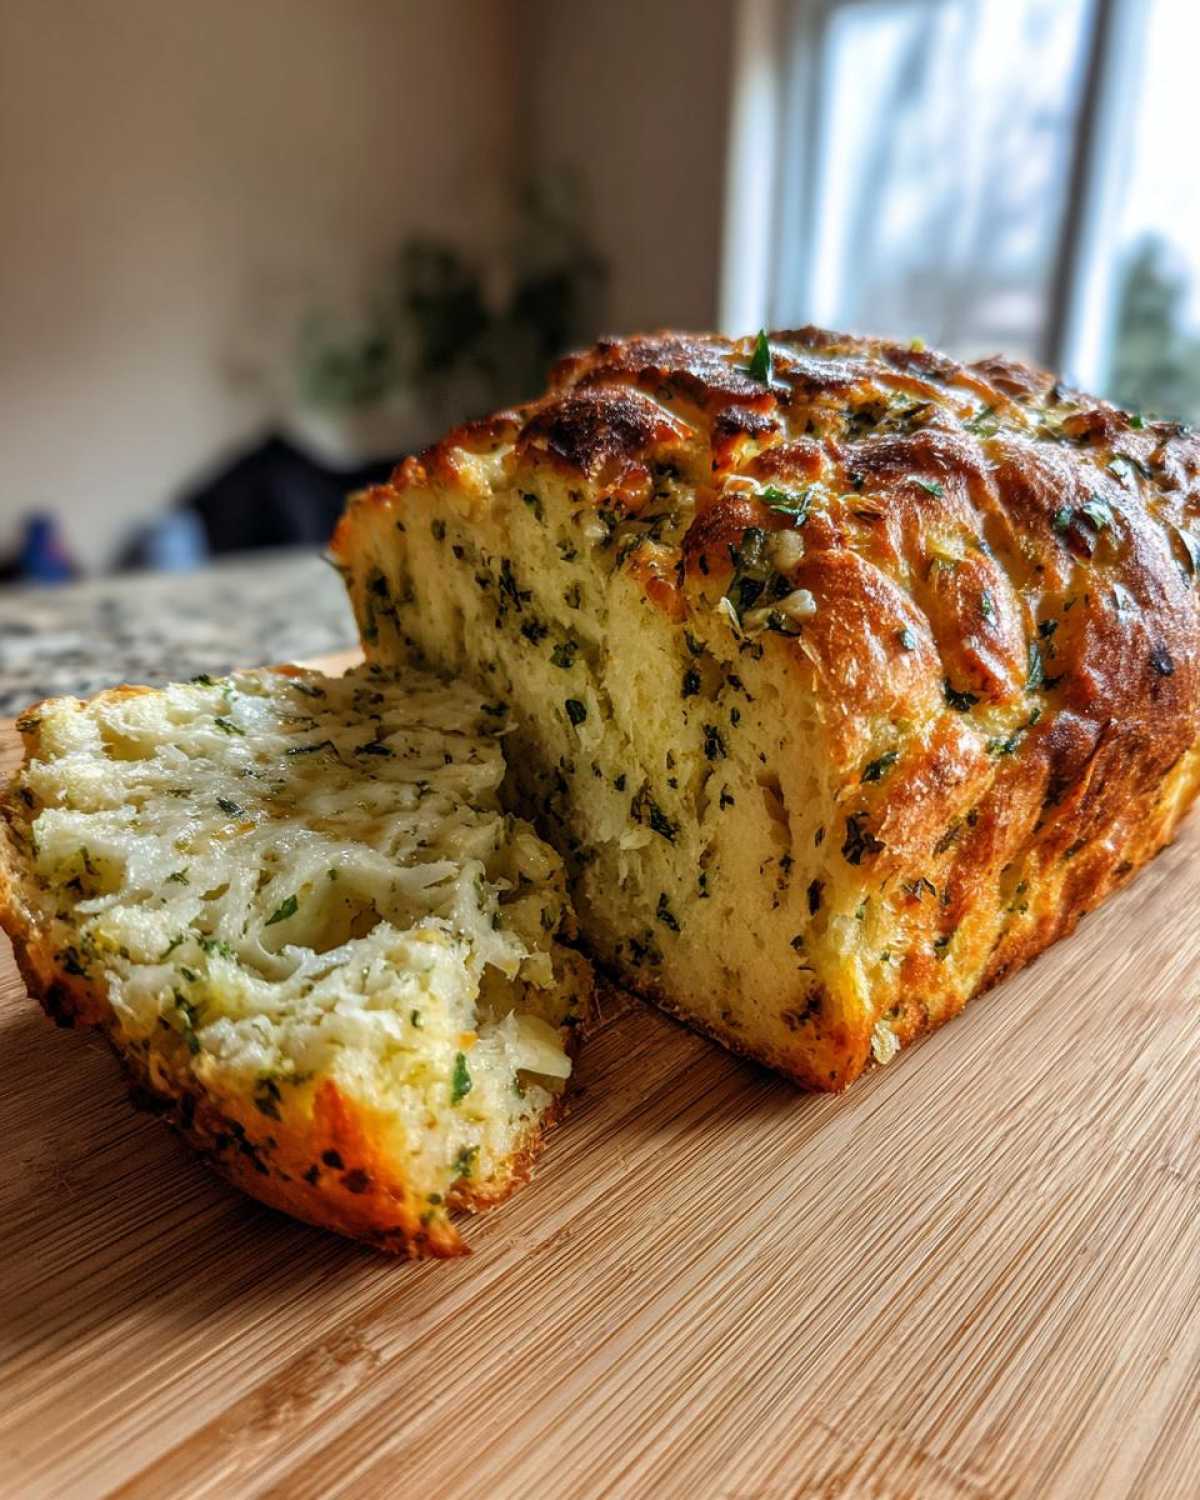
I highly recommend using bread flour here; it just gives the dough the structure it needs to hold all that cheese without collapsing, which is why we stuck to it in this recipe. If you’re looking for other cheesy, savory baking projects while you wait for this loaf to bake, you absolutely have to check out Anya’s recipe for savory zucchini cheese muffins—they are seriously addictive!
- 1 cup warm water (It needs to be between 105-115°F—not too hot, or it kills the yeast! Test it with a clean finger first.)
- 2 tablespoons olive oil
- 1 teaspoon sugar (This feeds the yeast, it won’t make the bread sweet, trust me!)
- 3 cups bread flour
- 1 1/2 teaspoons salt
- 1 1/2 teaspoons active dry yeast (Make sure it’s fresh!)
- 1 tablespoon dried Italian seasoning blend
- 1 teaspoon dried rosemary
- 1/2 teaspoon garlic powder
- 1/2 cup shredded Parmesan cheese (Don’t use the powdery stuff in the green can for this mix-in!)
- 1/2 cup shredded mozzarella cheese (Shred it yourself for better melting!)
Step-by-Step Instructions for Your Bread Machine Herb Bread
Okay, this is where the magic happens, and trust me, it’s straightforward. We’ve broken down the method so you don’t have to guess. The key to getting that perfect, airy crumb that holds up to grilling or sandwich making is loading your bread machine pan in the right order. This prevents the yeast from getting prematurely activated by the salt or oil. I always keep my machine pan right next to my ingredient station so I don’t waste time running back and forth!
Loading Liquids and Dry Ingredients
First things first: liquids go in! Pour in your warm water, olive oil, and then drop the sugar in carefully. Next, gently scoop the 3 cups of bread flour on top, making sure you cover everything. Now, here’s the pro move: create a little divot, or a well, right in the center of the flour mound, and place your yeast in that little spot. Don’t let it touch the water yet!
Setting the Cycle and Adding Mix-Ins for Cheesy Dinner Bread
Close the lid and set your machine to the standard Basic or White Bread cycle. I usually select a Medium crust, but if you like it lighter, go ahead and choose Light. Start the cycle! Now, for the crucial part that turns this into cheesy dinner bread: you must watch for the pause during kneading. This usually happens about 5 to 10 minutes in. When that timer hits pause, quickly open the lid and sprinkle in both the Parmesan and mozzarella cheeses right on top before shutting it fast. This prevents the cheese from being overworked into the dough, keeping the loaf texture better. You can find a link to some of my favorite bar recipes for dessert while this bakes!
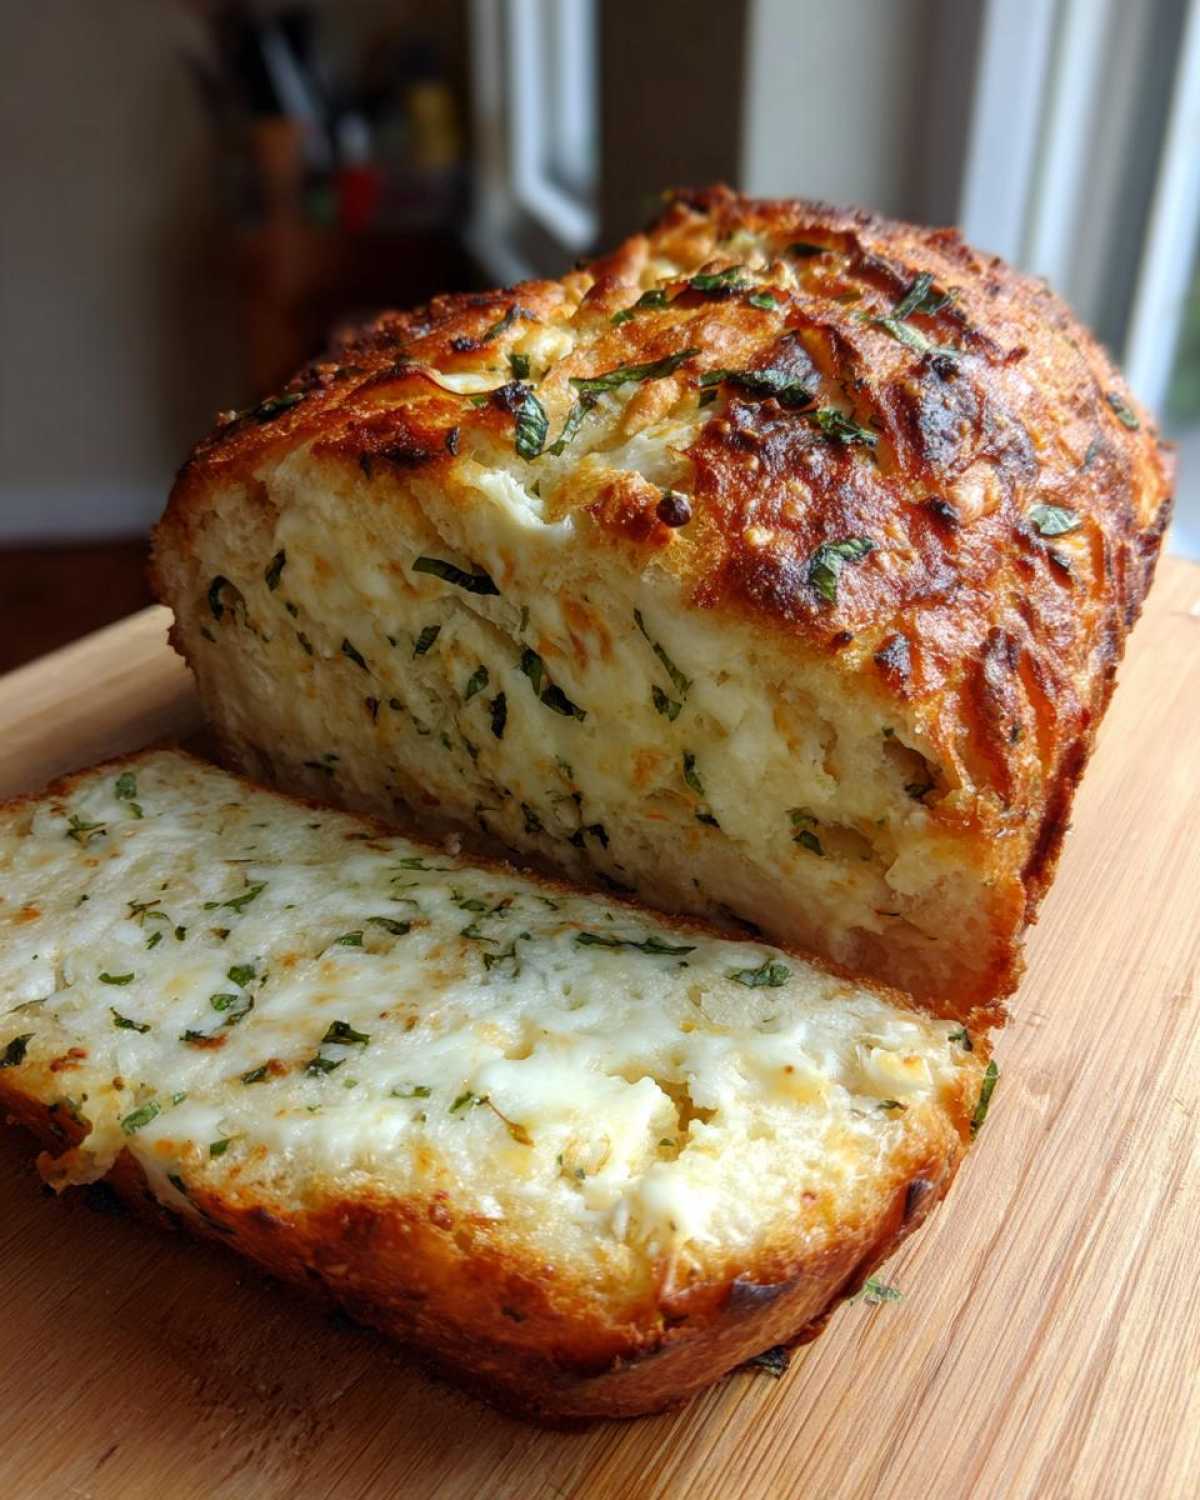
Tips for Success Making Garlic Herb Bread in Your Machine
Listen, even with the best directions, sometimes these machines get fussy! To guarantee you get that gorgeous, aromatic garlic herb bread we’re promising, a few little tricks really help. First, that cooling time isn’t just my opinion; it’s vital. You absolutely *must* let the loaf cool on a wire rack for at least an hour before you slice it. If you try to cut it hot, the steam rushes out, and you end up with a slightly gummy texture inside. Trust me, waiting enhances the final product!
Now, what if your machine doesn’t ding or pause to let you throw in the cheese? That’s where Sasha’s intuition comes in handy! You’ll need to monitor the kneading cycle. Once the dough looks smooth, elastic, and well-kneaded—usually right before it stops kneading for the first rise—you quickly open the lid, drop the cheeses in, and immediately close it! It takes a bit of practice, but it’s doable. For more savory ideas, check out how we use herbs on our roast chicken!
Ingredient Notes and Substitutions for Italian Cheese Bread
Since Anya and Sasha always have different things on hand, we’ve figured out some great workarounds for this Italian cheese bread. If things get hectic and you’re missing the exact Italian seasoning blend, don’t panic! You can just mix equal parts dried oregano, basil, and thyme, and you’ve got a killer substitute. It won’t be *exactly* the same, but it’ll still be delicious!
What about fresh herbs? Yes! If you have fresh rosemary or oregano growing wild, substitute almost triple the amount of dried calls for. Fresh rosemary is wonderful, but remember it’s stronger, so adjust to your taste. And if you’re fresh out of mozzarella? We’ve used provolone in a pinch, but it melts a bit oilier. I always say, if you’re going to make a cheesy bread, use the best cheese you can find! If you love savory crackers, you should totally check out our savory cheese and herb crackers recipe too!
Serving Suggestions for Your Cheesy Dinner Bread
Once this amazing loaf cools down just enough—and trust me, keeping your hands off it is the hardest part—you have to decide how to devour it! Since this is the perfect sliceable cheesy dinner bread, I love thick slices lightly toasted with a slather of good, salty butter. It goes absolutely heavenly alongside any hearty soup we make; Anya often pairs it with her creamy Italian tortellini soup!
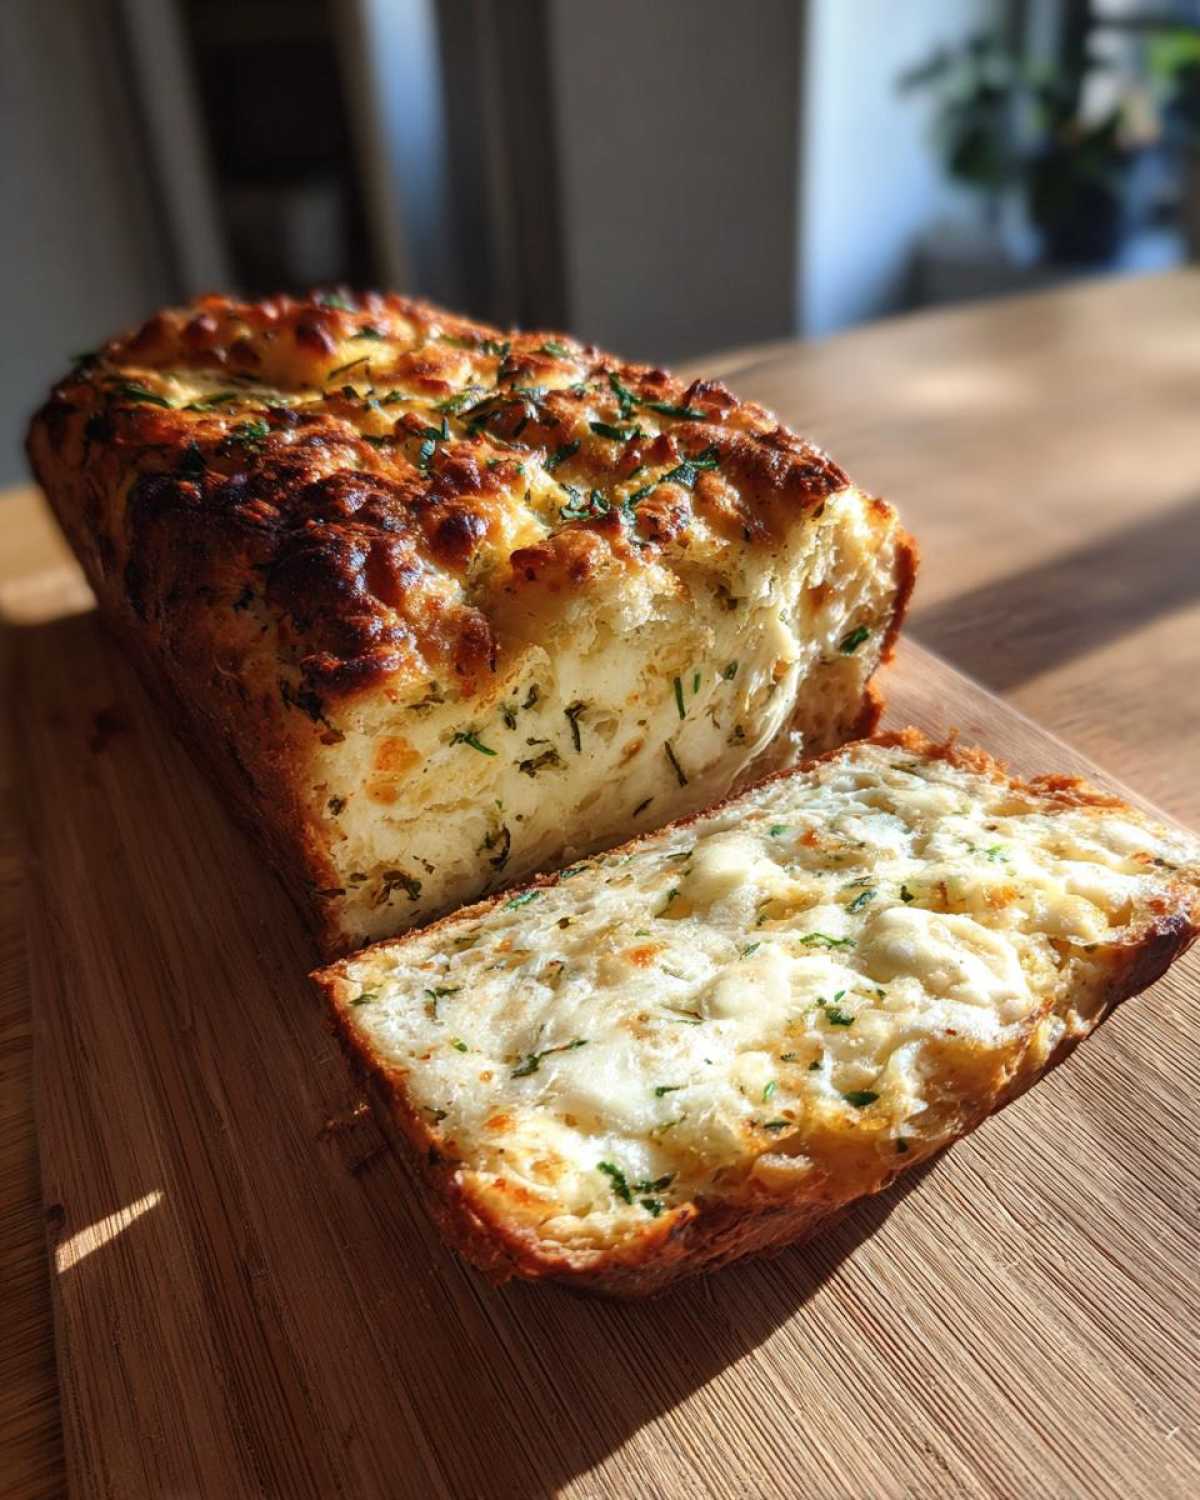
But let’s be real, it makes the BEST sandwich bread. Seriously, think about it: grilled turkey, maybe some pesto, and that melted cheese inside? Or just toast a thick slice, melt some extra cheese on top, and call it an open-faced lunch. Every way you serve it, that herby, garlicky goodness sings!
Storage and Reheating the Italian Herb and Cheese Bread
Since this bread has cheese built right in, how you store it matters a lot for keeping that savory flavor popping! If you have leftovers (which, judging by our kitchen, is rare!), wrap the cooled loaf tightly in plastic wrap or put it in an airtight container. It usually stays wonderfully fresh on the counter for about two days. If you need it to last longer than that, just pop it in the freezer!
The best part about reheating slices is bringing all that herby, cheesy goodness back to life. Don’t microwave it unless you absolutely have to, because that can make it tough! Instead, I slice off what I need and pop those slices directly onto a baking sheet for just about five minutes at 350°F (175°C). That little bit of heat crisps the crust back up and makes the cheese perfectly gooey again. It’s like magic, I promise!
Frequently Asked Questions About This Italian Herb and Cheese Bread Recipe
It’s always so funny how many different questions pop up when you start messing around with the settings on a bread machine! Sasha and I have spent ages chatting about this loaf, so I’ve gathered up the things folks ask me most often about getting this savory mix just right. We want everyone to feel like they are an expert baker, even when using our favorite easy bread machine recipes!
Can I use whole wheat flour instead of bread flour in this bread machine herb bread?
You absolutely *can* try it, but I have to warn you: you might sacrifice that beautiful, airy texture we worked so hard to achieve for this bread machine herb bread. Bread flour has higher protein, which is what gives you that great structure to hold the cheese. If you swap entirely to whole wheat, you’ll probably need to add a tablespoon or two of extra water, and it will turn out denser—maybe not the perfect soft sandwich loaf you were hoping for. If you must, try substituting just a quarter of the bread flour with whole wheat flour first!
How do I make this recipe without a bread machine?
No machine? No problem! This dough is actually sturdy enough for the oven. You just mix everything according to the layering steps, let the machine handle the first knead for about 15 minutes, then take the dough out and knead it by hand on a lightly floured surface for about 5 minutes until it’s smooth. Shape it into a simple log or place it in a greased loaf pan. Cover it, let it rise in a warm spot until it’s nearly doubled (maybe an hour or so), then bake it in a 375°F (190°C) oven for about 30–35 minutes until golden brown on top!
Can I add fresh herbs instead of dried ones for this parmesan herb bread?
Oh, fresh herbs smell so much better, don’t they? Anya always uses fresh whenever she can! The general rule of thumb is that fresh herbs are milder and have more water content than dried ones. For this Parmesan herb bread, if you are using fresh rosemary or oregano, you generally need about three times the amount listed for dried. If the recipe calls for 1 teaspoon dried rosemary, chop up about 3 teaspoons of fresh rosemary leaves! Since we are adding cheese at the end, just toss your fresh herbs in with the dry ingredients at the start, just like we do with the dried ones.
Nutritional Estimates for Your Loaf
So, we’ve baked the most amazing italian herb and cheese bread, and I know some of you, like Anya, are curious about the numbers. While we are way more focused on flavor and friendship around here than counting macros, we did use the recipe specs to pull together some very general estimates for you! Remember, since we’re using real cheese and oil, these figures are based on the ingredients listed and assuming you cut the loaf into reasonable slices.
These details are just an estimate, of course. If you load it up with extra Parmesan or use a lower-fat mozzarella, the nutrition will shift just a tad. But this gives you a good baseline for enjoying a slice or two of this savory treat!
- Serving Size: 1 slice
- Calories: 180
- Fat: 6g
- Carbohydrates: 27g
- Protein: 6g
- Sodium: 350mg (Salt adds up quickly in bread!)
If you ever have questions about the recipe itself or just want to share a photo of your beautiful loaf, please don’t hesitate to reach out to us through the contact page. We absolutely love hearing from our readers!
PrintEasy Italian Herb and Cheese Bread Machine Loaf
Make a flavorful, sliceable Italian herb and cheese bread right in your bread machine. This recipe is simple for beginners and yields a perfect loaf for sandwiches or serving with dinner.
- Prep Time: 10 min
- Cook Time: 3 hr 30 min
- Total Time: 3 hr 40 min
- Yield: 1 loaf
- Category: Baking
- Method: Bread Machine
- Cuisine: Italian
- Diet: Vegetarian
Ingredients
- 1 cup warm water (105-115°F)
- 2 tablespoons olive oil
- 1 teaspoon sugar
- 3 cups bread flour
- 1 1/2 teaspoons salt
- 1 1/2 teaspoons active dry yeast
- 1 tablespoon dried Italian seasoning blend
- 1 teaspoon dried rosemary
- 1/2 teaspoon garlic powder
- 1/2 cup shredded Parmesan cheese
- 1/2 cup shredded mozzarella cheese
Instructions
- Add the warm water, olive oil, and sugar to your bread machine pan in the order recommended by your manufacturer.
- Add the bread flour on top of the liquids.
- Make a small well in the center of the flour and add the yeast. Do not let the yeast touch the liquid yet.
- Add the salt, Italian seasoning, rosemary, and garlic powder around the edges of the flour.
- Set your bread machine to the Basic or White Bread cycle, selecting a Light or Medium crust setting.
- Start the cycle. When the machine enters the kneading phase, wait for the machine to pause for mix-ins (usually about 5-10 minutes into kneading).
- Quickly add the Parmesan cheese and mozzarella cheese through the lid opening. Close the lid immediately.
- Allow the machine to complete the full cycle, including the baking phase.
- Once the cycle is finished, carefully remove the bread pan and turn the loaf out onto a wire rack to cool completely before slicing.
Notes
- For the best texture, let the loaf cool for at least one hour before slicing. This helps the internal structure set.
- If your machine does not have a dedicated mix-in alert, you will need to monitor the kneading cycle and add the cheese manually when the dough is well-mixed but before the first rise.
- This cheesy dinner bread slices well for sandwiches the next day.
Nutrition
- Serving Size: 1 slice
- Calories: 180
- Sugar: 1
- Sodium: 350
- Fat: 6
- Saturated Fat: 3
- Unsaturated Fat: 3
- Trans Fat: 0
- Carbohydrates: 27
- Fiber: 1
- Protein: 6
- Cholesterol: 15
