

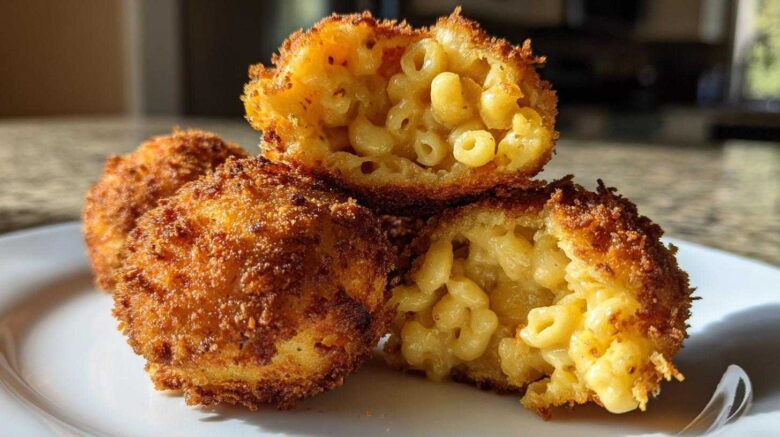
Oh, friends, do I have a secret weapon for you today. Leftovers often feel like a culinary puzzle. Not anymore! We’re taking that creamy, cheesy goodness destined for the fridge. We’re transforming it into something truly spectacular. I’m talking about the ultimate crunchy, golden bite: Mac and Cheese Balls. Anya, our kitchen artist, perfected this recipe. She insists that turning leftovers into this amazing fried snack is pure magic. These crispy delights are perfect for game nights or just when you crave serious comfort. Forget sad, soggy leftovers. Prepare for pure bliss!
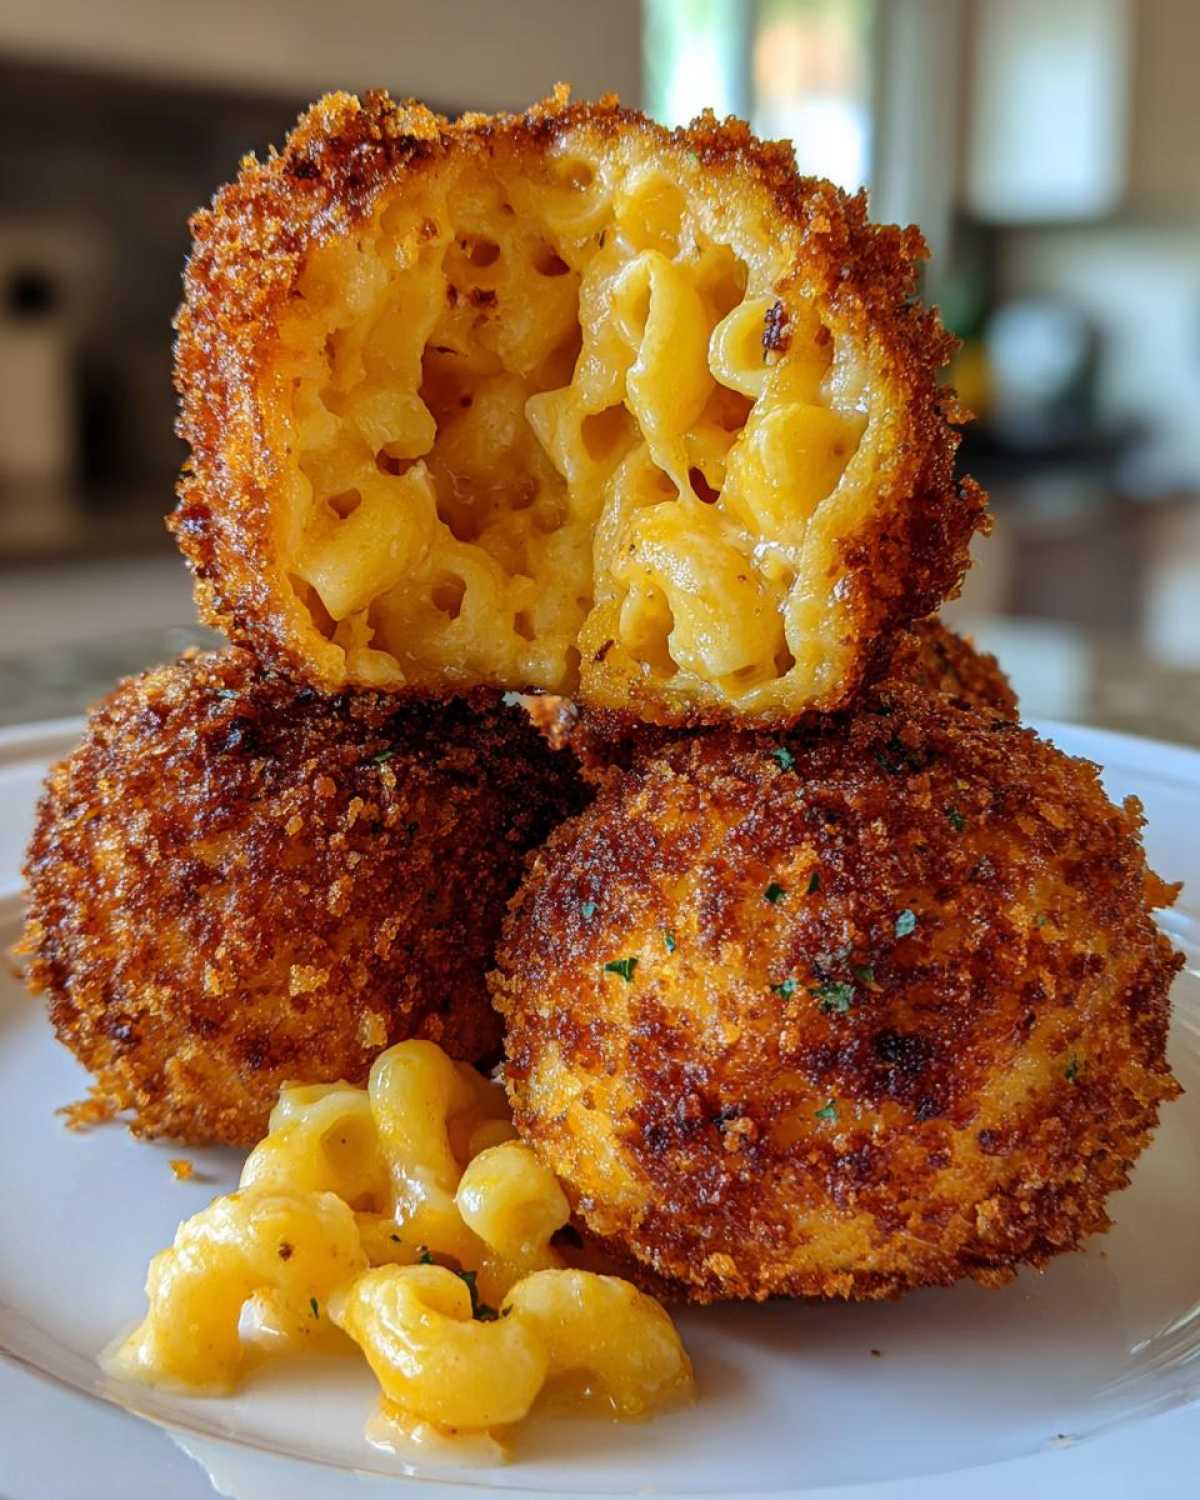
Why You Will Love These Mac and Cheese Balls
Seriously, why resist this recipe? It’s a total winner. These bites hit every comfort spot. They are fast, fun, and deeply satisfying. You’ll want to make them every week.
- They make old mac and cheese feel brand new.
- They come together fast for a quick fix.
- The texture is just incredible—so crispy outside!
Quick Prep for a Comforting Treat
You won’t spend all day in the kitchen. Prep time is super short. This means less waiting for that cheesy goodness. It’s easy to whip up before guests arrive.
Superior Crunch Factor
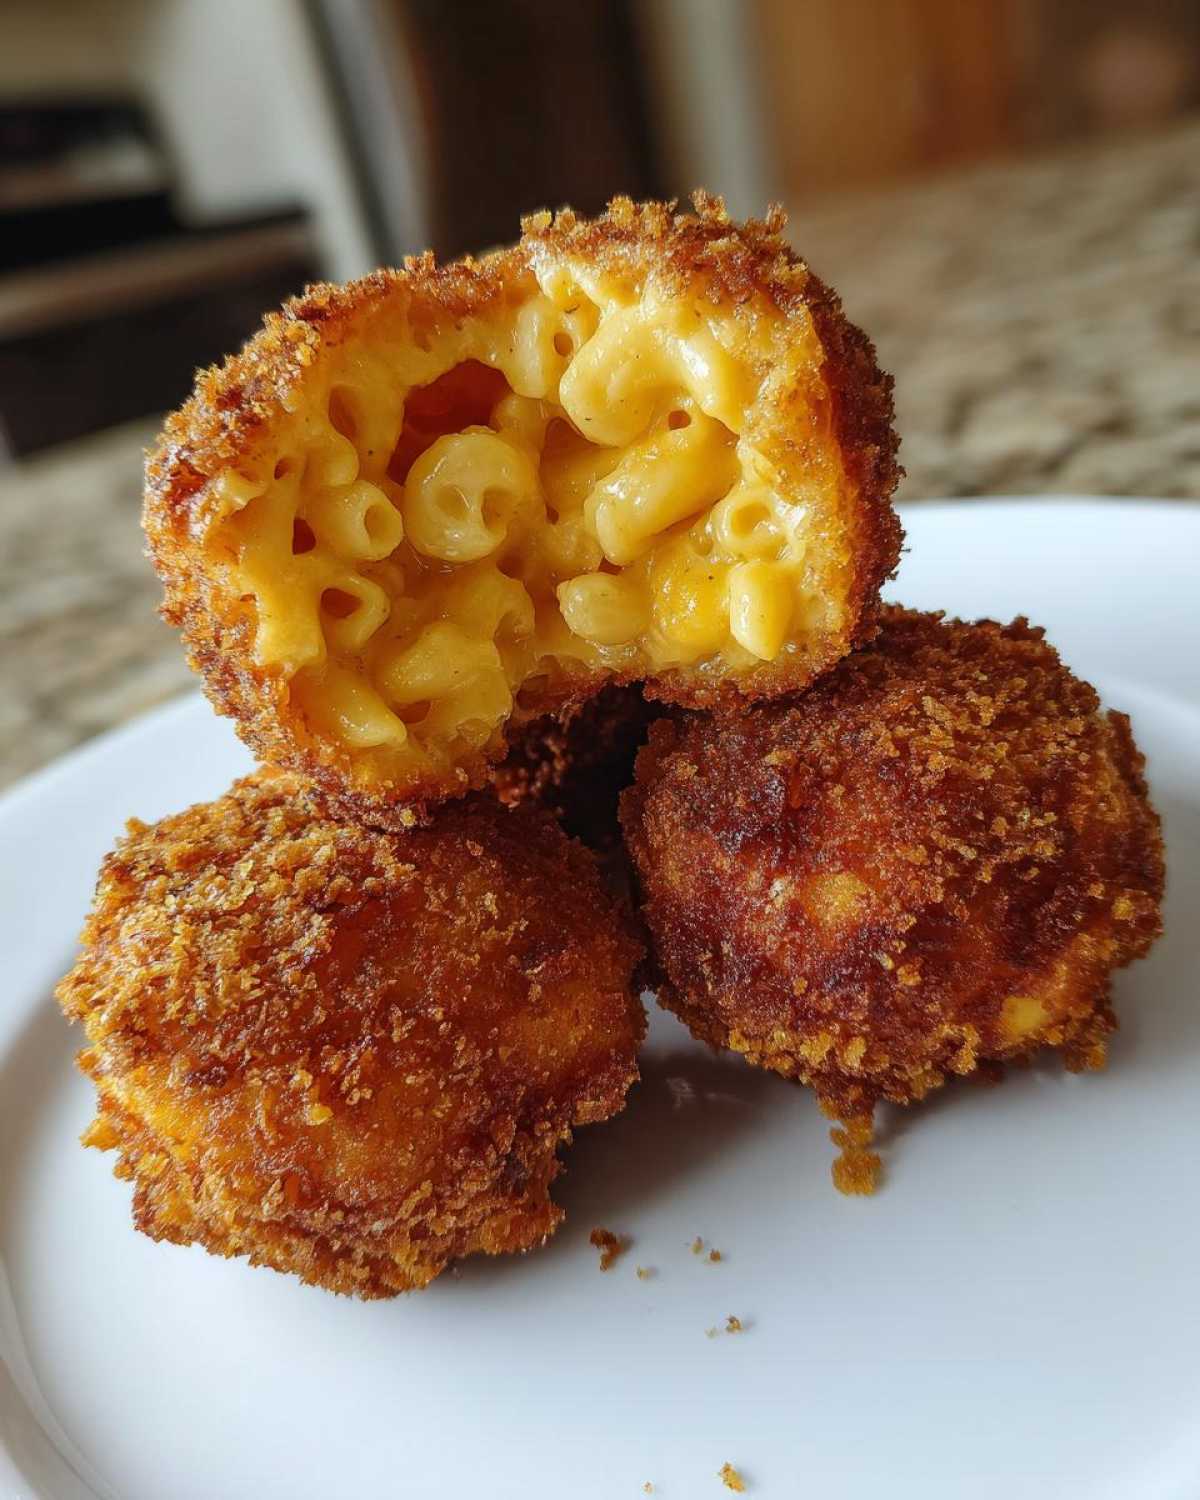
This is where Anya shines. We use panko breadcrumbs here. They create a shatteringly crisp shell. That contrast with the soft cheese inside? Perfection. You simply can’t beat that crunch.
Equipment Needed for Your Mac and Cheese Balls
Getting ready to fry safely is important. You need the right tools nearby. Don’t skip gathering these items first.
- A deep pot or Dutch oven for oil.
- A reliable thermometer for oil temperature.
- Shallow dishes for your dredging station.
- A slotted spoon for careful removal.
- A wire rack for draining the finished snack.
Gathering Your Ingredients for Mac and Cheese Balls
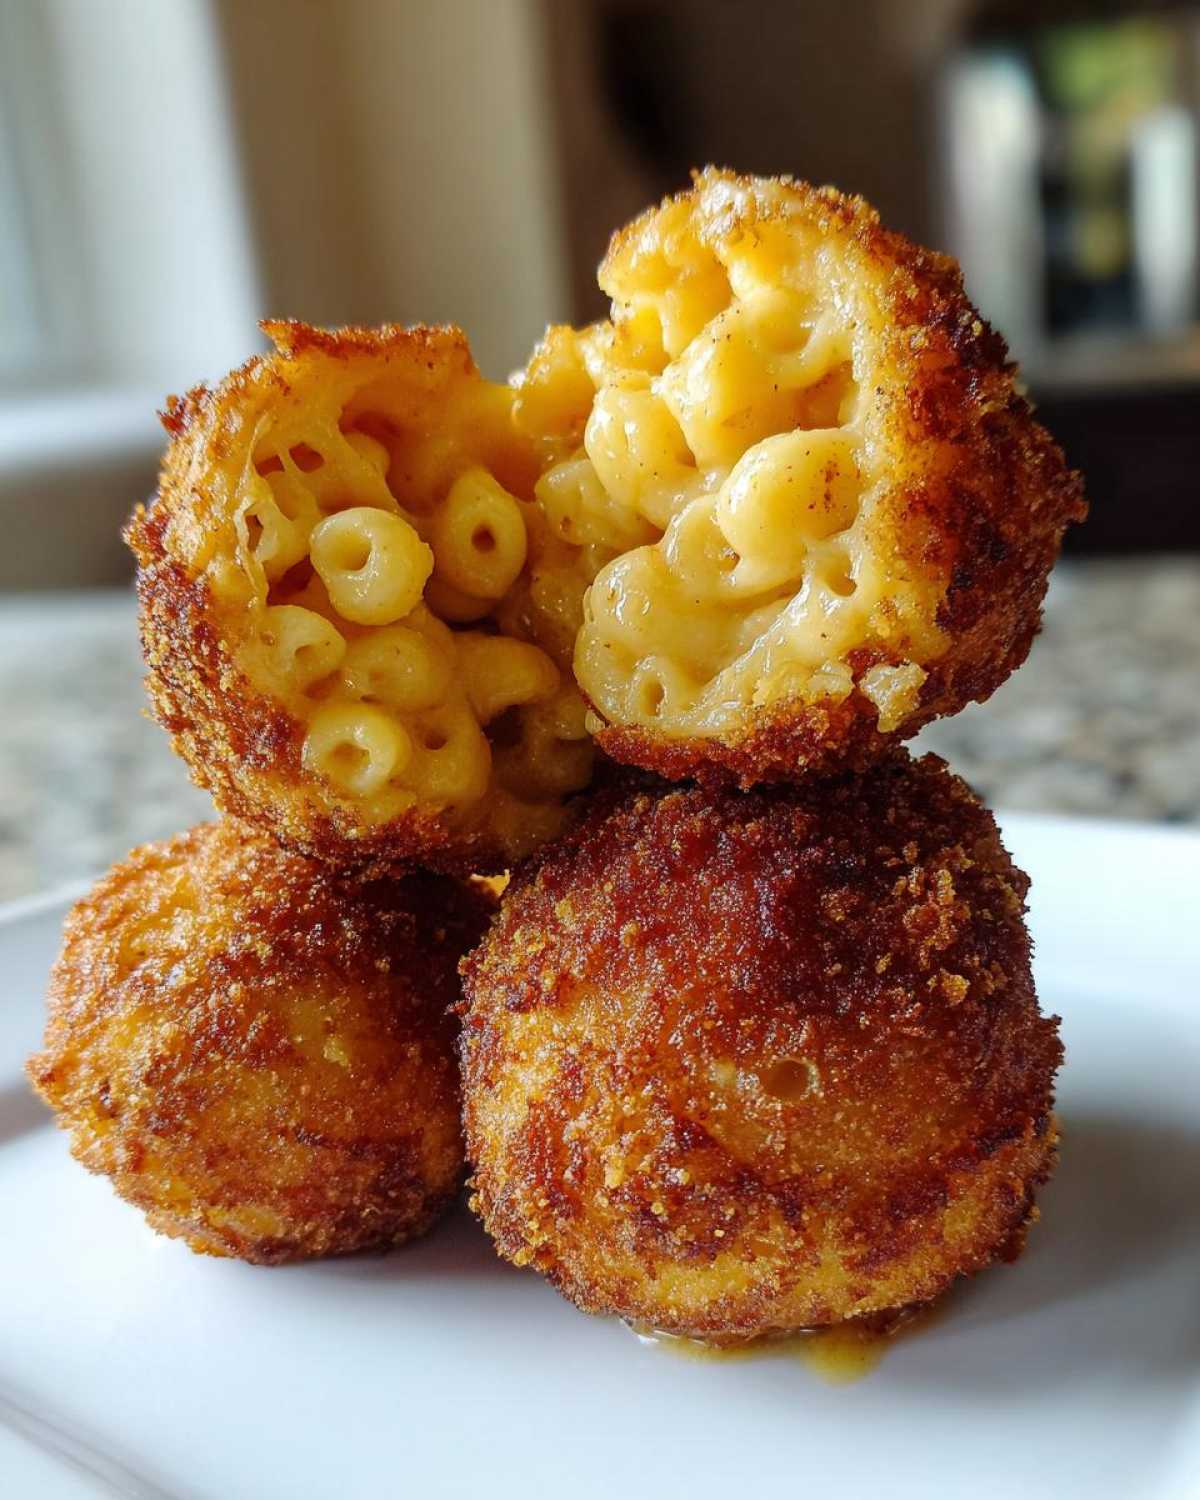
The beauty of this recipe is its simplicity. We are using what you already have, mostly. These core ingredients create that perfect coating. Pay close attention to the texture needed here. It makes all the difference.
The Cold Mac and Cheese Foundation
You need about four cups of cooked mac and cheese. This must be thoroughly chilled. Seriously, don’t rush this step. Cold cheese mixture holds its shape. Warm cheese melts right away. That leads to sad, flat frying results!
The Three-Step Breading Station
We make a classic three-part coating system. You’ll need one cup of all-purpose flour. Then, beat two large eggs separately. Finally, measure out two cups of panko breadcrumbs. Panko gives the best texture, hands down.
Oil Selection for Frying
For frying, vegetable oil works perfectly well. Use enough oil to cover the balls halfway. Pour about two inches deep into your pot. This depth allows for safe, even cooking. Temperature control is key later on.
Step-by-Step Instructions for Incredible Mac and Cheese Balls
Now for the fun part! We turn that cold base into golden treasures. Follow these steps closely. They ensure your Mac and Cheese Balls hold their perfect shape. Remember, we are aiming for crispy perfection here.
Forming and Coating the Mac and Cheese Balls
First, take your cold mac and cheese. Roll it gently into small balls. Aim for about 1.5 inches wide. Set up your dredging station now. Flour goes first. Shake off any extra flour right away. Next, dip the ball deep into the beaten egg. Let the extra egg drip off too. Finally, roll it in the panko breadcrumbs. Press those crumbs on firmly. You want a thick, even coating everywhere.
The Essential Chill Time
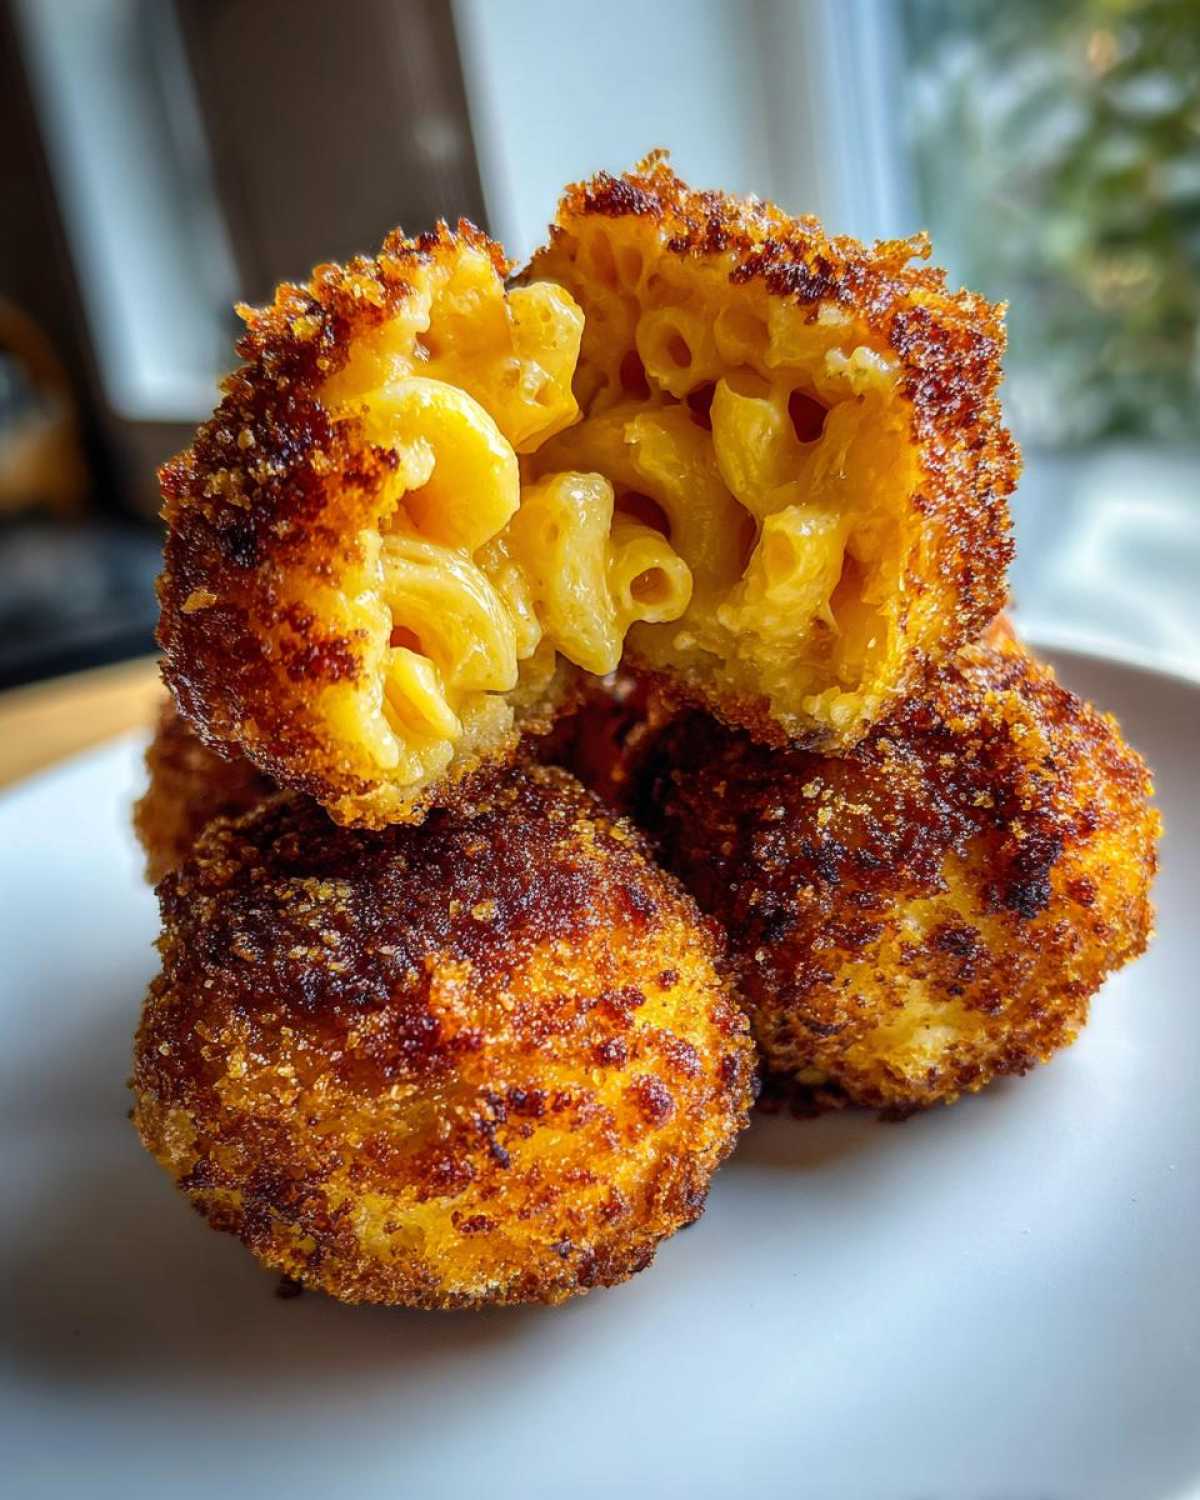
This chilling step is absolutely crucial. Place all your coated balls on parchment paper. They must chill for a minimum of 30 minutes. Why? It sets the coating hard. This stops them from falling apart in the hot oil. Do not skip this chill. It guarantees shape stability during frying.
Frying Your Mac and Cheese Balls to Golden Perfection
Time to heat the oil. Pour about two inches into your deep pot. Heat it slowly to 350°F. Use that thermometer! Too cool, and they get greasy. Too hot, and the outside burns fast. Carefully lower a few balls in. Fry them in small batches only. Turn them gently as needed. They’ll take about three to four minutes. Look for that deep, beautiful golden brown color. Once done, lift them out with a slotted spoon. Place them right onto a wire rack. This drains off all that extra oil. Serve these beauties right away for the best experience!
Tips for Success with Mac and Cheese Balls
Making these crispy bites perfect takes a little know-how. I’ve learned a few things over the years. These little tricks help keep your snack flawless every time. Follow these suggestions for the best texture.
- Always start with very cold mac and cheese.
- Do not overcrowd your frying oil.
- Drain them well on a rack after frying.
Ingredient Swap Ideas
What if you are missing something? Don’t panic; we can adjust. If you want even more crispiness, try this. Swap half the flour for cornstarch. It really helps the coating stay light. Also, panko is best, truly. Regular breadcrumbs will work in a pinch though. Just know the final crunch won’t be quite as loud.
Serving Suggestions for Your Fried Snack
These rich, fried snacks need bright flavors alongside them. They are pure comfort food, right? So, we balance that richness easily. Think about dipping sauces that pop.
- Tangy marinara sauce is always a winner.
- A spicy sriracha mayo cuts right through the fat.
- Serve them with a side of crisp, cool ranch dressing.
They make a fantastic appetizer. They are also great comfort food on their own. If you are looking for other great comfort food ideas, check out our Buffalo Chicken Mac and Cheese Recipe.
Storing and Reheating Leftover Mac and Cheese Balls
What if you have leftovers? Don’t worry about sad, soggy balls. Store cooled balls in an airtight container first. Keep them in the fridge for up to three days max. Reheating is where the magic returns.
The microwave ruins the crisp shell we worked for. Skip that appliance entirely. Instead, use your oven or air fryer. Heat them at 375°F. This dries out the crust nicely. They’ll be warm and crispy again quickly. Enjoy them soon after reheating! For more ideas on repurposing leftovers, see our post on Turkey Pot Pie Biscuit Crust Leftover Recipe.
Frequently Asked Questions About Mac and Cheese Balls
We know you might have a few more questions. Cooking should feel fun, not confusing. Here are some quick answers to common queries. We want your experience making this Fried Snack to be perfect.
Can I Bake or Air Fry Mac and Cheese Balls Instead?
Yes, you absolutely can try other methods. Baking works if you need less oil. Brush them lightly with oil first. Bake at 400°F until golden brown. Air frying is even better for crispness. It mimics frying well. They won’t be quite as rich though.
What Kind of Mac and Cheese Works Best?
A thicker, stiffer mac and cheese is ideal. If yours is too soupy, chill it longer first. Use a recipe with a good cheese sauce base. Sharp cheddar works wonders for flavor here. Avoid anything too watery for this appetizer.
How Far Ahead Can I Prep These?
I recommend chilling the coated balls for no more than 12 hours. The coating can start to absorb moisture. This makes them fragile before frying. Prep the balls right before you plan to cook them for the best results.
Estimated Nutritional Data for Mac and Cheese Balls
Now, let’s talk numbers, though please remember this part! Since we are busy cooks, not registered dietitians, these values are just helpful estimates. We base this on four balls per serving size. For more general information on food safety and nutrition estimates, readers can consult resources like the U.S. Food and Drug Administration.
We know these fried snacks are rich. They are pure comfort food, after all. Here is what you can generally expect per serving:
- Calories: Roughly 350-400 calories.
- Fat: Expect about 20-25 grams of total fat.
- Protein: Around 10-12 grams of protein.
- Carbohydrates: Likely 30-35 grams per serving.
These are just ballpark figures, my friends. The actual amounts depend on your cheese type. Use this information loosely for planning. Enjoying food should always come first!
Share Your Savor Sensations Creations
We truly hope you loved making these Mac and Cheese Balls. They are Anya’s favorite comfort food. Did you try them out? Tell us how they turned out for you! For more great recipes, feel free to browse our entire blog.
Rate this recipe at the top of the page. Share your crispy snack photos with us. We can’t wait to see your culinary adventures!
PrintAmazing 3-Step Mac and Cheese Balls Bliss
Make these irresistible Mac and Cheese Balls for a comforting fried snack. Anya shares her favorite way to turn leftover mac and cheese into crispy, golden bites perfect for sharing.
- Prep Time: 20 minutes
- Cook Time: 15 minutes
- Total Time: 35 minutes plus chilling time
- Yield: About 16 balls
- Category: Snack
- Method: Frying
- Cuisine: American
- Diet: Vegetarian
Ingredients
- 4 cups cooked Mac and Cheese (cold)
- 1 cup all-purpose flour
- 2 large eggs, beaten
- 2 cups panko breadcrumbs
- Vegetable oil, for frying
Instructions
- Place the cold mac and cheese in a bowl.
- Roll the mac and cheese into small balls, about 1.5 inches in diameter.
- Set up a dredging station with three shallow dishes.
- Place flour in the first dish.
- Place beaten eggs in the second dish.
- Place panko breadcrumbs in the third dish.
- Roll each mac and cheese ball first in the flour, shaking off excess.
- Dip the floured ball completely into the egg.
- Roll the egg-coated ball in the panko breadcrumbs, pressing gently so the crumbs adhere well.
- Place the coated balls on a baking sheet lined with parchment paper. Chill for at least 30 minutes.
- Pour enough vegetable oil into a deep pot or Dutch oven to reach a depth of about 2 inches. Heat the oil to 350°F (175°C).
- Carefully fry the mac and cheese balls in batches, turning them occasionally, until they are deep golden brown and heated through, about 3 to 4 minutes.
- Remove the balls with a slotted spoon and place them on a wire rack or paper towel-lined plate to drain excess oil.
- Serve immediately and enjoy your warm, crispy snack!
Notes
- Using cold mac and cheese is key to keeping the balls firm during rolling and frying.
- If you do not have panko, regular breadcrumbs work, but panko gives a superior crunch.
- You can substitute half of the flour with cornstarch for extra crispiness.
Nutrition
- Serving Size: 4 balls
- Calories: Estimate needed
- Sugar: Estimate needed
- Sodium: Estimate needed
- Fat: Estimate needed
- Saturated Fat: Estimate needed
- Unsaturated Fat: Estimate needed
- Trans Fat: Estimate needed
- Carbohydrates: Estimate needed
- Fiber: Estimate needed
- Protein: Estimate needed
- Cholesterol: Estimate needed
