

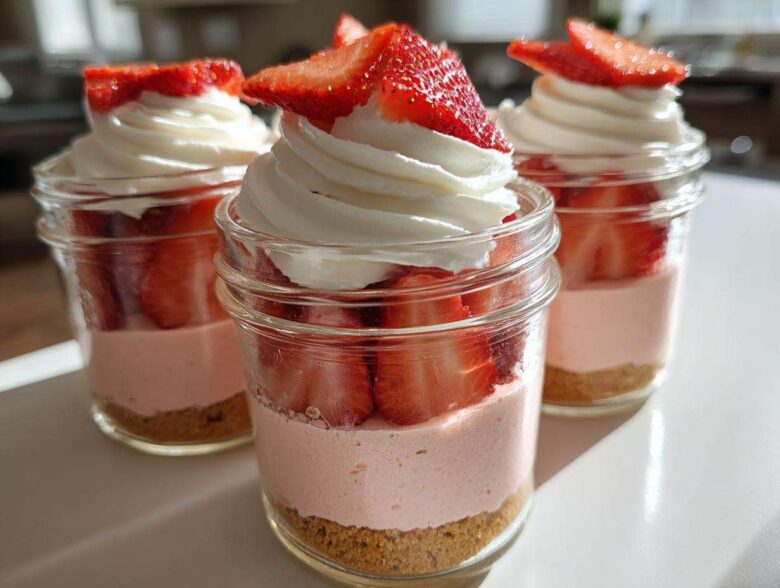
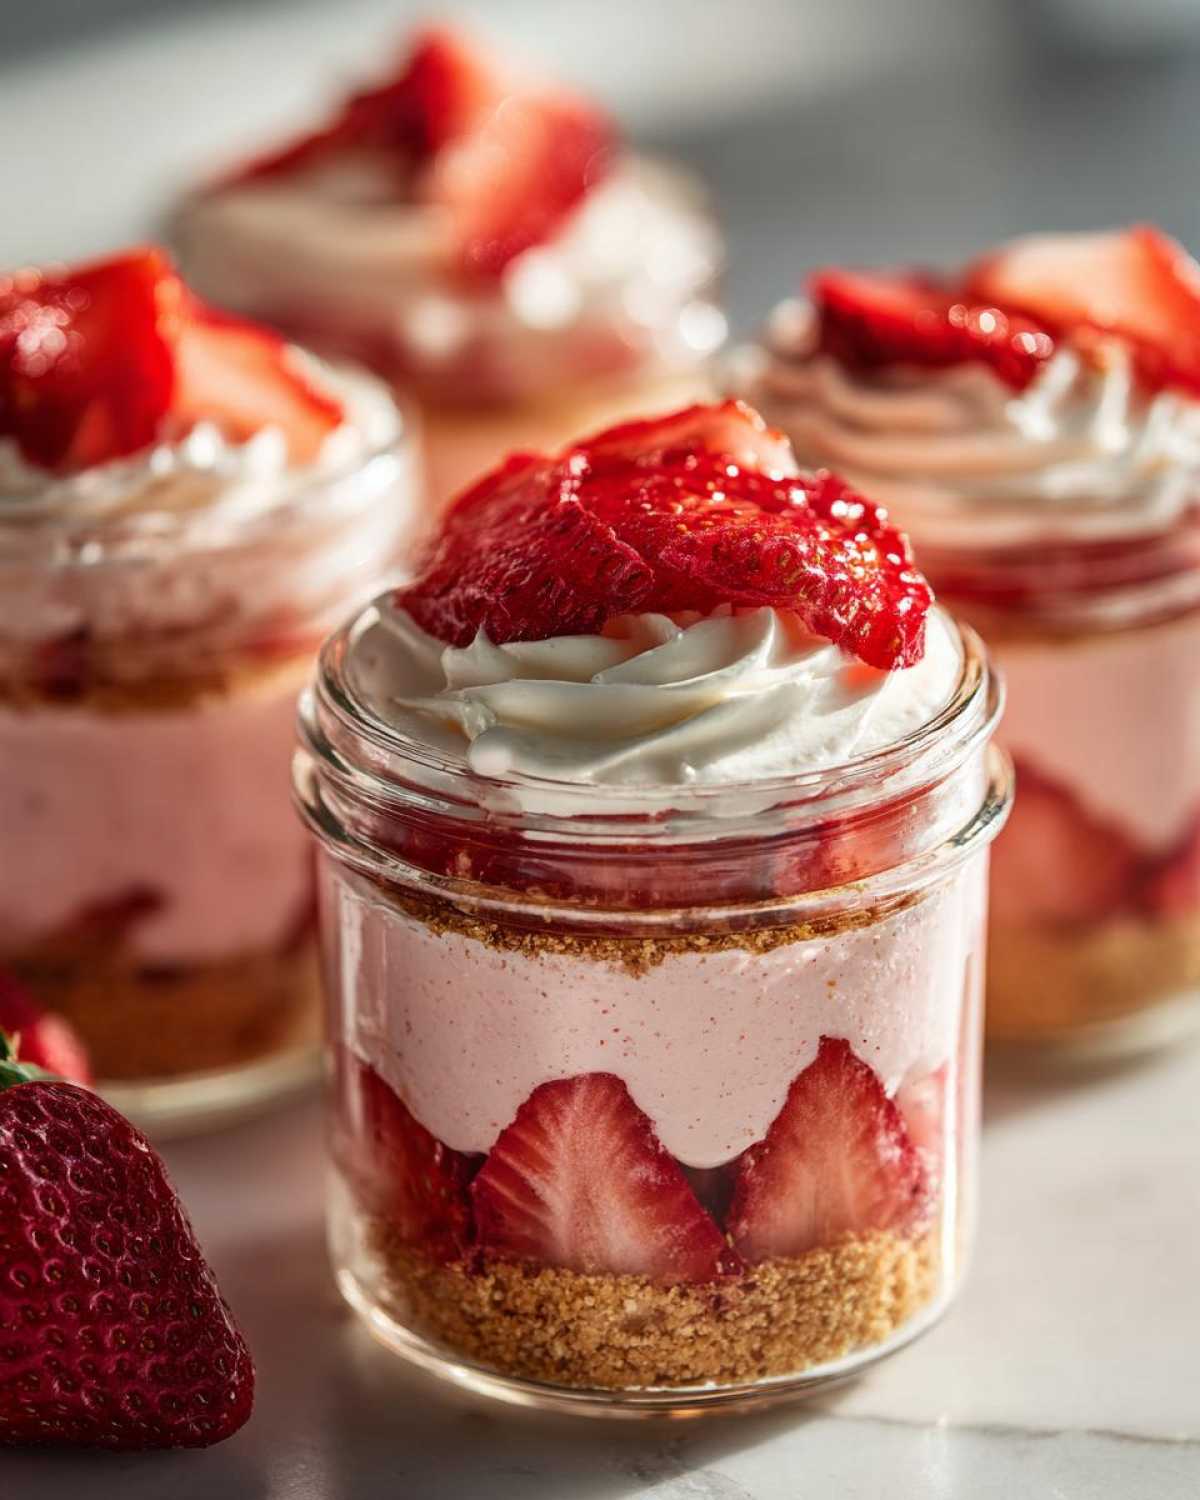
Oh my goodness, summer dessert season means one thing: I just don’t want to turn on my oven! Seriously, when it’s hot outside, the last thing I need is extra warmth radiating from my kitchen. That’s why I have become obsessed with these No-Bake Strawberry Cream Pie Jars. They are absolutely perfect because they give you all the heavenly flavor of a classic strawberry cream pie, but in cute, individual servings that look amazing for parties.
The best part? They are totally make-ahead friendly! I usually whip these up the night before a barbecue or picnic. You just layer, chill, and walk out the door. Trust me when I say this simple, creamy, fruity wonder is going to be your new favorite way to serve strawberry dessert.
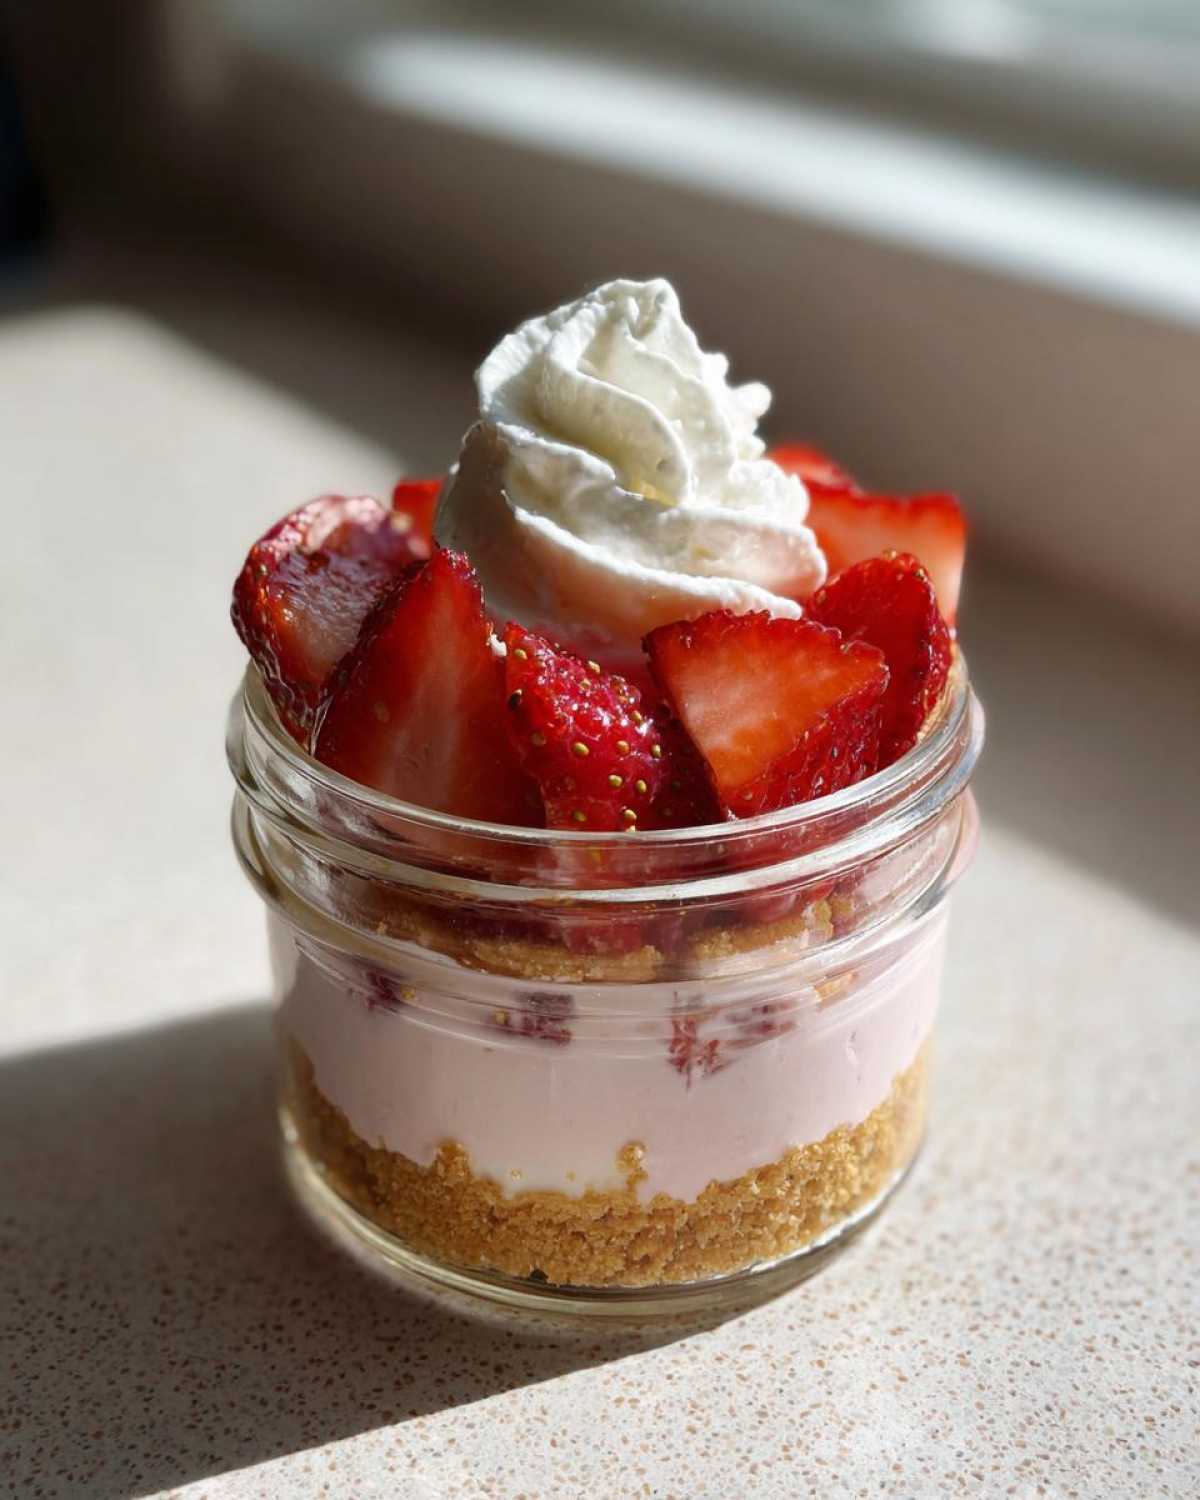
Why You Will Love These No-Bake Strawberry Cream Pie Jars
Honestly, these little gems check every single box for a truly successful summer treat. If you need something quick, cute, and easy to transport, look no further. I’m telling you, they are way better than a big old sheet cake!
- They are completely no-bake! Zero hot oven time required, which is a win-win when the sun is shining.
- The presentation is just darling. Serving these Individual Strawberry Pies in jars makes them feel instantly special, great for picnics or potlucks.
- Everything comes together in about 25 minutes of active work—talk about an easy strawberry dessert jar!
- Because they are layered, you get that perfect bite every time: crumbly crust, smooth filling, and fresh fruit. Pure bliss!
- Did I mention they are the ultimate make ahead strawberry dessert? You chill them, and you’re done!
- These qualify as a fantastic, light Summer Strawberry Dessert when you want something creamy but not heavy.
You really should check out some other fantastic ideas for speedy desserts over on my quick jar desserts page!
Essential Ingredients for Your No-Bake Strawberry Cream Pie Jars
Okay, getting the right ingredients is half the battle when you’re skipping the oven! Luckily, we aren’t using anything fancy here—just pure, delicious components that taste like summer. Don’t try to sneak in substitutes for the cream cheese or the heavy cream; the texture relies on them being exactly right. Like the no-bake peach cheesecake parfaits I shared last month, the cold temperature does all the work here.
Here is what you’ll need to gather for your Cream Pie in a Jar Recipe:
- For the Crust: 1 1/2 cups graham cracker crumbs, 1/4 cup granulated sugar, and 6 tablespoons of butter, melted—make sure that butter is cool enough not to melt your crumbs instantly!
- For the Filling Base: 1 (8 ounce) package of cream cheese that’s fully softened (this is critical for smoothness!), 1/2 cup powdered sugar, and 1 teaspoon of vanilla extract.
- For the Fluff: 1 cup of heavy whipping cream that is seriously cold, 1/4 cup granulated sugar, and 1 teaspoon of lemon juice—the acid helps it whip up beautifully!
- Fruit Power: 2 cups of glorious fresh strawberries, sliced up nice and thin.
Remember, fresh strawberries make all the difference for these Layered Strawberry Cream Desserts!
Assembling Your Cream Pie in a Jar Recipe: Step-by-Step
Okay, deep breath! We’ve got all our components ready, and now comes the fun part—building these gorgeous Easy Strawberry Dessert Jars. Since this is a completely no-bake situation, we rely on chilling time to set everything up perfectly. We’re building flavor and structure layer by layer, so take your time and enjoy making them look pretty!
Preparing the Graham Cracker Crust Layer
First things first, the base! Grab your graham cracker crumbs, the smaller portion of sugar (that 1/4 cup), and dump in that melted butter. Mix this together until it looks like wet sand—you should be able to squeeze a bit and have it hold its shape. Divide this mixture evenly among your jars. Now, here’s my little secret for stability: use the back of a small spoon or the bottom of a spice jar to press those crumbs down gently. Don’t smash them down like concrete, though! Just press enough so they stick together. Pop those jars in the fridge while we work on the cream layers; that chilling time really helps the crust stay put.
Creating the Cream Cheese Filling Base
Next, let’s tackle the luscious middle layer. Make sure your cream cheese is seriously soft—room temperature is your friend here! Beat the cream cheese with the powdered sugar and vanilla extract. You absolutely have to beat this until it’s silky smooth; no lumps allowed! If you have any little bits of cream cheese hanging around, they’ll make the final product grainy, and we want ultimate smoothness for these Creamy Strawberry Dessert Cups.
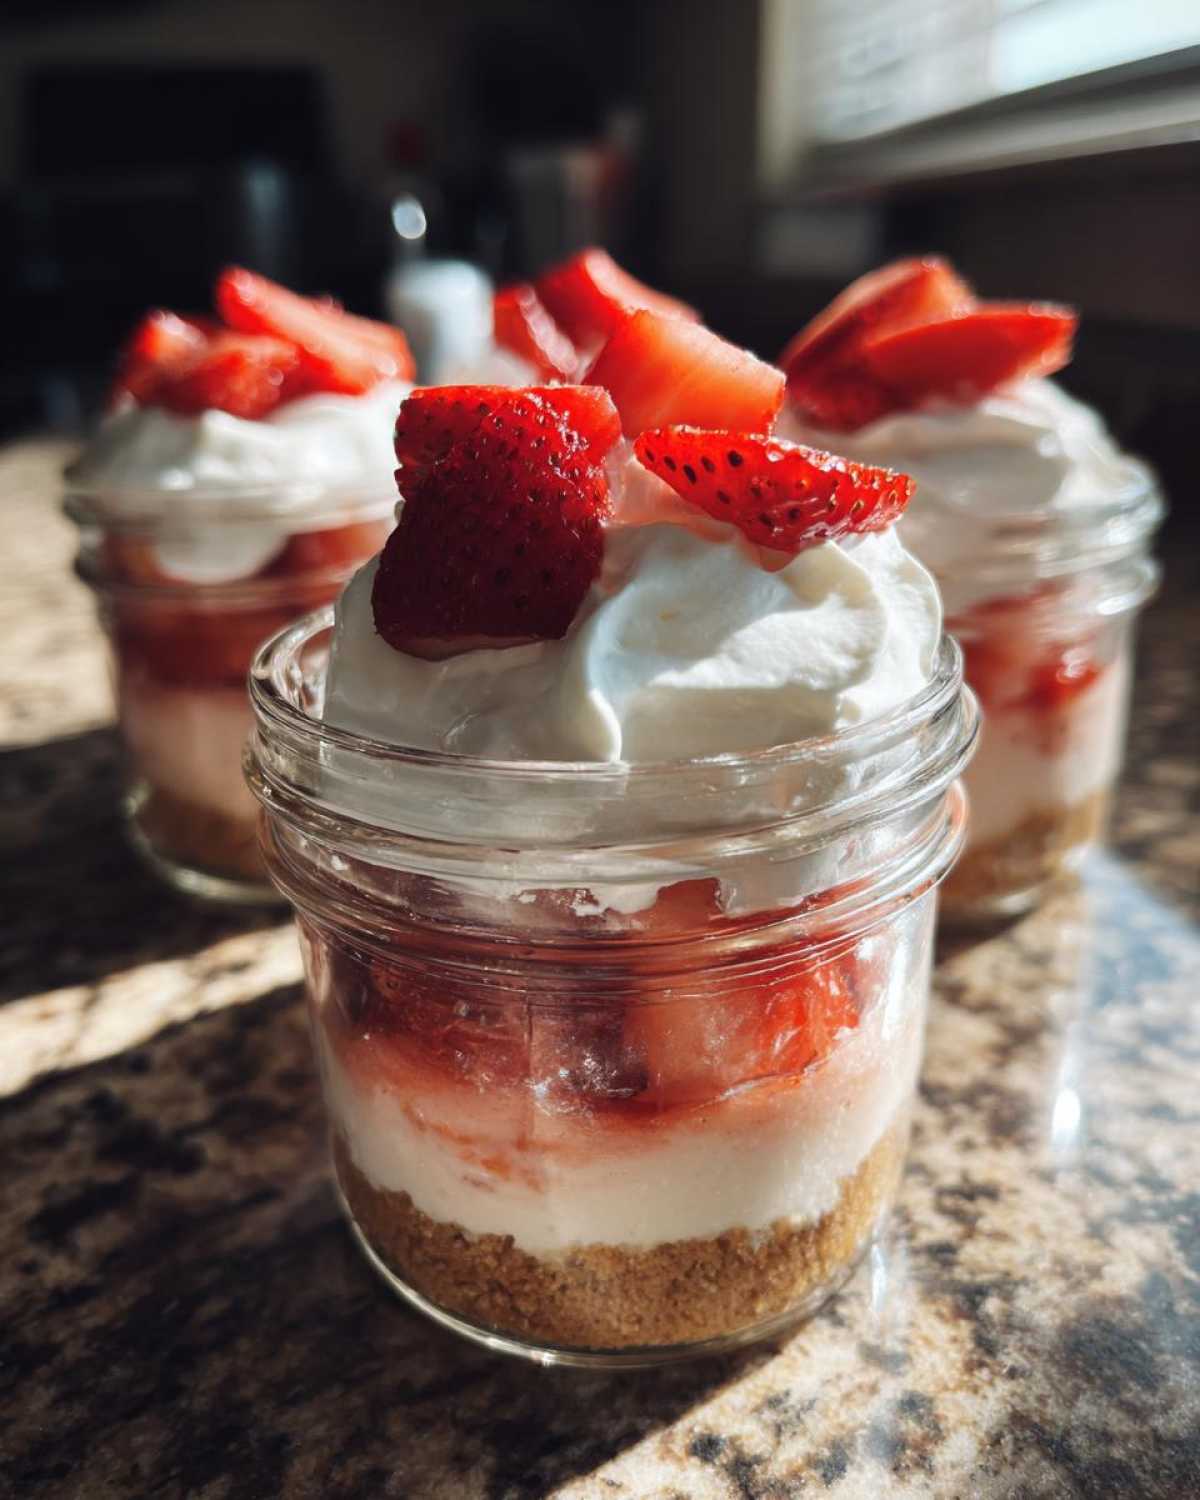
Whipping the Cream and Layering the No-Bake Strawberry Cream Pie Jars
Time for the fluff! In a clean, cold bowl, we whip that heavy cream with the remaining sugar and lemon juice until you get stiff peaks—you know that stage where the peaks stand straight up when you lift the whisk? Perfect! Now, gently fold about half of that whipped cream into your cream cheese mixture. Don’t overmix; just get it barely combined. Once folded, spoon or pipe half of this cream cheese layer over your chilled crusts. Scatter some of your gorgeous sliced strawberries on top of that. Then, top those strawberries with the *rest* of the cream cheese mixture, followed by the remaining whipped cream, and finish dramatically with more fresh strawberries right on top!
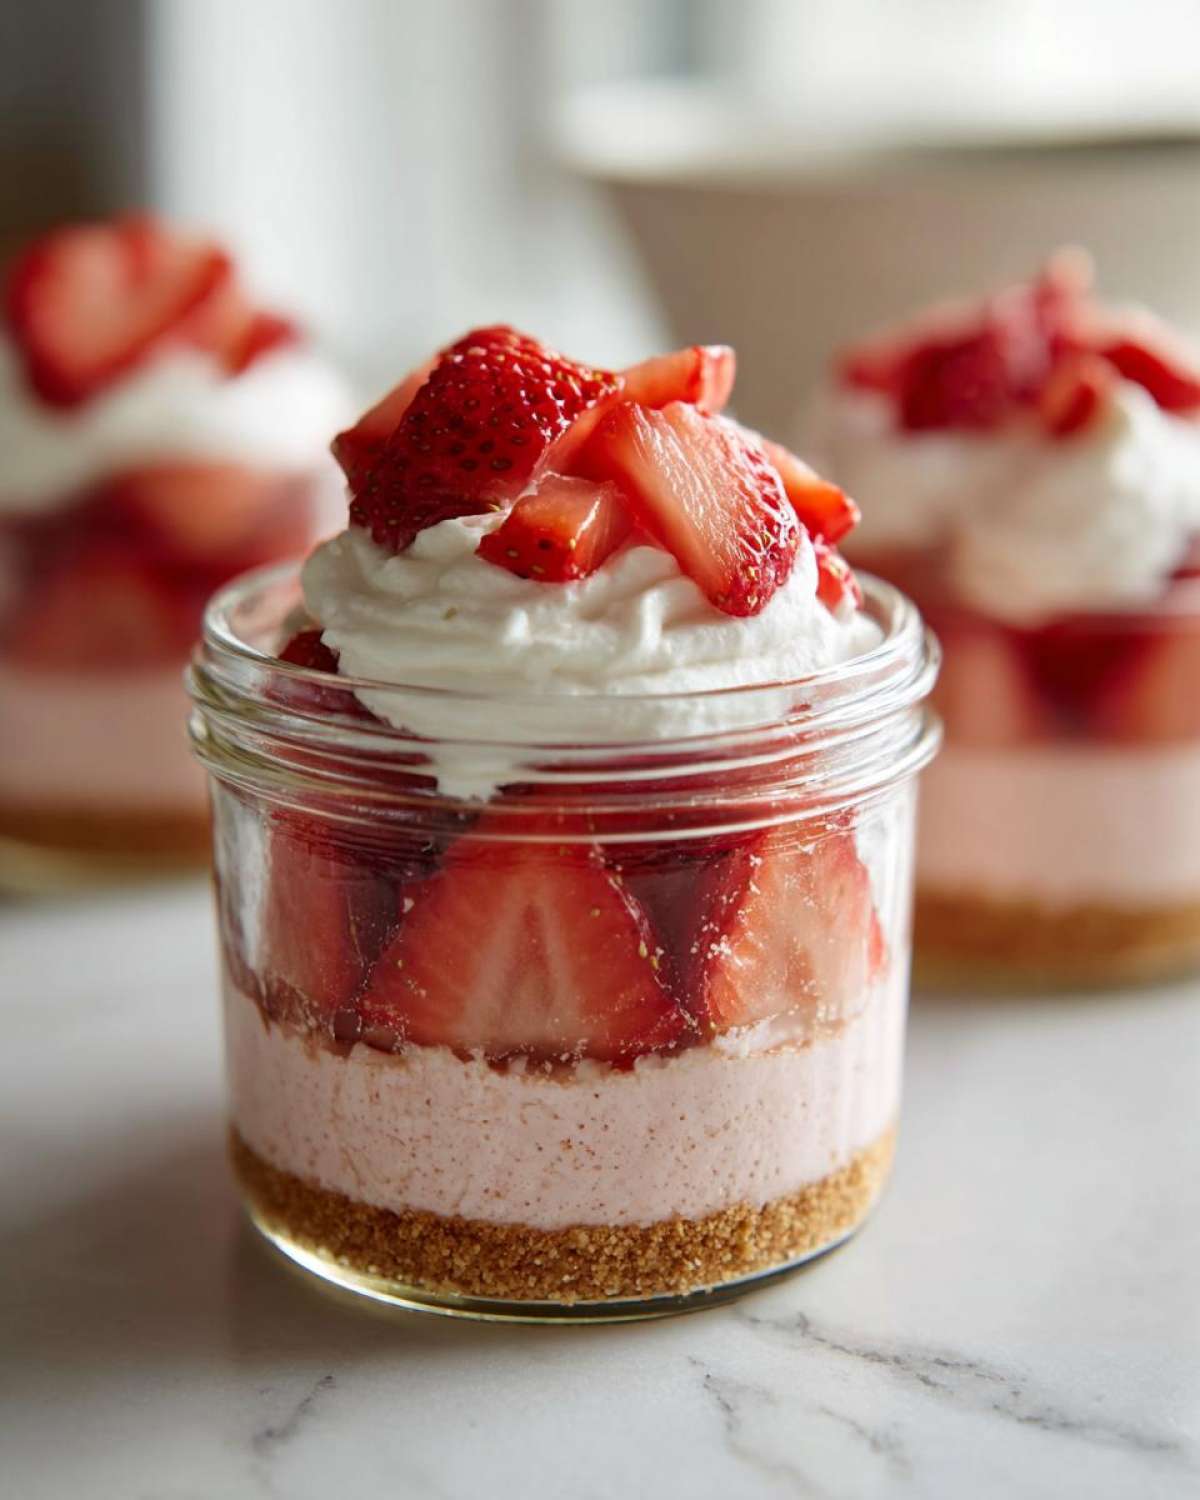
Tips for Perfect No-Bake Strawberry Cream Pie Jars
Even though these are No Bake Strawberry Dessert creations, there are still a few little tricks to make them absolutely flawless every single time. The biggest thing people struggle with is sad, weeping cream, but we can fix that right now!
First, make sure your heavy cream is ice cold when you start whipping it—I even chill my mixing bowl for about ten minutes beforehand! This ensures you get those stiff peaks we need for structure. Also, remember that folding technique when combining the whipped cream with the cream cheese base? Be gentle! Overmixing releases air and makes things soupy.
If you want professional-looking layers, ditch the spoon and use a piping bag for the cream layers. It makes everything look so neat! You can find great tips on stacking beautifully layered desserts over at my layered strawberry cream desserts post. Finally, for the best flavor and texture, promise me you’ll chill these for at least two hours. That time lets the crust set up against the wet layers!
Ingredient Notes and Substitutions for Your Easy Strawberry Dessert Jars
We’ve got a fantastic base recipe here, but I always like to give you options! If you’re out of graham crackers or just want to shake things up on your next batch of No Bake Individual Desserts, don’t panic! You can absolutely swap out the crust ingredient. Vanilla wafers or even shortbread cookies work amazingly well.
Just crush them up the same way you would the graham crackers, mix with the same amount of butter and sugar, and press it into the bottom of the jar. It gives the whole thing a slightly different, buttery personality, which is fun!
Now, let’s talk about the star: strawberries. For the best visual appeal and flavor in these Jarred Strawberry Treats, fresh is non-negotiable, especially since we want that crisp, bright flavor against the rich cream. If you use frozen strawberries, you have to thaw them completely, and you risk getting tons of water pooling around the crust. That extra moisture is the enemy of a good, crisp layer!
If you absolutely must use frozen, drain them really well, pat them dry with a paper towel, and maybe even mix them with just a tiny squeeze of lemon juice before layering them in—just to brighten that flavor back up. If you’re looking for other ways to use fresh berries, check out my strawberry muffin recipe sometime!
Serving and Storing Your Portable Strawberry Desserts
Now that you’ve done all the hard work building these beautiful Make Ahead Strawberry Desserts, the final challenge is waiting for them to set! Seriously, fighting the urge to grab a spoon immediately is the hardest part of this whole process.
You absolutely must chill these jellies for a minimum of two hours. I know, I know, you want to eat them now! But that chilling time isn’t just for flavor marrying; it’s structural. Those two hours allow the crust to absorb just the right amount of moisture and give the cream cheese filling enough time to firm up beautifully against the whipped cream. If you try to eat them sooner, you’ll end up with a soupy mess instead of those defined layers you worked so hard to create.
The great news is that these are perfect for entertaining because they hold up so well in the fridge. You can safely make these up to one full day ahead of time. Just cover the tops loosely with plastic wrap—you don’t want them soaking up any weird fridge odors! Keep them tucked away until you’re ready to serve. Since these are cream-based, refrigeration is a must.
And just to be clear, because they involve fresh strawberries and unbaked dairy fillings, there’s no reheating these! They are engineered to be enjoyed cold, straight from the refrigerator. That cold temperature keeps the heavy cream nice and lofty. Every time I pull these out, they look just as good as the moment I finished layering them!
Frequently Asked Questions About No Bake Strawberry Dessert
Whenever I post these adorable No-Bake Strawberry Cream Pie Jars, people always have the same great questions about execution and storage. It’s totally normal when you’re dealing with dairy and graham crackers, right?
Can I use frozen strawberries in this Cream Pie in a Jar Recipe?
Oh, I wish you could, but I strongly advise against it for this specific treat. When you thaw frozen strawberries, they release a ton of water—way more than fresh ones. That juice will just seep down into your crust and turn your lovely base soggy almost instantly! It ruins that nice crunch we worked so hard for. For the best Cream Pie in a Jar Recipe layers, stick to fresh, juicy berries!
What size jars work best for these No Bake Individual Desserts?
I usually get the best results using standard 8-ounce mason jars. They’re sturdy, look super cute on a picnic blanket, and they perfectly accommodate the layers we build. The recipe yields about 4 to 6 servings, so if you use the 8-ounce size, you’ll get six really generous portions. If you’re feeling extra hungry or want bigger presentation pieces, 12-ounce jars work too, but you might only get four servings total from the recipe.
If you enjoyed these tips, you might also like the tricks I shared for stabilizing cream in my no-bake strawberry cheesecake jars post!
Estimated Nutritional Data for No-Bake Strawberry Cream Pie Jars
So, I know sometimes you just want the rundown on what you’re digging into! When I pull together these No-Bake Strawberry Cream Pie Jars, I’m not usually counting every crumb, because honestly, it’s a treat! But for those of you who track things, here is a general idea of what you are looking at per jar.
Keep in mind, this is just an estimate based on standard measurements—if you pile on extra strawberries or use a different cookie for the crust, things might change a little bit. But this gives you a good baseline for these wonderful Simple Strawberry Parfaits.
- Serving Size: 1 jar
- Calories: around 380
- Total Fat: 24g (with about 14g saturated, because hello, real cream cheese!)
- Carbohydrates: 38g
- Protein: 5g
- Sugar: 30g (It’s fruit and powdered sugar, it adds up quick, friends!)
- Cholesterol: 70mg
- Sodium: 180mg
It’s dessert, after all, so enjoy it! Just knowing it didn’t require turning on the stove makes me feel like I won the summer cooking battle.
Share Your Jarred Strawberry Treats
And that, my friends, is the whole low-down on building the most gorgeous, easy, no-bake dessert! I am genuinely so excited for you to try these No-Bake Strawberry Cream Pie Jars the next time you need something fast and fuss-free.
You know I LOVE seeing what you all are making, so when you whip up a batch of these individual pies, please snap a picture! Tag me on social media—I seriously squeal with delight when I see your perfectly layered jars come across my feed. Let me know how many jars you managed to make before someone snuck one out of the fridge!
If you loved this recipe and want to stay in the loop for all my quick dessert hacks and family favorites, remember to leave a rating and drop your thoughts in the comments below. Happy chilling!
PrintNo-Bake Strawberry Cream Pie Jars
Make individual servings of creamy strawberry pie layered in jars. This recipe requires no oven time and is simple to assemble.
- Prep Time: 25 min
- Cook Time: 0 min
- Total Time: 25 min
- Yield: 4 to 6 servings
- Category: Dessert
- Method: No Bake
- Cuisine: American
- Diet: Vegetarian
Ingredients
- 1 1/2 cups graham cracker crumbs
- 1/4 cup granulated sugar (for crust)
- 6 tablespoons unsalted butter, melted
- 1 (8 ounce) package cream cheese, softened
- 1/2 cup powdered sugar
- 1 teaspoon vanilla extract
- 1 cup heavy whipping cream, cold
- 1/4 cup granulated sugar (for whipped cream)
- 1 teaspoon lemon juice
- 2 cups fresh strawberries, sliced
Instructions
- Combine graham cracker crumbs, 1/4 cup sugar, and melted butter in a bowl. Mix until the crumbs are evenly moistened.
- Divide the crumb mixture evenly among 4 to 6 small jars (about 1/4 cup per jar). Press the crumbs lightly into the bottom of each jar to form the crust layer. Place jars in the refrigerator while preparing the filling.
- In a separate bowl, beat the softened cream cheese, powdered sugar, and vanilla extract until smooth and creamy. Set aside.
- In a third bowl, whip the cold heavy cream with 1/4 cup sugar and lemon juice until stiff peaks form.
- Gently fold half of the whipped cream into the cream cheese mixture until just combined.
- Spoon or pipe half of the cream cheese mixture over the crust layer in each jar.
- Layer a portion of the sliced strawberries over the cream cheese layer in each jar.
- Top the strawberries with the remaining cream cheese mixture.
- Top with the remaining whipped cream.
- Garnish the top of each jar with additional sliced strawberries.
- Chill the jars for at least 2 hours before serving.
Notes
- You can substitute vanilla wafers or shortbread cookies for the graham crackers if you prefer a different crust flavor.
- For easier layering, use a piping bag fitted with a large round tip for the cream filling.
- Make these up to one day ahead for easy entertaining.
Nutrition
- Serving Size: 1 jar
- Calories: 380
- Sugar: 30
- Sodium: 180
- Fat: 24
- Saturated Fat: 14
- Unsaturated Fat: 10
- Trans Fat: 0
- Carbohydrates: 38
- Fiber: 2
- Protein: 5
- Cholesterol: 70
