

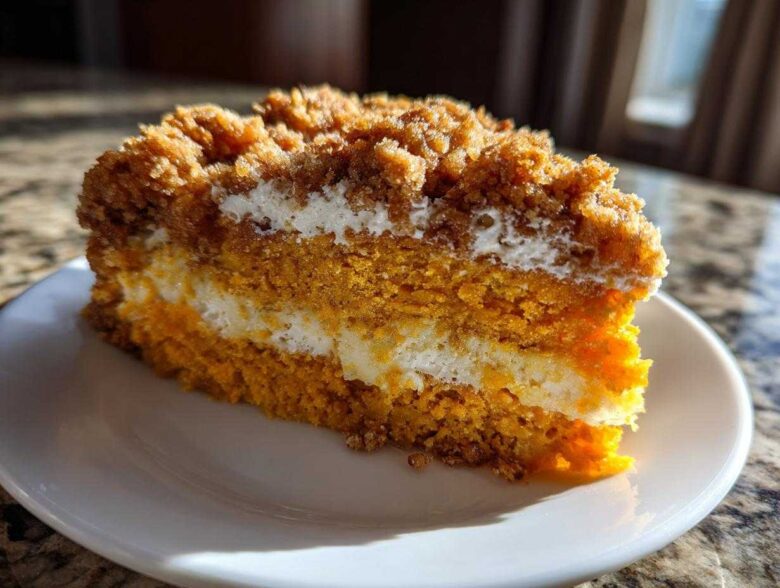
Oh my gosh, when the air starts getting that perfect crispness, you know what time it is—it’s time for the best kind of baking: cozy, comforting, and totally no-fuss. Forget fussy pies or multilayered tortes this year; I’m here to share my absolute favorite secret weapon for the holidays: the Ultimate Easy Pumpkin Crunch Cake. Trust me, I’ve baked this dish dozens of times for everything from potlucks to Thanksgiving dinner, and it always disappears first. This recipe nails that amazing textural contrast we all crave. It took mastering just a few simple steps to get the creamy filling and buttery, crunchy topping absolutely perfect every single time. If you want a crowd-pleaser that looks way harder than it is, you’ve found your winner!
You can see all my other baking adventures over here at my main blog page when you’re done!
Why This Easy Pumpkin Crunch Recipe is Essential for Fall Baking
When the pressure is on during the holidays, you need something reliable, and this **Easy Pumpkin Crunch Recipe** is it. Honestly, it is the definition of No-Fuss Fall Baking. Why fuss when you can have this incredible dessert ready in practically no time? It’s the star of our Thanksgiving table because it delivers on flavor without needing hours in the kitchen. I always tell people that the magic truly lies in the layers, because you get two amazing textures battling it out deliciously in every single bite.
Perfect Layered Pumpkin Dessert Structure
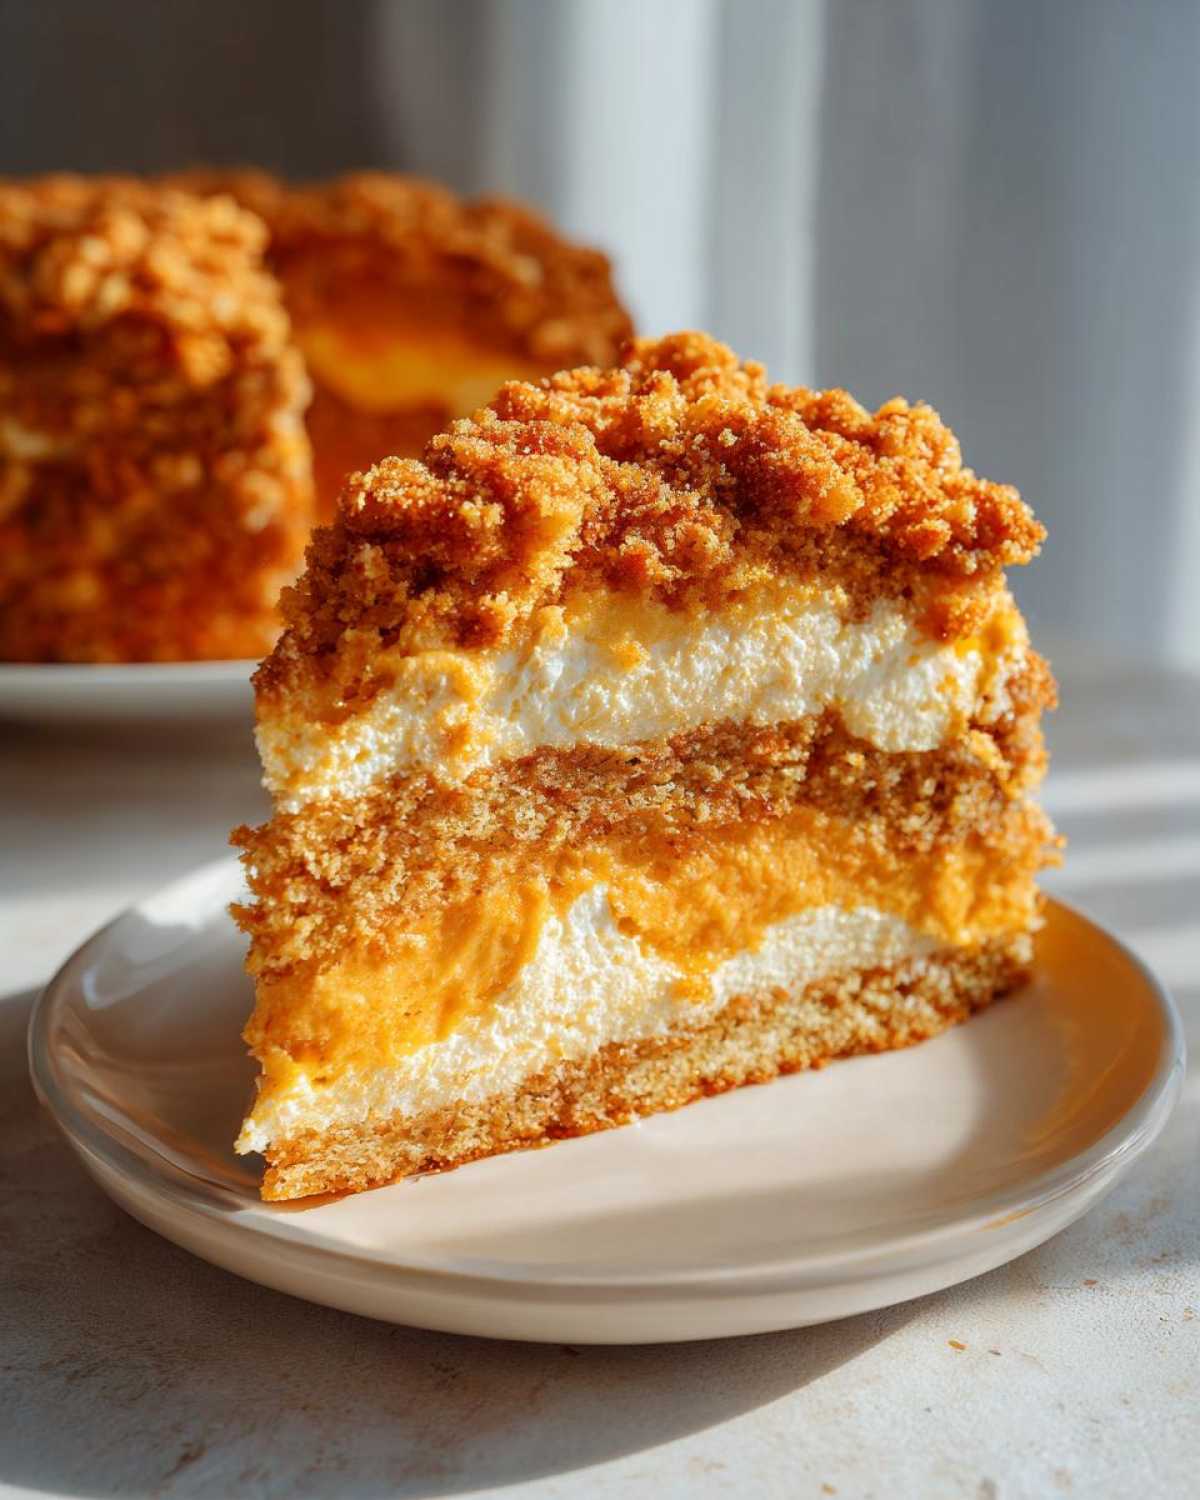
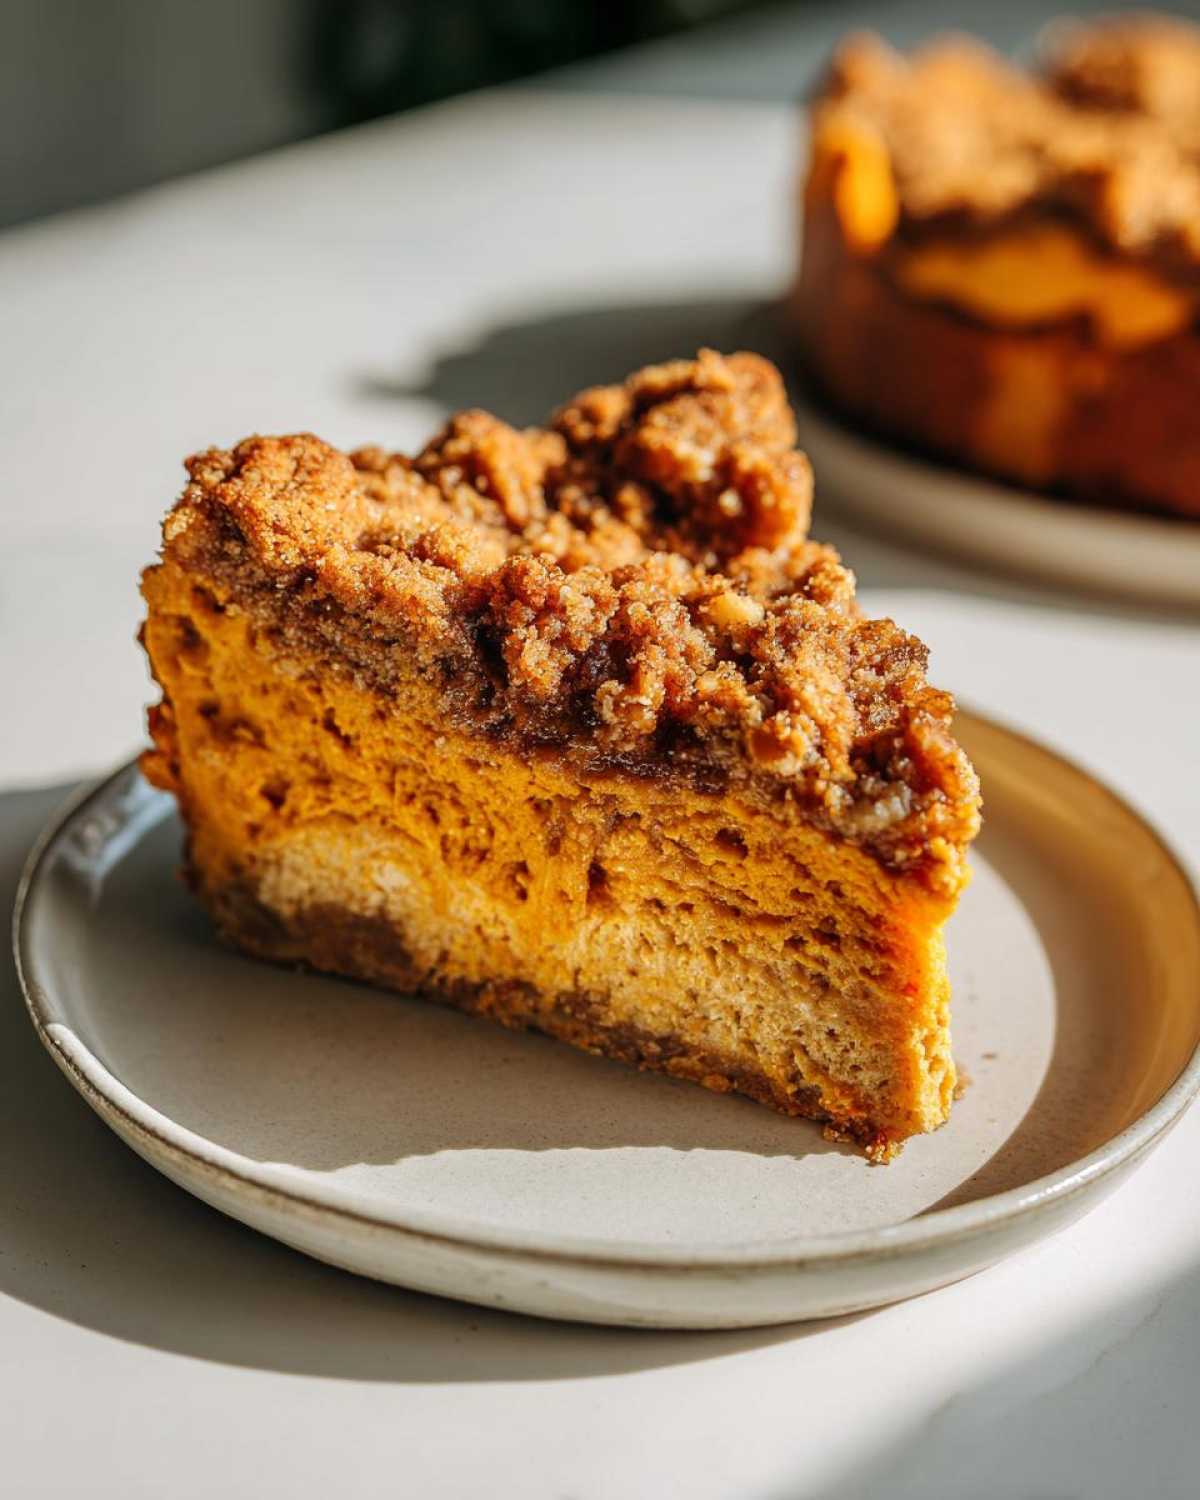
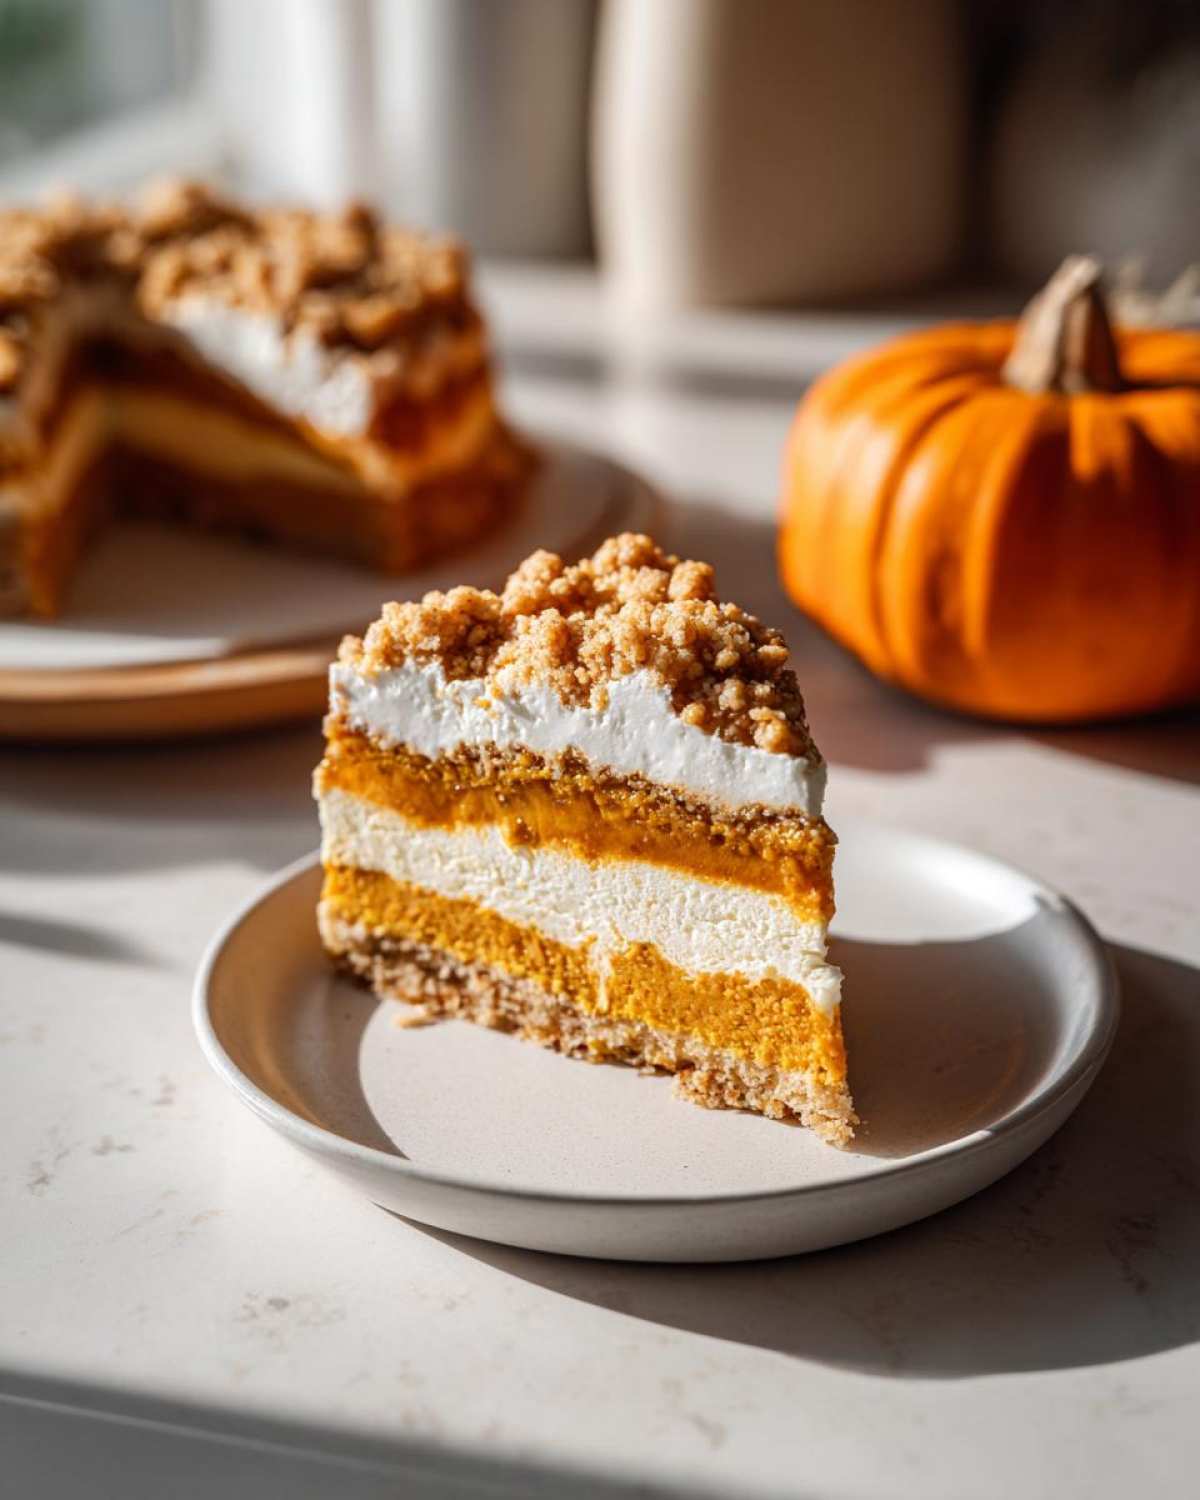
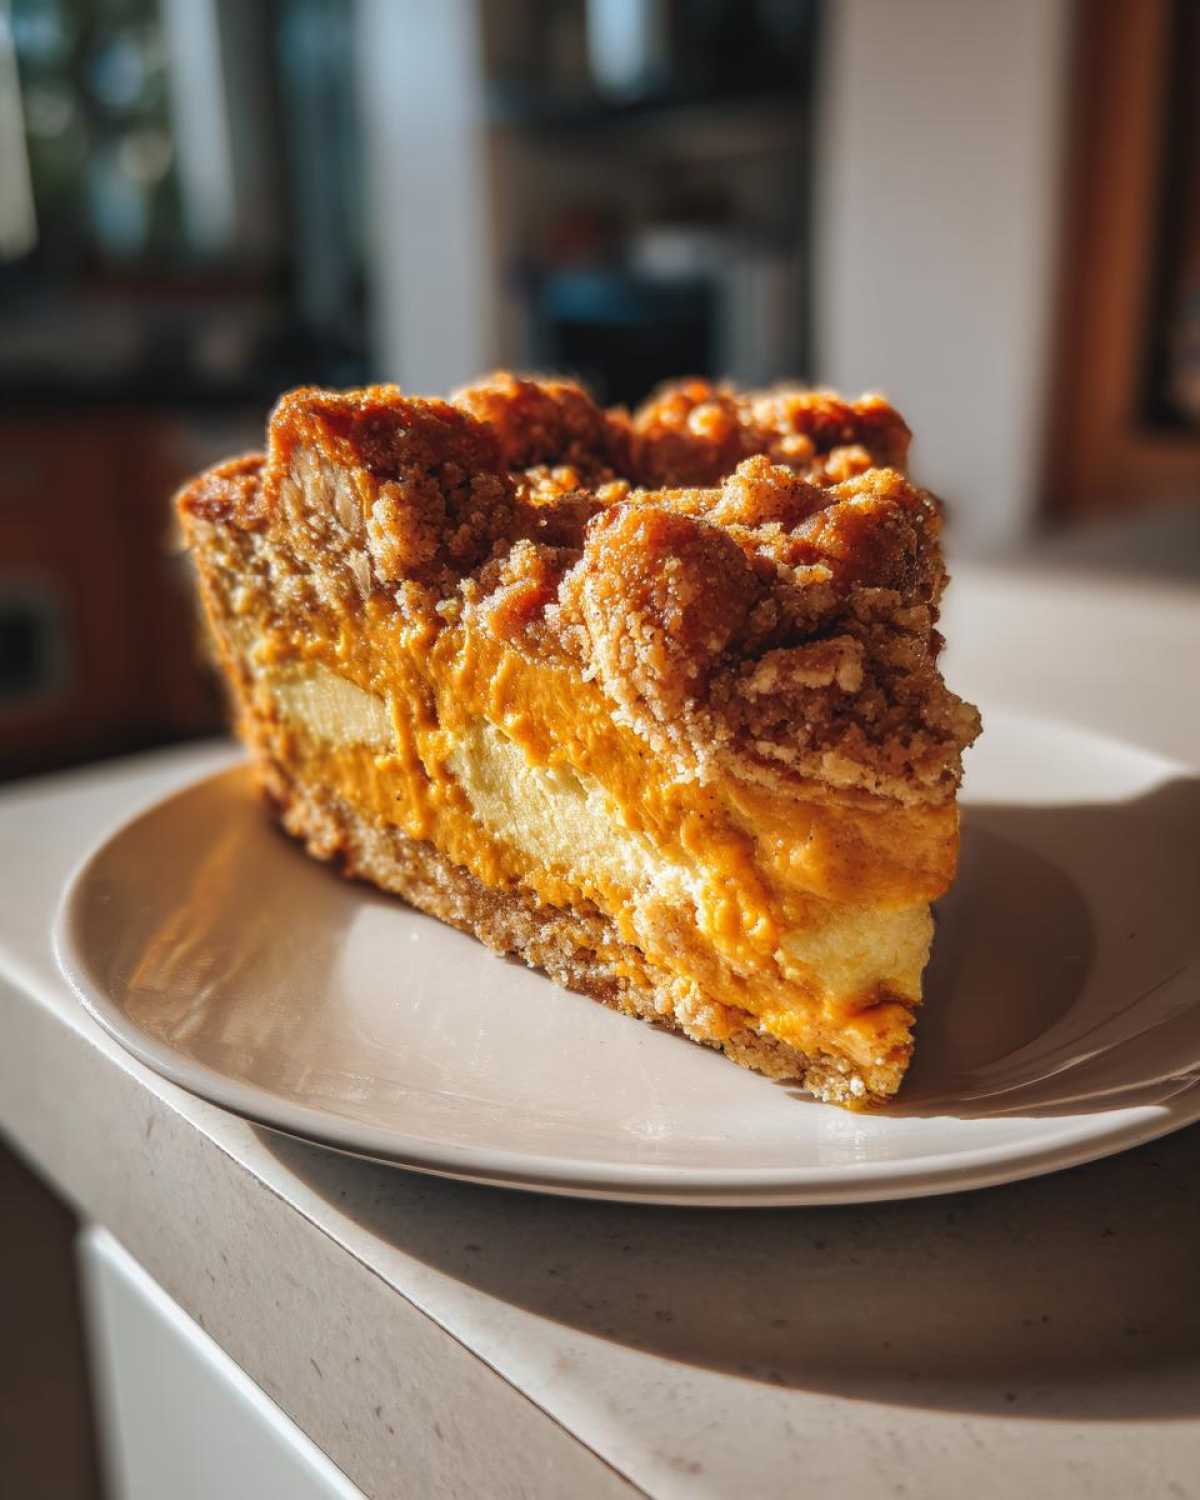
The structure is what elevates this from just another pumpkin dish. You have this wonderfully creamy pumpkin filling that just melts in your mouth. Then, right on top, you get this intensely buttery streusel, loaded with pecans. That contrast—the soft base against that perfect crunch—is everything! That’s why we call it **pumpkin crunch**; it earns that name every single time.
Simple Assembly for Crowd Pleasing Pumpkin Recipe
You can’t beat 15 minutes of prep time. Seriously! I often whip this up right before guests arrive because I’m using pantry staples like yellow cake mix. There’s no complicated whisking or folding for the topping; you just mix it together. It functions like a dreamy dump cake, which means it’s a guaranteed Crowd Pleasing Pumpkin Recipe, every time I make it. I’m often asked to bring it again the next year!
If you’re looking for other easy fall flavor combinations, you should check out my recipe for my spicy Pumpkin Spice Smoothie Magic.
Ingredients for the Ultimate Pumpkin Crunch Cake
If you want the best **pumpkin crunch**, you have to start with exactly the right components. I learned early on that using plain, pure pumpkin puree—not the spiced pie filling—is the secret sauce for the creamy layer. Keeping everything measured correctly here makes sure that buttery streusel topping sits perfectly and doesn’t sink or get soggy. It really helps if you have everything ready to go since the prep moves so fast! If you are looking for other great pumpkin bakes, my Pumpkin Pie Cheesecake Bars are amazing too.
For the Buttery Streusel Topping
This is the part that gives us that fantastic crunch, so don’t skip the pecans! For this topping, you need:
- 1 full box of yellow cake mix (please note: this is the *dry* mix only, not prepared or mixed with eggs!), about 15.25 ounces.
- 1 cup of chopped pecans. I use raw, unsalted ones because they toast up beautifully in the oven.
- 1 cup (which is exactly 2 sticks) of unsalted butter, fully melted. You’ll pour this right over the dry ingredients and stir it until it forms those perfect, crumbly clumps.
For the Creamy Pumpkin Filling Recipe
This is the smooth, spiced part beneath the crunch. I call this my absolute best **Creamy Pumpkin Filling Recipe** because it’s just so balanced:
- 2 standard 15-ounce cans of pure pumpkin puree. Make sure it says ‘pure pumpkin,’ not pie mix!
- 1 can (12 ounces) of evaporated milk. This is crucial for that dense, yet creamy texture.
- 4 large eggs, whisked well.
- 1 1/2 cups of granulated sugar.
- The spice blend is key: 2 teaspoons of cinnamon, plus 1 teaspoon of ginger, 1/2 teaspoon of nutmeg, and just a tiny pinch (1/4 teaspoon) of cloves for depth. Whisk all these wet ingredients together until they look totally uniform.
Step-by-Step Instructions for Perfect Pumpkin Crunch
Okay, now that we have our ingredients shining and ready, putting this casserole together is honestly the easiest part of my whole day. Because this **pumpkin crunch** is so forgiving, I never stress about perfect technique, but following this order guarantees the best result which looks beautiful when you pull it from the oven. First things first: make sure your oven is at 350 degrees Fahrenheit. I always give my 9×13 inch baking dish a quick grease-and-flour treatment. You want that dessert to slide right out later, especially since this layer is so rich!
Preparing the Crunchy Topping Dessert
Before we even look at the pumpkin mixture, get your topping ready. Grab a medium bowl—I like using a sturdy glass one so I can see the mixture coming together. You’re going to mix the dry yellow cake mix and those beautiful chopped pecans together first. Then, slowly pour in that cup of melted butter. Don’t overthink it! Just use a fork or a rubber spatula to stir until it looks uniformly crumbly. It should look like coarse, wet sand. Once it’s crumbly, set this bowl aside right on the counter. We’re done with it until the very last minute!
Assembling and Baking the Layered Pumpkin Dessert
Next up is the creamy base. Gently whisk together all your wet ingredients—the pumpkin, milk, eggs, sugar, and all those warm spices—in your large bowl until it’s completely smooth. Pour this lovely orange mixture evenly into your prepared 9×13 dish. Now for the big moment for this **Layered Pumpkin Dessert**! Take your streusel topping bowl and just sprinkle that buttery mix evenly right over the surface of the pumpkin layer. Do not press it down! Seriously, do *not* stir or try to smoosh it in; you want those dry crumbs to bake up crunchy on top. Pop it gently into your preheated oven for about 50 to 60 minutes. When it’s done, the topping should look golden brown, and a toothpick inserted near the center shouldn’t come out with wet batter.
I highly recommend checking out my recipe for Apple Cinnamon Rolls if you need another cozy, aromatic bake for fall!
Tips for Success with Your Pumpkin Crunch
I know it’s tough when something smells this amazing, but you absolutely must let this dessert cool down! If you try to slice into the **pumpkin crunch** piping hot from the oven, the creamy layer turns into lovely liquid pumpkin soup. We don’t want that! Patience truly pays off here for that perfect textural contrast we’re aiming for.
The Importance of Cooling Time
The secret to getting that beautiful separation between the creamy pumpkin base and the crunchy streusel is time. Seriously, let it cool on the counter until it’s just warm, or even better, chill it in the fridge for a couple of hours. Chilling really helps those layers firm up right. When it’s cold, the creamy part sets beautifully, making the crunchy topping stand out so much more. It tastes 100 times better when it hasn’t tried to run away on your serving plate!
Adjusting for a Hawaiian Pumpkin Crunch Style
If you’re feeling adventurous or maybe you’ve tried the authentic version, you can easily tweak this recipe to get that gorgeous **Hawaiian Pumpkin Crunch** vibe. Instead of using the yellow cake mix as directed, swap it out for a spice cake mix. It gives the topping a little more warmth right from the start. It’s a simple switch, but it totally changes the flavor profile! You can find my tips on making the best breakfast ever, like this amazing Classic French Toast with Custard Bread, while you wait for this to cool.
Storage & Reheating Instructions for Leftover Pumpkin Crunch
This layered dessert is actually fantastic the next day, which is great for leftovers! Because we have milk and eggs in that creamy filling, you absolutely must keep any remaining **pumpkin crunch** covered tightly in the refrigerator. It keeps really well for about three to four days, which is perfect for snacking leading up through the weekend. I never, ever reheat the whole thing. Honestly, warming it up just turns that beautiful crunchy topping soft and sad. I find it’s best served straight from the cold fridge, or you can let a slice sit on the counter for about 20 minutes to come closer to room temperature.
If you love sweet breads, you should check out my recipe for Chocolate Chip Zucchini Bread; that one stores beautifully on the counter!
Frequently Asked Questions About This Simple Pumpkin Cake
I get so many questions about this recipe—which I love! It just shows how popular this **Simple Pumpkin Cake** is getting. Most people are asking about substitutions because they want to make sure they get that perfect texture. Here are the ones I hear the most!
Can I use fresh pumpkin puree instead of canned for the pumpkin crunch?
You absolutely can, but you have to be ready for a little extra moisture! Canned pumpkin is generally roasted and denser, which helps keep the creamy layer firm. If you roast and puree your own fresh pumpkin, you’ll need to roast it longer or even strain it through cheesecloth to get rid of excess water. If you skip that draining step, your bottom layer might end up a little too soupy. Stick to canned if you need a true, reliable **Yellow Cake Mix Pumpkin Dessert** texture, but fresh is always lovely if you take the time!
What is the best way to ensure a truly crunchy topping dessert?
This is where the ‘crunch’ really comes from! It all comes down to the butter distribution when you mix the topping. Make sure that melted butter thoroughly coats the dry cake mix and pecans before it hits the oven. You want crumbles, not clumps. Also, watch that baking time closely near the end. If you see the edges starting to burn but the middle isn’t done, you can loosely tent a piece of foil over the top for the last 10 minutes. We want that golden, buttery color, not brown or bitter!
Can this pumpkin crunch be made ahead for Thanksgiving Dessert Ideas?
Yes, this is one of my favorite **Thanksgiving Dessert Ideas** precisely because you can make it ahead! I usually bake it the day before. The absolute key here, just like I mentioned before, is cooling. If you slice it warm, it collapses. Once it’s baked, let it cool completely on the counter, then cover it tightly and stick it in the fridge overnight. When you serve it cold the next day, the layers are perfectly set, and the crunch is spectacular. It’s a huge stress reliever on the actual holiday!
If you’re looking for another great dish that travels well for parties, you might want to check out my recipe for the Broccoli Cheddar Squash Casserole; it’s the perfect savory balance to all this sweet!
Estimated Nutritional Data for Pumpkin Crunch
Now, look, I’m a home baker, not a registered dietitian, okay? I focus on flavor, not counting calories, but I know some of you like to have an idea about what you’re serving up—especially around the holidays when things get rich!
The numbers below are just my best estimate for one single slice of this glorious **pumpkin crunch** based on the standard ingredients listed. Since we use real butter and sugar, it tends to be a treat, but wow, is it worth it!
For reference, here’s what I typically see when plugging these ingredients into a calculator:
- Serving Size: 1 slice
- Calories: Around 420 (This depends heavily on how generous your slice is!)
- Fat: About 23g (That’s the butter and pecans doing their delicious work!)
- Carbohydrates: Around 55g
- Sugar: Roughly 45g
- Protein: About 6g
A little disclaimer here: These values are approximations based on standard measurements and the brands I usually keep stocked. If you switch up the type of cake mix or add extra nuts when you make your **Layered Pumpkin Dessert**, those numbers will shift a bit, of course. But hey, when it tastes this good, you just enjoy it! If you’re looking for another easy, sweet treat that rivals this one, you have to try my Peach Cobbler with Fresh Peaches Recipe next!
Share Your Best Pumpkin Crunch Experience
Honestly, seeing pictures of your bakes is the best part of sharing these recipes. It makes my kitchen feel connected right to yours! I really hope this **pumpkin crunch** makes it onto your table this fall or winter. I want to hear all about it!
Did you serve it plain, or did you sneak in some cool whip on the side? Did your family prefer the yellow cake mix or did you try the spice cake variation I mentioned?
Take a minute when you get a chance and let me know what you thought in the comments down below! Seriously, rate this recipe for me—out of five stars—so other readers know what a winner this is. And if you snap a picture, tag me on social media! I love seeing everyone enjoying this wonderful Layered Pumpkin Dessert.
PrintEasy Layered Pumpkin Crunch Cake

A simple, layered dessert featuring a creamy pumpkin base topped with a buttery, crunchy yellow cake mix and pecan streusel.
- Prep Time: 15 min
- Cook Time: 60 min
- Total Time: 75 min
- Yield: 12 servings
- Category: Dessert
- Method: Baking
- Cuisine: American
- Diet: Vegetarian
Ingredients
- 1 box (15.25 oz) yellow cake mix
- 1 cup chopped pecans
- 1 cup (2 sticks) unsalted butter, melted
- 2 cans (15 oz each) pure pumpkin puree
- 1 can (12 oz) evaporated milk
- 4 large eggs
- 1 1/2 cups granulated sugar
- 2 teaspoons ground cinnamon
- 1 teaspoon ground ginger
- 1/2 teaspoon ground nutmeg
- 1/4 teaspoon ground cloves
Instructions
- Preheat your oven to 350 degrees Fahrenheit. Grease and flour a 9×13 inch baking dish.
- Prepare the topping: In a medium bowl, mix the dry yellow cake mix and chopped pecans. Pour the melted butter over the mix and stir until just combined and crumbly. Set aside.
- Prepare the pumpkin layer: In a large bowl, whisk together the pumpkin puree, evaporated milk, eggs, sugar, cinnamon, ginger, nutmeg, and cloves until smooth.
- Pour the pumpkin mixture evenly into the prepared baking dish.
- Sprinkle the cake mix and pecan topping evenly over the pumpkin layer. Do not stir.
- Bake for 50 to 60 minutes, or until the topping is golden brown and a toothpick inserted near the center comes out mostly clean.
- Let the cake cool completely before slicing and serving.
Notes
- For a more traditional Hawaiian style, you can substitute the yellow cake mix with a spice cake mix.
- Chill the dessert for at least 2 hours before serving for the best texture contrast.
- Serve plain or with a dollop of whipped cream.
Nutrition
- Serving Size: 1 slice
- Calories: 420
- Sugar: 45
- Sodium: 250
- Fat: 23
- Saturated Fat: 11
- Unsaturated Fat: 12
- Trans Fat: 0
- Carbohydrates: 55
- Fiber: 2
- Protein: 6
- Cholesterol: 85
