

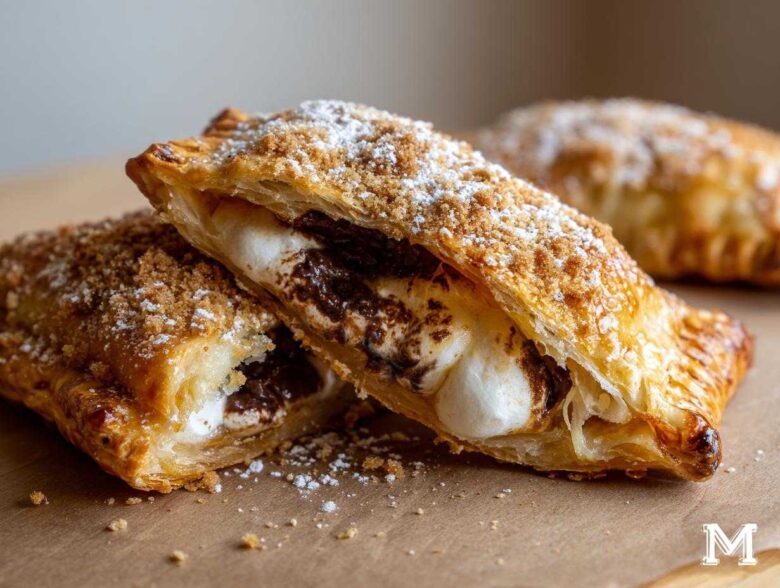
Oh, you know I can never resist the lure of a good campfire treat, right? But let’s be real, trying to juggle a stick, a flaming marshmallow, and sticky chocolate when you’re just trying to relax? Total disaster waiting to happen. That’s why I spent an entire weekend perfecting these Smores Hand Pies! They capture that amazing, gooey, smoky-sweet flavor combination we all love without the mess or the need for skewers.
I call these my portable s’mores dessert ideas because they are flaky, perfectly sealed, and ready for a picnic blanket, a camping trip, or just hiding in your lunch bag for an afternoon treat. The pastry hugs the filling just right. Trust me, once you try these chocolate marshmallow pastry pockets, you won’t go back to the traditional assembly method again. They are surprisingly simple!
Why You Need This Easy Smores Hand Pies Recipe
When I first started testing these, I was just trying to figure out how to make them without the marshmallow exploding everywhere, honestly. But what I ended up with is just pure gold for anyone who loves a nostalgic dessert but hates the cleanup. If you’re looking for a simple way to pack a major flavor punch, these are it!
- They are the ultimate Portable Smores Dessert Ideas because you can pop them in a lunchbox or picnic basket with zero worries about sticky fingers later.
- You get that perfect flaky pastry hugging the filling—not some sad, floppy base like you get with some graham cracker crust ideas.
- Seriously, this is an Easy Smores Hand Pies Recipe! We are using store-bought crusts, which cuts down so much time. My kids love helping seal them up, making them one of our top Kids Favorite Smores Recipes.
- No campfire required! You can whip these up in the oven on a rainy day or get them ready for a backyard bonfire. You can even check out my recipe for that giant Smores Skillet Cookie if you want a shareable version, but these individual pies are much cleaner!
Ingredients for Perfect Smores Hand Pies
Getting the ingredients ready for these is half the fun—it’s like assembling tiny treasure chests! Because we are relying on the flavor of those three classic components—graham cracker, chocolate, and marshmallow—we need to make sure everything we use is top-notch. Don’t worry about fancy baking substitutes here; standard pantry staples work perfectly in this build. Remember, precision matters, especially when sealing up that gooey center!
Here’s exactly what you’ll need on your counter before you start cutting those beautiful rounds. This list should give you about 12 beautiful little pockets.
- 2 sheets refrigerated pie crusts – Store-bought is totally fine here! It keeps this an Easy Smores Hand Pies Recipe rather than a two-day project.
- 1/2 cup semi-sweet chocolate chips – Use semi-sweet; they balance the sweetness of the marshmallow so nicely.
- 1 cup mini marshmallows – You need the minis so they fit neatly and melt evenly inside the sealed pocket.
- 1 large egg, beaten (for egg wash) – This is what gives us that signature golden color and helps the crumbs stick!
- 1 tablespoon water – We mix this with the egg to thin it out slightly for an easy brushable consistency.
- 2 tablespoons graham cracker crumbs – This is the secret touch to really nail that authentic flavor on the outside!
Step-by-Step Guide to Making Smores Hand Pies
Alright, buckle up because this is where the magic happens! When you follow these steps for your Oven Baked Smores Pockets, you’ll realize it’s more assembly than actual complicated baking. Have your oven preheated to 400 degrees Fahrenheit before you even unroll that first sheet of dough. I always line two baking sheets with parchment paper right away because trust me, you don’t want anything sticking when hot marshmallow is involved! If you ever want a good reference for handling pastry, check out my classic sugar cookie bars recipe; the dough handling mentality is similar.
Preparing the Dough and Cutting Circles
Lightly flour your work surface. Gently unroll those cold pie crusts; they should be pretty pliable but still cool. Now, pull out your secret weapon: a round cookie cutter, ideally about 4 inches across. You want to press down firmly and cut out as many circles as you can from each sheet—I usually get 6 to 8 circles per sheet, giving us about 12 total little gems. Lay half of your cut circles onto the prepared baking sheets. These are your bottoms!
Assembling The Chocolate Marshmallow Pastry Pockets
This part is crucial for success, especially if you want to avoid molten marshmallow lava oozing onto your pan. For each bottom circle, drop about 1 teaspoon of those semi-sweet chocolate chips slightly off-center. Don’t cover the entire surface! Now, gently perch about 5 to 7 mini marshmallows right on top of the chocolate. Make sure you leave a clean, half-inch border around the entire edge—this is your sealing zone for these wonderful Chocolate Marshmallow Pastry Pockets.
Next, brush that clean border lightly with your egg wash—just a quick swoosh with a pastry brush. Take your remaining dough circles and carefully lay one on top of the filling. Use your fingers to firmly press the edges together all the way around. Once they are sealed with pressure, take a fork and firmly crimp the entire edge. This double-seal is non-negotiable for keeping that goo contained!
Baking and Finishing Your Smores Hand Pies
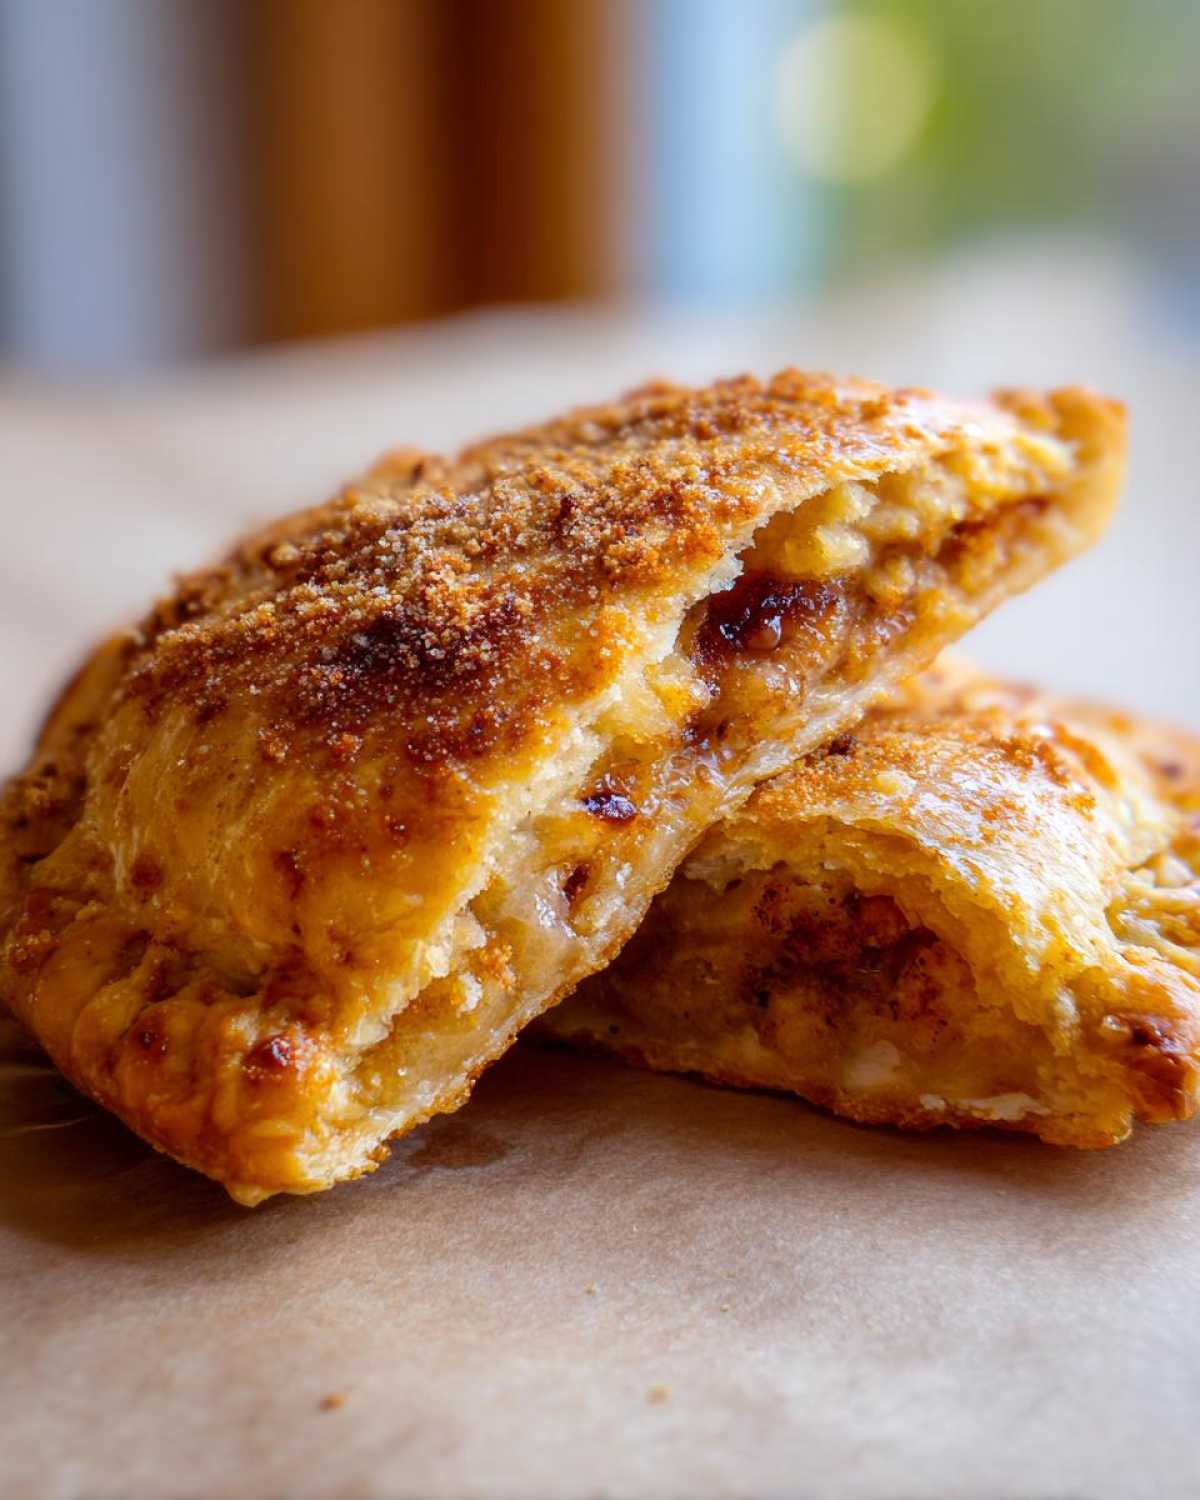
Before they even think about hitting the oven, you need to vent them! Cut two small slits right in the center top of each hand pie. This lets the steam escape, which keeps your pastry flaky instead of soggy. Now, brush the tops generously with the rest of the egg wash. This is your glue for the topping! Finish by sprinkling those graham cracker crumbs right over the top. Bake them for 15 to 18 minutes, or until they look deeply golden brown and puffy. Let them sit on the baking sheet for five minutes—I know, it’s hard!—before transferring them to a rack to cool off just slightly. You want them warm, not molten lava hot!
Expert Tips for The Best Smores Hand Pie Filling
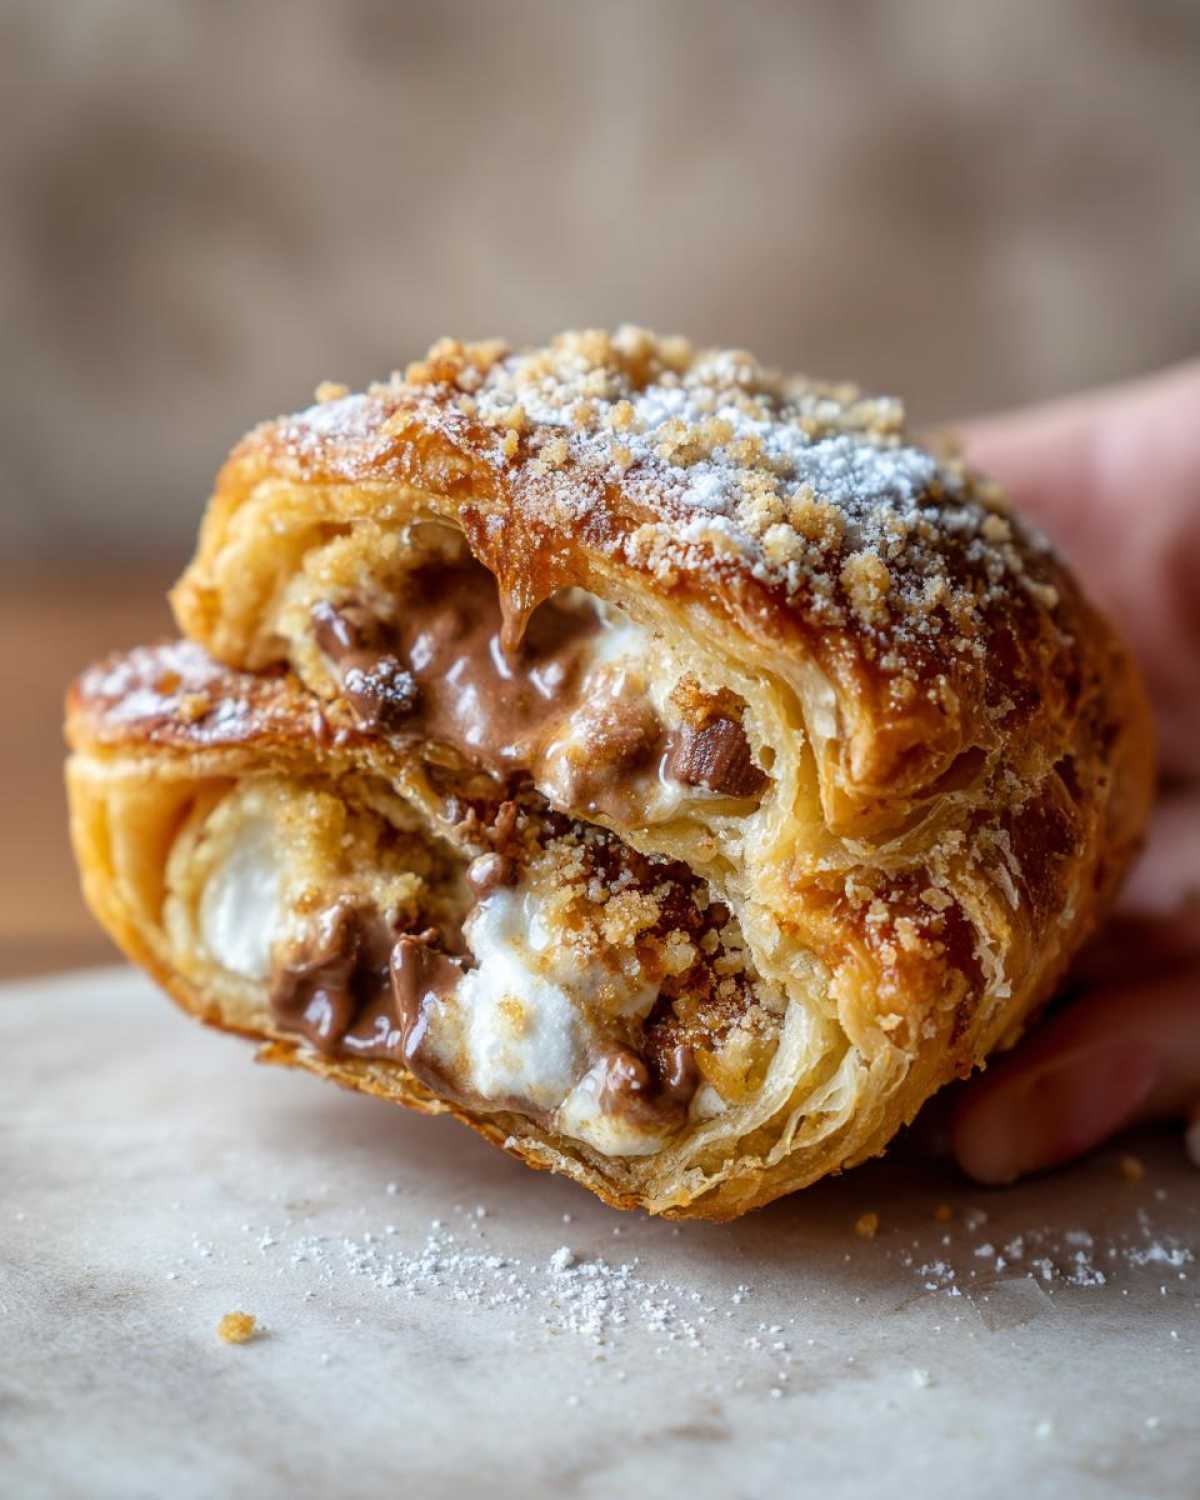
Okay, I have to be honest with you: dealing with hot marshmallow inside any pastry is always a little bit of a gamble. Sometimes, even with the tightest seal, you might get a little peeking, but I’ve learned a few tricks over the years to minimize the mess. My secret to making sure these Smores Hand Pies behave is a combination of placement and temperature control.
First, remember what I said during assembly: place the chocolate chips slightly off-center, closer to where the pie will eventually open up, and make sure there is plenty of clean dough around the edge for sealing. The recipe notes mentioned this, but it bears repeating: press those edges together like your life depends on it! Use your fingers first, then really commit with that fork crimp. You want a sturdy, uninterrupted seal.
Now here is my absolute must-do step that wasn’t in the original notes: chilling! Once you’ve assembled all of your chocolate marshmallow pastry pockets onto the baking sheet, pop that entire sheet into the freezer for about 10 minutes. Seriously, just 10 minutes. Why? That blast of cold helps the butter in the flaky pastry firm up and contract slightly before it hits the hot oven. This means the pastry sets faster, creating a better crust barrier, and the filling has less time to turn completely into liquid goo before the dough seals around it.
If you want even more incredible crunch—and since we are talking about making things crispy, you have to check out my recipe for ultimate crispy fried chicken wings—you should consider swapping your pie crust for puff pastry. Puff pastry is naturally richer in butter, which results in amazing lift, but it *needs* that chill time before baking to prevent it from melting straight down. Either way, chilling your assembled pies is your insurance policy against leakage!
Variations for Your Smores Hand Pies
While this classic flaky pastry version is just divine—it’s light, it’s buttery, and it lets that chocolate and marshmallow shine—I know some of you like to tinker just like I do! Having a few fun twists up your sleeve is great, especially if you’re trying to make these Portable Smores Dessert Ideas for a specific theme or craving. Here are three ways I love to switch things up that still keep that core s’mores flavor intact.
First up, let’s talk crust. If you’ve got a soft spot for that classic graham cracker flavor dominating the whole treat, you can totally shift gears. Instead of using the refrigerated pie crust sheets, try making up a batch of my favorite shortbread dough, and then mixing in about a third cup of fine graham cracker crumbs directly into the flour mixture. This gives you something closer to a sturdy shortbread pocket base than a flaky one, making them perfect for serving slightly warm if you prefer. These essentially become Graham Cracker Crust Hand Pies!
Next, let’s dive into the chocolate situation. Semi-sweet is my go-to because it cuts the sugar, but feel free to mix it up for different results. Try using half dark chocolate chunks and half white chocolate chips if you want a sweeter, creamier burst. Or, for a real wow factor (especially if you’re making these for grown-ups), swap a few of the chocolate chips for peanut butter chips. That peanut butter swirl against the sticky marshmallow? Incredible. It makes for a slightly messier but totally worth-it treat. If you are interested in other hand-held baking adventures, you should definitely see how I adapt my dough methods for my apple cinnamon rolls recipe; it often uses a slightly richer dough!
Lastly, you can change the topping flavor profile! We used graham cracker crumbs sprinkled on top, which is great, but you can easily add a spice element. Try mixing a tiny pinch of cinnamon and a tiny pinch of instant coffee powder into your graham cracker crumb mixture before sprinkling it on. That little hint of warmth and bitterness really deepens the flavor and pairs perfectly with the gooey center. It’s a subtle change, but trust me, it elevates these into something fancy!
Storage and Reheating Smores Hand Pies
One of the best things about these Smores Hand Pies being individual servings is that they are fantastic for making ahead! Seriously, being able to prepare a batch for a party or a big family picnic and just pull them out when needed saves so much stress. I treat these just like any other fruit-filled pastry when it comes to storage—the key is keeping that flaky pastry from getting soggy.
Once the hand pies have cooled completely—and I mean *completely* cool, or you’ll end up with condensation and mush—pack them into an airtight container. If you want to maximize freshness, you can place a paper towel on the bottom of the container before layering them in, though just stacking them gently usually works fine. They keep beautifully on the counter at room temperature for about two days. If you need them to last longer, pop them into the fridge, but remember that coldness can slightly stiffen the pastry.
The big question is always reheating! Please, for the love of all that is flaky and crispy, avoid the microwave! The microwave turns pastry into soft, sad little pillows, and nobody wants a soggy graham cracker topping. If your pies are room temperature, a quick 4 to 6 minutes in a 350°F oven brings the pastry right back to life, and it warms that chocolate just enough to get gooey again.
If you are using the air fryer, even better! The air fryer makes fast work of reheating and keeps that crust super crisp. Pop them in at about 325°F for just 3 minutes. They come out tasting like they were just pulled from the 400-degree oven! If you’re planning a big event, I have a bunch of tips over on my post about make ahead hand pies for parties that might inspire you for future bakes too!
Frequently Asked Questions About Smores Hand Pies
I get so many questions after people try making these! It makes sense; when you combine something classic like s’mores with a handheld format, you end up with new questions you didn’t even know you had. Here are some of the most common things folks ask about making these Smores Hand Pies successfully.
Can I make these Smores Hand Pies in an Air Fryer?
Yes, you absolutely can! In fact, if you’re looking for fast reheating or just want a slightly crispier crust without turning on the big oven, the air fryer is fantastic for these Air Fryer Smores Pockets. Preheat your air fryer to about 325°F. You don’t want it too hot, or the crust will brown before the marshmallow even gets warm. Lay the assembled, unbaked pies in a single layer in the basket—you’ll have to work in batches. Cook for about 8 to 10 minutes, checking them around the 7-minute mark until they are golden brown. Perfect snack!
What is the best way to serve these Portable Smores Dessert Ideas?
Warm is best, truly! That’s when the chocolate gets soft and the marshmallow gets gooey. If you just baked them, let them sit for a few minutes so you don’t burn your mouth, then enjoy them right away. They are wonderful served alongside a scoop of vanilla ice cream if you’re eating them at home. But honestly, the beauty of these being Portable Smores Dessert Ideas is that they hold up so well once cooled, making them fantastic for summer picnics or party platters where you don’t want to worry about melting toppings!
Can I substitute the refrigerated pie crust?
You sure can! While the refrigerated crust gives you that wonderful flaky structure that contrasts the gooey filling so nicely, you have options. If you want something richer, use a good quality store-bought puff pastry sheet instead. Just remember, puff pastry needs to be kept very cold right up until it hits the oven heat! If you’re making these for camping and want to avoid pastry altogether, you could try my recipe for easy chicken tortilla soup just for variety, but for the pie, pastry is the way to go for texture. If you’re really determined to make them ahead for a trip, check my other post on make ahead hand pies for parties for crust-handling guidance!
How do I make these for camping without an oven?
That’s a great question, as these are fantastic Camping Dessert Hand Pies! The best way is to assemble them completely at home, chill them thoroughly, and keep them chilled or frozen until you are ready. If you have access to a small camp oven or Dutch oven with a lid, you can bake them over coals or propane, but remember to check the temperature often—camp ovens fluctuate a lot! If propane isn’t an option, you can sometimes get away with baking them wrapped in heavy-duty foil over a medium-low grill surface, turning them frequently so the bottom doesn’t burn. Just watch that marshmallow closely!
Why do my marshmallows keep leaking out?
This is the number one complaint, but it’s fixable! It almost always comes down to two things: either you didn’t leave enough of a clean border when you added the filling, or you didn’t press the edges firmly enough. Remember to really work those edges together with your fingers—you need a good seal before you even bring the fork in to crimp it! Plus, chilling them before baking, like I mentioned in the expert tips, really helps seal those edges against the filling before it starts expanding!
Estimated Nutritional Data for Smores Hand Pies
I always feel a little bit nervous sharing this part because, let’s be honest, these are pure, buttery, chocolate-filled joy—they aren’t exactly health food! But since we want to know everything about what goes into our delicious Smores Hand Pies, here is the nutritional breakdown based on the recipe as written. I always try to be transparent, even when the numbers aren’t exactly diet-friendly!
Remember, because we are using pre-made crusts which can vary wildly in fat content, and everyone measures chocolate chips differently, these numbers are a general guideline only. Consider this a fun reference, not a strict serving requirement!
- Serving Size: 1 pie
- Calories: 280
- Sugar: 18g
- Fat: 15g
- Saturated Fat: 7g
- Carbohydrates: 33g
- Protein: 4g
- Cholesterol: 30mg
- Sodium: 190mg
A Little Note on Accuracy: Please take these figures with a grain of salt—or maybe, in our case, a sprinkle of graham cracker crumb! These estimates are calculated based on standard ingredient databases. If you swap the pie crust for a low-fat variety or use dark chocolate instead of semi-sweet, the final values will shift a bit. So consider this your baseline for these amazing, flaky, Chocolate Marshmallow Pastry Pockets!
Share Your Smores Hand Pies Creations
Honestly, seeing your baking triumphs is the absolute best part of sharing these recipes. When you make something as fun and nostalgic as these Smores Hand Pies, I need to know how they turned out for you! Did you manage to keep the marshmallow completely sealed inside, or did you get a beautiful little ooze peeking out? Either way, I bet they tasted amazing.
I’m always looking to see how you customize things, too. Did you try adding peanut butter chips, or maybe you went with a different kind of crust? If you made any changes that made this an even bigger hit with your little bakers, please jump down to the comments below and tell me all about it! Sharing those small wins makes recipe development so much more fun.
If you snapped a picture of your finished batch—especially those perfectly golden, crimped edges—I would totally love it if you shared it on social media! Tag me so I can share the love. It means the world to me when you tag me in your versions of what have become one of our family’s long-standing Kids Favorite Smores Recipes. Ready for the next adventure? You can always pop back over to my full recipe index right here to find your next favorite bake!
PrintSmores Hand Pies

Make portable, handheld pies filled with chocolate and marshmallow using a flaky pastry crust.
- Prep Time: 20 min
- Cook Time: 18 min
- Total Time: 38 min
- Yield: 12 servings
- Category: Dessert
- Method: Baking
- Cuisine: American
- Diet: Vegetarian
Ingredients
- 2 sheets refrigerated pie crusts
- 1/2 cup semi-sweet chocolate chips
- 1 cup mini marshmallows
- 1 large egg, beaten (for egg wash)
- 1 tablespoon water
- 2 tablespoons graham cracker crumbs
Instructions
- Preheat your oven to 400 degrees Fahrenheit. Line two baking sheets with parchment paper.
- Unroll the pie crusts onto a lightly floured surface. Use a round cutter, about 4 inches in diameter, to cut out circles from the dough. You should get about 6 to 8 circles per sheet.
- Place half of the dough circles on the prepared baking sheets.
- For each circle, place 1 teaspoon of chocolate chips slightly off-center. Top the chocolate with about 5 to 7 mini marshmallows. Leave a 1/2 inch border around the edge clear of filling.
- Brush the edges of the dough circles lightly with the egg wash (whisk the egg with 1 tablespoon of water).
- Place a second dough circle on top of the filling. Press the edges firmly together with your fingers to seal. Crimp the edges with a fork to secure the seal.
- Cut two small slits in the top of each pie to allow steam to escape during baking.
- Brush the tops of the hand pies lightly with the remaining egg wash. Sprinkle the tops with graham cracker crumbs.
- Bake for 15 to 18 minutes, or until the pastry is golden brown and puffed.
- Let the hand pies cool on the baking sheet for 5 minutes before moving them to a wire rack to cool slightly before serving.
Notes
- To help prevent the marshmallow from completely melting out, place the filling slightly toward the center and ensure you press the edges of the dough together very tightly.
- You can substitute the refrigerated pie crust with your favorite homemade flaky pastry dough.
- These hand pies are best eaten warm, but you can make them ahead and reheat them briefly in an oven or air fryer.
Nutrition
- Serving Size: 1 pie
- Calories: 280
- Sugar: 18
- Sodium: 190
- Fat: 15
- Saturated Fat: 7
- Unsaturated Fat: 8
- Trans Fat: 0
- Carbohydrates: 33
- Fiber: 1
- Protein: 4
- Cholesterol: 30
