

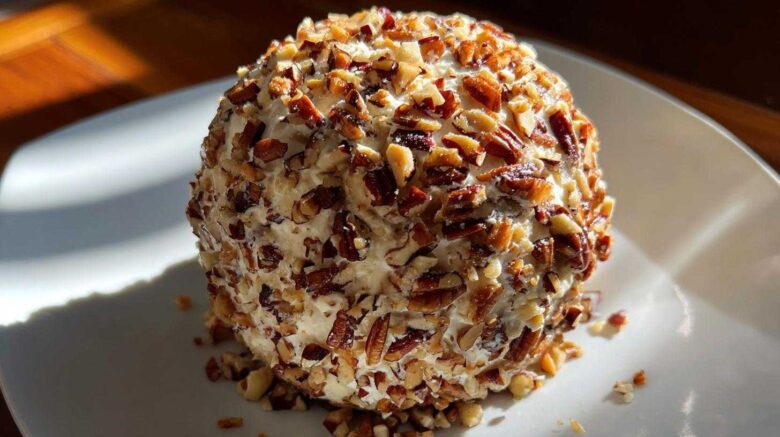
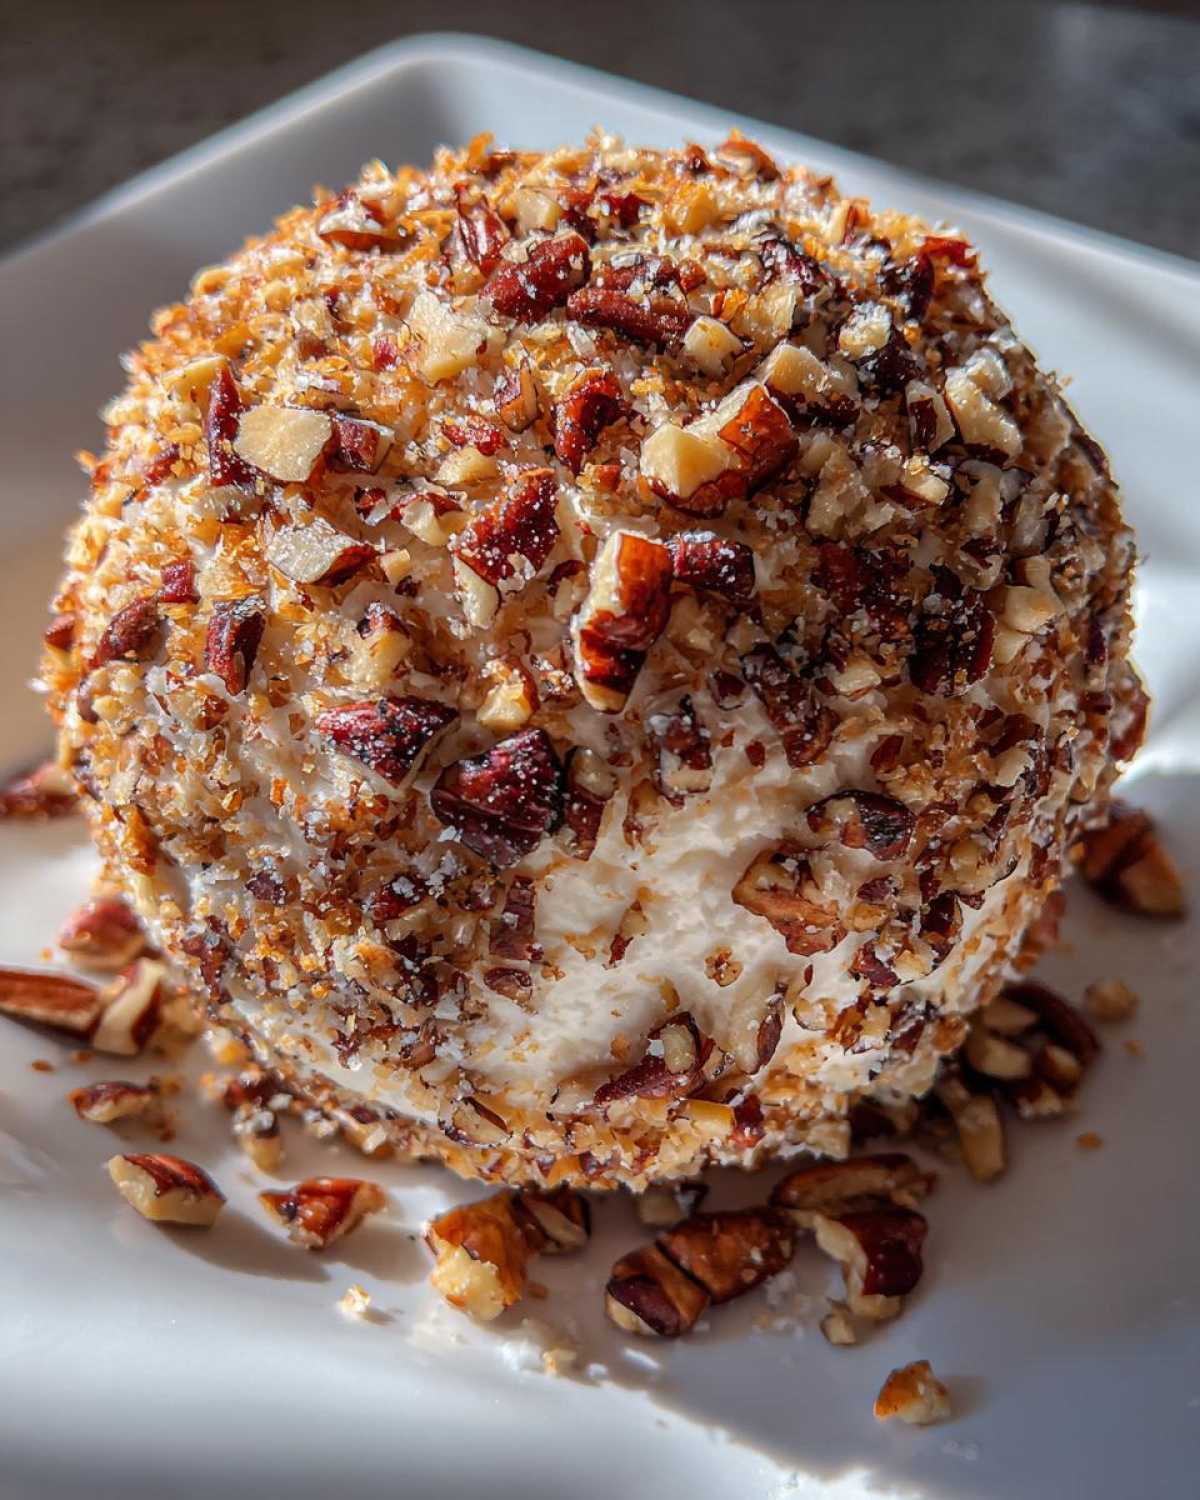
When the holiday season rolls around, my kitchen transforms into a festive wonderland. And when it comes to party appetizers, nothing quite beats a showstopper that’s also a breeze to whip up. That’s where our Snowball Cheese Ball comes in! Sasha, our resident flavor wizard, truly outdid herself with this creation. It’s got that perfect balance of creamy, cheesy goodness with a delightful nutty crunch. Plus, it looks absolutely adorable on any holiday spread, like a little edible winter dream. It’s the kind of appetizer that makes everyone go “Wow!” before they even take a bite.
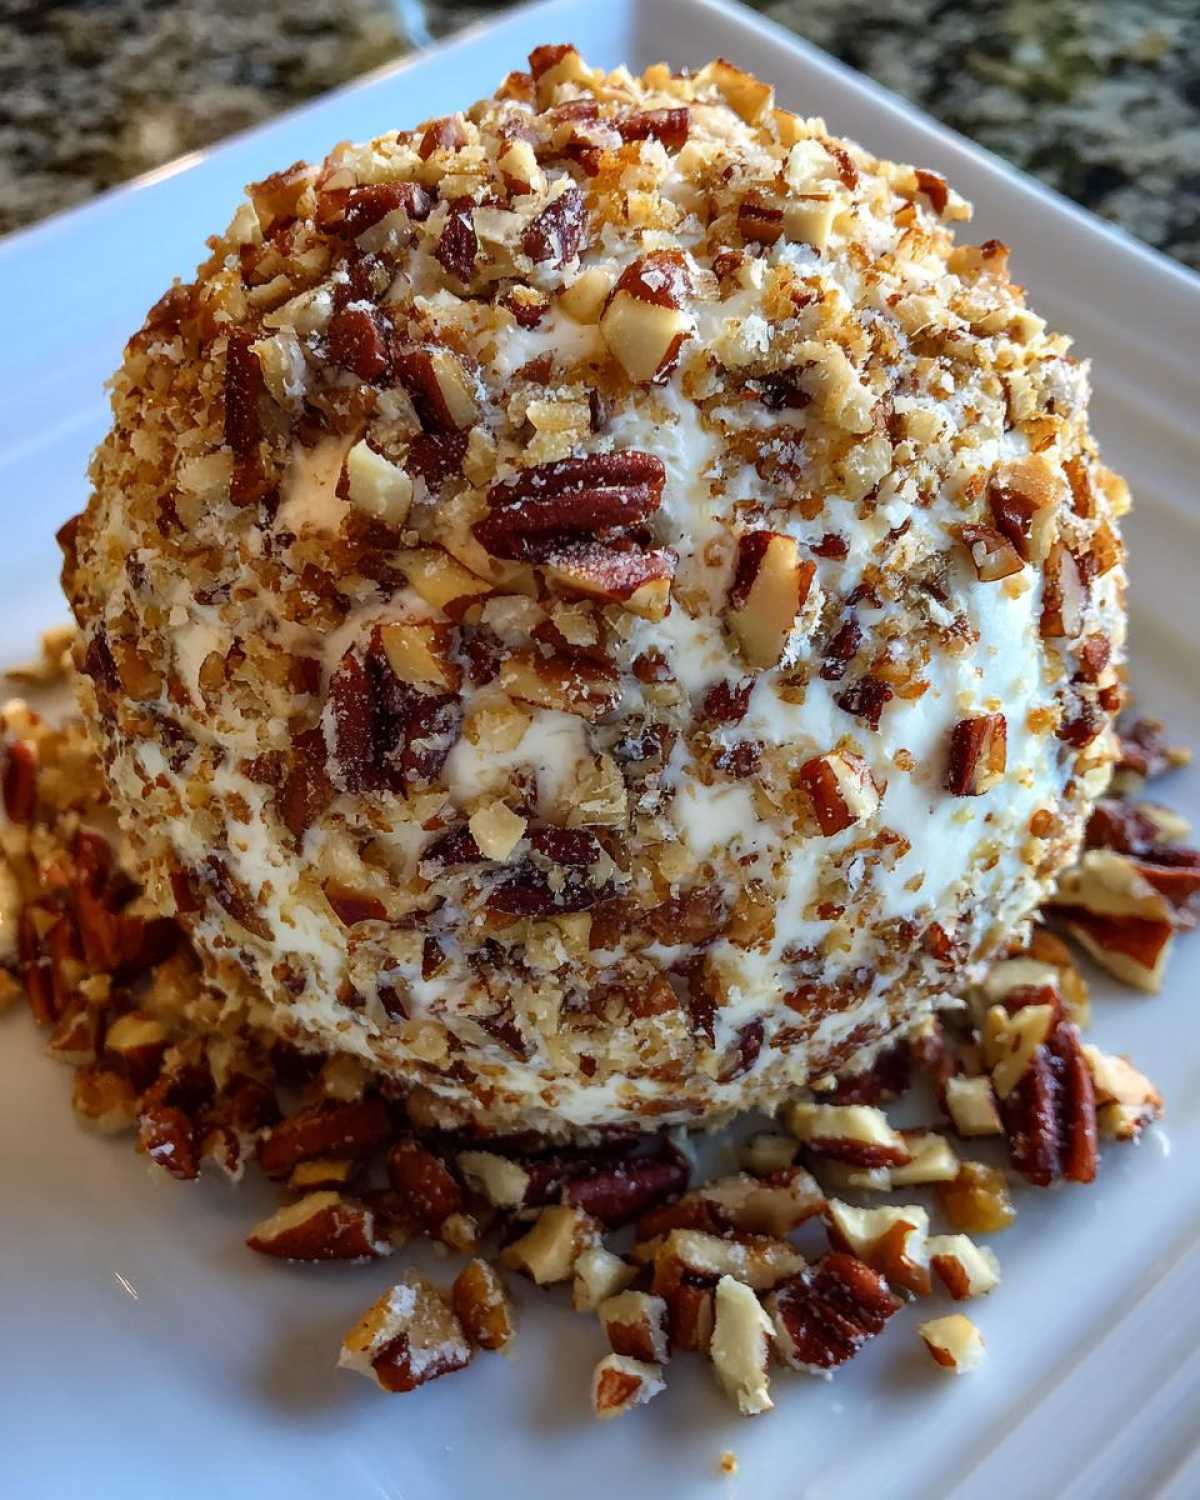
Why You’ll Love This Snowball Cheese Ball
- It’s incredibly simple to make.
- The flavor is a guaranteed crowd-pleaser.
- Its festive, snowball look is perfect for holidays.
- It works wonderfully for parties or a cozy night in.
- You can prep it ahead of time.
Expert Tips for the Best Snowball Cheese Ball
Sasha always says the secret to a great cheese ball is starting with the right ingredients. Make sure your cream cheese is truly softened; it makes mixing so much easier and gives you a smoother texture. Don’t rush the chilling process! That hour in the fridge isn’t just for letting flavors mingle. It firms up the mixture so you can shape it easily without it getting too sticky. When you’re coating it with pecans, press them on gently but firmly. This helps ensure every bite has that lovely nutty coating. If you want it super neat, use a spoon to help pack the nuts around the bottom.
Gathering Your Ingredients for the Snowball Cheese Ball
To create this delightful Snowball Cheese Ball, you’ll need a few simple things. Having everything ready makes the process smooth. Think of it like gathering your art supplies before painting a masterpiece. It ensures you can focus on the fun part – mixing and shaping!
Cream Cheese Base
We start with 8 ounces of cream cheese. It’s super important that it’s softened. This means taking it out of the fridge about an hour before you plan to mix. Softened cream cheese blends beautifully, giving us that luxuriously smooth base that makes our cheese ball so creamy and easy to handle. No one wants lumpy cheese ball, right?
Flavorful Additions
Next, we add 4 ounces each of sharp cheddar and Gruyère cheese, both shredded. These give our Snowball Cheese Ball its depth of flavor. Then comes 1/4 cup of finely chopped pecans mixed right in for a little surprise crunch. Fresh chives add a lovely oniony bite. A splash of Worcestershire sauce, garlic powder, and black pepper tie it all together. This blend is Sasha’s secret for a truly irresistible cheese ball.
The Pecan Coating
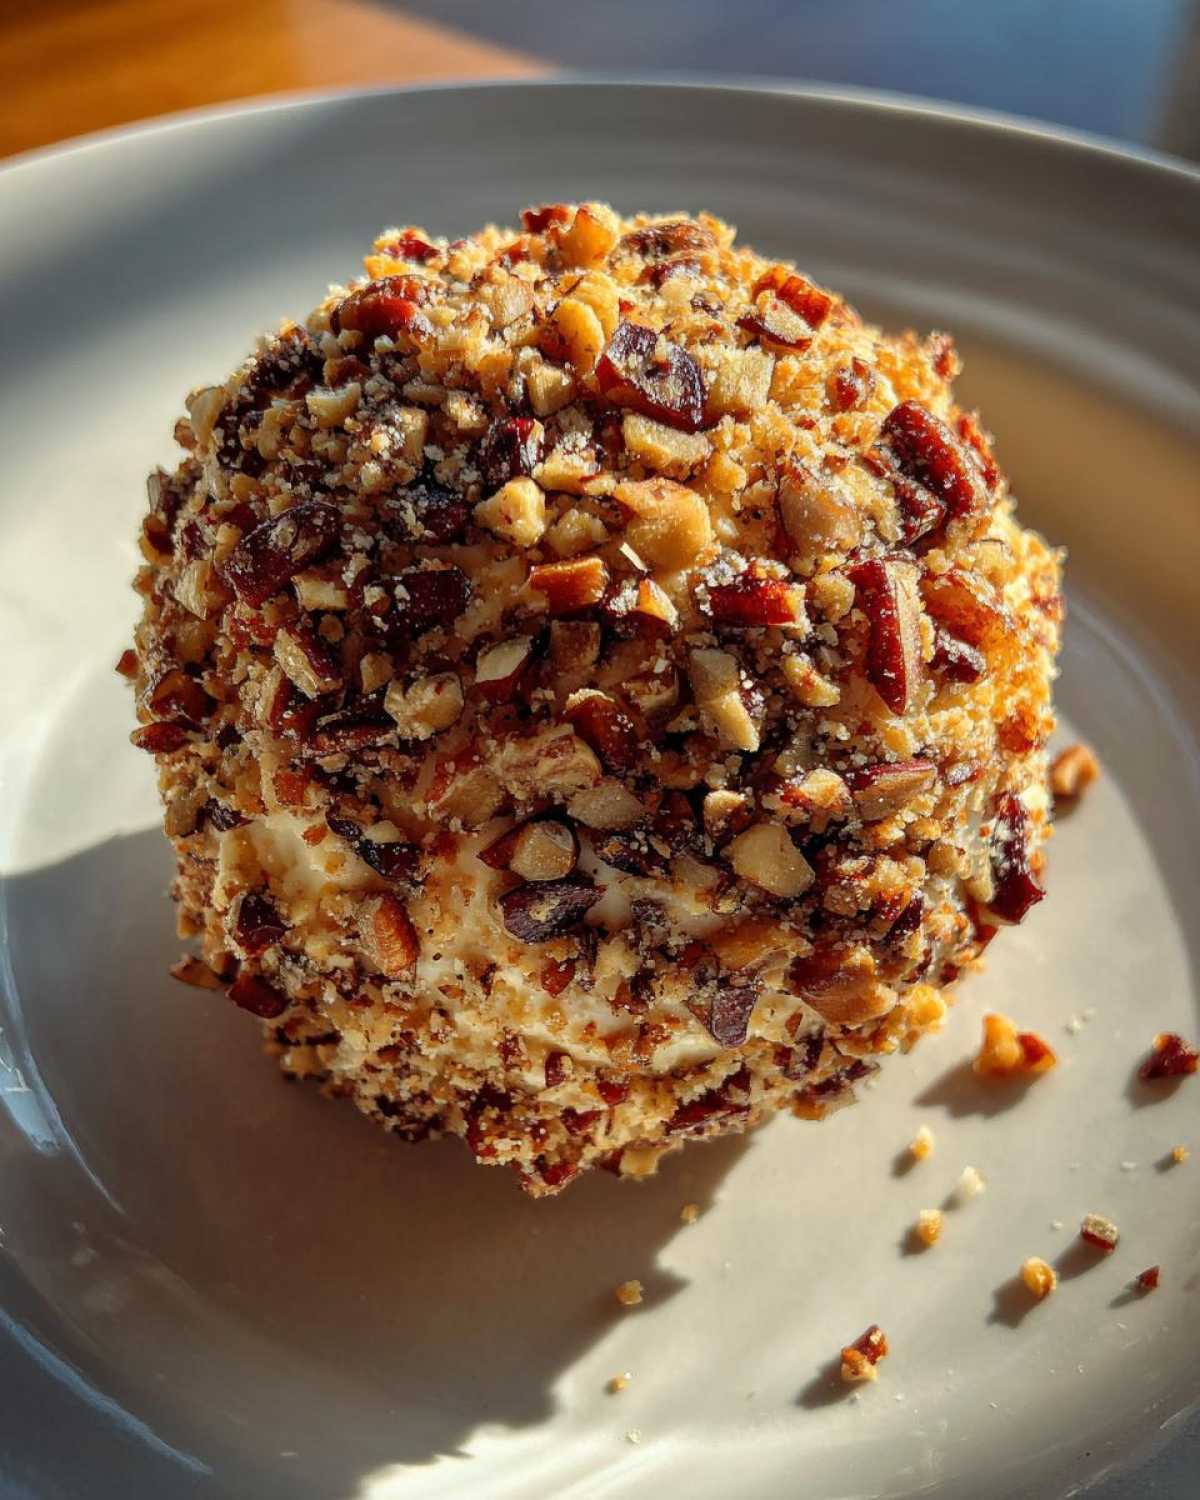
For that perfect “snowball” look, we need 1 cup of finely chopped pecans. Spreading these out on a plate makes rolling the cheese ball easy. The pecans give our appetizer a wonderful nutty flavor and a rustic, festive appearance. If you’re not a pecan fan, walnuts or even almonds work beautifully too!
Simple Steps to Create Your Snowball Cheese Ball
Now for the fun part! Making this Snowball Cheese Ball is a straightforward process. You’ll be amazed at how quickly it comes together. Just follow these easy steps, and you’ll have a stunning appetizer ready in no time. It’s truly a no-fuss recipe, perfect for when you’re busy hosting.
Mixing the Cheese Base
First, grab a medium-sized bowl. Into it, add your softened cream cheese. Then, toss in the shredded cheddar and Gruyère cheeses. Add the 1/4 cup of chopped pecans, fresh chives, Worcestershire sauce, garlic powder, and black pepper. I like to use a sturdy spoon or a spatula to really get in there and combine everything. Mix until it’s all beautifully incorporated. You want a uniform color and texture. If your cream cheese is properly softened, this mix will be quite smooth.
Chilling for Flavor and Firmness
Once everything is mixed, cover the bowl tightly. Pop it into the refrigerator for at least an hour. This chilling step is crucial! It allows all those wonderful flavors to meld together, creating a more complex taste. More importantly, it firms up the cheese mixture. This makes it much easier to shape into a perfect ball later on, preventing a sticky mess.
Shaping and Coating Your Snowball Cheese Ball
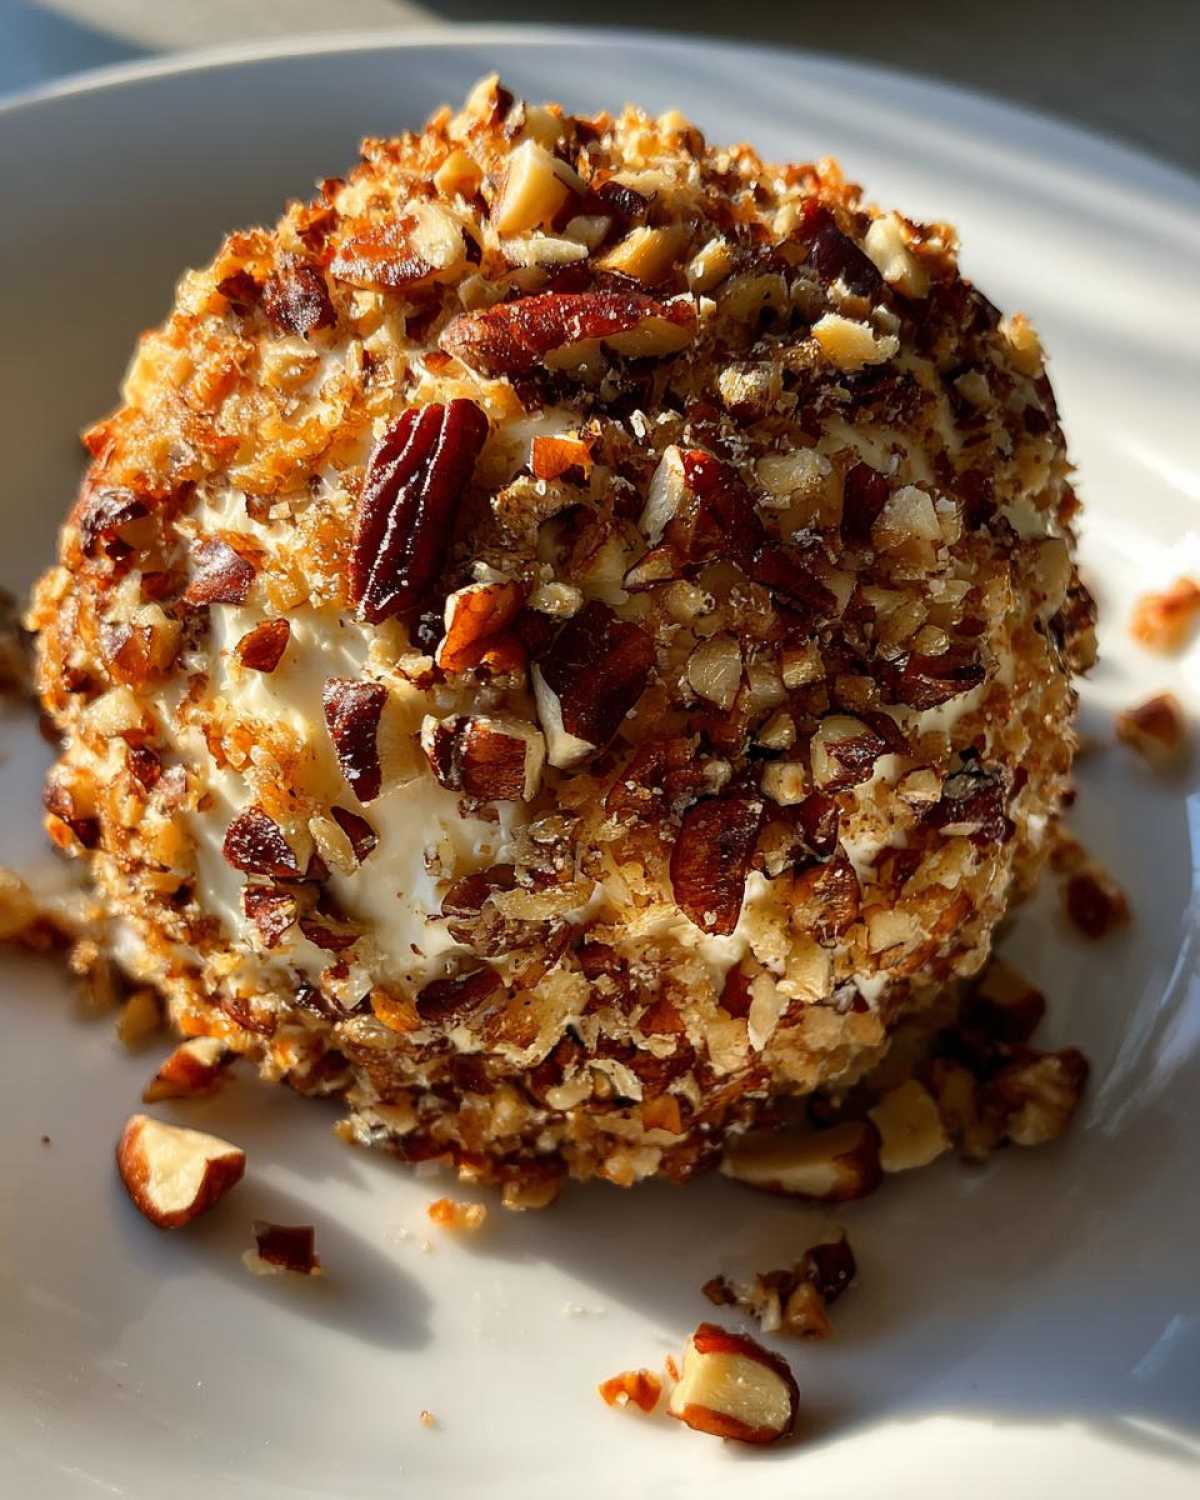
While your cheese mixture chills, spread the 1 cup of chopped pecans onto a flat plate or into a shallow dish. This is your snowball’s outer layer. When the cheese mixture is firm enough to handle, scoop it out. Gently shape it into a ball using your hands. Don’t worry if it’s not perfectly round; a little rustic charm is lovely. Now, carefully roll the cheese ball in the chopped pecans. Press the nuts onto the surface gently but firmly to ensure they stick all around. You want a nice, even coating for that signature snowball look. Transfer your beautiful creation to a serving platter and keep it chilled until you’re ready to wow your guests!
Serving and Storing Your Festive Snowball Cheese Ball
Once your Snowball Cheese Ball is perfectly coated and chilled, it’s ready to be the star of your appetizer spread! I love serving it with a mix of crunchy crackers, toasted baguette slices, and fresh veggie sticks like carrot and celery. It’s a wonderful way to offer variety. If, by some miracle, you have any leftovers, don’t worry! Just cover the cheese ball tightly with plastic wrap or place it in an airtight container. It will keep well in the refrigerator for up to 3-4 days. Just bring it to room temperature for about 15-20 minutes before serving again for the best texture and flavor.
Frequently Asked Questions About Snowball Cheese Ball
I get asked a lot of questions about this Snowball Cheese Ball, especially around the holidays! It’s such a popular party food, and people want to make sure it turns out perfectly. Here are some common queries I get:
Can I make the Snowball Cheese Ball ahead of time?
Absolutely! This is one of my favorite things about this easy cheese ball. You can prepare it up to two days in advance. Just shape and coat it, then cover it well and keep it in the refrigerator. It actually tastes even better when the flavors have had more time to meld. Just remember to let it sit out for about 15-20 minutes before serving so it’s not too cold and hard.
What are good dippers for this Snowball Cheese Ball?
Oh, the dippers are half the fun! For this festive appetizer, I love a mix of textures. Crunchy crackers, like water crackers or seeded varieties, are fantastic. Toasted baguette slices offer a nice crispness. For a healthier touch, fresh veggie sticks like crisp bell peppers, cucumber slices, celery sticks, or carrot sticks really complement the rich cheese. Even pretzel sticks work wonderfully!
Can I substitute the nuts for the coating?
Yes, you can definitely switch up the nuts! If pecans aren’t your favorite, or if you have allergies, try using finely chopped walnuts or almonds for the coating. They’ll give a similar nutty crunch and look great. You could even try a mix of nuts! Just make sure they are finely chopped so they adhere well to the cheese ball and create that lovely snowball effect. Some people even use toasted sesame seeds for a different flavor profile.
Nutritional Estimate for Your Snowball Cheese Ball
Here’s a general estimate for the nutrition of our delicious Snowball Cheese Ball. Keep in mind these numbers can vary based on the specific brands of ingredients you use. This estimate is based on a serving size of about 2 tablespoons.
- Calories: 150
- Fat: 13g
- Carbohydrates: 3g
- Protein: 5g
This is just a guideline, of course. The real magic is in the enjoyment!
PrintAmazing Snowball Cheese Ball Recipe Perfection

This snowball cheese ball is a festive and flavorful centerpiece perfect for holiday parties. It’s easy to make and sure to impress your guests.
- Prep Time: 15 minutes
- Cook Time: 0 minutes
- Total Time: 1 hour 15 minutes
- Yield: 1 cheese ball
- Category: Appetizer
- Method: No-bake
- Cuisine: American
- Diet: Vegetarian
Ingredients
- 8 ounces cream cheese, softened
- 4 ounces sharp cheddar cheese, shredded
- 4 ounces Gruyère cheese, shredded
- 1/4 cup finely chopped pecans
- 2 tablespoons finely chopped fresh chives
- 1 tablespoon Worcestershire sauce
- 1/2 teaspoon garlic powder
- 1/4 teaspoon black pepper
- 1 cup finely chopped pecans, for coating
Instructions
- In a medium bowl, combine the softened cream cheese, shredded cheddar cheese, shredded Gruyère cheese, 1/4 cup chopped pecans, chives, Worcestershire sauce, garlic powder, and black pepper.
- Mix until well combined.
- Cover the bowl and refrigerate for at least 1 hour to allow the flavors to meld and the mixture to firm up.
- Spread the 1 cup of chopped pecans on a flat plate or shallow dish.
- Once chilled, shape the cheese mixture into a ball using your hands.
- Roll the cheese ball in the chopped pecans, pressing gently to coat evenly.
- Transfer the coated cheese ball to a serving platter.
- Cover and refrigerate until ready to serve.
Notes
- For a smoother texture, you can use a food processor to combine the cheeses and other ingredients.
- If you prefer a spicier kick, add a pinch of cayenne pepper to the cheese mixture.
- You can substitute other nuts like walnuts or almonds for the pecans.
- Serve with your favorite crackers, baguette slices, or vegetable sticks.
Nutrition
- Serving Size: 2 tablespoons
- Calories: 150
- Sugar: 1g
- Sodium: 180mg
- Fat: 13g
- Saturated Fat: 7g
- Unsaturated Fat: 6g
- Trans Fat: 0.5g
- Carbohydrates: 3g
- Fiber: 1g
- Protein: 5g
- Cholesterol: 30mg
