


The twinkling lights are up, carols are playing, and my kitchen is filled with that irresistible scent of warm sugar and butter. There’s just something magical about holiday baking, isn’t there? For me, it’s all about creating little edible treasures that bring smiles, and that’s exactly what these beautiful snowflake sugar cookies do. Anya, my dear friend and fellow Savor Sensations creator, has perfected this recipe. It’s an absolute dream for anyone wanting to whip up some festive treats perfect for gifting or decking out your holiday dessert trays. Get ready to make some truly special snowflake sugar cookies!
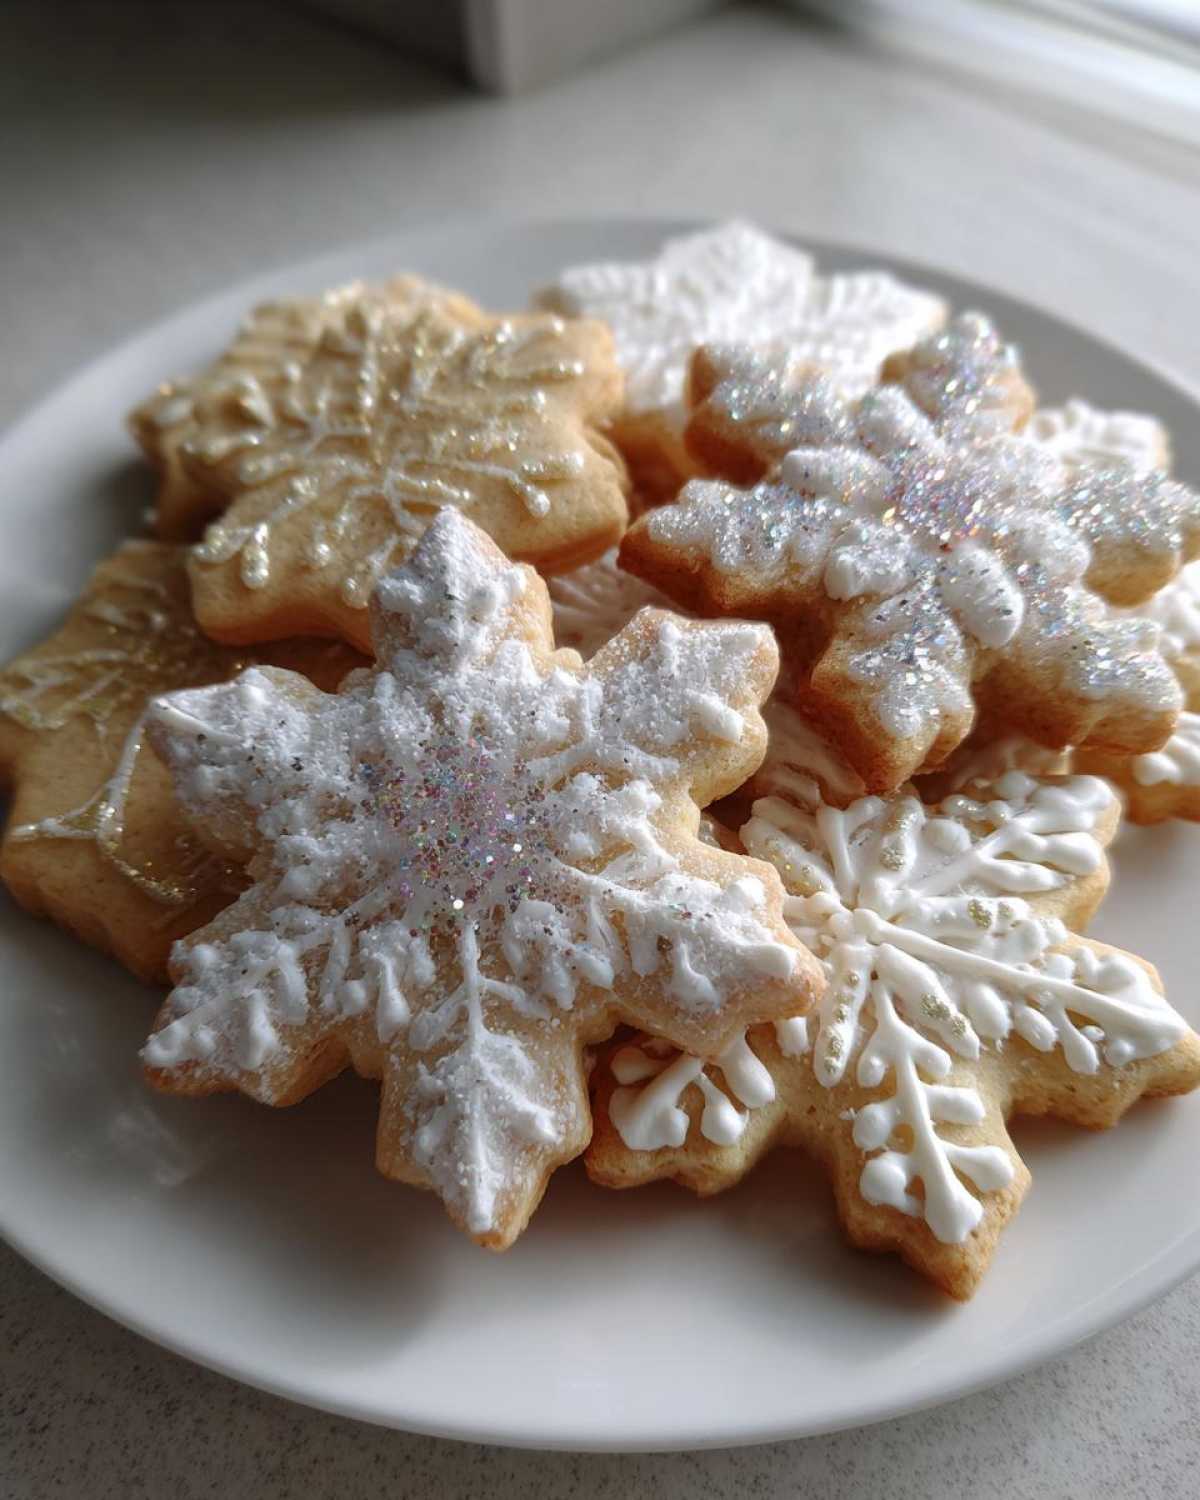
Why You’ll Love These Snowflake Sugar Cookies
I just know you’re going to adore making these cookies. They really do have it all!
- They’re absolutely perfect for holiday gifting and decorating.
- You’ll love their deliciously soft and sweet taste.
- The dough is easy to handle, even for those intricate snowflake designs.
- They’re a guaranteed crowd-pleaser for any festive occasion.
Anya’s Expert Snowflake Sugar Cookies: Ingredients
Gathering your ingredients is the first step to cookie success! Anya always says that using good quality ingredients makes a world of difference. For these delightful snowflake sugar cookies, you’ll need a few kitchen staples.
Make sure your butter is nicely softened; it really helps when creaming it with the sugar. We’re using one cup of unsalted butter and one cup of granulated sugar. Then, we’ll add one large egg and a teaspoon of pure vanilla extract for that classic sweet flavor.
For the dry ingredients, grab your all-purpose flour, about two and a half cups. We’ll also need one teaspoon of baking powder to give them just a little lift and half a teaspoon of salt to balance the sweetness. And, of course, for that extra festive sparkle, have some sprinkles ready if you fancy decorating them to the nines!
Crafting Beautiful Snowflake Sugar Cookies: Equipment
To bring these lovely snowflake sugar cookies to life, having the right tools makes all the difference. Don’t worry, it’s nothing too fancy!
- Mixing bowls
- An electric mixer (handheld or stand works great)
- A whisk for dry ingredients
- Measuring cups and spoons
- Plastic wrap for chilling dough
- A rolling pin
- Cookie cutters, especially snowflake shapes!
- Baking sheets
- Parchment paper
- A wire cooling rack
Step-by-Step Guide to Perfect Snowflake Sugar Cookies
Now for the fun part! Let’s get these beautiful snowflake sugar cookies into the oven. Anya’s method is so straightforward, making the whole process a joy.
-
First, let’s cream the butter and sugar. In a large bowl, beat together the softened unsalted butter and granulated sugar until the mixture is light and fluffy. This usually takes a few minutes with an electric mixer. It’s important that the butter is truly softened, not melted, for the best results, just like Anya always reminds us.
-
Next, we’ll add the wet ingredients. Beat in the large egg until it’s well combined. Then, stir in the vanilla extract. The scent alone is heavenly!
-
In a separate medium bowl, whisk together the all-purpose flour, baking powder, and salt. Getting these dry ingredients nicely combined ensures everything is evenly distributed.
-
Now, let’s bring it all together. Gradually add the dry ingredients to the wet ingredients. Mix on low speed until everything is just combined. Be careful not to overmix the dough once the flour is added; this keeps our cookies tender.
-
This step is crucial! Divide the dough in half. Flatten each half into a disk. Wrap them tightly in plastic wrap. Pop them into the refrigerator to chill for at least 30 minutes. Chilling the dough is key for easy handling and to prevent your beautiful snowflakes from spreading too much while baking.
-
While the dough chills, preheat your oven to 350°F (175°C). Line your baking sheets with parchment paper. This makes cleanup a breeze and helps prevent sticking.
-
Once the dough is chilled, it’s time to roll and cut. Lightly flour your work surface. Roll out one disk of dough to about 1/4-inch thickness. Use your favorite snowflake cookie cutters to cut out your shapes. Carefully transfer the cut cookies to the prepared baking sheets.
-
Bake the cookies for about 8 to 10 minutes. You’re looking for the edges to be just lightly golden. Baking time can vary a bit depending on your oven and how thick you rolled the dough, so keep an eye on them!
-
Finally, let the cookies cool. Let them sit on the baking sheets for a few minutes to firm up slightly. Then, carefully transfer them to a wire rack to cool completely. This is super important before you even think about decorating them!
Decorating Your Snowflake Sugar Cookies
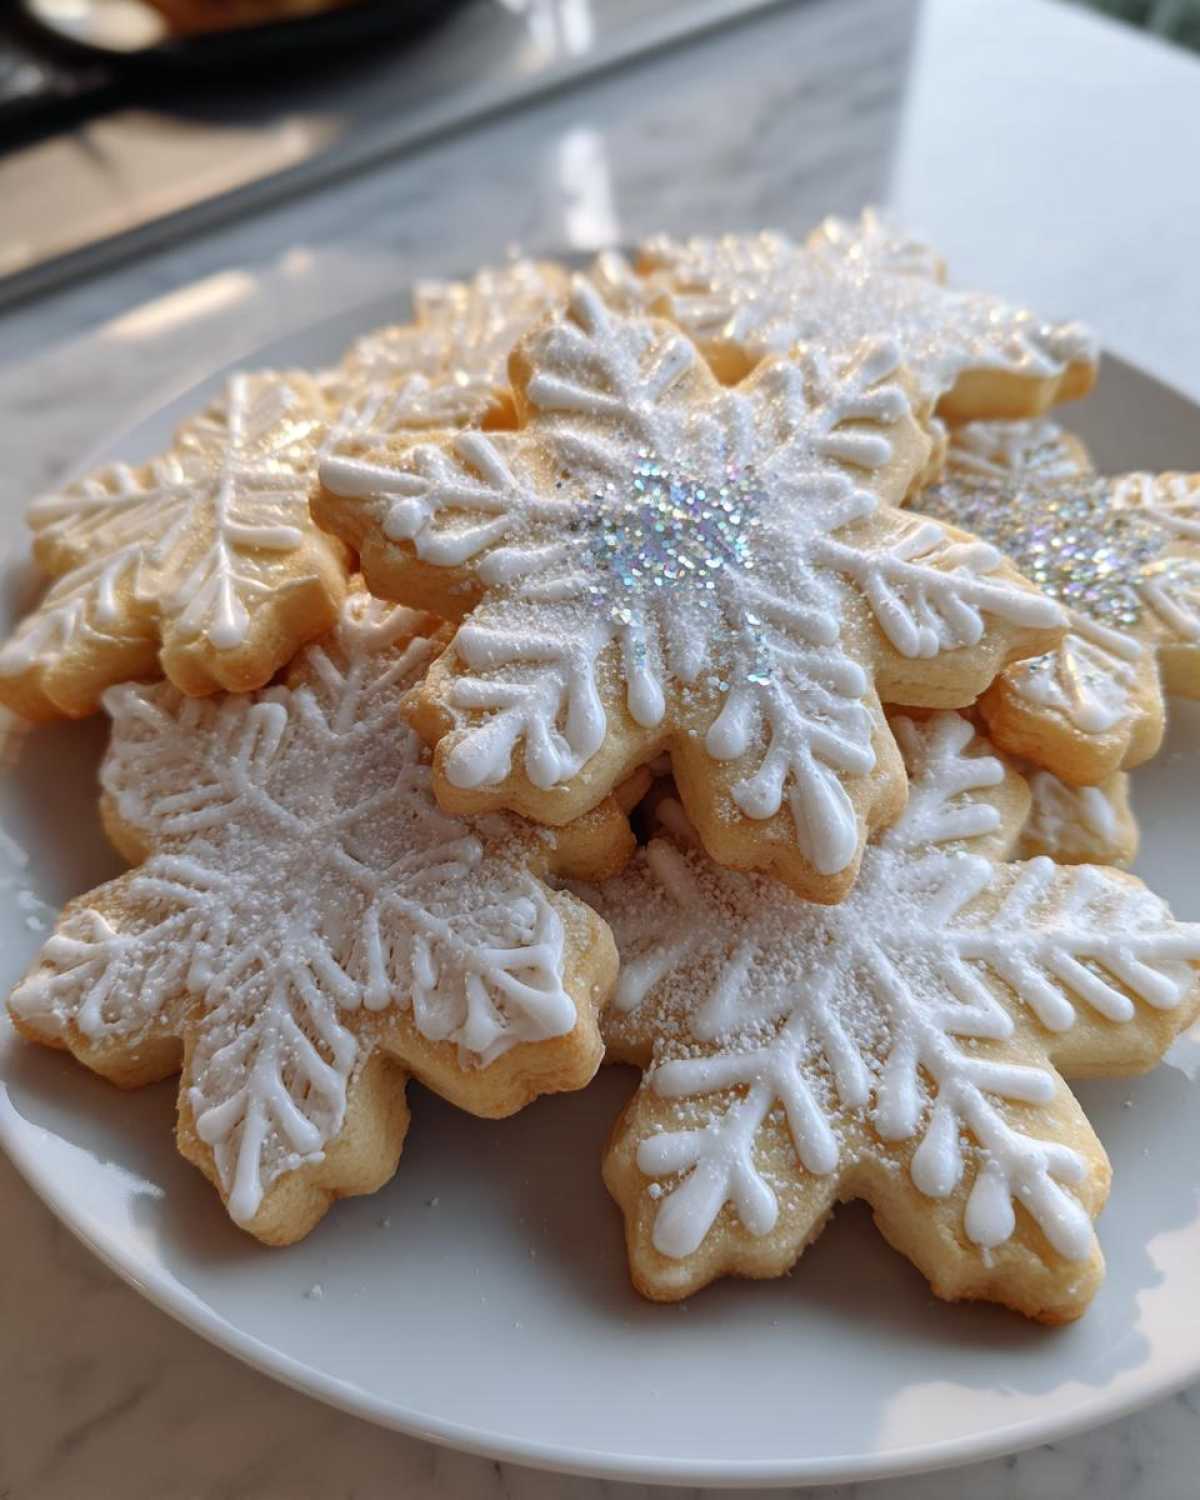
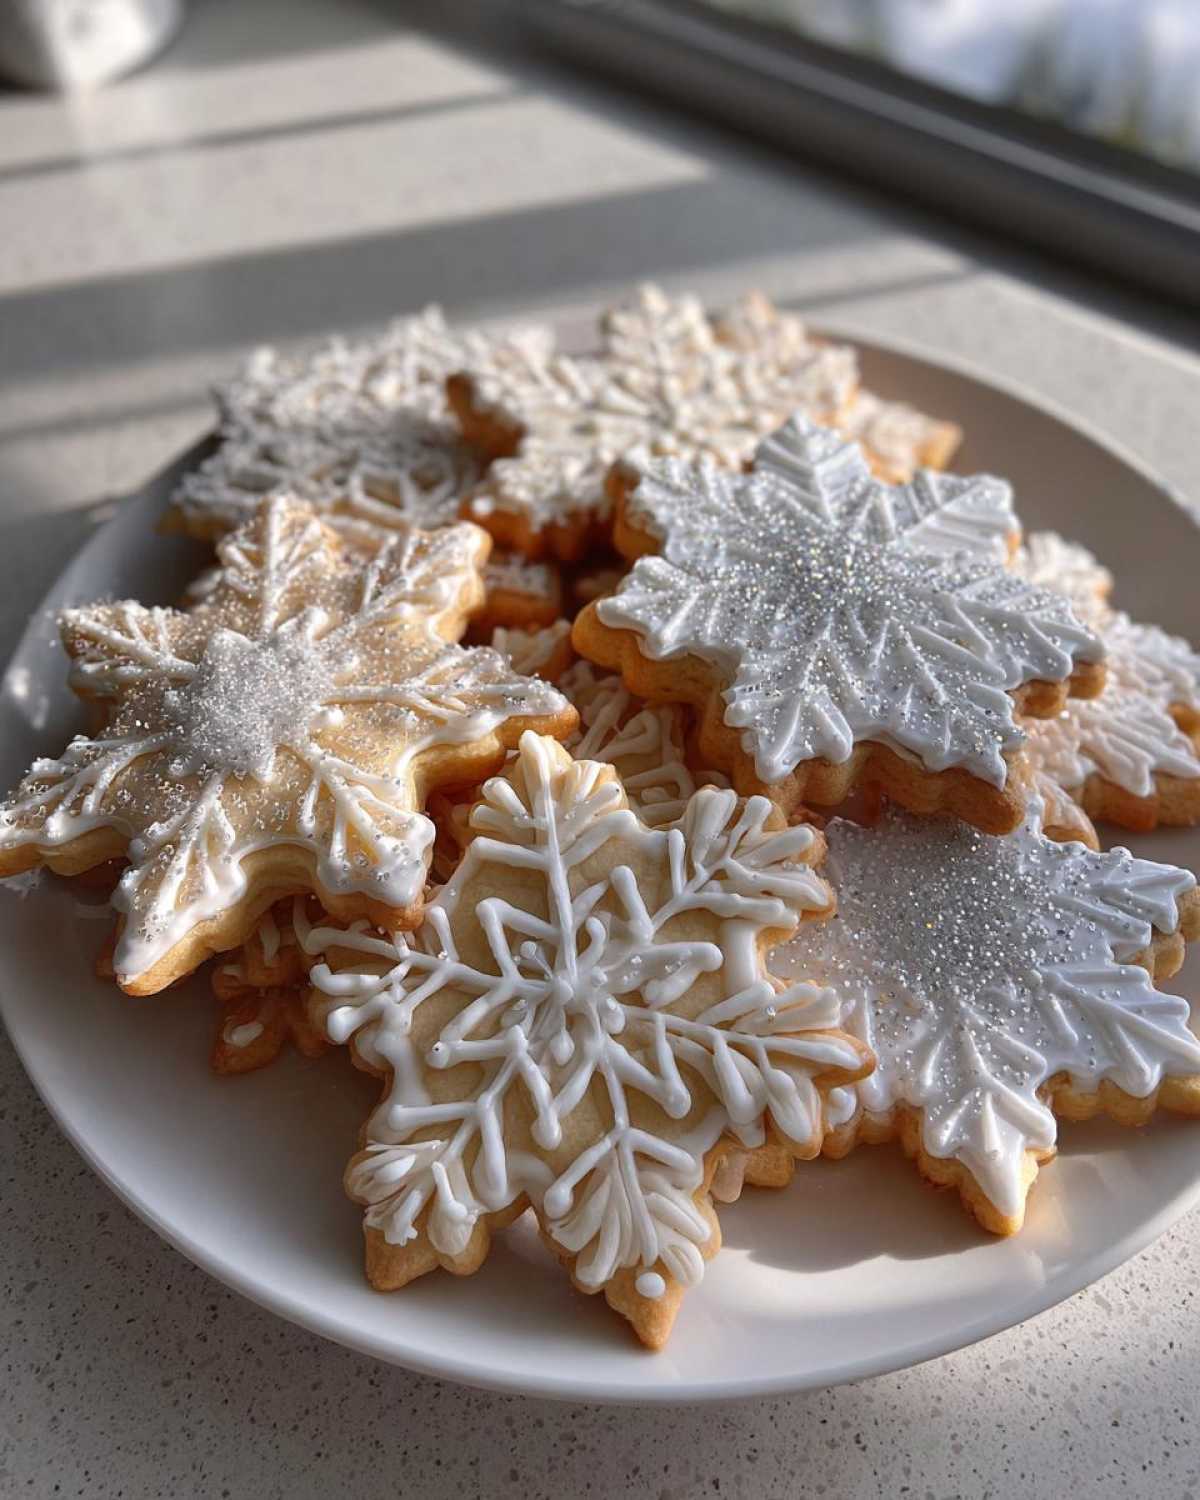
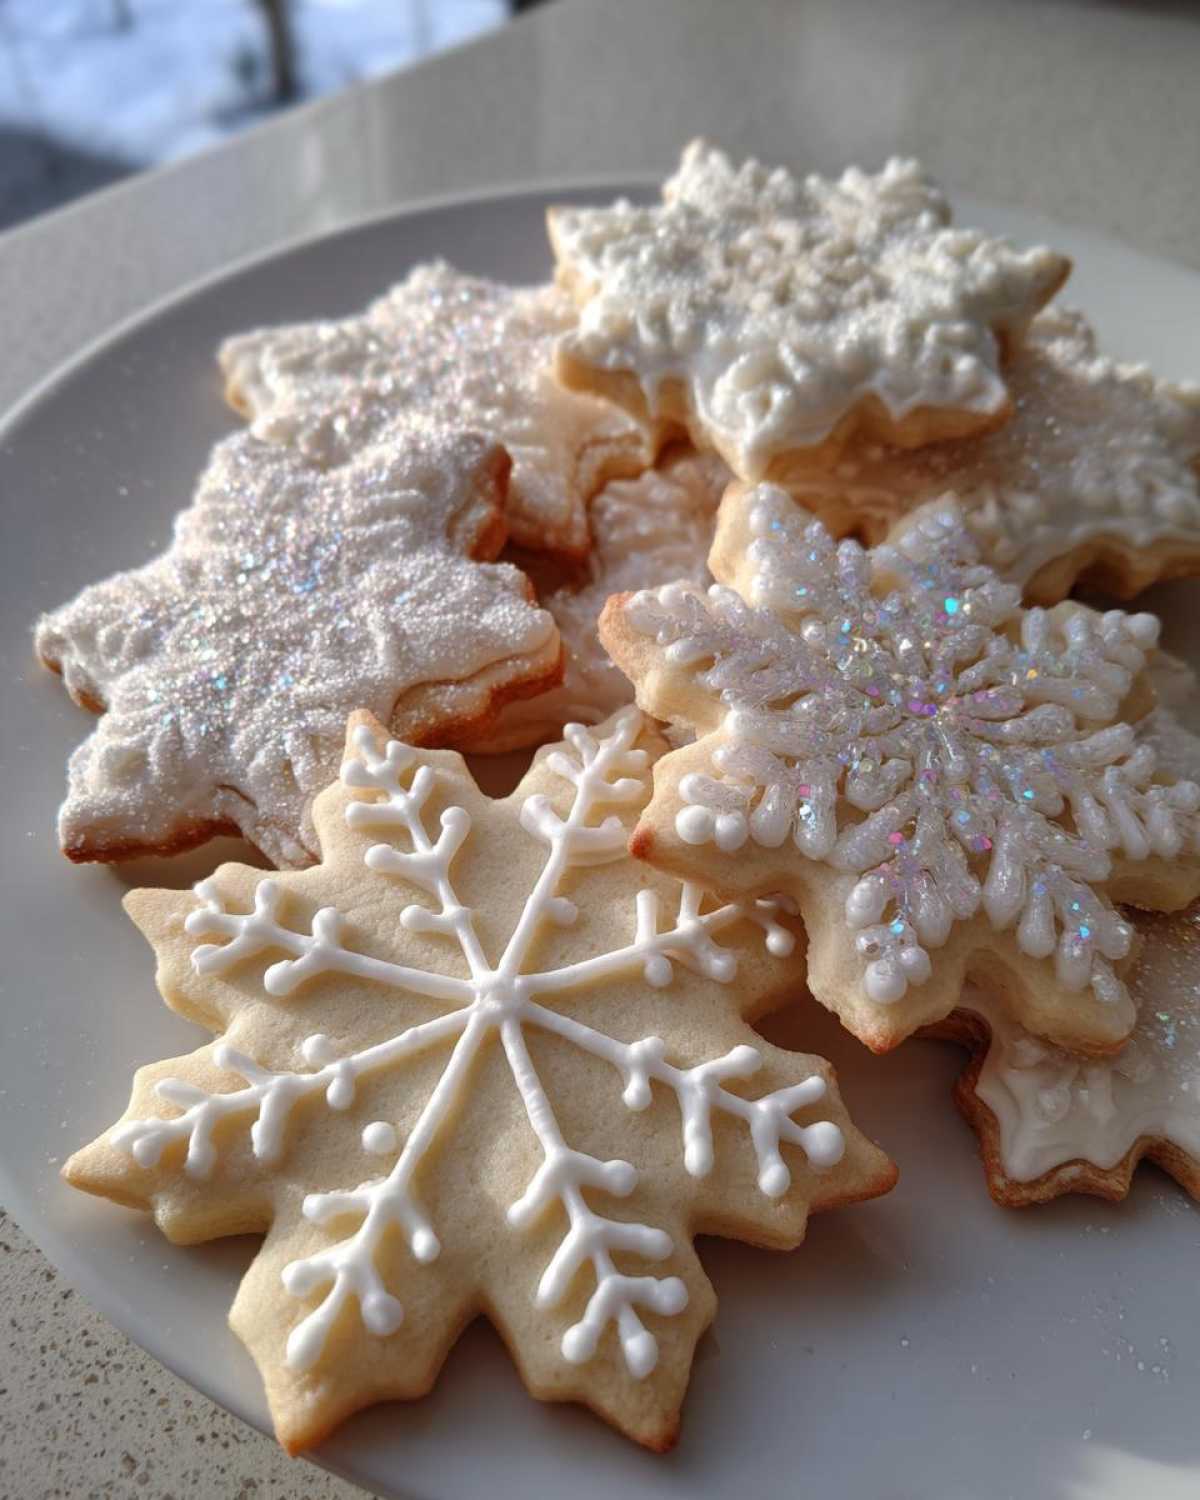
Once your snowflake sugar cookies are completely cool, it’s time for the really fun part: decorating! Anya, our resident artist, has such a delicate touch. She often uses a simple royal icing. A thin layer provides a beautiful canvas without overpowering the cookie’s delicate flavor. You can outline the cookie first, then fill it in. Letting that set before adding more details is key!
Sprinkles are your best friend here. Tiny silver dragees can mimic frost, or colorful jimmies add a festive pop. Anya loves using edible glitter for an extra touch of winter magic. Don’t be afraid to get creative! Try different piping tips for intricate patterns or simply dust them with powdered sugar for a snowy effect. The possibilities are as endless as the snowflakes themselves!
Frequently Asked Questions About Snowflake Sugar Cookies
We get a lot of questions about these snowflake sugar cookies! Anya and I love helping you troubleshoot.
Can I make these cookies ahead of time?
Absolutely! The dough for these snowflake sugar cookies can be made a day or two in advance. Just wrap it well and keep it in the fridge. You can also bake the cookies a few days before you plan to decorate them. They store beautifully!
What is the best way to store decorated cookies?
Once your decorated cookies are fully dry, store them in an airtight container. Layer them with parchment paper between each layer to prevent the decorations from sticking. I usually keep them at room temperature, and they stay fresh for several days.
Why did my cookies spread too much?
This is a common puzzle! Often, it’s because the butter was too soft, or the dough wasn’t chilled sufficiently. Make sure your butter is softened, not melted. And don’t skip that chilling step; it’s vital for preventing your beautiful snowflake sugar cookies from spreading.
Can I use different cookie cutters?
Yes, you certainly can! While we love our snowflake shapes for the holidays, this sugar cookie recipe works wonderfully with any cookie cutter. Just be mindful that different shapes might bake a little faster or slower depending on their size and thickness.
Storing and Reheating Snowflake Sugar Cookies
Proper storage is key to keeping your snowflake sugar cookies fresh and beautiful. For undecorated cookies, store them in an airtight container at room temperature for up to a week. If they’re decorated, make sure the icing is completely dry. Layer them carefully with parchment paper in between so the decorations don’t smudge.
I find they keep their best texture for about 3-4 days this way. Reheating isn’t usually necessary, as they are delicious at room temperature. If you absolutely must, a few seconds in a very low oven might help crisp them slightly, but be very careful not to burn them!
Understanding the Nutrition in Your Snowflake Sugar Cookies
While these snowflake sugar cookies are a delightful treat, it’s always good to have an idea of what you’re enjoying. The nutritional values are estimates per cookie and can vary based on exact ingredient amounts and decorations used.
Expect around 150 calories per cookie. You’ll find about 7g of fat, with 4g being saturated fat. They contain roughly 20g of carbohydrates and 2g of protein. Remember, these figures are approximate!
PrintPerfect Snowflake Sugar Cookies for Holiday Magic

Learn to make beautiful snowflake sugar cookies, perfect for holiday gifting and festive trays. This recipe, shared by Anya from Savor Sensations, is designed for easy decorating and delicious results.
- Prep Time: 20 minutes
- Cook Time: 10 minutes
- Total Time: 1 hour 30 minutes
- Yield: Approximately 24 cookies
- Category: Dessert
- Method: Baking
- Cuisine: American
- Diet: Vegetarian
Ingredients
- 1 cup unsalted butter, softened
- 1 cup granulated sugar
- 1 large egg
- 1 teaspoon vanilla extract
- 2 1/2 cups all-purpose flour
- 1 teaspoon baking powder
- 1/2 teaspoon salt
- (Optional) Sprinkles for decorating
Instructions
- Cream together the softened butter and granulated sugar until light and fluffy.
- Beat in the egg and vanilla extract until well combined.
- In a separate bowl, whisk together the flour, baking powder, and salt.
- Gradually add the dry ingredients to the wet ingredients, mixing until just combined.
- Divide the dough in half, flatten each half into a disk, wrap in plastic wrap, and chill for at least 30 minutes.
- Preheat your oven to 350°F (175°C). Line baking sheets with parchment paper.
- On a lightly floured surface, roll out one disk of dough to about 1/4-inch thickness.
- Cut out snowflake shapes using cookie cutters.
- Carefully transfer the cookies to the prepared baking sheets.
- Bake for 8-10 minutes, or until the edges are lightly golden.
- Let the cookies cool on the baking sheets for a few minutes before transferring them to a wire rack to cool completely.
- Once cooled, decorate with frosting and sprinkles as desired.
Notes
- Ensure your butter is truly softened for the best creaming results.
- Do not overmix the dough once the flour is added.
- Chilling the dough is crucial for easy handling and to prevent spreading during baking.
- Baking time may vary depending on your oven and cookie thickness.
Nutrition
- Serving Size: 1 cookie
- Calories: 150
- Sugar: 10g
- Sodium: 60mg
- Fat: 7g
- Saturated Fat: 4g
- Unsaturated Fat: 3g
- Trans Fat: 0g
- Carbohydrates: 20g
- Fiber: 0.5g
- Protein: 2g
- Cholesterol: 30mg
