

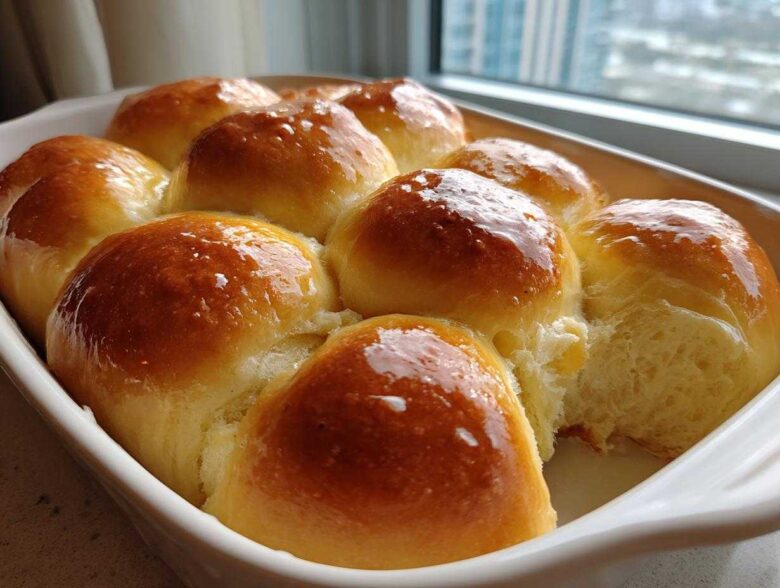
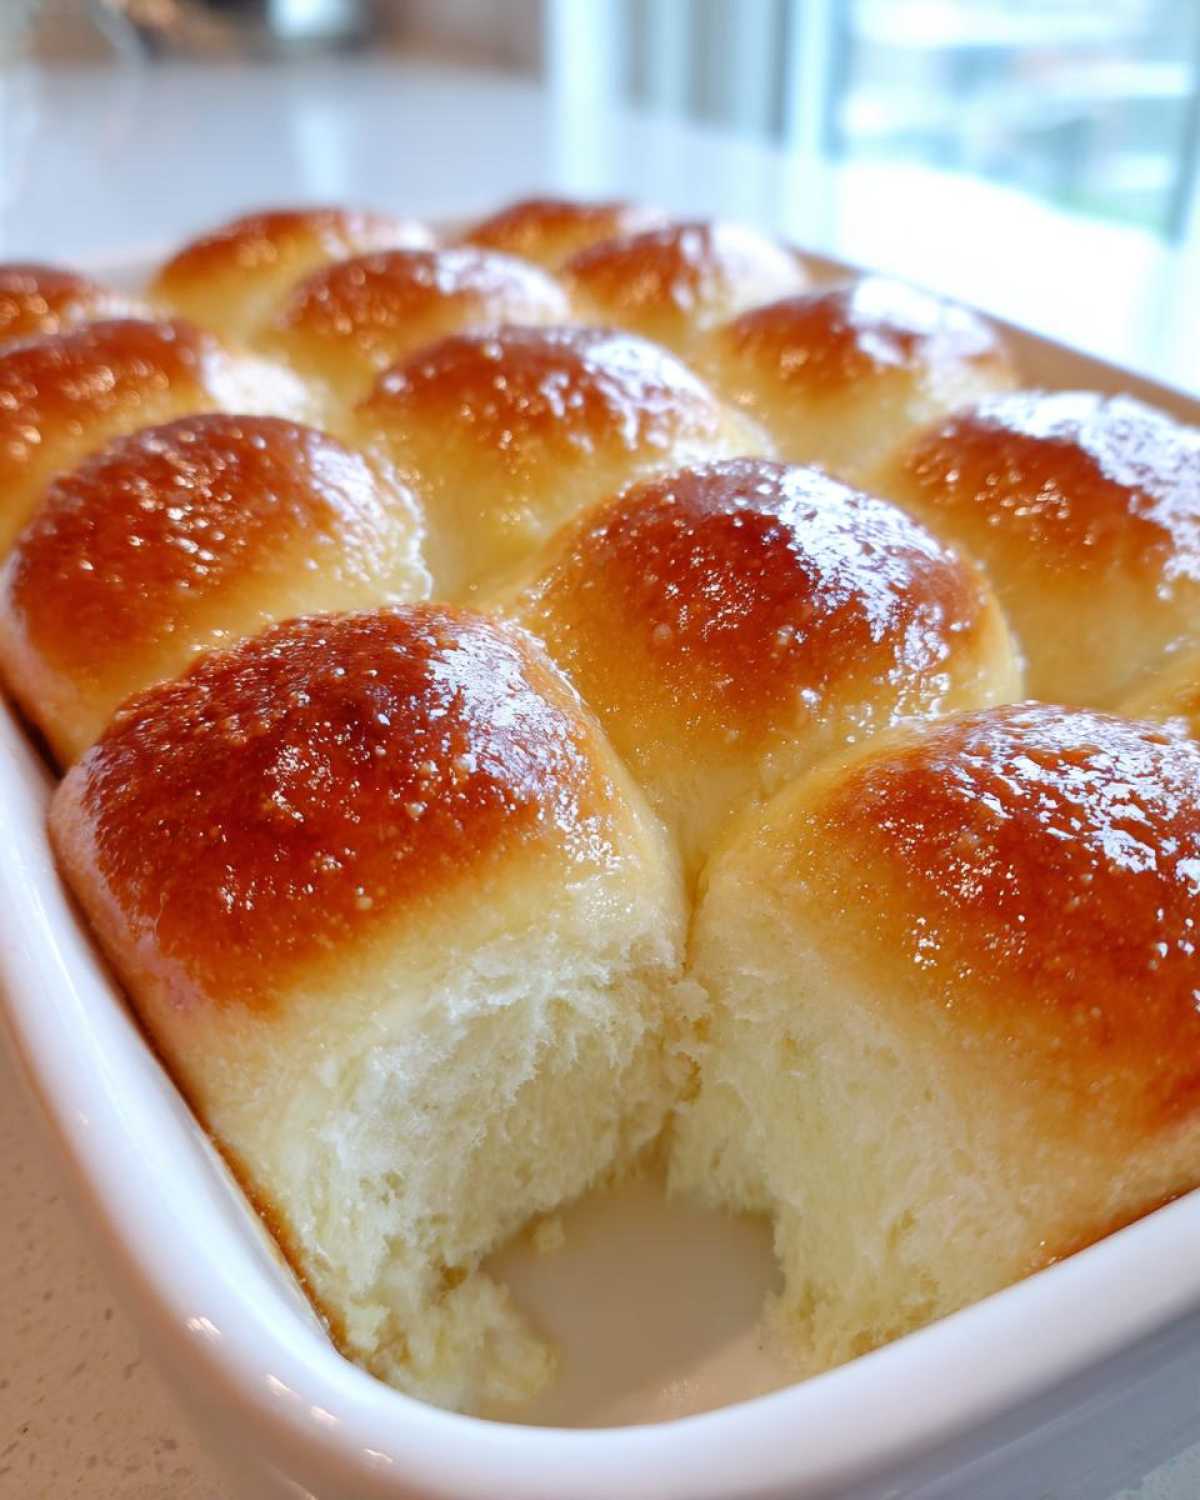
Oh my gosh, if there is one thing that instantly makes a family dinner feel special, it’s the smell of fresh bread sizzling hot out of the oven. Seriously, nothing beats it! I’ve spent years chasing that perfect, cloud-like texture we all dream about when we talk about homemade rolls. And guess what? I finally cracked the code for incredibly soft and buttery dinner rolls that come together in about an hour total. Forget waiting half the day for yeast to do its thing; these are real, from-scratch yeast rolls that deliver on comfort every single time you make them. Perfect for everything from Thanksgiving to Tuesday night spaghetti!
Why You Will Love These Soft Dinner Rolls
- Unbelievably Soft Texture: These are genuinely pillowy soft, never tough or dry. They pull apart beautifully!
- Speedy Baking: Seriously, we get these fluffy homemade bread beauties on the table in just over an hour.
- Rich Flavor: Loaded with butter and just the right amount of sweetness – pure comfort food.
- Holiday Ready: They are absolutely the best holiday rolls for soaking up gravy or serving alongside ham. Easy bread rolls that look professional, too.
Trust me, once you try this recipe, you won’t need another one! That melt-in-your-mouth quality is addictive.
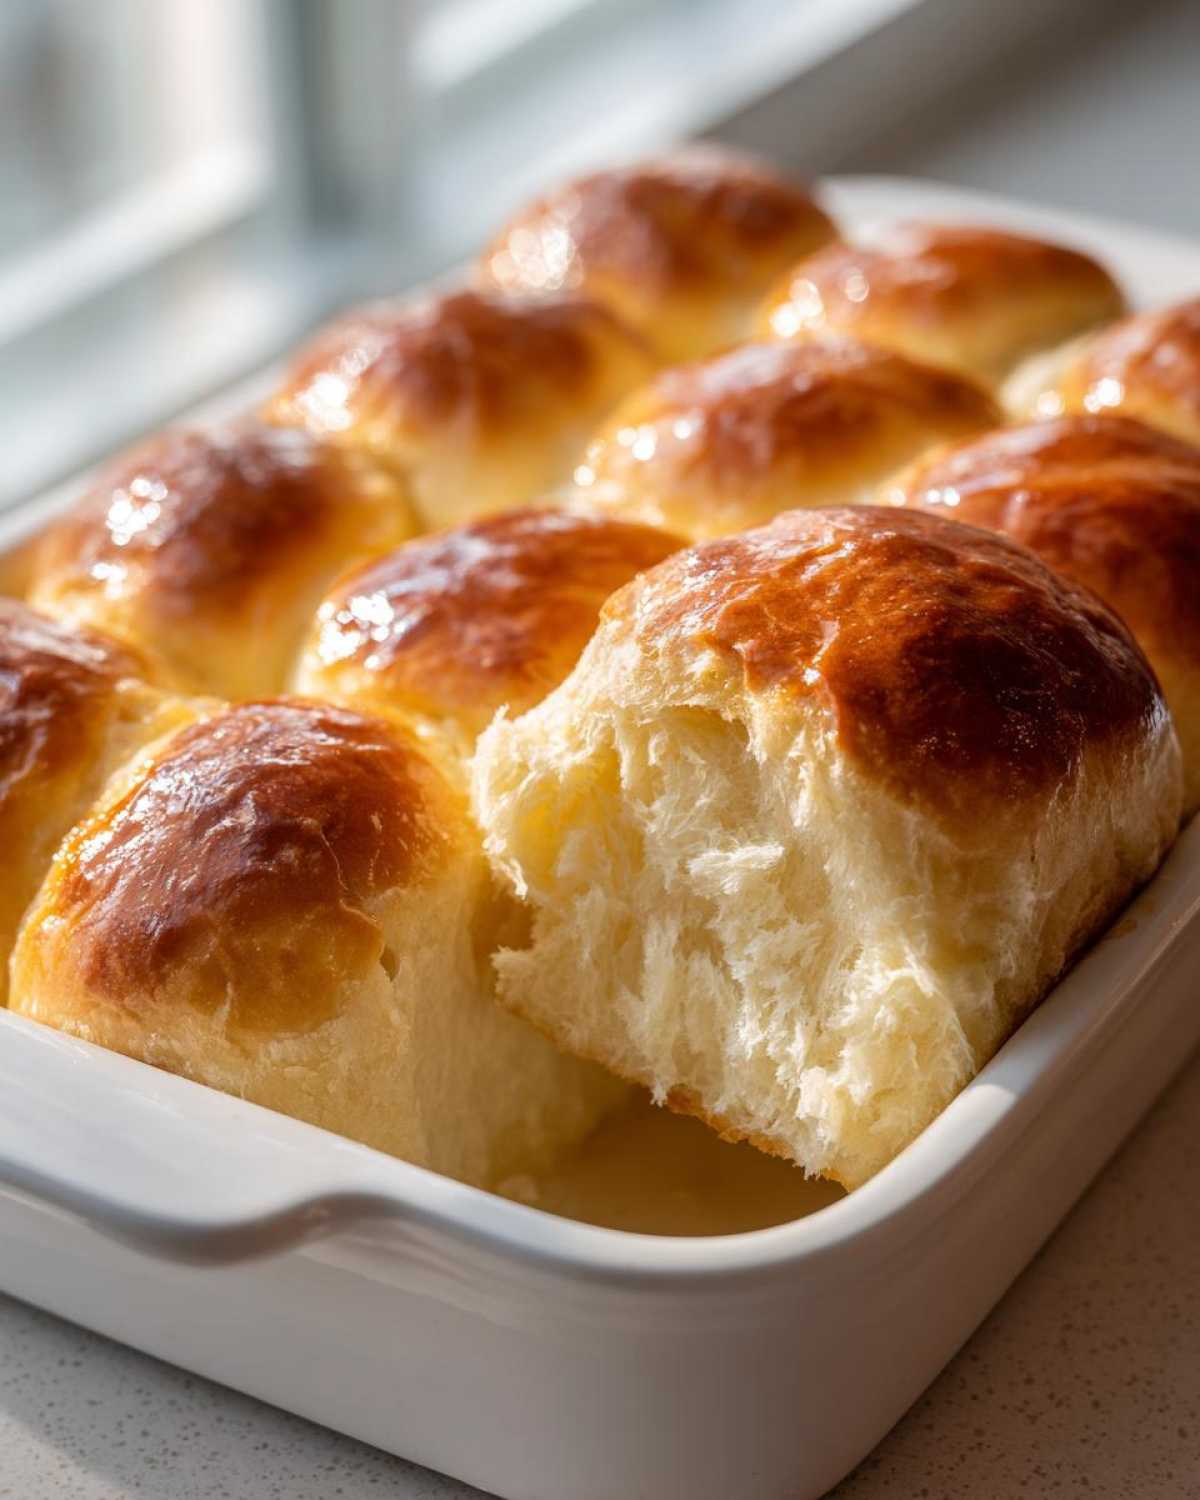
Ingredients for the Best Buttery Yeast Rolls Recipe
Getting these soft dinner rolls right starts with paying close attention to your ingredients. Don’t just throw things in; preparation matters, especially when we are trying to move fast! This recipe is straightforward, thankfully, but temperature counts. Here is exactly what you need before you even turn on the mixer:
- One cup of warm milk—and I mean warm, about 110°F. If it’s too hot, you’ll kill the yeast, and then we’re back to square one!
- Two and one-quarter teaspoons of active dry yeast.
- A quarter cup of plain granulated sugar.
- One large egg, it absolutely must be room temperature. This helps everything blend smoothly into the dough.
- A quarter cup of unsalted butter, melted down until liquid.
- One teaspoon of salt—don’t skip this, it wakes up the yeast flavors.
- Three cups of all-purpose flour, plus whatever you need for dusting the counter later.
- Four tablespoons of unsalted butter, melted again, reserved specifically for brushing on top when they come out of the oven. That’s where the restaurant-style gloss comes from!
Make sure that egg is sitting out for an hour because cold ingredients fight against the warm milk, and that slows down our quick rise. If you want to see some amazing flavor ideas later on, check out this soft garlic herb dinner rolls post for inspiration!
Step-by-Step Instructions for Quick Dinner Rolls
Okay, this is where the magic happens, and I promise it really is quick. We’re aiming for those restaurant-style rolls, so focus on handling that dough gently, especially after the first rise. The timing here is key to getting those wonderfully tender rolls. If you want a little deep dive into handling that tricky yeast ingredient, I’ve got a great guide on baking with yeast.
Activating the Yeast and Mixing the Dough for Fluffy Homemade Bread
First things first: proof that yeast! Pour your warm milk into a big bowl and sprinkle the yeast right on top. Give it about five minutes, and you should see foam—that means it’s happy and working. Next, stir in the sugar, your room-temperature egg, the first batch of melted butter, and the salt. Now, you’ll add the flour slowly. Don’t dump it all in at once! Just add the three cups until you have a shaggy, messy dough. It won’t look pretty yet, that’s okay!
Kneading and First Rise for Tender Rolls
Dump that sticky mess onto a lightly floured surface. Now, you need to put some elbow grease into it! Knead this dough firmly for about 5 to 7 minutes. When you’re done, it should feel smooth and bouncy, no longer sticky everywhere. Oil up a clean bowl lightly, toss the dough in, turn it over once, cover it tightly, and find a warm spot. It only needs 30 minutes to double in size! If your kitchen is chilly, use my trick: put the covered bowl inside an oven that is turned OFF, but place a pan of hot water on the rack underneath it. Instant proofing box!
Shaping and Baking Your Golden Brown Rolls
Once doubled, gently punch that air out—but don’t beat it up! Divide the dough into exactly 12 equal pieces. Roll each one into a perfect little ball. Lay them into your greased 9×13 pan, making sure they are close enough to touch once they puff up for their second rise, which is just 15 short minutes. Preheat your oven to 375°F (190°C). Bake these beauties for 15 to 18 minutes until they hit that gorgeous golden brown color. The absolute most important part: the SECOND they come out of the oven, brush them generously with the four tablespoons of reserved melted butter. That step seals in the moisture and gives you those shiny, spectacular tops!
Tips for Perfect Pillowy Soft Buns Every Time
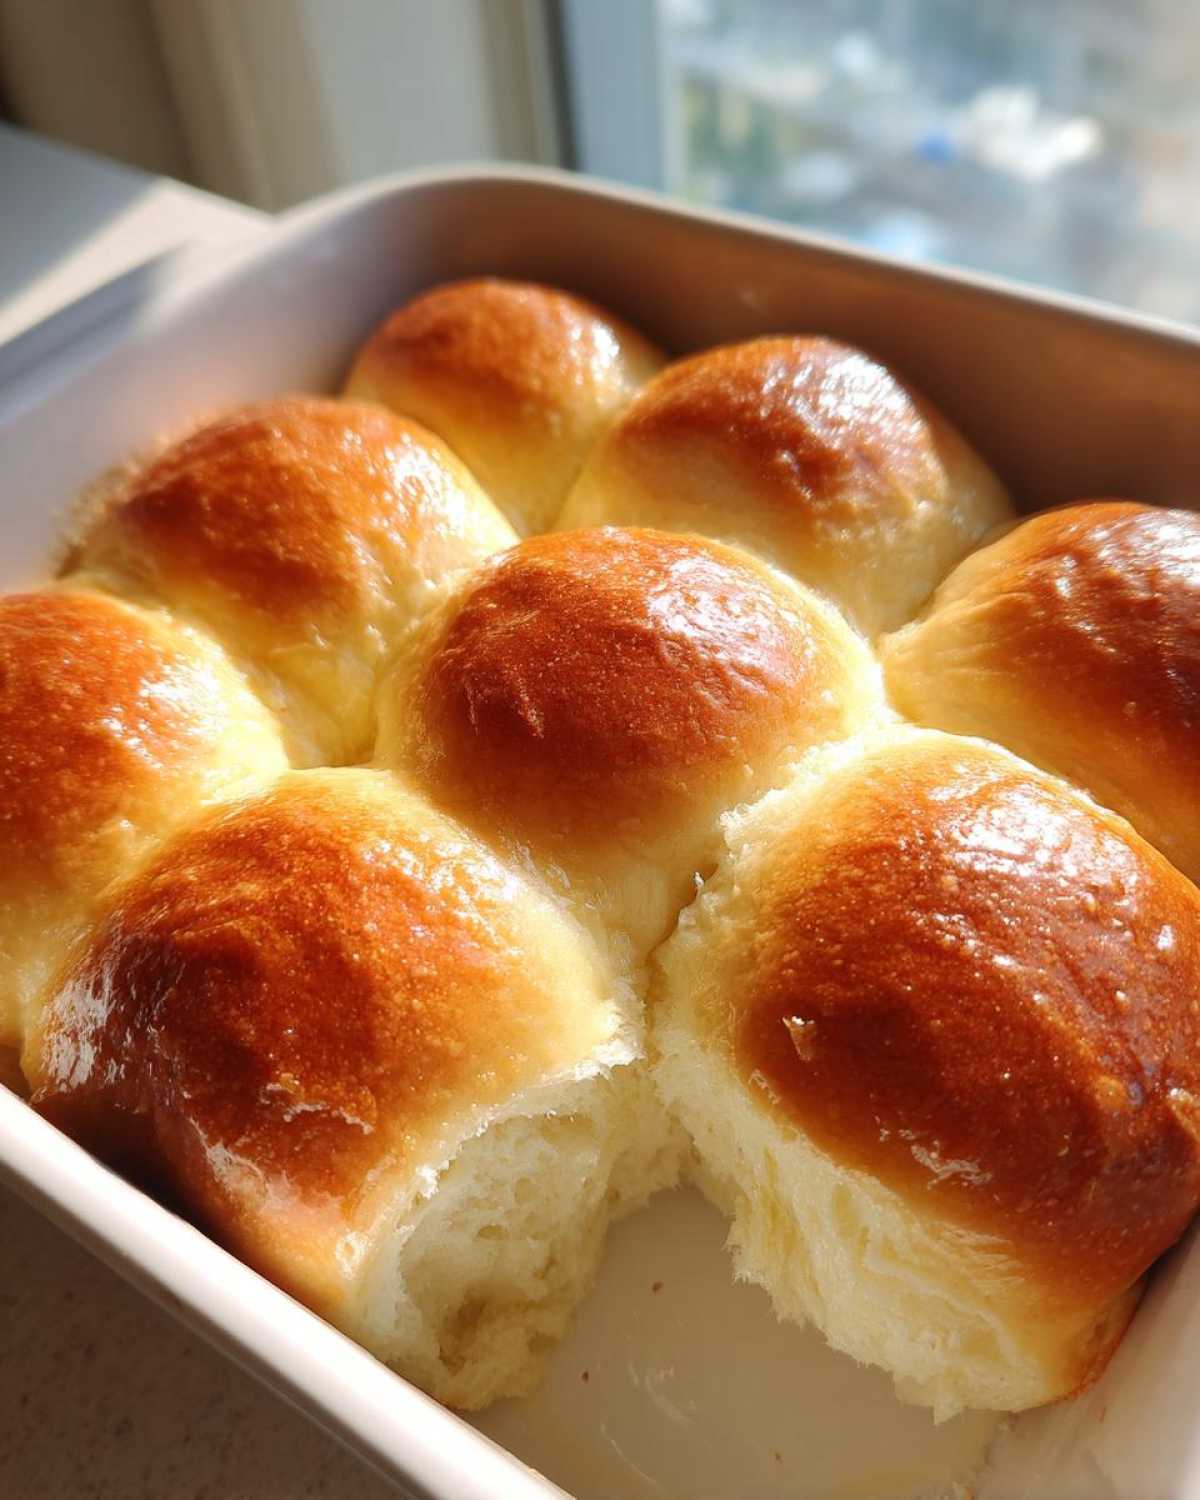
You know, achieving those pillowy soft buns that just disappear in your mouth isn’t just luck; it’s about controlling a few small things before you even start mixing. Pay attention to the milk temperature—I can’t stress this enough! If it’s too cold, the yeast just naps. If it’s scalding hot, you’ve made a warm, sweet soup, not dough starter. Aiming for that sweet spot, around 110°F, is your first major win when baking comfort food.
Also, when you measure your flour, please don’t just scoop it directly out of the bag with your measuring cup! That packs the flour down, and you end up using way too much, resulting in dry, heavy rolls. Always spoon the flour lightly into the measuring cup and then level it off with a straight edge. It seems fussy, but it makes a huge difference in the final texture of these buttery yeast rolls.
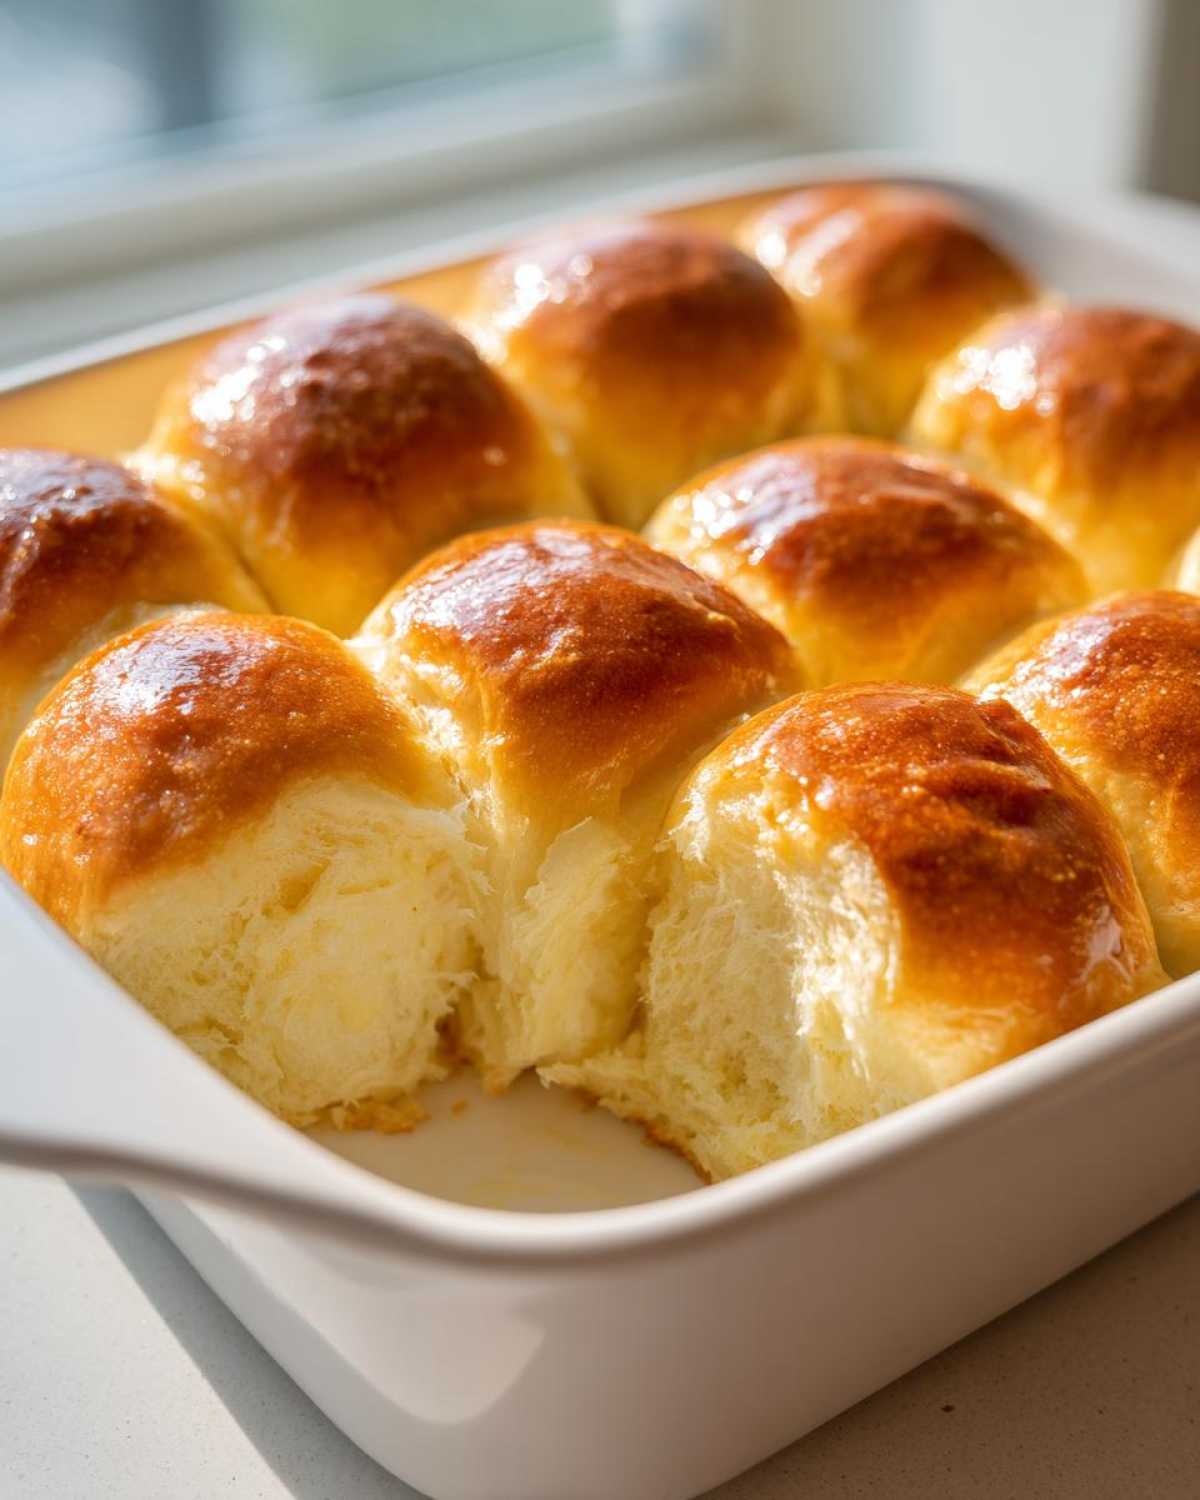
Remember my note about the room temperature egg? Cold eggs actually chill the wet mixture down too fast, which again slows your yeast and affects how the dough comes together. Before you even crack it, let that egg sit out on the counter with the butter and milk. These tiny steps are what separate a good batch of rolls from a truly fantastic batch of bread.
Variations: Making Garlic Butter Rolls or Other Rolls
The base recipe for these soft dinner rolls is fantastic on its own, but boy, can they be dressed up! If you really want to lean into that restaurant style, hear me out: use that extra melted butter you set aside for brushing after they come out of the oven. Toss in a teaspoon of garlic powder, maybe a pinch of dried parsley, and a tiny dash of onion powder. Brush that mixture all over the hot rolls right away. Suddenly, you have these incredible pull apart rolls that taste like they came straight from a steakhouse kitchen!
If you are feeling more savory, try mixing shredded sharp cheddar or Parmesan cheese right into the dough before the first rise. Or, for a different flavor profile, swirl in some dried herbs like rosemary or thyme when you shape the little balls. Experimenting with these simple additions is the fun part of baking from scratch, and it keeps things exciting!
Storage and Reheating Instructions for Homemade Rolls
Okay, these buttery rolls are best enjoyed the day they are baked, nobody disputes that! But if you have leftovers—which is rare in my house, I tell you—storage is simple. Keep any uneaten rolls in an airtight container right there on the counter for about three days. Putting them in the fridge steals all their pillowy softness, and we certainly don’t want that!
When you want to bring them back to life, don’t microwave them; that makes them tough fast. For the best results, wrap them loosely in foil and warm them in a 300°F oven for just about 5 minutes. They come out freshly baked and ready for buttering. These make fantastic homemade sandwich rolls the next day, too!
Frequently Asked Questions About Making Rolls
Can I skip the initial rise time to make these rolls faster?
Oh, I totally get wanting these best holiday rolls done yesterday, but please don’t skip that first rise! That 30 minutes is when the yeast really does its tough lift-work, creating those air pockets needed for truly fluffy homemade bread. Cutting it short means you end up with dense hockey pucks instead of tender rolls. You can shorten the second rise slightly if necessary, but the first one is important.
What if I want to make Texas Roadhouse Copycat Rolls instead?
That buttery garlic flavor we talked about? That’s exactly what makes those steakhouse copies so famous! To lean into that, just be very generous with the garlic butter brush when they come out of the oven. Mixing a little onion powder and a tiny bit of paprika into that melted butter for brushing really drives home that signature taste found in Texas Roadhouse copycat rolls. They’ll still be super soft!
Can I freeze these soft dinner rolls before baking?
Yes, absolutely! This recipe freezes really well. Shape your dough balls into the pan, but then cover the whole thing super tightly with plastic wrap and foil. Pop it into the freezer for up to three months. When you want to bake them, just pull them out, let them thaw and rise on the counter until doubled (this might take an extra hour or two from frozen), and then bake as directed. They come out tasting just as fresh!
Is it really necessary to use active dry yeast instead of instant?
If you only have instant yeast, you can totally use it! Just swap it out 1:1 for the active dry, but you skip proofing it in the milk. You just mix the instant yeast right in with your flour and salt. It’s a slightly faster method, but I still prefer proofing the active dry yeast so I can visually check that it’s working before I commit to adding all my other ingredients. Either way, these buttery rolls turn out great.
Estimated Nutritional Information for These Rolls
Now, I have to give you the standard baker’s disclaimer right up front: the nutritional facts panel is always an estimate! It changes based on the brand of butter you use, how much flour you dusted, and whether you ate the whole batch yourself (just kidding… mostly!). But for general planning, here is what a single serving of these wonderfully soft dinner rolls provides, based on 12 rolls:
- Serving Size: 1 roll
- Calories: 190
- Sugar: 5g
- Sodium: 250mg
- Fat: 7g
- Saturated Fat: 4g
- Trans Fat: 0g
- Carbohydrates: 28g
- Fiber: 1g
- Protein: 4g
- Cholesterol: 25mg
See? Pretty reasonable for something that tastes this decadent! They are perfect for your family meal planning because they just add that touch of homemade goodness without throwing off the whole menu. I always double the recipe when I make these for holidays because they disappear so fast!
Share Your Experience Making These Rolls
Seriously, I want to hear how your batch of buttery rolls turned out! Did they achieve that cloud-like softness? Head down to the comments, leave me a star rating, and let me know if you tried the garlic butter variation. I love seeing your successes! Don’t forget to snap a photo and share it on social media—tag me so I can see your beautiful baking! Find more fun recipes over on the main blog!
PrintSoft and Buttery 1-Hour Dinner Rolls
Make tender, fluffy dinner rolls from scratch in about an hour. These rolls are rich with butter and perfect for any family meal.
- Prep Time: 15 min
- Cook Time: 18 min
- Total Time: 63 min
- Yield: 12 rolls
- Category: Side Dish
- Method: Baking
- Cuisine: American
- Diet: Vegetarian
Ingredients
- 1 cup warm milk (about 110°F)
- 2 1/4 teaspoons active dry yeast
- 1/4 cup granulated sugar
- 1 large egg, room temperature
- 1/4 cup unsalted butter, melted
- 1 teaspoon salt
- 3 cups all-purpose flour, plus more for dusting
- 4 tablespoons unsalted butter, melted (for brushing)
Instructions
- Combine the warm milk and yeast in a large bowl. Let it sit for 5 minutes until foamy.
- Stir in the sugar, egg, 1/4 cup melted butter, and salt into the yeast mixture.
- Gradually add the flour, mixing until a shaggy dough forms.
- Turn the dough out onto a lightly floured surface. Knead for 5 to 7 minutes until the dough is smooth and elastic.
- Place the dough in a lightly oiled bowl, turning to coat. Cover the bowl with plastic wrap and let it rise in a warm place for 30 minutes, or until doubled in size.
- Gently punch down the dough. Divide it into 12 equal pieces. Roll each piece into a smooth ball.
- Arrange the dough balls in a greased 9×13 inch baking pan, leaving a small space between them for rising.
- Cover the pan loosely and let the rolls rise again for 15 minutes.
- Preheat your oven to 375°F (190°C).
- Bake for 15 to 18 minutes, or until the tops are golden brown.
- Immediately brush the tops of the hot rolls with the remaining 4 tablespoons of melted butter.
- Serve warm.
Notes
- For extra flavor, add 1 teaspoon of garlic powder to the melted butter used for brushing.
- If your kitchen is cold, place the covered dough bowl inside a turned-off oven with a pan of hot water on the rack below to create a warm environment for rising.
- You can use instant yeast; if you do, mix it directly with the flour instead of proofing it with the milk first.
Nutrition
- Serving Size: 1 roll
- Calories: 190
- Sugar: 5
- Sodium: 250
- Fat: 7
- Saturated Fat: 4
- Unsaturated Fat: 3
- Trans Fat: 0
- Carbohydrates: 28
- Fiber: 1
- Protein: 4
- Cholesterol: 25
