

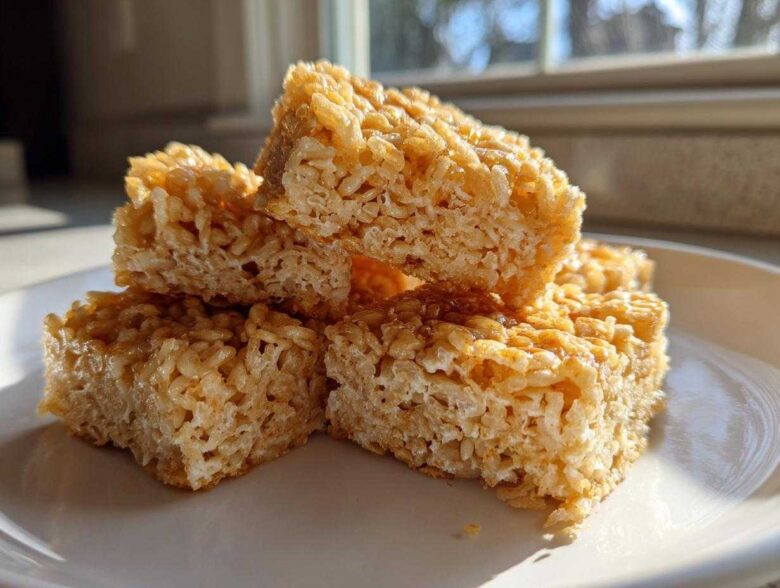
Oh, you know that sound? That perfect, shattering *crunch* when you bite into something fried just right? That’s what we’re chasing today! If you think rice is just a soft side dish, get ready, because we are transforming it into pure crunchy gold. I’ve spent way too much time testing different temperatures and chilling times, but trust me, I’ve perfected the formula for achieving incredible crispy rice. We aren’t making mush here; we are making beautiful, shatteringly crisp squares that work perfectly as an appetizer base or tossed right into a salad. This method, The Ultimate Crispy Rice Squares, is the tried-and-true way that guarantees you get that ideal golden texture every single time you make it. If you want the best texture, you have to start with the best technique, so let’s jump right in!
You can check out more of my favorite kitchen adventures over on the blog if you need a break between steps!
Why This Crispy Rice Recipe Delivers Ultimate Crunch
Honestly, most people mess up their rice because they skip the chilling step. That’s the secret sauce! Once you chill the rice properly, it becomes sturdy enough to handle the hot oil without falling apart. This makes achieving perfect crispy rice surprisingly simple, even for beginners. You get that amazing texture without any guesswork.
- Maximum Crunch: We achieve that true, audible crispiness that everyone searches for.
- Incredibly Versatile: Use it as a base, a side dish, or toss it right into your favorite greens.
- Structurally Sound: Because the rice is chilled solid, you get clean squares every single time.
Achieving Perfect Golden Brown Rice Every Time
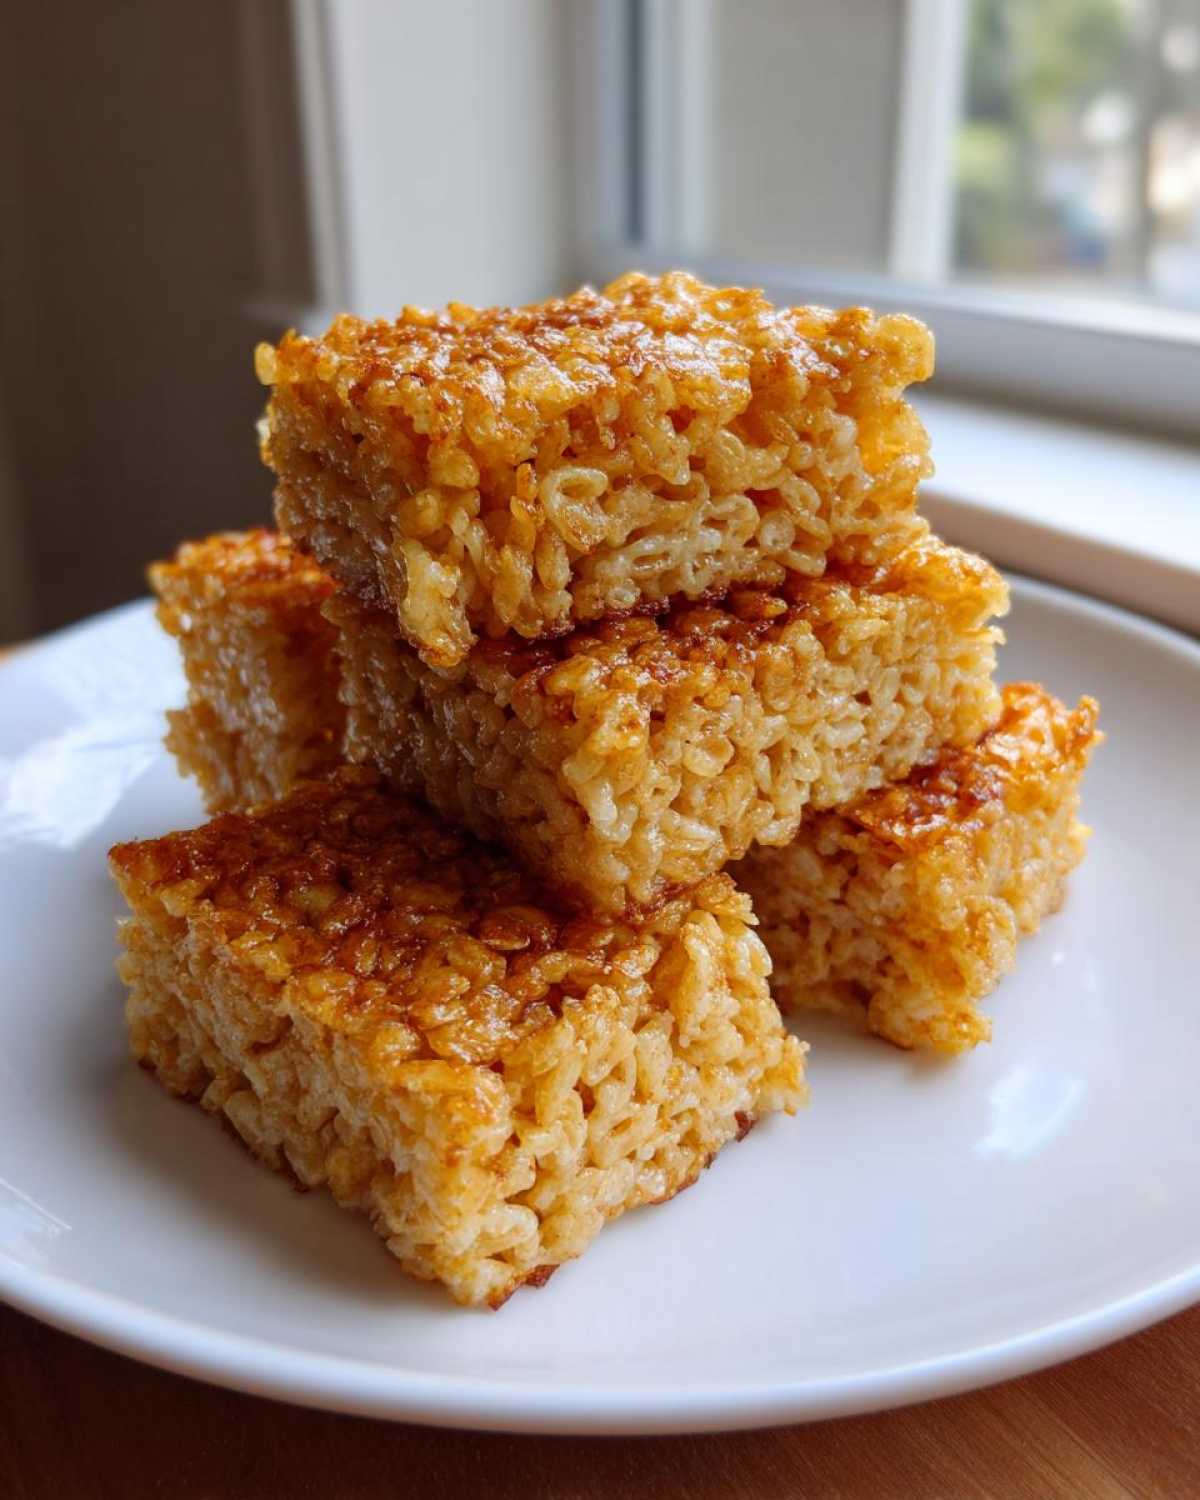
The magic here isn’t just about being crispy; it’s about the color! We are aiming for that deep, inviting amber look, that beautiful golden brown rice exterior. By using just the right amount of oil in a hot skillet and pressing down lightly, we maximize the surface area contact. That direct, hot contact is what forces that stunning crust to form quickly, locking in the fluffy interior texture.
This is an Easy Rice Appetizer
I know the 4-hour (or overnight!) chilling time seems like a lot, but honestly, your hands-on time is minimal. You mix the seasoning, press it into the pan, and then totally forget about it until it’s firm. That means you can completely prep the rice the day before. When you’re ready to serve, it’s just a quick fry. That’s why I call this my favorite easy rice appetizer—zero stress when guests arrive!
Ingredients for Your Crispy Rice Squares
When we talk about perfection, the ingredients have to be spot-on. For this recipe, we are keeping things simple because the technique does most of the heavy lifting. Don’t try to substitute the rice type here; it really needs that stickiness for the squares to hold up to frying!
Here’s what you need lined up before you start seasoning:
- 3 cups cooked short-grain sushi rice, cooled completely (this is critical!)
- 1/4 cup rice vinegar
- 1 tablespoon sugar
- 1 teaspoon salt
- 2 tablespoons neutral oil, plus more for frying (Canola or vegetable works great for high heat)
That’s it! See? No weird extras. The seasoning mixture we create is key to making this simple rice snack truly flavorful. Make sure your sugar and salt dissolve completely into the vinegar before you toss it with the rice.
How to Prepare Crispy Rice: The Best Crispy Rice Technique
Okay, now for the part where we learn exactly how to make crispy rice that will blow your mind. Listen to me—the chilling time is non-negotiable! If you try to fry warm rice, it will be a sloppy, sad mess. We want those strong, perfect crunchy rice squares, and that comes from patience. Don’t worry; the actual prep goes together in a flash, and then the fridge does all the heavy lifting for you.
Seasoning and Pressing the Rice Base
First, let’s get those flavors in! Grab your cooled sushi rice and gently mix in the rice vinegar, sugar, and salt. You just want to coat everything evenly; don’t mash the rice grains while mixing! Next, grab an 8×8 inch dish. I highly recommend lining it with plastic wrap, leaving plenty of overhang on the sides—this is your handle later. Press that seasoned rice mix down into the dish firmly. And I mean *firmly*! You need to compact it so it holds together when you cut it. Cover it up and stick it in the fridge for a minimum of four hours, but if you can leave it overnight, do it. Seriously, overnight is when the best texture develops!
Cutting and Frying for Ultimate Crispy Rice
Alright, the rice block is rock solid! Use the plastic wrap overhang to lift that entire block out onto your cutting board. Peel off the wrap, and then slice it into 12 nice, uniform squares. Now for the fun part! Get a big non-stick skillet really hot over medium-high heat, and add about two tablespoons of oil. You want that oil shimmering before the rice goes in. Add your squares without crowding the pan—work in batches if you have to. Fry them for about 4 to 6 minutes on each side. Use your spatula to gently press them down just a little bit—this helps create maximum contact. Keep going until they look beautifully golden brown and unbelievably crisp. If you need extra inspiration for pairing these beauties, check out my super satisfying Savory Zucchini Cheese Muffins Recipe for ideas on appetizers!
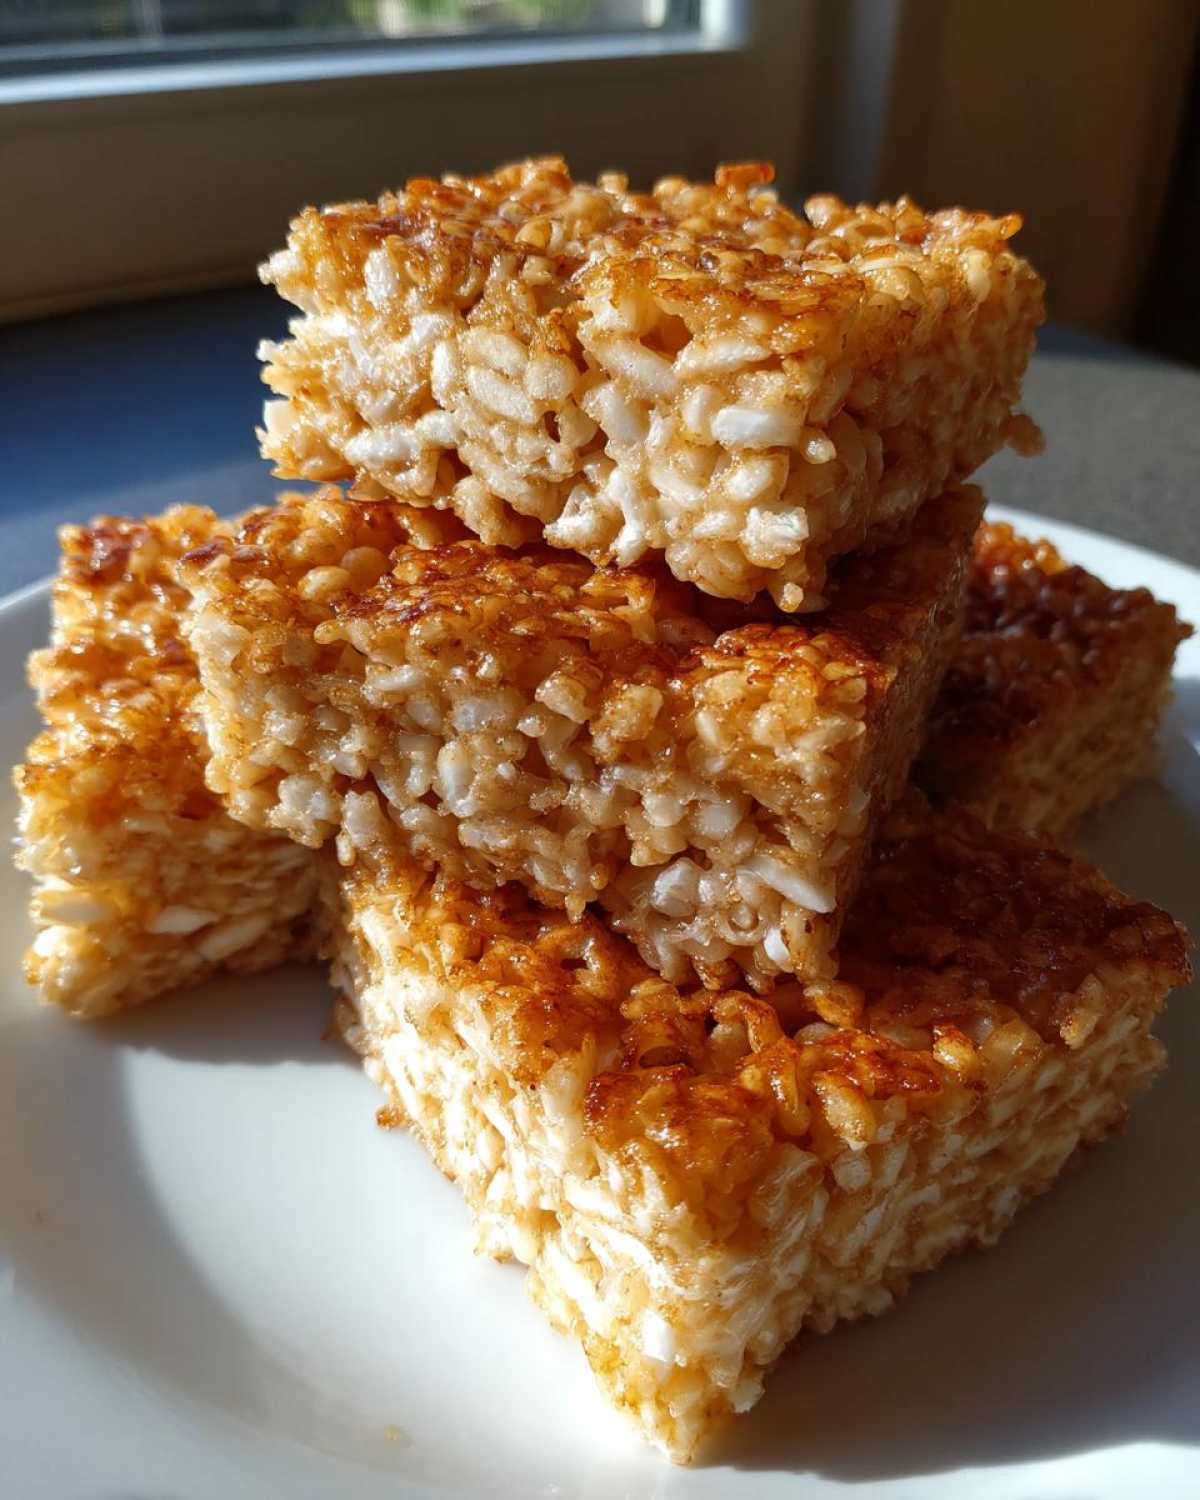
Pull those gems out, let them drain on a rack for just a second, and serve them right away while they are screaming hot and crunchy!
Tips for Perfect Crispy Rice Success
Listen, I’ve learned a few things over the years trying to get that flawless texture for crispy rice without burning my pan clean off. My biggest tip, outside of the chilling, is definitely the rice type. You absolutely need short-grain sushi rice. Those high-starch grains become cohesive when chilled, which is why they fry up so beautifully. If you use long-grain rice, it just turns into hard little pebbles instead of sticking together for a nice square. Don’t try to use basmati here; it’ll just crumble!
If you’re looking for something that uses way less oil than pan-frying, I’ve tested those methods too. Trust me, they work, but they take a little longer to get that deep color. If you’re doing a huge batch and don’t want to stand over the stove, these are lifesavers. You can serve these crispy bases with everything, from spicy mayo sauces to dipping next to something saucy like my Classic Tuna Noodle Casserole!
Alternative Cooking Methods for Crispy Rice
So, you want to skip the oil splattering? No problem! For an oven baked crispy rice experience, preheat that oven to 400°F (200°C). Lightly brush your cut squares with oil, pop them on a rack over a sheet pan so the air circulates underneath, and bake them for about 20 minutes total. Remember to flip them halfway through so both sides get golden.
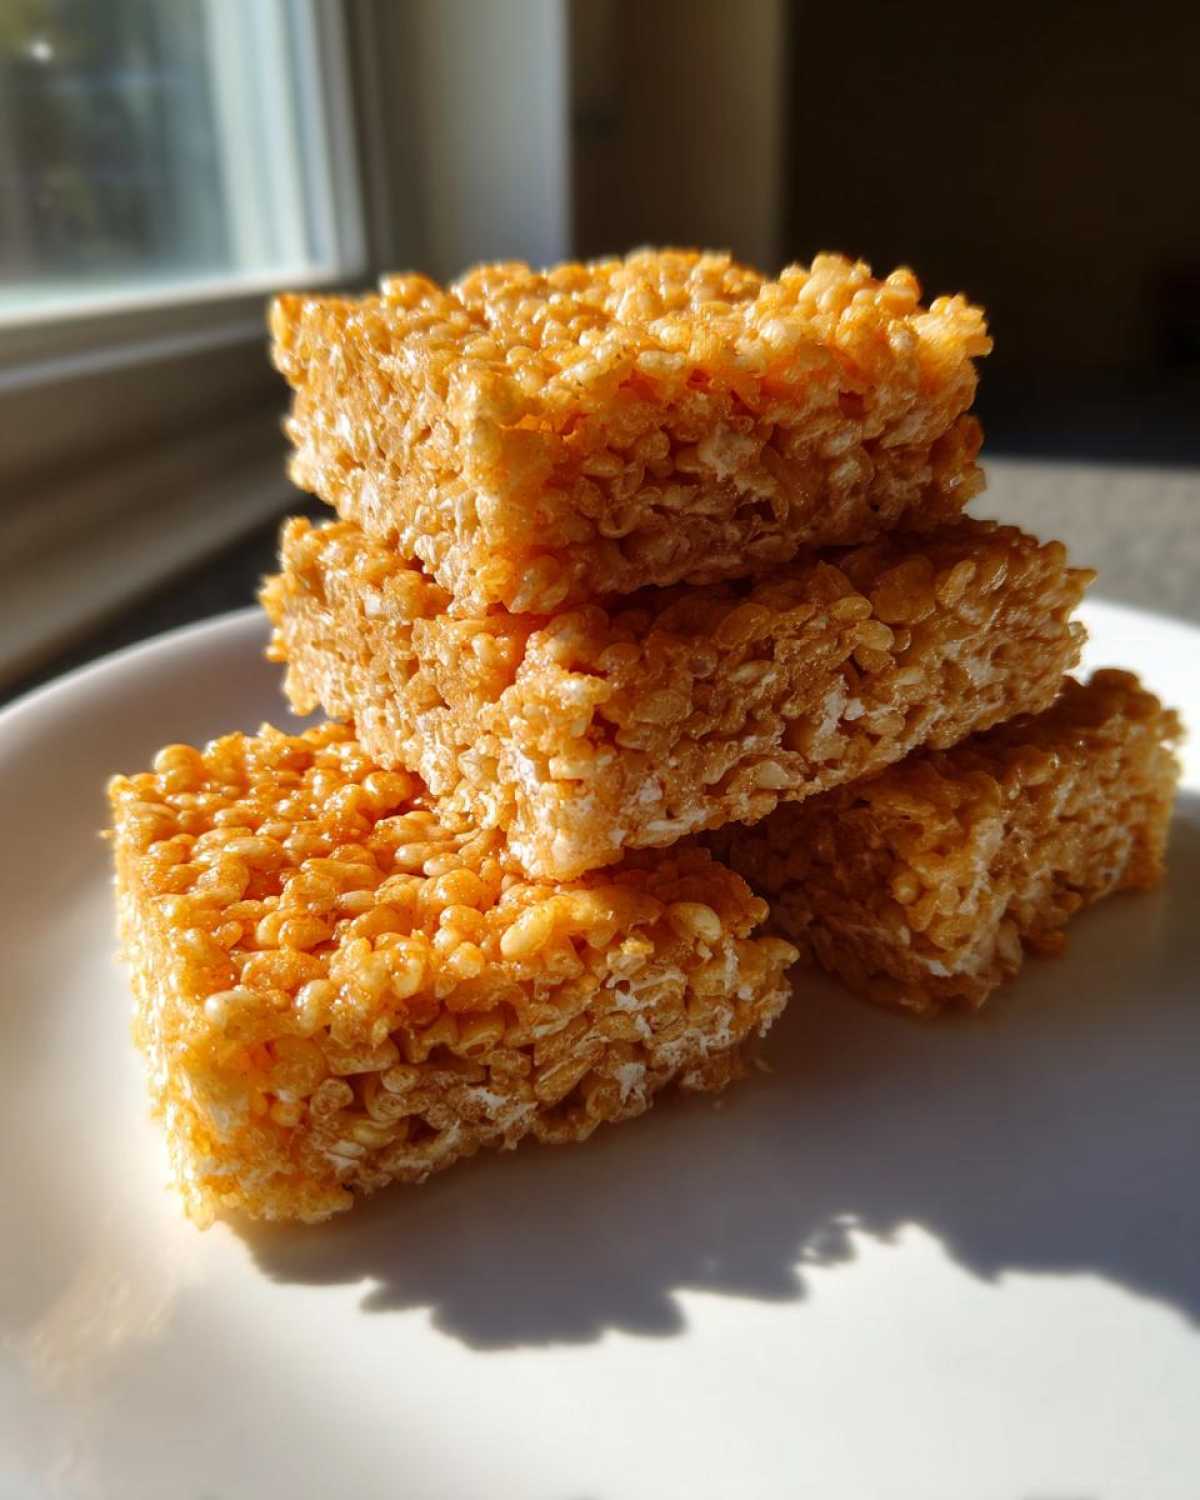
For my gadget lovers, the air fryer crispy rice approach is fast and fantastic. Spray them really well with oil—don’t skip that step! Set your air fryer to 375°F (190°C) and cook them for about 10 to 12 minutes. You absolutely have to flip them halfway through in the air fryer, or the top won’t crisp up nearly as well as the bottom. Both methods make great crunchy rice squares, just be mindful that the pan-fried version gives you the absolute best edge texture.
Versatile Uses for Your Crispy Rice Squares
Now that you have these amazing, hot, crunchy foundations, what are you going to do with them? That’s the fun part! The whole point of mastering crispy rice is making it useful for everything from game-day snacks to fancy appetizers. They stand up perfectly to heavy applications, which is something soggy rice just can’t handle. I love serving them alongside something saucy, like the glaze from my Teriyaki Glazed Meatballs, just so you can dip that crunchy edge right into the flavor pool!
Making a Spicy Tuna Crispy Rice Base
If you’ve been seeing photos of those gorgeous little bites online, this is how you make the base for them! After your rice squares are fried and still warm, you just need a creamy, spicy topping. Mix up canned tuna (or raw, if you’re feeling fancy!) with some sriracha mayo, maybe a little chopped scallion, and gently spread a spoonful right on top of each square. The contrast between the hot, crispy base and that cool, creamy topping? Absolute heaven. It’s an appetizer you’ll be making constantly, I promise!
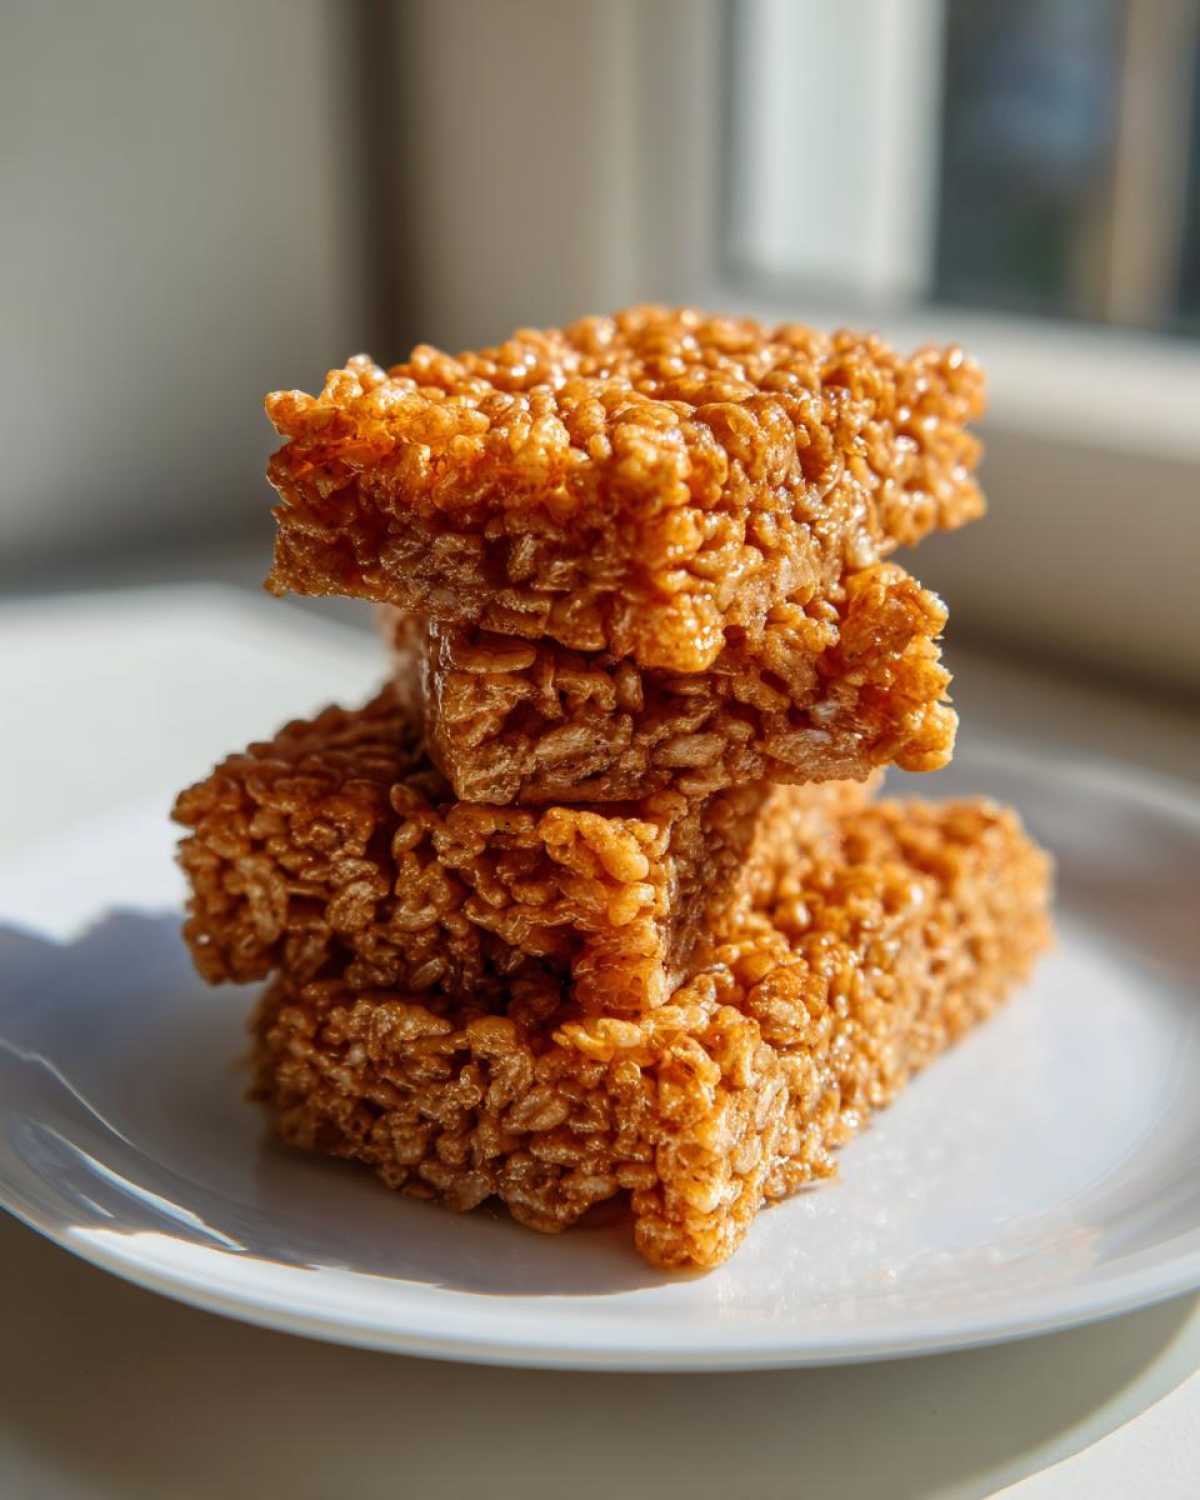
Storage and Meal Prep Crispy Rice
One of the best things about making these is that they are fantastic for meal prep crispy rice! Because we go through the whole process of seasoning, pressing, and frying, they hold up better than most things in the fridge. I always make a double batch because I know I’ll want them later in the week for quick lunches or snacks.
If you have leftovers, let them cool completely before you store them. Don’t try to put warm, oily rice in an airtight container; that’s how you get sogginess, and we fought too hard for that crunch to let it go now!
Store your cooled, cooked squares in a single layer in an airtight container. I sometimes place a piece of paper towel between the layers to absorb any residual oil or condensation. They’ll easily last three or four days like this. They will lose about 10% of their initial crunch, but don’t despair!
The best part is reheating! You never want to microwave these—that will make them steamy and soft. Instead, reheat them the same way you cooked them: in a hot, dry, non-stick skillet for just 2 or 3 minutes per side. That little bit of quick heat jolts them right back to life, restoring almost all of that glorious, original shatter. You can even air fry them again for about 3 minutes if you prefer that method. Perfect crunchy rice ready in minutes!
Frequently Asked Questions About Crispy Rice
I get so many questions about this recipe—and honestly, I love answering them because it means you’re all out there trying to conquer the perfect crunch! If you have a question about substitution or timing, it’s probably in here somewhere. If you’re looking for serving inspiration that goes beyond the usual suspects, you should check out my Kung Pao Cauliflower Stir Fry Recipe—it gives you ideas for flavorful Asian-inspired dishes that pair perfectly with these squares!
Can I use leftover plain rice for crispy rice?
This is such a good question because who doesn’t want to use up leftovers? Yes, you absolutely can, but you must season it afterward. The whole point of this recipe is that the seasoning (vinegar, salt, and sugar) helps the cold rice grains adhere to each other when they are pressed. If you just press plain, cold leftover rice, it might be sturdy enough to cut, but the resulting pan fried rice squares will be super bland.
So, if you’re using leftover plain rice, let it cool down if it’s warm, then add the vinegar mixture right before you press it into the pan. Make sure you mix it gently but thoroughly so every grain gets some flavor before chilling it for those four hours. It works just as well as fresh-cooked rice!
What is the best oil for pan fried rice?
This is where you can really mess up the flavor or the texture if you use the wrong fat! Because we are frying at medium-high heat until everything is beautifully golden brown, you need an oil with a high smoke point. Don’t get tempted to use olive oil here; it has a lower smoke point and will start smoking and tasting bitter before your rice squares even get a chance to crisp up!
My top recommendation for this specific crispy rice recipe is a good, neutral oil like canola or vegetable oil. They are affordable and handle the heat like champs. Avocado oil is also fantastic if you have it, though it’s pricier. Stick to neutral oils so that the flavor of the seasoned rice, not the oil, shines through in your final crunchy rice snack!
Nutritional Estimates for Crispy Rice Squares
Now look, I’m a home cook, not a registered dietitian, and definitely not a food scientist! When I’m making this amazing crispy rice for appetizers or as a side dish, I’m focusing on the joy and the crunch, not the exact macros. I know you might be curious about calories or fat content, especially if you’re having a few (and trust me, they’re addictive!), but I can only give you a general ballpark.
The nutritional data you sometimes see listed online for recipes like this is really just an estimate. Variables like the brand of rice vinegar you grabbed, the exact size of the squares you cut, and, most importantly, how much oil you use during frying can completely change those numbers!
What I can tell you for sure is that if you’re pan-frying these, you’re going to absorb some oil, which means the fat and calorie counts will be higher than if you used my suggested air fryer method. If you use less oil when frying, or if you bake them, you automatically get a lighter, healthier version of this great rice snack. Just use this recipe as a base, know that frying adds richness, and enjoy them for what they are: a delicious treat!
Share Your Perfect Crispy Rice Creations
Okay, now that you’ve mastered the chilling, the seasoning, and achieved that absolute heavenly crunch, I really, really want to see what you made! There is nothing better for me as a home cook than hearing that you succeeded in making something amazing!
Did you keep it classic and top it with spicy tuna? Or did you use your crispy rice squares as a base for leftover shredded chicken? Tell me everything!
Please, if you loved this recipe, hop down to the comment section below and leave me a star rating! It helps other cooks find this guide to perfect texture. And if you made something creative—maybe you sprinkled sesame seeds on before frying or used a different topping—snap a picture and tag me on social media! I love seeing your individual spin on things!
If you’re already looking for the next incredible recipe to try after demolishing all your crispy rice, don’t miss my Chocolate Chip Zucchini Bread Recipe—it’s the ultimate comfort bake for when you shift from crunchy appetizers to cozy desserts!
Happy cooking, and I can’t wait to hear how perfectly crunchy your rice turned out!
PrintThe Ultimate Crispy Rice Squares
Make perfectly crunchy rice squares that you can use as an appetizer base or add to salads. This recipe focuses on achieving a golden, crisp exterior.
- Prep Time: 20 min
- Cook Time: 15 min
- Total Time: 4 hours 35 min
- Yield: 12 squares
- Category: Appetizer
- Method: Pan Frying
- Cuisine: Asian Inspired
- Diet: Vegetarian
Ingredients
- 3 cups cooked short-grain sushi rice, cooled
- 1/4 cup rice vinegar
- 1 tablespoon sugar
- 1 teaspoon salt
- 2 tablespoons neutral oil, plus more for frying
Instructions
- Combine the cooled rice, rice vinegar, sugar, and salt in a bowl. Mix gently until the seasoning is evenly distributed.
- Line an 8×8 inch baking dish with plastic wrap, leaving an overhang on the sides. Press the seasoned rice firmly and evenly into the prepared dish, aiming for a thickness of about 1 inch.
- Cover the rice with the plastic overhang and refrigerate for at least 4 hours, or preferably overnight, until the rice is very firm.
- Remove the chilled rice block from the dish using the plastic wrap overhang. Place it on a cutting board and remove the wrap.
- Cut the rice block into 12 uniform squares.
- Heat 2 tablespoons of neutral oil in a large non-stick skillet over medium-high heat.
- Carefully place the rice squares in the hot oil, ensuring not to overcrowd the pan. Work in batches if necessary.
- Fry for 4 to 6 minutes per side, pressing down lightly with a spatula to encourage even browning, until the rice is deep golden brown and very crisp.
- Remove the crispy rice squares and place them on a wire rack or paper towel-lined plate to drain excess oil.
- Serve immediately with your preferred topping or use in a salad.
Notes
- For an oven-baked version, preheat your oven to 400°F (200°C). Brush the squares lightly with oil and bake for 20 minutes, flipping halfway through, until golden.
- For an air fryer, lightly spray the squares with oil and cook at 375°F (190°C) for 10 to 12 minutes, flipping halfway.
- Short-grain sushi rice works best because its high starch content helps the squares hold their shape.
Nutrition
- Serving Size: 1 square
- Calories: 155
- Sugar: 1.5
- Sodium: 210
- Fat: 4.5
- Saturated Fat: 0.6
- Unsaturated Fat: 3.9
- Trans Fat: 0.0
- Carbohydrates: 27.0
- Fiber: 0.5
- Protein: 2.5
- Cholesterol: 0
