

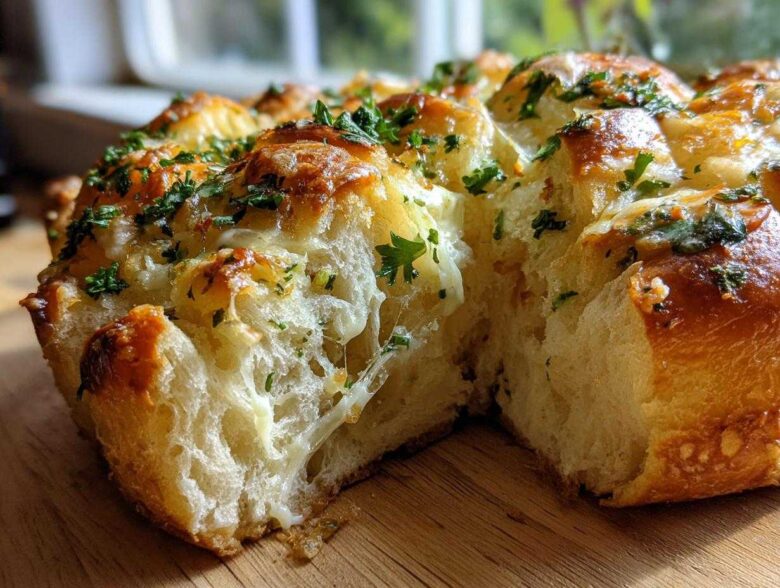
You know those nights when you need a side dish, like, ten minutes ago, but you want it to taste like you spent an entire afternoon fussing over it? That’s exactly why I perfected this **Hawaiian Roll Garlic Bread**. Seriously, forget slicing up a whole baguette; we’re using those soft, impossibly sweet King’s Hawaiian Rolls!
The contrast between the sweet bread and the sharp, savory garlic butter is just *chef’s kiss* perfection. I’ve made this for countless impromptu potlucks, and people always ask if I pulled some complicated recipe out of thin air. Nope! It’s the easiest trick in my book for a crowd-pleasing **Quick Party Bread Recipe**. Trust me, the way this pulls apart gooey and fragrant is pure magic.
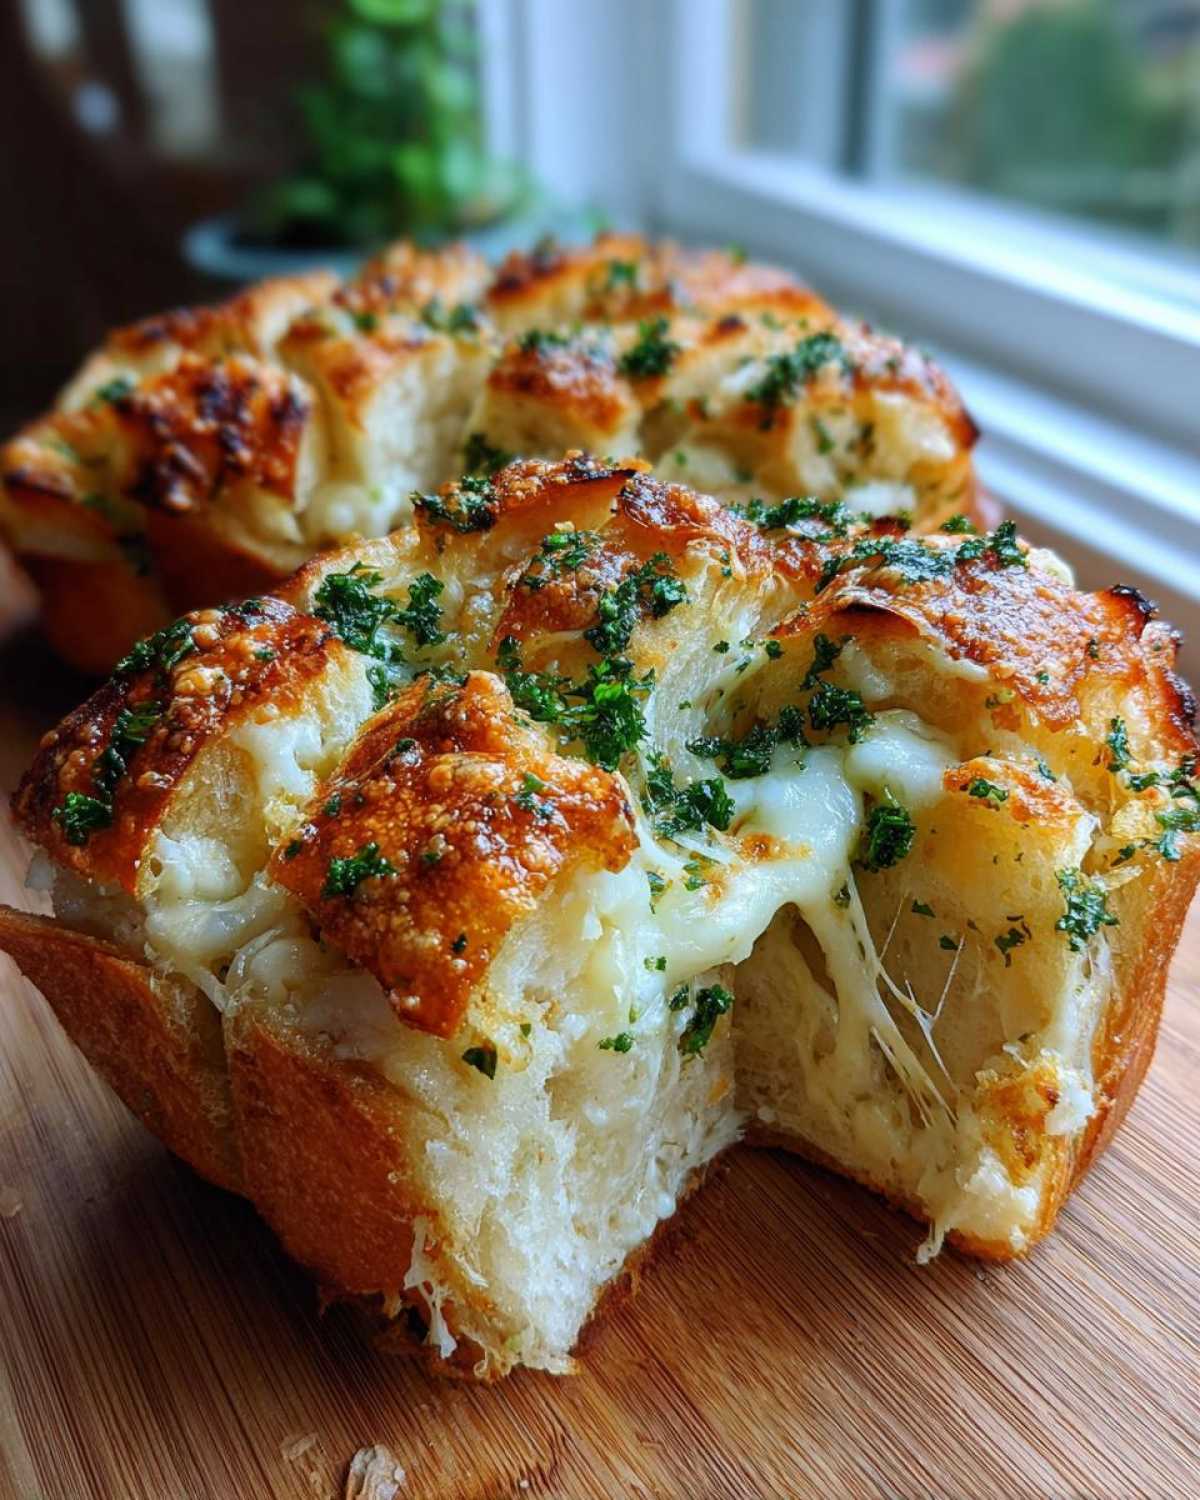
Why This Hawaiian Roll Garlic Bread Recipe Works (Quick Party Bread Recipe)
Okay, so why bother with this specific sweet bread? Because it skips all the hard work while giving you huge flavor payoff. It’s the ultimate shortcut when you’re short on time but big on expectations. It’s seriously faster than toasting slices of regular bread!
- It’s insanely fast—we’re talking under 35 minutes total playtime.
- The sweetness of the rolls pairs shockingly well with the salty butter, making a truly unique sweet and savory side dish.
- Because they stay connected, you get that fantastic pull-apart action. Everyone just grabs a warm, buttery clump!
If you need another ridiculously easy crowd-pleaser, you should definitely check out my guide for the Quick Party Bread Recipe, but this one is my absolute favorite for weeknights.
Ingredients for the Perfect Hawaiian Roll Garlic Bread
The best part about this recipe is that you probably have everything sitting in your pantry already. We are only using one package of those glorious **Hawaiian Roll Dinner Rolls**—keep them together, that’s crucial! The star, of course, is the homemade garlic butter, which needs just a few really fresh items to sing.
When I say fresh garlic, I mean it. Don’t reach for that jarred stuff, okay? The little bit of extra work grating or mincing makes the whole world of difference in flavor development.
- One package (12 count) King’s Hawaiian Rolls (Seriously, don’t try a different brand unless you absolutely have to!)
- 1/2 cup unsalted butter, melted (Please use real butter; it melts better!)
- 4 cloves garlic, minced super fine
- 2 tablespoons fresh parsley, chopped up—it adds that lovely green pop
- 1/4 teaspoon salt and 1/4 teaspoon black pepper
- 1/2 cup shredded mozzarella cheese (This is optional, but if you’re serving it tonight, you absolutely should add it for gooey goodness!)
If you want to see my notes on making fluffy, homemade rolls from scratch someday, you can browse my guide on Soft Fluffy Buttery Dinner Rolls Recipe, but for tonight, these store-bought beauties are the perfect base!
How to Prepare Your Buttery Garlic Rolls Baking
Getting these rolls from the package to golden perfection is incredibly simple, I promise. We’re dealing with maybe three main actions here, and the first one is making sure that butter is ready to coat every beautiful, squishy sweet spot. You need the oven warmed up to 350 degrees Fahrenheit before you even touch those rolls!
Making the Garlic Butter Mixture
This is where the flavor magic happens! In a little bowl—I like using one that’s easy to pour from—you just whisk together that melted butter with your minced fresh garlic, the chopped parsley, and a pinch each of salt and pepper. Whisk it really well until it looks uniform. Using fresh garlic here is what separates good garlic bread from *great* garlic bread. That rich, pungent aroma is what you’re aiming for!
Assembling and Baking the Easy Pull Apart Bread
Now for the critical part! Don’t separate your rolls. Keep them huddled together in their original plastic container or gently place the whole cluster into a small baking dish. Take a big, sharp knife and slice the entire block horizontally, right through the middle, like you’re making a giant sweet sandwich. You must not cut all the way through to the bottom! This keeps the whole thing intact.
Take that amazing garlic butter mixture and brush it generously all over the cut surfaces. My insider tip? Lift the top layer slightly and brush right into the seam between the halves. That ensures every nook gets that buttery, herby goodness. If you’re adding cheese, now is the time to sprinkle it evenly over that bottom layer before you close it up. Wrap the whole dish tightly in aluminum foil—this steams them just enough to soften them beautifully. Bake covered for 15 minutes. Then, pull that foil off and let them bake for another 5 to 7 minutes naked, just until they get that gorgeous golden crust. Look for that melted, bubbly cheese if you added it!
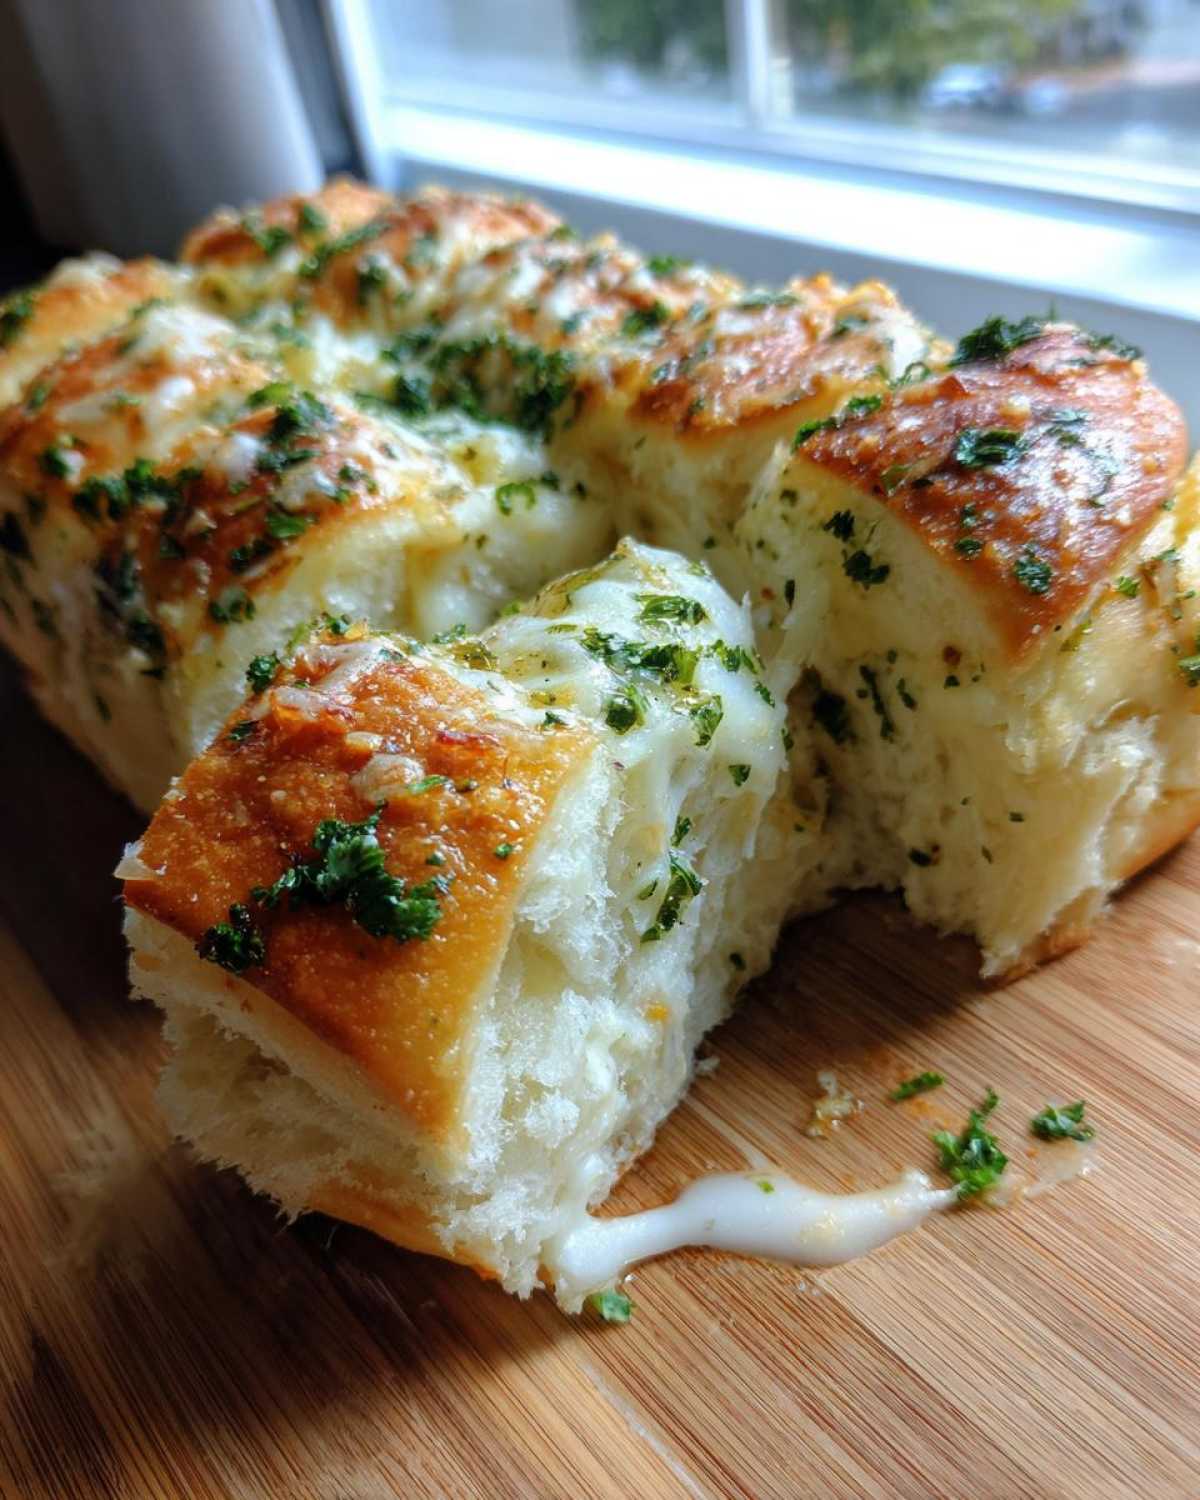
For all my secrets on creating the ultimate Homemade Garlic Butter Rolls that you can use for later, click right here!
Tips for Success with Sweet Bread Garlic Bread Recipe
Honestly, even though this recipe is super simple—it’s hard to mess up—a few tiny moves will elevate it from “good” to “I need the recipe right now!” First up: that foil in the beginning! Don’t skip it. The initial 15 minutes covered steams the rolls, so they turn out soft and fluffy, not dry and crunchy. You’re aiming for that melting softness, not toastiness, at that stage.
Second, really make sure you’re getting butter between those sliced layers. If you just brush the top, the bottom rolls stay plain, and we want everyone to be happy! Finally, serve these immediately. As they cool, the steam trapped inside escapes, and they stiffen up just a little. Honestly, the best ones are the ones you grab straight from the oven. If you’re researching other sweet rolls, my guide on the Sweet Bread Garlic Bread Recipe has even more structural advice!
Variations for Your Hawaiian Roll Dinner Rolls
While the basic garlic butter version is legendary, half the fun of cooking is making it your own, right? Since these rolls are such a blank canvas, they handle flavor additions like a champ! If you want something a little more robust than just parsley, try mixing in some dried rosemary or even a touch of onion powder into your garlic butter. A dash of cayenne pepper makes these the perfect spicy side to cool off a heavy stew. Don’t forget, these rolls are perfect for dipping, so bold flavors work really well.
I also love seeing what cheese people use! If mozzarella isn’t your speed, try swapping it out for some sharp cheddar or salty Parmesan. You can find other ways to jazz up basic rolls in my Soft Garlic Herb Dinner Rolls guide if you’re feeling adventurous!
Making Cheesy Garlic Bread Rolls
If you’re making these for a crowd, it’s almost impossible to go wrong by adding cheese! I mentioned mozzarella already, but you can totally mix the shredded cheese right into the garlic butter before you brush it on. Try half mozzarella and half Monterey Jack for amazing stretchiness. Better yet, sprinkle Parmesan cheese on the bottom half before you fold it closed, and then use mozzarella on top. When you pull those apart later, you get a cheesy layer on the bottom AND a gooey top layer. It’s divine!
Serving Suggestions for Your Hawaiian Sweet Bread Side Dish
So you have this decadent, buttery, pull-apart masterpiece, now what do you serve it with? That slight sweetness makes these rolls versatile! They are honestly the perfect accompaniment for anything saucy because the bread soaks up all those delicious liquids. Think about pairing them with a big pot of hearty beef chili—it’s the perfect textural contrast.
They are fantastic alongside a big platter of BBQ pulled pork or chicken, too. If you’re keeping it lighter, these rolls are surprisingly good next to something fresh, like my BBQ Chickpea Buddha Bowl, just to balance out the richness. Seriously, they disappear fast no matter what you put them next to!
Storage and Reheating Instructions for Leftover Hawaiian Roll Garlic Bread
Okay, deep breaths, but it’s highly unlikely you’ll have leftovers with this recipe! If you somehow manage it, you need to store them right away. Pop any remaining rolls into an airtight container once they’ve cooled down a bit. They really don’t like sitting out.
To reheat and bring back that gooey softness, I skip the oven. Just pop three or four rolls on a microwave-safe plate and give them about 15 to 20 seconds. They get steamy soft again instantly! If you must reheat a larger batch, wrap them tightly again in foil and warm them at 300 degrees for about 8 minutes. Don’t let them go too long or you’ll lose that amazing texture!
Frequently Asked Questions About Making Hawaiian Roll Garlic Bread
I get a ton of questions about these rolls, which is fair—they are little bundles of joy! People often ask if they can use just any old rolls they have on hand. While you *could* technically use standard white dinner rolls, you’ll lose that signature flavor. The sweetness of the Hawaiian Roll Dinner Rolls is really what makes this a unique **Sweet Bread Side Dish** experience. Don’t substitute that part if you can help it!
Another common query is about timing. Since we are looking for a **30 Minute Bread Recipe** experience, how long do the rolls actually need? Remember, most of the cooking time is covered so they steam, so they come together really quickly. If you’re worried about the garlic flavor, yes, you can absolutely make the garlic butter mixture ahead of time! Just keep it covered in the fridge and let it sit on the counter for about 30 minutes before baking so it spreads easier.
If you want to skip the cheese, you simply omit it. But I highly encourage you to try it once! For more tips on quick bread fixes, check out my guide on Easy Garlic Breadsticks Recipe.
Estimated Nutritional Data for This King’s Hawaiian Roll Appetizer
Now, full disclosure: since we’re dealing with melted butter, cheese (if you add it!), and those sweet rolls, things get rich fast! Treat this as a fun indulgence rather than a daily staple. The numbers below are estimates for one roll, assuming you used the mozzarella option.
- Serving Size: 1 roll
- Calories: 210
- Fat: 13g
- Carbohydrates: 20g
- Protein: 4g
Remember, these figures are based on the recipe as written. If you skip the cheese or use less butter, your totals will definitely shift down. But honestly, when they smell this good, who is counting calories?
PrintHawaiian Roll Garlic Bread
Make quick and flavorful garlic bread using soft, sweet Hawaiian rolls for an easy pull-apart side dish.
- Prep Time: 10 min
- Cook Time: 22 min
- Total Time: 32 min
- Yield: 12 rolls
- Category: Side Dish
- Method: Baking
- Cuisine: American
- Diet: Vegetarian
Ingredients
- 1 package (12 count) King’s Hawaiian Rolls
- 1/2 cup unsalted butter, melted
- 4 cloves garlic, minced
- 2 tablespoons fresh parsley, chopped
- 1/4 teaspoon salt
- 1/4 teaspoon black pepper
- 1/2 cup shredded mozzarella cheese (optional)
Instructions
- Preheat your oven to 350 degrees Fahrenheit (175 degrees Celsius).
- In a small bowl, combine the melted butter, minced garlic, chopped parsley, salt, and pepper. Mix well to create the garlic butter.
- Keep the rolls together in their original packaging or arrange them closely in a small baking dish.
- Carefully slice the entire block of rolls horizontally, cutting through the middle without separating the individual rolls.
- Brush the entire surface of the cut rolls generously with the prepared garlic butter mixture, making sure to get butter between the layers.
- If using cheese, sprinkle the mozzarella evenly over the top half of the rolls.
- Wrap the baking dish tightly in aluminum foil.
- Bake for 15 minutes.
- Remove the foil and bake for an additional 5 to 7 minutes, or until the tops are lightly golden brown and the cheese is melted and bubbly.
- Serve immediately while warm.
Notes
- For a spicy kick, add 1/4 teaspoon of red pepper flakes to the garlic butter mixture.
- You can use pre-minced garlic, but fresh garlic provides a stronger flavor.
- If you do not have foil, place the rolls in an oven-safe dish and bake for 10 minutes covered with a lid or another dish before uncovering for the final bake.
Nutrition
- Serving Size: 1 roll
- Calories: 210
- Sugar: 7
- Sodium: 350
- Fat: 13
- Saturated Fat: 8
- Unsaturated Fat: 5
- Trans Fat: 0
- Carbohydrates: 20
- Fiber: 1
- Protein: 4
- Cholesterol: 30
