

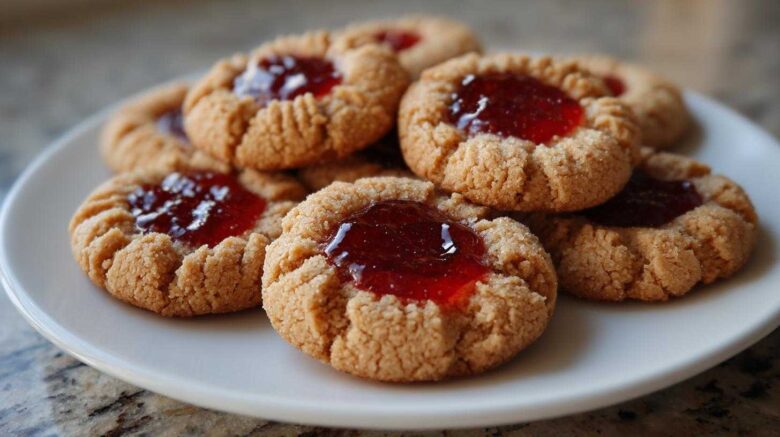
There’s something magical about Peanut Butter & Jelly Thumbprint Cookies. They just bring me right back to my own childhood. I can almost smell them baking, a comforting aroma that always meant a special treat was coming. These cookies are a true taste of nostalgia. Parents, I know you’ll love having these ready for lunchboxes or after-school snacks. They’re simple to make and always a hit. My passion for baking really shines with recipes like these. They remind me of cozy afternoons and happy moments. Making them feels like wrapping yourself in a warm hug.
Why You’ll Love These Peanut Butter & Jelly Thumbprint Cookies
- They’re super quick to whip up.
- Kids absolutely adore them.
- That classic PB&J flavor is unbeatable.
- You’ll get a wonderfully soft, chewy texture.
- Perfect for lunchboxes and after-school snacks.
A Taste of Childhood: The Story Behind Our Peanut Butter & Jelly Thumbprint Cookies
These cookies are more than just a recipe; they’re a memory keeper. I remember Sasha’s mom making these for us when we were little. The kitchen would fill with that sweet peanut butter smell. We’d press our thumbs into the dough, careful not to make too big a hole. Then came the best part: spooning in the bright, fruity jelly. Anya and I would fight over who got the grape jelly center. It’s funny how a simple cookie can hold so many cherished moments. Sharing these brings our friendship from the hallway into your home. It’s about creating new memories with these familiar flavors.
Gather Your Ingredients for Peanut Butter & Jelly Thumbprint Cookies
You probably have most of these items already! That’s the beauty of these classic cookies. They use simple, everyday pantry staples. I love recipes that don’t require a special trip to the store. Gathering everything makes the baking process so much smoother. It’s like setting the stage for deliciousness. Let’s get our ingredients ready.
Essential Ingredients for Perfect Peanut Butter & Jelly Thumbprint Cookies
- 1 cup (2 sticks) unsalted butter, softened but not melted.
- 1 cup creamy peanut butter.
- 3/4 cup granulated sugar.
- 3/4 cup packed light brown sugar.
- 2 large eggs.
- 1 teaspoon vanilla extract.
- 3 cups all-purpose flour.
- 1 teaspoon baking soda.
- 1/2 teaspoon salt.
- 1/2 cup jelly or jam. Grape or strawberry is wonderful.
Step-by-Step Guide to Making Peanut Butter & Jelly Thumbprint Cookies
Ready to bake some pure happiness? Making these cookies is a joy. It’s a straightforward process. You’ll be amazed at how simple it is. Let’s get started. We’ll break it down into easy steps. You’ll have warm, delicious cookies in no time. Get your apron on!
Preparing the Peanut Butter Cookie Dough
First things first, let’s get that oven warming up. Preheat it to 350°F (175°C). Line your baking sheets with parchment paper. This stops them from sticking. Now, grab a big bowl. Cream together your softened butter and creamy peanut butter. Add both sugars. Beat them until the mixture is light and fluffy. This is where the magic starts. Next, add your eggs. Do this one at a time. Beat well after each egg. Stir in the vanilla extract. It smells amazing already!
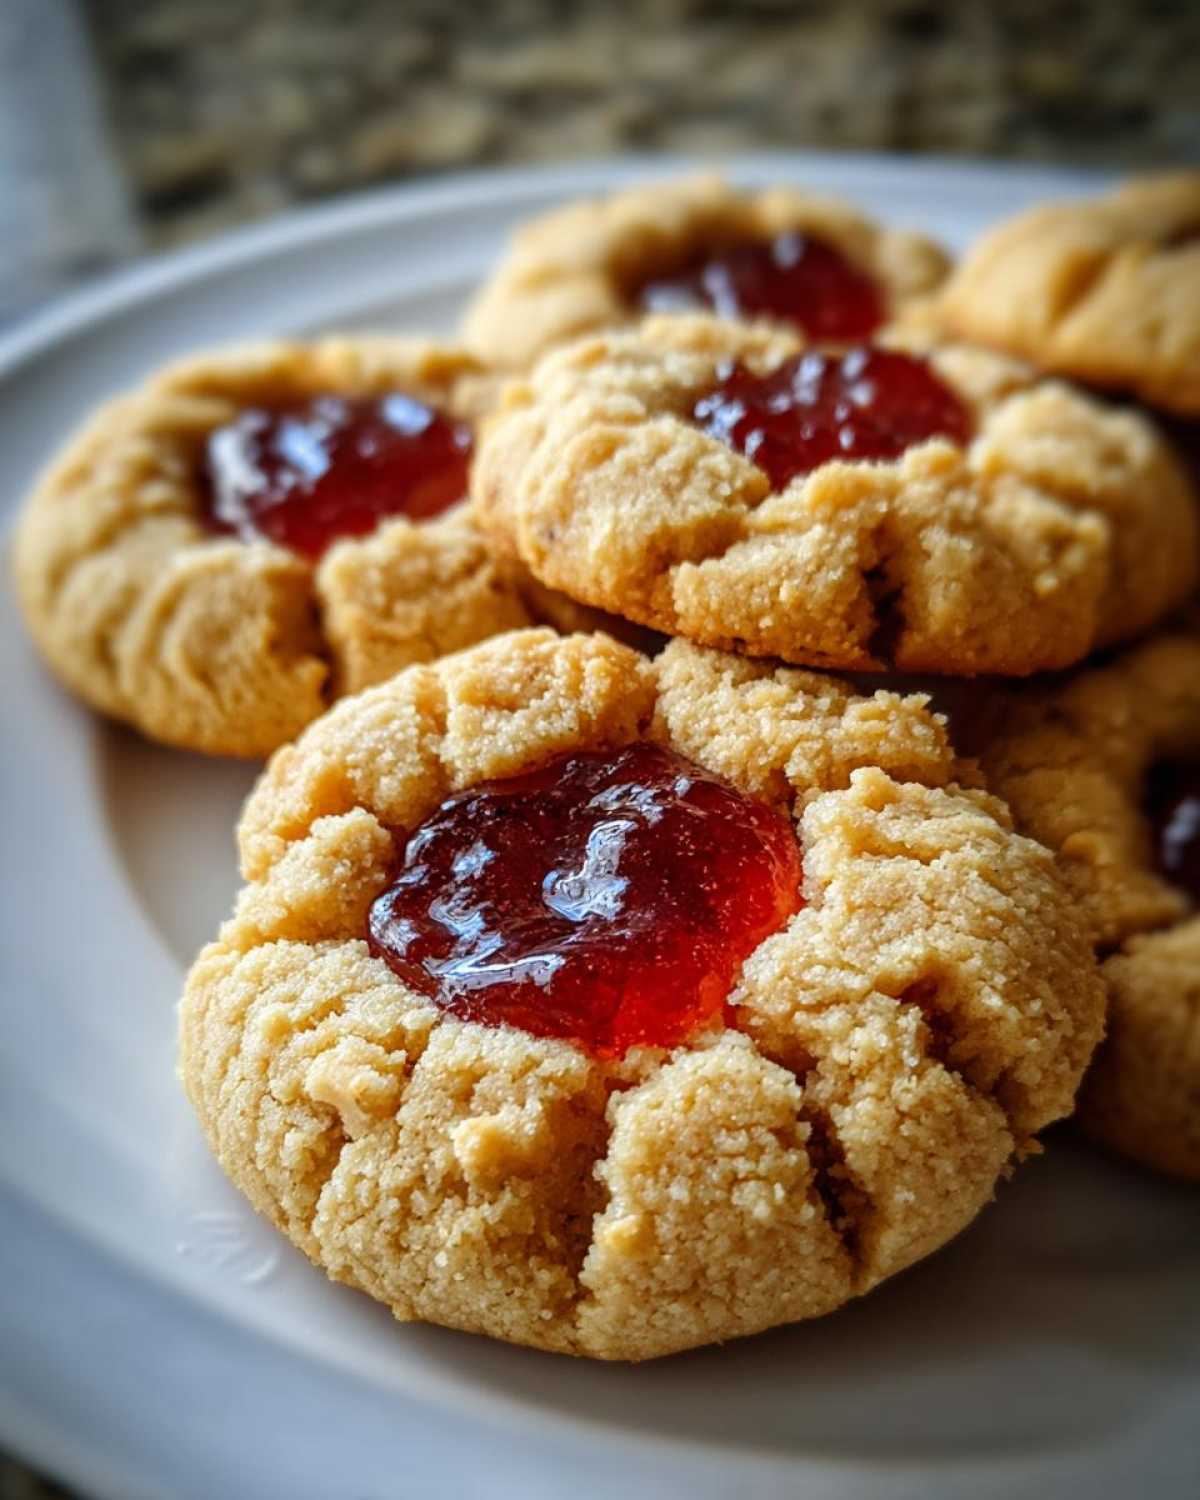
In a separate bowl, whisk together your flour, baking soda, and salt. This makes sure everything is evenly distributed. Now, slowly add the dry ingredients to the wet mixture. Mix until everything is just combined. Be careful not to overmix! Overmixing makes cookies tough. We want soft, chewy cookies. So, mix until you don’t see any dry flour streaks.
Shaping and Filling the Peanut Butter & Jelly Thumbprint Cookies
Time to shape our cookies! Roll the dough into nice, even 1-inch balls. Place these dough balls on your prepared baking sheets. Give them some space. About 2 inches apart is perfect. Now, for the signature touch. Use your thumb to gently press an indentation into the center of each cookie ball. Don’t push all the way through! You want a little well for the jelly. If your thumb feels a bit sticky, a little flour helps. Or you can dip your thumb in sugar.
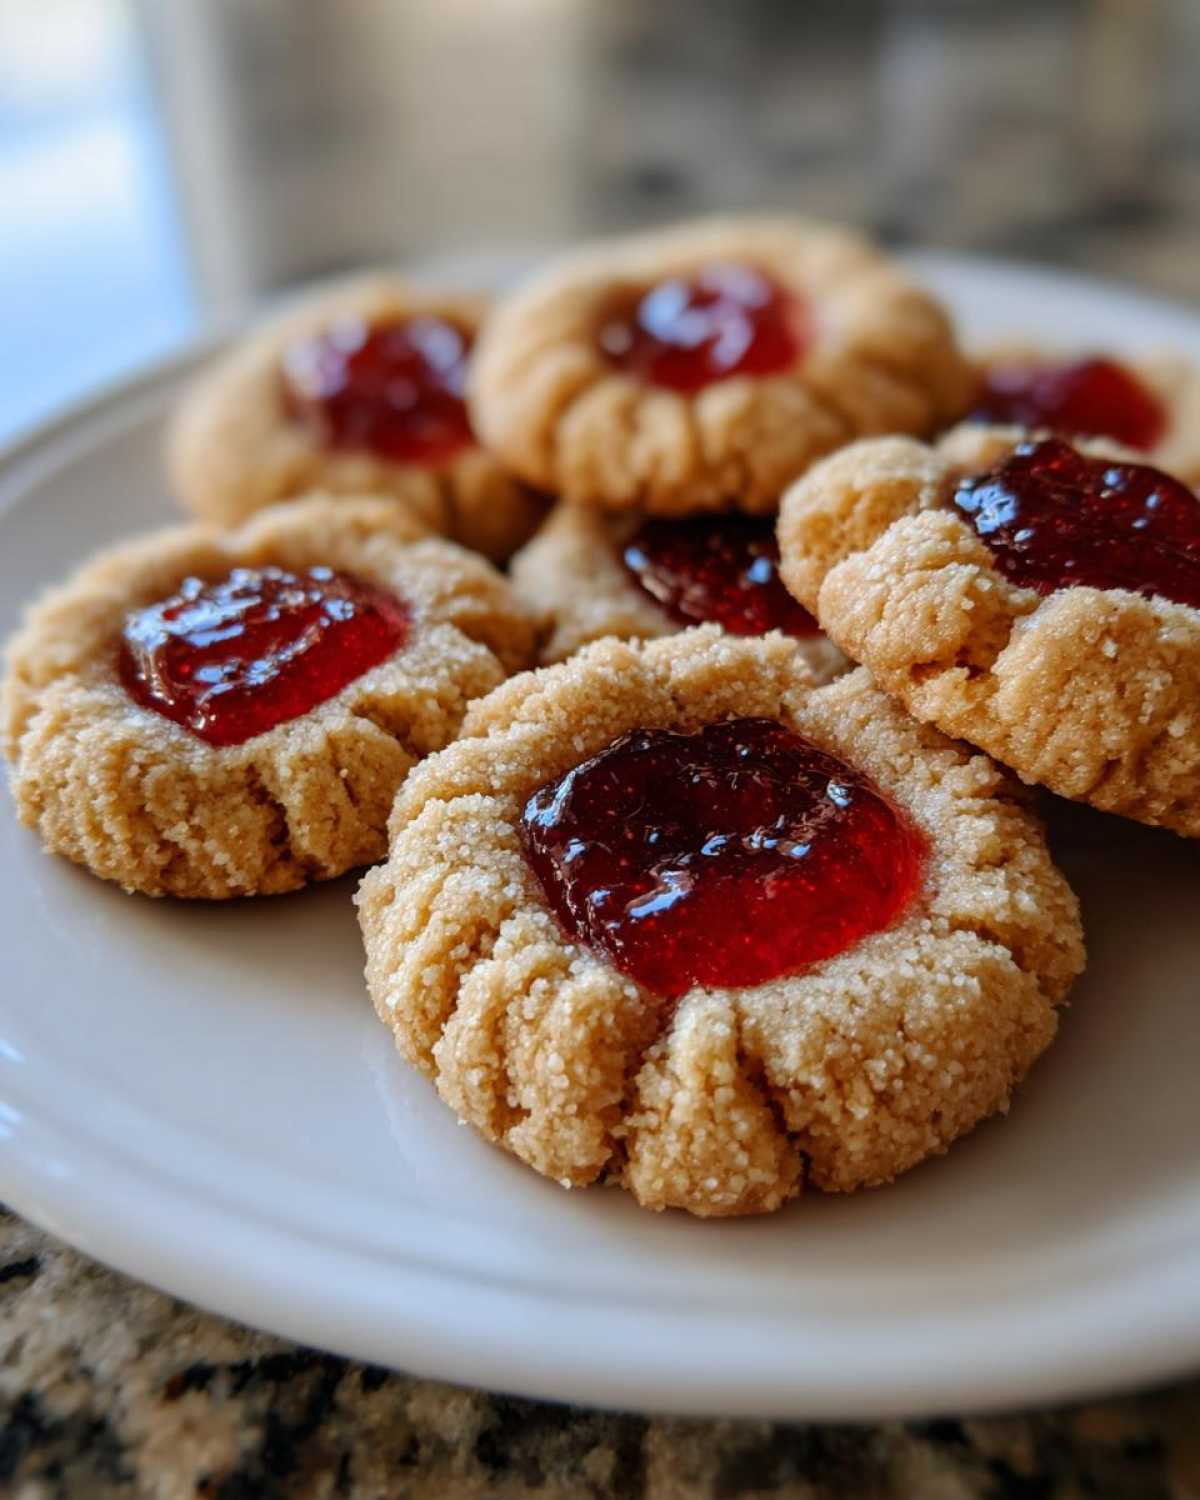
Next, carefully spoon about 1/2 teaspoon of your chosen jelly or jam into each indentation. Grape or strawberry works beautifully here. Just a small dollop is all you need. Try not to let the jelly spill over the sides. This helps prevent it from bubbling out too much while baking. It also keeps the cookies looking neat and tidy. You’ve got this!
Baking and Cooling Your Delicious Peanut Butter & Jelly Thumbprint Cookies
Now, into the oven they go! Bake for about 10 to 12 minutes. You’ll know they’re ready when the edges are lightly golden brown. The centers should still look a little soft. They will firm up as they cool. Keep an eye on them. Ovens can be tricky, you know!
Once they’re out of the oven, let the cookies cool on the baking sheets for a few minutes. This is important. It lets them set up a bit. Then, carefully transfer them to a wire rack. Let them cool completely. This ensures they have that perfect chewy texture. Patience is key here. But oh, the reward is so worth it! Enjoy that wonderful smell filling your kitchen.
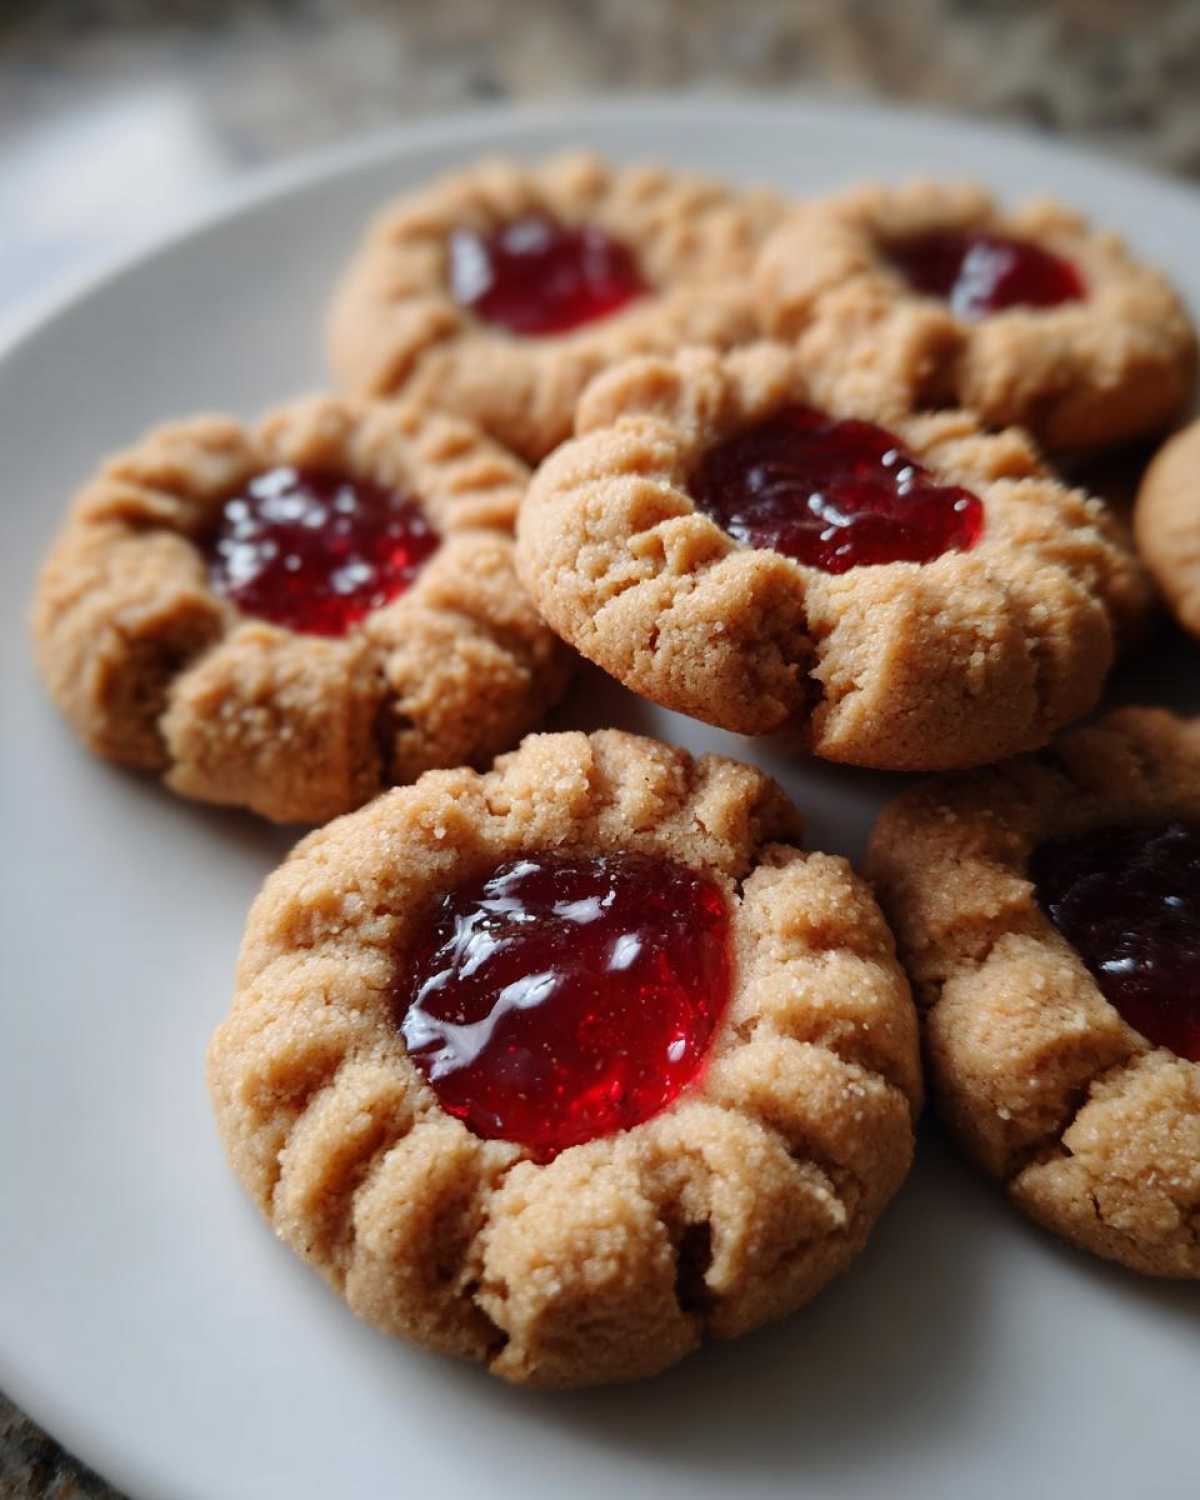
Tips for Baking Perfect Peanut Butter & Jelly Thumbprint Cookies
Baking should be fun, not frustrating! I’ve learned a few tricks over the years to make sure these cookies turn out just right. Small adjustments can make a big difference. Let’s talk about getting that perfect texture and keeping that jelly in place.
Achieving the Ideal Texture
The secret to a soft, chewy cookie starts with your butter. Make sure it’s softened, not melted or cold. Melted butter makes cookies spread too much. Cold butter makes them tough. Creaming the butter and sugars well is key. This incorporates air, making the cookies lighter. When adding flour, mix only until it’s just combined. Overmixing develops gluten, which makes cookies tough. If your dough feels too sticky to handle, don’t worry! Just pop it in the fridge for about 30 minutes. Chilled dough is easier to roll and shape.
Jelly Selection and Application
For the jelly center, any flavor you love works! Grape and strawberry are classic choices. They give a lovely fruity burst. Use a good quality jam or jelly. It holds its shape better than very runny preserves. When filling the thumbprint, use just a small amount, about half a teaspoon. Don’t overfill it! Too much jelly can spill and burn. It can also make the cookie soggy. Fill the indentations after you’ve placed the dough balls on the baking sheet. This makes it easier to control the amount.
Variations for Your Peanut Butter & Jelly Thumbprint Cookies
While the classic grape or strawberry jelly is a winner, don’t be afraid to play with flavors! You can try raspberry jam for a tart kick. Apricot preserves add a lovely sweetness. Even a spiced apple butter can be fun for a fall twist. These cookies are a great canvas for your creativity.
Creative Jelly Flavors and Additions
Want to make them extra special? Consider adding a pinch of flaky sea salt on top of the jelly before baking. It really makes the peanut butter flavor pop! For a bit of color and fun, you could gently press some colorful sprinkles into the dough before you make the thumbprint. Maybe even add a tiny bit of cinnamon to the cookie dough itself for a warm spice note. These little tweaks make them uniquely yours!
Storing and Serving Your Peanut Butter & Jelly Thumbprint Cookies
These cookies are best enjoyed fresh. But if you have any leftovers, storing them is easy. Keep them fresh for a few days. They also pair wonderfully with simple, comforting drinks.
Best Practices for Storing Leftovers
Store your cooled cookies in an airtight container. This keeps them from drying out. They’ll stay soft and chewy at room temperature for up to 3 days. I usually just pop them in a cookie tin. Just make sure the lid is on tight!
Serving Suggestions
These cookies are perfect with a tall glass of cold milk. That’s a classic pairing for a reason! They’re also lovely with a warm cup of coffee or tea. They make a great afternoon pick-me-up. Or a sweet ending to any meal.
Frequently Asked Questions About Peanut Butter & Jelly Thumbprint Cookies
Got questions about these delightful cookies? I’m happy to help! Making easy peanut butter jelly cookies should be a breeze. Let’s tackle some common queries.
Can I use crunchy peanut butter for these cookies?
Absolutely! Using crunchy peanut butter will give your cookies a bit of extra texture. You’ll get little peanut bits throughout. The overall flavor will be similar. Just be aware it might make the dough slightly less smooth. The thumbprint might not be as perfect. But hey, rustic charm is great too!
How do I prevent the jelly from sinking or burning?
A little trick helps here. Don’t overfill the thumbprint. Just a half teaspoon is usually enough. Also, try to keep the jelly contained within the indentation. If it spreads too much, it can spill and burn. Baking them until the edges are just golden brown is important. The centers should look soft. They finish cooking as they cool. This prevents the jelly from getting too hot and bubbling over.
Can these cookies be made ahead of time?
Yes, they can! You can make the cookie dough up to 2 days in advance. Store it in an airtight container in the refrigerator. When you’re ready to bake, just scoop and shape as usual. Baked cookies also keep well. Store them in an airtight container at room temperature. They are perfect for making ahead for parties or school lunches.
Are these Peanut Butter & Jelly Thumbprint Cookies good for freezing?
They freeze wonderfully! You can freeze the unbaked cookie dough balls. Place them on a baking sheet until firm, then transfer to a freezer bag. Bake from frozen, adding a minute or two to the baking time. You can also freeze the baked cookies. Let them cool completely first. Store them in an airtight container or freezer bag. They’ll keep their deliciousness for up to 3 months.
Nutritional Information for Peanut Butter & Jelly Thumbprint Cookies
Baking is such a joy, and knowing a little about what’s in our treats is helpful. While every kitchen is a bit different, we can give you a good idea of what to expect from these cookies. It’s always an estimate, as ingredient brands and even the exact size of your cookies can change things a bit.
Estimated Nutritional Breakdown Per Cookie
Based on our recipe, one Peanut Butter & Jelly Thumbprint Cookie typically offers around:
- Calories: 180
- Fat: 10g
- Saturated Fat: 3g
- Unsaturated Fat: 7g
- Trans Fat: 0g
- Carbohydrates: 20g
- Fiber: 1g
- Sugar: 12g
- Protein: 3g
- Sodium: 50mg
- Cholesterol: 20mg
Remember, these are just estimates to give you a general idea. Enjoy these delicious cookies!
Share Your Peanut Butter & Jelly Thumbprint Cookie Creations!
I absolutely love hearing from you! Seeing your baking adventures brings me so much joy. Did you make these Peanut Butter & Jelly Thumbprint Cookies? How did they turn out? I’d be thrilled if you’d share your photos or any special memories you made while baking them. Your feedback helps our little kitchen community grow!
Your Feedback Matters
Please leave a comment below and share your experience. A rating would be wonderful too! I genuinely want to know if you enjoyed this recipe. Did you try a different jelly flavor? I’m always curious to hear about your kitchen successes. Your comments make my day!
PrintMelt 12 Beloved PB&J Cookies

These classic Peanut Butter & Jelly Thumbprint Cookies are a delightful, nostalgic treat perfect for any occasion. They feature a soft, chewy peanut butter cookie base with a sweet jelly center, just like you remember from school lunches.
- Prep Time: 20 minutes
- Cook Time: 12 minutes
- Total Time: 32 minutes
- Yield: approximately 36 cookies
- Category: Cookies
- Method: Baking
- Cuisine: American
- Diet: Vegetarian
Ingredients
- 1 cup (2 sticks) unsalted butter, softened
- 1 cup creamy peanut butter
- 3/4 cup granulated sugar
- 3/4 cup packed light brown sugar
- 2 large eggs
- 1 teaspoon vanilla extract
- 3 cups all-purpose flour
- 1 teaspoon baking soda
- 1/2 teaspoon salt
- 1/2 cup jelly or jam (grape or strawberry recommended)
Instructions
- Preheat your oven to 350°F (175°C). Line baking sheets with parchment paper.
- In a large bowl, cream together the softened butter, peanut butter, granulated sugar, and brown sugar until light and fluffy.
- Beat in the eggs one at a time, then stir in the vanilla extract.
- In a separate bowl, whisk together the flour, baking soda, and salt.
- Gradually add the dry ingredients to the wet ingredients, mixing until just combined. Do not overmix.
- Roll the dough into 1-inch balls.
- Place the dough balls about 2 inches apart on the prepared baking sheets.
- Use your thumb to gently press an indentation into the center of each cookie ball.
- Fill each indentation with about 1/2 teaspoon of jelly or jam.
- Bake for 10-12 minutes, or until the edges are lightly golden brown.
- Let the cookies cool on the baking sheets for a few minutes before transferring them to a wire rack to cool completely.
Notes
- Ensure your butter is softened but not melted for the best cookie texture.
- If the dough is too sticky, you can chill it for 30 minutes before rolling.
- Experiment with different flavors of jelly or jam to find your favorite combination.
- These cookies are best stored in an airtight container at room temperature.
Nutrition
- Serving Size: 1 cookie
- Calories: 180
- Sugar: 12g
- Sodium: 50mg
- Fat: 10g
- Saturated Fat: 3g
- Unsaturated Fat: 7g
- Trans Fat: 0g
- Carbohydrates: 20g
- Fiber: 1g
- Protein: 3g
- Cholesterol: 20mg
