

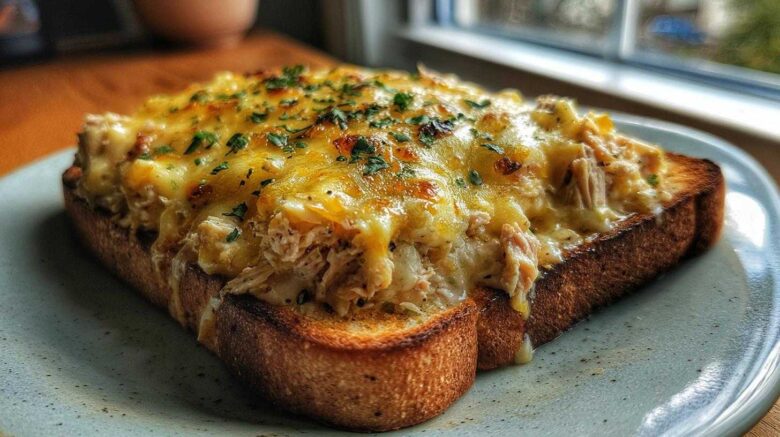
Hey everyone! Lena here. Today, I’m so excited to share a recipe that’s become a lunchtime hero in our apartment, thanks to my dear friend Anya. We’re talking about the ultimate open-faced tuna melt. It’s pure comfort food. This isn’t your average sandwich. It’s simple. It’s fast. It’s utterly delicious. Anya has this amazing knack for making quick meals taste incredible. She learned so much from her grandmother. This open-faced tuna melt is proof of that. It’s perfect when you need something satisfying fast. Let’s get cooking!
This open-faced tuna melt is a winner for so many reasons. It’s a lifesaver on busy days. You can whip it up in minutes. The broiled cheese is just heavenly. It gets all melty and bubbly. Plus, it feels like a real treat.
- Super quick to make.
- Uses simple pantry staples.
- The broiled cheese adds amazing flavor.
- It’s a satisfying and comforting meal.
Anya really brings her magic to this open-faced tuna melt. She learned so much from her grandma. Anya’s approach is always so artistic and thoughtful. She uses fresh ingredients. She always adds just the right touch. For this melt, she focuses on getting the tuna mixture just right. It’s creamy but still has texture from the celery and onion. Her grandmother’s influence shines through. Anya always says it’s about respecting the ingredients. She’s so good at balancing flavors. It makes this simple sandwich sing. You can really taste the care she puts into it.
Gathering Your Open-Faced Tuna Melt Ingredients
Let’s get our ingredients ready for this amazing open-faced tuna melt. Having everything prepped makes cooking so much easier. We need good quality basics for the best flavor. Anya always emphasizes using fresh items whenever possible. This recipe is super forgiving, though! It’s designed for speed and taste. You probably have most of these things already. It’s a perfect recipe for a quick weeknight dinner or a speedy lunch. Let’s dive into what you’ll need to make this delightful open-faced tuna melt.
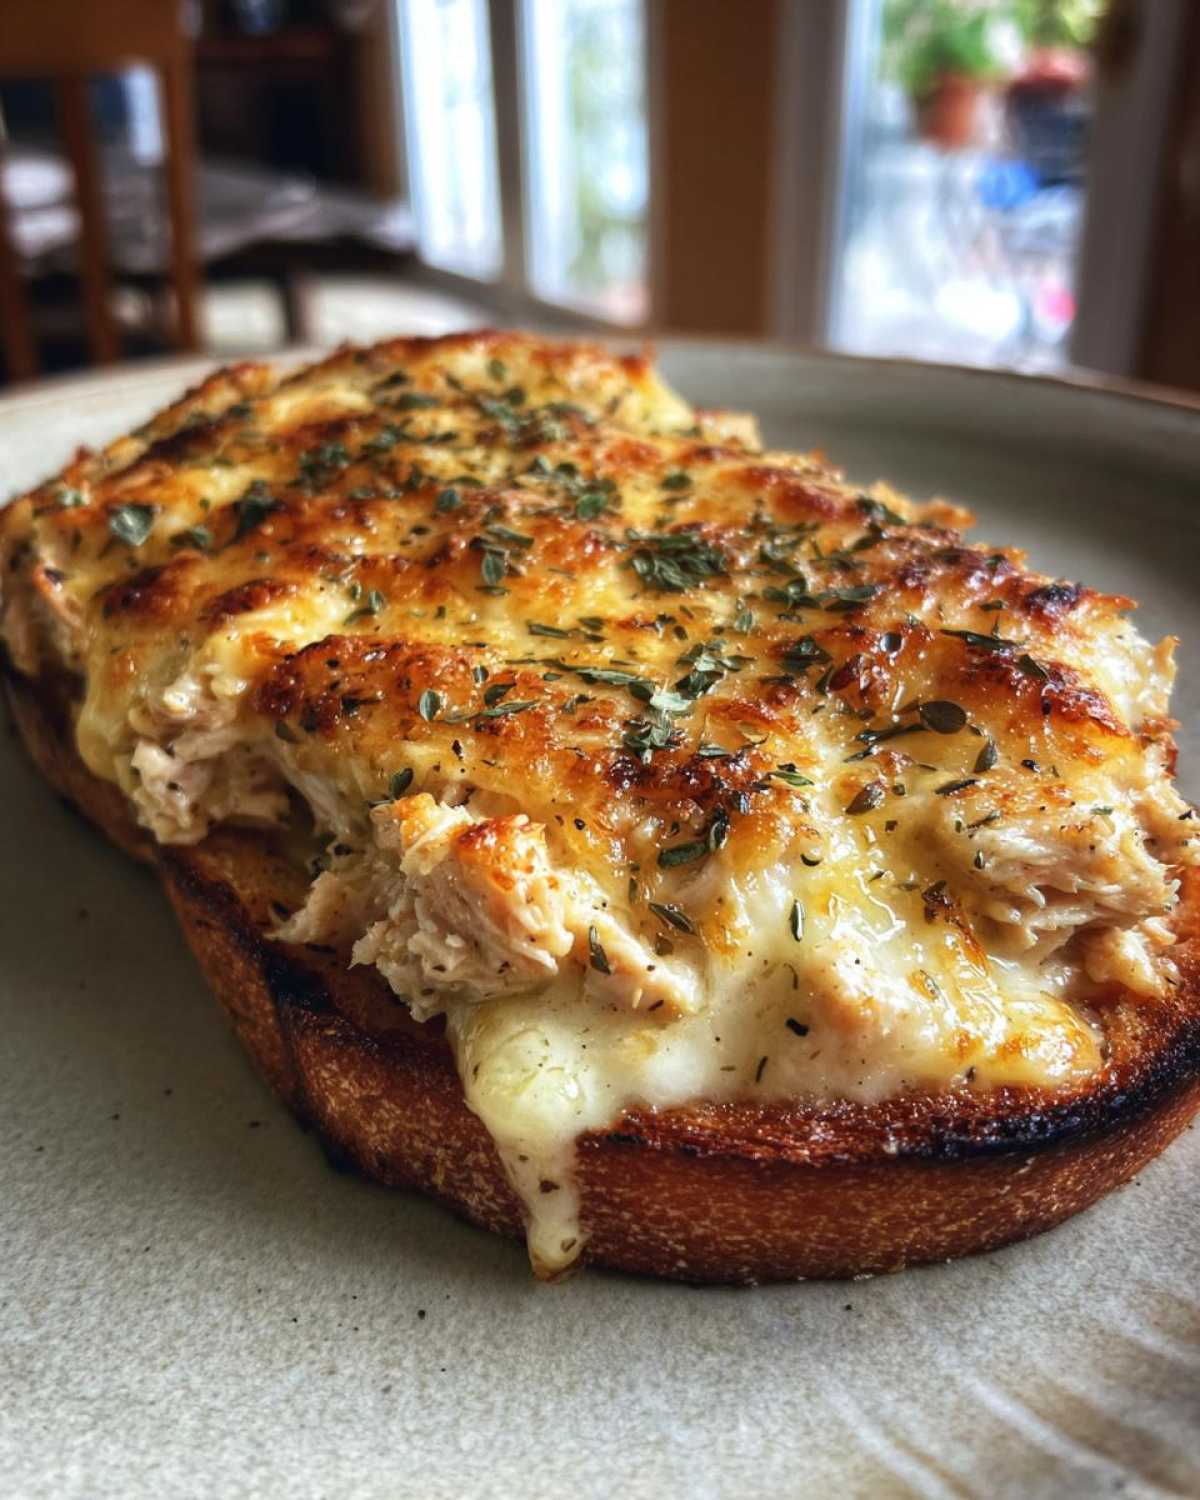
Essential Ingredients for Your Open-Faced Tuna Melt
- 1 can (5 oz) tuna, fully drained
- 2 tablespoons mayonnaise
- 1 tablespoon finely chopped celery
- 1 teaspoon finely chopped onion
- Salt, to your liking
- Black pepper, freshly ground
- 2 slices of your favorite bread
- 2 slices of cheese
Ingredient Notes and Smart Substitutions
For our open-faced tuna melt, the tuna should be well-drained. This prevents a soggy sandwich. Mayonnaise adds creaminess. You can use light mayo if you prefer. Fresh celery gives a nice crunch. If you don’t have celery, finely diced pickle relish is a fun swap. A little bit of onion adds a punch. Shallots or green onions work too. For the cheese, cheddar and Swiss are classic choices. Provolone or Monterey Jack are also delicious. They melt beautifully. Whatever bread you choose, make sure it’s sturdy enough. Sourdough or a good whole wheat bread works wonders for an open-faced tuna melt. You could even try a bagel half.
Step-by-Step Guide to Making an Open-Faced Tuna Melt
Making this delicious open-faced tuna melt is a breeze. Follow these simple steps for a perfect result every time. Anya always says the key is to have fun with it. Don’t stress if your celery isn’t chopped perfectly fine. It all comes together beautifully. We’ll get this open-faced tuna melt ready in no time!
Preparing the Tuna Mixture
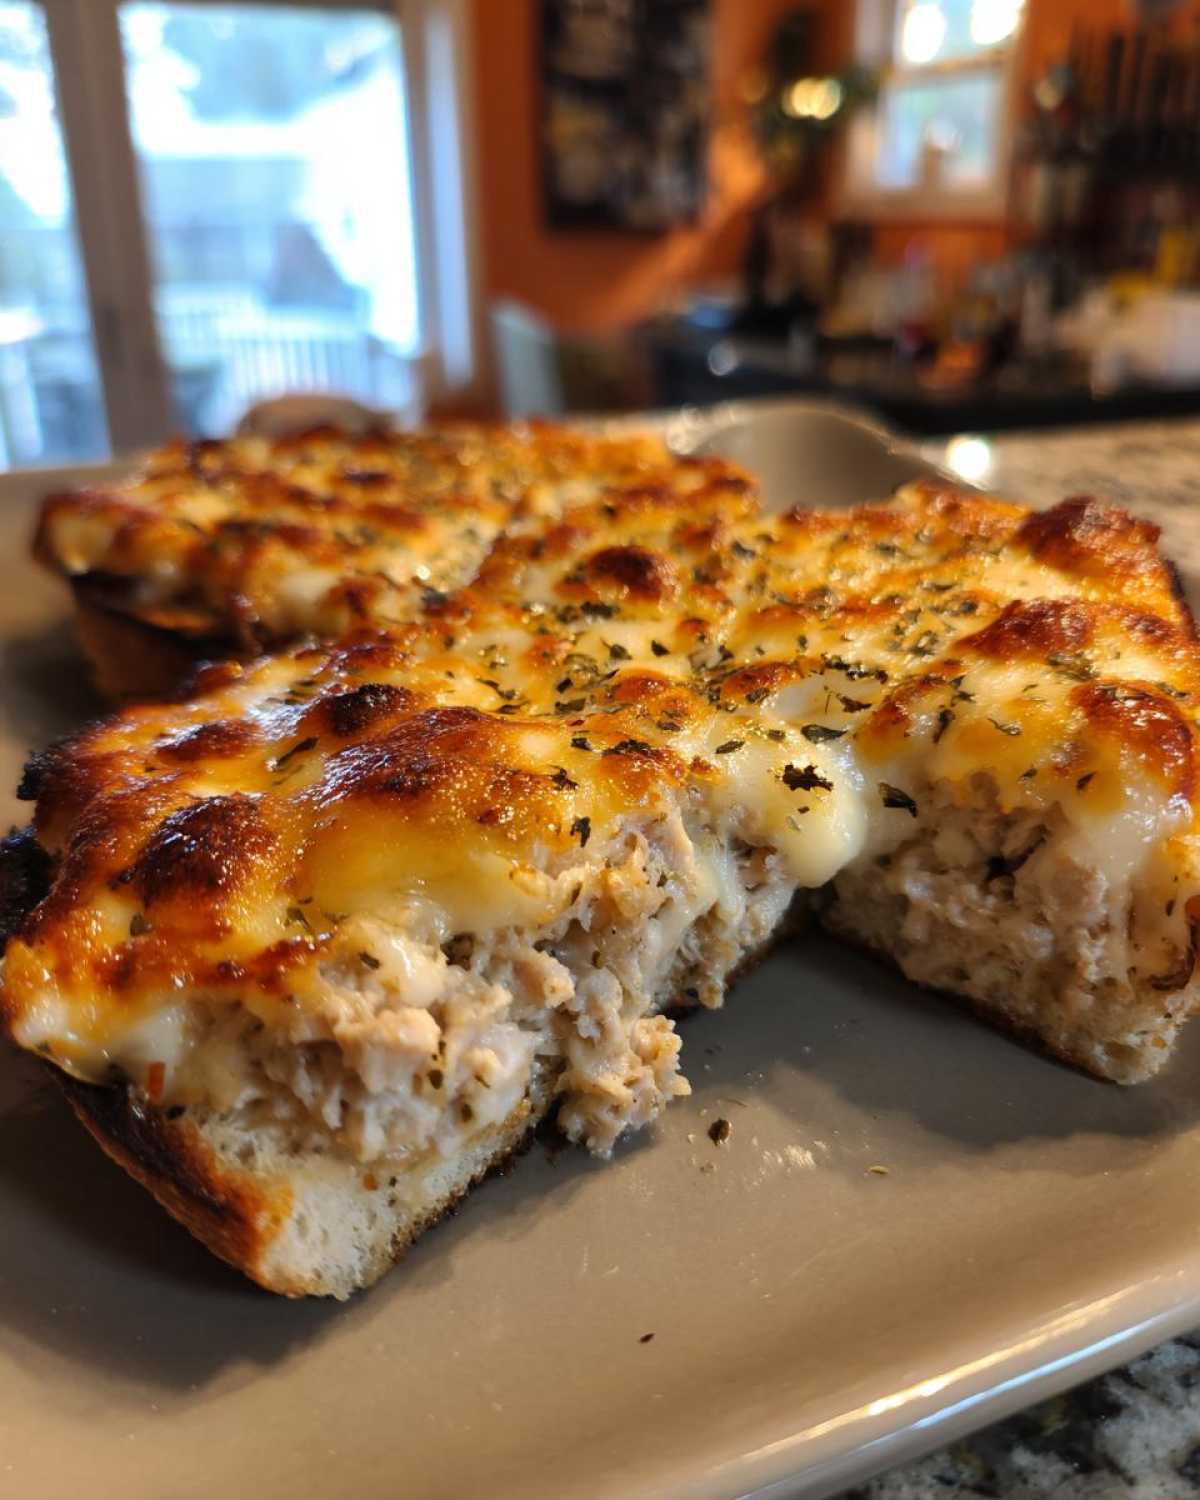
First, grab a small bowl. Make sure it’s clean and dry. Add your drained tuna to the bowl. Now, spoon in the mayonnaise. Add your chopped celery and onion next. You want a nice mix of flavors and textures. Season it with salt and pepper. Give it all a good stir. You’re aiming for a creamy blend. It shouldn’t be too wet. This mixture is the heart of your open-faced tuna melt.
Assembling and Broiling Your Open-Faced Tuna Melt
Preheat your broiler. It needs to be nice and hot. Take one slice of bread. Spread the tuna mixture evenly over it. Don’t be shy with the topping! Layer two slices of cheese right on top. Place this open-faced creation on a baking sheet. Now, carefully put the baking sheet under the broiler. Watch it closely! It only takes about 2 to 3 minutes. You want the cheese to be melted and bubbly. Keep an eye out to prevent any burning. Your open-faced tuna melt is almost ready!
Tips for the Ultimate Open-Faced Tuna Melt Success
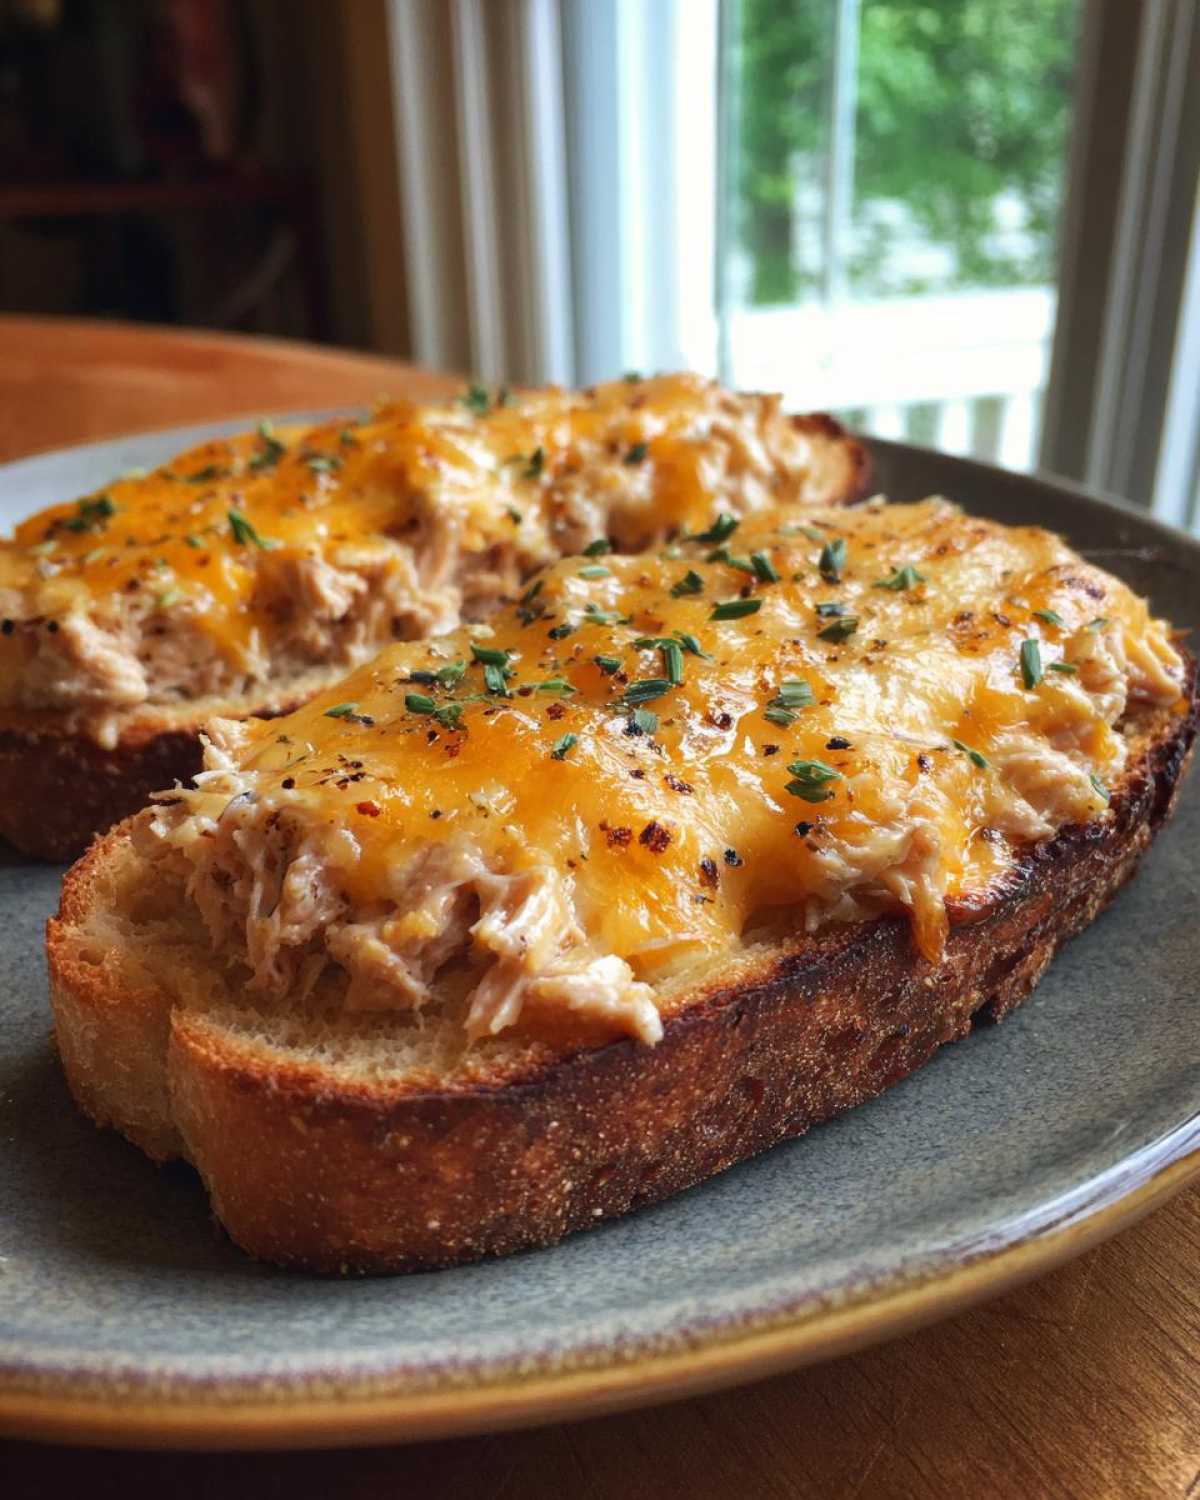
Want to make your open-faced tuna melt truly spectacular? I’ve picked up a few tricks along the way. Draining the tuna really well is crucial. It stops the filling from being watery. A good drain means a better texture for your open-faced tuna melt.
For that perfect cheese melt, make sure your broiler is fully preheated. Don’t walk away while it’s under there! Cheese can go from melty to burnt in seconds. A little char is nice, but black is not.
Consider the bread choice. Sturdier bread holds up better. Toasting the bread lightly first can also help. It adds an extra layer of texture. It prevents sogginess too. This makes for a truly satisfying open-faced tuna melt experience. Enjoy every bite!
Serving and Enjoying Your Open-Faced Tuna Melt
Now that your open-faced tuna melt is perfectly broiled, it’s time for the best part: enjoying it! Serve it up immediately while the cheese is gooey and warm. It’s a simple pleasure, truly. This open-faced tuna melt is fantastic on its own. But it also pairs wonderfully with a crisp side salad. A few pickles on the side are also a classic choice.
We often have it with a simple bowl of tomato soup. It feels so cozy and comforting. It’s the perfect quick lunch that feels like a real meal. Enjoy this delightful open-faced tuna melt!
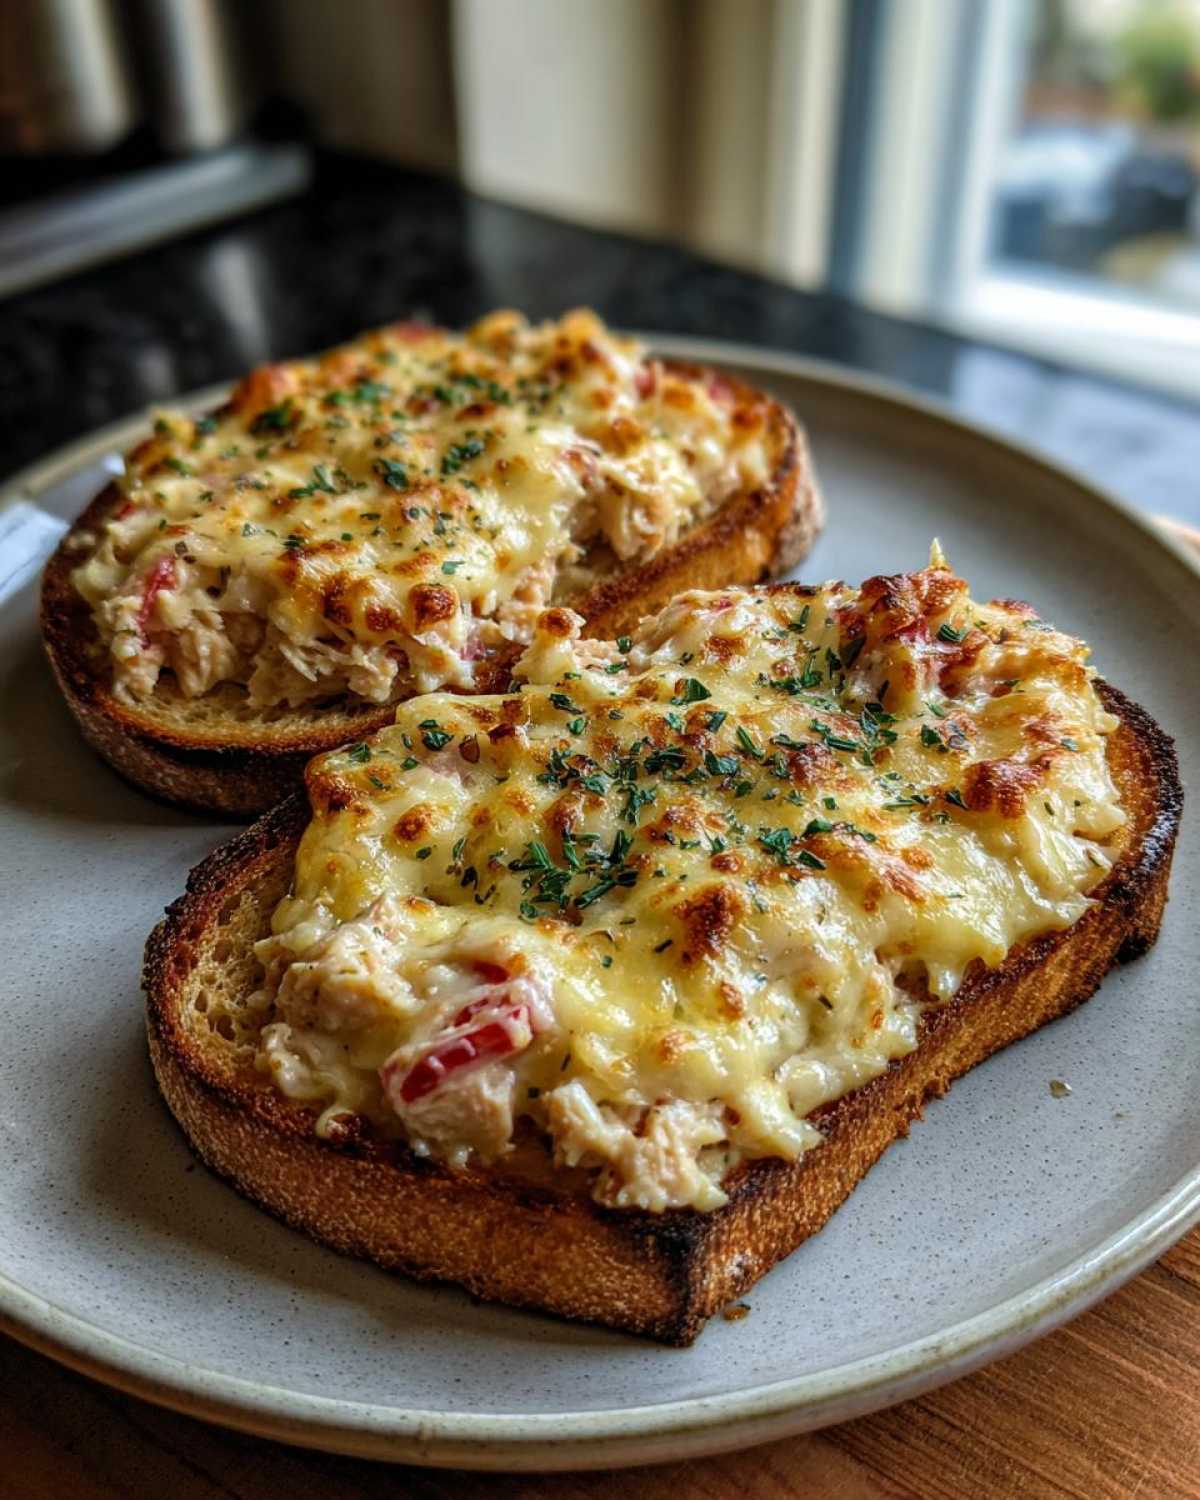
Frequently Asked Questions about Open-Faced Tuna Melts
Got questions about making the perfect open-faced tuna melt? I get it! It’s a simple dish, but a few things can make it even better. Anya and I often chat about these little details. Here are some common queries we get about this quick lunch favorite.
Can I use canned salmon instead of tuna for this recipe?
Absolutely! You can easily swap tuna for canned salmon. Just make sure to drain it well, just like the tuna. The flavor will be a bit different, but still delicious. It’s a great variation for your open-faced tuna melt.
What are some other good bread options for an open-faced tuna melt?
While we love a good sturdy bread, feel free to experiment! Rye bread offers a wonderful flavor. A thick-sliced sourdough is also fantastic. Even a toasted English muffin works well. Just ensure your bread can hold the topping. It helps prevent a messy open-faced tuna melt.
How can I make the tuna mixture creamier or add more flavor?
For extra creaminess, you can add a bit more mayonnaise or even a spoonful of sour cream. If you want more flavor, try adding a pinch of paprika, a dash of Worcestershire sauce, or some chopped dill pickles. These little additions can really elevate your open-faced tuna melt.
Is it possible to toast the bread before adding the tuna mixture?
Yes, toasting the bread first is a great idea! It adds a nice crunch and helps keep the bread from getting soggy. Lightly toast your bread slices before spreading the tuna mixture. This makes for an even better open-faced tuna melt experience.
Nutritional Estimate for an Open-Faced Tuna Melt
Wondering about the numbers? Here’s a general idea of what you’re getting with this open-faced tuna melt. Keep in mind these are estimates. They can change based on your exact ingredients.
- Serving Size: 1 sandwich
- Calories: Around 350-450
- Fat: Varies
- Protein: Varies
- Carbohydrates: Varies
It’s a satisfying meal, for sure!
PrintAnya’s Amazing Open-Faced Tuna Melt in 3 Minutes

A simple and delicious open-faced tuna melt, perfect for a quick lunch.
- Prep Time: 5 minutes
- Cook Time: 3 minutes
- Total Time: 8 minutes
- Yield: 1 serving
- Category: Sandwich
- Method: Broiling
- Cuisine: American
- Diet: Vegetarian
Ingredients
- 1 can (5 oz) tuna, drained
- 2 tablespoons mayonnaise
- 1 tablespoon chopped celery
- 1 teaspoon chopped onion
- Salt and pepper to taste
- 2 slices of bread
- 2 slices of cheese (cheddar or Swiss work well)
Instructions
- Preheat your broiler.
- In a small bowl, mix the drained tuna, mayonnaise, celery, onion, salt, and pepper.
- Spread the tuna mixture evenly over one slice of bread.
- Top with two slices of cheese.
- Place the open-faced sandwich on a baking sheet.
- Broil for 2-3 minutes, or until the cheese is melted and bubbly. Watch carefully to prevent burning.
- Serve immediately.
Notes
- You can add a pinch of paprika for extra flavor.
- Feel free to use your favorite type of cheese.
Nutrition
- Serving Size: 1 sandwich
- Calories: Approximately 350-450
- Sugar: Varies
- Sodium: Varies
- Fat: Varies
- Saturated Fat: Varies
- Unsaturated Fat: Varies
- Trans Fat: Varies
- Carbohydrates: Varies
- Fiber: Varies
- Protein: Varies
- Cholesterol: Varies
