

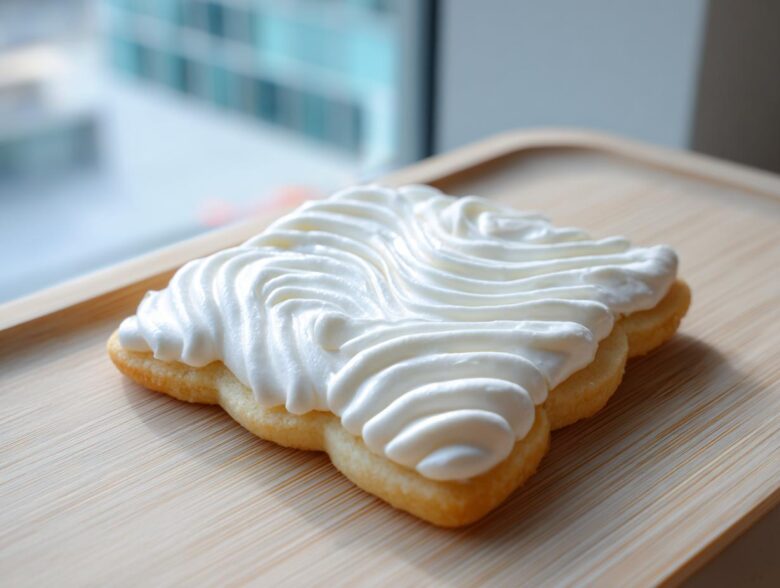
Oh, the heartbreak! You spend hours cutting out perfect little festive shapes, baking them until they’re just right, and then… you ice them. And what happens? The icing bleeds everywhere, it takes a literal year to dry, or worse, it dries dull and cracks when you try to stack the cookies. I’ve been there, trust me. After years of holiday baking failures, I promise you I’ve perfected this exact formula. This is the foolproof **sugar cookie icing recipe** you need in your life. We are talking about icing that dries hard as a rock, looks beautifully glossy, and holds the sharpest outline you can manage. Get ready because your cookie game is about to get serious!
Need to check out some cookie inspiration while we whip this up? Take a peek at my recipe for fruit pizza sugar cookies for when you want a softer finish, but today? Today is about solid structure!
Why This Is the Best Sugar Cookie Icing Recipe for Decorating
You might think all icing recipes are the same—just powdered sugar and liquid, right? Wrong! This specific formula isn’t just any simple glaze; it’s designed for serious decorating work. That’s probably why it’s the **best sugar cookie icing recipe** I use for my holiday batches. Forget those runny messes that take forever to dry! This one actually delivers beautifully on its promises, giving you that perfect, hard, **glossy sugar cookie glaze** look every single time.
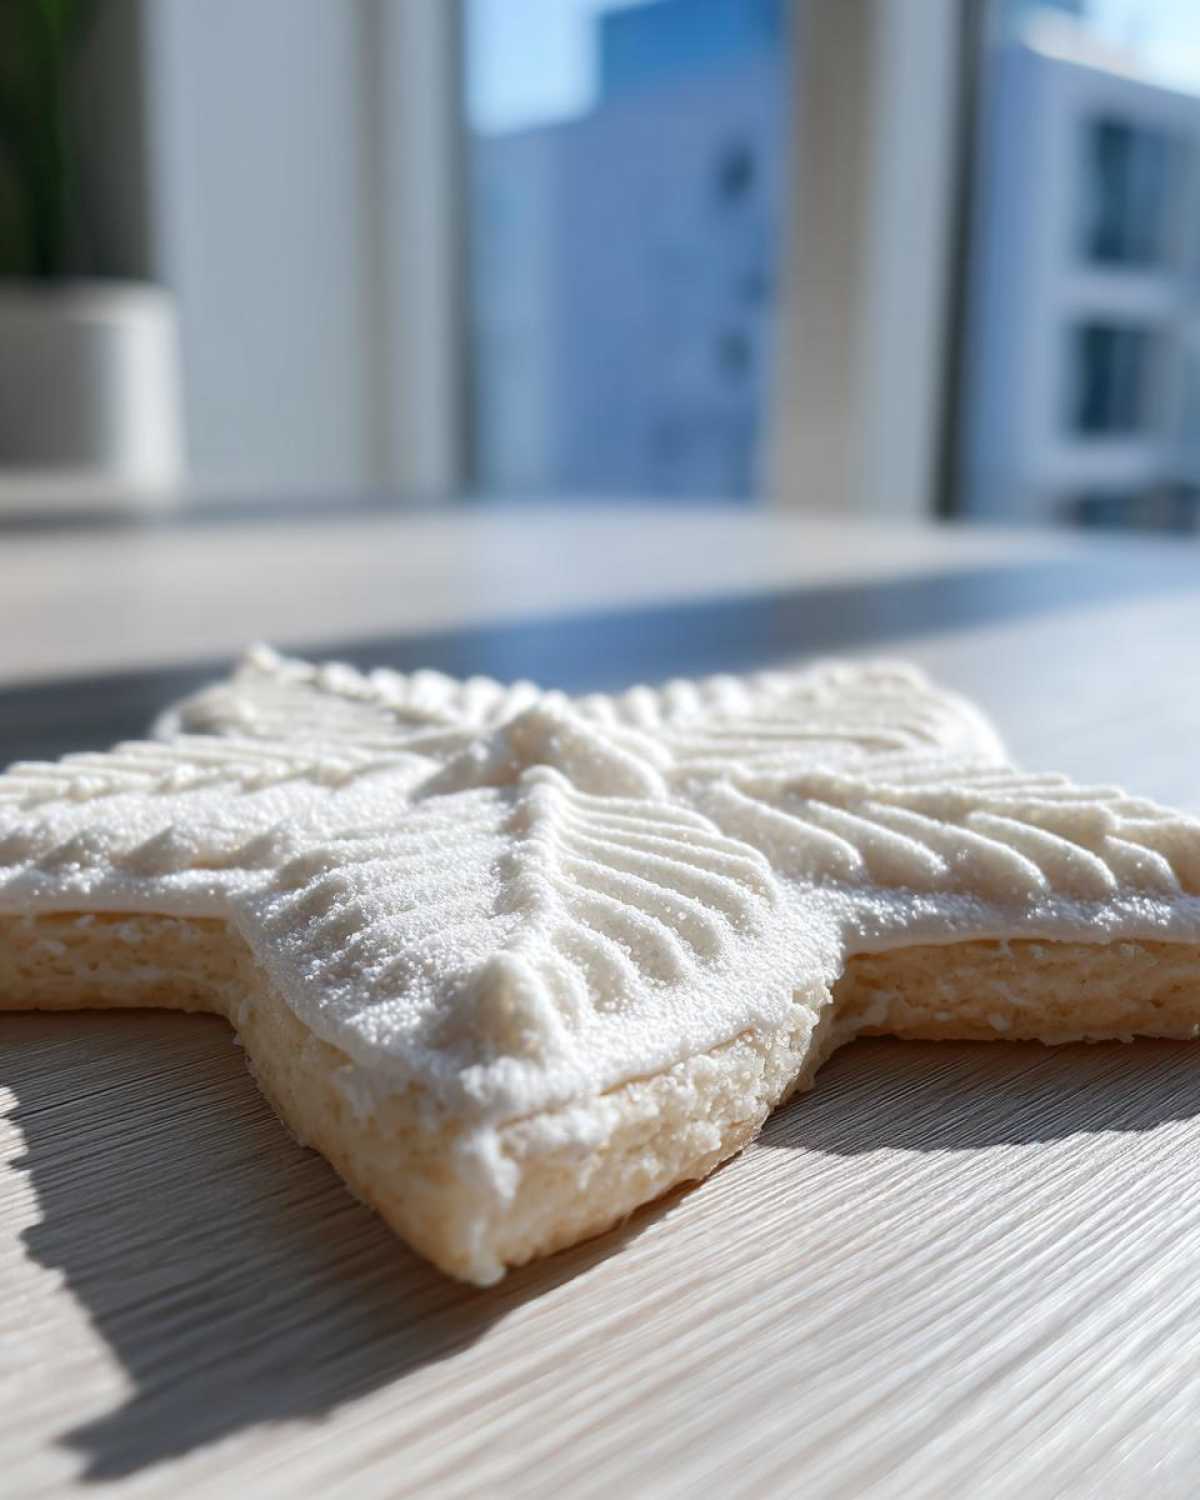
If you’re looking for **icing for sugar cookies that hardens** up rock solid for gifting or stacking, you’ve found your winner. Check out how I used this exact icing on my snowflake cookies—they held up perfectly!
Achieving a Smooth Cookie Frosting for Beginners
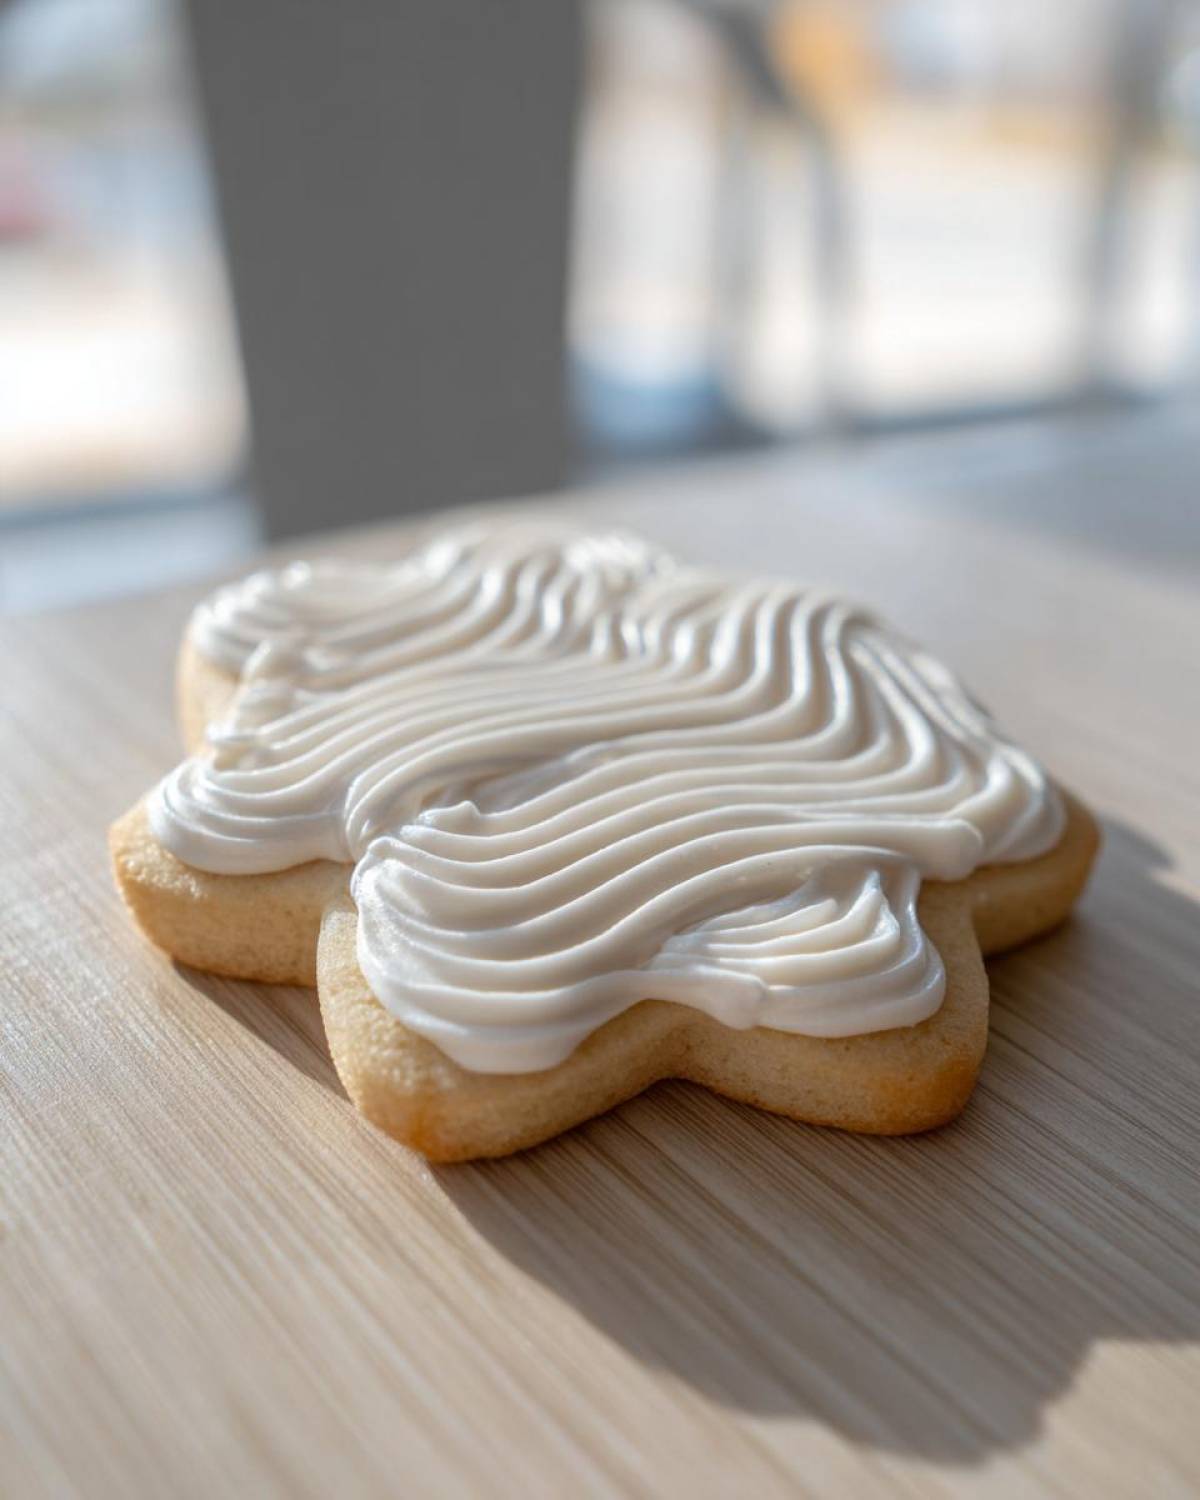
The magic ingredient here is the meringue powder, and honestly, it’s a beginner’s best friend. It replaces messy egg whites, which can sometimes be tricky to handle and worry about, while stabilizing the whole mixture. Meringue powder gives you structure without fuss. It whips up beautifully, ensuring you get that incredibly smooth texture right out of the mixer. No lumps, no stress—just perfectly smooth consistency ready for your paintbrush or piping bag!
The Secret to Cookie Decorating Icing That Sets Firmly
This is where most people rush, and it’s why their icing stays soft and sticky. You absolutely must beat this mixture for the full five to seven minutes on medium-high speed! That beating time incorporates tons of air, which is the real structural support for this frosting. That incorporated air is exactly what creates the firm, dry shell we’re after. Don’t stop early! I promise you, that long beat time is the secret to reliable **cookie decorating icing that sets** hard enough to handle.
Essential Ingredients for Your Sugar Cookie Icing Recipe
Okay, let’s talk about what goes into the bowl. Getting the ingredients right is half the battle, especially when you want that beautiful, shiny finish that looks professional. This component list is short, but every item has a huge job to do! We start with four cups of powdered sugar, and this is important—you absolutely must sift it first. Sifting prevents those annoying little clumps that ruin a smooth piping line. Then comes the magic stabilizer: meringue powder. You’ll also need about a half-cup of warm water, which helps everything dissolve properly, and finally, a little vanilla for that classic kick. I sometimes sneak in a dash of almond extract because I love the pairing!
Don’t forget, if you plan on coloring your icing later, please use the gel food coloring! The liquid drops from the grocery store add too much moisture, and that moisture stops the icing from drying hard and fast. Grab your colors, and maybe peek at my recipe for creamy egg cheese frosting if you need inspiration for other types!
Ingredient Notes and Substitutions for This Sugar Cookie Icing Recipe
One of the biggest things people worry about with icing is corn syrup, right? They think you need it for the shine or to keep it from cracking. Well, with this specific **sugar cookie icing recipe**, you don’t have to worry about it at all! The meringue powder is doing the heavy lifting, replacing both egg whites AND the need for corn syrup. We’re making a fantastic **no corn syrup sugar cookie icing** base just by following these steps. If you were using an older recipe that called for it, you can skip it here because the 5-7 minute beat time combined with the meringue powder gives us that perfect strength and sheen naturally.
Step-by-Step Instructions for the Perfect Sugar Cookie Icing Recipe
Alright, let’s get mixing! This part comes together fast after all that ingredient prep. First, dump your dry stuff—that sifted powdered sugar and the meringue powder—into a nice big mixing bowl. Give it a quick whisk by hand just to make sure those two are acquainted. Then, add in your warm water and your flavor extracts, like that lovely vanilla. Don’t even touch the mixer yet; just stir it low until it looks like thick sludge.
Now comes the most important part of this whole **sugar cookie icing recipe**: the beating. Seriously, set a timer! You need to beat this on medium-high for a full five to seven minutes. I know that sounds long when you’re eager to decorate, but this step is non-negotiable. That whipping incorporates the air that makes it super smooth and dense, which means it will dry hard! If you stop before five minutes, it’s going to stay sticky—and we don’t want that mess. Once it’s ready, it should look brilliantly white, super smooth, and stiff. If you look up my vanilla buttercream recipe, you’ll see I preach about creaming time there too; it’s the backbone of great baking!
Adjusting Consistency: Outlining vs. Flooding in Your Easy Cookie Frosting Recipe
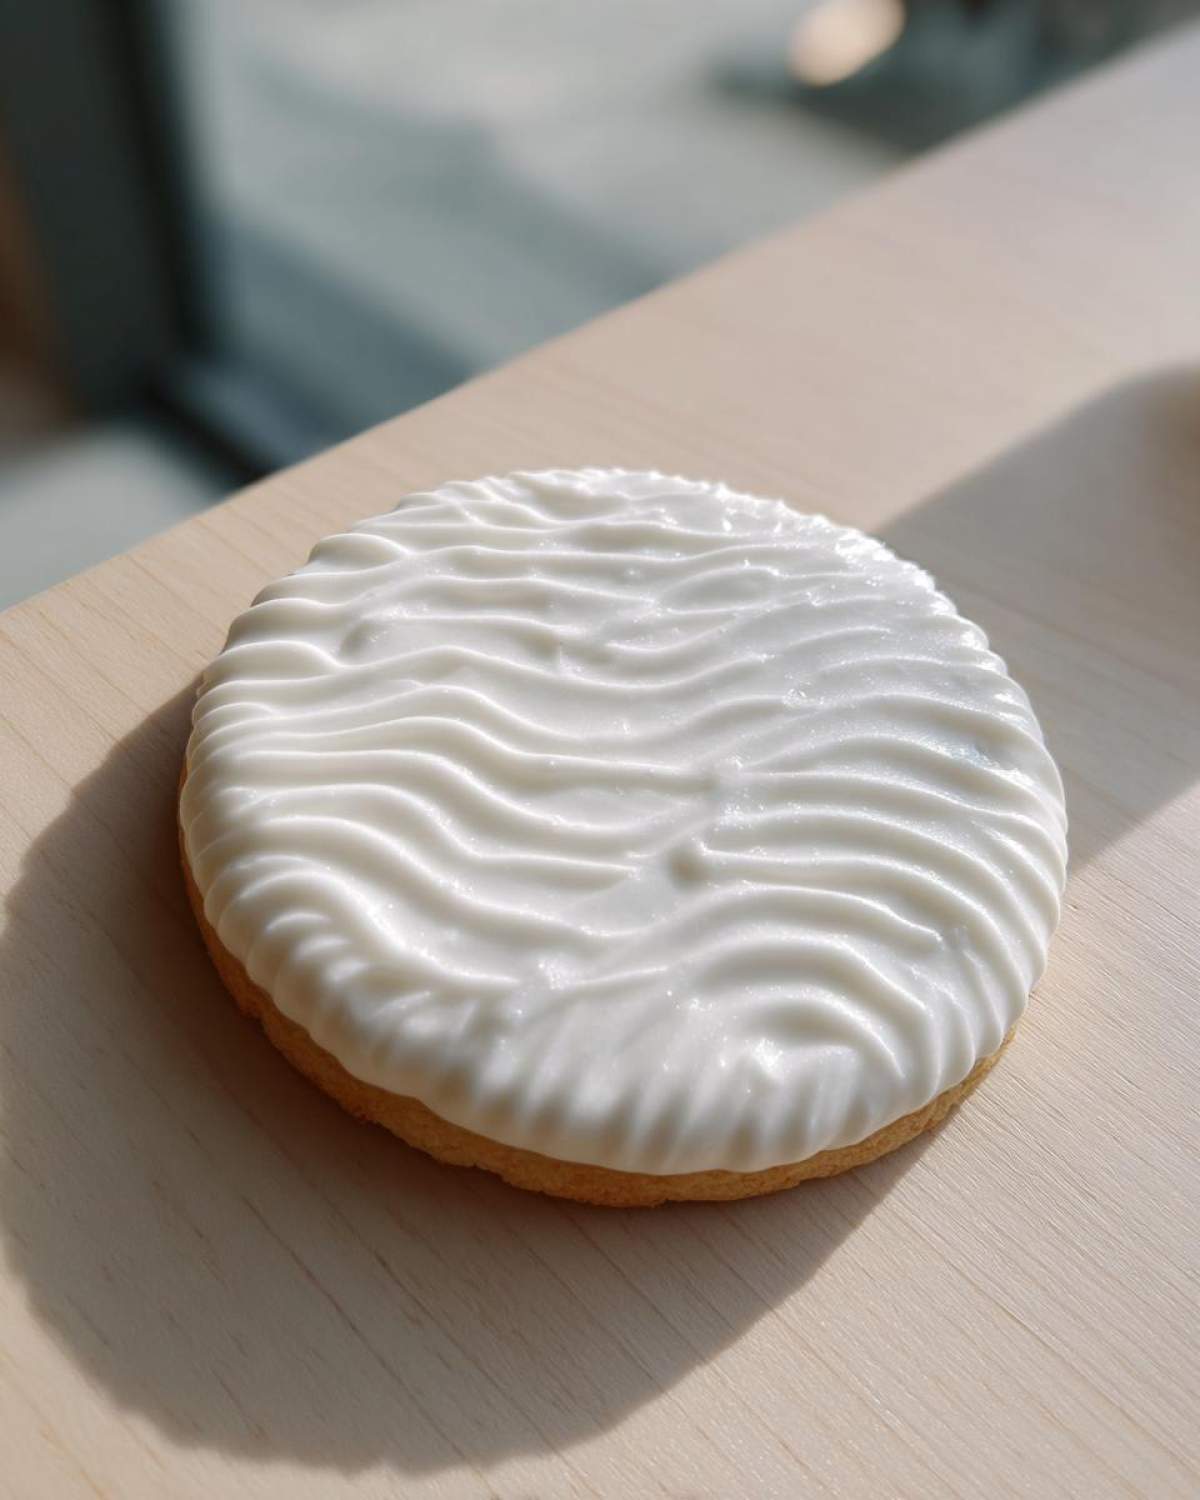
Once your icing is perfectly whipped and stiff, you’ve got icing ready for outlining—that’s your base layer, the stuff that holds the other colors inside the lines, so it needs to be super thick. If you hold a spoon up, the ribbon of icing should hold its shape for a moment before slowly sinking back in itself. That’s perfect!
Now, if you want to flood or fill in the middle of those outlines, you need to thin it just a bit. This is where that water detail comes in handy. Add water one teaspoon at a time, mixing slowly, until the icing flows off the spoon and settles back into the main bowl in about 8 to 10 seconds. That’s the sweet spot for flooding! This precision is why this is such an **easy cookie frosting recipe** to master—you just control the water to control the flow.
Tips for Success with Your Hard Icing for Cut Out Cookies
I learned the hard way that even the best **sugar cookie icing recipe** can be defeated by Mother Nature—specifically humidity! Oh, the tragedy of trying to decorate cookies on a rainy November day; the icing just sat there, weeping and refusing to set. Since then, I always have a backup plan. If it’s a foggy day or you’re just in a huge rush to get those cookies packaged, you absolutely must use the fan trick. Seriously, setting the decorated cookies in front of a room-size fan speeds up the drying process dramatically!
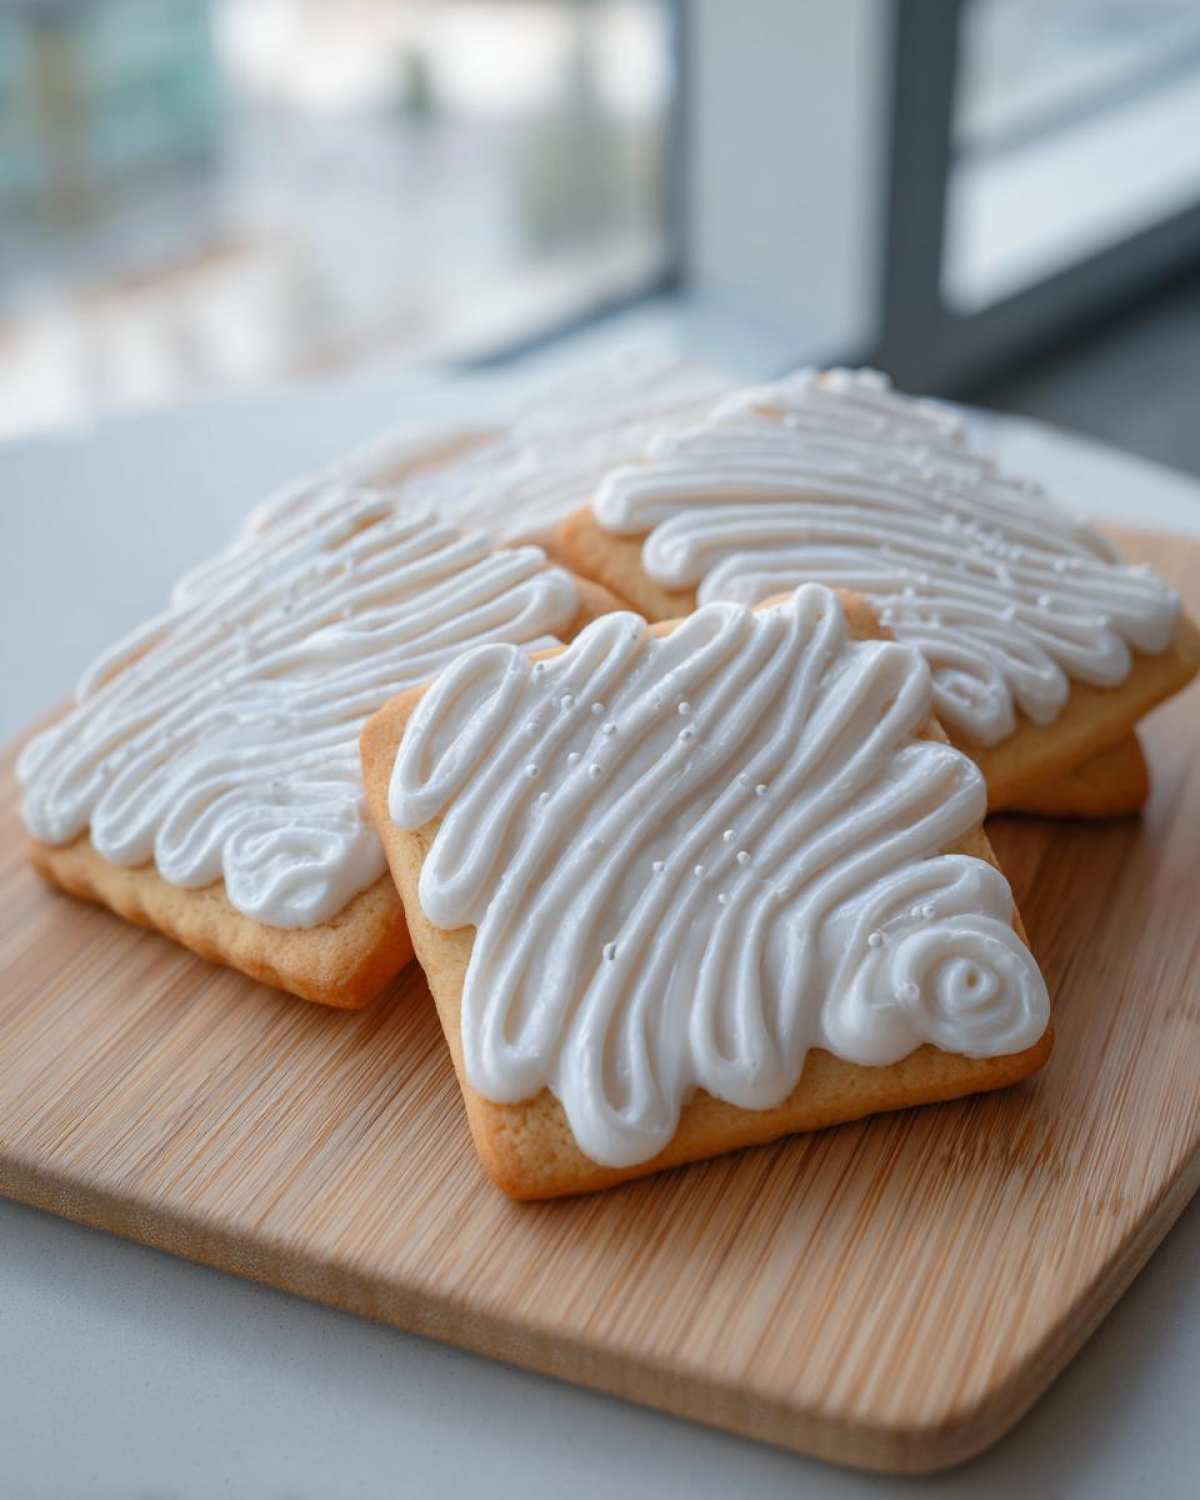
I remember once icing 300 cookies for a bake sale, and I just set them on the counter—huge mistake! I ended up working in shifts, moving trays in front of the fan every hour. It made all the difference and saved the batch. You can check out my guide on another easy cookie frosting recipe if you want something simpler, but for these hard-set designs, the fan is your best friend when humidity strikes!
Making Variations of This Simple Vanilla Cookie Icing Recipe
You’ve nailed the base **sugar cookie icing recipe**—it sets hard and it shines—but who says we can’t have fun? Because this icing is so simple, it takes flavor additions like a champ! If you’re making cookies for Christmas, ditch the vanilla for a splash of peppermint extract instead. That minty punch, paired with the slight almond hint we already have, makes the perfect holiday cookie icing recipe.
Or, what about a spring batch? Try swapping out the vanilla for a teaspoon of fresh lemon zest and one teaspoon of lemon juice instead of using water adjustments later on. It gives it a beautiful, bright tang that cuts through the sweetness. Find more fun variations over at my post about a dedicated holiday cookie icing recipe!
Storage and Reheating Instructions for Leftover Sugar Cookie Icing Recipe
If you end up with extra of this fantastic **sugar cookie icing recipe**, don’t panic, but don’t refrigerate it! If you put this icing in the cold, I guarantee you’ll come back to a soupy, weeping mess when you take it out. Seriously, the cold messes up the sugar structure.
The trick? Keep it airtight at room temperature. Press a piece of plastic wrap directly onto the surface of the icing inside the container—make sure it’s touching the icing! This stops a skin from forming. It’s good for about two days this way. If it seems a little stiff later, just beat it for thirty seconds, and it’ll instantly come back to life, ready to go!
Frequently Asked Questions About This Sugar Cookie Icing Recipe
How long does it take for this icing that doesn’t crack on cookies to dry completely?
That’s the million-dollar question when you’re on a deadline! For this **icing that doesn’t crack on cookies**, you need patience. Generally, if the weather isn’t too humid, you can expect the icing to be dry to the touch, meaning fully set, in about four to six hours. If it’s super humid when you’re decorating—like a rainy day—it might take closer to eight or even overnight. Remember that trick I mentioned about using a fan? That’s your best defense against long drying times!
Can I use regular food coloring instead of gel for this royal icing recipe for cookies?
Oh honey, please don’t! If you want that perfect, hard finish that this **royal icing recipe for cookies** promises, stick strictly to gel colors. If you add liquid food coloring, you are adding water, and water stops the icing from drying hard. You’ll end up with a gorgeous, soft blob instead of sharp edges. Just a tiny dab of gel goes a long way and keeps our powdered sugar ratio perfect.
What is the best way to get a shiny cookie frosting recipe finish?
To achieve that beautiful shine in your **shiny cookie frosting recipe** finish, it all comes down to how you handle the mixture right at the end. When you’ve got the icing to the consistency you need—whether for outlining or flooding—stop the mixer! If you keep beating that smooth icing around after all the air is incorporated, you start adding tiny surface bubbles, which dry dull. Beat for the full time to get the structure, but stop before it looks overly foamy if you want that glass-like gloss.
If you want to dive deeper into the science of keeping icing perfect, check out my longer post on how to make icing that dries hard. Happy decorating!
Estimated Nutritional Data for Powdered Sugar Cookie Icing
Now, I’m not a nutritionist, so take these numbers with a big spoon of salt! These values are just an estimate based on the recipe card I have here, okay? Exact numbers are going to shift depending on the sugar brands you grab or how much food coloring you sneak in. But for a general idea, here’s what we are looking at for one serving (about 1/4 cup of that glorious, hard-set icing).
- Serving Size: 1/4 cup
- Calories: 175
- Sugar: 44g
- Sodium: 5mg
- Fat: 0g
- Protein: 1g
See? Mostly sugar, which is exactly what we expected from a rock-solid coating! Just remember, this is for the icing alone, not the cookie underneath. Don’t even think about counting calories when you’re decorating for the holidays!
Share Your Masterpiece Sugar Cookie Icing Recipe Creations
Whew! Now that you have all my secrets for the sturdiest, shiniest **sugar cookie icing recipe**, I absolutely need to see what beautiful things you create! Honestly, seeing pictures of cookies decorated with this frosting makes my whole week. Please, please, leave me a star rating right below this box if this recipe saved your holiday decorating party!
Were your edges crisp? Did it dry hard without cracking? Use the comments section below to shout out your successes! If you ran into trouble adjusting the flood consistency or if you tried one of my flavor twists, drop your experience there too. That’s where we can all help each other out and troubleshoot!
And if you have friends who are still fighting with runny icing or dull finishes, do them a huge favor and send them the link to this super simple formula. They’ll thank you when their cookies stack perfectly! Happy baking, and I can’t wait to see your gorgeous work. Don’t forget to check out my main recipe blog for even more sweet ideas!
PrintEasy Sugar Cookie Icing Recipe That Dries Hard and Glossy

Make a simple, foolproof icing for decorating sugar cookies. This recipe dries hard and smooth, perfect for detailed designs.
- Prep Time: 10 min
- Cook Time: 0 min
- Total Time: 10 min
- Yield: Covers about 3 dozen standard cookies
- Category: Dessert
- Method: Mixing
- Cuisine: American
- Diet: Vegetarian
Ingredients
- 4 cups powdered sugar, sifted
- 1/2 cup meringue powder
- 1/2 cup warm water
- 1 teaspoon vanilla extract
- 1/4 teaspoon almond extract (optional)
Instructions
- In a large bowl, whisk together the sifted powdered sugar and meringue powder.
- Add the warm water, vanilla extract, and almond extract (if using) to the dry ingredients.
- Beat the mixture with an electric mixer on low speed until just combined.
- Increase the speed to medium-high and beat for 5 to 7 minutes until the icing is very smooth and stiff peaks form. This incorporates air, which helps it dry hard.
- If the icing is too thick for piping, add water one teaspoon at a time until you reach your desired consistency. For outlining, use a very thick consistency. For flooding, thin slightly.
- Divide the icing into bowls for coloring, if desired. Use gel food coloring for best results.
- Apply the icing to cooled sugar cookies. Let the cookies sit uncovered at room temperature until the icing is completely dry and hard, which may take several hours depending on humidity.
Notes
- For a glossy finish, avoid over-beating once the icing is smooth.
- If you need the icing to dry faster, place the decorated cookies in front of a fan.
- To store leftover icing, press plastic wrap directly onto the surface of the icing and keep it in an airtight container at room temperature for up to two days. Do not refrigerate.
Nutrition
- Serving Size: 1/4 cup
- Calories: 175
- Sugar: 44
- Sodium: 5
- Fat: 0
- Saturated Fat: 0
- Unsaturated Fat: 0
- Trans Fat: 0
- Carbohydrates: 45
- Fiber: 0
- Protein: 1
- Cholesterol: 0
