

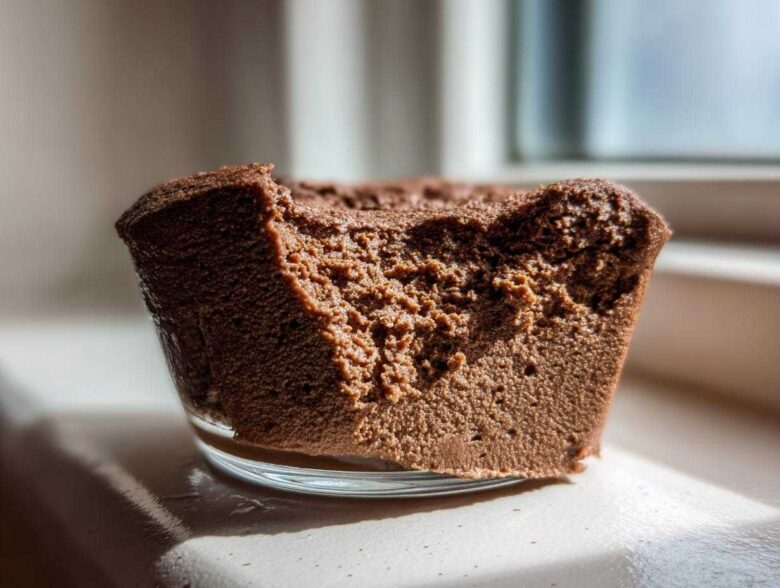
Oh, I have to tell you about the absolute *magic* that happens when you finally nail a truly decadent dessert without needing to turn on the oven. For years, I thought making authentic, light-as-air chocolate mousse meant a complicated French technique involving tempering eggs or hours of standing over a double boiler. Nope! I spent way too many weekends stressing over a runny mess until I finally landed on this simple, no-bake method.
Seriously, this recipe is my secret weapon for impromptu dinner parties. We’re talking rich, creamy, and unbelievably silky smooth chocolate mousse that tastes like it took all day to prepare. It’s so quick, you can whip it up while dinner is simmering. Trust me, once you master these simple mousse instructions, you’ll never look back. This homemade mousse recipe is proof that the most indulgent sweet treat doesn’t have to be difficult.
Why This Easy Chocolate Mousse is the Best Chocolate Mousse Recipe
Okay, I know everyone claims their recipe is the best, but this one truly stands apart, especially if you’re looking for something quick and gorgeous. I used to think I needed to buy fancy ingredients or use some heavy, complicated technique, but this straightforward approach delivers every single time.
If you need a showstopper at the last minute, this is your go-to. Honestly, it’s perfect because:
- It’s a genuine no bake dessert—no oven worries whatsoever!
- The texture is incredibly important, and this method guarantees that unbelievable silky smooth mousse you always dream about.
- It uses basic pantry staples, making it the best chocolate mousse recipe for beginners.
You ditch the messy tempering and still end up with a profoundly rich and creamy chocolate dessert. It’s just pure payoff with minimal effort, I promise!
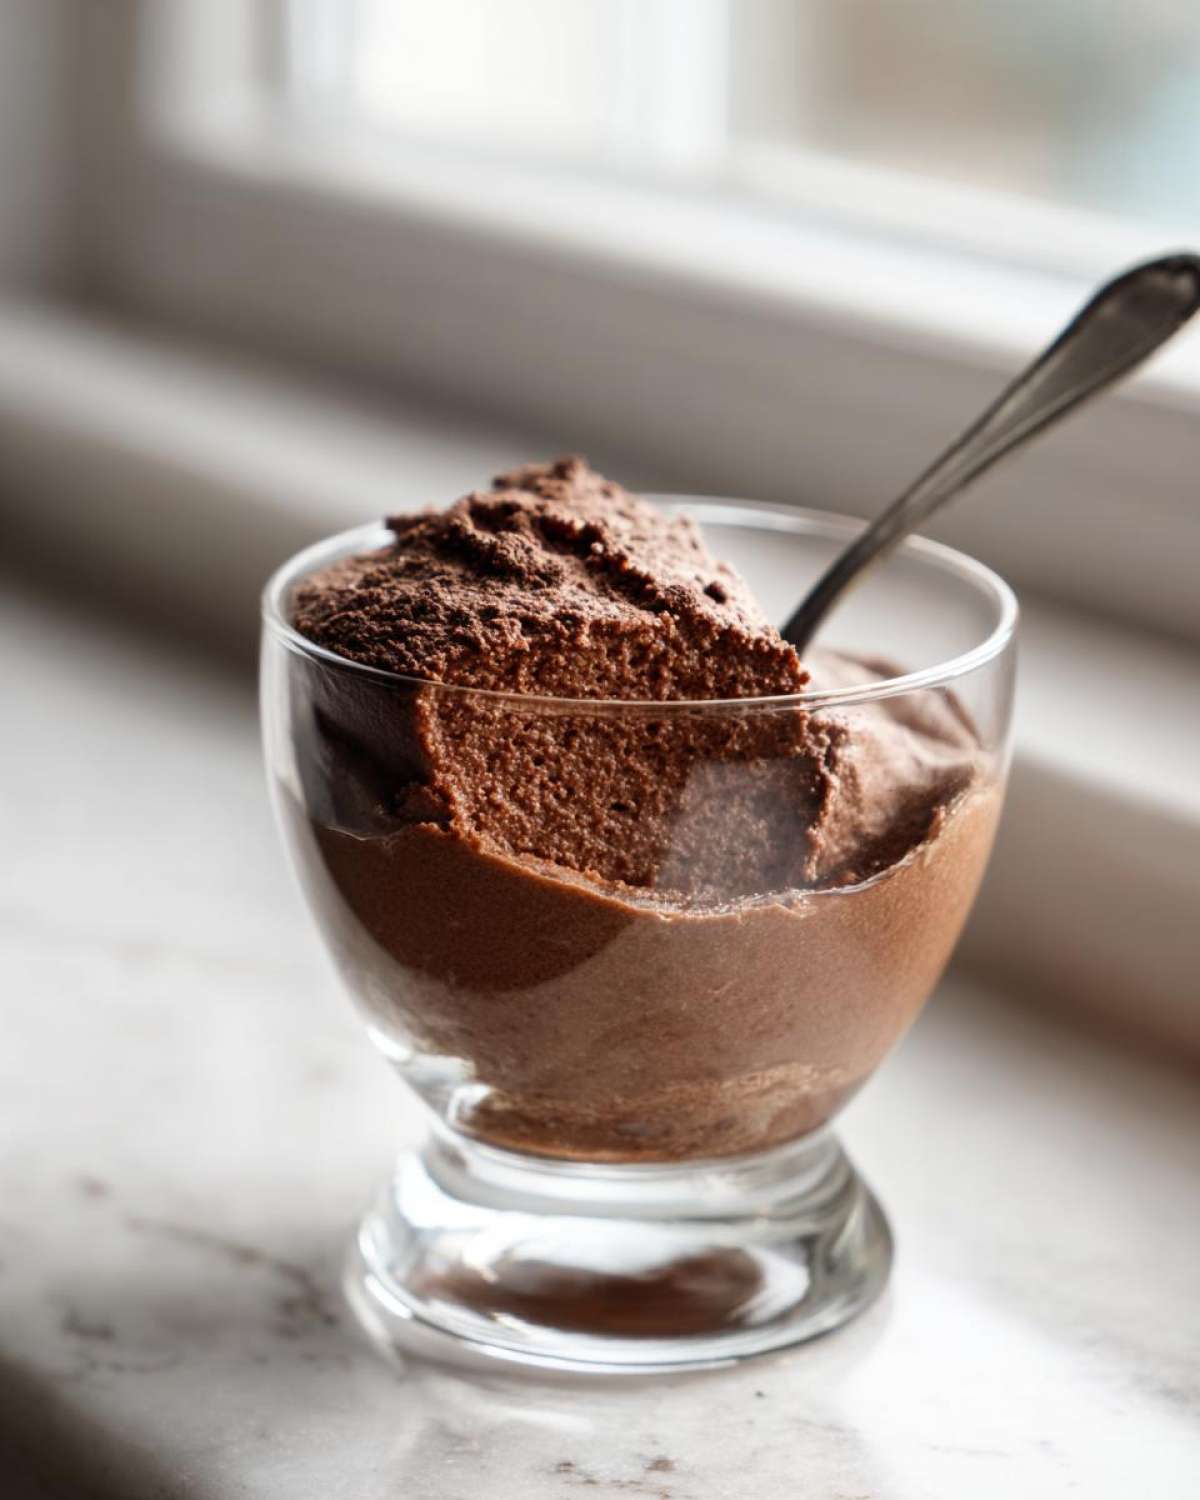
Ingredients for Your Silky Smooth Chocolate Mousse
You truly don’t need a long list to achieve this decadent chocolate dessert; quality over quantity is the name of the game here. Since this is a **chocolate mousse**, the star has to be the chocolate itself, so use the best bittersweet stuff you can find. You’ll need exactly 6 ounces of it, and make sure you chop it up finely before you start so it melts without any fuss.
We’re using some classic French technique elements, so grab 2 large eggs, which need to be separated, and 1/4 cup of regular, good old granulated sugar. Don’t forget 1 teaspoon of vanilla extract—that little bit of flavor really pulls the chocolate forward. Hot water (1/4 cup) helps us melt that initial chocolate base, and of course, you need 1 cup of heavy whipping cream to create that incredible fluffy lift.
Now, I know some folks get nervous about using raw eggs in a **homemade mousse recipe**. If that’s you, don’t worry! The recipe notes mention a wonderful workaround: you can substitute the egg yolks with about 1/2 cup of softened cream cheese and swap the egg whites for an extra 1/2 cup of that whipped heavy cream. Either way, you get that amazing, light texture.
Simple Mousse Instructions for Perfect Chocolate Mousse
This is where the magic happens, but don’t let the steps scare you! If you take your time and follow the rhythm, you’ll have the most luxurious **chocolate mousse** imaginable. Remember, since this is a no-bake recipe, the only hard work is whipping the air into the cream and eggs, but my tips below will make sure you do that perfectly. Grab your mixing bowls, and let’s get this show on the road!
Melting the Chocolate Base for Rich Dark Chocolate Mousse
First things first, we need a gorgeous chocolate pool. Take those 6 ounces of bittersweet chocolate—and please, use the good stuff here; it makes all the difference in a rich dark chocolate mousse!—and toss it into a heatproof bowl. Now, pour that 1/4 cup of piping hot water right over the top. You just need to stir it continuously until it melts into a uniformly smooth, glossy liquid. If you see any lumps hanging around, that means you need a little more agitation! Once it’s perfectly smooth, set it aside off the heat so it can cool down just slightly before we mix in the rest.
Preparing the Yolks and Combining with Chocolate Mousse Base
While the chocolate is getting cozy, switch bowls. You need to get those two egg yolks and the 1/4 cup of sugar together. Whisk them vigorously! You’re looking for what I call the “ribbon stage”—when the mixture gets pale yellow and thickens up enough that when you lift your whisk, the batter falls back in a slow ribbon that sits on the surface for a second or two. Once that’s done, whisk in your vanilla extract, and then slowly, slowly fold that yolk mixture into your slightly cooled chocolate base. Make sure it’s all incorporated so we don’t have any weird streaks in the final product.
Whipping Cream and Whites for Your Whipped Cream Dessert
Now we build the volume! This step is vital for that airy lift. You need two separate, very clean, very dry bowls. Seriously, any trace of grease or water will stop your whipped cream and egg whites from getting stiff. Beat your 1 cup of heavy whipping cream until you see firm, stiff peaks—it should hold its shape if you turn the bowl upside down (though maybe test that over the sink first!). In the other bowl, beat your two egg whites until they are also stiff and glossy. Don’t stop until they look like meringue borders on a fancy cake!
Folding Techniques for Airy Chocolate Mousse
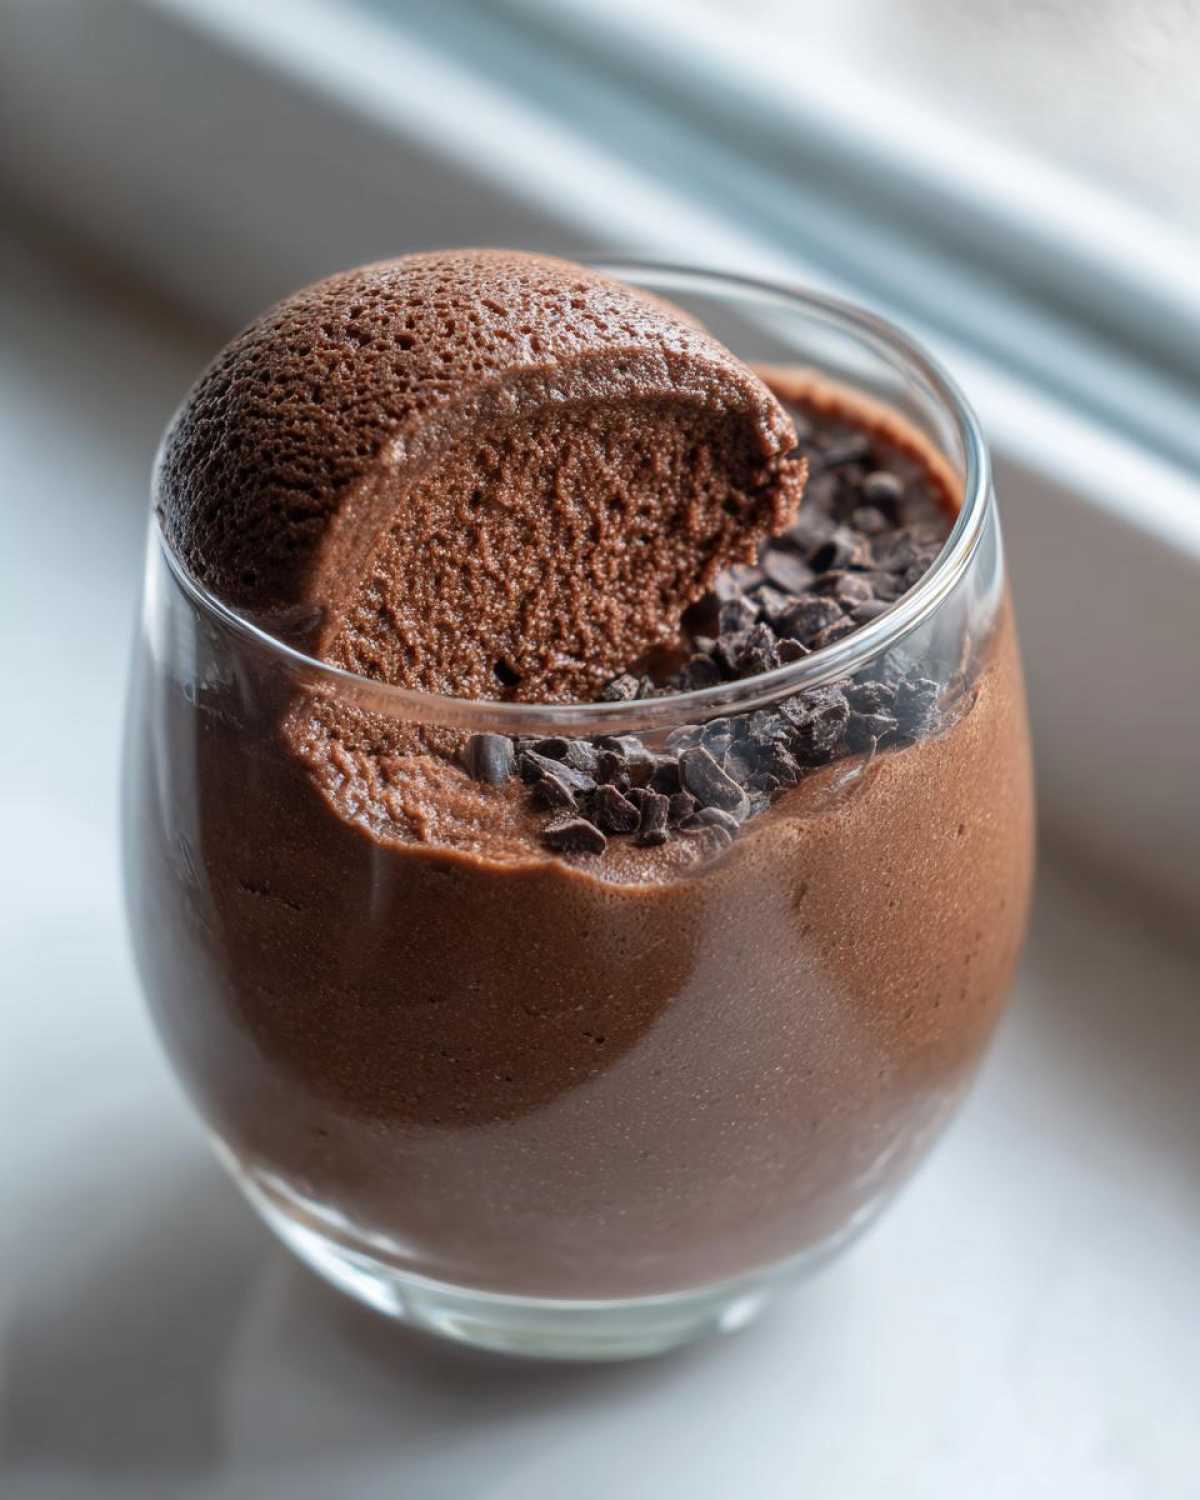
This is the make-or-break moment for that **velvety chocolate mousse** texture! We never just dump everything in. Start by taking about one-third of your whipped cream and folding it right into the chocolate base. This lightens the base up—it’s a sacrifice for the greater good! Once that’s incorporated, gently fold in the remaining whipped cream. Finally, very carefully, fold in those beautiful egg whites. Use a wide spatula and cut down the center, scrape the bottom, and turn the batter over. Keep doing this until everything is *just* mixed. You want no white streaks left, but touching it too much will deflate all that lovely air we just whipped in!
Chilling the Homemade Mousse Recipe
Almost there! Spoon your gorgeous, airy creation into your serving dishes or one big bowl—whatever you fancy for your creamy chocolate dessert. Cover everything snugly with plastic wrap. Then, you have to chill it. I know, the waiting is the hardest part of any **chocolate mousse** recipe, but you need a minimum of 4 hours in the fridge. This chilling time lets the chocolate firm up and sets the structure, moving it from a soft batter to that perfectly firm, yet light, chilled custard.
Tips for Success When Making Chocolate Mousse
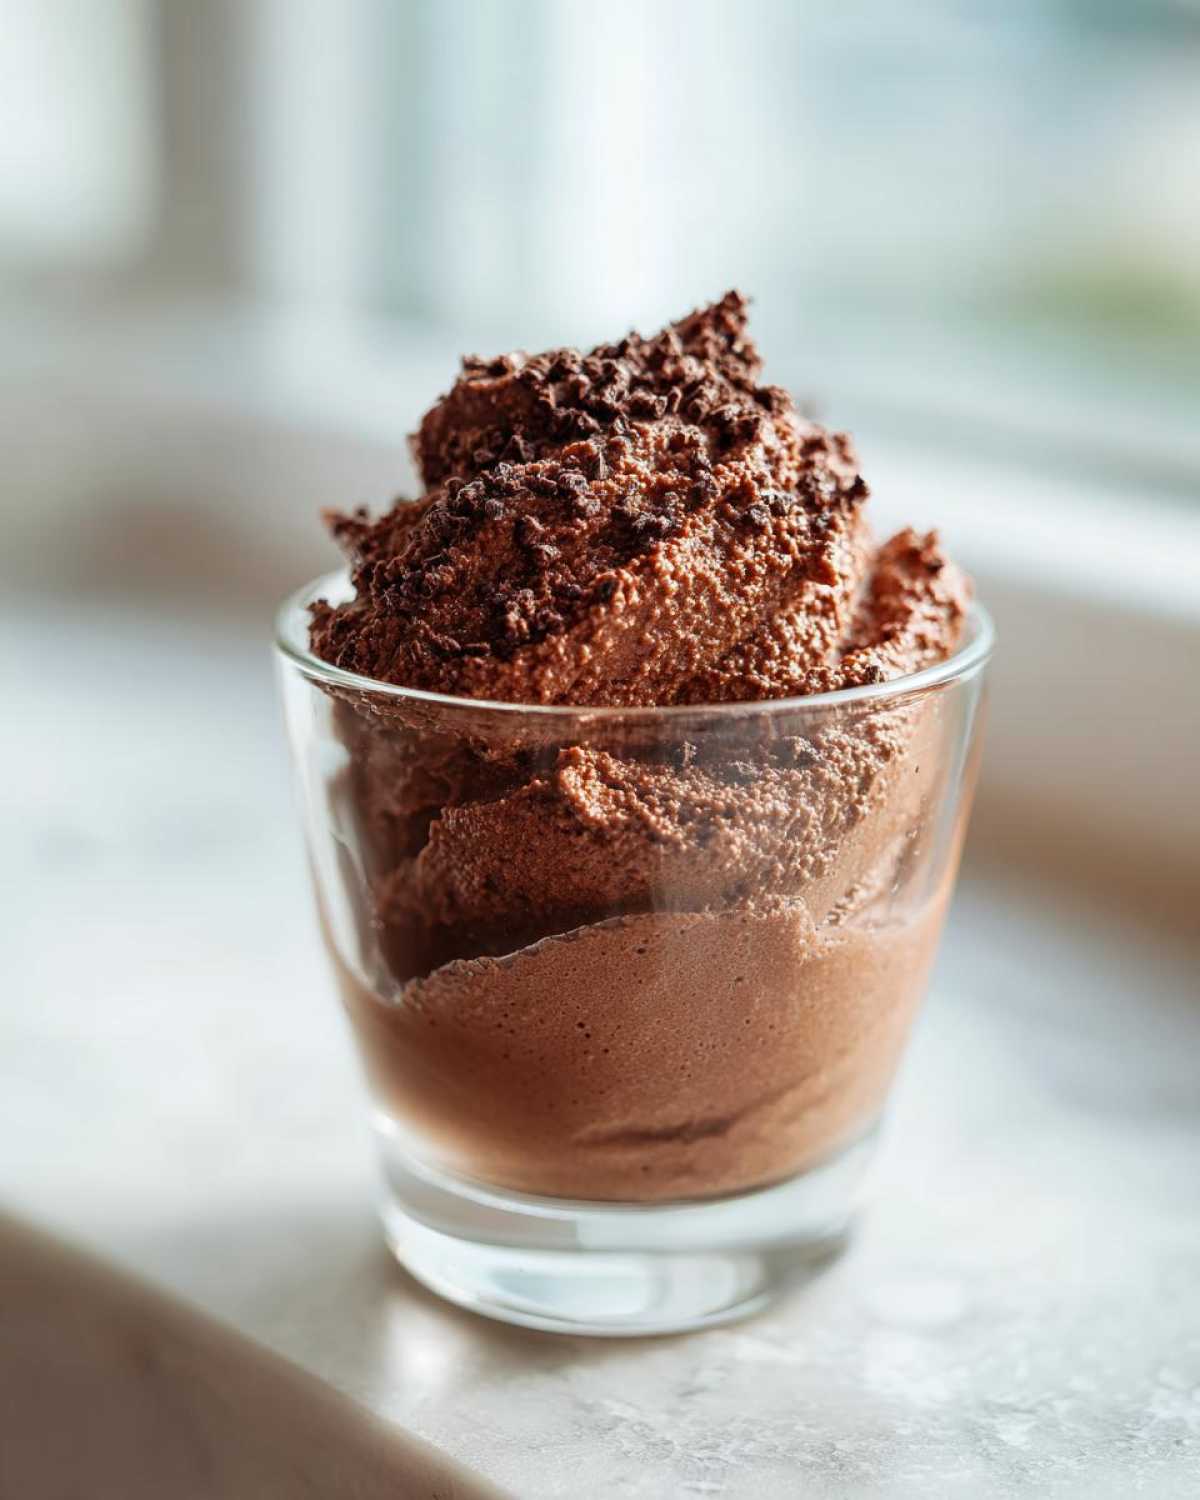
Achieving that incredible, rich, and **creamy chocolate dessert** texture doesn’t just happen by accident; it’s all in the prep work! If you want to avoid a dense flop, you absolutely have to follow one rule: chill everything related to whipping. Before you even start melting chocolate, pop your mixing bowls and your whisk attachments into the freezer for about 15 minutes.
When that heavy cream and those egg whites are hitting ice-cold metal, they incorporate air so much faster and hold those stiff peaks you need for structure. Another big tip is about the folding—seriously, treat those whipped mixtures like they are made of spun sugar. You can’t stir them; you have to gently fold them in, one addition at a time. This preserves all the trapped air, which is what turns a simple chocolate mixture into an elegant, light **chocolate mousse**.
If you’re ever unsure about the quality of your final product, remember that using a high-percentage bittersweet chocolate, like 70% or higher, deepens the flavor profile beautifully. It helps balance the sweetness from the sugar and cream, giving you that truly mature flavor you find in the best recipes like this one over at this chocolate chip bread post!
Variations: Double Chocolate Mousse and Flavor Twists
Once you master the basic technique for this **chocolate mousse**, you feel like you can conquer the culinary world, right? My favorite way to switch things up is going for that deep, dark profile. If you want a true flavor punch, try swapping out half of the bittersweet chocolate for semi-sweet, or go all-in with 80% cocoa solids for a real treat!
For a fantastic little kick, I sometimes dissolve a teaspoon of instant espresso powder right into that hot water before I pour it over the chocolate. Hello, mocha mousse! It just deepens the chocolate flavor beautifully. If you’re feeling extra fancy, you can even create a layered effect by dividing your batter and swirling in some melted white chocolate for a **double chocolate mousse** look. Check out how I layer things in this layer cake—the principle is the same!
Serving Suggestions for Your Elegant Chocolate Dessert
So you’ve chilled your incredible **chocolate mousse**, and now it’s time to show it off! Since this is such a rich and **indulgent sweet treat**, you don’t want to weigh it down with heavy sides. Keep the garnishes light and bright to cut through that deep chocolate flavor.
For a classic look that screams elegant chocolate dessert, a light dusting of high-quality unsweetened cocoa powder right before serving is perfect. Or, if you want that pop of color, fresh raspberries and a dollop of lightly sweetened whipped cream look stunning sitting on top of this creamy chocolate dessert. If you’re serving this after a rich meal, maybe try a side of bright, tart fruit compote, like a simple peach cobbler topping without the crust.
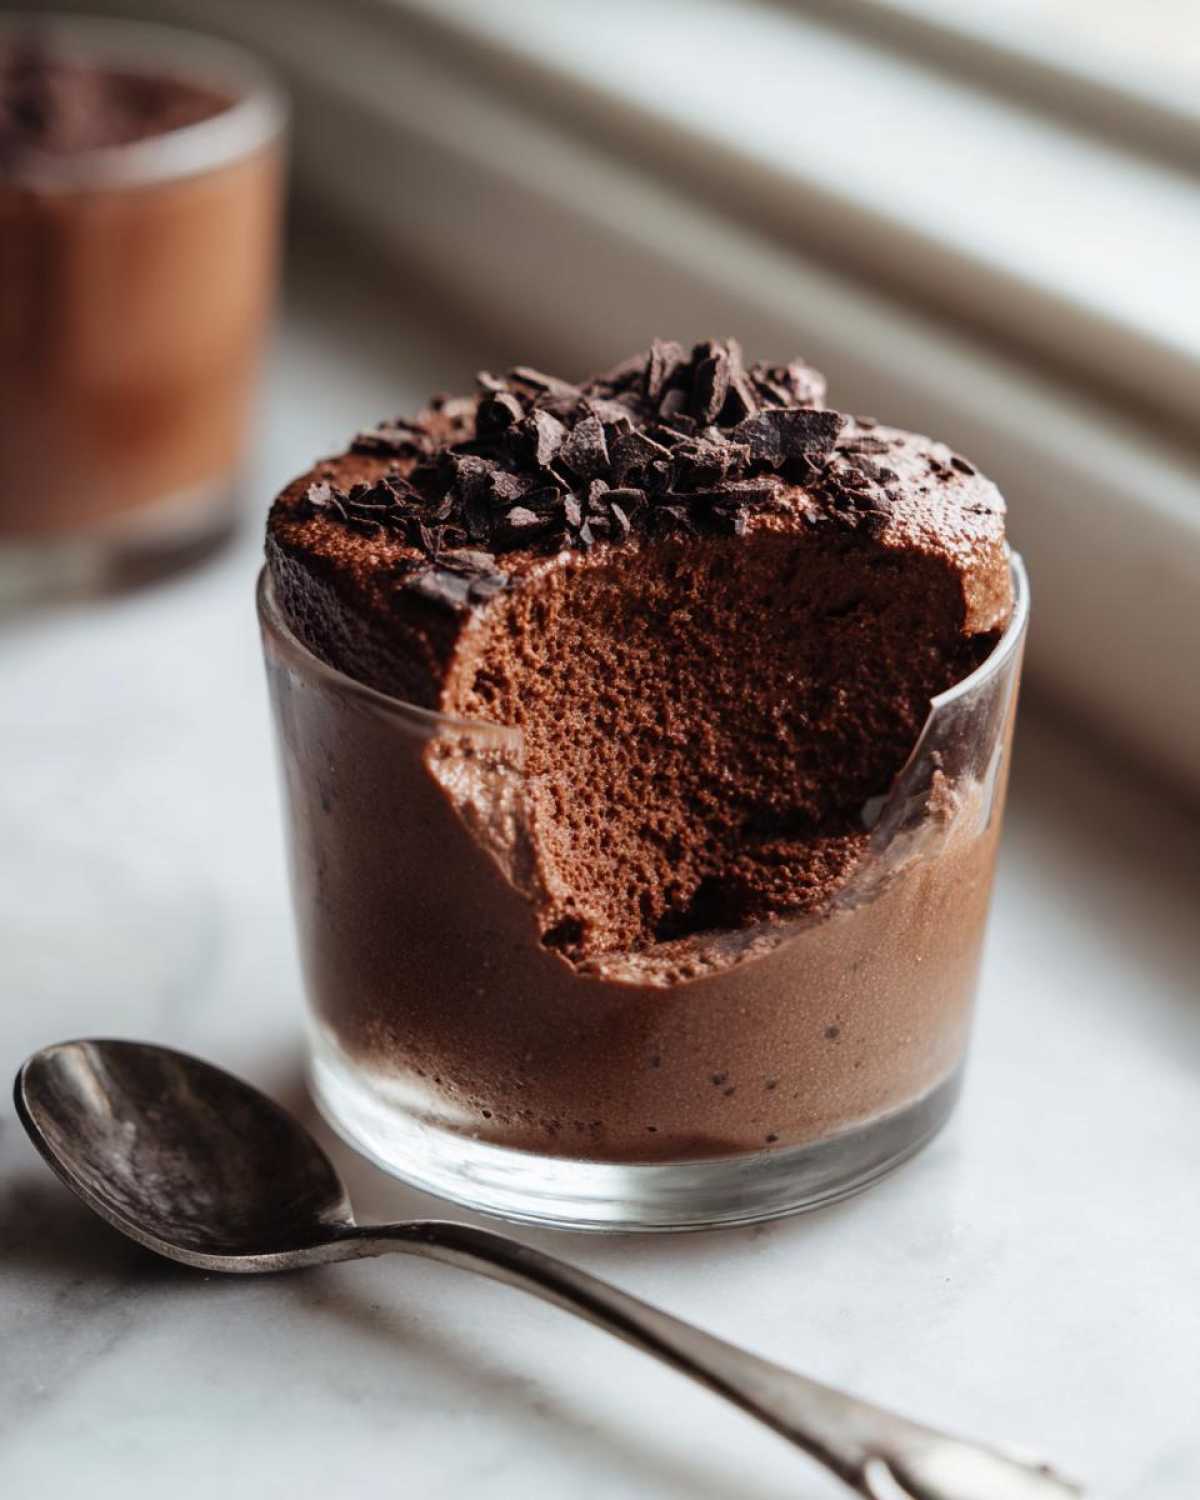
This dish is practically a guaranteed win for any **dinner party dessert**!
Storage and Reheating Instructions for Chocolate Mousse
Okay, you’ve made the perfect batch of **chocolate mousse**, but maybe you didn’t eat it all immediately—and you shouldn’t! This dessert absolutely benefits from a good chill. You can store it tightly covered in the refrigerator for about 3 to 4 days. Any longer, and the texture starts to get a little heavy, which is a shame after all that hard work whipping air into it.
Now, here’s the important part: do *not* try to reheat this! It’s set by the fats in the chocolate and the stabilized cream and eggs. If you warm it up, you’re just asking for a sad, separated puddle. Just take it out of the fridge about 10 minutes before you serve it so it softens up slightly, but keep it cool for the best texture.
Frequently Asked Questions About Making Chocolate Mousse
I get so many emails asking about the tricky bits, especially when people are trying to make a **quick chocolate dessert** for the first time. Don’t sweat it! Most of the questions I hear revolve around texture and those pesky raw eggs. Here are the most common things folks ask me when they look at this **chocolate mousse** recipe.
Can I make this chocolate mousse recipe without eggs?
Absolutely, yes! I know that using raw eggs can make some people nervous, so I always offer the workaround. If you prefer a recipe for **chocolate mousse without raw eggs**, you can easily substitute the yolks with 1/2 cup of softened cream cheese—it adds a lovely little tang! For the egg whites, just replace them with an extra 1/2 cup of heavy whipping cream that you whip up to stiff peaks, just like the recipe already calls for. It still gives you that gorgeous lift, so you get the airy texture without any worries!
How long does it take to set this no bake dessert?
Because this is a **no bake dessert**, patience during the chilling phase is non-negotiable for that signature texture! You have to let it chill for a minimum of 4 hours. I honestly think it’s best if you can leave it overnight, but four hours is the bare minimum required for those fats in the melted chocolate and the whipped cream to firm up properly. If you rush this step, you end up with a creamy chocolate dessert that’s just a bit too soft, not the dreamy, **velvety chocolate mousse** we’re aiming for!
If you’re looking for more baking wisdom—I cover all sorts of tips on my French toast guide, too!
Estimated Nutritional Data for This Indulgent Sweet Treat
Now, I know when we’re making a super rich, decadent treat like this **chocolate mousse**, we aren’t usually doing it for our health goals, right? It’s for pure enjoyment! But I always like to give you a general idea of what you’re getting into with this recipe. Keep in mind that these numbers are just estimates based on the ingredients listed in the main instructions.
For one serving of this **indulgent sweet treat** (based on a 4-serving yield), here’s what the tally looks like:
- Calories: Around 450
- Total Fat: Roughly 35g (and yes, about 20g of that is the good saturated fat from the cream and cocoa butter!)
- Carbohydrates: About 35g
- Sugar: Approximately 30g
- Protein: About 8g
- Sodium: A very low 45mg
I always warn people that these figures can change depending on what type of chocolate you use. If you opt for a super dark 85% bar instead of bittersweet, your sugar content might dip a little. If you use whipping cream with higher fat content, those numbers shift, too. So, treat this like a helpful guideline rather than gospel!
If you’re looking for more general baking insights and general food science talk, you can always browse through my main baking articles!
Share Your Experience Making This Chocolate Mousse
Now that you have my entire, hard-earned secret to the **best chocolate mousse recipe**, I really, truly want to hear about it! Honestly, seeing your successes is the best part of sharing these recipes with you all. Did you try the fancy 70% dark chocolate? Did you go for the egg-free substitution because you were in a rush?
Please, take a second after you’ve polished off your serving—or maybe after you’ve managed to save some for the next day—to drop a comment below. Let me know how it turned out! Giving the recipe a star rating helps other beginners feel confident trying this **quick chocolate dessert** for themselves.
If you made any of the flavor twists we talked about, like adding coffee or making it a **double chocolate mousse**, tell me the details! I’m always looking for fun new ways to use this base. And if you’re ever struggling or have questions while you’re in the middle of folding, you can always reach out to me directly via my contact page—though I’m hoping you won’t need it, since these instructions are just foolproof!
Don’t forget to snap a picture of that gorgeous, **silky smooth mousse** and tag me on social media! Happy baking (or, well, happy chilling)!
PrintEasy No-Bake Chocolate Mousse
Make a rich, creamy, and silky smooth chocolate mousse without baking. This simple recipe is perfect for beginners and results in an elegant dessert.
- Prep Time: 20 min
- Cook Time: 0 min
- Total Time: 4 hr 20 min
- Yield: 4 servings
- Category: Dessert
- Method: No-Bake
- Cuisine: French
- Diet: Vegetarian
Ingredients
- 6 ounces bittersweet chocolate, chopped
- 1/4 cup hot water
- 2 large eggs, separated
- 1/4 cup granulated sugar
- 1 teaspoon vanilla extract
- 1 cup heavy whipping cream
Instructions
- Place the chopped chocolate in a medium heatproof bowl. Pour the hot water over the chocolate and stir until the chocolate is completely melted and smooth. Set aside to cool slightly.
- In a separate bowl, whisk the egg yolks with the sugar until the mixture is pale yellow and thick. Whisk the vanilla extract into the cooled chocolate mixture. Gently fold the egg yolk mixture into the melted chocolate until combined.
- In a clean, dry bowl, beat the heavy whipping cream until stiff peaks form. In another clean bowl, beat the egg whites until stiff, glossy peaks form.
- Gently fold one-third of the whipped cream into the chocolate mixture to lighten it. Then, gently fold in the remaining whipped cream until just combined.
- Carefully fold in the beaten egg whites until no white streaks remain. Be careful not to overmix to keep the mousse airy.
- Spoon the mousse into individual serving dishes or a large bowl. Cover and chill in the refrigerator for at least 4 hours, or until firm.
Notes
- For a richer flavor, use dark chocolate with at least 70% cocoa content.
- If you prefer not to use raw eggs, you can substitute the egg yolks with 1/2 cup of softened cream cheese and the egg whites with 1/2 cup of additional whipped cream.
- Chill the mixing bowls and whisk attachments before whipping the cream and egg whites for best results.
Nutrition
- Serving Size: 1 serving
- Calories: 450
- Sugar: 30
- Sodium: 45
- Fat: 35
- Saturated Fat: 20
- Unsaturated Fat: 15
- Trans Fat: 0
- Carbohydrates: 35
- Fiber: 3
- Protein: 8
- Cholesterol: 150
