

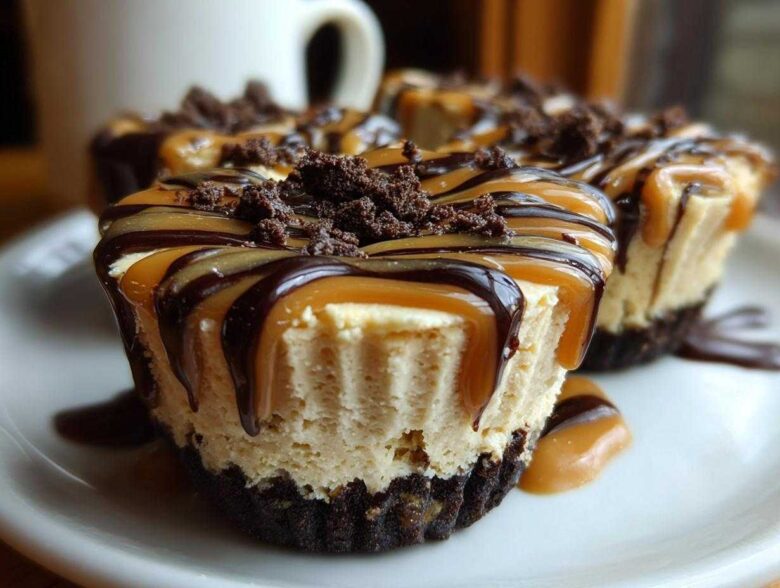
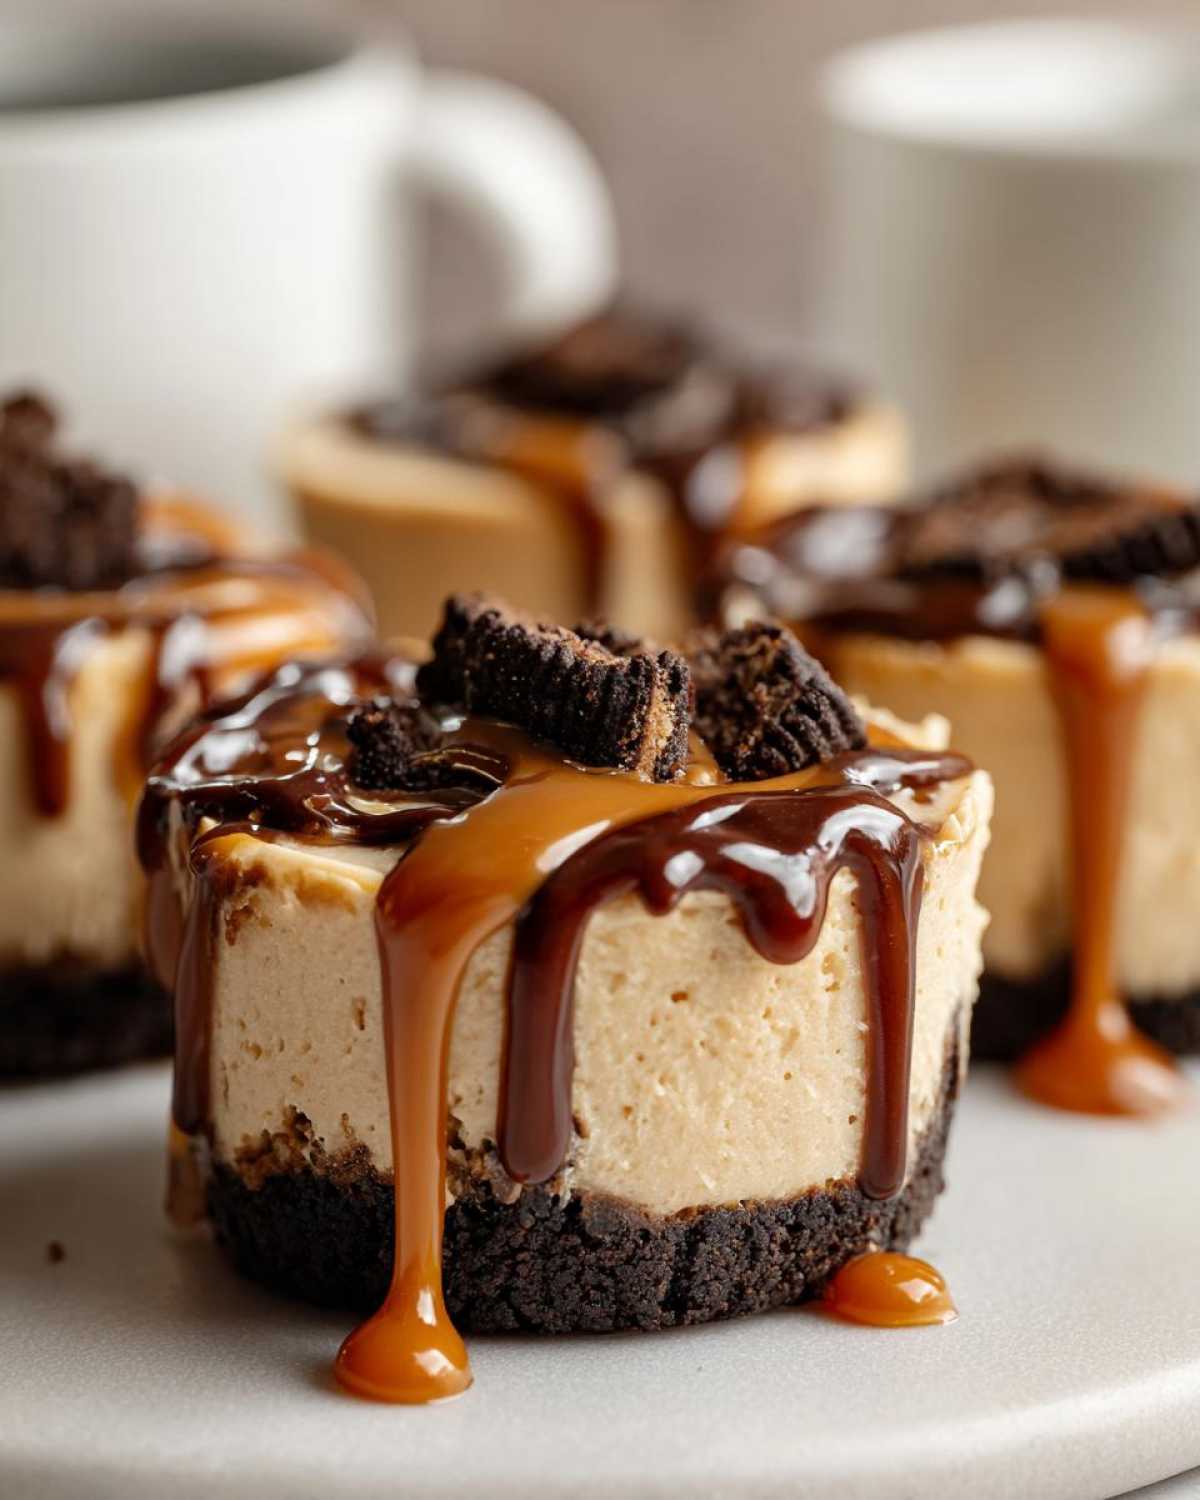
When I need something ridiculously decadent but I absolutely do not want to turn on the oven, I reach for my secret weapon. Seriously, who has time for baking drama when you can have this kind of creamy magic in minutes? I’m talking about my super simple, perfectly portioned **cookie butter cheesecake cups**. These little beauties are amazing because they deliver that signature tangy cheesecake filling mixed with that spiced, caramelized flavor we all adore from Biscoff.
The best part? They are little individual desserts, so there’s no messy slicing involved—just grab a cup and go! I whip these up whenever company shows up unexpectedly, or honestly, just because it’s Tuesday. Trust me, these no-bake treats are going to become your go-to for quick indulgence. You won’t believe how easy these cookie butter cheesecake cups are to assemble!
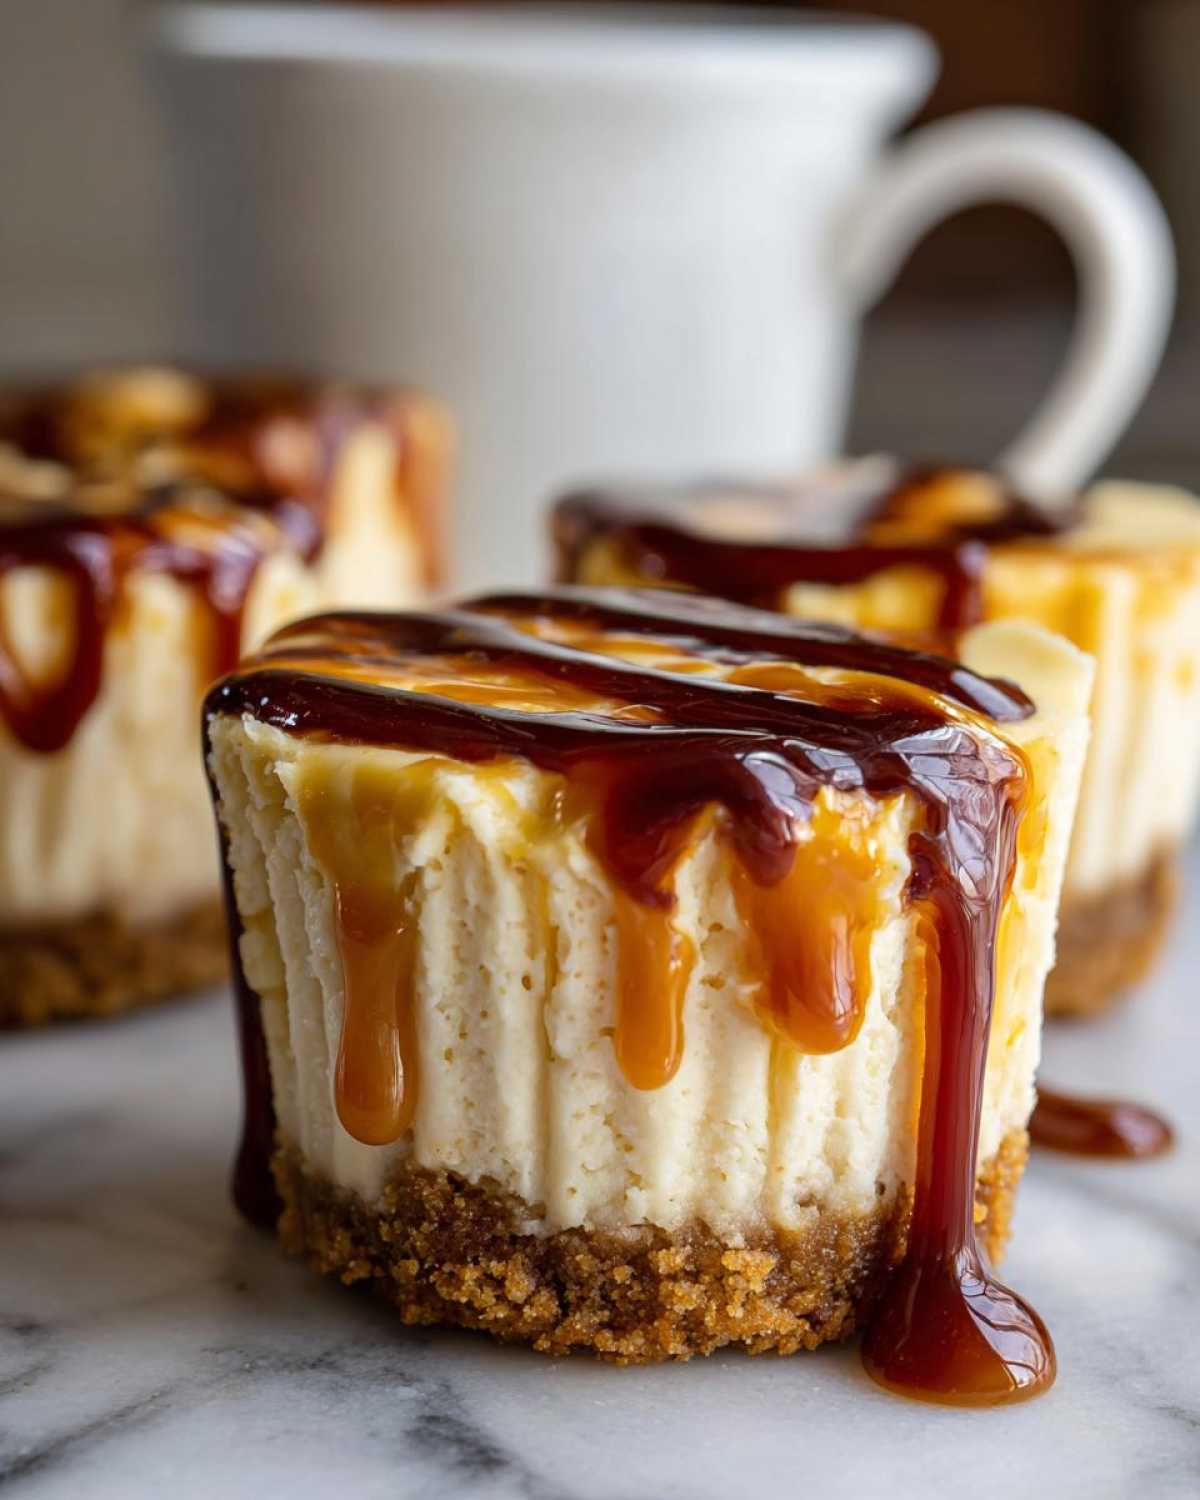
Why You Will Love These No-Bake Cookie Butter Cheesecake Cups
Honestly, these creamy dessert cups sell themselves, but let me give you the highlights. If you need a reliable, stunning treat without the hassle, this is it. Forget turning on the oven; we are keeping things cool and easy!
- They require absolutely zero baking time—just mixing and chilling!
- Portion control is built-in; everyone gets their own perfect little cheesecake bite.
- The flavor is pure comfort: rich, spiced cookie butter meeting tangy, velvety cheesecake.
- They are the ultimate make-ahead dessert for parties or busy weeks.
Essential Ingredients for Creamy Cookie Butter Cheesecake Cups
You only need a handful of things to pull these together, which is why they are such a weeknight dream! Remember, this recipe perfectly yields six gorgeous, individual servings—perfect for smaller gatherings or just saving a few for yourself, I don’t judge!
We are separating these out so you know exactly what goes where. If you’ve ever made a layered dip or spread, you know the importance of keeping your components organized. Speaking of spreads, if you ever need a different kind of decadent homemade flavor, you should check out my recipe for tahini maple butter spread!
For the Cookie Crust
- 1 cup Biscoff cookies, crushed finely (like fine sand!)
- 4 tablespoons unsalted butter, melted
For the No Bake Cheesecake Filling
- 8 ounces full-fat cream cheese, softened completely—this surface temperature is key!
- 1/2 cup powdered sugar, sifted if it’s clumpy
- 1/2 cup cookie butter spread (room temperature is great here)
- 1 teaspoon vanilla extract
- 1/2 cup heavy whipping cream, chilled for whipping
For the Cookie Butter Drizzle Topping
- 2 tablespoons extra cookie butter spread
- 1/4 cup more cookie butter, slightly warmed later for drizzling
Step-by-Step Assembly of Your Cookie Butter Cheesecake Cups
This is where the magic happens, and since everything is going into individual cups, cleanup is SO minimal. Seriously, if you love making desserts that taste like you spent hours but only took thirty minutes of actual work, brace yourself. If you’ve ever made a no-bake pie, you’ll find these instructions familiar, but getting that perfect layer separation is everything! You can see how I assemble fussy things like my no-bake turtle pie—same attention to detail here!
Preparing the Cookie Base and Chilling
First things first, let’s get that glorious cookie butter crust set up. Just toss your crushed Biscoff crumbs and the melted butter together until everything is nicely damp. You want it to look like wet sand, ready to hold its shape. Now, divide that mixture evenly among your six little cups or ramekins. Use the back of a small spoon or the bottom of a glass to firmly press that base down. Don’t be shy tapping it in! Once they are packed tight, tuck them into the fridge for just 10 minutes while you whip up the main event.
Creating the Creamy Cheesecake Filling
Grab your electric mixer for this part—we need it smooth! Beat that softened cream cheese until it’s totally lump-free. Then slowly beat in your powdered sugar and the main portion of cookie butter spread, plus the vanilla. Once that’s perfectly combined into one homogenous, spiced cloud, it’s time for the cream. In a separate bowl, whip your cold heavy cream until you get nice soft peaks—you know, when the peaks curl over slightly. Now for the tricky part: gently fold that whipped cream into the cream cheese base. And I mean gently. We need to keep all those lovely air bubbles in there for the fluffiest filling. Don’t overmix, or you end up back with dense cheese!
Final Chill and Cookie Butter Drizzle
Spoon or pipe that luscious filling right on top of your chilled crusts. Make sure you smooth the top slightly so it looks neat. Then, these need their beauty sleep! They must chill in the refrigerator for a minimum of 4 hours. Honestly, overnight is even better if you can wait, because that is when they really firm up into perfect little slices of heaven. When you’re ready to serve, take that last bit of reserved cookie butter and warm it up for just 10 to 15 seconds in the microwave. A quick drizzle makes all the difference!
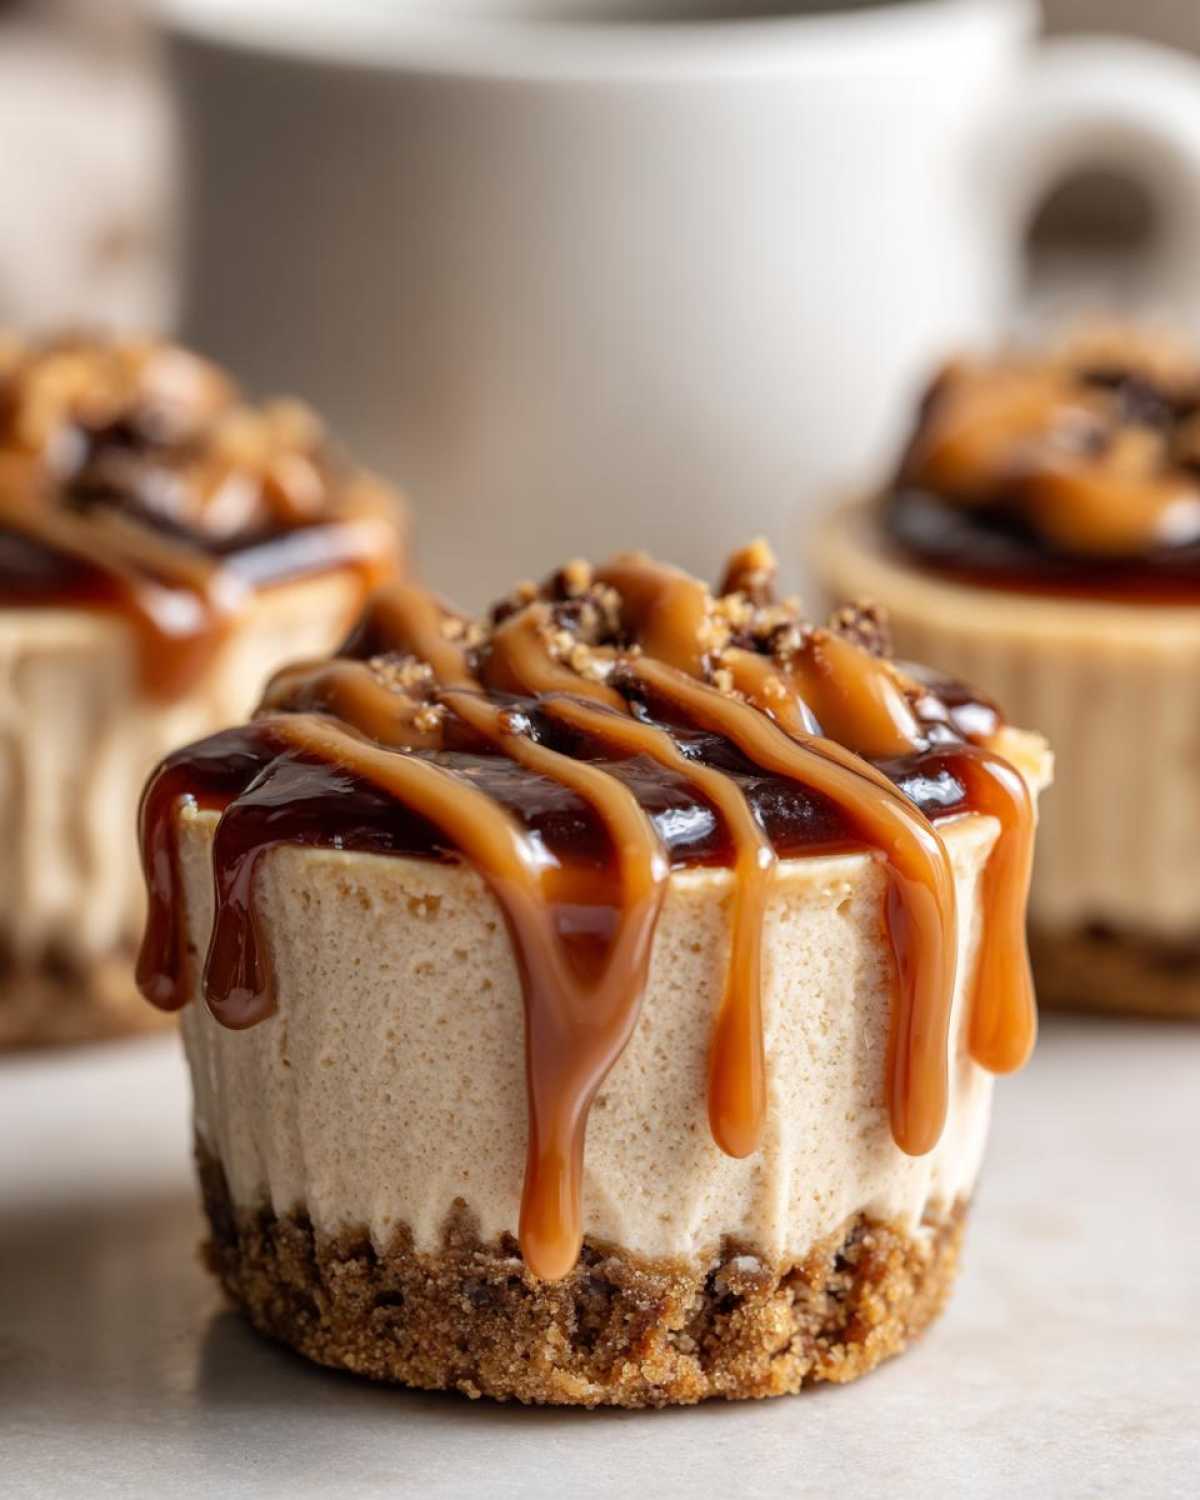
Expert Tips for Perfect Cookie Butter Cheesecake Cups
Listen, these are no-bake, which means science—and temperature—matter way more than when you’re actually putting something in the oven. If your cream cheese isn’t truly soft, you are fighting a losing battle trying to get a smooth base! I always leave mine out for at least an hour before I even think about mixing.
Also, when you fold in that glorious whipped cream, go slow. I mean, slow like molasses in January. If you beat it in, you deflate all that air, and suddenly your **creamy no bake treats** become super dense bricks instead of fluffy clouds of deliciousness. You want that light, airy texture, so use a spatula and a gentle hand!
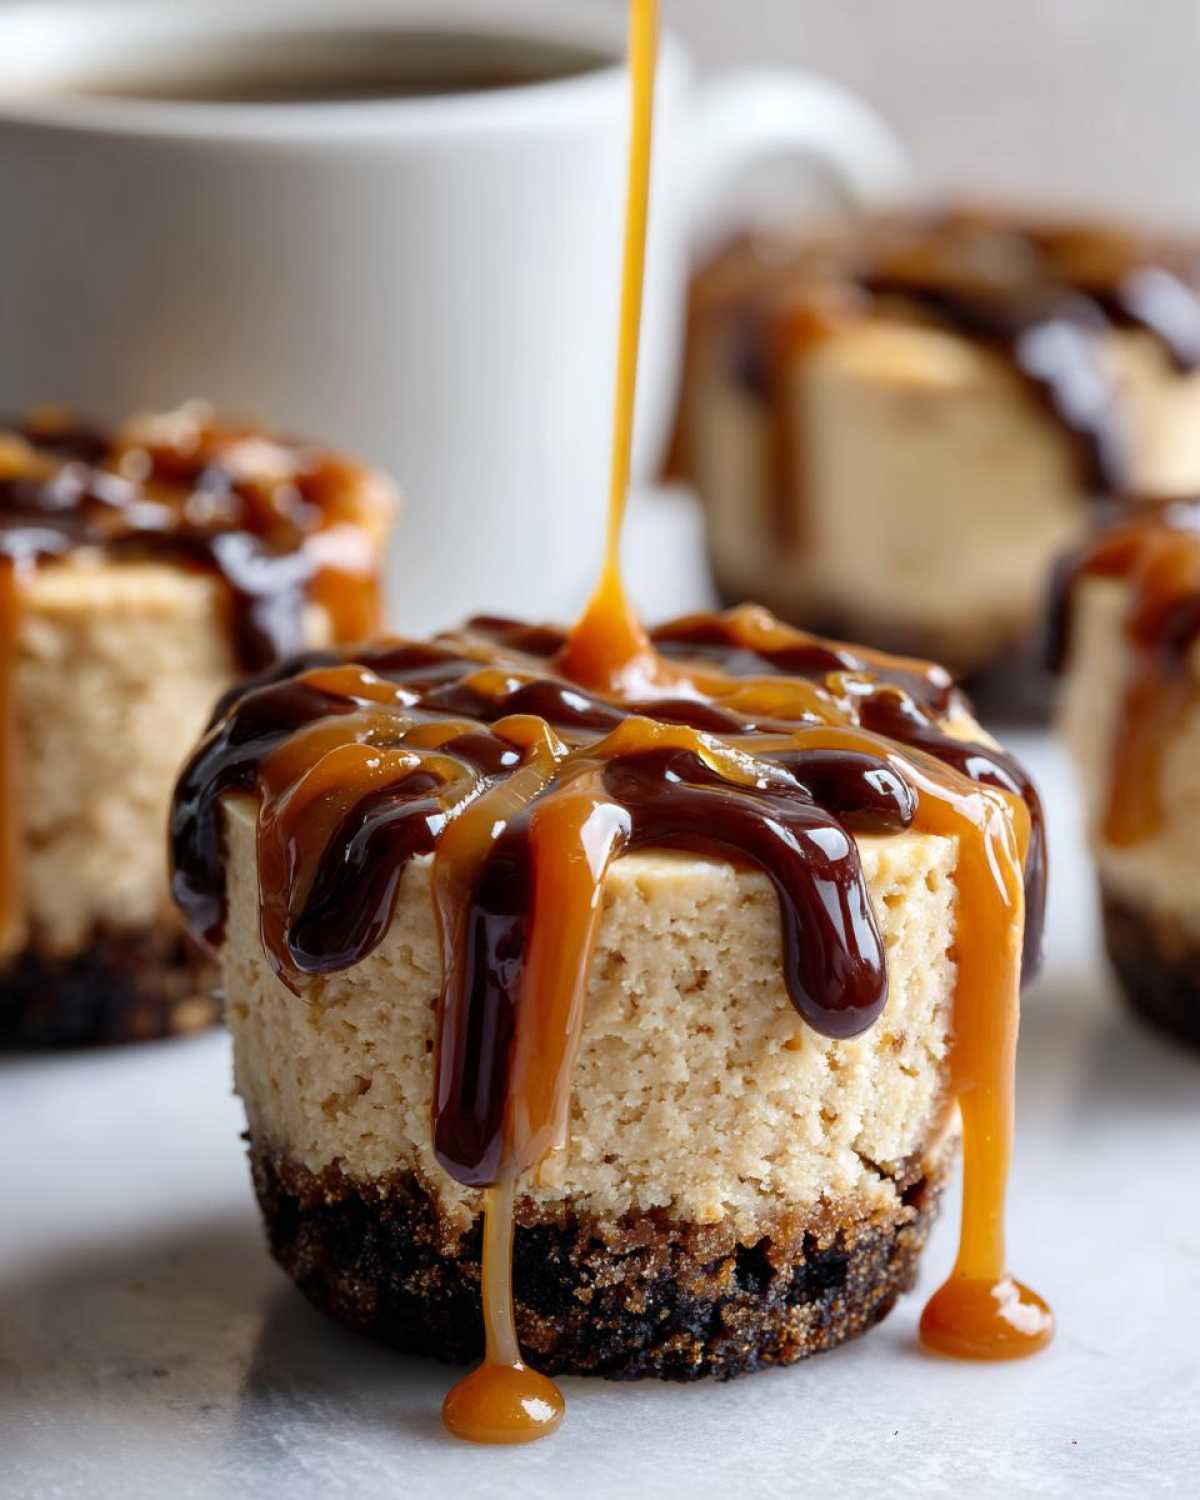
Lastly, that drizzle technique needs patience. If you try to drizzle the cookie butter when it’s too stiff, you just end up tearing up the top of your cheesecake. A tiny 10-second zap in the microwave makes it pourable, just like magic. For the best frosting results in general, check out my guide over on the classic cream cheese frosting recipe if you ever decide to bake up a full cake!
Ingredient Notes and Substitutions for Your Cookie Butter Cheesecake Cups
I get asked all the time what happens if I run out of Biscoff cookies, or if I can use light cream cheese. It’s important to know that full-fat, brick-style cream cheese is non-negotiable here! Low-fat versions just don’t set up right in a no-bake situation, and you end up with soup instead of **creamy dessert cups**.
If you’re out of speculoos cookies, you can totally use graham crackers for the crust, but you’ll miss some of that signature spice that makes these the best. Just remember that you might need to add a tiny pinch of cinnamon or nutmeg into the graham cracker crumbs if you swap them out!
Also, feel free to add a teaspoon of your favorite spice blend into the filling—a little cardamom goes a long way if you’re feeling adventurous!
Serving Suggestions for These Easy Dessert Cups
These **easy dessert cups** are crowd-pleasers right out of the gate, but if you want to dress them up a little for a party or holiday spread, I have a few simple tricks. Because the flavor is so rich and spiced, I often pair them with something bright to cut through it. A few fresh raspberries or thinly sliced strawberries sitting right next to that drizzle look stunning, and the tartness is perfect! Of course, you can never go wrong with a simple dusting of ground cinnamon right before serving.
These miniature cheesecakes are wonderful **quick party desserts**. If you need something that looks elegant but requires zero last-minute fuss, make them the day before! If you are looking for other fantastic individual treats, you absolutely have to try my recipe for mini citrus curd tartlets—they are zingy and totally different!
Make Ahead and Storage for Your Cookie Butter Cheesecake Cups
This is the reason I adore these **cookie butter cheesecake cups** so much—they are fantastic for planning ahead! You can totally assemble these and let them chill overnight. Seriously, four hours is the minimum time needed for them to fully set up, but the flavor honestly gets better when they hang out in the cold for 8 to 12 hours.
For storage, cover the individual cups tightly with plastic wrap or use small lids if you have them. They’ll keep beautifully in the fridge for up to three days. If you’re making a big batch for a party, just wait to add that gooey cookie butter drizzle until right before guests arrive so it looks super fresh! If you need more tips on planning desserts in advance, check out my thoughts over on my guide to make ahead dessert recipes.
Frequently Asked Questions About No Bake Cheesecake Cups
It’s funny how many questions pop up once you get into making individual desserts! People worry about things setting up just right since these are **no bake cheesecake** cups, but don’t worry, these are very forgiving. I’ve gathered the questions I get most often about making perfect little **biscoff cheesecake cups**!
Can I use a different type of cookie for the crust in these cookie butter cheesecake cups?
You totally can! While the Biscoff flavor is amazing, regular graham crackers work fine. However, I have to tell you, if you switch away from the spiced cookies, you lose that warm, complex flavor throughout the whole treat. If you use graham crackers, maybe toss a tiny pinch of cinnamon in with the crumbs just to keep some of that cozy feeling alive!
How long must the no bake cheesecake cups chill before serving?
The absolute bare minimum chilling time is four hours, but let me be absolutely clear: if you can wait longer, please wait longer! That time in the fridge isn’t just about making them cold; it’s when the oils in the cookie butter solidify and the cream cheese mixture firms up enough to hold its shape when you take a fork to it. Patience leads to perfect structure in these **creamy no bake treats**.
What makes these cookie butter desserts so creamy?
It’s a two-part secret, really! First, using full-fat, perfectly softened cream cheese is crucial. But the real game-changer is folding in that separately whipped heavy cream at the very end. That whipped cream creates tiny, stable air pockets that stop the cheesecake layer from becoming dense bricks. It gives you that light, airy texture that melts right in your mouth!
For more ideas on quick assembly desserts, pop over and check out some tips on my easy dessert cups post!
Estimated Nutritional Profile for Cookie Butter Cheesecake Cups
Okay, since these are individual treats loaded with cream cheese and cookie butter, they are definitely on the indulgent side! Please keep in mind that these numbers are just my best guess based on standard recipe measurements. You know how it is—baking is science, but homemade treats are always a little varied!
Here is the estimated breakout for one of these dreamy **cookie butter cheesecake cups**:
- Calories: Around 450
- Total Fat: Roughly 30 grams—most of that good stuff!
- Carbohydrates: About 40 grams
- Total Sugar: Expect around 35 grams (it’s a dessert, after all!)
- Protein: About 5 grams
Enjoy them knowing just how much deliciousness is packed into one perfect little portion!
PrintNo-Bake Cookie Butter Cheesecake Cups
Make individual, creamy cheesecake cups using cookie butter. This recipe requires no oven and is simple to assemble.
- Prep Time: 20 min
- Cook Time: 0 min
- Total Time: 4 hr 20 min
- Yield: 6 servings
- Category: Dessert
- Method: No-Bake
- Cuisine: American
- Diet: Vegetarian
Ingredients
- 1 cup crushed Biscoff cookies
- 4 tbsp unsalted butter, melted
- 8 oz cream cheese, softened
- 1/2 cup powdered sugar
- 1/2 cup cookie butter spread, plus 2 tbsp for topping
- 1 tsp vanilla extract
- 1/2 cup heavy whipping cream
- 1/4 cup cookie butter, slightly warmed for drizzling
Instructions
- Combine the crushed cookies and melted butter. Press this mixture evenly into the bottom of 6 small cups or ramekins. Chill for 10 minutes.
- In a medium bowl, beat the softened cream cheese until smooth.
- Add the powdered sugar and 1/2 cup of cookie butter spread to the cream cheese. Beat until fully combined and creamy.
- Stir in the vanilla extract.
- In a separate bowl, whip the heavy whipping cream until soft peaks form.
- Gently fold the whipped cream into the cream cheese mixture until just combined. Do not overmix.
- Spoon or pipe the cheesecake filling over the chilled crusts in each cup.
- Refrigerate the cups for at least 4 hours, or until firm.
- Before serving, warm the remaining 1/4 cup of cookie butter slightly so it drizzles easily. Drizzle the warmed cookie butter over the top of each cheesecake cup.
Notes
- Use Biscoff cookies or a similar speculoos cookie for the crust.
- For a smoother drizzle, microwave the topping cookie butter for 10-15 seconds.
- You can substitute graham crackers for the cookie butter crust if desired.
Nutrition
- Serving Size: 1 cup
- Calories: 450
- Sugar: 35
- Sodium: 250
- Fat: 30
- Saturated Fat: 18
- Unsaturated Fat: 12
- Trans Fat: 0
- Carbohydrates: 40
- Fiber: 1
- Protein: 5
- Cholesterol: 90
