

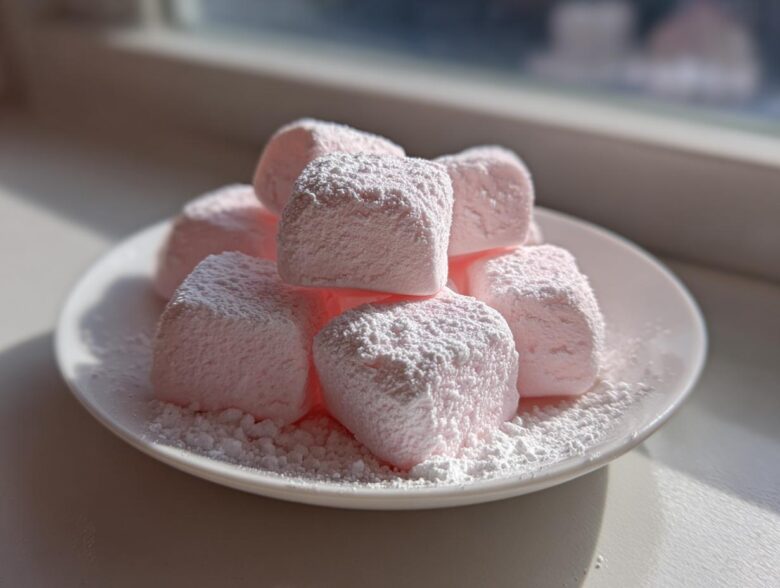
Remember those candies from community events or maybe your grandmother’s candy dish? The ones that just dissolve the second they hit your tongue? Well, I’ve cracked the code on those classic, old fashioned confections, and honestly, it’s almost embarrassingly easy. Forget complicated sugar cookery; we are diving into the world of straightforward, no-bake magic, and these are the easiest, melt-in-your-mouth cream cheese mints you will ever make. I whipped up three batches last Christmas because they were the absolute hit at the neighborhood cookie swap—everyone kept asking where they could buy them! But trust me, homemade is so much better, and you don’t even need an oven for this one. Get ready for some delightfully creamy mints!
Why You Will Love These Easy Cream Cheese Mints
I’m telling you, you need these in your life, especially when company is coming! They are the ultimate quick dessert filler. Here’s the lowdown on what makes this recipe a winner:
- They really are no-bake, meaning zero oven time is needed. Talk about easy holiday candy!
- The texture is unmatched; they truly melt in your mouth right away.
- They only require about four main ingredients—easy and budget-friendly!
- You can customize the color and shape endlessly for any occasion you can think of. I’ve made pastel ones for showers and bright red ones for the holidays. Check out my tips for the best classic sugar cookie bars, because those tips on chilling also help here!
Essential Ingredients for Perfect Cream Cheese Mints
You won’t believe how few things you actually need for these! The magic here is in the quality and the preparation of those simple items. Remember, the cream cheese absolutely has to be softened—I mean, really soft, leave it out for a couple of hours soft. None of that cutting-it-up nonsense. And please, listen to your old pal: sift that powdered sugar! Lumps are the enemy of smooth, melt-in-your-mouth treats.
We need 8 ounces of that creamy base, about 4 cups of powdered sugar (sifted!), vanilla for warmth, and then the flavor star. Most people go right for peppermint, which is fantastic, but honestly, if you’re using lemon extract instead, you get a whole new delicious vibe. We talk more about switching flavors in the next section, but try to keep the extract amount right at 1/4 teaspoon unless you prefer them *super* minty.
If you are ever curious about using cream cheese in other things, take a peek at my guide for the best classic cream cheese frosting recipe; the technique starts the same way!
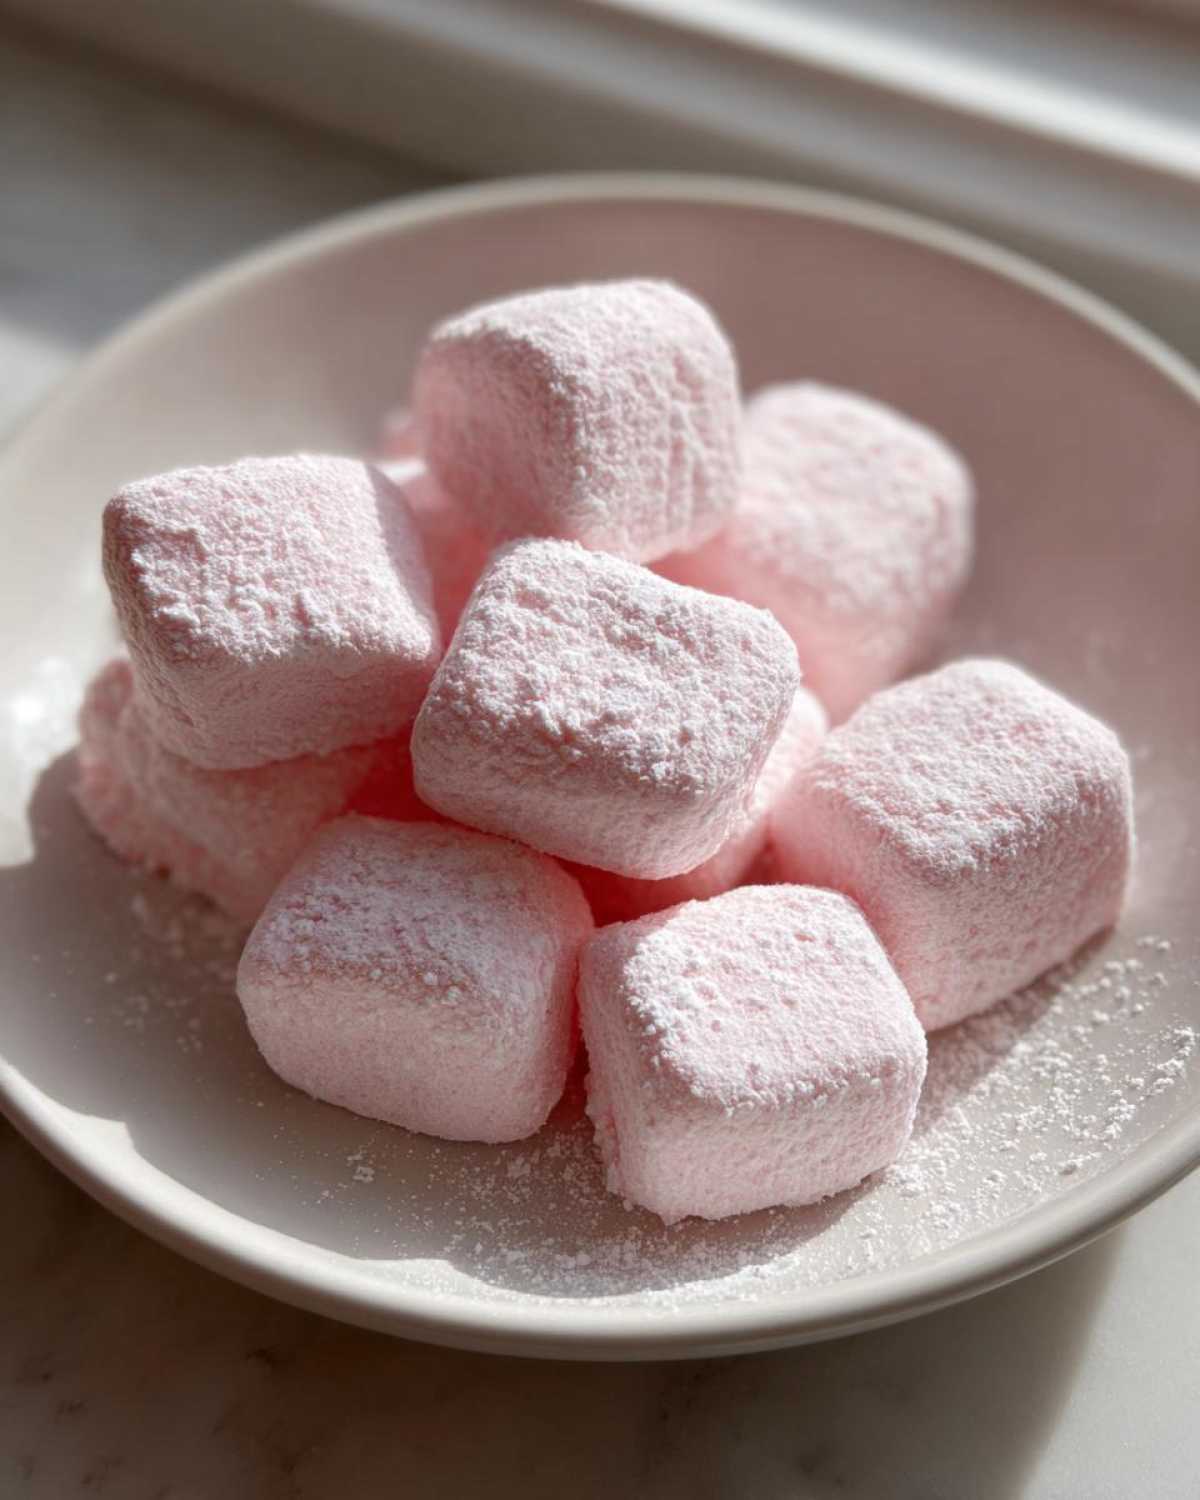
Step-by-Step Instructions for Making Cream Cheese Mints
Okay, now for the fun part! This recipe comes together so fast, but the chilling time is what makes everything manageable later on. Don’t skip that wait time if you want nice, tidy mints. Seriously, these cream cheese mints are almost foolproof if you follow this simple flow. I always put the mixer on low before I add the sugar—trust me, that powdered sugar goes everywhere if you start too fast!
Mixing the Cream Cheese Mints Dough
First things first, grab that bowl with your lovely, softened cream cheese. Beat it until it looks fluffy and has zero lumps. Then, and this is key, add the sifted powdered sugar slowly, almost a cup at a time, beating well after each addition. You’ll notice it goes from creamy sludge to a thick, stiff dough—that’s what we want! Once everything is blended and looks like a stiff dough, stir in your vanilla and peppermint extracts. If you’re adding food coloring, this is when you drop in those few drops and mix until the whole batch of cream cheese mints dough is a uniform, beautiful color.
Chilling and Shaping Your Cream Cheese Mints
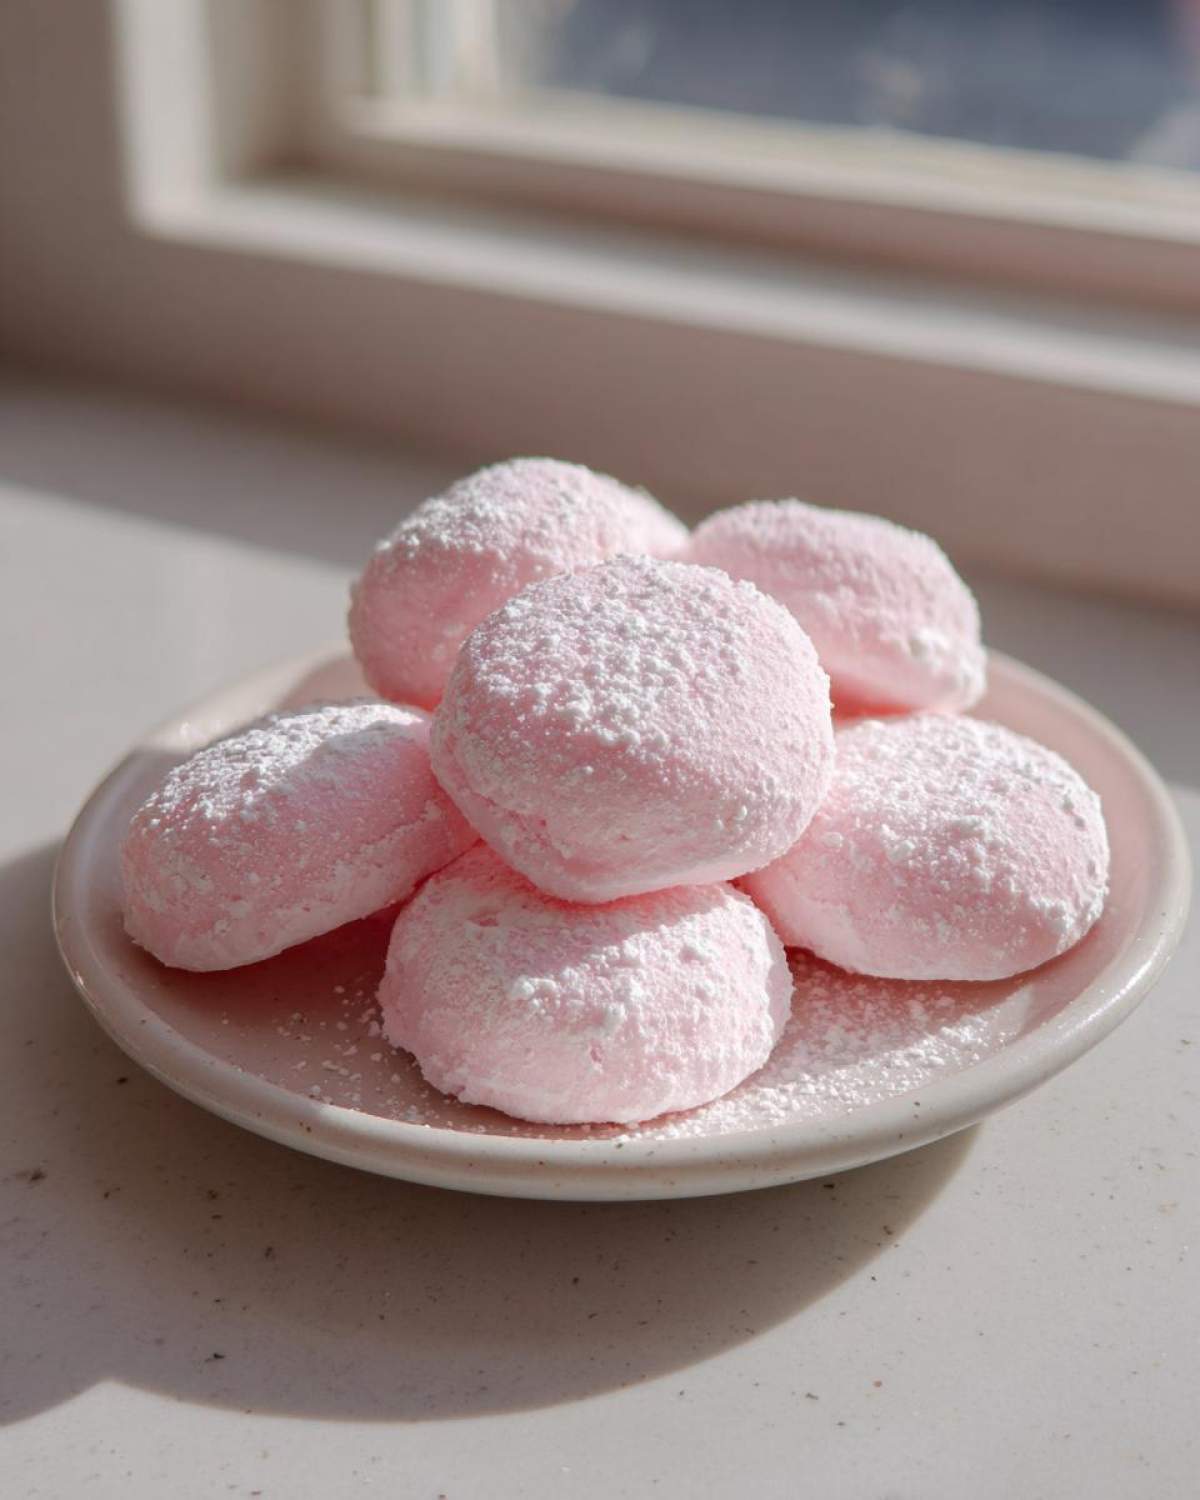
This mixture is sticky right after mixing, so you have to chill it out! Wrap that dough up tight in plastic wrap, like a little candy burrito, and let it chill in the fridge for at least an hour. We need it firm so we can work with it, especially if we want to use those cute candy molds. When you take it out, only work with a small section at a time; pop the rest back in the chilly place so it doesn’t get gooey again. If you’re rolling them by hand, just make small marble-sized balls and flatten them slightly. If you’re using molds, just press the dough firmly into every crevice—that helps you get those nice defined shapes for your party favor ideas. Head over to old fashioned confections for more tips on handling tricky dough!
Tips for Success with Your Old Fashioned Cream Cheese Mints
Even though these are ridiculously simple, a couple of tricks will take your cream cheese mints from good to absolutely legendary. First, I cannot stress this enough: sift your powdered sugar! If you skip that step, you end up fighting tiny dry pockets of sugar that just won’t blend into that smooth, creamy mint texture we are aiming for. Don’t even think about using the bag sugar straight into the bowl; it clumps up too easily.
Also, keep them cold while you shape them. If your kitchen is warm, the dough gets sticky fast—just pop the whole batch back in the fridge for 15 minutes if you feel it starting to get soft while you work. And here’s my favorite upgrade? Once they are set, dip half of each mint into melted white chocolate! That little crunch against the smooth center is heavenly. For even more ways to upgrade your homemade candy recipes, check out my tips on homemade candy recipes!
Creative Flavor Variations for Cream Cheese Mints
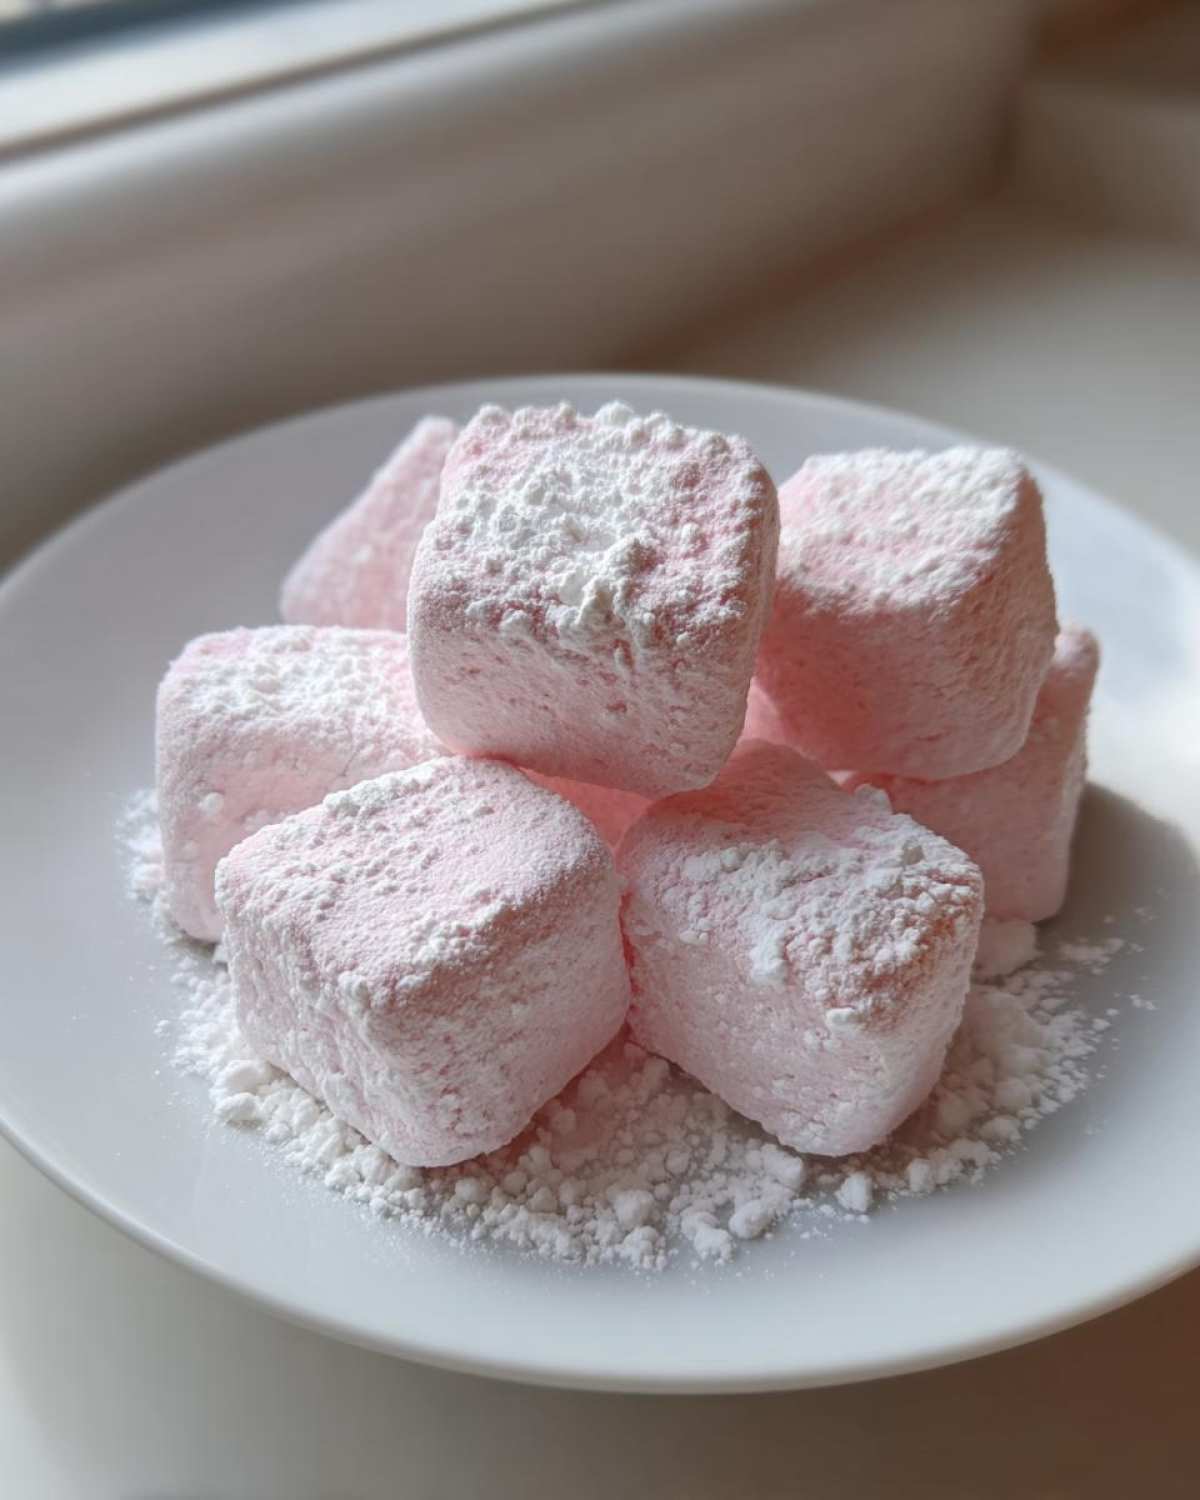
While classic peppermint is always a winner—especially if you are going for that traditional peppermint cream candy vibe—these cream cheese mints are fantastic canvases for other flavors! Don’t feel glued to the mint extract; the base is so pure that other extracts shine through beautifully. If you’re feeling citrusy, swap out the peppermint for lemon extract; it’s so bright and surprising.
I also love adding just a drop or two of almond extract, which gives a wonderful, nostalgic flavor, or even trying a tiny hint of maple for a deeper, caramel-like note. Think about color, too! Pink coloring goes perfectly with a strawberry flavor or leaving them white is spot-on for vanilla. Mixing up the flavors is such a fun way to use up that extra dough. For more inspiration on seasonal flavors, check out some ideas over at peppermint cream candy!
Storage and Keeping Your Creamy Mints Fresh
When you’ve made a huge batch of these beauties, you need to know how to keep them perfect until they disappear—which might take a while if you’re the only one eating them, ha! Because these delicate cream cheese mints are so rich and soft, you can’t just leave them out on the counter forever like hard candy. They really appreciate a little chill to keep their shape and that wonderful texture.
You want to store them in a really good, airtight container. I usually lay a sheet of wax paper down, then arrange a single layer of mints, then another sheet of paper, and so on, just to prevent sticking. Pop that container right into the refrigerator. They are perfectly safe in the fridge for a good week, maybe even ten days if you keep them covered well. Make sure you grab them out about 20 minutes before you plan to serve them, though.
Serving them straight from the fridge makes them a little too firm—remember, we love that melt-in-your-mouth sensation! Letting them warm up just slightly brings back that irresistible softness. If you’re planning ahead for a big event, you can freeze them too. Just wrap the container really well with plastic wrap and then foil. They last great in the freezer for up to two months! For storing any other rich treats, check out my guide to cream cheese goodies for more tips!
Frequently Asked Questions About Cream Cheese Mints
You’ve got the recipe, but maybe a few little questions are swirling around, and that’s totally normal with these cream cheese mints. I get asked all the time! It’s easy to worry about texture when you’re dealing with such simple ingredients. Here are the answers to the most common things I hear from folks trying these homemade candy recipes for the first time.
Can I make these cream cheese mints ahead of time?
Oh, absolutely! In fact, I encourage it! These are prime candidates for early prep, making them fantastic for stressful holiday baking schedules. Because they are no-bake mints, they just need to set up properly. I always follow the regular storage guidelines—keep them tight and airtight in the fridge. They hold their shape and flavor beautifully for at least a week. If you need to make them even further ahead, they freeze like a dream!
What is the secret to achieving that melt in your mouth texture?
This secret is why they are called *cream cheese* mints, right? The absolute key is the ratio and the fat content. You need that full-fat cream cheese—don’t try to substitute with light or Neufchâtel cheese here, as it messes up the ratios and you end up with a sticky mess instead of creamy mints. Also, the large amount of sifted powdered sugar does the heavy lifting to create that signature airy, yet dense, texture that makes them the ultimate melt in your mouth treats. It’s that perfect balance of fat and sugar!
For any other candy questions, you should check out my full guide on no bake mints!
Presentation Ideas: Using Molds for Party Favor Ideas
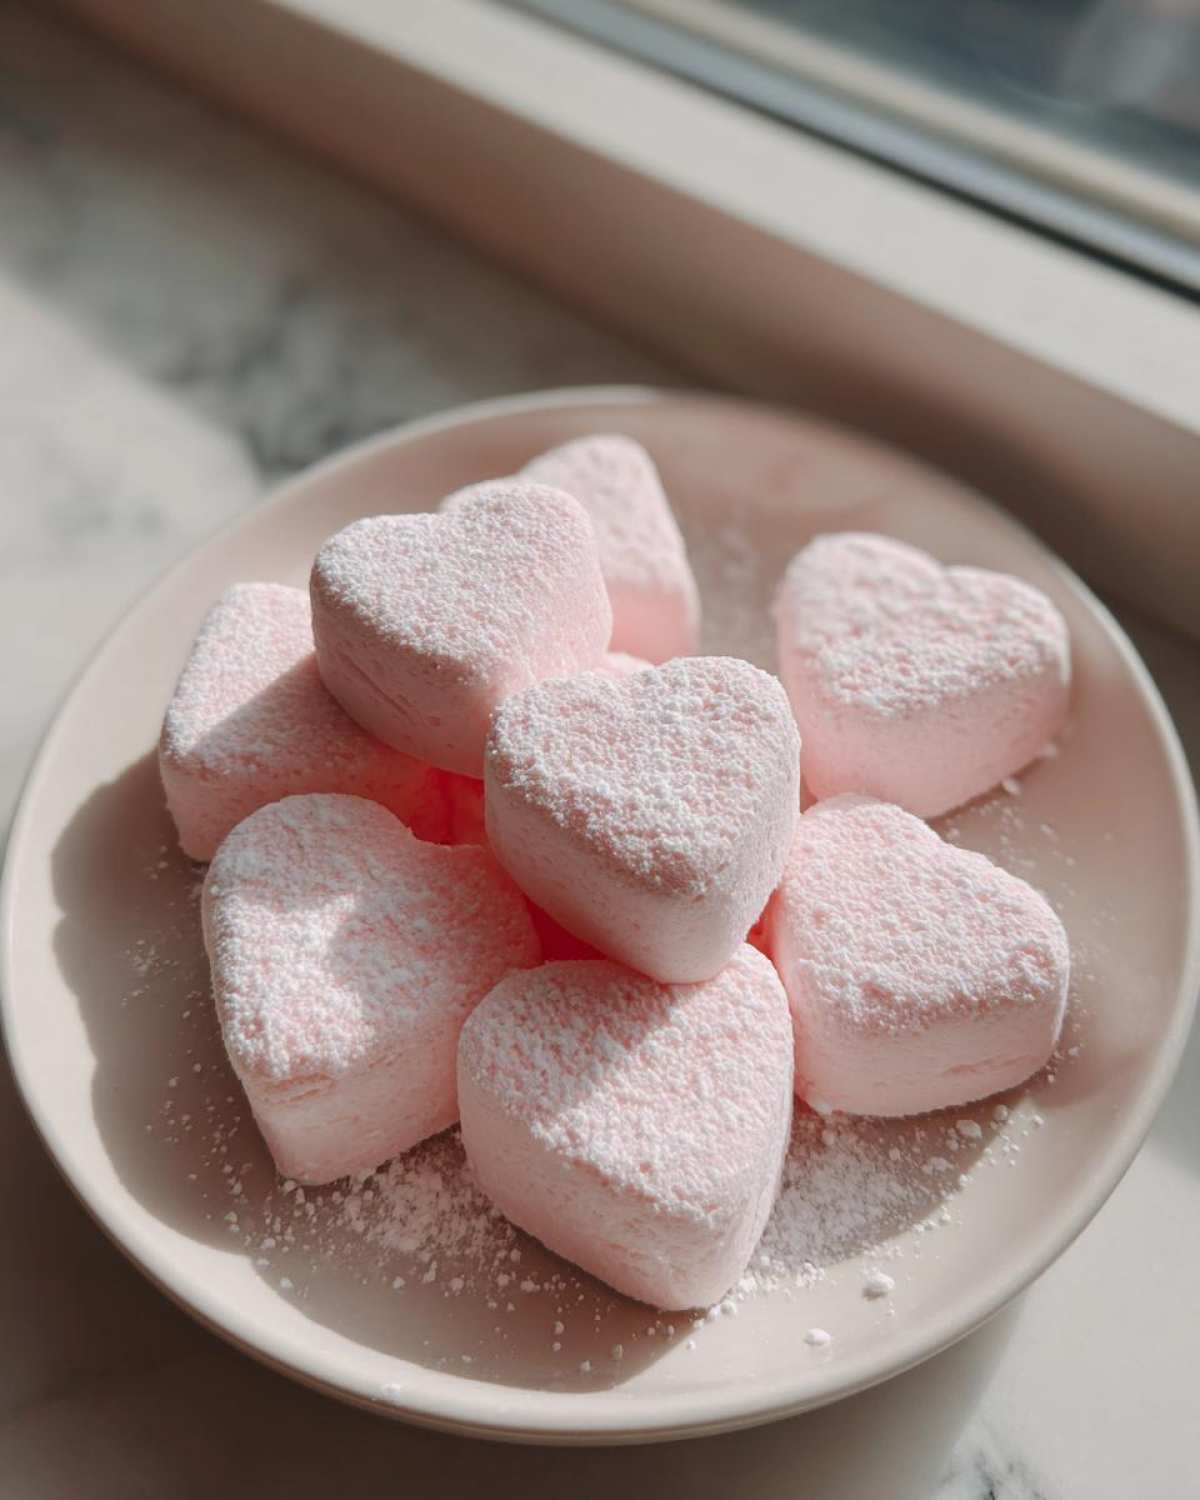
Listen, these cream cheese mints taste amazing, but they look even better when you take a couple of extra minutes on the presentation! Unless you are scooping them straight into the fridge for a midnight snack, you need to show them off a little. The easiest, most foolproof way to get gorgeous shapes is by using silicone candy molds. I love these things because they come in every shape imaginable—tiny flowers for a shower, little Santas for Christmas, or even simple geometric shapes.
When you press the dough into the mold, really pack it in there firmly. You want to eliminate any air pockets so the design comes out crisp. Once you’ve filled the mold, just pop it back in the freezer for about 10 minutes—this helps them firm up just enough to pop out cleanly without tearing. This method turns simple homemade sweets into perfect little food gifts that everyone wants to take home! For more ideas on using molds, check out my tips over at mints made with molds.
Estimated Nutritional Data for These Homemade Sweets
Now, I always feel a little funny listing the nutrition facts because, let’s be real, these creamy mints aren’t exactly health food! But hey, we need to know, right? Based on my recipe and calculations for one single mint, here are the general estimates. Please remember these are just guides, since the exact brand of cream cheese or type of extract you use can bump those numbers around a little bit. If you want to see more detailed breakdown on my other homemade sweets, click the link! Every bite is worth it, I promise!
- Serving Size: 1 mint
- Calories: 75
- Sugar: 12g
- Total Fat: 3g (2g Saturated Fat)
- Protein: 1g
Easy Old-Fashioned Cream Cheese Mints

Make classic, melt-in-your-mouth cream cheese mints with just a few ingredients. This no-bake recipe is simple to shape and perfect for parties or gifts.
- Prep Time: 20 min
- Cook Time: 0 min
- Total Time: 1 hr 20 min
- Yield: About 4 dozen
- Category: Candy
- Method: No Bake
- Cuisine: American
- Diet: Vegetarian
Ingredients
- 8 ounces cream cheese, softened
- 4 cups powdered sugar, sifted
- 1 teaspoon vanilla extract
- 1/4 teaspoon peppermint extract (or lemon extract for variation)
- 2-3 drops food coloring (optional)
Instructions
- In a large bowl, beat the softened cream cheese until it is smooth.
- Gradually add the sifted powdered sugar to the cream cheese mixture, beating until fully combined and a stiff dough forms.
- Mix in the vanilla extract and peppermint extract. If using food coloring, add a few drops now and mix until the color is uniform.
- Wrap the dough tightly in plastic wrap and chill in the refrigerator for at least 1 hour, or until firm enough to handle.
- Remove the dough from the refrigerator. Work with small sections at a time, keeping the rest chilled.
- Shape the dough into small balls or press firmly into silicone candy molds. If shaping by hand, roll into small balls and flatten slightly.
- Place the shaped mints on a parchment-lined baking sheet.
- Allow the mints to set uncovered at room temperature for several hours, or chill briefly until firm before serving or storing.
Notes
- Sifting the powdered sugar prevents lumps in your final mints.
- For a decorative finish, you can dip the finished mints halfway into melted white chocolate.
- If the dough becomes too soft while working, return it to the refrigerator for 15 minutes.
- You can substitute peppermint extract with almond or lemon extract for different flavors.
Nutrition
- Serving Size: 1 mint
- Calories: 75
- Sugar: 12
- Sodium: 15
- Fat: 3
- Saturated Fat: 2
- Unsaturated Fat: 1
- Trans Fat: 0
- Carbohydrates: 12
- Fiber: 0
- Protein: 1
- Cholesterol: 8
