

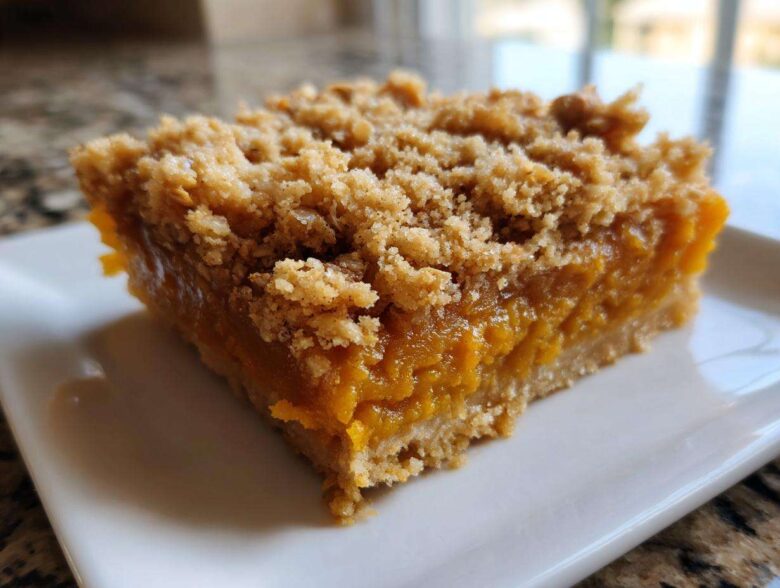
Oh my gosh, you know that feeling when the air finally gets crisp and you just *need* something warm and spiced in your hands? That’s exactly when I break out this recipe! Forget wrestling with a pie crust, seriously. This pumpkin crisp is my absolute go-to because it gives you all the heavenly flavor of pumpkin pie but with zero fuss. The secret is the crazy textural contrast.
My first time making this, I was short on time before a neighborhood potluck and needed a quick fall dessert. I threw it together in about 15 minutes, and people went absolutely wild for that creamy filling against the crunchy, buttery topping. It’s truly the ultimate pumpkin pie alternative, but so much faster. Trust me, this is the one you’ll make over and over again!
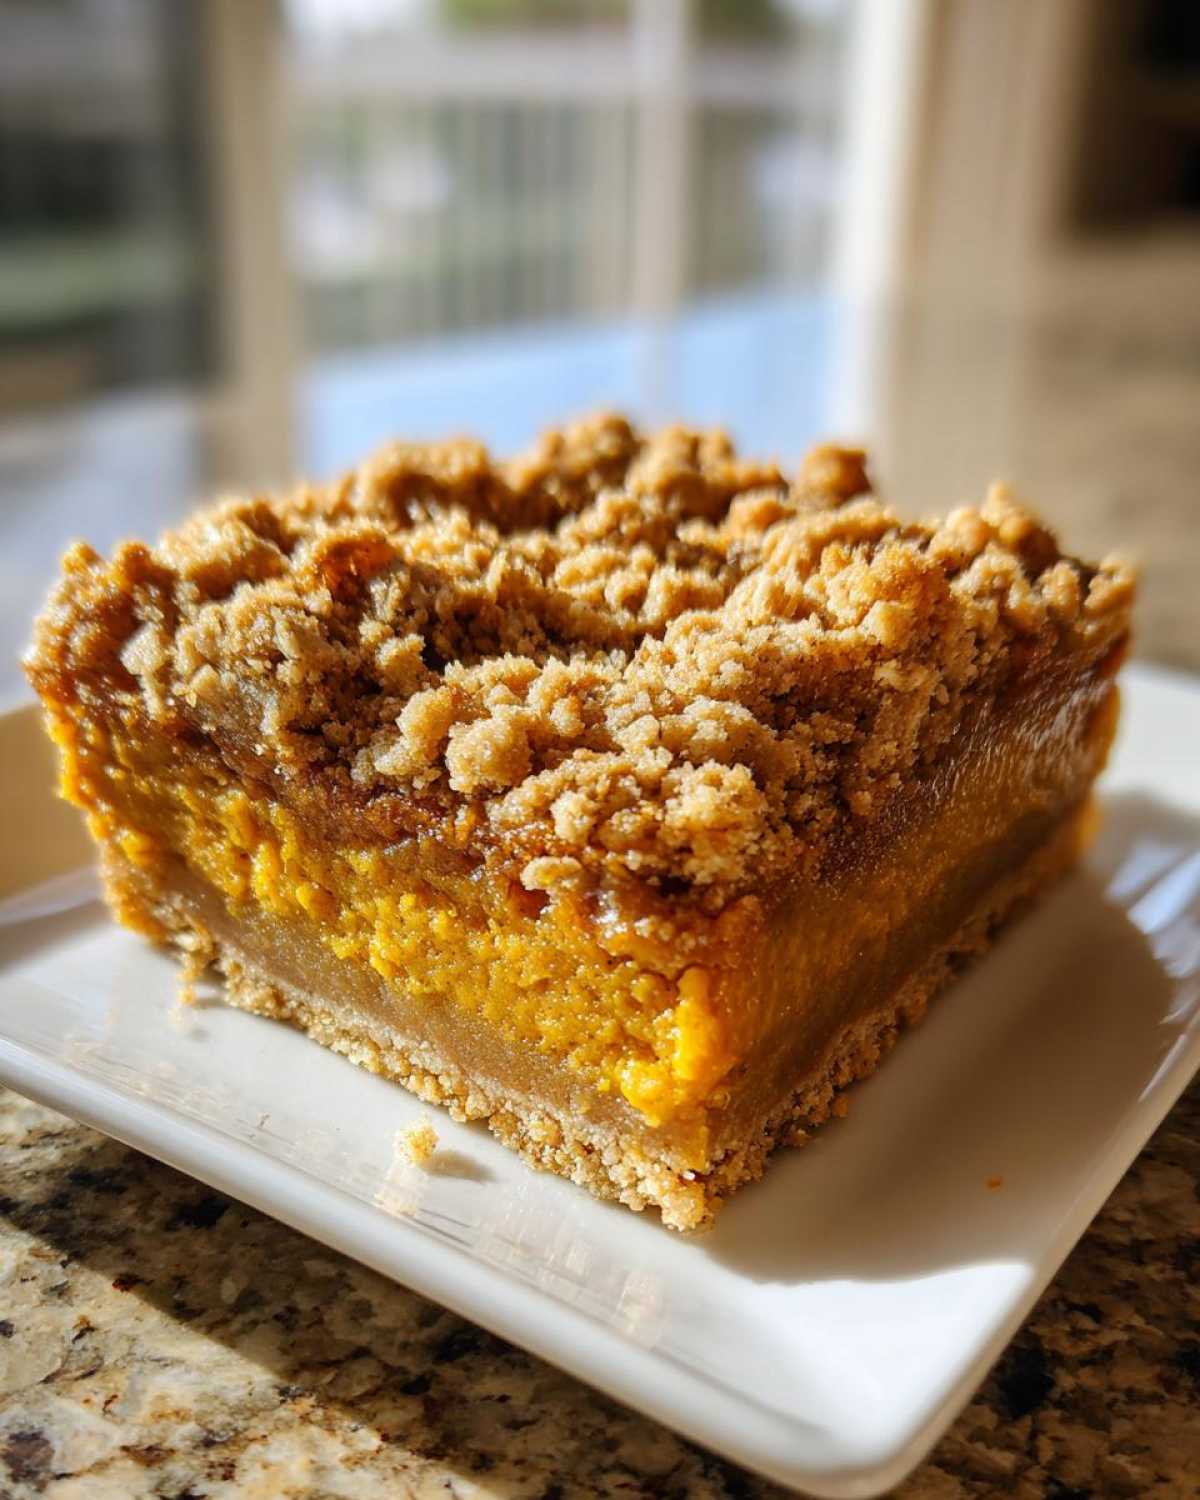
Why This is the Best Pumpkin Crisp Recipe (Easy Pumpkin Crisp Recipe)
I’m telling you, sweet friend, this is the easiest pumpkin crisp recipe you’ll ever meet! What makes it so good? It skips the whole messy rolling and fussing with pastry—it’s completely a no pie crust dessert. That’s a huge win for quick baking, especially when company shows up unexpectedly!
This recipe shines because it perfectly balances textures. It’s not just about flavor; it’s about that glorious bite. I promise you’ll love how simple this easy holiday baking project is.
Texture Contrast: Spiced Pumpkin Filling Meets Buttery Oat Topping
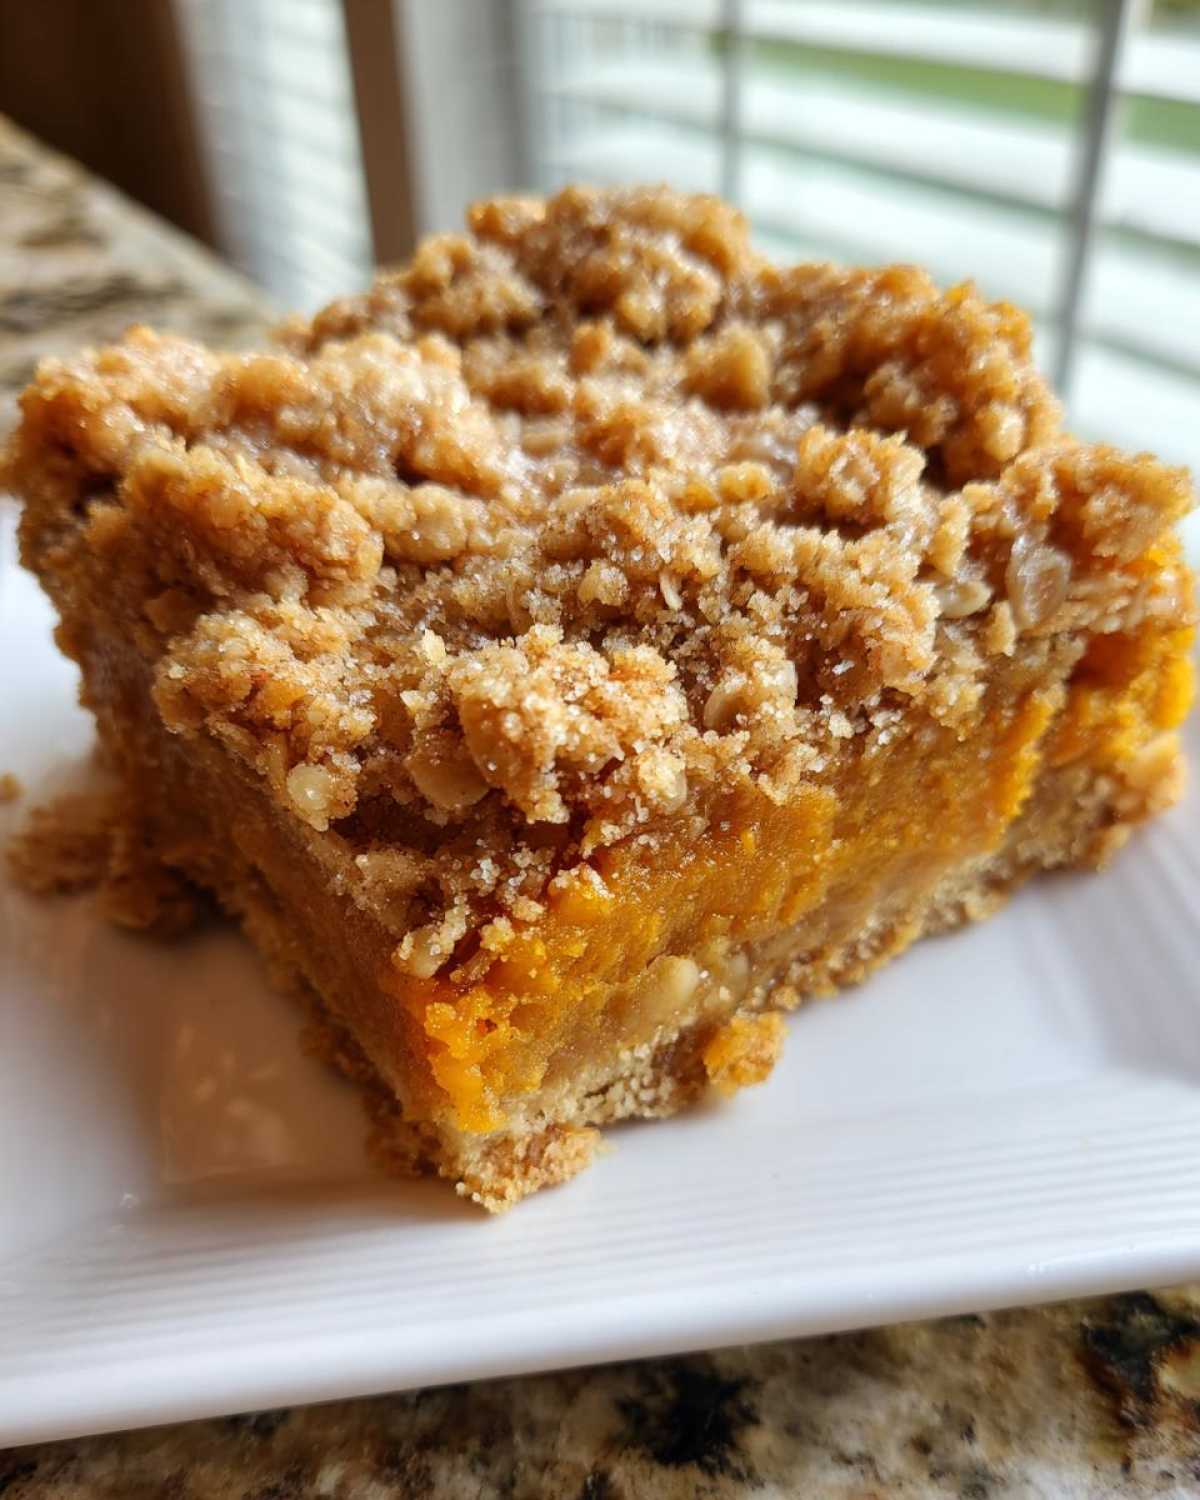
You get this unbelievably smooth, almost custard-like filling underneath. We load that with the best spices—think warm cinnamon and a little kick of nutmeg—so it tastes exactly like your favorite pumpkin pie filling. Then you hit that topping! It’s studded with oats, loaded with butter, and gets gorgeously crisp in the oven.
That crunch against the creamy interior? That’s the magic of a great crisp right there. It’s seriously addictive!
A Perfect Fall Dessert for Any Occasion
If you’re staring down a massive Thanksgiving menu and dreading the pumpkin pie, make this instead! It’s the perfect fall dessert that feels elegant but took almost no effort. Because it’s so foolproof, it’s become one of my top Thanksgiving dessert ideas.
You just mix the filling, mix the topping, sprinkle, and bake! It’s miles faster than a traditional pie, and honestly, sometimes I like the crisp topping better than pastry anyway.
Gathering Ingredients for Your Pumpkin Crisp
Alright, let’s get organized! This is why I love this pumpkin crisp; the ingredient list is short and sweet, meaning you’re probably already halfway there. We’re making two distinct things—the spiced filling and the super-simple crumble topping—so keep those bowls separate!
I always lay everything out on the counter first. It helps me not forget that teaspoon of nutmeg, which, believe me, would be a disaster! Remember, we are using pure canned pumpkin puree for that intense flavor, not the pre-made pumpkin pie filling. That’s our first little secret.
Here’s exactly what you need to pull together this amazing comfort food baking masterpiece:
- One 15-ounce can of pumpkin puree (The real stuff!)
- One 14-ounce can of sweetened condensed milk (This makes it so silky smooth!)
- Two large eggs
- One teaspoon ground cinnamon
- One-half teaspoon ground ginger
- One-quarter teaspoon ground nutmeg
- One-quarter teaspoon salt
- For the topping: One cup all-purpose flour
- One-half cup packed light brown sugar (Use the packed measurement, promise me!)
- One-half cup rolled oats (I use classic old-fashioned oats)
- One-half cup (one whole stick!) of cold unsalted butter, cut into small little bits
Getting that butter nice and cold before you cut it in is essential for texture, so don’t let it sit out too long! If you want to see some other ways I use my favorite spices, check out my recipe for a pumpkin spice smoothie. But for now, let’s focus on that topping!
Step-by-Step Guide to Making the Pumpkin Crisp
Okay, let’s get baking! This is the part where everything comes together so beautifully fast. Seriously, if you’re looking for a streamlined process, this easy pumpkin crisp recipe is your best friend. Make sure your oven is ready to go—we need it at 350 degrees Fahrenheit before we even start mixing the wet stuff.
First things first, grab that 8×8 inch baking dish and give it a quick light grease. We don’t want any sticky surprises later! Once that’s done, we tackle the filling while the oven heats up.
Preparing the Spiced Pumpkin Filling
It’s all about the whisking here! Grab a medium bowl and toss in your pumpkin puree, that sweet condensed milk, and the two eggs. Now, grab your spices—cinnamon, ginger, and nutmeg—plus that little bit of salt. Whisk it all up until you have a completely smooth, uniform color. You want zero streaks of pure egg or milk left in there. Once it’s velvety, pour that gorgeous spiced pumpkin filling right into your greased dish. Set that aside and move onto the star of the show: the topping!
Creating the Buttery Oat Topping for Your Pumpkin Crisp
In a completely separate bowl, mix your flour and brown sugar together first. Then, bring in the cold butter pieces. This is critical! You need to ‘cut in’ that butter if you want that perfect, chunky texture. I use my fingers because I like to feel exactly what’s happening, but a pastry blender works great too. You’re aiming for coarse crumbs, almost like damp sand, but with some pea-sized chunks of butter still visible.
Once you’ve got the right texture, stir in those rolled oats. Don’t overmix! We’re going for rustic crunch, not a paste. Sprinkle this lovely crumble evenly over the pumpkin filling we set aside earlier. Make sure you cover all those gorgeous spices underneath.
Baking Times and Checking for Doneness
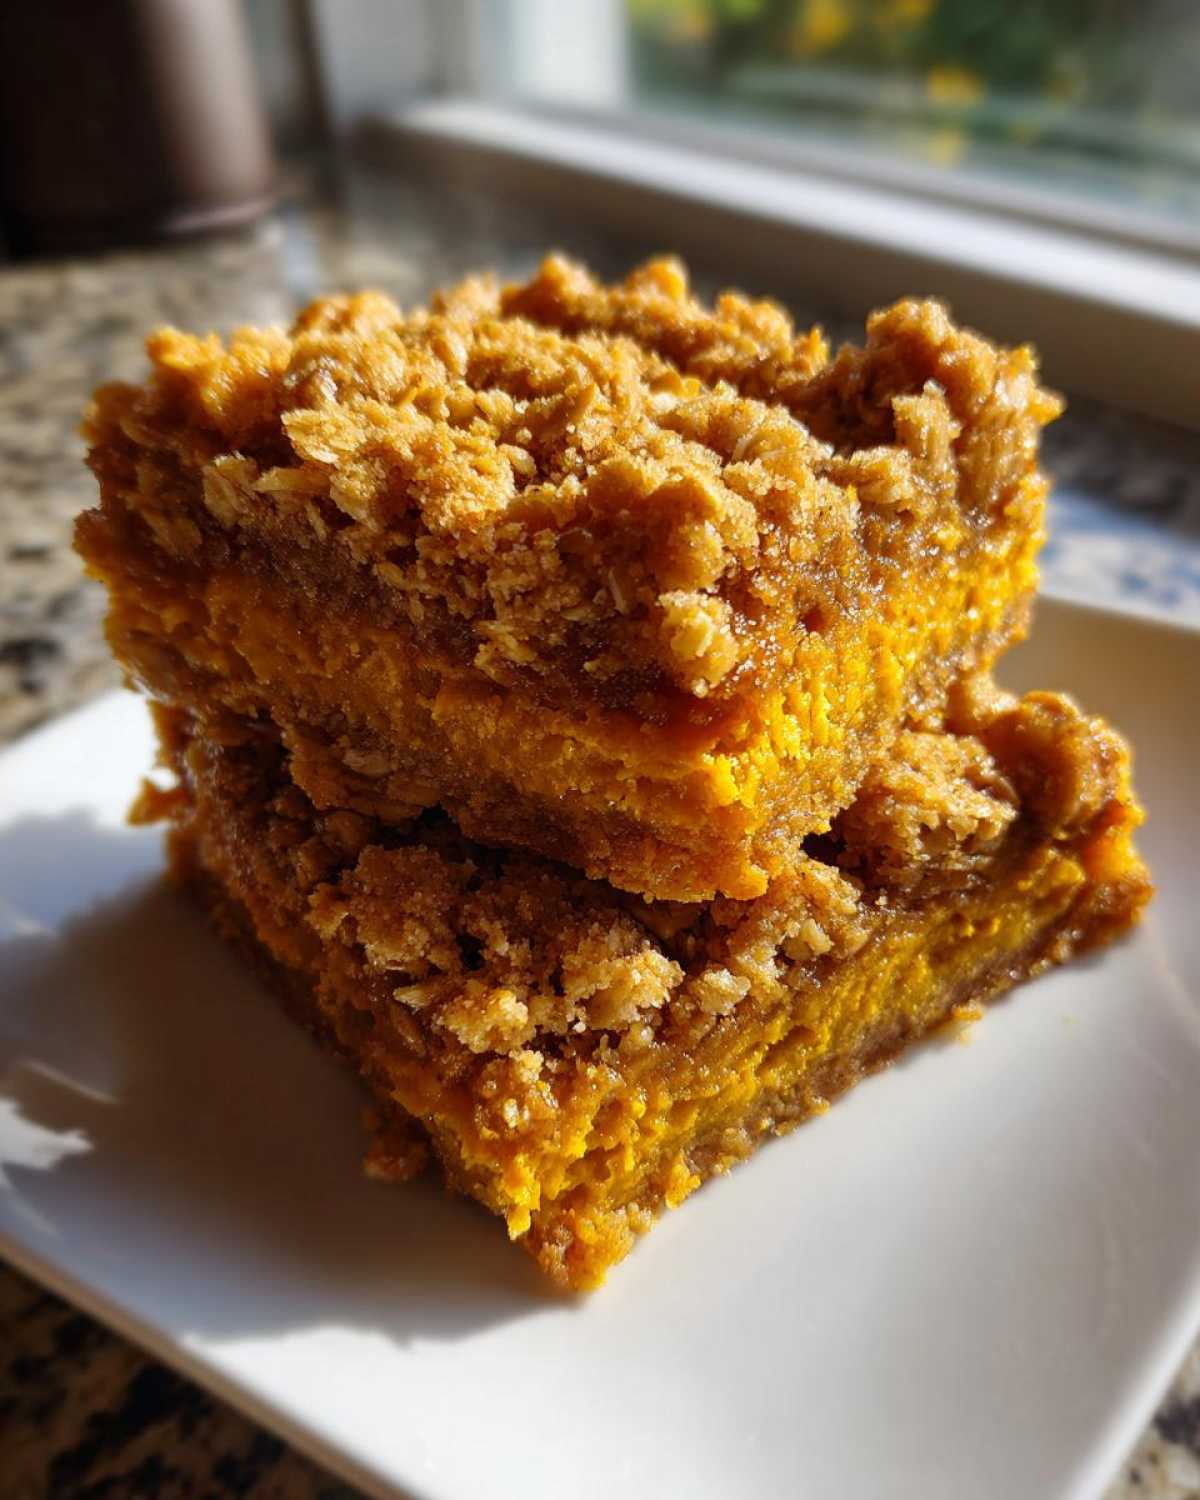
Pop that beauty into your preheated 350° oven. It’s going to bake for about 45 to 50 minutes. Now, you’ll know it’s done because the topping will be a beautiful golden brown color, and if you gently wiggle the pan, the filling should look mostly set. It won’t jiggle like gelatin; it’ll be firm. After you pull it out, let it rest for at least 20 minutes before slicing. I know, waiting is tough, but it helps the filling firm up so your slices don’t fall apart!
Tips for the Perfect Pumpkin Crisp Every Time
You know I love sharing the little tricks that turn a good dessert into something truly memorable. Baking is all about temperature and timing, and since this is such fantastic comfort food baking, we want it perfect! My advice always centers around the two make-or-break points: that cold butter and that crucial resting period after it comes out of the heat.
If you follow these little pointers, you’ll be crowned the crisp champion at every gathering. And hey, if you want even more cozy ideas, take a peek at my guide for ultimate comfort food baking recipes later!
Achieving Maximum Crispiness in the Topping
Listen, we are going for crunch, not mush! If you’re finding your butter is warming up too fast while you’re crumbling it into the flour and sugar for your topping, stop everything! Put the bowl in the freezer for about five minutes. Seriously, that blast of cold air firms up the butter, and firmness equals crispiness.
Alternatively, if you have a food processor and you’re worried about over-mixing by hand, you can pulse those topping ingredients together really quickly—just a few quick pulses until it looks like coarse cornmeal. Don’t run the machine for too long, though! We still want those little pockets of butter to melt into pure, crispy gold in the oven. It’s all about respecting the coldness of that fat until it goes into the hot oven.
Why Resting Time Matters for Your Pumpkin Crisp
I know, I know, the smell of warm pumpkin spice makes you want to grab a spoon immediately! But you have to resist that urge, especially with a true pumpkin crisp. The filling is made with eggs and condensed milk, so it’s very much like a baked custard inside there. If you cut into it piping hot, it’s going to run out everywhere and look rather sad on your plate.
That 20-minute rest time—or even longer if you can manage it—is essential because it allows the center to firm up completely. When it rests, the internal structure sets, so when you cut that first square or scoop, you get that perfect definition between the set, creamy orange layer and that crunchy, golden topping. It makes all the difference between a dessert you scoop and a slice you serve!
Ingredient Notes and Substitutions for this Pumpkin Crisp
Let’s chat ingredients for just a minute, because the success of this pumpkin crisp really hinges on using the right kind of pumpkin. This is super important: we are using 100% pure pumpkin puree, not the pre-made pumpkin pie filling! The pie filling already has all the sugar and spices mixed in, and that would totally throw off the balance when we add the sweetened condensed milk.
If you see an empty spot in your pantry, don’t panic! This recipe is forgiving, which is why it’s one of my favorite autumn bake recipes. You just need to know what you’re swapping out.
You can find some great ideas for other spiced treats over in my apple cinnamon rolls post if you’re experimenting with flavors!
Here are the main things people ask me about when they’re gathering their ingredients:
- Nuts in the Topping: The recipe calls for oats, but I often like to add crunch! You can swap half of the rolled oats for chopped pecans or walnuts. If you use nuts, lightly toast them first for about five minutes before you mix them into the topping—it deepens their flavor so much!
- Sweetened Condensed Milk Substitute: This ingredient is what gives the filling that incredible creamy texture and sweetness. If you absolutely must substitute it, you can try making a mixture of evaporated milk plus an equal amount of granulated sugar, but honestly, the texture won’t be quite as dense and velvety. Just use the condensed milk if you can!
- Spice Level: Feel free to adjust the spices to your liking for your perfect spiced pumpkin filling. If you want serious warmth, add an extra dash of cinnamon. If you hate ginger, just skip it, though I think the ginger keeps it from tasting too much like a straight pie.
It takes just a little bit of tweaking here and there, but that core combination of the creamy layer and the crunchy topping is what makes this dish shine!
Serving Suggestions: Warm Desserts with Ice Cream
Now that you have achieved the perfect bake—golden topping, set filling—it’s time for the best part: serving! This pumpkin crisp is definitely one of those amazing warm desserts with ice cream that just screams comfort. You absolutely have to serve it warm, right out of that short resting period. If you serve it cold, the topping loses its magical crunch factor.
Don’t even think about taking a bite without a topping! It just elevates the whole experience. If you are looking for more ideas on pairing rich baked goods with frozen treats, I have a whole guide on warm desserts with ice cream that you should browse through later!
For this specific crisp, I stick to the classics because they never fail:
- Vanilla Bean Ice Cream: This is non-negotiable for me. The pure, cool vanilla flavor contrasts perfectly with the warm spices like cinnamon and nutmeg in the pumpkin. The ice cream melts right down into the crevices of the crisp topping—it’s heaven!
- Fresh Whipped Cream: If you don’t have ice cream? Dollop a big cloud of freshly whipped cream on top. Make sure you sweeten it just a tiny bit!
- Caramel Drizzle: For those of you who like things extra decadent (and who doesn’t?), a thin drizzle of quality caramel sauce over the top before serving is just luxurious. It plays beautifully with the brown sugar notes we used in the topping.
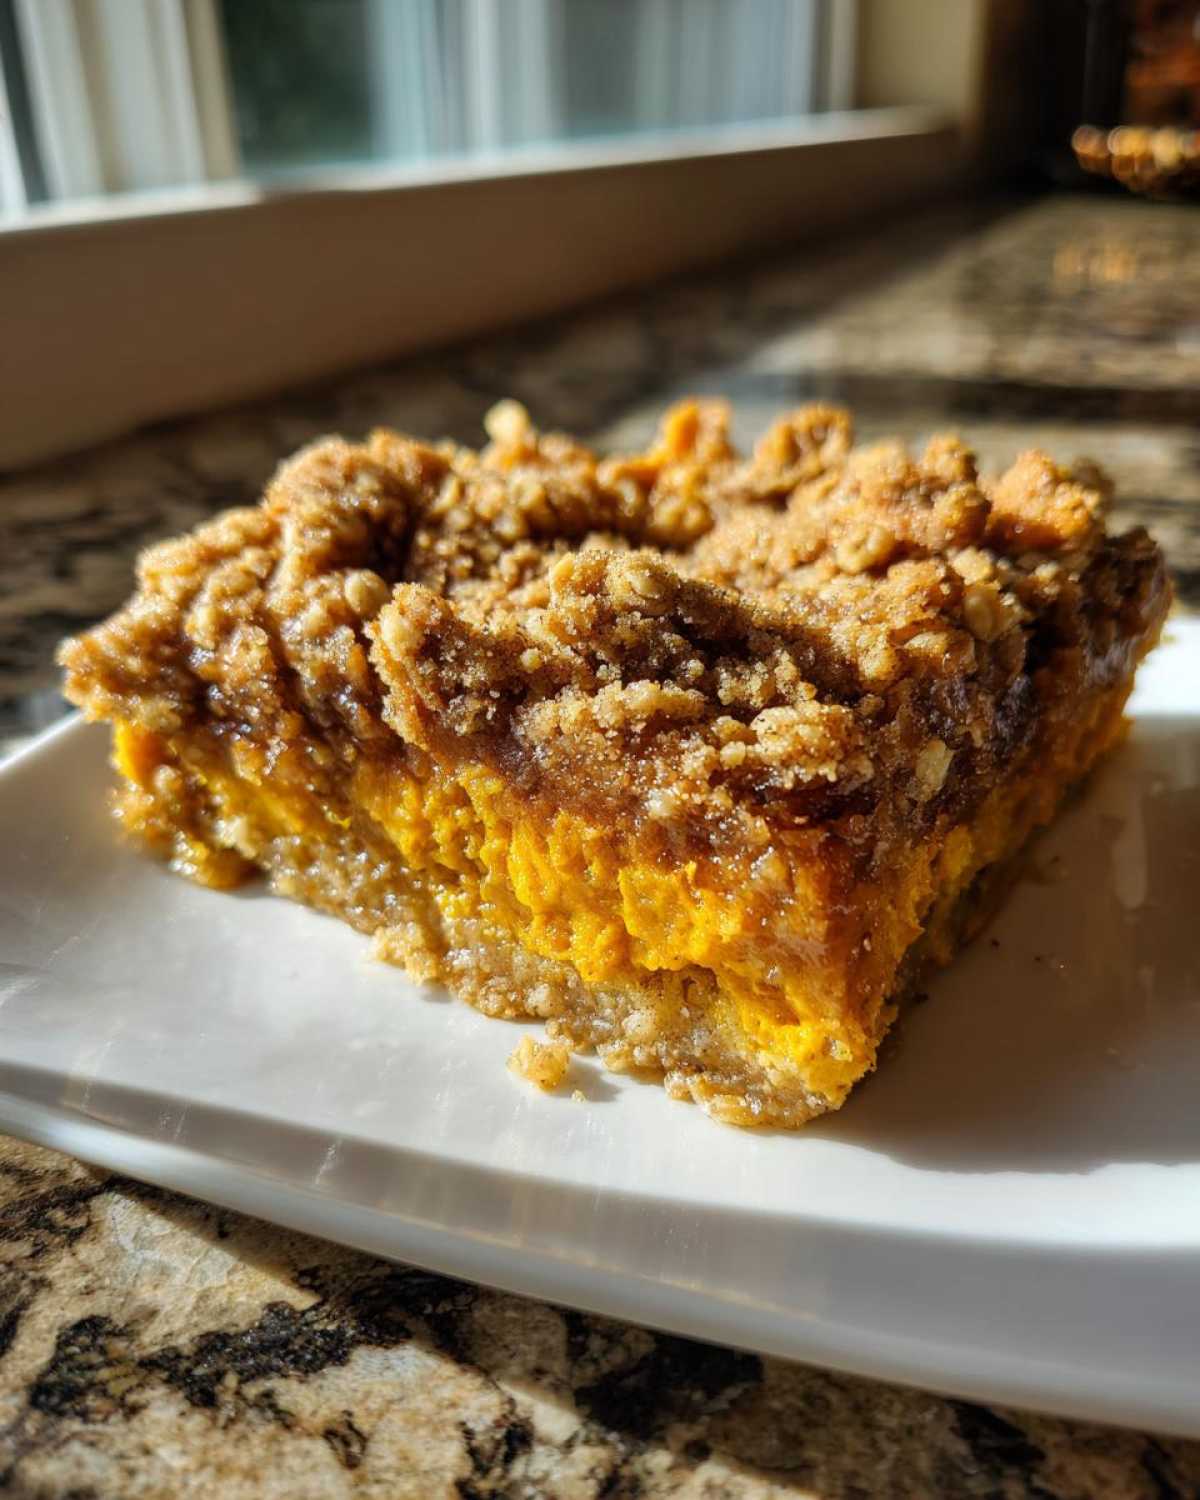
Honestly, slicing a big square, setting it on a cute little plate, and topping it immediately makes for the prettiest presentation. It’s the perfect simple end to any autumn or holiday meal!
Storage and Reheating Instructions for Leftover Pumpkin Crisp
This is the part no one likes to talk about, right? The fact that you might actually have leftovers of this glorious pumpkin crisp! Good news: this little bake holds up really well, though you have to store it correctly to protect that amazing topping.
If you have any leftover, the best way to keep it fresh is to let it cool down completely to room temperature first. Don’t put a hot dish straight into the fridge; that traps steam and makes everything soggy overnight. Once it’s totally cool, cover the baking dish tightly with plastic wrap or transfer the squares into an airtight container.
I usually keep mine in the fridge because the filling stays much firmer that way. It should be good for about three or four days. If you’re into making things ahead—like before Thanksgiving—you can bake it fully, cool it, cover it well, and keep it chilled until the day you want to serve it. For more tips on keeping that crunch alive in other bakes, check out my post on apple crisp with oat topping leftovers!
Now, for reheating, this is where we bring back that glorious texture!
The Best Way to Reheat Leftover Pumpkin Crisp
Microwaving is fast, I know, but it’s the enemy of a crisp topping! When you microwave it, the steam gets trapped right under that buttery oat layer, and bam—you’ve got soft, slightly gummy topping instead of crunch.
To keep that satisfying texture, skip the microwave unless you’re in a real hurry. The oven is your friend here. Pop a square or two—or even the whole dish if you covered it loosely with foil—back into a moderate oven, say around 300 degrees Fahrenheit, for about 10 to 15 minutes. This slow, gentle heat warms the filling all the way through while drying out that topping just enough to make it crisp again.
If you decide to use the microwave on a small piece, honestly, just eat it fast before it gets soft! But for the best experience? Low and slow in the oven is the secret to enjoying this quick pumpkin dessert the next day.
Frequently Asked Questions About Making Pumpkin Crisp
I’ve been asked so many questions about this favorite treat, especially when people are planning their menus for big holiday meals! Honestly, I try to answer everything right in the steps, but sometimes you just need a quick, direct answer. So, here are the most common things people ask me about making this pumpkin crisp. If you’re looking for more inspiration for the season, definitely check out my guide to all my favorite fall baking ideas!
Can I make this easy pumpkin crisp recipe ahead of time?
You totally can, but you have to choose which part to make ahead! If you assemble the whole thing—filling poured, topping sprinkled—and then put it in the fridge, it’s fine for up to 12 hours. However, the topping will absorb moisture from the filling while sitting raw, so it won’t be as perfectly crisp when baked. My personal advice for the best pumpkin crisp is to prep the components separately. Mix the filling ingredients and keep them chilled. Mix the topping ingredients (flour, sugar, butter) and keep that cold crumble in the fridge. Then, right before you plan to bake it, just assemble and pop it in the oven!
What is the difference between pumpkin crisp and pumpkin crumble recipe?
That’s a tricky one, because honestly, most people use the terms interchangeably! If you look at the search results, they often mean the exact same thing: a baked fruit or vegetable base with a streusel topping. For this specific pumpkin crisp recipe, the main defining factor for us is the topping structure. Because we use cold butter cut in with flour, oats, and sugar, it leans toward the traditional *crisp* structure—it’s lighter, usually containing oats, and bakes up shattering crisp.
A true *crumble* can sometimes be softer or have a higher ratio of brown sugar to flour. But here? If you call it a crumble, I won’t argue! As long as it’s delicious, it works for your Thanksgiving dessert ideas.
Can I use gluten-free flour in this pumpkin crisp?
Yes, you absolutely can adapt this bake for gluten-free needs! The filling is naturally GF since it uses no flour, just eggs and condensed milk, so that part is safe. For the topping, you need to make sure you use a good quality 1-to-1 gluten-free baking blend that contains xanthan gum. It handles the cutting-in process really well. If you use straight almond flour, the topping tends to get oily rather than crumbly, so stick to a blend of GF all-purpose flour for the best result!
Estimated Nutritional Snapshot for This Fall Dessert
Okay, I’m going to be completely honest here—this is comfort food baking at its finest, which means it definitely leans toward the indulgent side! We’re using sweetened condensed milk and a whole stick of butter in that topping, so we aren’t pretending this is exactly salad, right? But that’s why it tastes so unbelievably good!
If you’re planning a menu or just keeping track, here is the estimated nutritional breakdown for a single serving of this amazing pumpkin crisp. Remember, these numbers are just estimates based on standard versions of the ingredients we used, like the oats and the flour. I pulled this data based on the recipe yield of 6 generous servings!
For more fantastic ideas that fit into your planning, you should check out my collection of amazing fall dessert posts!
- Serving Size: 1 serving
- Calories: About 380 per slice
- Sugar: Roughly 30 grams (That’s where the deliciousness comes from!)
- Fat: Around 20 grams total fat
- Saturated Fat: About 12 grams (That cold butter is hard at work!)
- Carbohydrates: Roughly 45 grams
- Protein: About 7 grams
The carbs are mostly coming from the sugar and the flour in that wonderful topping. If you’re looking to lower the sugar slightly, remember you can always use a bit less brown sugar in the topping, though I only recommend it if you’re used to less sweetness. Enjoy every bite of this absolute classic!
PrintEasy Creamy Pumpkin Crisp with Buttery Oat Topping
Make this simple pumpkin crisp for a comforting fall dessert. It features a spiced pumpkin filling topped with a crunchy, buttery oat crumble. This recipe avoids the need for a traditional pie crust.
- Prep Time: 15 min
- Cook Time: 50 min
- Total Time: 65 min
- Yield: 6 servings
- Category: Dessert
- Method: Baking
- Cuisine: American
- Diet: Vegetarian
Ingredients
- 1 (15 ounce) can pumpkin puree
- 1 (14 ounce) can sweetened condensed milk
- 2 large eggs
- 1 teaspoon ground cinnamon
- 1/2 teaspoon ground ginger
- 1/4 teaspoon ground nutmeg
- 1/4 teaspoon salt
- 1 cup all-purpose flour
- 1/2 cup packed light brown sugar
- 1/2 cup rolled oats
- 1/2 cup (1 stick) cold unsalted butter, cut into small pieces
Instructions
- Preheat your oven to 350 degrees Fahrenheit. Lightly grease an 8×8 inch baking dish.
- In a medium bowl, whisk together the pumpkin puree, sweetened condensed milk, eggs, cinnamon, ginger, nutmeg, and salt until smooth. Pour this filling mixture into the prepared baking dish.
- In a separate bowl, combine the flour and brown sugar for the topping.
- Cut in the cold butter using a pastry blender or your fingers until the mixture resembles coarse crumbs. Stir in the rolled oats.
- Sprinkle the oat mixture evenly over the pumpkin filling.
- Bake for 45 to 50 minutes, or until the topping is golden brown and the filling is set.
- Let the crisp cool for at least 20 minutes before serving warm.
Notes
- Serve this crisp warm with a scoop of vanilla ice cream or a dollop of whipped cream.
- You can substitute pecans or walnuts for some of the oats in the topping for added crunch.
- For a quicker prep, you can mix the topping ingredients in a food processor until crumbly.
Nutrition
- Serving Size: 1 serving
- Calories: 380
- Sugar: 30
- Sodium: 250
- Fat: 20
- Saturated Fat: 12
- Unsaturated Fat: 8
- Trans Fat: 0
- Carbohydrates: 45
- Fiber: 3
- Protein: 7
- Cholesterol: 65
