

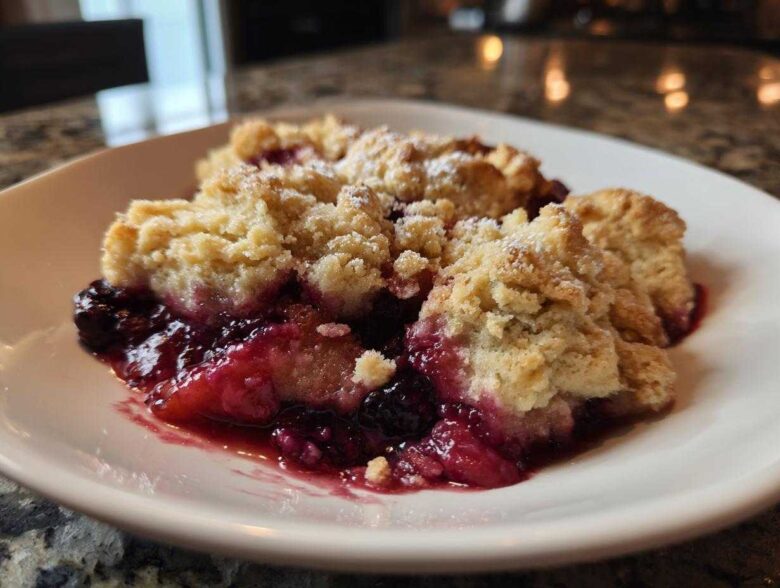
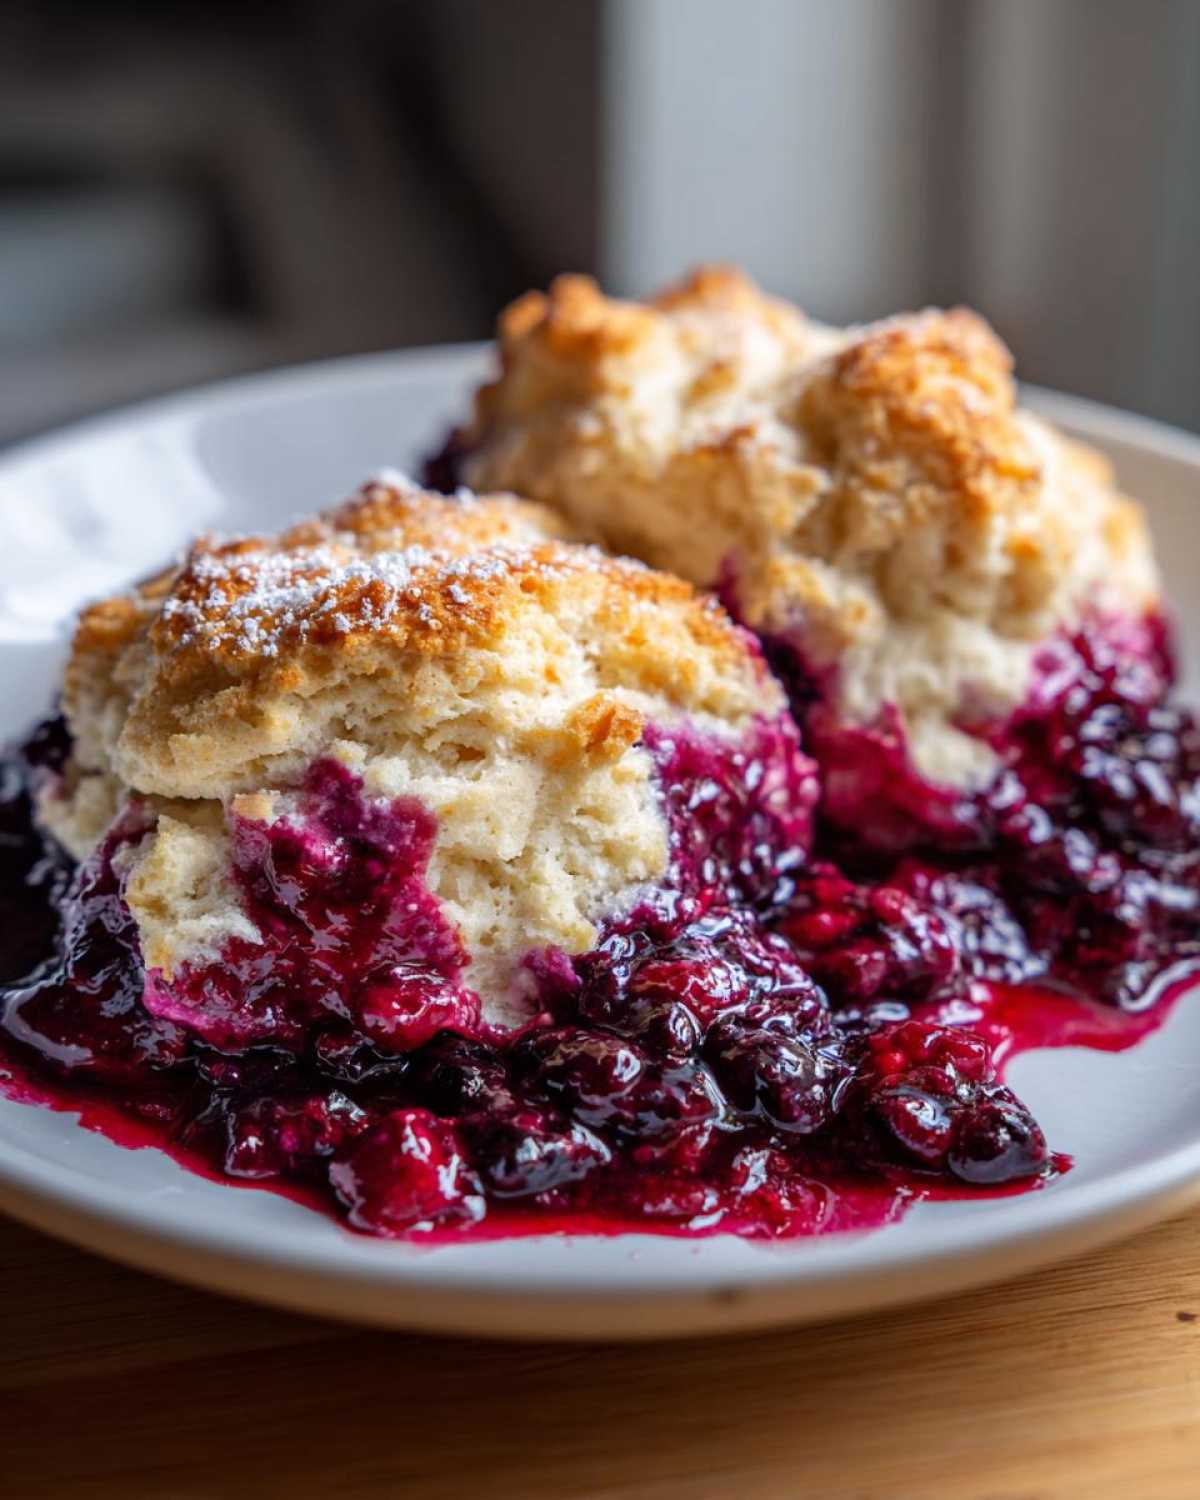
When you need food that feels like a giant, warm hug wrapped around you, you turn to comfort food, right? For me, Anya, and Sasha, nothing says ‘everything is going to be okay’ quite like a bubbling fruit dessert straight from the oven. That’s why I’m so thrilled to share what I consider the absolute gold standard: The Easiest Mixed berry cobbler with Biscuit Topping. This isn’t some fussy baking project; this is the dessert I whip up when we’ve had a long day and just need that cozy feeling fast. Seriously, this berry cobbler is so forgiving, it handles fresh berries in July just as beautifully as it handles those bags of frozen fruit we keep tucked away for winter.
As the designated ‘host’ of our little kitchen collective, my goal is always simplicity paired with maximum flavor payoff, a philosophy we hold dear here at our kitchen headquarters. This recipe nails that sweet spot. It’s that perfect, jammy fruit base beneath a tender, slightly crisp biscuit topping. Trust me, once you pull this out of the oven, the whole house smells like happiness, making it one of our top comforting treats.
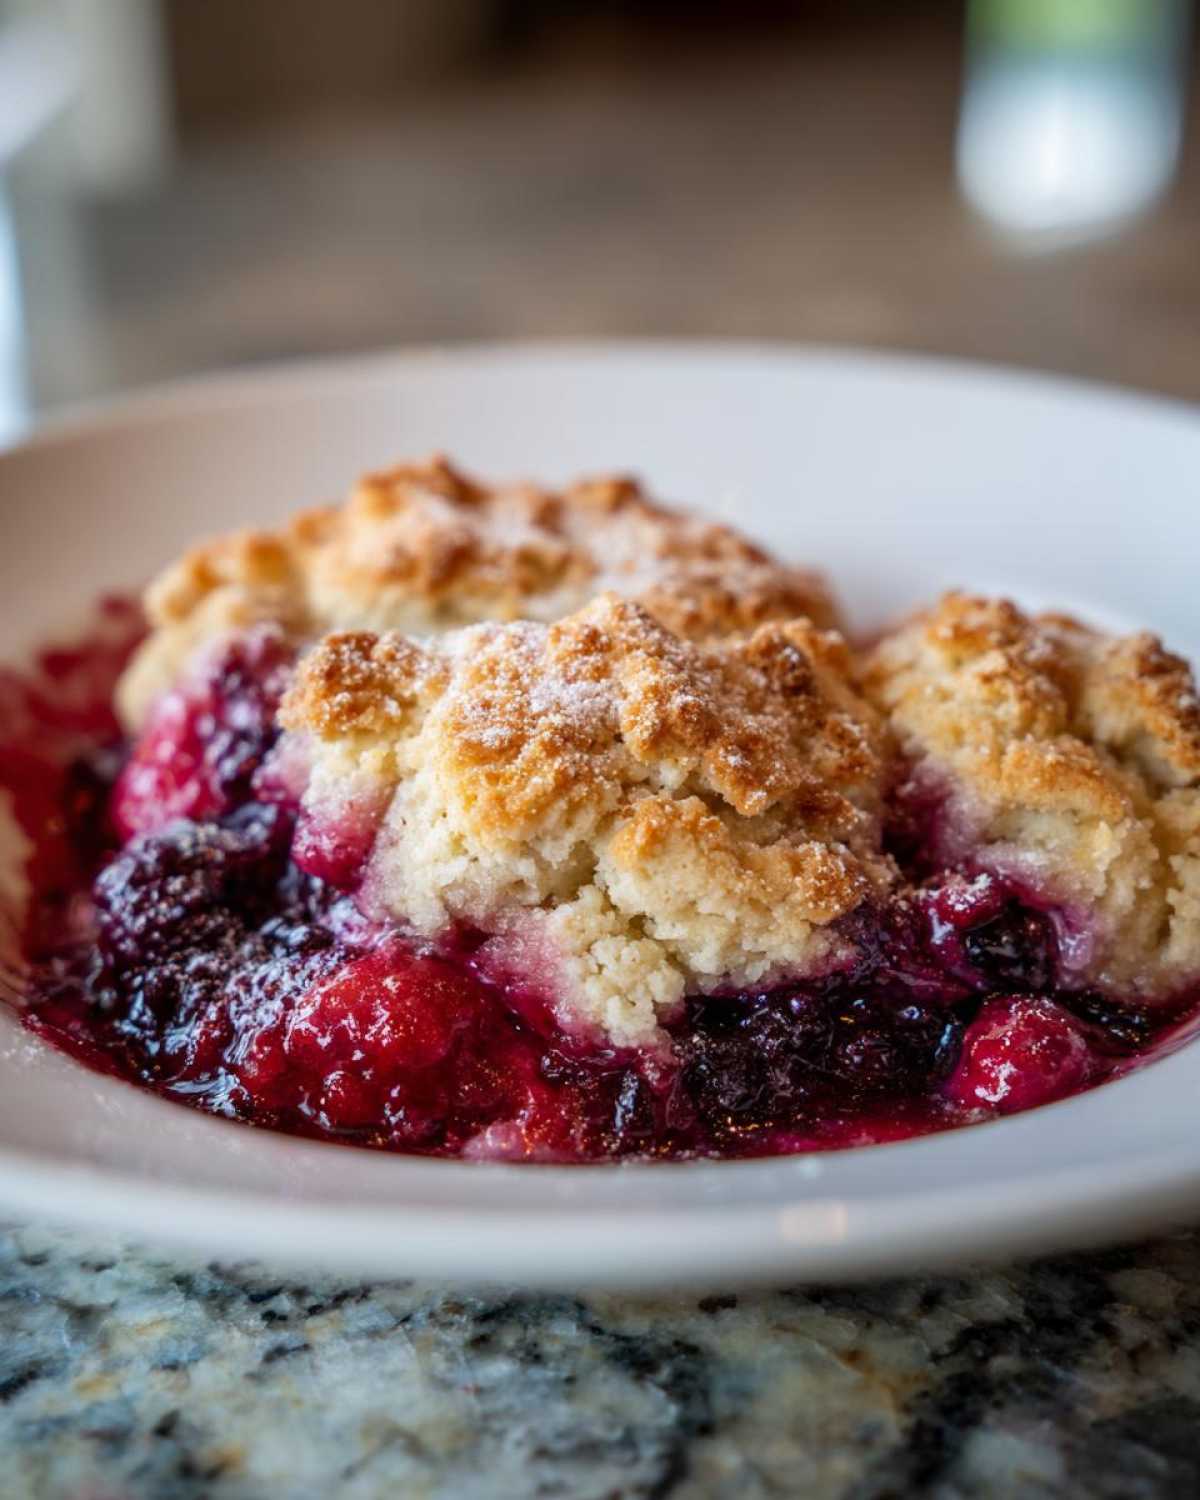
Why This Is The Best Berry Cobbler Recipe You Will Make
I know everyone claims their recipe is the best, but honestly, this berry cobbler recipe is the one I turn to when I need dessert *now*. It truly gives you that Southern Style Cobbler feel without spending half the afternoon fussing over it. It’s just pure, straightforward comfort.
- It is incredibly fast to put together.
- You don’t have to worry about thawing fruit!
- The topping is rustic and fluffy—perfection!
Quick Prep Time for Your Easy Berry Cobbler Recipe
We are talking 15 minutes of hands-on time, tops. That’s faster than ordering a pizza, which means this is my go-to recipe when someone unexpectedly shows up at our door. If you need a warm fruit dessert fast, this totally qualifies as a great last minute dessert idea.
Flexible Fruit Use: Fresh or Frozen Berries for Your Berry Cobbler
This is the real secret weapon! Whether it’s the height of summer and my farmer’s market basket is overflowing, or it’s February and I just have bags of frozen fruit, this berry cobbler works perfectly. Trust me on this: toss the frozen berries straight in—no thawing necessary. This makes fantastic frozen berry cobbler ideas for any time of year.
Gathering Ingredients for Your Homemade Cobbler Recipe
Okay, the best part about this berry cobbler being so simple is that you probably have half this stuff in your pantry already! When Anya and I started putting these recipes together, we focused on pantry staples mixed with lovely fresh (or frozen!) fruit. For the filling, the lemon juice is super important—it brightens everything up, making sure those berries taste like the absolute best, juicy things you’ve ever eaten. Don’t skip the cornstarch, though; it’s the secret to that thick, jammy texture we’re aiming for. If you want to grab our recipe for a peach version, check out my Peach Cobbler post, but for now, let’s get these berries ready!
For the Jammy Berry Filling
This is where the flavor lives! Remember, if you’re using frozen fruit, just toss it in straight from the freezer, no thawing allowed! The cornstarch is doing heavy lifting here to thicken up all those lovely juices we get when baking this berry cobbler.
- 4 cups mixed berries (blackberries, blueberries, raspberries—get creative!)
- 1/2 cup granulated sugar
- 2 tablespoons cornstarch
- 1 tablespoon lemon juice
- 1 teaspoon vanilla extract
For the Biscuit Cobbler with Biscuit Topping
When it comes to the biscuit topping, this is where Sasha usually takes over because she’s got the magic touch with fats. The key here, seriously, is that the butter must be cold and cut into tiny pieces. This helps the topping steam properly, giving you that lovely, light biscuit texture instead of a dense, hard crust. Don’t mix this part too much, or you’ll lose that tenderness!
- 1 1/2 cups all-purpose flour
- 2 teaspoons baking powder
- 1/2 teaspoon salt
- 1/2 cup cold unsalted butter, cut into small pieces
- 1/2 cup milk
- 2 tablespoons coarse sugar, for sprinkling
Step-by-Step Instructions for the Mixed Berry Cobbler
Okay, let’s get baking! This is where the actual assembly happens, and honestly, it moves faster than you think. Keep your mixing bowls handy and remember that we’re aiming for rustic charm here, not perfect bakery precision. Once this Mixed Berry Cobbler starts baking, the warmth that fills the kitchen is just incredible. I often use this time to catch up on emails or just put on some music while Sasha insists on spontaneous dance breaks. For more baking inspiration, check out my apple cinnamon rolls recipe—but this cobbler is definitely faster!
Preparing the Filling and Dish
First things first, get that oven warmed up! You need it to be ready at 375°F (190°C). Lightly grease that 8×8 baking dish—I usually grab a little bit of butter on a paper towel and rub the bottom and sides. Now for the berries: combine your 4 cups of fruit with the sugar, cornstarch, lemon juice, and vanilla. Remember to mix everything gently! We want to keep those berries looking nice, not turn them into purple mush before they even hit the oven.
Creating the Tender Biscuit Topping for Your Berry Cobbler
Time for the biscuit topping, which is what makes this a real berry cobbler! Whisk your dry ingredients—flour, baking powder, salt—in a separate bowl. Now, take that cold butter and ‘cut’ it in. You can use a pastry blender, but my fingers work great if they are cool! Rub that butter in until it looks like chunky little peas or coarse crumbs. Then, pour in the milk and stir just until it barely comes together. Seriously, stop mixing when you see flour streaks. Overmixing this gorgeous dough is the quickest way to ruin that delightful, fluffy texture on your berry cobbler topping!
Baking and Resting the Berry Cobbler
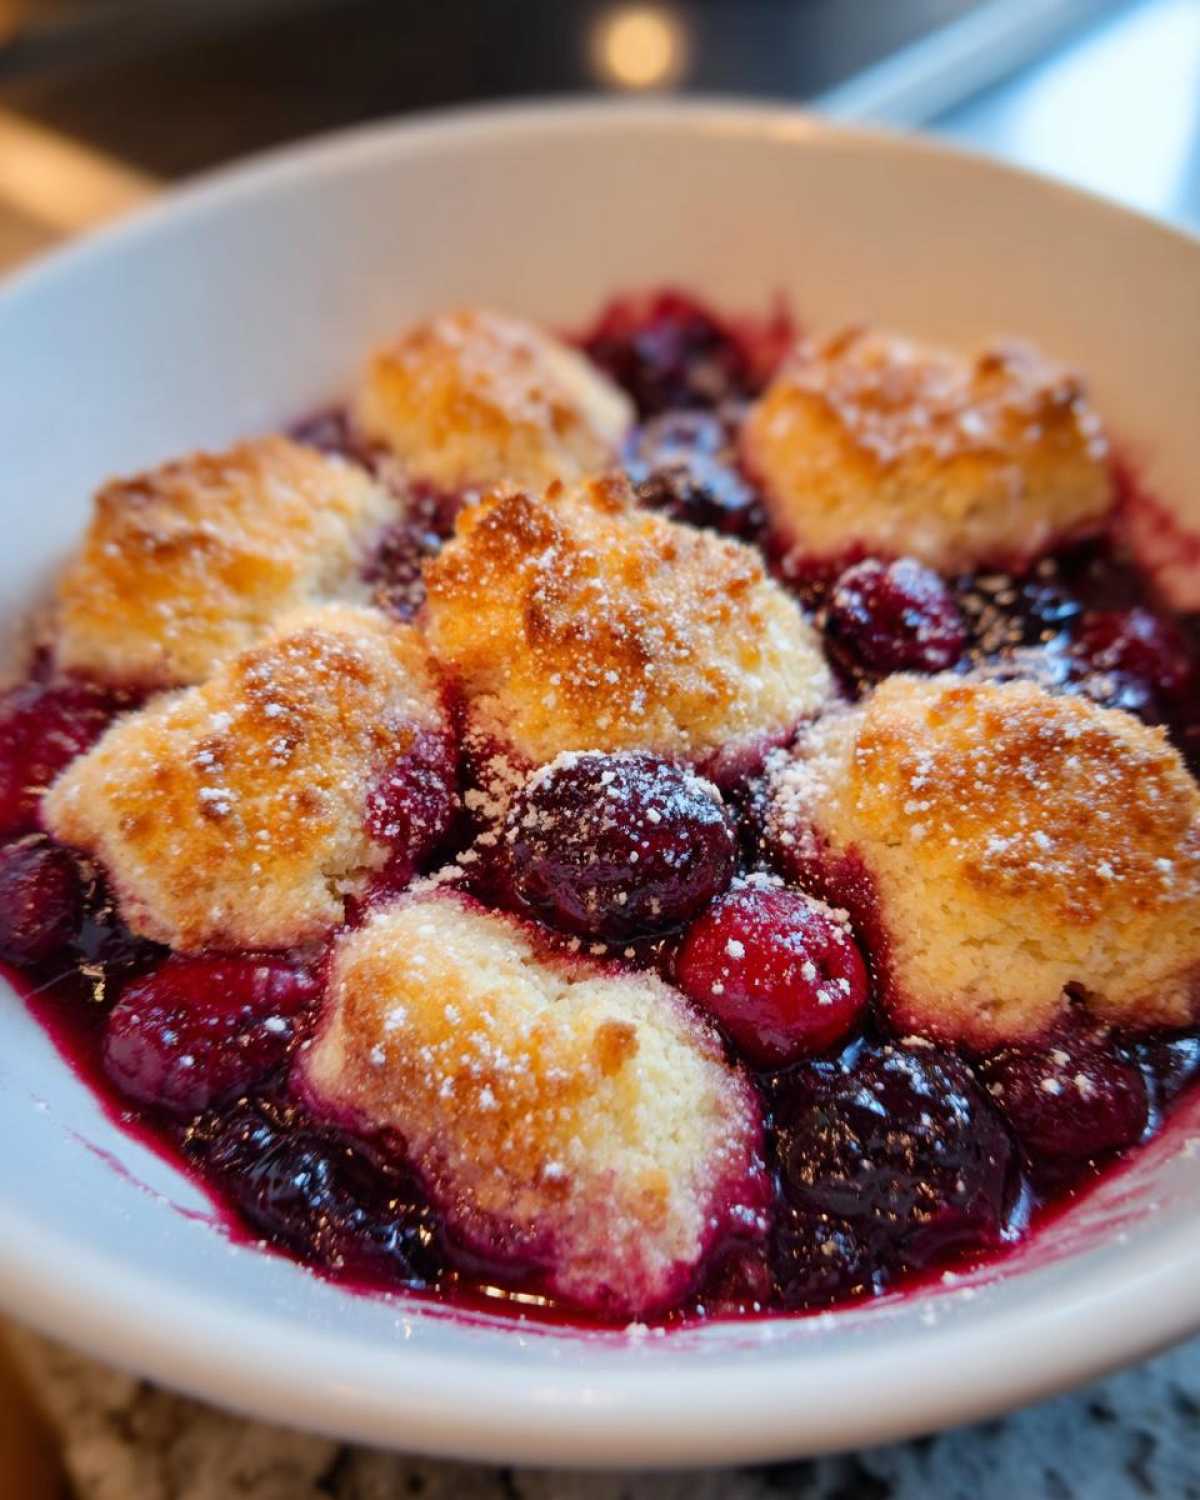
Take spoonfuls of that soft dough and drop them right over the bubbling berry layer. Don’t worry about covering it completely; those gaps are where the filling gets to peek out and bubble up beautifully. Sprinkle that coarse sugar right on top for a little sparkle and crunch! Pop it into the preheated oven for about 35 to 40 minutes. You are looking for a topping that is deeply golden brown and filling that is thick and visibly bubbling. Once it comes out, you absolutely have to let it rest for 15 minutes. This cooling time lets that jammy filling set up so it doesn’t run everywhere when you serve up your amazing berry cobbler.
Expert Tips for the Easiest Berry Cobbler Recipe
You know, just having the recipe instructions isn’t always enough when you’re baking on the fly. I always try to share the little things I learned over the years so your Easy Berry Cobbler Recipe turns out perfectly every single time. These little tweaks, which I probably learned through trial and—well, a few minor failures—are what make the difference between a good dessert and one that gets asked for at every single potluck. Don’t forget to check out my tips on moist zucchini muffins too, because consistency is key in all baking!
Handling Frozen Berries in Your Berry Cobbler
This is probably the most common question I get, especially outside of peak summer. If you are using berries straight from the freezer—and please, don’t bother thawing them, it just makes them slimy—you need to know one thing: they are colder than fresh ones! That means they take a little longer to heat up enough to bubble around the edges. What I do is just add five extra minutes to the timer. Always keep an eye on that biscuit topping, though. You want that golden brown color, not scorched tops on your wonderful berry cobbler.
Topping Variations for Your Warm Berry Dessert
Sometimes I want my topping to be a little richer, almost like a tender scone instead of a standard biscuit. If you have heavy cream sitting in the fridge, try substituting half of the milk with cream. Oh my gosh, it makes the topping so beautifully tender and moist—it elevates this whole Warm Berry Dessert experience! It still bakes up fast, making it a fantastic quick fruit dessert. That touch of extra fat just makes the biscuit richer, in the best possible way!
Serving Suggestions for a Perfect Berry Cobbler
Now that your beautiful berry cobbler is out of the oven and has rested for that crucial 15 minutes, it’s time for the grand finale! This recipe yields about 6 generous servings, which is perfect for a family dinner or just having leftovers for breakfast the next day—don’t judge, I do it all the time! How you serve this dessert really seals the deal, turning a simple baked fruit into an event.
The Essential Vanilla Topping Cobbler Pairing
We absolutely have to talk about the ice cream. If you skip the vanilla ice cream, are you even having a proper berry cobbler? I’m only half joking! The moment the warm, slightly tart, jammy berries meet that cold, creamy vanilla is pure magic. It’s the contrast in temperature that makes every bite sing. For a truly memorable ending to your meal, make sure that scoop of vanilla is big and ready to melt right down into the biscuit topping! That’s exactly what people are looking for when they search for a dessert topped with ice cream.
Seasonal Enjoyment of Your Berry Cobbler
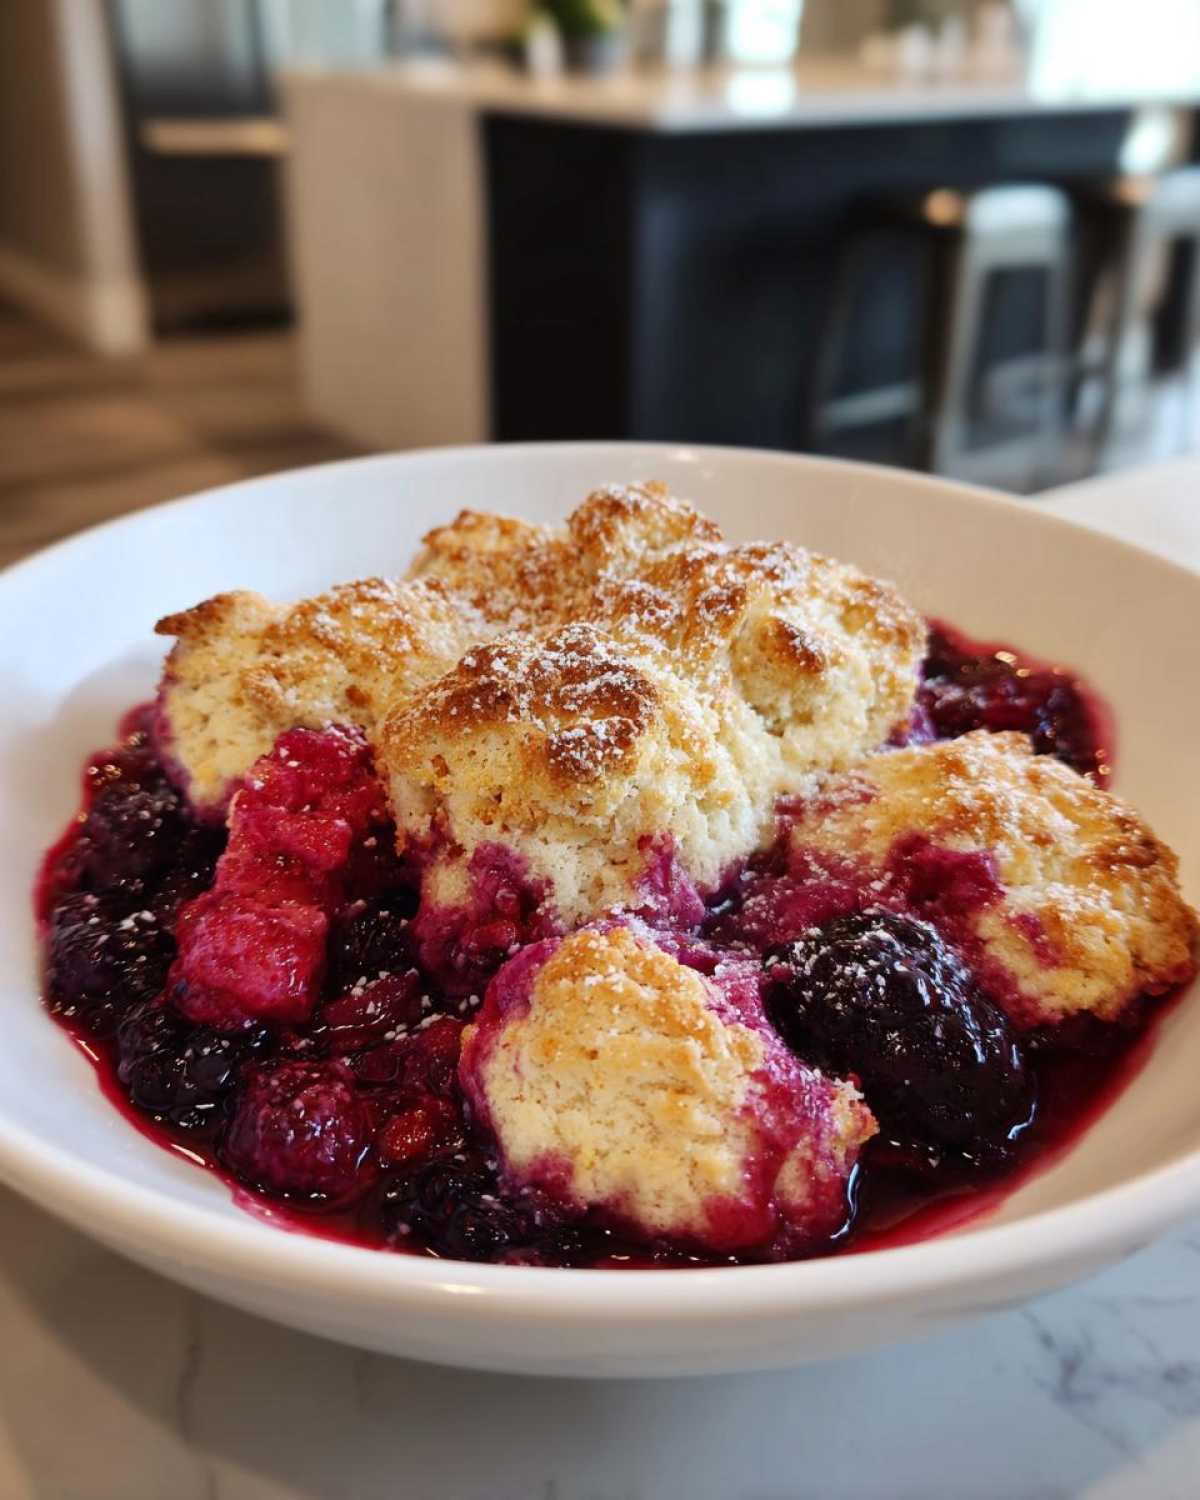
What I love most about these kinds of desserts is their versatility. Even though August berries feel like the peak time for this dish, it works year-round. If you loaded it up with frozen berries in December, it’s still the ultimate Comfort Food Dessert against the chilly weather. It’s one of those sweet things that feels inherently cheerful, whether the sun is blazing or the snow is falling. If you’re collecting ideas for warmer weather, this definitely belongs on your shortlist of Summer Berry Recipes, but honestly, it’s welcome anytime!
Storing and Reheating Your Delicious Berry Cobbler
You can absolutely make this berry cobbler ahead of time—it’s a lifesaver when you need a quick homemade treat! Once it’s cooled down completely, cover it tightly with plastic wrap or tuck it away in an airtight container. It stays great on the counter for a day, or safely tucked in the fridge for about three or four days. But here’s the secret to getting that perfect bite again: you have to reheat it to crisp up that beautiful biscuit topping!
For revitalization, skip the microwave! Pop your serving right into a toaster oven or a regular oven at about 350°F (175°C) until it’s warmed through, maybe 10 minutes. That heat brings the crunch right back. If you want to see a great berry mix idea, my friends over at the blackberry raspberry cobbler recipe have some wonderful combinations to try out next time! If you love savory comfort food as much as I do, you should definitely check out my recipe for classic tuna noodle casserole too.
Common Questions About Making Berry Cobbler
As the host, my job is never done until everyone’s questions are answered! Getting those little details right is what turns a good dessert into something truly special. Sasha and Anya always have questions pop up during testing, so I gathered the ones I hear most often about making the perfect berry cobbler. If you have questions about how to make your gluten-free baked goods rise higher, check out my thoughts over on my zucchini muffins post, but for now, let’s tackle this amazing fruit dessert!
What is the difference between Berry Crumble vs Cobbler?
This is such a good question, especially since they both involve baked fruit! The difference comes down to what sits on top of those beautiful bubbling berries. In our recipe, we are making a classic **berry cobbler**, which means we are topping it with spoonfuls of a tender, biscuit-like dough. A crumble, on the other hand, uses a streusel topping—usually flour, sugar, and cold butter cut together until it looks sandy or like coarse oat topping. I think the biscuit on a cobbler is more comforting, but honestly, both are delicious when paired with vanilla ice cream!
Can I use only one type of fruit in this berry cobbler?
Absolutely, yes! You totally can switch this up. If you only have a giant bag of frozen blueberries or you just picked a ton of fresh blackberries, go for it! The reason I suggest a mixed berry approach for this particular berry cobbler recipe is that the blend of sweet blueberries, tart raspberries, and deep blackberries creates this incredible three-dimensional flavor. But if you stick to one fruit, just make sure you still use the cornstarch and sugar measurements as written, and you’ll still have a wonderful, warm fruit dessert. Check out this mixed berry cobbler post for more inspiration!
What if I want a Triple Berry Cobbler Recipe?
If you are looking specifically for that classic combination of three fruits—maybe strawberries, blueberries, and raspberries—this recipe is already set up for you! The 4 cups of mixed berries we call for can be swapped entirely for any combination of three types of fruit. That’s the beauty of a simple formula like this; it’s forgiving! So if you grab two cups of strawberries, one cup of raspberries, and one cup of blueberries, you’ve got yourself a homemade Triple Berry Cobbler Recipe that fits perfectly into this biscuit topping structure.
Estimated Nutritional Snapshot for This Berry Cobbler
Now, I know that when we are baking for comfort, we aren’t usually thinking about macros, but sometimes it’s nice to have a general idea of what’s in that warm slice! Because every single ingredient varies—the size of your berries, exactly how much butter you use when greasing the pan—please treat these numbers as a rough guideline. Think of this as our very best guess for one serving of this gorgeous berry cobbler, served warm, but maybe without that giant scoop of vanilla ice cream on top!
This **berry cobbler** recipe yields 6 servings, based on the ingredient amounts listed above. Remember, this is just an estimate, but it gives you a decent baseline for what you’re enjoying!
- Serving Size: 1 serving
- Calories: Approximately 350
- Sugar: Around 25g (That’s the joy of the fruit and the sugar we add!)
- Fat: About 14g (Mostly from that perfect cold butter in the biscuit topping, which is non-negotiable, right?)
- Carbohydrates: Roughly 55g
- Protein: About 5g
If you are watching sodium or saturated fat, those numbers come in pretty low, which is a nice surprise for a dessert! The main thing is that you are getting those wonderful antioxidants from all those mixed berries we lovingly tossed with that touch of lemon juice. Enjoy it!
Share Your Berry Cobbler Creations!
Now that you’ve whipped up what I promise is the easiest, most comforting **berry cobbler** you’ll ever make, I truly want to see what you’ve created! Honestly, seeing how this dessert turns out in kitchens all over the place—seeing your golden biscuit toppings and your bubbling fruit—is the best part of sharing recipes. It’s what feeds the friendship between me, Anya, and Sasha here at Savor Sensations!
Did you go classic with vanilla ice cream, or did you try something wild with the topping? Please don’t be shy! Pop down to the comments below and let us know how it went. Did you use all blackberries or stick to the mixed berry dream team? Telling me how sweet or tart your filling turned out helps me learn too! If you tried customizing it with something different for the biscuit, I’d love to hear those secrets!
If you snapped a picture of your gorgeous, warm dessert, please tag us on social media! Seeing your photos makes our day. It reinforces that feeling of community we built right there in our apartment hallway. We love sharing, and we love seeing you share too! For another batch of inspiration, you can check out my thoughts on savory zucchini cheese muffins, but don’t forget to rate this cobbler first!
And hey, if you baked this up for a special occasion or just a Tuesday night treat, we would be so grateful if you could leave a quick star rating right here on the recipe. It really helps other folks find this amazing **berry cobbler** recipe! If you’re looking for another fantastic mixed berry option, my friend over at Great Grub Delicious Treats has a wonderful triple berry option you might want to try next time!
PrintThe Easiest Mixed Berry Cobbler with Biscuit Topping (Uses Fresh or Frozen Berries)

You can make this comforting mixed berry cobbler quickly, using either fresh or frozen berries. It features a sweet, jammy fruit filling topped with a tender, biscuit-like topping. This is a perfect, easy dessert for any season.
- Prep Time: 15 min
- Cook Time: 40 min
- Total Time: 55 min
- Yield: 6 servings
- Category: Dessert
- Method: Baking
- Cuisine: American
- Diet: Vegetarian
Ingredients
- 4 cups mixed berries (fresh or frozen, such as blackberries, blueberries, raspberries)
- 1/2 cup granulated sugar
- 2 tablespoons cornstarch
- 1 tablespoon lemon juice
- 1 teaspoon vanilla extract
- 1 1/2 cups all-purpose flour
- 2 teaspoons baking powder
- 1/2 teaspoon salt
- 1/2 cup cold unsalted butter, cut into small pieces
- 1/2 cup milk
- 2 tablespoons coarse sugar, for sprinkling
Instructions
- Preheat your oven to 375°F (190°C). Lightly grease an 8×8 inch baking dish.
- Prepare the berry filling: In a large bowl, gently combine the mixed berries, granulated sugar, cornstarch, lemon juice, and vanilla extract. Pour this mixture evenly into the prepared baking dish.
- Prepare the biscuit topping: In a separate medium bowl, whisk together the flour, baking powder, and salt.
- Cut in the cold butter using a pastry blender or your fingertips until the mixture resembles coarse crumbs.
- Pour in the milk and stir just until a soft dough forms. Do not overmix.
- Drop spoonfuls of the biscuit dough over the berry filling, leaving small gaps between the mounds so the filling bubbles up.
- Sprinkle the coarse sugar evenly over the topping.
- Bake for 35 to 40 minutes, or until the topping is golden brown and the berry filling is thick and bubbly.
- Let the cobbler cool for at least 15 minutes before serving warm, preferably with vanilla ice cream.
Notes
- If you use frozen berries, do not thaw them first; use them straight from the freezer. You may need to add 5 minutes to the baking time.
- For a different flavor, substitute half of the milk with heavy cream for a richer biscuit topping.
- This recipe is a great last minute dessert idea when you need something quick and warm.
Nutrition
- Serving Size: 1 serving
- Calories: 350
- Sugar: 25
- Sodium: 250
- Fat: 14
- Saturated Fat: 8
- Unsaturated Fat: 6
- Trans Fat: 0
- Carbohydrates: 55
- Fiber: 3
- Protein: 5
- Cholesterol: 30
