

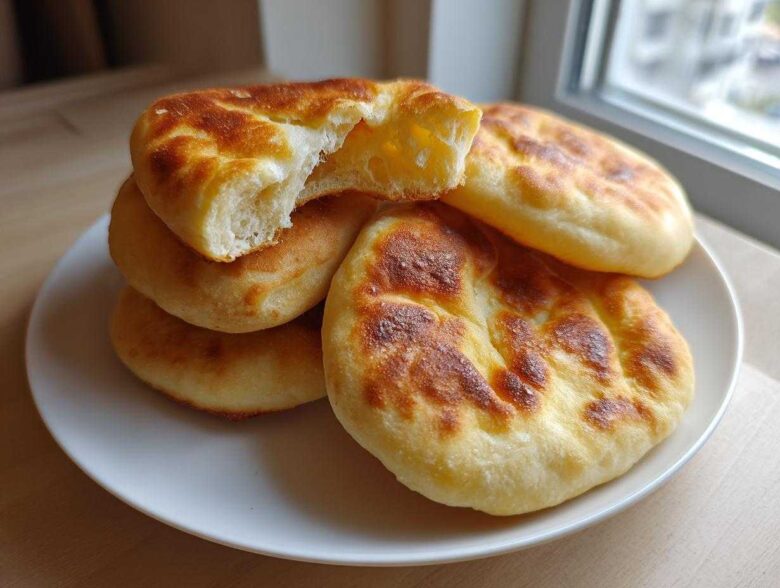
Oh my gosh, you have to drop everything and try making fresh bread tonight! There is absolutely nothing that beats the smell of something yeasty baking wafting through the kitchen. But listen, I know what you’re thinking: Bread is hard, right? Wrong, wrong, wrong! Today, we are talking about making truly incredible, melt-in-your-mouth soft and fluffy **pita bread** that actually puffs up into those perfect little pockets. Seriously, I spent years trying to get that classic Greek style puff, and I finally cracked the code. Forget those stiff, sad store-bought versions—I promise you can make this **pita bread** faster than you can run to the market, and the results are just heavenly for dipping or stuffing.
Why This Quick & Easy Homemade Pita Bread Recipe Works (The Secret to Soft and Fluffy Pita)
I’ve wasted so much flour trying to imitate the bakery’s basket, but this method finally locks in that amazing texture we all crave. The reason this recipe wins is simple: we treat the dough right. You need a good, solid knead—about seven minutes—to build that structure. This ensures you get that beautiful, soft and fluffy pita everyone loves, not some tough coaster!
We let it rest, too. That hour-long rise builds the flavor and the lift, which is essential for an easy pita flatbread. Trust me, skipping the rise is a disaster. I even have a little secret weapon sometimes: a couple of tablespoons of Greek yogurt added right in with the water. It makes the dough unbelievably tender and plush. Once you try this version, you’ll never look at store-bought again, especially if you’re looking for easy bread recipes for beginners!
Achieving the Perfectly Puffed Pita Pockets
This is the million-dollar question, isn’t it? The puff happens entirely because of massive, sudden heat. The dough traps the moisture inside, and when that dough hits a ripping hot surface, that water instantly turns to steam. That steam has nowhere to go but up, forcing your little circle to balloon into a glorious pocket! If you want that dramatic inflation, the stovetop cast-iron skillet is your best friend. Preheat it until you think it’s too hot—then let it get five more minutes hotter. That’s how you get the perfectly puffed pita every single time.
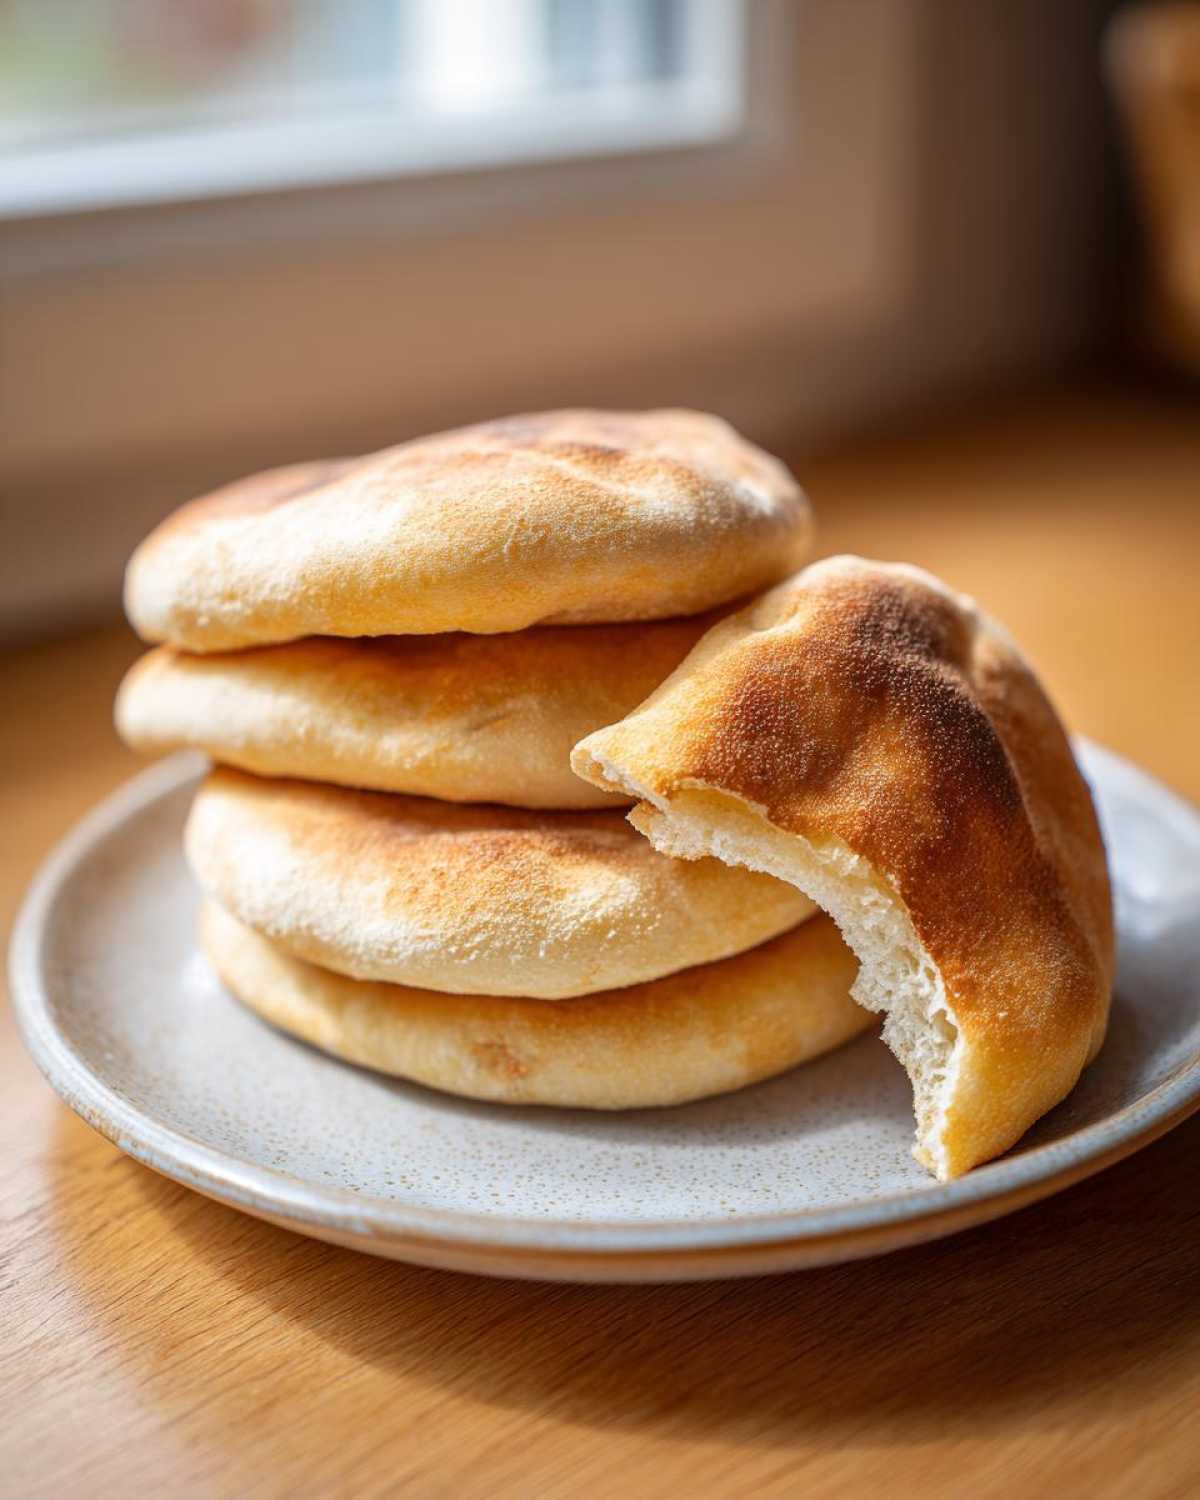
Gathering Ingredients for Your Soft Pita Bread
Okay, let’s get down to what you need. This whole recipe relies on such simple ingredients bread makers usually have on hand, which is why I love it for a weeknight!
- 1 teaspoon active dry yeast (make sure it’s fresh!)
- 1 teaspoon granulated sugar (just to wake up that yeast)
- 1 cup warm water (and I mean warm! Aim for that 105-115F sweet spot, not hot!)
- 2 1/2 cups all-purpose flour, plus more for dusting messes later
- 1 teaspoon salt
- 2 tablespoons olive oil
- Optional but highly recommended: 2 tablespoons plain Greek yogurt for extra softness
That’s everything you need for amazing homemade pita bread. See? Easy peasy!
Ingredient Notes and Substitutions for Pita Bread
The Greek yogurt is my little trick for an incredibly tender crumb. It just adds a tiny bit of acid and richness that makes the final pita loaf feel softer, almost like a restaurant quality flatbread. If you are sticking strictly to a vegan kitchen, just skip it, no problem at all. The base recipe is naturally vegan, which I love! This recipe proves you don’t need a giant pantry to make fantastic simple ingredients bread right off your own stovetop.
Step-by-Step Instructions: How to Make Pita Bread at Home
Alright, this is where the magic happens! Knowing how to make pita bread at home is honestly not tough—it’s just about following the physical steps correctly. We need to coax that yeast to wake up, give the gluten a chance to build strength, and then hit it with massive heat. Don’t rush Step 4, I beg you, because that rest time is what keeps these from turning into crackers the second they hit the pan.
Mixing and Rising the Pita Bread Dough
First, get your yeast active. Mix that yeast and sugar right into the warm water. If it doesn’t get foamy and bubbly in five to ten minutes, your water was too hot or your yeast is old, so toss it and start over—this is the engine of our bread!
In a big bowl, whisk the flour and salt together—always mix dry first. Pour in the foamy water and your olive oil (and that Greek yogurt if you’re indulging!). Stir it until it just looks like a messy, shaggy lump. It shouldn’t look perfect yet. Now, turn it out onto your clean surface.
This is where you need to put in a little elbow grease. We’re kneading for about five to seven minutes until it stops sticking everywhere and feels smooth—really elastic. Once it looks happy, coat a fresh bowl lightly with oil, toss the dough in, flip it over so it’s coated, and cover it up tight.
Now, back away! Let it sit in a nice warm spot for a full hour. We want that dough to double in size, maybe even more. If your kitchen is cold, try putting the bowl in your slightly cool oven with just the light on. A good rise makes all the difference for that final texture!
Rolling and Cooking Your Pita Pockets Recipe
Once it’s risen, punch it down gently—that sound is so satisfying! Divide that dough into exactly eight even chunks and roll them into little balls. Let those balls relax for about ten minutes covered up again. This lets the gluten chill out so rolling tomorrow is easier.
Now for the rolling pins! You need to roll each ball into a flat circle, about six inches across, and keep it skinny—aiming for 1/8 inch thick. If they are too thick, they are way less likely to puff for that perfect pita pockets recipe!
Get your cast iron skillet screaming hot over medium-high heat. You don’t use oil here; we need the direct, brutal heat for the magic. Lay one rolled-out dough circle right onto the dry, hot surface. Watch it! Seriously, don’t walk away. In about a minute, you should see it start to swell up like a balloon—that’s your signal to flip it over for another minute or so!
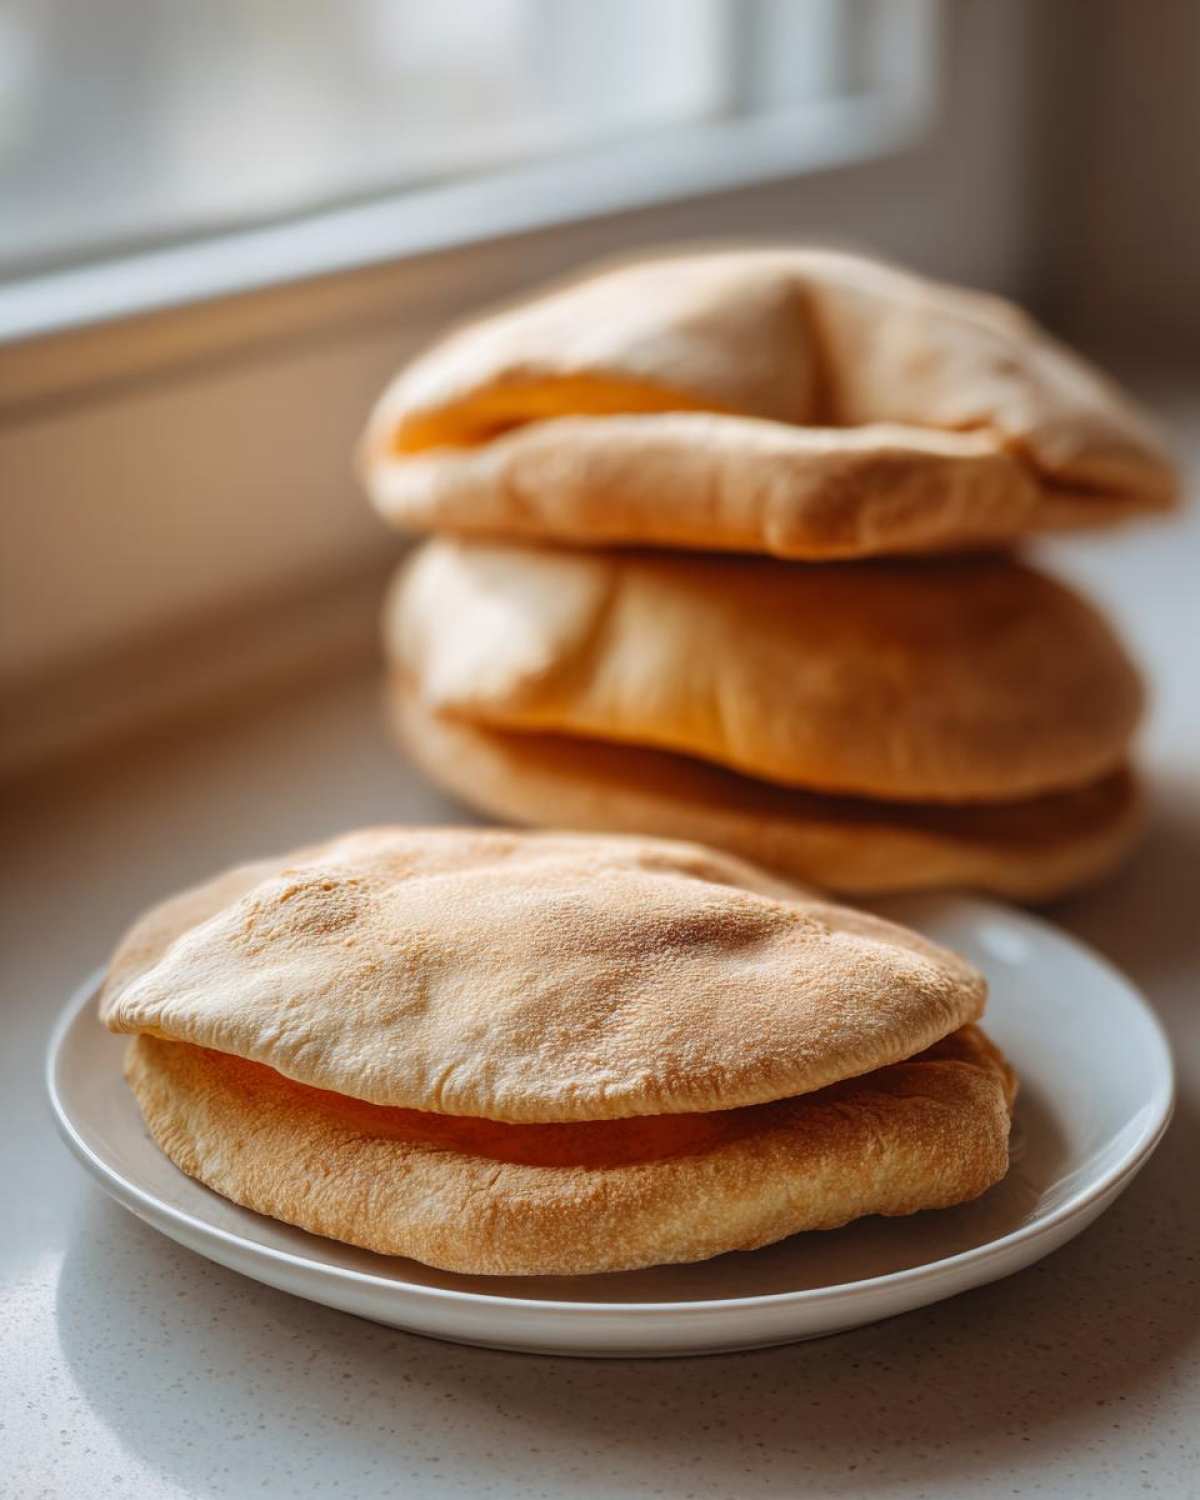
The moment it puffs, take it off the heat right away. If it doesn’t puff? Oops! Your heat probably wasn’t quite high enough, so crank it up a notch for the next one. This high-heat method on the skillet is the best for achieving amazing stovetop pita pockets.
Oven Method Alternative for Fresh Baked Pita
Now, not everyone loves standing over a screaming hot skillet managing individual pitas, and that’s fair! If you need to batch bake, the oven is your friend, though I find the stovetop gives a marginally better, faster puff. For the oven route, you need to preheat everything way ahead of time.
Set your oven to 450F (that’s quite hot!) and make sure you slide in a pizza stone or a sturdy baking sheet while it preheats. We need that surface baking hot, just like the skillet. Once your pitas are rolled thin, place them directly onto that preheated stone or baking sheet. They usually take about two to three minutes each to puff up nicely into beautiful fresh baked pita discs. Don’t open the door too much while they bake! This method is great for making a huge batch for meal prepping later.
Tips for the Best Homemade Pita Bread Every Time
I’ve made enough batches of this recipe now to have figured out the little quirks that separate a good pita from the absolute best pita. If you follow these four things—and I mean *really* follow them—you’ll have the best homemade pita bread consistently. These aren’t just tricks; these are survival tips for flatbread success!
First up, let’s talk temperature again, because seriously, this is make-or-break when it comes to the yeast. Your water needs to be warm, feeling pleasant on your wrist, but not hot! If the water is too cold, your yeast just sleeps. If it’s too hot, you actually kill it. That 105F to 115F range is non-negotiable for getting that fantastic rise.
Second, when you are cooking them, do NOT stack them immediately on the counter. That steam that created the puff? It needs to be trapped to keep the bread soft. As soon as a pita comes off the hot pan, immediately drop it into a stack wrapped tightly in a clean, dry kitchen towel. That towel holds the steam close and actually keeps them supple and ready to tear open for whatever you’re stuffing inside. By the time the last one is done, the first one is perfectly conditioned—like a little bread sauna!

My third tip is all about heat management while cooking. You absolutely cannot overcrowd the pan. If you try to fit two pitas in there at once, the temperature of the skillet drops too fast, and you end up cooling the steam, which means no puff! Cook them one at a time. If you’re feeling inspired, check out some of my other kitchen musings over on the blog while you wait for the yeast to proof!
Finally, make sure you don’t roll them super thin in the middle if the edges are thick. Try to keep that 1/8 inch thickness as even as possible across the whole circle. Uneven thickness means uneven steaming, and uneven steaming means you get one side puffed and the other side hard. Consistency equals puffiness, my friends!
Serving Suggestions for Your Quick Pita Recipe
Now that you have this incredible batch of warm, puffy Mediterranean flatbread sitting under a towel, the real fun begins! Honestly, these homemade pitas are so good they don’t need much, but why stop there?
If you’re making a big batch of dinner pita ideas, you absolutely have to slice them open and use them as the star for amazing pita bread for gyros. The pocket is just the right size to load up with marinated meat, tomatoes, and maybe some tzatziki. Since they are so fresh, they hold up much better than anything store-bought!
But let’s talk dipping, because that’s equally important. If you’re having friends over, whip up a batch of my smoky roasted pepper hummus—it’s divine! These are easily the best pita recipe for dipping out there, especially warm from the skillet. You can find the recipe for that right here: Get the Smoky Hummus Recipe. Seriously, eat three before you even put the toppings out!
Storage and Meal Prep Pita Bread Instructions
We’ve got eight gorgeous pitas, and unless you’re feeding about six hungry people right now, you are going to have leftovers. But here’s the thing about fresh bread: it’s only perfect for about four hours, right? Don’t panic! Wrapping them tightly in that kitchen towel you used for steaming works great for room temperature storage. They should stay pretty soft for about three days if you keep them sealed up well. That’s excellent for planning ahead for lunches!
If you are looking ahead to next week, this recipe is fantastic for meal prep pita bread because they freeze like a dream—and stay soft! Once they’ve completely cooled down (make sure they are totally cooled, or you’ll get freezer burn condensation), I just place them in a heavy-duty zip-top bag, squeeze out all the air, and stick them in the freezer. They last beautifully for about two months. You don’t even need to thaw them fully before reheating!
Reheating is the key to bringing them back to life. If you only have one or two, the microwave is usually fastest. Just wrap the pita in a slightly damp paper towel and zap it for about 15 to 20 seconds. It steams them right back to soft perfection. If you’re reheating a stack, a quick toss onto a dry, hot pan for about 30 seconds per side will make them puff up again slightly, giving you that lovely, warm, straight-from-the-oven feel. It takes no time at all!
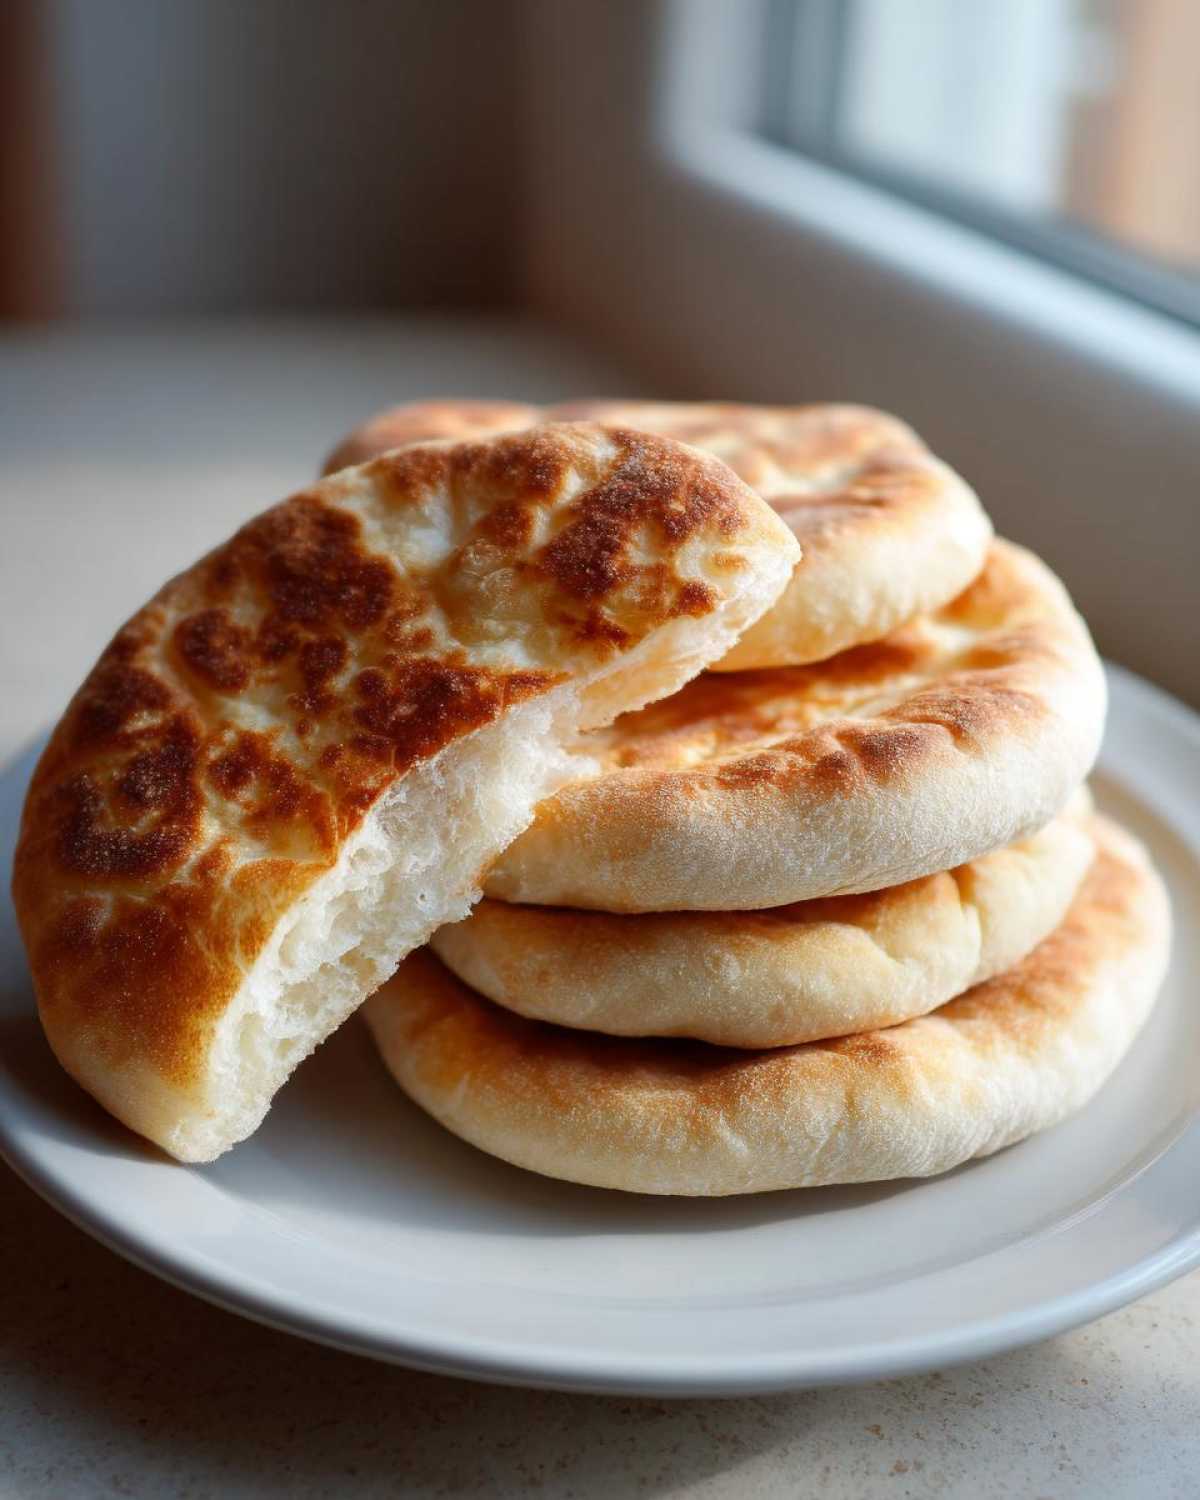
Frequently Asked Questions About Making Pita Bread
I know bread baking can feel a little intimidating sometimes, especially when you’re aiming for that perfect pocket! Readers often have a few hang-ups when they try this recipe for the first time, so let’s smooth out any wrinkles before you even start kneading. Don’t let a slight hiccup stop you from making fantastic pita bread!
Why did my pita bread not puff up?
This is number one on almost everyone’s list, I swear! If your amazing dough flattened out instead of ballooning, there are usually just two culprits. First, your heat wasn’t high enough. We need extreme heat to create that instant steam explosion inside the dough. Remember, the skillet has to be smoking hot before the dough touches it! Second, check how thick you rolled the dough. If it’s too thick—say, closer to 1/4 inch—the steam can’t push through fast enough, and it just cooks into a dense flatbread instead of a pocket. Keep it thin, keep the heat high, and they *will* puff!
Can I make a vegan pita bread recipe?
Yes, absolutely you can! The core ingredients—yeast, water, sugar, oil, flour, salt—are all completely plant-based, so the standard dough mix itself qualifies as a vegan pita bread recipe right out of the bowl. The only thing that shifts it out of vegan territory is if you decide to add that optional splash of Greek yogurt for extra silkiness right at the start. If you leave that out, you’re golden and have an excellent quick pita recipe for all your plant-based needs!
I’ve also seen people ask about using different flours, and while all-purpose works best for stretch, you could try substituting up to half a cup with whole wheat if you want something heartier. It might affect the puff a tiny bit, but it still makes a wonderful Mediterranean flatbread. If you’re interested in more great plant-based baking, I touch on some basics over here in my old-fashioned bread post, too!
Nutritional Estimates for This Pita Bread
Look, I bake with love, not laboratory equipment, so please take these numbers with a big grain of salt! These estimates are calculated based on using all the core ingredients in the recipe above, yielding 8 pitas total. They don’t factor in what you stuff inside, sadly, because if they did, my numbers would look terrifying after devouring a giant gyro!
This is just a rough guide so you know what you’re looking at for a single serving, which is usually one soft pita fresh off the pan. You can see that since we use olive oil instead of heavy fats, these pita bread rounds are actually pretty reasonable for a satisfying bread portion!
- Serving Size: 1 pita
- Calories: ~180
- Fat: 3 grams
- Saturated Fat: 0.5 grams
- Trans Fat: 0 grams
- Carbohydrates: 35 grams
- Fiber: 2 grams
- Protein: 6 grams
- Sugar: 1 gram
- Cholesterol: 0 mg
- Sodium: 250 mg
Just remember, these are just estimates based on average ingredient usage. If you are using a different type of flour, or if you use that lovely optional Greek yogurt, those totals will shift a tiny bit. But honestly, when something tastes this fresh and homemade, worrying obsessively about the exact sodium count just isn’t worth it. Enjoy the perfectly puffed goodness!
Share Your Fresh Pita Bread Success
That’s it! You’ve done it! You have a towel full of gorgeous, fresh-baked, soft and fluffy pita bread for dinner tonight. I really hope you loved the process as much as I do!
Now, I would absolutely love to hear how these turned out for you. Did you get that big, dramatic puff on the first try? Did you use the delicious optional Greek yogurt? Please, take a picture of your perfectly puffed pockets—maybe stuffed with some lamb or served beside a giant bowl of dip—and tag me on whatever platform you’re on! Seeing your success stories is seriously the best part of sharing these recipes.
If you tried this quick pita recipe, please leave a star rating for the recipe right below this box. It helps other folks decide to take the plunge and make their own pita bread at home instead of relying on the supermarket stuff. Happy baking, and I can’t wait to see what you’re stuffing your beautiful pita bread into!
PrintQuick and Easy Soft Pita Bread Pockets
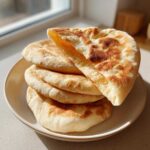
Make soft, fluffy homemade pita bread that puffs up perfectly for stuffing or dipping. This recipe works well using a stovetop or oven method.
- Prep Time: 20 min
- Cook Time: 15 min
- Total Time: 1 hour 35 min
- Yield: 8 servings
- Category: Bread
- Method: Stovetop or Baking
- Cuisine: Mediterranean
- Diet: Vegan
Ingredients
- 1 teaspoon active dry yeast
- 1 teaspoon granulated sugar
- 1 cup warm water (about 105-115F)
- 2 1/2 cups all-purpose flour, plus more for dusting
- 1 teaspoon salt
- 2 tablespoons olive oil
- Optional: 2 tablespoons plain Greek yogurt for extra softness
Instructions
- Activate the yeast: In a small bowl, combine the warm water, yeast, and sugar. Let stand for 5 to 10 minutes until foamy.
- In a large bowl, whisk together the flour and salt. Add the yeast mixture and olive oil (and Greek yogurt, if using). Mix until a shaggy dough forms.
- Turn the dough onto a lightly floured surface. Knead for 5 to 7 minutes until the dough is smooth and elastic.
- Place the dough in a lightly oiled bowl, turning to coat. Cover the bowl with plastic wrap or a damp towel and let it rise in a warm place for 1 hour, or until doubled in size.
- Punch down the dough gently. Divide it into 8 equal pieces. Roll each piece into a ball. Cover the balls and let them rest for 10 minutes.
- Roll each ball into a circle about 1/8 inch thick and 6 inches in diameter.
- Cook the pitas: Heat a cast iron skillet or griddle over medium-high heat until very hot (no oil needed). Place one pita on the hot surface. Cook for 1 to 2 minutes per side. The pita should puff up dramatically. If it does not puff, increase the heat slightly for the next one.
- Remove the puffed pita and wrap it immediately in a clean kitchen towel to keep it soft while you cook the remaining dough.
Notes
- For the softest pita, make sure your water is the correct temperature for activating the yeast.
- If using the oven method, preheat your oven to 450F with a pizza stone or baking sheet inside. Cook the rolled pitas directly on the hot surface for 2 to 3 minutes until puffed.
- Store cooked pitas wrapped tightly at room temperature for up to 3 days. Reheat briefly in a microwave or toaster oven to restore softness.
Nutrition
- Serving Size: 1 pita
- Calories: 180
- Sugar: 1
- Sodium: 250
- Fat: 3
- Saturated Fat: 0.5
- Unsaturated Fat: 2.5
- Trans Fat: 0
- Carbohydrates: 35
- Fiber: 2
- Protein: 6
- Cholesterol: 0
