

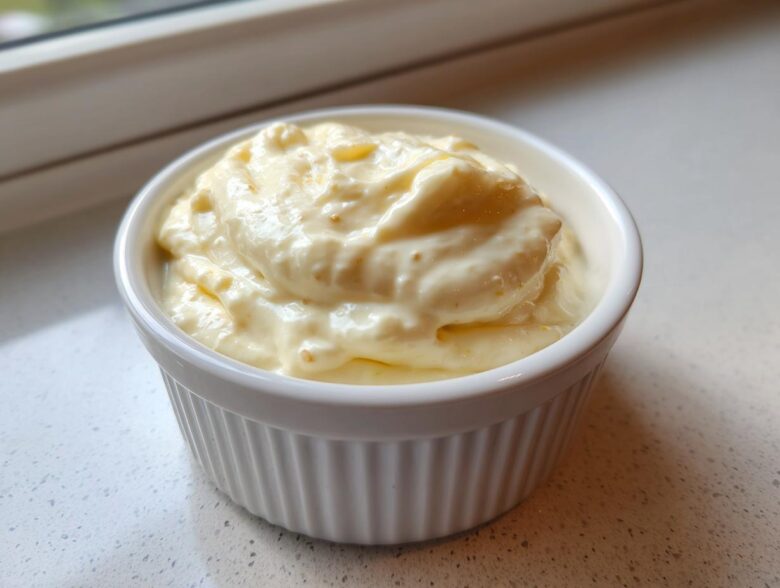
Honestly, once you taste homemade condiments, you just can’t go back to the squeeze bottle, can you? My friends always ask me for my secret recipe, and I finally perfected this ultimate easy roasted garlic aioli. Forget that harsh, overpowering raw garlic taste; roasting the head completely transforms it! I remember the first time I whisked the oil in slowly and it finally turned into that gorgeous, silky emulsion—I actually cheered in the kitchen! This creamy garlic aioli is truly special.
Why This Roasted Garlic Aioli is the Best Homemade Condiment
There are dips, and then there is this, the gold standard of creamy sauces. I promise you, once you serve this around, you’ll never buy a jarred dip again. It’s just that much better than standard store-bought options. It truly earns its spot as the best homemade condiment you’ll ever whip up.
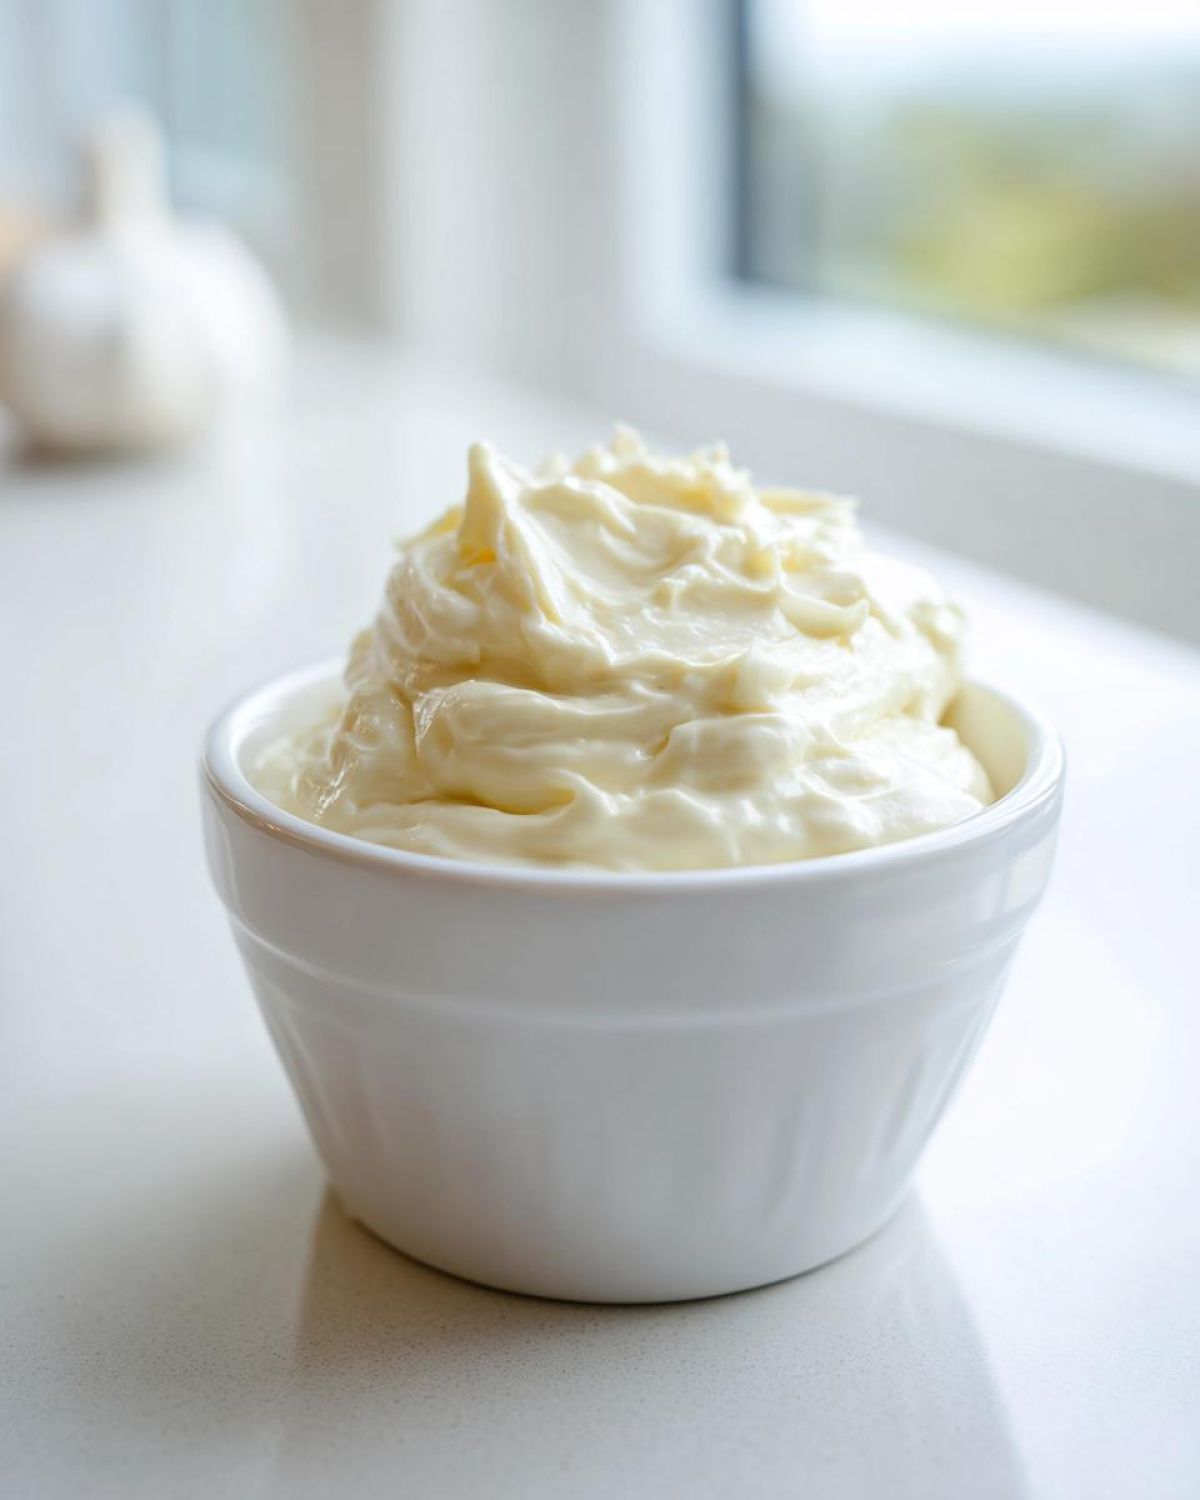
- It creates a wonderfully flavorful garlic dip that shines on everything from burgers to roasted vegetables.
- The texture is unbelievably rich—silky, smooth, and absolutely luxurious.
- The roasting process removes all the harsh bite and leaves pure, sweet garlic joy.
Flavor Profile: Roasted vs. Raw Garlic
When you use raw garlic for your garlic aioli, it punches you in the face a little bit, right? Roasting changes everything! The high heat caramelizes the sugars hidden inside those little cloves. This process turns them into a beautiful, mellow paste. Trust me, this deep sweetness balances the tang of the lemon perfectly.
Achieving a Perfectly Creamy Dipping Sauce
The goal here is pure silkiness, not a grainy mess. We are aiming high for that perfect creamy dipping sauce texture. The secret to getting that incredible body is making sure your egg yolk is perfectly at room temperature before you even think about adding that oil. A cold start means a broken sauce, and nobody has time for that!
Gathering Ingredients for Your Ultimate garlic aioli
Getting your ingredients lined up is half the battle, especially when you are making something from scratch that relies on that perfect blend. We need one gorgeous head of garlic, which we’ll tame in the oven first. Then, for the emulsion magic, grab one large egg yolk—and I mean room temperature, or it won’t cooperate! We also pull in Dijon mustard, fresh lemon juice for that necessary zing, salt against pepper, and most importantly, the oils.
You’ll need about a cup of a very neutral oil, like grapeseed or canola, mixed with just a couple of tablespoons of your nice, fruity extra virgin olive oil for flavor at the end. You can always reach out via my contact page if you have any last-second questions about finding any of these items!
Ingredient Notes and Substitutions
About those oils: the bulk needs to be neutral because we don’t want the oil flavor fighting the roasted garlic flavor while we are whipping this garlic aioli into submission. Save that beautiful, strong olive oil for the very end; it adds a lovely finish! If your egg yolk is straight from the fridge, just put the whole shell in a bowl of warm water for five minutes to take the chill off. This small step guarantees the best garlic aioli emulsion you’ve ever seen.
Step-by-Step Guide: How to Make Roasted garlic aioli
Okay, this is where the magic happens! Follow these steps exactly, and you’ll have the creamiest garlic aioli imaginable. It takes a little patience upfront with the roasting and whisking, but the payoff is huge. I always feel like a kitchen wizard when the emulsion finally sets! Don’t forget to check out my main recipe hub over at my blog index for more home favorites once you nail this sauce!
Roasting the Garlic for Deep Flavor
First things first, we need to tame that garlic! Preheat your oven to 400°F. Grab your garlic head and slice off just the very top corner—enough so the tops of the cloves are exposed. Drizzle that little exposed part with a tiny bit of olive oil, wrap the whole thing snug in foil, and pop it in the oven for about 40 to 45 minutes. You want it golden and super soft. Once it smells gloriously sweet, pull it out, but you absolutely must let it cool down completely before you squeeze the soft pulp out. That pulp is the heart of our amazing Roasted Garlic Sauce.
Mastering the Emulsification for Creamy garlic aioli
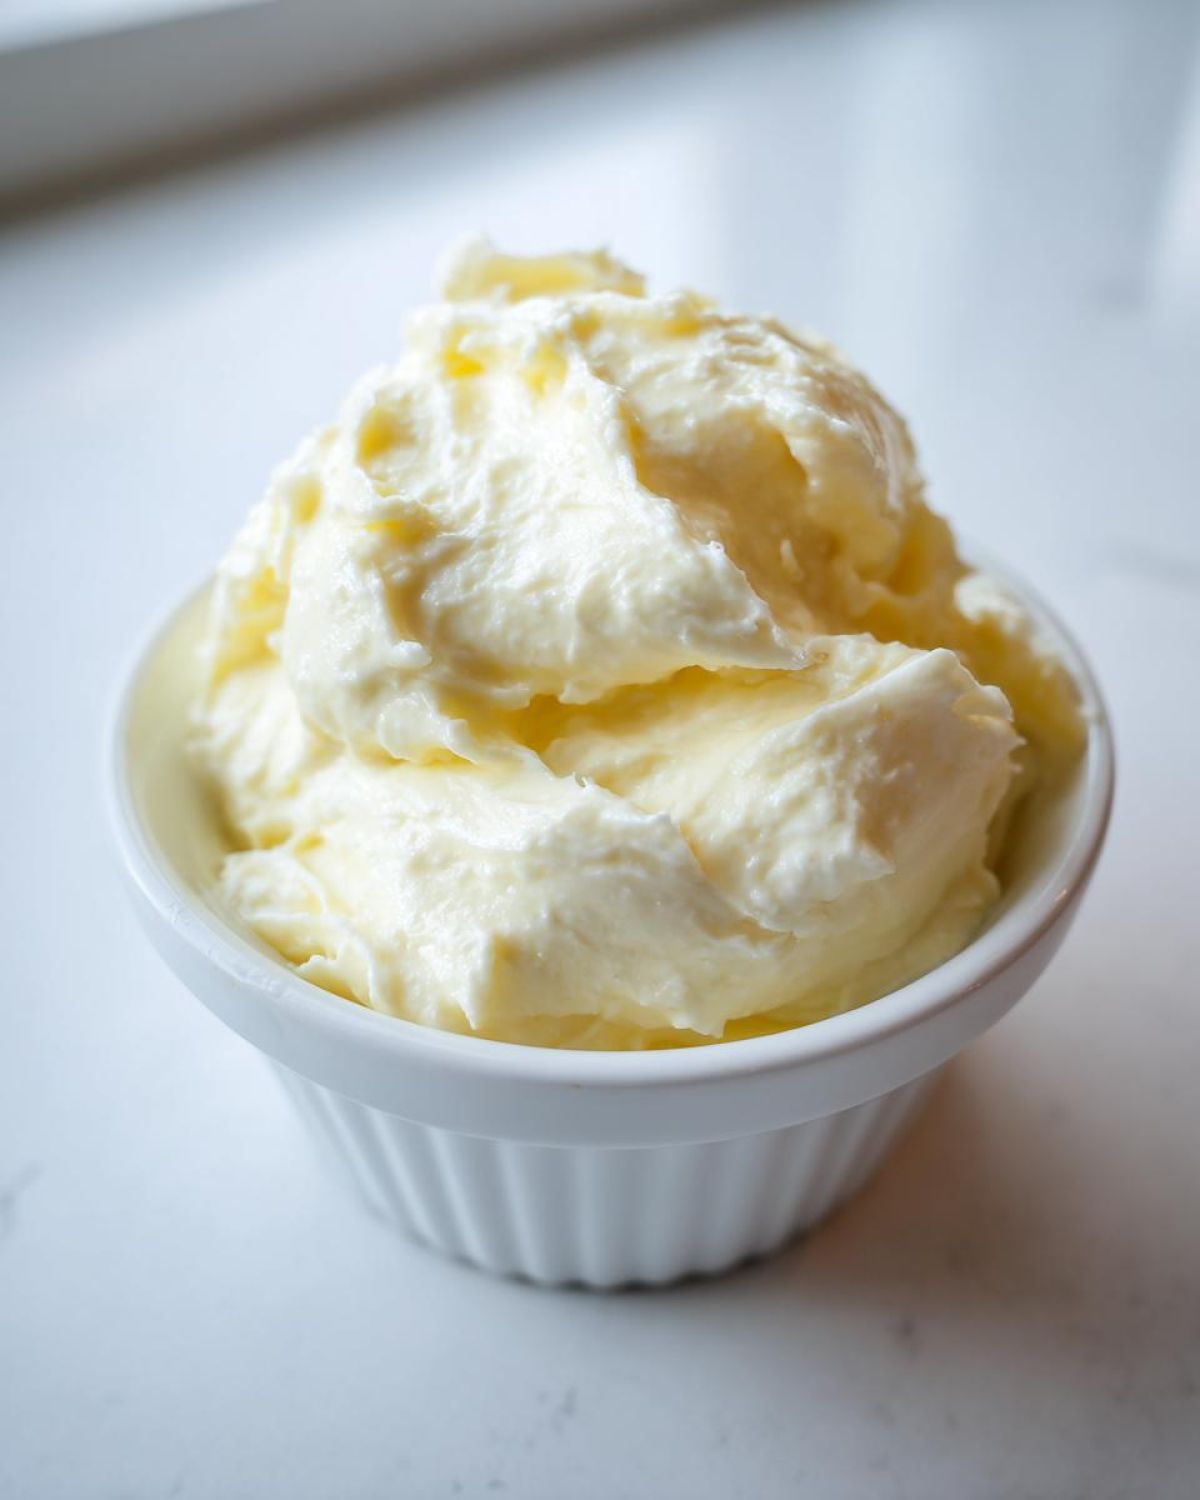
Now for the technique central to how to make aioli! In a clean bowl, get your garlic paste, egg yolk, mustard, and seasonings whisked together. This is the critical moment: you must start adding your neutral oil literally one drop at a time while whisking like your life depends on it! Seriously, no kidding around here. Once that mixture looks like it’s thickening up—maybe after you’ve added the first quarter cup—then, and only then, can you switch to a very thin, slow drizzle while keeping that whisk moving fast. That slow, steady incorporation is what creates that beautiful, sturdy, and ultimately creamy garlic aioli texture.
Troubleshooting Common garlic aioli Issues
Oh, disaster! If you’ve whisked your heart out and suddenly the mixture looks oily, thin, and sad, it means your emulsion broke. Don’t yank the bowl off the counter and throw it away! That’s the most common problem with any garlic aioli made from scratch. There’s a fix, though, and it works like magic. You just need a fresh start to bring the broken sauce back to life. It’s a great lesson in patience, really!
The rescue mission is simple: grab a brand new, clean bowl and put one more fresh egg yolk in it. Start whisking that new yolk, and then slowly—and I mean just as slow as you did the first time—drizzle your broken sauce into the new yolk, drop by drop. That new yolk acts like a fresh anchor to grab onto the oil you already added. Keep whisking vigorously, and soon you’ll see that gorgeous, thick texture returning! It feels like cheating, but it’s a pro move.
Quick Sauce Recipe: Mayo-Based garlic aioli Variation
I get it—sometimes you need that incredible flavor profile of a garlic aioli without waiting an hour for garlic to roast or worrying about the whole egg yolk emulsion thing.
For those nights, I have a super genius little shortcut. You can use good quality, store-bought mayonnaise as your base instead of wrestling with separating yolks and slowly dripping oil!
Just take your cooled roasted garlic paste—you still need that deep flavor, right?—and stir it right into about a cup of mayonnaise. Add a splash of lemon juice and check the salt. Seriously so easy. You can find more great ideas for things like this over at my quick sauce recipe hub. It’s that simple to make a quick sauce recipe that still tastes gourmet!
Serving Suggestions: Versatile Sauce Ideas
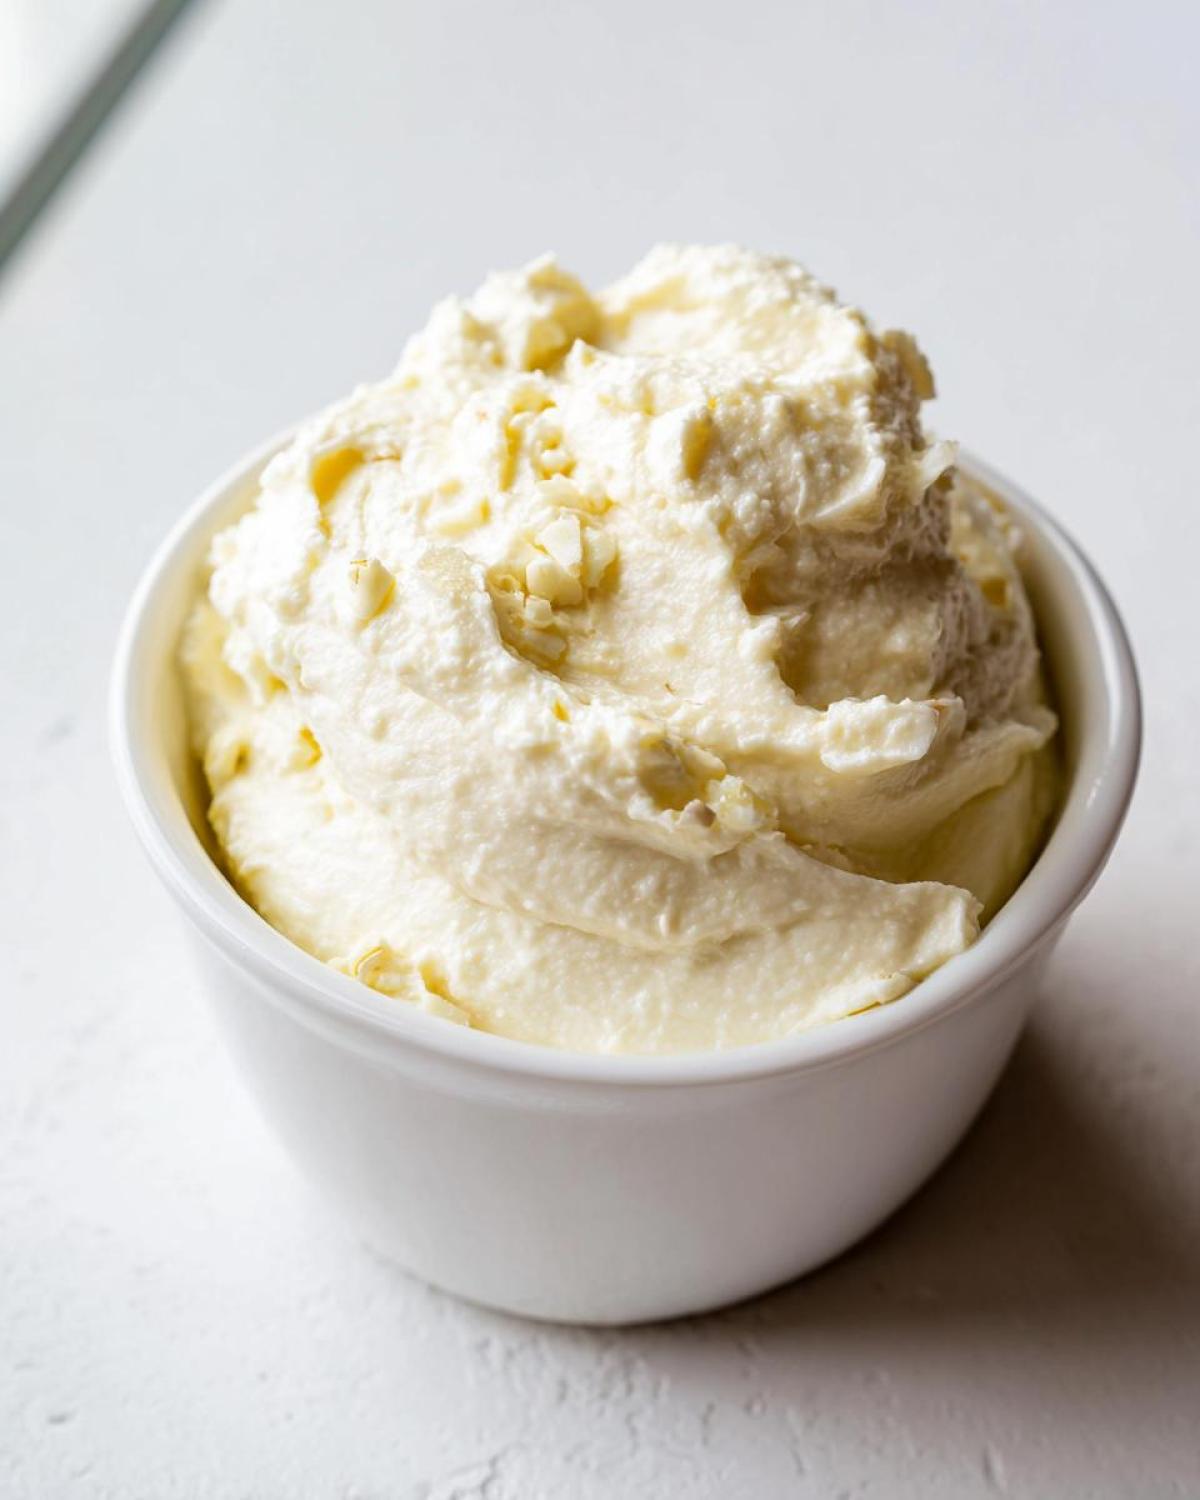
Now that you’ve mastered making this magnificent sauce, what are you going to do with it all? Honestly, the possibilities for this garlic aioli are endless! Ditch the ketchup—fry up some potatoes and use this as your go-to aioli for fries. I even have a recipe for crispy zucchini fries that begs for this dip!
But it’s not just for spuds. I use a generous layer as my go-to sandwich spread garlic on grilled chicken sandwiches or even homemade veggie burgers. Honestly, anything that benefits from a creamy boost needs this in its life. These are just a few of the versatile sauce ideas that come to mind when I whip up a batch!
Lemon Garlic Aioli Twists
If you want to brighten up that deep roasted flavor, adding extra lemon is the way to go. I sometimes grate a little fresh lemon zest right into the final mixture. That gives you a brilliant, zesty finish. Think of it as turning your classic into a beautiful lemon garlic aioli. It’s perfect if you’re planning on pairing the dip with lighter seafood like grilled shrimp!
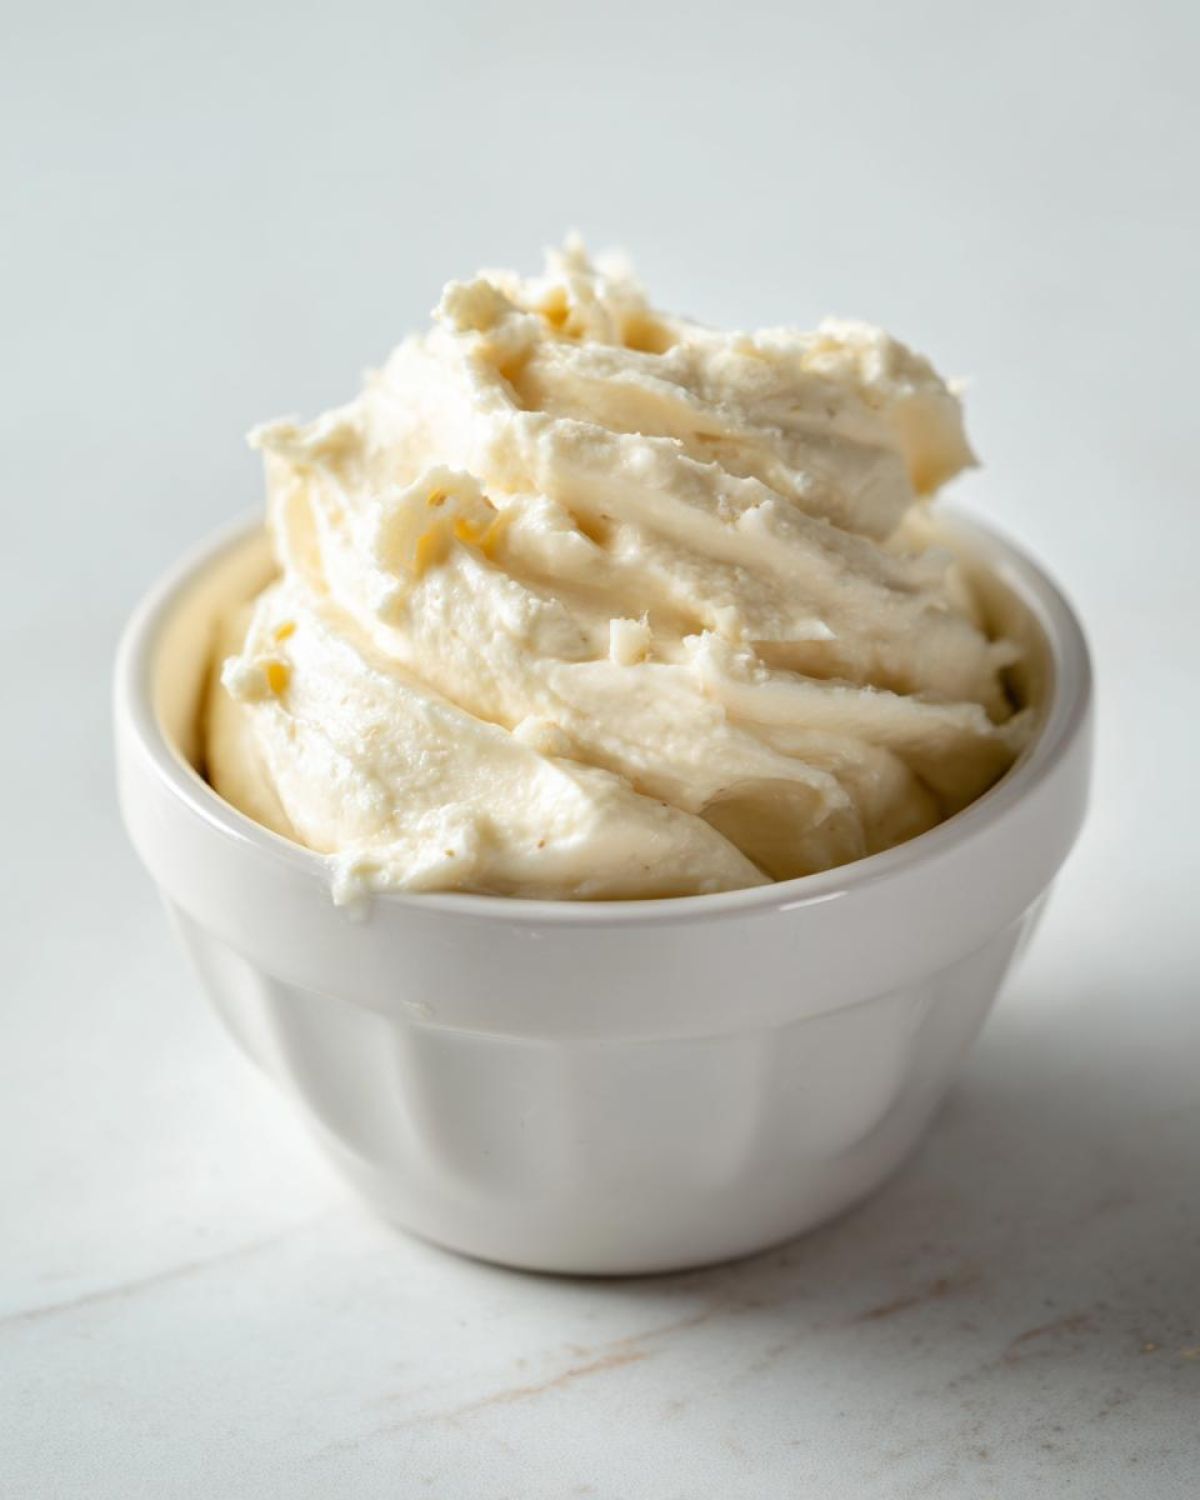
Storage and Shelf Life for Homemade Garlic Aioli
Because we used a fresh egg yolk in this garlic aioli, we need to be super careful about how long we keep it around. You really, really need to store it in a clean, airtight container right away in the refrigerator. Don’t leave it sitting out on the counter while you’re eating!
My general rule of thumb is that it tastes best within the first three to four days, but you can generally keep it safe for up to one full week. If you’re worried about that, I encourage you to check out the privacy policy page just to see how seriously I take kitchen sanitation! A week is the absolute maximum for this fresh, homemade condiment, so plan to use it up!
Frequently Asked Questions About Making garlic aioli
I know when you start messing with raw eggs and oil, you get nervous, so let’s clear up a few things about making this incredible garlic aioli. These are the questions I get most often when people try an easy aioli recipe like this for the very first time. Don’t let these little things scare you off—once you know the answers, you’ll be making this on demand!
Is using raw egg yolk safe in this Easy Aioli Recipe?
That’s a totally fair question when following an easy aioli recipe. If you are nervous at all about using raw yolks, my top recommendation is to look for pasteurized eggs at the grocery store. That way, you get the perfect texture without any worry. Otherwise, just make sure your equipment is super clean!
What is the difference between aioli and mayonnaise?
Historically, real aioli was just garlic mashed with olive oil—no egg at all! Mayonnaise is traditionally egg yolk mixed with oil. But let’s be real, today, we call any creamy, garlicky emulsion a garlic aioli. Our recipe uses an egg yolk, so it lands right in that delicious middle ground, giving us that superb flavor and texture fusion.
Another thing people ask is about the best oil. I really push the neutral oil base because it lets that roasted garlic really shine through. You aren’t messing up your gorgeous homemade sauce by using canola for the bulk of the mixing!
Share Your Gourmet Homemade Dip Experience
Now that you’ve done the heavy lifting, I would absolutely love to hear what you thought! Did you use this garlic aioli on asparagus or maybe some killer homemade burgers? Please leave a rating for this simple recipe and tell me how you served your new gourmet homemade dip in the comments below. If you have any pictures, send them over via my contact page—seeing your creations makes my day!
PrintUltimate Easy Roasted Garlic Aioli

Make a rich, creamy roasted garlic aioli from scratch. This recipe uses roasted garlic for a deep, mellow flavor, perfect as a dip or spread.
- Prep Time: 15 min
- Cook Time: 45 min
- Total Time: 60 min
- Yield: About 1 1/4 cups
- Category: Condiment
- Method: Whisking/Emulsification
- Cuisine: Mediterranean
- Diet: Gluten Free
Ingredients
- 1 whole head garlic
- 1 large egg yolk, room temperature
- 1 teaspoon Dijon mustard
- 1 teaspoon fresh lemon juice
- 1/2 teaspoon salt
- 1/4 teaspoon black pepper
- 1 cup neutral oil (like canola or grapeseed)
- 2 tablespoons extra virgin olive oil
Instructions
- Preheat your oven to 400°F (200°C). Slice about 1/4 inch off the top of the garlic head to expose the cloves. Drizzle the exposed top with a little olive oil, wrap the head tightly in aluminum foil, and roast for 35 to 45 minutes until the cloves are soft and golden brown. Let it cool completely.
- Squeeze the soft roasted garlic pulp out of the skins into a small bowl. Mash it with a fork until it forms a smooth paste.
- In a medium bowl, whisk together the egg yolk, Dijon mustard, lemon juice, salt, and pepper until combined.
- Add the roasted garlic paste to the yolk mixture and whisk well.
- Begin adding the neutral oil, one drop at a time, while whisking constantly and vigorously. This slow addition is crucial for emulsification.
- Once the mixture starts to thicken (after about 1/4 cup of oil is added), you can increase the oil stream to a very thin, steady drizzle, still whisking constantly.
- When all the neutral oil is incorporated, slowly whisk in the 2 tablespoons of extra virgin olive oil.
- Taste the aioli and adjust salt, pepper, or lemon juice as needed.
Notes
- If your aioli separates (breaks the emulsion), start over with a fresh egg yolk in a clean bowl. Slowly whisk the broken mixture into the new yolk, drop by drop, until it re-emulsifies.
- For a quicker, mayonnaise-based version, skip the roasting and egg yolk steps. Combine 1 cup of good quality mayonnaise with the roasted garlic paste, lemon juice, and seasonings.
- Store homemade aioli in an airtight container in the refrigerator for up to one week.
Nutrition
- Serving Size: 2 tablespoons
- Calories: 180
- Sugar: 0
- Sodium: 110
- Fat: 20
- Saturated Fat: 2
- Unsaturated Fat: 18
- Trans Fat: 0
- Carbohydrates: 1
- Fiber: 0
- Protein: 1
- Cholesterol: 35
