

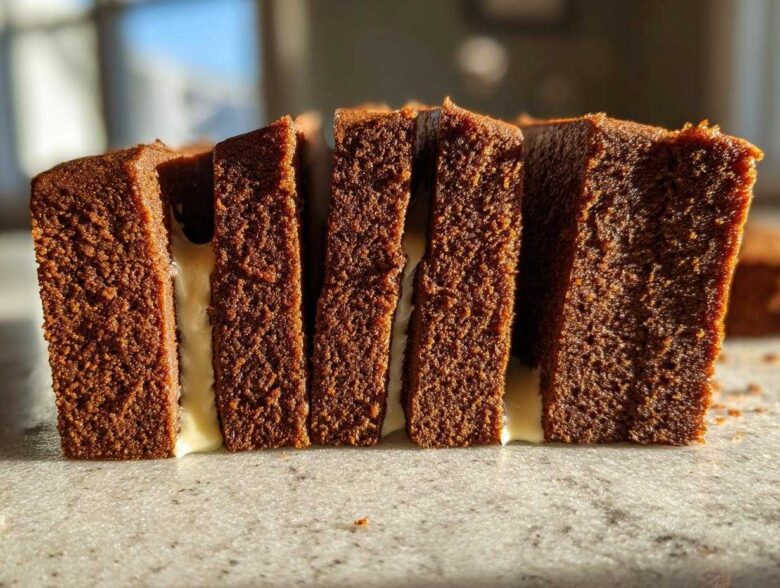
Oh, the holidays! They’re magical, but let’s be honest—trying to build a gingerbread house feels like a stress test right before you need a festive Christmas centerpiece. We’ve all been there: the walls slump, the roof slides off, and suddenly, it’s more “gingerbread abstract art” than architectural marvel. Well, I’m here to tell you we are done with structural failures!
This isn’t just any gingerbread house recipe; this is the blueprint for making something that actually stands up against the elements (and curious toddlers!). After years of testing recipes that promised strength but delivered floppiness, I perfected a formula for the ultimate sturdy dough paired with icing that acts like actual cement. Trust me, these tips for reliable DIY Gingerbread Homes come from hard-won experience in my kitchen. We are going to nail this Classic Christmas Baking project so you end up with a showstopper!
If you want to see more of my tried-and-true baking wisdom, I pour all my best testing results right here on the blog. You can check out some of my other favorite baking adventures over at my main baking page.
Why This Gingerbread House Recipe Guarantees Sturdy Cookie Construction
The biggest heartbreak in making a gingerbread house? Watching your walls sag after all that hard work. That’s why this gingerbread house recipe is built around achieving serious Sturdy Cookie Construction. We focus on making seriously No Spread Gingerbread Cookies. The secret isn’t just in the ingredients—though they help—it’s in how we handle the dough before it ever sees the oven. That long chill time is non-negotiable; it firms up the butter just enough so your pieces bake exactly to the size and shape of your template. No last-minute spreading allowed!
Key Elements of a Successful Gingerbread House Recipe
- Thickness is Everything: We roll the dough to a consistent 1/4 inch thickness. Too thin and it crumbles; too thick and it warps during baking, making assembly a nightmare.
- Immediate Trimming: As soon as those pieces come out piping hot, we use the template to square up the edges. This ensures perfect 90-degree corners that fit snugly when gluing them together later.
- Icing Consistency: We don’t mess around with runny icing for building. The royal icing needs to be stiff enough to hold pieces upright instantly, almost like thick paste.
- Patience During Assembly: Never rush the drying time! I always tell people to build the walls one day and the roof the next. Let the mortar set!
Ingredients for the Ultimate Sturdy Gingerbread House Recipe
Okay, let’s talk supplies! You can’t build a magnificent sweet structure without the right foundation. This list is what I use for my absolute favorite Best Gingerbread Dough Recipe Components. Don’t substitute the molasses; that dark stuff is critical for flavor and color! Remember, we are making sturdy cookies here, not soft holiday treats.
Best Gingerbread Dough Recipe Components
- 3 cups all-purpose flour – that’s our main structure builder!
- 1 teaspoon baking soda
- 1/2 teaspoon salt
- 1 tablespoon ground ginger (feel free to add a tiny pinch more if you like it spicy!)
- 1 tablespoon ground cinnamon
- 1/2 teaspoon ground cloves
- 1/2 cup (1 stick) unsalted butter, softened – gotta be soft to mix right.
- 1/2 cup packed dark brown sugar – make sure it’s packed in the cup!
- 1 large egg
- 1/2 cup molasses
- 1 teaspoon vanilla extract
Next up is the glue! For the Royal Icing for Building, you need something that dries rock hard. I skip butter or shortening entirely here; we want pure structural integrity. The most important part of this smaller list is making sure your egg whites are room temperature—it whips them up into that glorious, stiff peak we need to hold up the roof!
Royal Icing for Building Ingredients
- 3 large egg whites, room temperature (don’t skip the temperature tip!)
- 1/4 teaspoon cream of tartar
- 4 cups powdered sugar, sifted (sifting prevents lumps that look terrible when you pipe seams!)
Step-by-Step Instructions for Your Gingerbread House Recipe
Alright, time to get our hands dusted with flour! Follow these steps exactly, and you’ll see why this is the most reliable gingerbread house recipe out there. The dough mixing process is crucial—we aren’t making cake batter here, we’re building a structure!
Preparing and Baking the No-Spread Gingerbread Dough
First, whisk all your dry ingredients together in a medium bowl. Don’t skip this; we want the soda and spices perfectly distributed. In your big mixer, cream together that softened butter and the dark brown sugar until it looks fluffy and creamy. Then, beat in your egg, molasses, and vanilla. This must be fully blended before you introduce the flour mixture.
Now, add the dry ingredients slowly, on low speed, only until a stiff dough forms. Seriously, stop mixing as soon as you see no more dry patches. Overmixing develops gluten, and gluten means tough, crunchy cookies—and we want sturdy, but still edible, walls! Once it comes together, divide that beautiful dough into two disks, wrap them up tight, and stick them in the fridge for a minimum of two hours. I often leave mine overnight; that long chill is the magic wand for achieving those beautiful No Spread Gingerbread Cookies.
When it’s time to bake, preheat your oven to 350°F (175°C) and line your sheets with parchment. Roll one disk out to a precise 1/4 inch thickness. Lay your templates down and cut carefully. Bake those pieces for about 12 to 15 minutes. They need to be firm! The second they come out, while they are still hot, use your templates again—if they warped even a tiny bit, trim those edges now. They cool fast, so work quickly! Let them cool completely before touching them again.
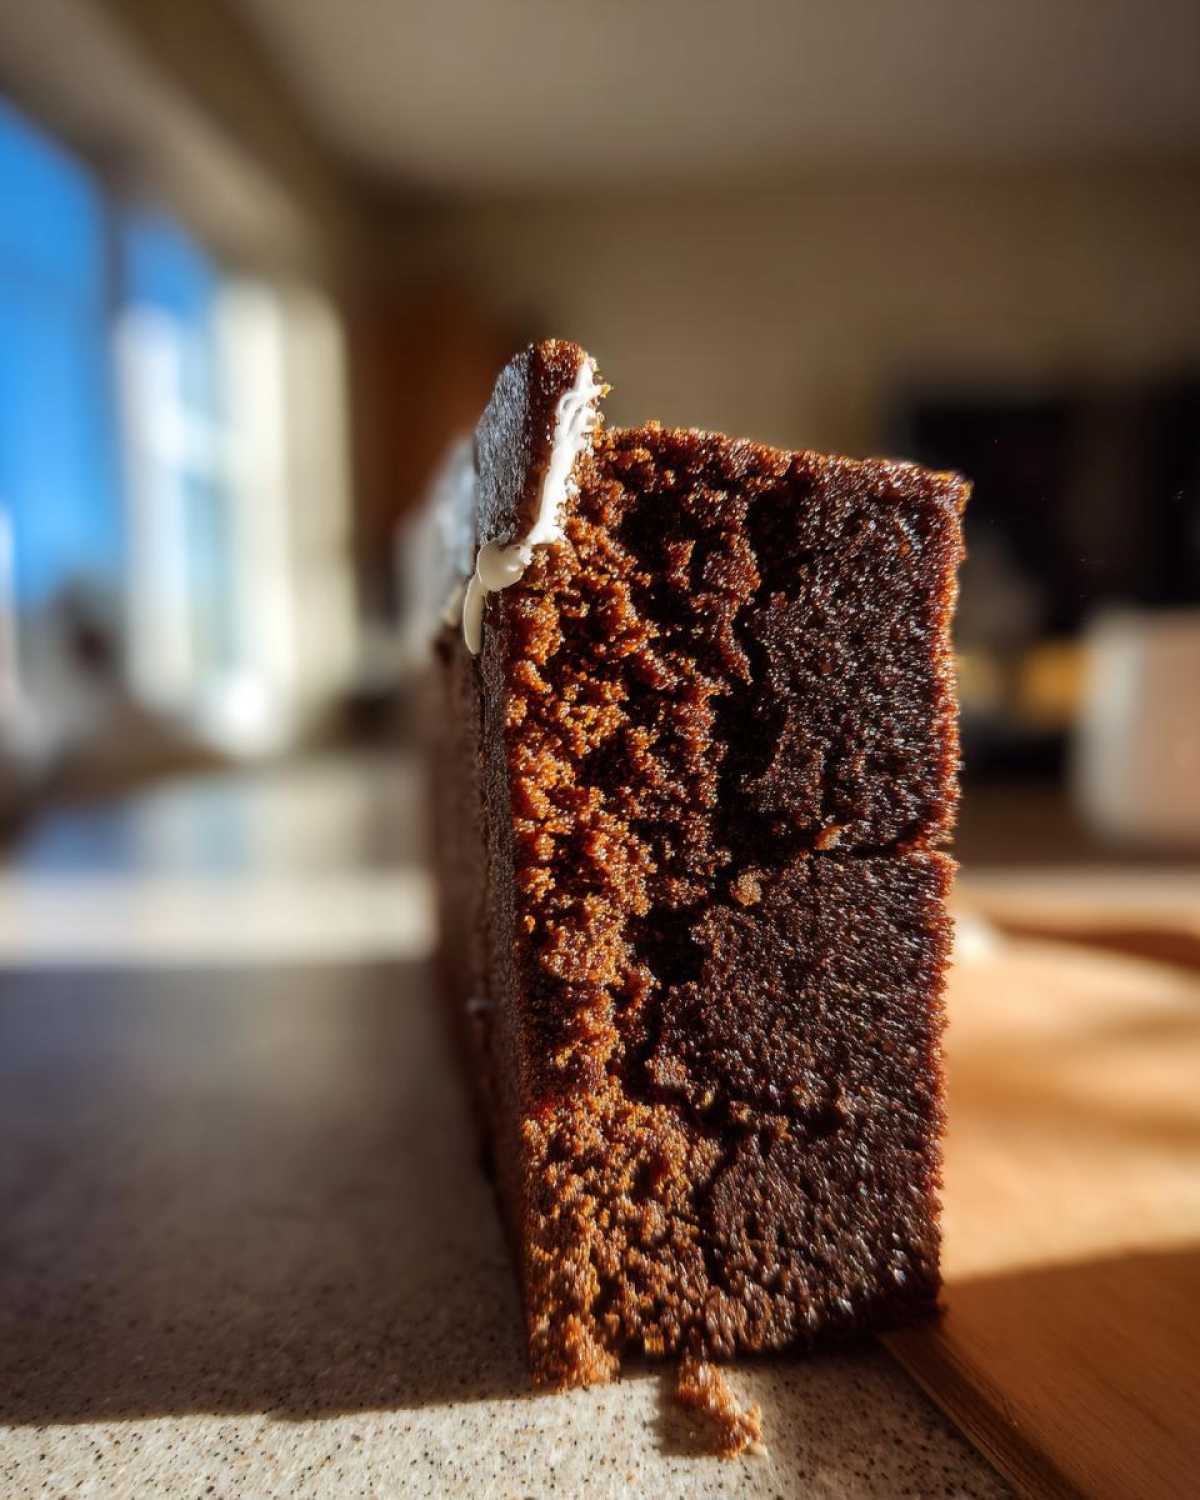
Making the Strong Royal Icing for Building
While your cookies cool, let’s make the construction adhesive. You need a mixer for this part, trust me, your arm will thank you. Beat those room-temperature egg whites and the cream of tartar until they start getting foamy and soft peaks form. Now, start adding that sifted powdered sugar, one cup at a time, while the mixer is running on medium speed.
Your goal is a very stiff, glossy frosting. If you pull the whisk out and the peak flops immediately, you need more sugar! This icing has to be thick enough to pipe a seam that holds itself up without sliding down the wall. This stiffness is absolutely mandatory for Sturdy Cookie Construction!
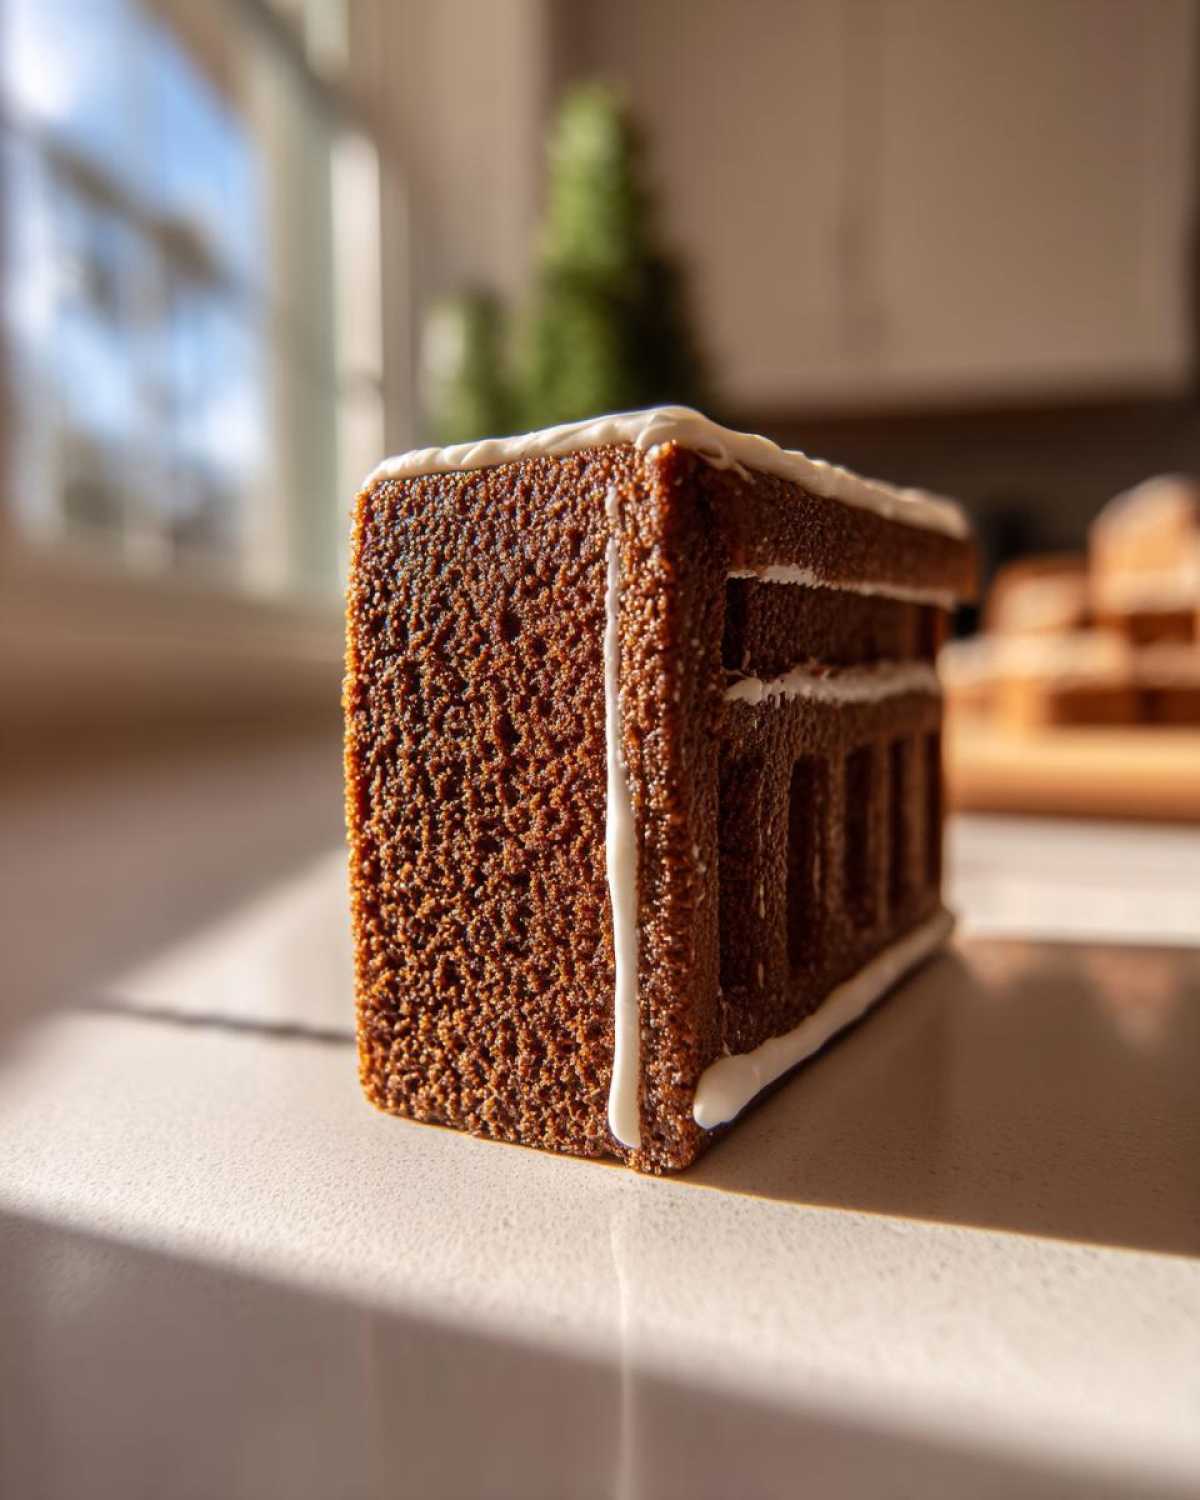
How to build a gingerbread house: Assembly Tips
This is where the magic happens, but move slowly. Grab your serving base—maybe a nice piece of coated cardboard or a wooden board. Pipe a thick bead of icing along the bottom of one wall piece, and press it firmly onto your base. Hold it steady for a minute or two to give the icing a slight set. When you attach the second wall, apply icing heavily along the joining vertical edges too—remember, thick layers are your friends!
Once all four walls are standing up and look fairly straight, stop! Don’t touch it for at least four hours, or better yet, overnight. Seriously, resisting the urge to add the roof too early is the biggest secret to success! Once the walls are rock-solid, you attach the roof panels using generous amounts of icing on all contacting edges. Prop them up if needed, and then let the whole thing cure completely before you even *think* about decorating. You can look at some wonderful finished holiday desserts while you wait for the glue to dry!
Tips for Success with Your Gingerbread House Recipe
Now that you have the rock-solid dough and the cement icing, let me give you a few pro tips I’ve picked up over the years that really take your construction from good to breathtaking—the kind people call a true Christmas Centerpiece Ideas!
First major tip: templates! Even if you start with a printable one (we all need a good template sometimes!), trace them onto thin cardboard or poster board. The paper templates often absorb moisture from the dough and stretch just slightly, which throws off your perfect 90-degree angles later. Cardboard templates let you reuse them perfectly year after year.
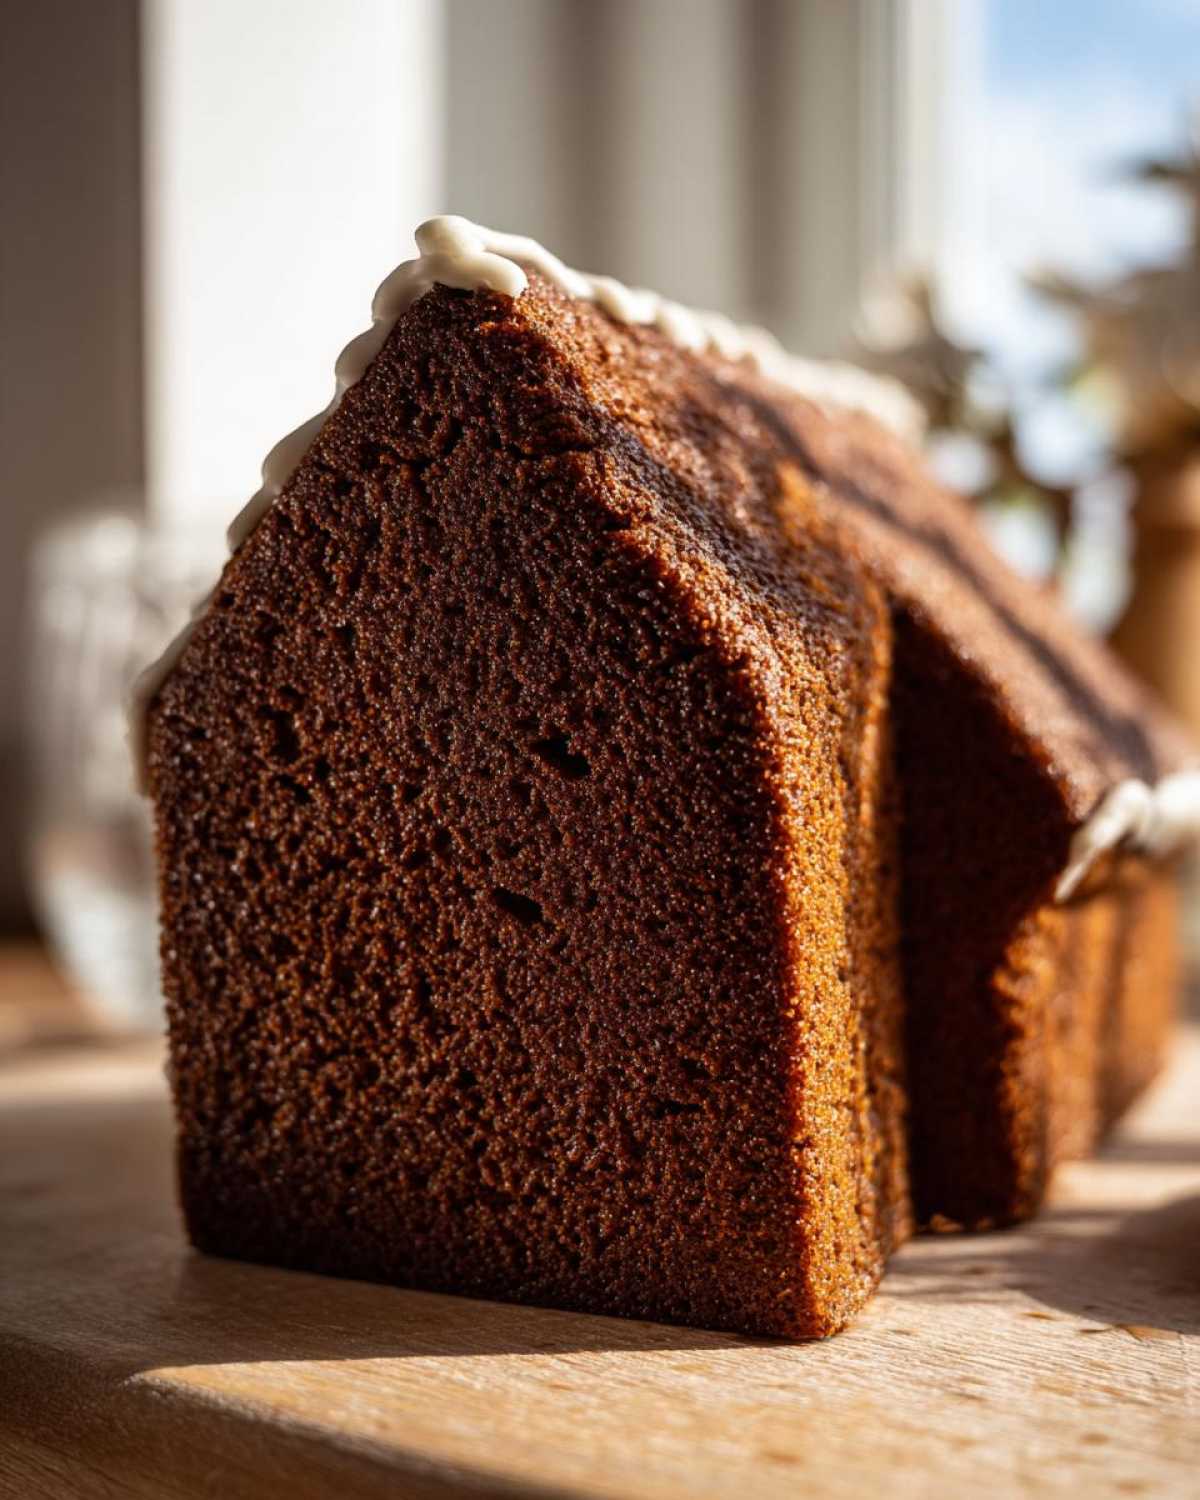
Humidity is the enemy of gingerbread! If it’s a rainy or damp day, you might notice your dough feels stickier, even after chipping. If you find yourself fighting the stickiness while rolling, try chilling the dough for an extra 30 minutes before rolling, or dust your work surface *generously* with flour. It’s always better to add a little flour than to end up with thin, weak walls.
Finally, working with the icing: if you notice your beautiful, stiff icing starts to relax and get glossy while you’re piping walls, don’t panic! Just scrape it back into the bowl and give it a 30-second zap on high speed in your mixer. That little burst of air brings it right back to the perfect consistency needed for tight, strong seams.
Variations for Your Festive Edible Crafts
Once you’ve mastered the basic architecture of your gingerbread house recipe, it’s time to get creative! Who says every gingerbread house has to look the same? Since we have this incredibly stable dough, you can play around with what goes into the mix for a slight twist on the flavor profile of your Festive Edible Crafts.
For example, if you want something warmer than the typical ginger/cinnamon/clove mix, I sometimes reduce the ginger slightly and add a teaspoon of allspice instead. Or, for a really deep, moody color, I swap out half the dark brown sugar for a touch of blackstrap molasses—wow, that makes the walls look beautifully aged!
When it comes to decoration, think beyond just gumdrops. Use those little candy canes broken into bits to mimic icy shingles on the roof. Have you ever piped a chimney stack using a star tip and attached some fluff (powdered sugar dust!) around the top to look like woodsmoke? It makes such a charming detail! If you like presentation ideas for other holiday bakes, you should check out my recipe for gingerbread trifle cups!
Make‑Ahead & Storage for Your Gingerbread House Recipe
I absolutely love getting the baking done early, especially when I know I’ll be busy right before Christmas. Good news: this sturdy dough is fantastic for planning ahead! You can mix the dough, flatten it into disks, wrap them tightly, and stick them in the fridge for almost three whole days before rolling. If you need to wait longer, feel free to freeze those disks for up to three months—just thaw them slowly in the fridge overnight.
Once your pieces are baked and cooled completely, keep them in a single layer inside a large, truly airtight container at room temperature. They will stay perfectly crisp for about a week, which is perfect for planning your assembly day! Once the whole gingerbread house recipe structure is built and decorated with icing, keep it away from any steam or heat, but honestly, it can happily sit on display for weeks as a beautiful seasonal decoration.
Frequently Asked Questions About This Gingerbread House Recipe
I’ve answered a few common things that crop up every season when people dive into their gingerbread house recipe projects. If you run into trouble, nine times out of ten, the answer is hiding in one of these spots! If you need more inspiration for soft, non-building based gingerbread treats, you absolutely have to check out my recipe for soft gingerbread whoopie pies.
Can I use powdered sugar instead of sifted powdered sugar in the royal icing?
Oh, PLEASE don’t skip sifting! I know it feels like an extra chore, but trust me, if you use unsifted powdered sugar in your Royal Icing for Building, you’re going to end up with little hard sugar pebbles stuck in your beautiful seams. We want that icing smooth and pipe-ready so it looks professional and dries perfectly hard. If you forget to sift, your icing will be lumpy and weak, which is the opposite of what we need for Sturdy Cookie Construction!
What is the best way to make this a great Family Holiday Activity?
This is meant to be fun, not a solo marathon! To make it the best Family Holiday Activity, I always delegate. Assign one person the role of Dough Mixer (who handles chilling, rolling, and baking), another the role of Template Cutter (the one who carefully scores the shapes), and the kids (or the decorator) can focus solely on preparing the candy and mixing the final batch of icing. That way, everyone contributes to your magnificent Christmas Centerpiece Ideas without anyone getting overwhelmed!
My gingerbread pieces spread. How can I fix this next time?
This is the absolute saddest kitchen mishap, but it’s easily avoided next time you try this Best Gingerbread Dough Recipe. If those walls spread out like puddles, it means the butter wasn’t cold enough when it hit the heat, or the dough wasn’t chilled long enough. My biggest advice is this: Chill it until it feels hard, almost like wood, not just soft-to-the-touch. Also, make sure your oven is actually up to temperature. Get an oven thermometer! An oven that’s only 325°F when you think it’s 350°F will definitely encourage spreading.
Nutritional Estimates for Your Winter Sweet Treats
I know, I know, when we’re building amazing architectural masterpieces out of cookies, we aren’t usually thinking about macros, but people always ask! Since this gingerbread house recipe is such a fun seasonal indulgence, here is a general snapshot of the estimates based on the amounts listed above. Remember, this isn’t a diet recipe; it’s a *Christmas Centerpiece Idea*!
These numbers are for one typical section of cooked dough/icing assembly, not the entire house, of course! These estimates are for one serving based on the yield of one standard house, so adjust based on how many pieces you define as a ‘serving’ for your own Winter Sweet Treats breakdown.
- Serving Size: 1 section
- Calories: 350
- Sugar: 65g
- Sodium: 180mg
- Fat: 7g
- Saturated Fat: 4g
- Unsaturated Fat: 3g
- Trans Fat: 0g
- Carbohydrates: 70g
- Fiber: 1g
- Protein: 4g
- Cholesterol: 35mg
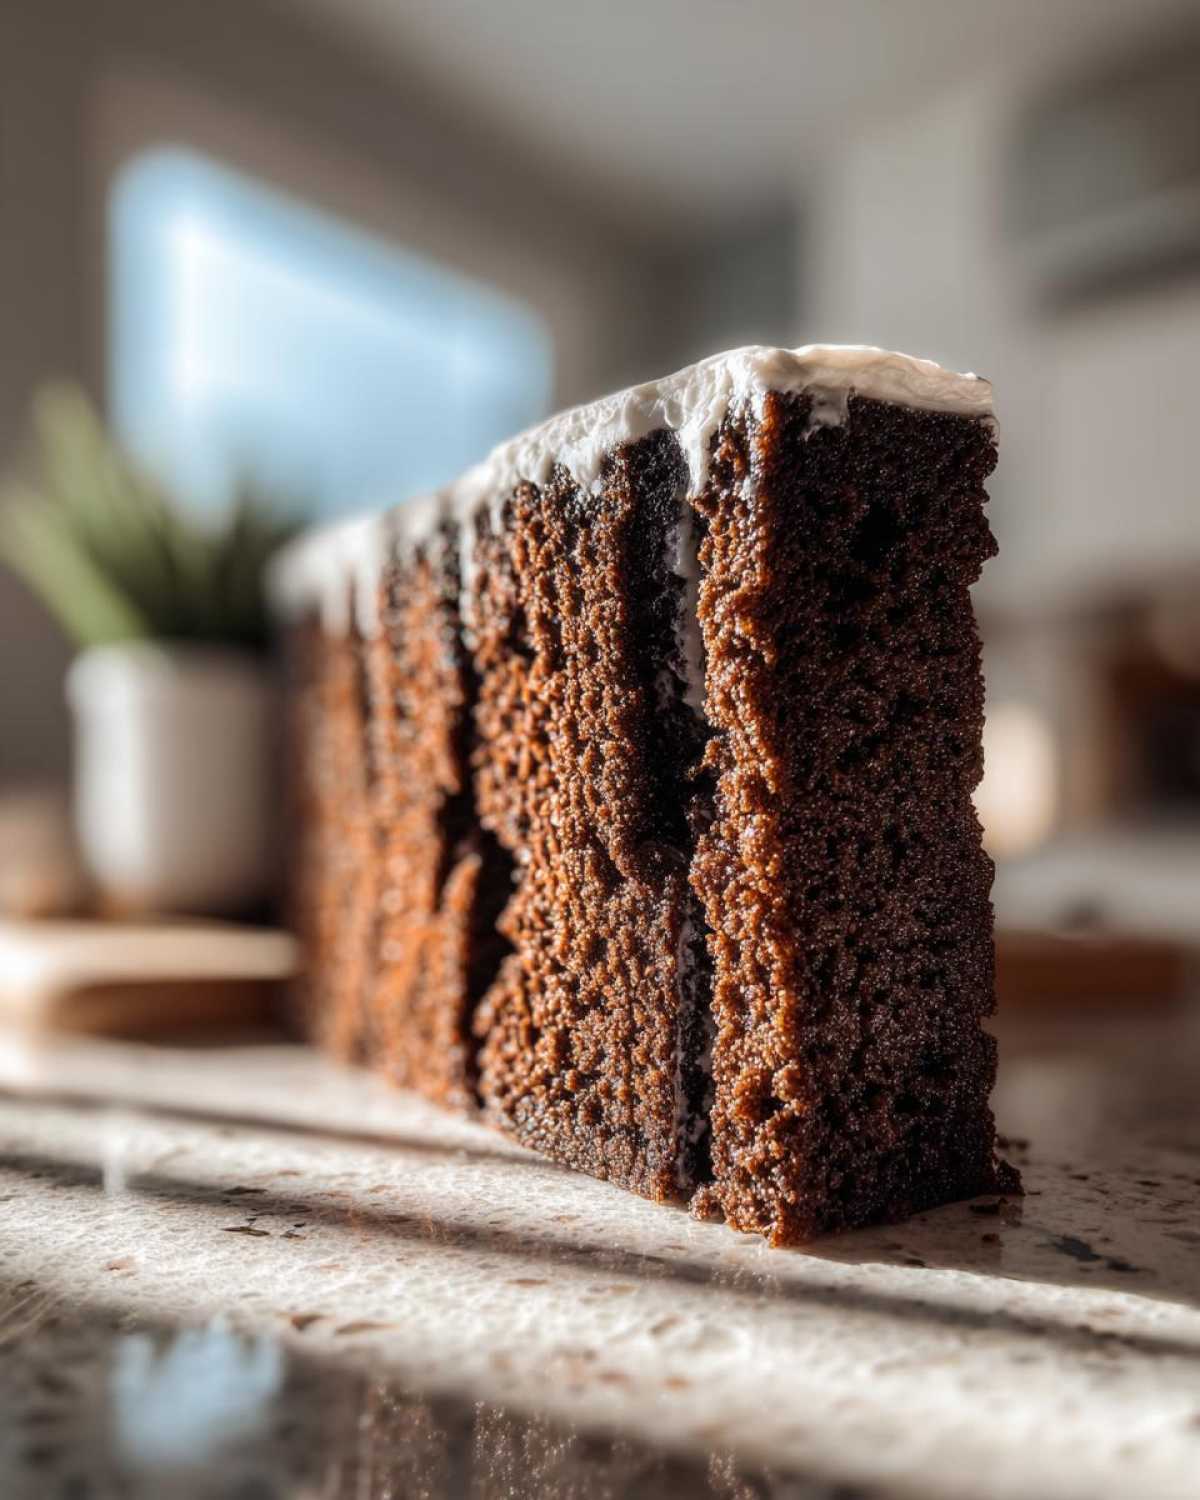
Just take this as a guideline! If you use butter instead of shortening in your base coating, or load up a ton of extra candy for decoration, those numbers will shift! The most important thing when enjoying these special Festive Edible Crafts is making sure they taste incredible and bring everyone together.
Share Your DIY Gingerbread Homes Creation
That is it! You’ve made it through the baking, the trimming, the potentially nerve-wracking assembly, and now you have a magnificent, sturdy structure standing proudly on your counter. How does it feel to have conquered the annual gingerbread house recipe challenge?
I truly hope this guide has made creating your DIY Gingerbread Homes less stressful and way more fun. I can’t wait to see what you come up with! Please take a picture of your finished masterpiece—whether it’s a traditional cabin or a crazy modern candy condo—and share it with me!
If you loved this recipe and it helped you achieve victory, please give it a rating below! And if you’re ready to show off your architectural skills, tag me on social media. I love seeing everyone’s final creations up close. Pop over to my contact page to let me know about any substitutions you made or if you have suggestions for next year!
PrintUltimate Sturdy Gingerbread House Recipe with No-Spread Dough
Follow this guide for a reliable gingerbread house recipe featuring dough that holds its shape and strong royal icing for construction.
- Prep Time: 45 min
- Cook Time: 30 min
- Total Time: 3 hours 15 min
- Yield: 1 standard house
- Category: Dessert
- Method: Baking
- Cuisine: American
- Diet: Vegetarian
Ingredients
- 3 cups all-purpose flour
- 1 teaspoon baking soda
- 1/2 teaspoon salt
- 1 tablespoon ground ginger
- 1 tablespoon ground cinnamon
- 1/2 teaspoon ground cloves
- 1/2 cup (1 stick) unsalted butter, softened
- 1/2 cup packed dark brown sugar
- 1 large egg
- 1/2 cup molasses
- 1 teaspoon vanilla extract
- For Royal Icing: 3 large egg whites, room temperature
- 1/4 teaspoon cream of tartar
- 4 cups powdered sugar, sifted
Instructions
- Whisk together flour, baking soda, salt, ginger, cinnamon, and cloves in a medium bowl. Set aside.
- In a large bowl, beat the softened butter and brown sugar until creamy.
- Beat in the egg, molasses, and vanilla extract until combined.
- Gradually add the dry ingredients to the wet ingredients, mixing on low speed until a stiff dough forms. Do not overmix.
- Divide the dough in half, flatten into disks, wrap in plastic, and chill for at least 2 hours.
- Preheat your oven to 350°F (175°C). Line baking sheets with parchment paper.
- Roll out one chilled dough disk to 1/4 inch thickness. Place your template pieces (walls, roof) on the dough and cut carefully with a sharp knife.
- Bake pieces for 12 to 15 minutes, or until edges are firm. The dough should not spread.
- Immediately after removing from the oven, place templates back on the cookies and trim edges again if necessary while warm. Let pieces cool completely on a wire rack.
- To make the icing: Beat egg whites and cream of tartar with an electric mixer until soft peaks form. Gradually add the sifted powdered sugar, beating until stiff, glossy peaks form. This icing must be very stiff for construction.
- To assemble: Pipe a thick line of icing along the bottom edge of a wall piece and press it onto your serving base. Hold or prop until the icing sets slightly.
- Attach the second wall piece, joining the edges with more icing. Continue until all four walls are standing. Let dry for several hours.
- Attach the roof panels using generous amounts of icing along the top edges of the walls and where the roof pieces meet. Prop until completely set before decorating.
Notes
- Chilling the dough sufficiently is the key step to prevent spreading during baking.
- Use only stiff royal icing for construction; thinner icing will not hold the structure.
- If your icing becomes too thin while working, beat in a small amount of extra powdered sugar.
Nutrition
- Serving Size: 1 section
- Calories: 350
- Sugar: 65
- Sodium: 180
- Fat: 7
- Saturated Fat: 4
- Unsaturated Fat: 3
- Trans Fat: 0
- Carbohydrates: 70
- Fiber: 1
- Protein: 4
- Cholesterol: 35
