

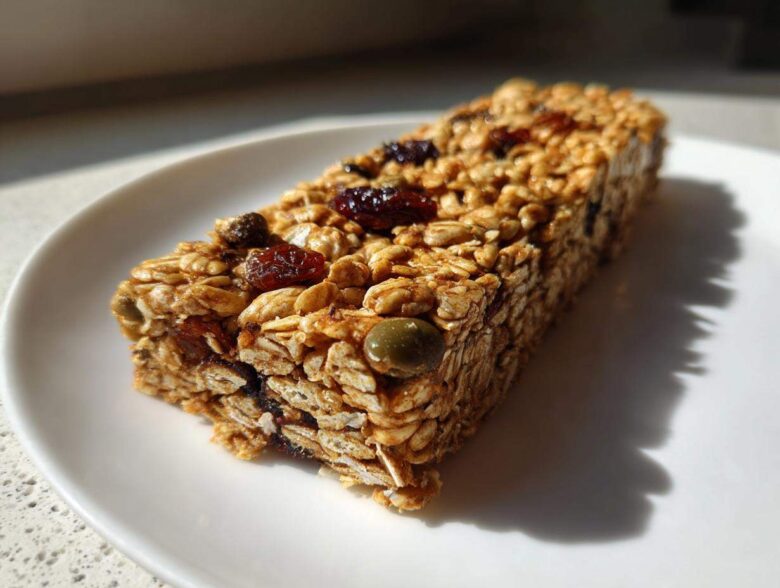
Okay, friends, let’s be real. Some days you’re sprinting out the door before the sun is even up, and the thought of turning on the oven feels like climbing Mount Everest. We all hit that wall where we NEED a truly great snack *right now*, something wholesome but zero-fuss. That’s why I’m practically shouting about this recipe! I’ve perfected my Ultimate 15-Minute **No Bake Granola Bars**, and trust me, they are the secret weapon in my weeknight routine. Forget those dry, crumbly store-bought bricks; these are intensely chewy, loaded with good stuff, and ready for the fridge before you can even blink. If you’re looking for the best **quick grab and go snacks** that actually stick with you until lunch, this is it. You can peek at all my other kitchen experiments over at my main blog page, but these bars are the MVP right now!
Why You Need These Ultimate 15-Minute No Bake Granola Bars
Seriously, these bars solve so many problems at once. They are the definition of easy snack recipes that actually taste good. You’ll never go back to boring snacks once you try these, I promise!
- They are truly **quick grab and go snacks**—just 15 minutes of actual work!
- Perfect for batch cooking because they make amazing **meal prep snacks** for the whole week.
- They deliver that satisfyingly **chewy granola bars** texture without ever seeing an oven.
- Want to see another easy favorite? Check out my easy no-bake protein bars for even more options!
Gathering Ingredients for Your No Bake Granola Bars
The beauty of these **no bake granola bars** is that they rely on stuff you probably already have lurking in your pantry. Seriously, we’re talking super simple here. No fancy grocery runs needed! The key to that perfect, chewy, non-crumbly bar is getting the binder mix right, which is where quality nut butter comes in. Remember, we’re aiming for something dense enough that it won’t fall apart when you toss it in your bag for the road. You’ll need an 8×8 inch pan, so make sure you have that ready to line! If you love peanut butter combinations, you might want to check out my recipe for peanut butter energy bites too.
Binding Agents and Base for No Bake Granola Bars
These are the workhorses of the recipe. You need two cups of good old rolled oats—not the instant kind, they get too mushy! Then we have the glue: half a cup of creamy peanut butter. I stress creamy because chunky nuts mess with the smooth binding we need for these **no bake granola bars**. Pair that with half a cup of honey or maple syrup. This duo keeps everything together beautifully. Don’t forget your teaspoon of vanilla extract—it wakes everything up!
Mix-Ins and Flavor Boosters for Chewy Granola Bars
This is where you get to personalize your **chewy granola bars**! I use a full cup of mix-ins total. Think dried cranberries, chopped almonds, or maybe some sunflower seeds for crunch. If you’re feeling dangerous (and you should be!), sprinkle in a quarter cup of mini chocolate chips right at the end. Honestly, I sometimes throw in flaxseed or chia seeds too, just to feel extra righteous about eating them for breakfast. It’s important to use a mix that complements the sweetness of the binder.
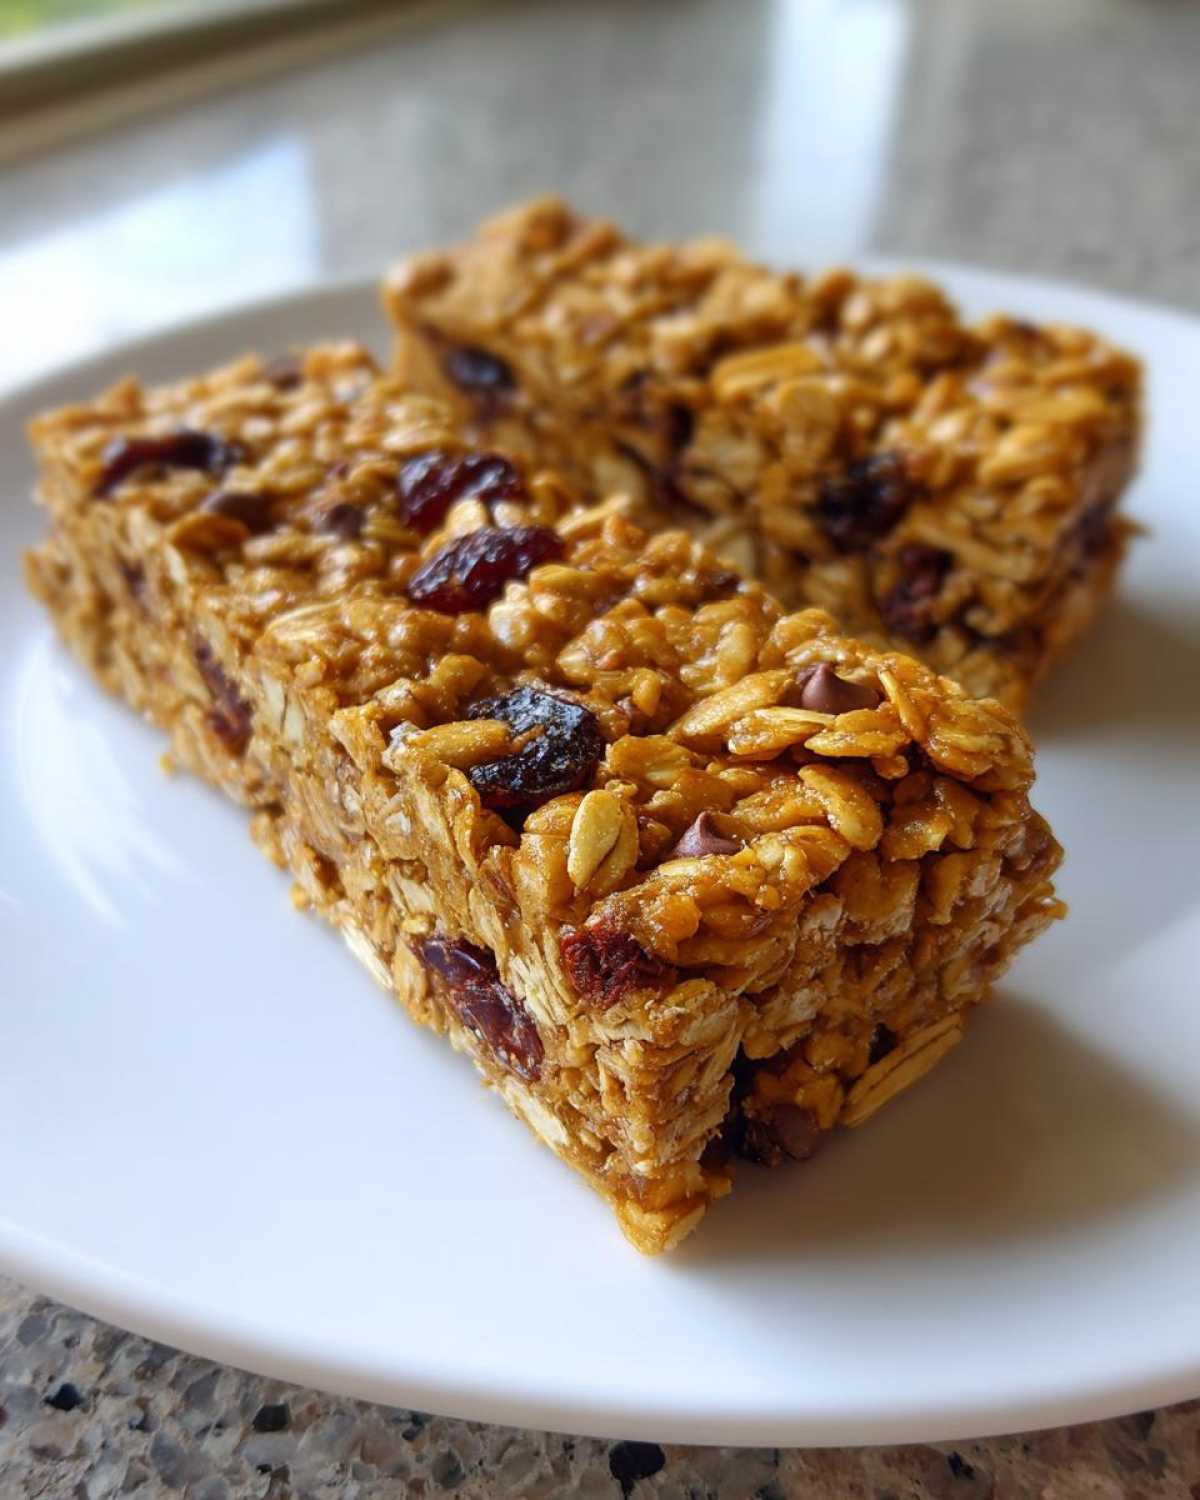
Step-by-Step: Making Perfect No Bake Granola Bars
Okay, time to assemble these beauties! I promised you 15 minutes of active time, and I swear that’s all it takes before you just walk away and let the fridge do the heavy lifting. The most important part, the thing that keeps these from turning into an oatmeal crumble mess, is making sure your binder is perfectly combined and then pressing *hard*. If you want those sturdy, non-crumbly **homemade granola bars** that survive being tossed into a backpack, you need to commit to the pressing phase! And hey, if you love chewy textures, you should definitely peek at my recipe for chewy date walnut bars too.
Preparing the Pan and Dry Mixture
First things first, protect your pan! You absolutely need to line an 8×8 inch pan with parchment paper. Make sure that parchment sticks up over the sides a couple of inches—that’s your handy handle later for lifting the whole slab out. Once the pan is ready, grab your biggest bowl and toss in the two cups of rolled oats and all your chosen mix-ins. Give it a quick stir just to distribute everything evenly before we make the sticky part.
Creating the Binding Syrup for Your No Bake Granola Bars
Now for the glue! Pop your creamy nut butter and your honey (or syrup) into a small, microwave-safe bowl. You only want to microwave this for about 30 seconds. We are NOT trying to cook it; we just need it warm enough so the nut butter loosens up and mixes smoothly with the honey. If it’s too stiff, you’ll never coat those oats properly. Stir it until it looks like thick, gorgeous caramel sauce. Then, dump in that vanilla extract!
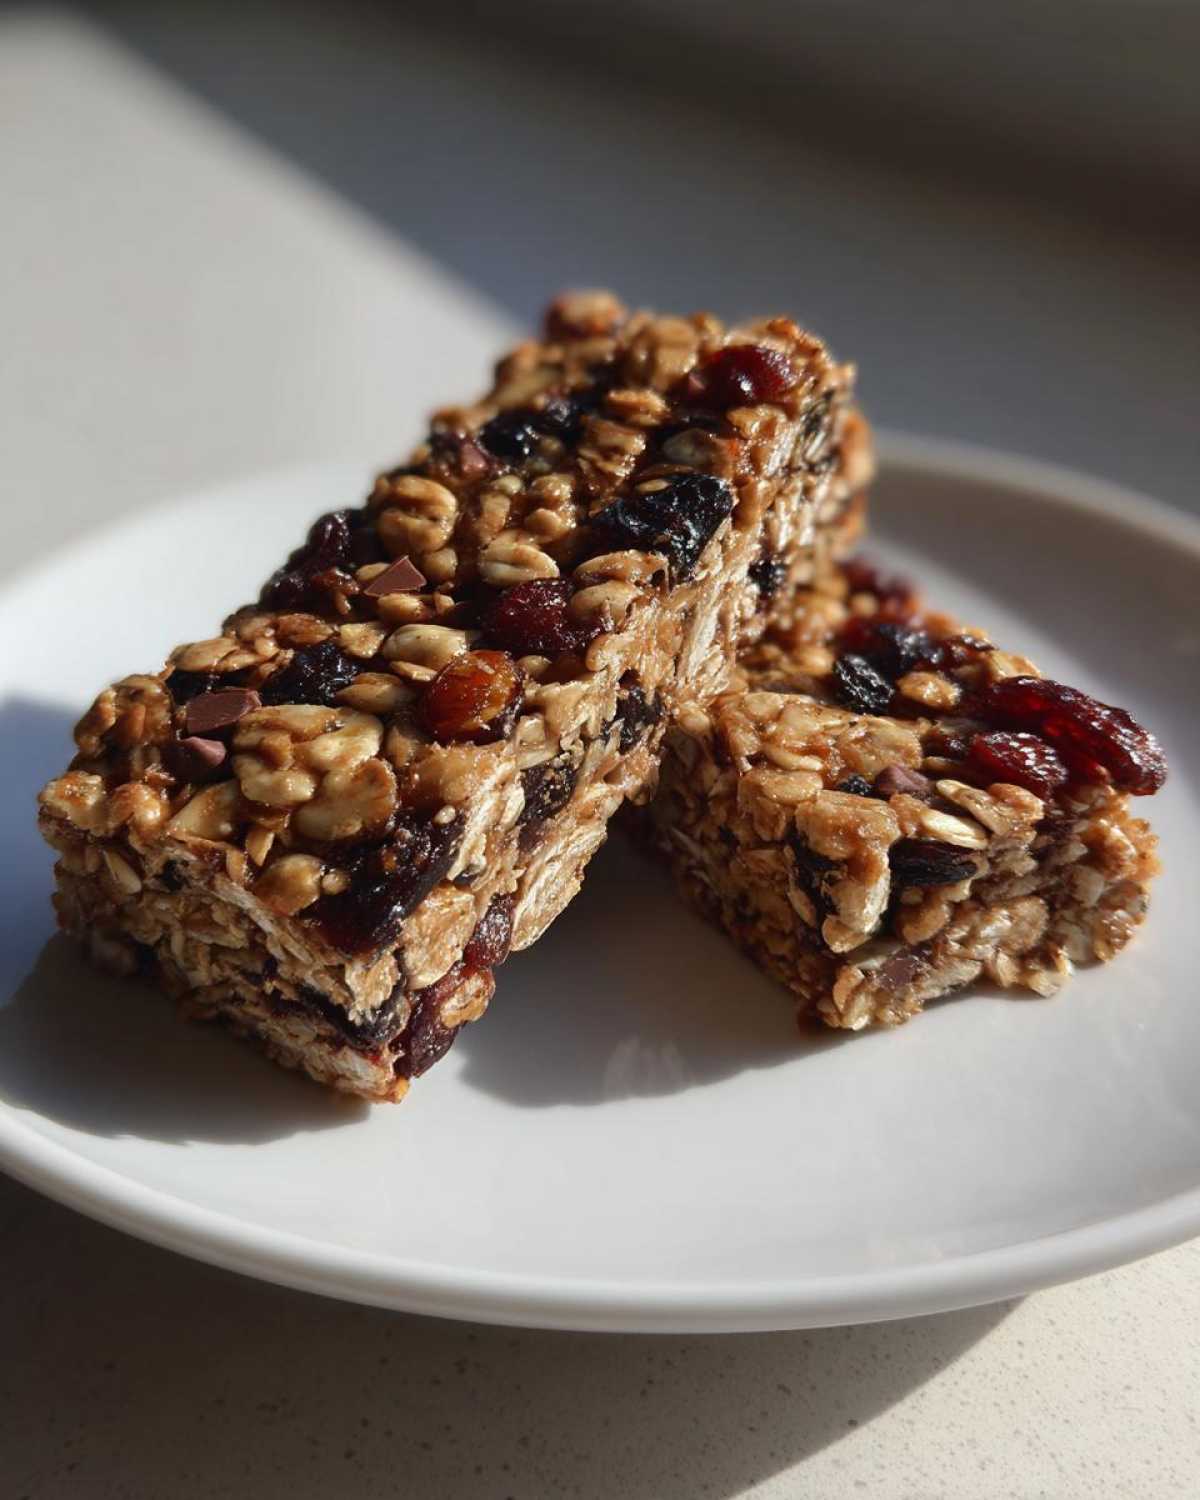
Mixing, Pressing, and Chilling the No Bake Granola Bars
Pour that warm binder right over your oats and mix like crazy until every single oat flake is coated. Don’t skimp here! Transfer that whole sticky mess into your waiting pan. Now, for the commitment: use the flat bottom of a measuring cup or the back of a sturdy spatula and press that mixture down as hard as you possibly can. Compact it! Seriously squeeze it tight. If you’re using chocolate chips, sprinkle them on top now and press just a little bit more to adhere them. Then, slide the pan into the fridge for a minimum of two hours until they are totally firm. Once they are set, use that parchment sling to pull them out and cut them into 12 perfect bars!
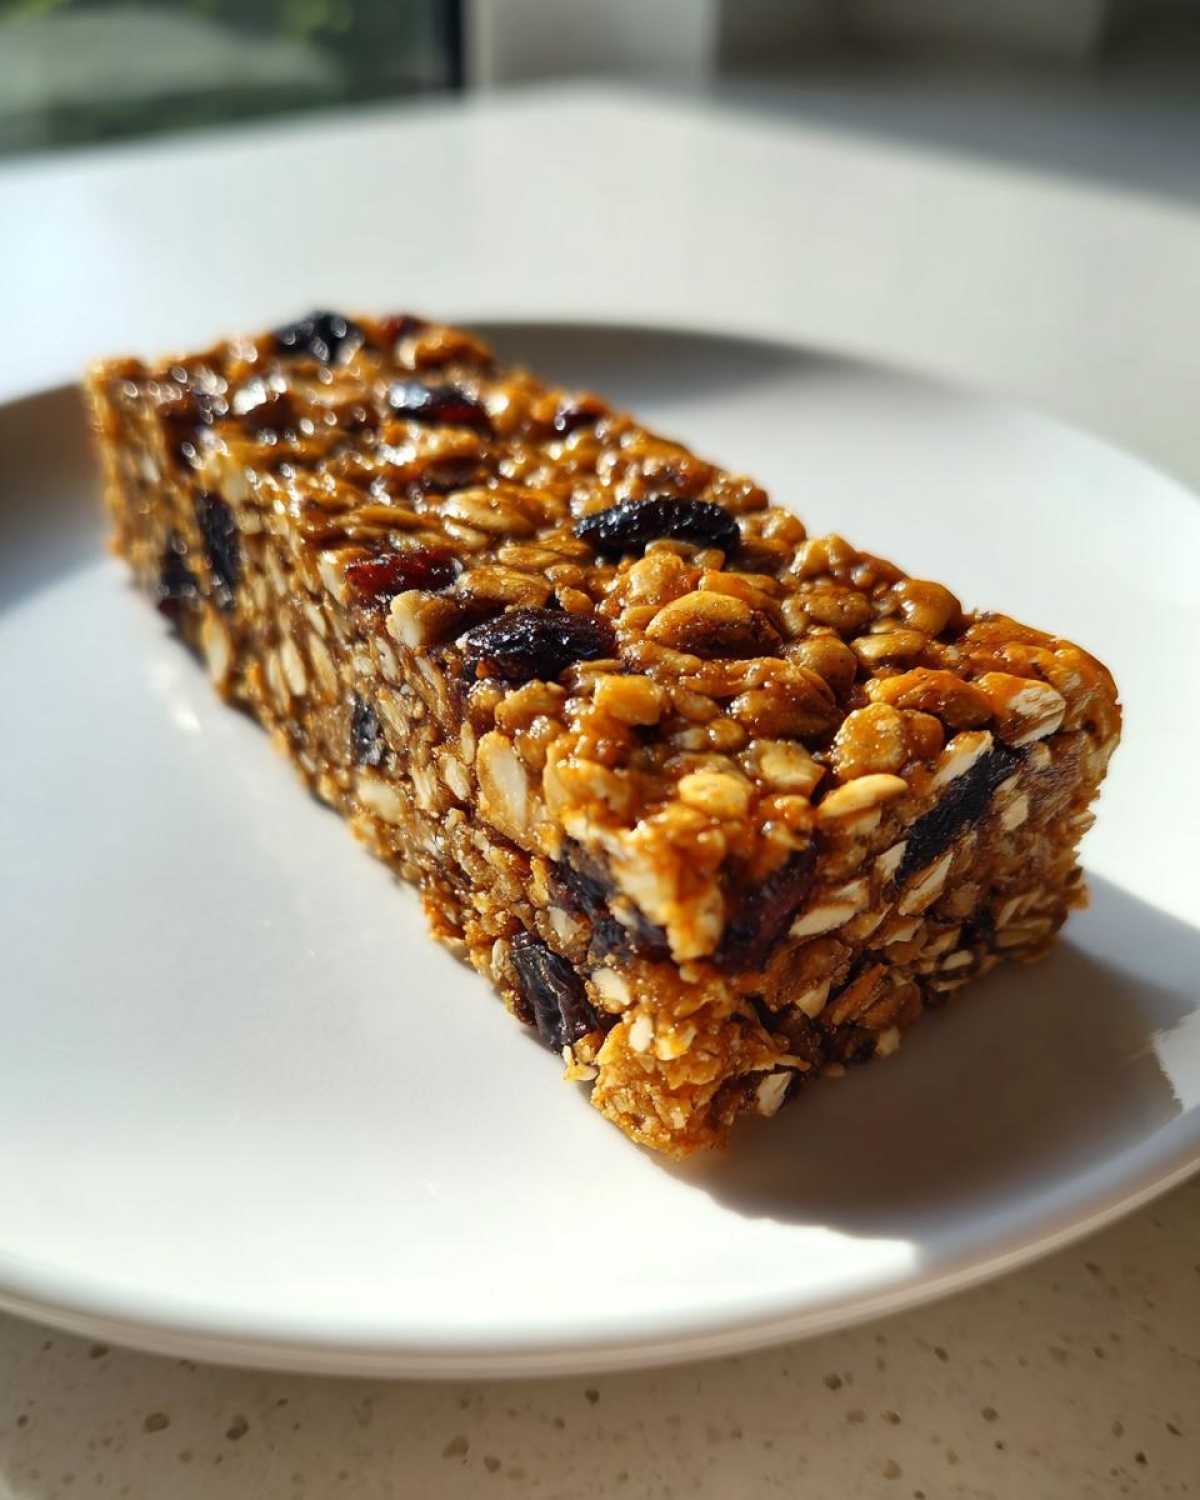
Tips for Success with No Bake Healthy Bars
Listen, even with the easiest recipe in the world, we can run into little snags! The main issue people have with **no bake healthy bars** is that they get crumbly, and nobody wants an oatmeal explosion every time they grab a snack. The number one anti-crumble trick is patience during the pressing stage—squish that mixture down hard in the pan! I mean it; use your body weight a little. That compaction is what gives you that firm, chewy bite, making them the perfect **refrigerator snacks**.
If your bars are sticking to the pan, you know the drill: you didn’t use enough parchment overhang or you skimped on lining. Next time, use a thin layer of oil on the pan *under* the parchment for insurance. These bars are so much better when they’re firm. If you want to make sure they set up perfectly, sometimes leaving them in the fridge for an extra 30 minutes does the trick. Check out my maple peanut granola bars if you love that extra sticky texture!
Ingredient Notes and Substitutions for Nut Butter Bars
I get so many emails asking if they can swap out ingredients in these **nut butter bars**, and the answer is usually yes! That’s one of the best parts about **no bake granola bars**—they are super adaptable. But you have to know how the swap affects that all-important texture. If you change the binder, you change the chew, so be mindful!
For example, if you need to make these nut-free because of school policies or allergies, you can absolutely swap your peanut butter for sunflower seed butter. You might notice the flavor profile changes a bit—sunflower seed butter can be slightly earthier—but the consistency is almost identical, which is a win for our **no bake granola bars**!
And what about the sweetener? If honey isn’t your thing, swapping it 1:1 for maple syrup works perfectly. Since maple syrup is often a bit thinner than honey, I sometimes recommend microwaving the mixture for about 10 seconds *less* to keep things from getting too runny. For more inspiration on delicious spreads, you should check out my tahini maple butter recipe!
If you want them ultra-rich but don’t have honey, you can use agave, but you may need to press them slightly harder after pouring them into the pan because agave doesn’t bind quite as aggressively as honey does. It’s all about balancing the wet and dry components to keep those bars chewy instead of flaky!
Storage and Make-Ahead for Your Meal Prep Snacks
Okay, you’ve made a huge batch of these **no bake granola bars**, and now you want them to last! Since these amazing **meal prep snacks** don’t have any eggs or flour that needs baking, they keep really well, but refrigeration is key to maintaining that signature chewiness.
The best place for these is the fridge, plain and simple. Once you’ve cut them, stack them up in a sturdy, airtight container. I usually put down a sheet of parchment paper between the layers, just so they don’t stick together too aggressively while they chill. They are perfectly good to eat for about a week stored this way. I call that a full week of stress-free mornings done!
If you’re planning way ahead—maybe you made a triple batch because you know your family will devour them—you can totally freeze them! Once they’re cut, lay them flat on a baking sheet lined with parchment paper and pop that sheet into the freezer for about an hour. Once they are frozen solid, you can transfer them all into a large freezer-safe bag or container. They freeze beautifully for up to three months. Honestly, prepping these on a Sunday afternoon is my favorite way to knock out my **quick breakfast bars** for the week ahead. Makes my Monday mornings so much smoother! If you like making things ahead, you absolutely HAVE to check out my tips for make-ahead egg muffin cups.
Variations on Classic No Bake Granola Bars
While the original recipe for these **no bake granola bars** is practically perfect—because who doesn’t love chewy, four-ingredient snacks?—I always encourage a little creative chaos in the kitchen! These bars are begging for you to mix things up. Changing just one or two elements can make you feel like you’ve got a brand new **energy bars homemade** recipe on your hands every time you whip up a fresh batch.
My favorite way to tweak this is by adding a little warmth. Try mixing in about half a teaspoon of ground cinnamon or a tiny pinch of cardamom when you combine the oats. It gives the whole snack a cozy, almost baking-like scent, even though we’re keeping this a **no oven needed treat**!
If you want to switch up the dried fruit, ditch the raisins for tart dried cherries or chopped dried apricots. Those bright flavors cut through the richness of the nut butter so well. And if you skipped the chips last time, this is your chance to go all out! You can make these true **chocolate chip granola bars no bake** style by doubling the amount of mini chips, or by tossing in some white chocolate chips and flaked coconut for a tropical twist!
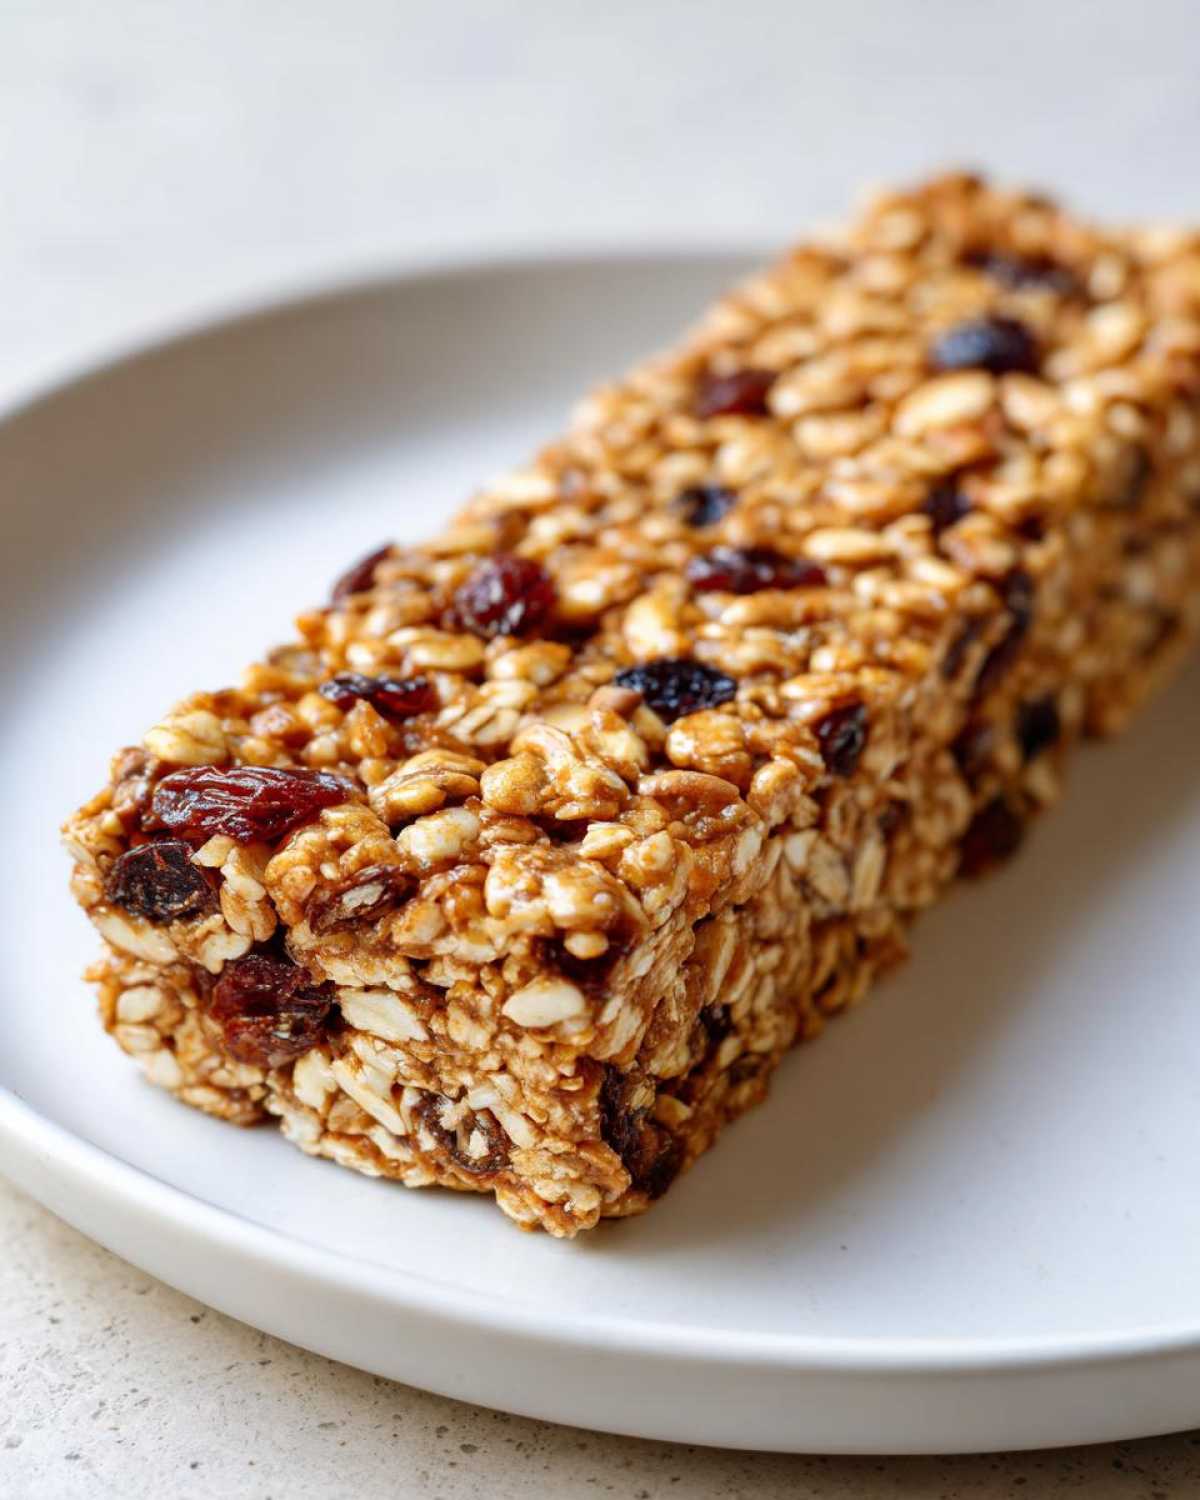
For something totally wild but addictive, try adding a tiny pinch of cayenne pepper along with those chocolate chips. It highlights the chocolate flavor beautifully! I call that one my adult version, and you can find another spicy kick in my chili chocolate nut clusters recipe if you’re feeling adventurous. These little changes keep our weekly snack rotation interesting!
Frequently Asked Questions About Easy Snack Recipes
It’s smart to ask questions before you dive in! Getting these **easy snack recipes** right the first time means less cleanup and more delicious, ready-to-eat fuel. Since these are **no oven needed treats**, the setting phase is the most important part, so let’s talk about troubleshooting. If you’ve got little ones running around, these are definite **kid friendly snacks**, but they need to hold together in those lunchboxes! For even more great ideas, head over to my main resource page for easy snack recipes.
How long do these no bake granola bars need to chill?
They really need a minimum of two full hours in the refrigerator to firm up properly. If you try to cut them sooner than that, you’ll end up with a sticky, sloppy mess, and nobody wants that! If your kitchen is really warm, or if you used thinner ingredients like agave, give them an extra 30 minutes chilling time to be safe. They should be firm to the touch!
Can I make these no oven needed treats vegan?
Absolutely! That’s the beauty of flexibility in **homemade granola bars**. The only non-vegan component in the base recipe is usually the honey. You can swap the honey out 1:1 for maple syrup, or even use brown rice syrup if you have it. Just remember what I said earlier: if you use syrup, press them down extra firmly in the pan because the syrup binding action is slightly different than honey’s.
Why are my homemade granola bars crumbly?
Ah, the crumbly curse! This almost always boils down to two main culprits, and neither has to do with your oven! First, you didn’t press hard enough when compacting them into the pan. You need to press them *firmly* into the corners. Second, your wet-to-dry ingredient ratio was off. If you overloaded on oats or undershot the amount of nut butter/honey, they just won’t stick. Next time, weigh your oats if you aren’t sure, or slightly increase the binder by a tablespoon or two!
Nutritional Snapshot of These Oat Snack Bars
Now, I’m not a certified nutritionist, so please take these numbers with a grain of salt—or maybe a sprinkle of flaxseed in this case! These values are estimates, based on using rolled oats, creamy peanut butter, and standard honey, cut into 12 equal pieces. These are built to be wholesome, quick fuel, so they definitely aren’t a low-calorie treat, but they pack a punch of energy!
Every part of these **oat snack bars** is designed to keep you going between meals. For a full rundown on how I calculate these things (or why you should always check your own labels!), feel free to look over my full disclaimer page for more details!
- Serving Size: 1 bar
- Calories: Approximately 220
- Fat: Around 11g (Mostly healthy fats from the nut butter, thankfully!)
- Protein: About 7g (Great for keeping you full!)
- Carbohydrates: 28g
- Sugar: 12g (Mostly natural sugars from the honey and dried fruit)
Since these **no bake granola bars** are primarily made of oats and nut butter, they have a wonderful balance that makes them feel satisfying, unlike those sugary bars that leave you crashing an hour later. Enjoy them knowing you’re putting good fuel in your body!
PrintUltimate 15-Minute No Bake Chewy Granola Bars
Make these simple, chewy granola bars without turning on your oven. They are perfect for quick meal prep and grab-and-go snacking.
- Prep Time: 15 min
- Cook Time: 0 min
- Total Time: 2 hr 15 min
- Yield: 12 bars
- Category: Snack
- Method: No Bake
- Cuisine: American
- Diet: Vegetarian
Ingredients
- 2 cups rolled oats
- 1 cup mix-ins (e.g., dried fruit, nuts, seeds)
- 1/2 cup creamy peanut butter or almond butter
- 1/2 cup honey or maple syrup
- 1 teaspoon vanilla extract
- 1/4 cup mini chocolate chips (optional)
Instructions
- Line an 8×8 inch baking pan with parchment paper, leaving an overhang on the sides for easy removal.
- In a large bowl, combine the rolled oats and your chosen mix-ins.
- In a small, microwave-safe bowl, combine the nut butter and honey (or maple syrup). Microwave for 30 seconds until slightly softened and easily stirrable.
- Pour the warm binder mixture over the oat mixture. Add the vanilla extract.
- Stir everything together well until all the dry ingredients are evenly coated.
- Press the mixture firmly and evenly into the prepared pan. Use the back of a spatula or another piece of parchment paper to compact it tightly.
- Sprinkle the chocolate chips (if using) over the top and press them lightly into the surface.
- Refrigerate for at least 2 hours, or until completely firm.
- Lift the bars out of the pan using the parchment overhang. Cut into 12 or 16 even bars.
Notes
- For firmer bars, chill them in the freezer for 30 minutes before cutting.
- Store leftovers in an airtight container in the refrigerator for up to one week.
- Substitute peanut butter with sunflower seed butter for a nut-free option.
Nutrition
- Serving Size: 1 bar
- Calories: 220
- Sugar: 12g
- Sodium: 65mg
- Fat: 11g
- Saturated Fat: 2g
- Unsaturated Fat: 9g
- Trans Fat: 0g
- Carbohydrates: 28g
- Fiber: 3g
- Protein: 7g
- Cholesterol: 0mg
