

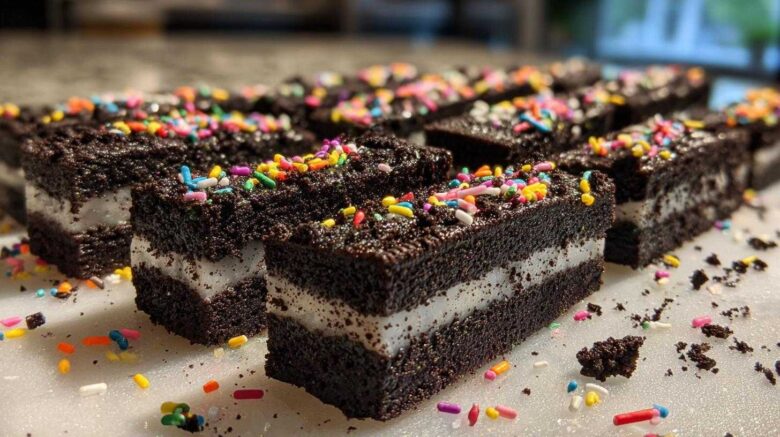
Get ready for some serious fun in the kitchen! You know those super cute treats you see all over social media? Well, we’ve whipped up our own version: Oreo sushi, a delightful no-bake dessert that’s perfect for little hands and big imaginations. It’s a playful twist on everyone’s favorite cookies and cream. Sasha, our resident culinary adventurer, absolutely adores this recipe. It truly captures her spirit! This is more than just a dessert; it’s a chance to create sweet memories.
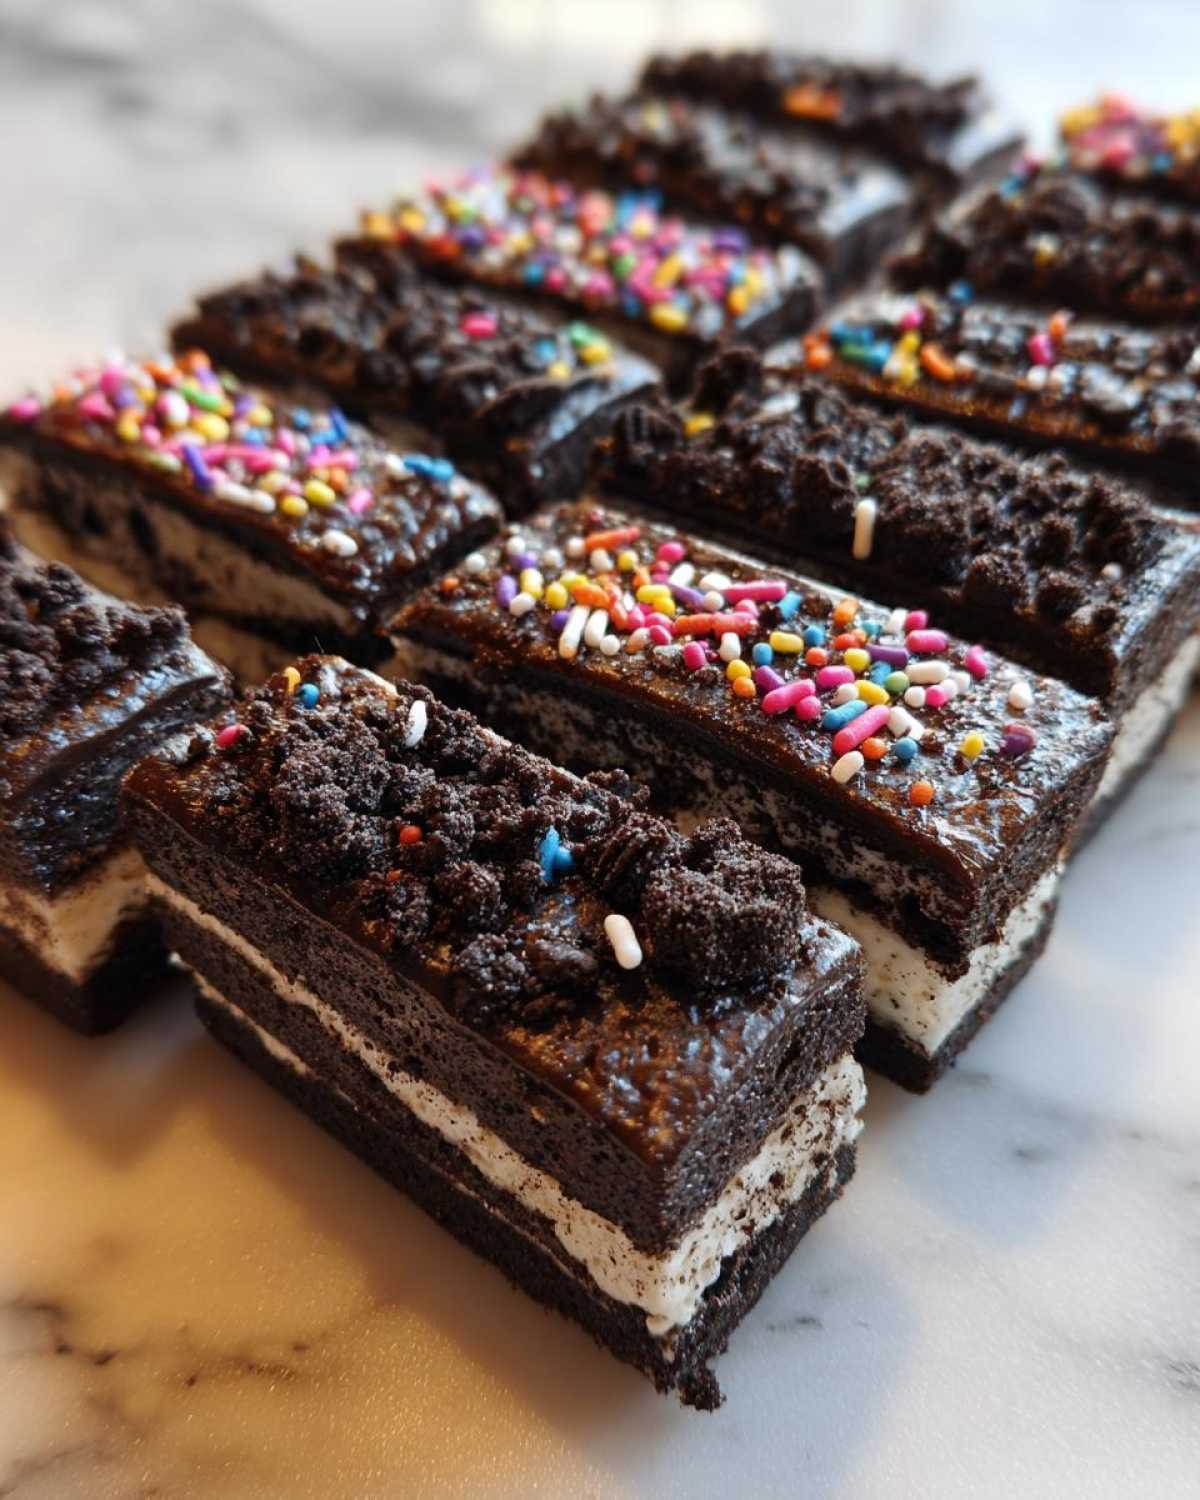
Why You’ll Love This Oreo Sushi (No-Bake Dessert)
This Oreo sushi is a winner for so many reasons!
- It’s incredibly easy to make.
- Kids absolutely adore helping out.
- You get that classic cookies and cream taste.
- It’s a no-bake wonder, perfect for any time.
- They look so cute and fun!
Sasha’s Favorite Oreo Sushi Creations
Oh, this Oreo sushi recipe is pure Sasha! She’s the one who really brought it to life in our kitchen. Sasha’s cooking style is all about energy and intuition. She’s the “let’s just see what happens!” queen. I remember one afternoon, we were trying to think of a fun activity for her niece. Sasha immediately thought of these. She just grabbed the Oreos and started crushing them. She didn’t measure much; she just went with it! She added the milk, tasted the mix, and said, “Needs a splash more!” It was a beautiful, delicious mess. That’s Sasha for you. She loves making food exciting and accessible. She always encourages you to play with your food. This no-bake dessert is a perfect example of her playful approach. You can really experiment with toppings and shapes. She’d be thrilled if you got creative with yours!
Gather Your Oreo Sushi Ingredients
Creating these fun Oreo sushi rolls is a breeze. You likely have most of what you need right in your pantry! We believe that using good quality staples really makes a difference. It ensures the best flavor and texture for your no-bake dessert. Even simple ingredients shine here. Let’s get everything ready.
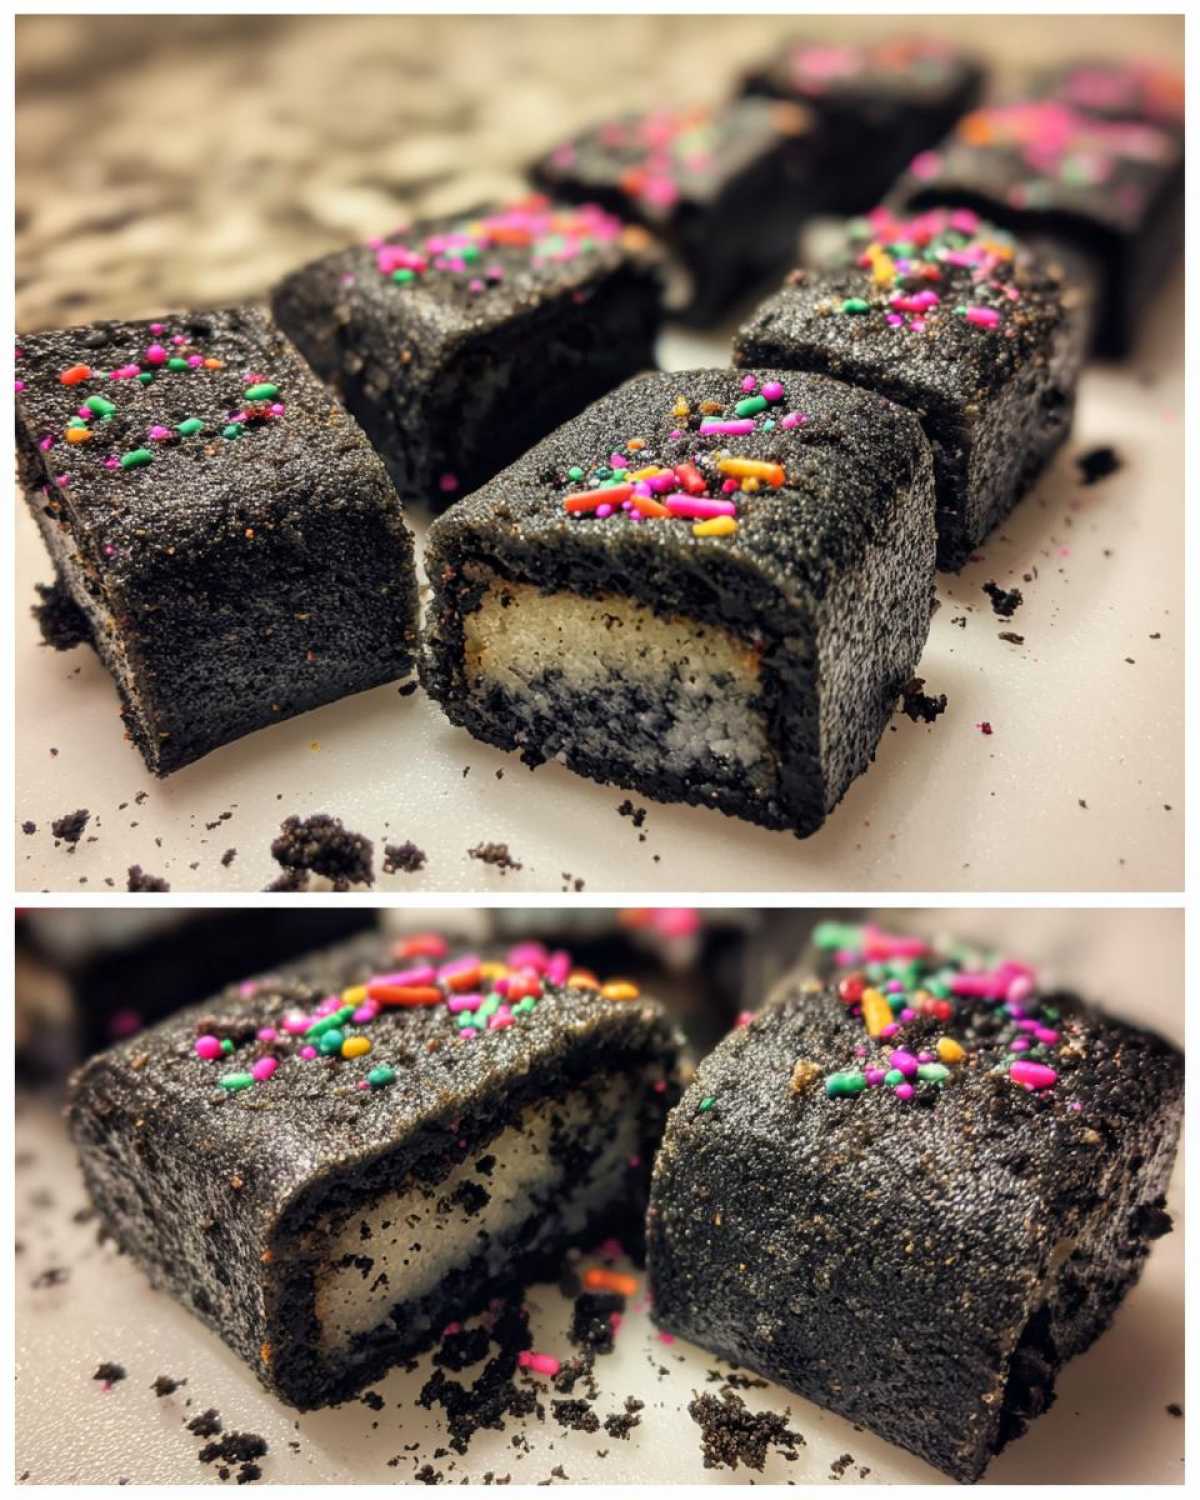
Essential Ingredients for Oreo Sushi
- 1 package (approx. 14.3 oz) Oreo cookies, finely crushed
- 2 tablespoons unsalted butter, melted
- 1/4 cup milk, plus more if needed
- Optional: Assorted sprinkles for decoration
Crafting Your Delicious Oreo Sushi (No-Bake Dessert)
Now for the really fun part: making the magic happen! This no-bake dessert comes together so easily. You’ll love how simple it is to transform basic ingredients. It’s a truly interactive experience.
Step 1: Prepare the Oreo Base
First, we need super fine Oreo crumbs. I like using a food processor for this. It makes them almost like flour. If you don’t have one, a sturdy zip-top bag and a rolling pin work too. Just bash away! Once they’re finely crushed, add your melted butter. Mix it well. You want it to look like wet sand. This step is key for a good texture.
Step 2: Achieve the Perfect Dough
Now, pour in the milk. Stir everything together. It should start to form a nice, dough-like consistency. It shouldn’t be too sticky or too crumbly. If it feels too dry, add milk a tiny bit at a time. If it’s too wet, add a few more crushed crumbs. You’re aiming for something you can easily shape. This balance is important for the best Oreo sushi.
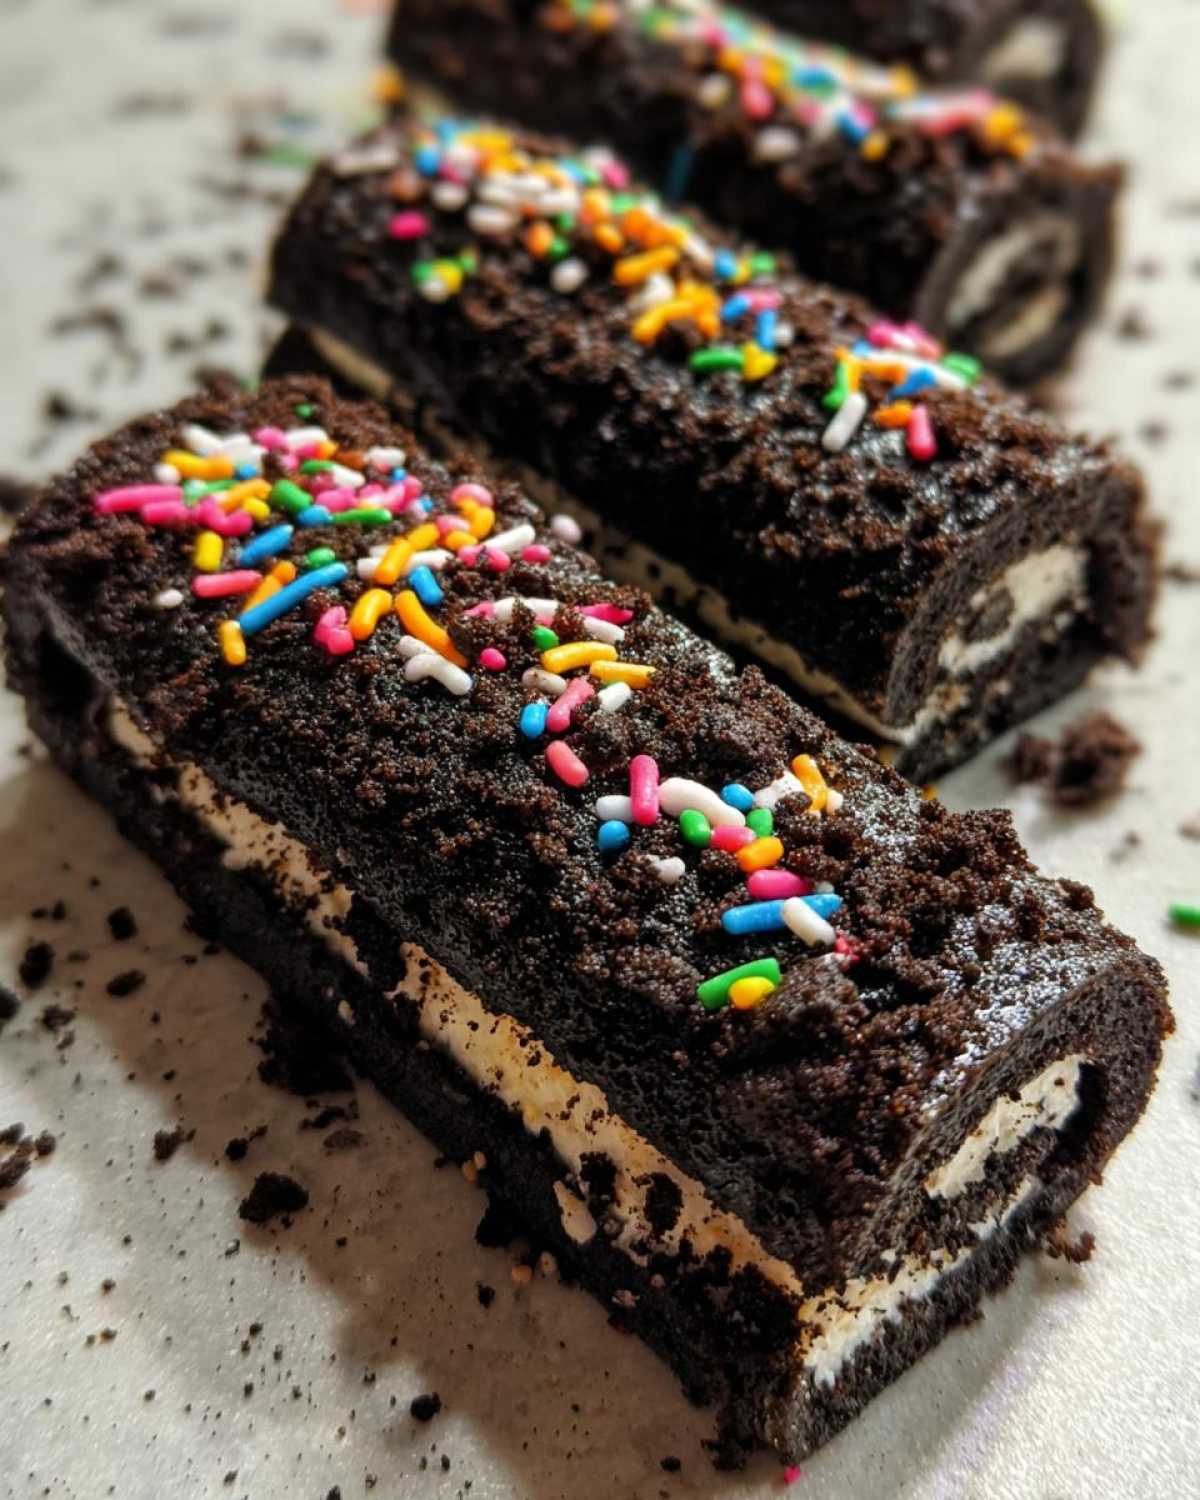
Step 3: Shape Your Oreo Sushi Rolls
Time to get creative with shaping! Take small portions of the mixture. Roll them between your palms. You want to make little logs. Think about the size of real sushi rolls. They don’t need to be perfect. Some variation makes them look even more fun! Just a gentle roll is all you need.
Step 4: Add Festive Decorations
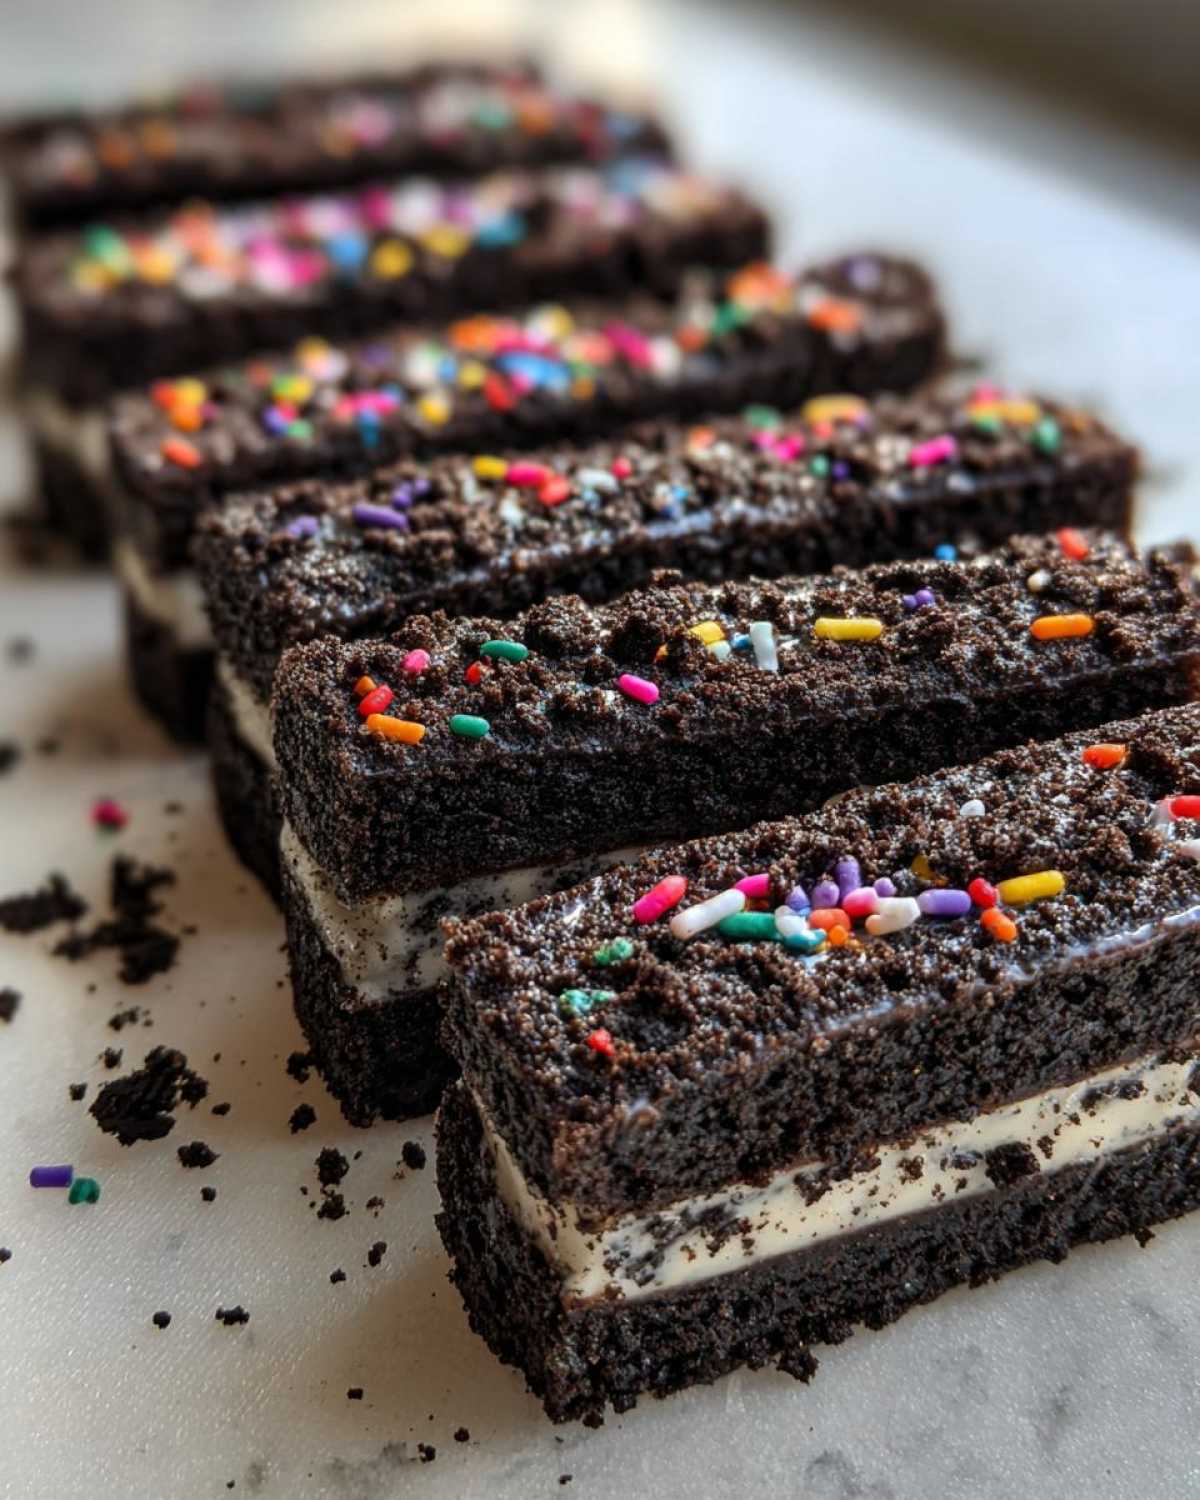
This is where you can really let your imagination run wild. The sprinkles are optional, but they add so much sparkle! You can roll the logs in sprinkles. Or, just sprinkle them on top. Colored icing works great too. Edible glitter is another fun choice. Think about what makes your Oreo sushi special. Get creative with your toppings!
Step 5: Chill for Perfect Texture
Finally, we need to let them set. Place your finished Oreo sushi on a plate. Pop them in the refrigerator. You’ll want to chill them for at least 30 minutes. This helps them firm up nicely. It makes them easier to eat and gives them that perfect dessert texture. Patience here really pays off!
Tips for Your Best Oreo Sushi
Want your Oreo sushi to be absolutely perfect? I’ve learned a few tricks along the way!
- Crush those Oreos really well. Finer crumbs mean a smoother, more pleasant texture. No one wants big chunks!
- Don’t be afraid of the milk. It’s okay to add a little extra milk if your mixture seems dry. Just add it slowly. The goal is a workable dough.
- Get creative with toppings. Sprinkles are fun, but try a drizzle of white chocolate too. You could even add a tiny bit of edible glitter for extra sparkle.
- Chill time is important. Don’t skip the chilling step! It really helps the sushi hold its shape and gives it a better bite.
- Experiment with sizes. Roll them a bit bigger or smaller. It’s all about having fun with it!
Frequently Asked Questions About Oreo Sushi
Got questions about our fun Oreo sushi? We’ve got answers! It’s a pretty straightforward recipe, but a few things might pop into your head.
How do I store leftover Oreo Sushi?
Leftovers? That’s a good problem to have! Store your Oreo sushi in an airtight container. Keep them in the refrigerator. They’ll stay good for a few days. This no-bake dessert is best enjoyed fresh, though. Chilling helps them firm up nicely.
Can I use different types of cookies for this no-bake dessert?
You sure can try! Other sandwich cookies might work. Chocolate chip cookies could be interesting. However, Oreos give that classic cookies and cream flavor. They also hold together really well. For the best Oreo sushi experience, stick with Oreos if you can.
What can I use if I don’t have butter for my Oreo Sushi?
No butter? No problem! You can use coconut oil. Melted shortening is another option. These act as a binder. They help the crumbs stick together. Just use the same amount. Your Oreo sushi might have a slightly different flavor. But it will still be delicious!
Are there any other fun toppings for Oreo Sushi?
Absolutely! Sprinkles are just the start. You could drizzle melted white chocolate over them. A little bit of colored frosting works too. Shredded coconut adds a nice texture. Even some mini chocolate chips could be fun. Get creative with your cookie sushi decorations!
Understanding the Nutrition of Oreo Sushi
While this Oreo sushi is more about fun than strict nutrition, it’s always good to have an idea of what you’re enjoying. We’ve put together some estimated nutritional values per serving. Please remember these are approximate figures. They can vary based on exact ingredient amounts and brands used. It’s a delightful treat, and a little bit of sweetness can certainly brighten your day!
PrintSasha’s 5 Amazing Oreo Sushi (No-Bake Dessert)

Create fun Oreo Sushi treats with this simple no-bake recipe. It’s a delightful dessert that kids and adults will love making and eating.
- Prep Time: 15 minutes
- Cook Time: 0 minutes
- Total Time: 45 minutes
- Yield: 12-15 pieces
- Category: Dessert
- Method: No-Bake
- Cuisine: American
- Diet: Vegetarian
Ingredients
- 1 package Oreo cookies
- 2 tablespoons butter, melted
- 1/4 cup milk
- Optional: Sprinkles for decoration
Instructions
- Crush the Oreo cookies into fine crumbs.
- Mix the cookie crumbs with melted butter until well combined.
- Add milk to the mixture and stir until it forms a dough-like consistency.
- Roll the mixture into small logs, resembling sushi rolls.
- Decorate with sprinkles if desired.
- Chill for at least 30 minutes before serving.
Notes
- Ensure Oreos are crushed very finely for a better texture.
- Adjust milk amount if the mixture is too dry or too sticky.
- Get creative with different toppings like colored icing or edible glitter.
Nutrition
- Serving Size: 1 piece
- Calories: 120
- Sugar: 10g
- Sodium: 50mg
- Fat: 6g
- Saturated Fat: 3g
- Unsaturated Fat: 3g
- Trans Fat: 0g
- Carbohydrates: 15g
- Fiber: 1g
- Protein: 1g
- Cholesterol: 5mg
