

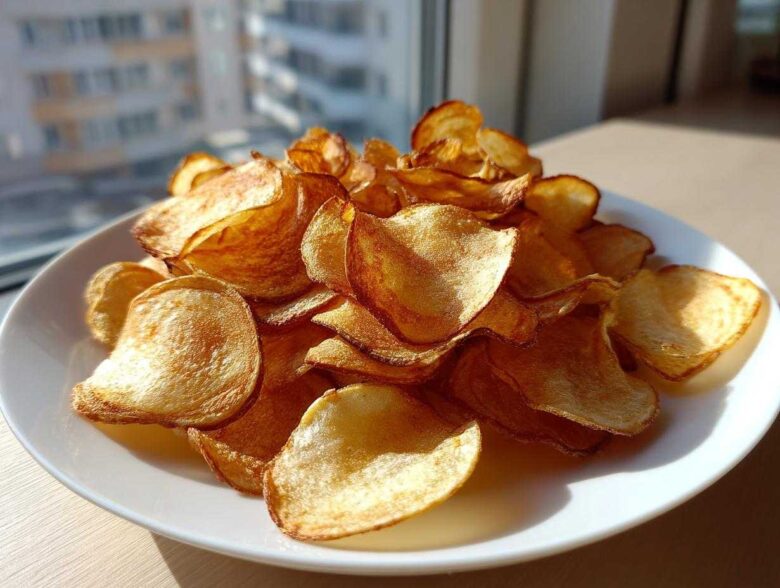
Forget that stale, cardboard crunch you get from the bag! Seriously, there is nothing—and I mean *nothing*—better than a homemade potato chip when it’s done right. We’re talking about that explosive, satisfying snap that makes movie night feel like a five-star event. For years, I tried every flimsy recipe out there until I figured out the secret sauce, and it’s all in the preparation.
This isn’t just one recipe; it’s the ultimate potato chip arsenal! I’m going to show you how to get that superior crunch using three totally different methods: the decadent deep fry, the quick air fryer snack, and the super **healthy potato chips** version you bake in the oven. Trust me, mastering the soak and the dry phase is non-negotiable. Once you nail those first two steps on your Russets, you’ll be stacking these crunchy treasures like a pro!
Why You Will Make the Best Homemade Potato Chips
Look, I get it—store-bought is easy. But when you crack open a bag of these, you’ll never go back. This truly is the ultimate **potato chips** guide because:
- You get absolutely unmatched crispiness, no matter which method you choose.
- It’s versatile! Deep fried, air fryer, or baked—we cover it all.
- The seasoning control is totally up to you. Hello, perfect salt coverage!
If you’re looking for more fun snack inspiration after mastering these, check out my main recipe index right here. But honestly, these chips might ruin all other snacks for you!
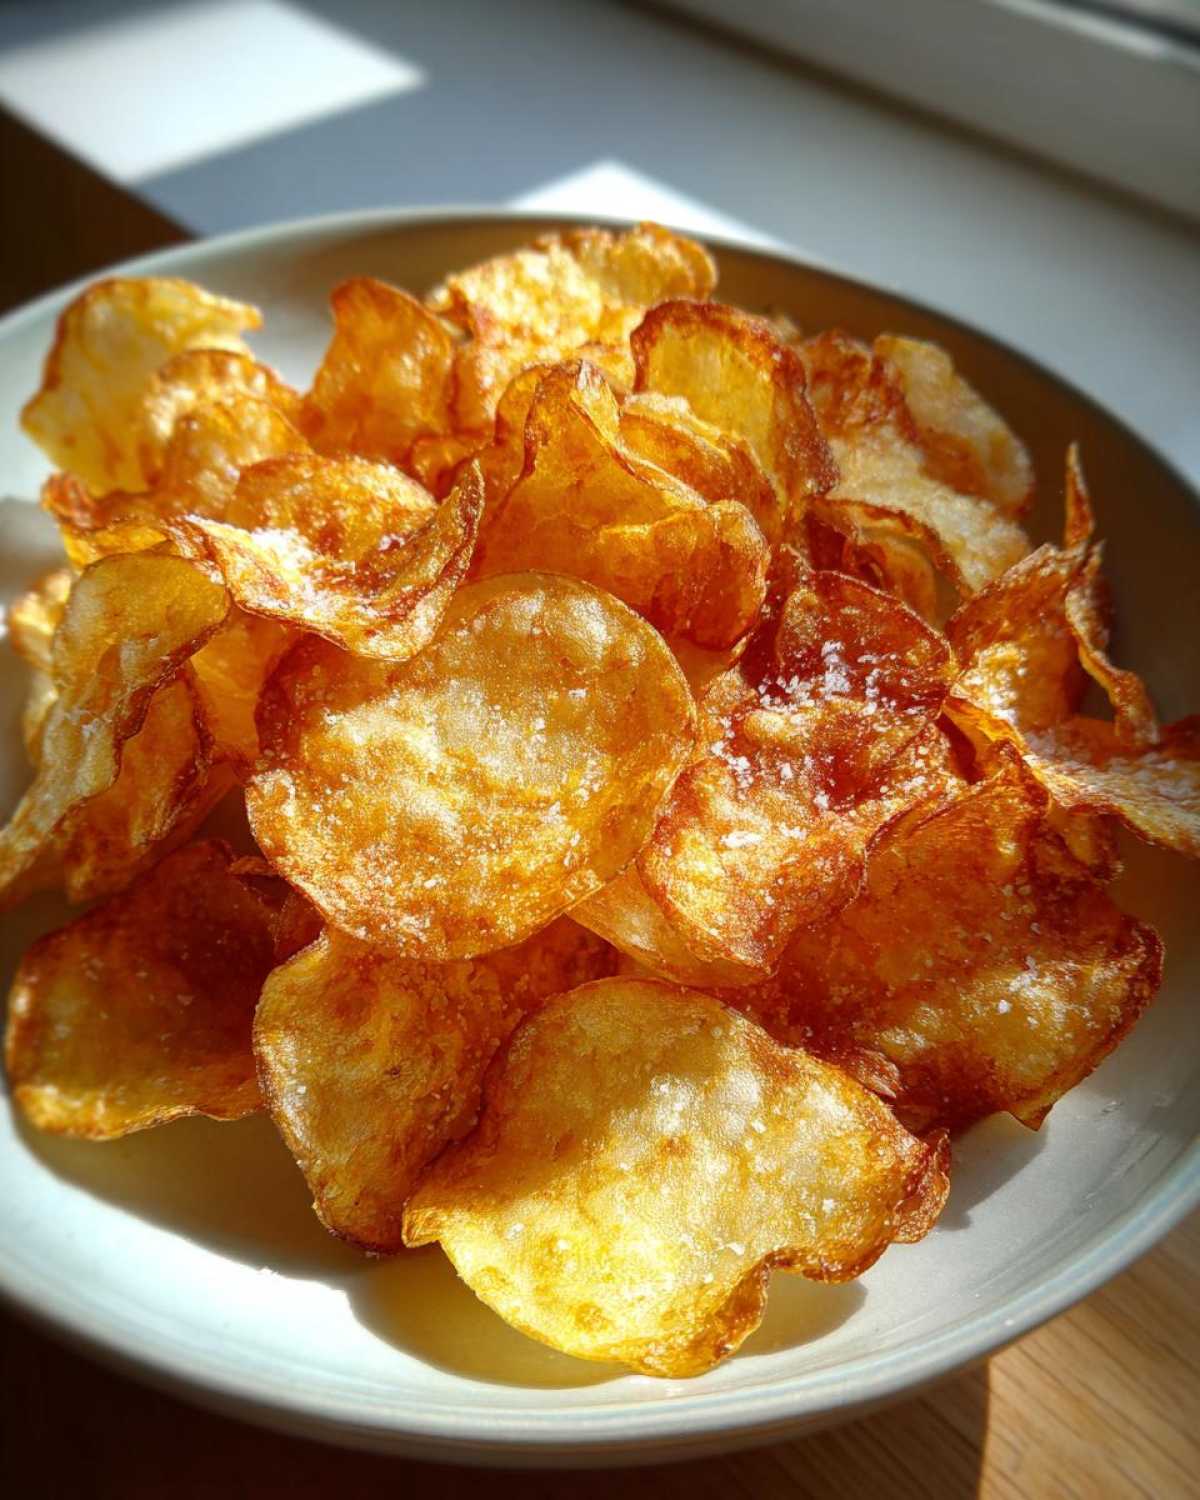
Essential Ingredients for Crispy Potato Chips Recipe
Okay, let’s talk about what goes into these incredible **homemade potato chips**. You don’t need a massive shopping list, which is the beauty of using what you already have. But the quality of the main ingredient really, really matters here.
For the best results—especially if you want that fantastic kettle style crunch—you absolutely have to start with Russet potatoes. They are starchy, which is exactly what we need. That starch is our friend; when we wash it off in the soak step, it leaves behind the perfect structure for a chip that crisps up beautifully instead of turning soggy. Yukon Golds are okay in a pinch, but Russets win this competition every time!
Here is what you’ll need for this whole adventure:
- 3 large Russet potatoes (don’t skimp on these!)
- Vegetable oil, for deep frying (you’re going to need about 4 cups if you’re frying)
- 1 tablespoon salt, or whatever amount tastes perfect to you
- A little something extra for seasoning (optional): 1 teaspoon paprika, 1/2 teaspoon garlic powder, 1/2 teaspoon onion powder mixed together
That’s it! Simple ingredients make for the most addictive **potato chips**. Keep everything ready to go because once we start prepping, things move pretty fast.
Potato Chip Secrets for Crispiness: Preparation Steps
Listen up, because this next part is where 90% of people mess up their homemade **potato chips**. If you just slice and toss them straight into the oil or onto the baking sheet, you’re going to end up with soft, floppy disappointments. We need structure! We need that shatter when you bite down!
The trick is twofold: getting the slices perfectly even and then getting rid of all that natural starch. If you want the crunch factor to be through the roof, you need to pay close attention when you slice them. Ready to learn the secrets? Check out my full deep-dive on potato chip success here!
Achieving Uniformly Thinly Sliced Potatoes
When I first started making these, I used a knife, and let me tell you, that was a disaster. Some baked strips were burnt while others were still chewy. You *need* uniform thickness for consistent cooking, whether you’re frying or baking. If you have one, grab your mandoline slicer. Set it super thin—we’re aiming for almost translucent, maybe 1/16 of an inch. This is how we mimic those beautiful, brittle kettle style **potato chips**. Be careful using that slicer; keep your fingers safe!
The Crucial Starch Removal Soak
Once those spuds are sliced, immediately plunge them into a giant bowl of cold water. I mean totally submerged! You have to let them sit for at least 30 minutes, and honestly, if you can leave them for an hour or two, even better. You’ll watch the water turn milky white. That cloudiness? That’s starch! We want that starch gone because it gums up the works and keeps the chips from crisping properly. If you leave the starch in, you end up with gummy **potato chips**, and nobody wants that in their snack bowl.
When you drain them, you might see that the water is dark. Dump that milky water out, give them a quick rinse, and then move on to the most vital, final step before cooking: drying them completely.
How to Prepare Potato Chips Using Three Methods
Now that our slices are bone-dry—and I mean *completely* dry, pat them down hard!—it’s time for the fun part. This is where you get to pick your poison! Whether you crave that decadent, old-school crunch or a lighter, healthier version, we have you covered. If you need a little refresher on when to oil up or how to toss ingredients for the easiest snack ever, my general guide can help you before you pick a method here.
Remember, whichever path you choose, you must work in small batches. Overcrowding the oil, the pan, or the air fryer basket means you’re steaming your potatoes, not frying or baking them. And steamed **potato chips** are definitely not the goal!
Deep Fried Potato Chips for Maximum Crunch
If you want that authentic, satisfying shatter, you have to fry them. Get a heavy-bottomed pot and fill it about three inches deep with vegetable oil. Heat it up carefully to exactly 325°F (160°C). Remember to fry in small batches—don’t dump them all in at once, or the oil temperature will drop fast! Stir them gently with a slotted spoon every minute or so until they turn gorgeous golden brown. That takes about 3 to 5 minutes. Scoop them out and let them drain immediately on a wire rack placed over paper towels. This is how you get true, classic **potato chips**.
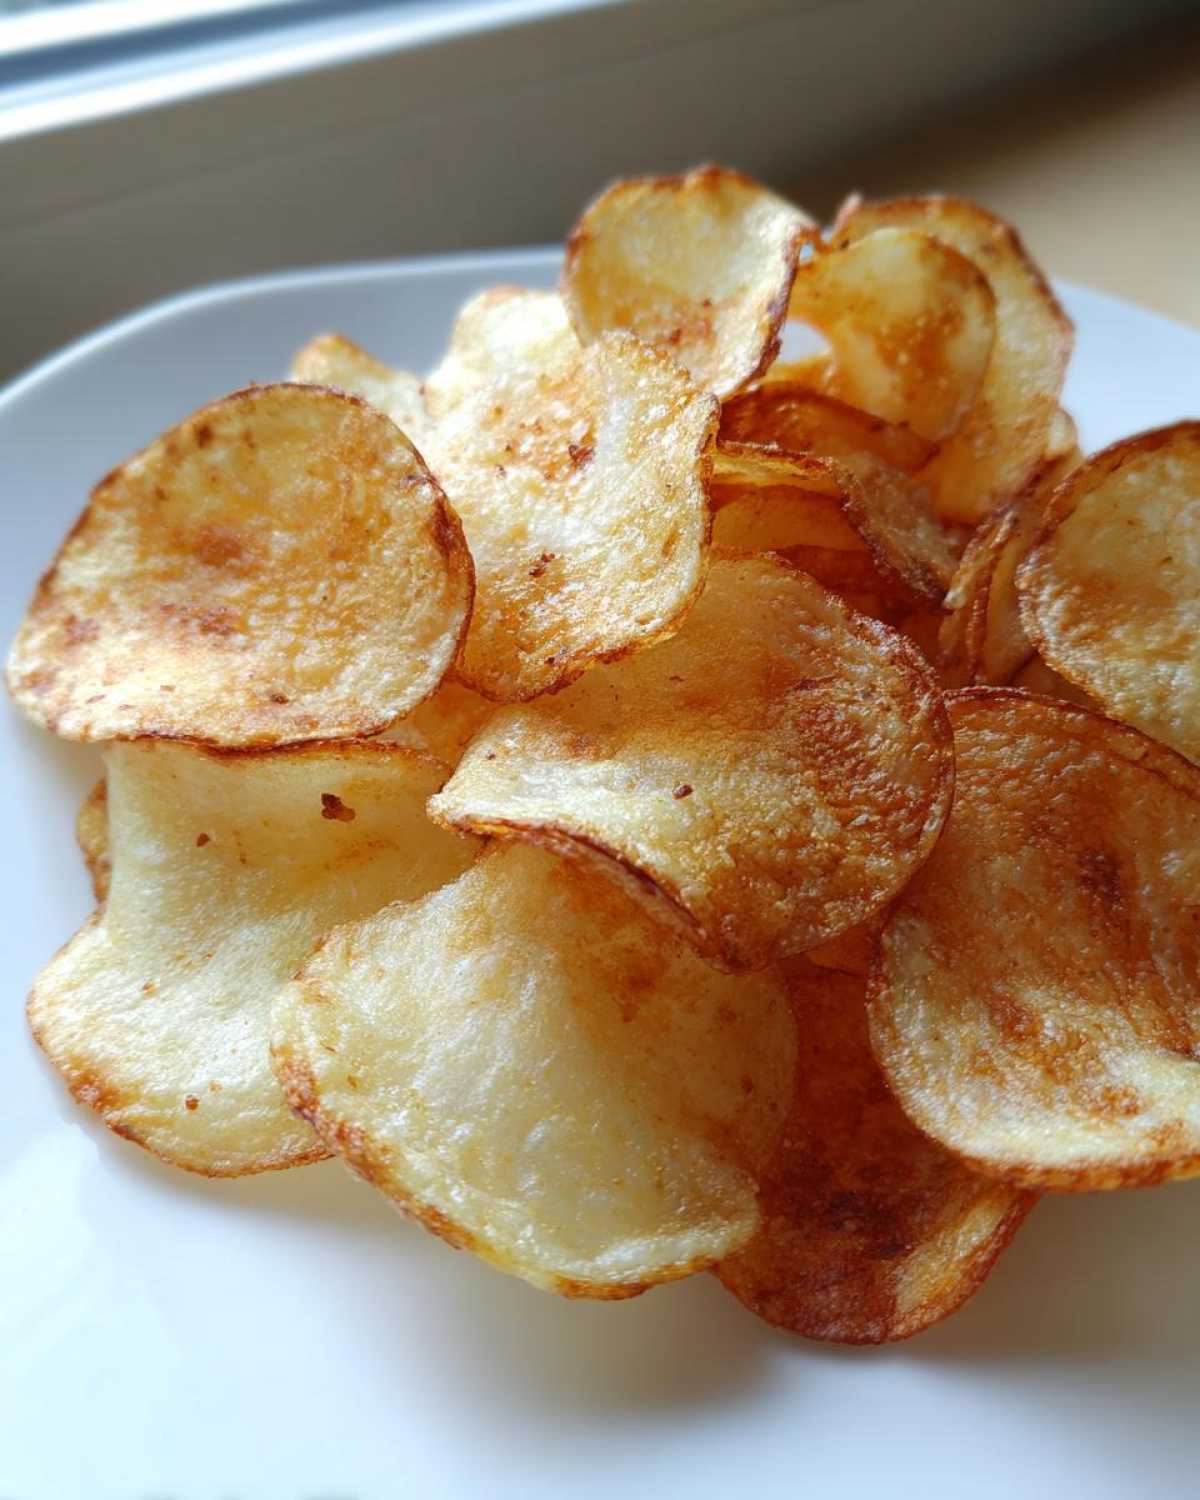
Oven Baked Potato Chips: The Healthier Option
For those times when you want a lighter treat, the oven is your best friend. Preheat that oven to 350°F (175°C). You only need about one tablespoon of oil total for all three potatoes, just enough to lightly toss the slices so they don’t stick. Lay them out on parchment-lined baking sheets. They absolutely have to be in a single layer, shoulder to shoulder is fine, but no overlapping! Bake them for about 15 to 20 minutes total, but make sure you flip them halfway through. That flip is crucial for even browning! These are our **healthy potato chips** alternative, and they bake up surprisingly crisp.
Air Fryer Potato Chips for Quick Results
Oh, the air fryer. It’s fast, it’s fun, and it’s perfect for that movie night craving when you realize you’re out of snacks. Preheat your air fryer to a slightly lower temperature, about 300°F (150°C), to give them time to dry out without burning. Toss your dry slices with just a tiny teaspoon of oil. Place them in the basket in a single layer—you will have to work in several batches! Air fry them for 10 to 15 minutes, but you must remember to shake that basket vigorously every five minutes. That shaking redistributes the hot air and keeps those **potato chips** from sticking together.
Homemade Potato Chip Seasoning and Finishing Touches
So, your **potato chips** are perfectly golden brown, whether they came out of hot oil, a blazing oven, or your trusty air fryer basket. They smell incredible, right? But they need that final touch to go from ‘good’ to ‘you better guard this bowl, or they’ll all disappear’! The single biggest mistake people make here is waiting too long. You have to season them the second they come off the heat.
Why the rush? Because the residual heat and any lingering surface moisture act like microscopic glue for salt and seasonings. If they cool down first, the salt just slides right off. Immediately after draining the oil or transferring them from the pan, sprinkle them generously!
I usually mix my salt with a few other simple pantry staples for an extra pop. My go-to blend is just what I listed earlier—salt, paprika for color, and a little garlic and onion powder. It’s incredible! If you want to get really creative with your flavors and try making salt and vinegar or sour cream and onion style **potato chips** at home, you can find all my favorite seasoning recipes over on this page. Get seasoning right away, and you’ll have the most intensely flavored, crunchy homemade snacks you’ve ever tasted!
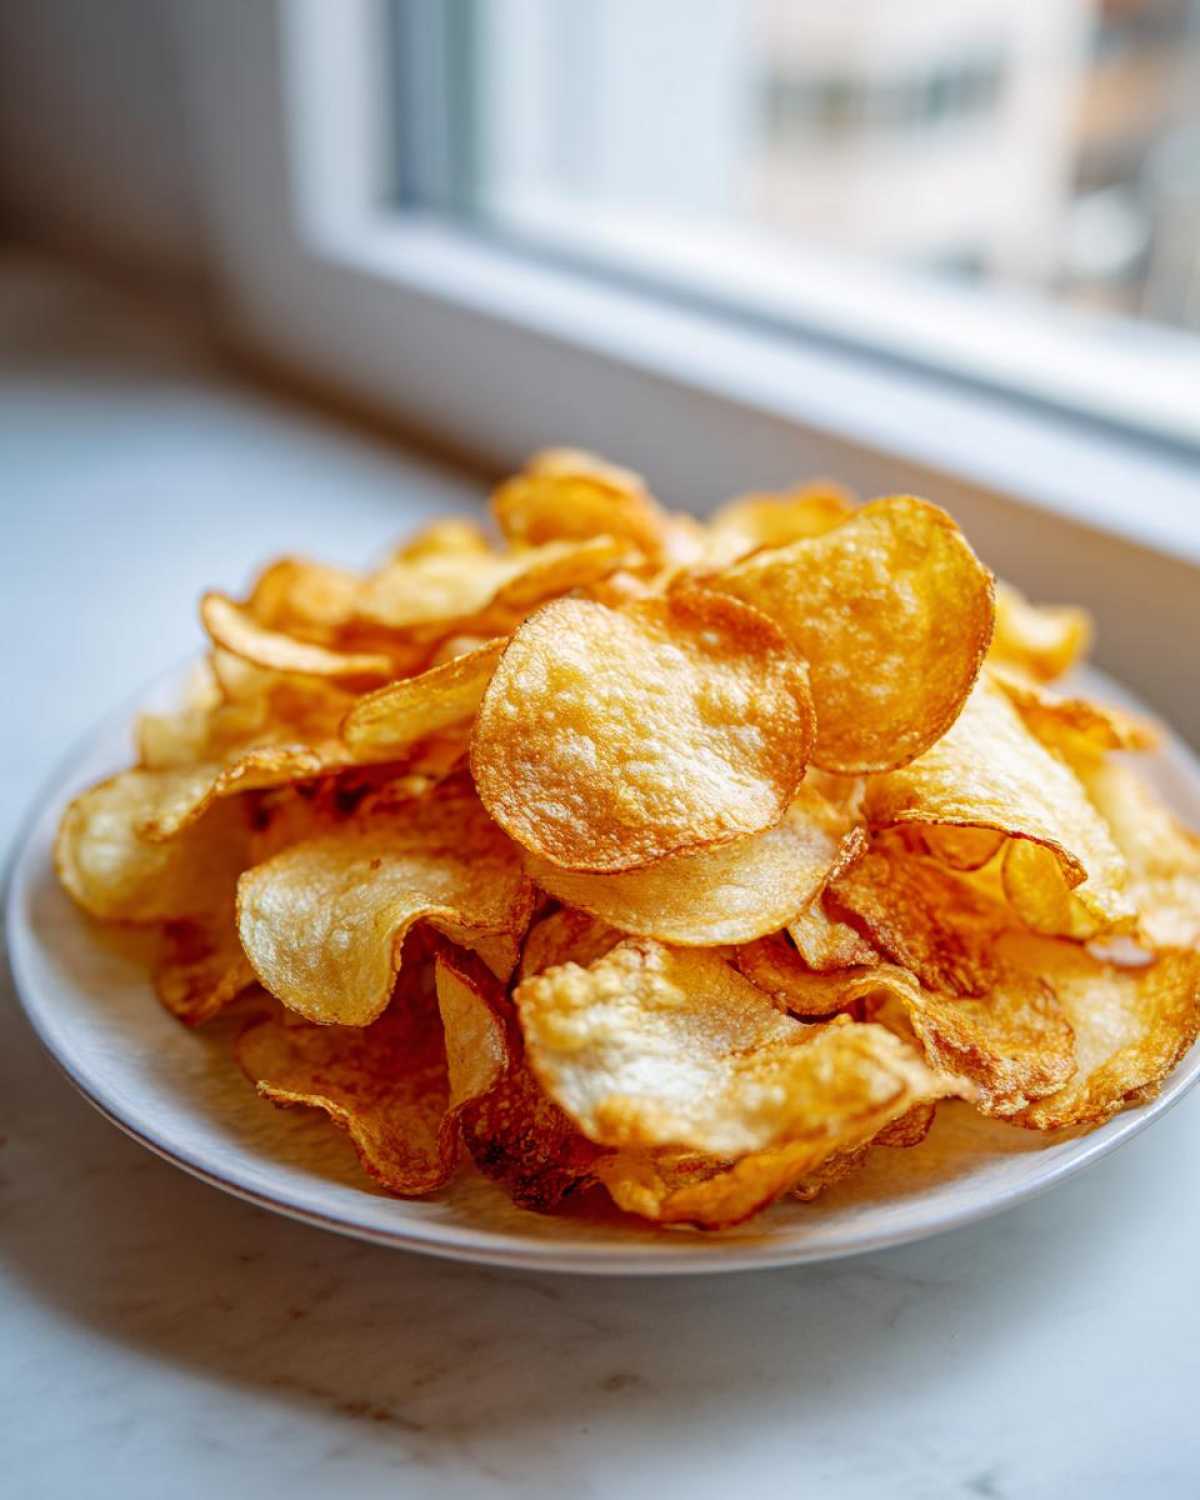
Ingredient Notes and Substitutions for Your Potato Chips
We’ve talked about the methods, but let’s circle back for a minute to the ingredients themselves, because sometimes you can’t find exactly what the recipe calls for, and that’s totally fine! Making great **potato chips** is about understanding *why* we use what we use, not just following a strict list.
You noticed I screamed about Russet potatoes earlier, right? That’s because they are the undisputed champions for crispiness due to their high starch content. If you absolutely cannot find them, Yukon Golds are the next best bet. They tend to be a little less starchy and can sometimes come out slightly less crunchy, but they have a lovely buttery flavor, so it’s a fair trade-off. Just make sure you soak those Yukon Golds for a little extra time to try and draw out any extra moisture!
Choosing the Right Oil for Frying
If you’re going the deep-fry route, the oil matters way more than you think. You need an oil with a high smoke point. Why? Because if the oil starts smoking the second you put the potatoes in, it means the oil is breaking down, and your chips are going to taste heavy and greasy. I almost always reach for standard vegetable oil or canola oil. They are neutral in flavor and handle the heat like champs. Peanut oil is fantastic too, and it lends a great flavor if you don’t have allergies to worry about. Just avoid using olive oil or butter for deep frying; they burn way too easily for our high-heat needs here.
Seasoning Swaps for Different Flavors
Salt is, of course, number one, but I love playing around once the salt is on. If you were dreaming of those tangy, mouth-puckering salt and vinegar chips, you have a couple of options for making them at home. The easiest way is to skip the dry powder mix entirely and toss your hot, fresh chips with a little bit of white vinegar immediately after they come out of the fryer or oven.
However, if you want that classic, powdery coating, you can buy food-grade citric acid or use vinegar powder! A tiny sprinkle of citric acid mixed with your salt gives you that sharp tang without the wet sogginess that liquid vinegar can sometimes introduce to your **potato chips**. Keep a little tub of smoked paprika handy too; a pinch of that in your regular salt mix gives a lovely, smoky depth that feels very gourmet. Don’t be afraid to experiment once you nail that base recipe!
Tips for Success When Making Crunchy Homemade Snacks
We’ve covered the main cooking methods for your **potato chips**, but I want to leave you with a few final pointers—the things I learned the hard way so you don’t have to! These tips apply whether you’re chasing the crunchiest deep-fried chip or trying to bake a healthy batch. When it comes to these **crunchy homemade snacks**, consistency is key, and that consistency comes from watching your heat!
If you feel like you need to revisit the most important steps for getting that perfect shatter, especially concerning starch removal, make sure you review my potato chip secrets guide here. Having this information handy ensures you never waste a potato again!
Oil Temperature Recovery for Frying
This is my biggest warning for the deep-fry method: temperature drops are the enemy of crispy **potato chips**. When you drop a big batch of cold, starchy potatoes into the oil, the temperature plummets fast. If the oil isn’t hot enough, the potato soaks up oil like a sponge instead of crisping up immediately. That leads to greasy, heavy chips—the exact opposite of what we want!
My rule is: never cook more than a single layer’s worth at a time. Seriously, watch that thermometer, and wait a good minute or two for the oil to bounce back up to 325°F (160°C) between batches. That recovery time guarantees every single batch comes out perfectly golden and dry.
Avoiding Overcrowding in the Oven and Air Fryer
This same principle—avoiding steaming—applies to the oven and the air fryer, even though they use way less fat. If you pile your thinly sliced potatoes on top of each other on a baking sheet or jam the air fryer basket full, the moisture that cooks out of the middle slices gets trapped. The outside slices might crisp up, but the inside ones will just wilt.
For baking, use two sheets if you have to. Give every slice its own personal space on the parchment paper. For the air fryer, you absolutely must work in batches. It takes longer, yes, but those 5 extra minutes of shaking and waiting means you aren’t settling for chewy, bland **potato chips**. You want edge-to-edge crunch in your **simple snack recipes**, so give the heat room to circulate!
Storage and Reheating Instructions for Homemade Potato Chips
This is the last hurdle. You’ve made the most unbelievably crispy, perfectly seasoned **potato chips**. You swore you’d only eat a small bowl, but now you have this glorious pile left over. What do you do? Do you seal them up and save them for tomorrow?
Here’s the tough love part: These homemade treasures are at their absolute peak quality for about thirty minutes after they cool down. They are meant to be eaten fresh. The second you seal them up, the clock starts ticking on their crunch factor. Moisture is the ultimate nemesis for crispiness! It’s just physics—that beautiful dry chip absorbs humidity from the air, and suddenly, you’ve got sad, flimsy slices.
If you absolutely must store them, which I sometimes do (I blame movie night preparation!), you have to be militant about airtight containers. Ditch the plastic zip bags; they let air in way too easily. Grab your sturdiest glass container with a really tight-sealing lid. Make sure the chips are 100% cool before they go in, too! Warm chips trapped in a sealed container create condensation, and condensation means soggy **potato chips**.
The Best Way to Store Leftover Chips
My biggest recommendation is to only make what you can eat in one sitting. It’s just better that way! But if you have a baker’s dozen left, store them in a room-temperature, airtight environment, away from any steam or heat sources—like the stove or dishwasher. I try to store them on the counter, not tucked away in a cabinet where heat might build up.
The Sad Truth About Reheating Potato Chips
I’ve tried everything, folks—low oven, air fryer blast, everything short of putting them back in the deep fryer oil! And the honest truth is, if your chips got even a little bit soft overnight, they are very hard to rescue completely. Reheating them might crisp up the exterior slightly, but you risk burning them because they are already cooked. The oils are already developed, and the starch structure isn’t as receptive as it was on day one.
If you are feeling truly desperate, try giving them just 3 minutes on a dry baking sheet near the bottom of a 300°F (150°C) oven. Keep your eye glued to them! If you see them start to brown too much, pull them out immediately. It’s a gamble, but it beats throwing them out. Honestly though, try to make enough so you don’t have to worry about this step!
Frequently Asked Questions About Making Potato Chips
This recipe is pretty foolproof, but I always get asked the same few things when people try making **homemade potato chips** for the very first time. It’s smart to ask! Knowledge is power, especially when you’re chasing the perfect crunch. If you want to dive into more of my **quick potato recipes** and troubleshooting, swing by my potato tutorial page here!
Can I skip soaking the potatoes for the potato chips?
Oh, please don’t! This is the single biggest mistake I see people make when they attempt **crispy potato chips recipe** for the first time. If you skip the soak, you are leaving all that surface starch locked onto the slices. That starch turns gluey when it hits the heat, and it actively prevents that beautiful, dry snap we are looking for. Without the soak, your chips will be limp, heavy, and way too oily, especially if you are deep frying them. Trust me, that 30-minute soak is essential prep work for success!
What is the best oil to use for deep frying potato chips?
For the best results when making **deep fried potato chips**, you really want a neutral oil with a high smoke point. The heat needs to be high and stable. I reach for standard vegetable oil or canola oil almost every time. They are incredibly neutral, so they let the flavor of the potato and salt shine through, and they don’t start smoking until they reach temperatures much higher than the 325°F we need. You can use peanut oil too, which adds a nice nutty flavor, but just avoid anything flavorful or low-smoke-point like butter or standard olive oil!
Can I make these potato chips vegan?
Yes! The core recipe for **potato chips** is naturally vegan. Potatoes, salt, and oil—that’s as plant-based as it gets. The only place you might run into trouble is with the optional seasoning mix or if you decide to add a flavored coating later. If you use my standard mix (salt, paprika, garlic, onion powder), you are good to go! Just make sure that if you branch out into things like ‘cheese powder’ or ranch seasoning, you check the label to ensure there are no hidden milk solids or whey derivatives. But generally, these are fantastic, **crunchy homemade snacks** straight from the garden!
PrintUltimate Homemade Potato Chips: Fried, Baked, and Air Fryer Methods

Make the best crispy potato chips at home using three methods: deep frying for maximum crunch, oven baking for a healthier option, or using an air fryer for quick results.
- Prep Time: 45 min
- Cook Time: 20 min
- Total Time: 65 min
- Yield: 6 servings
- Category: Snack
- Method: Frying, Baking, Air Frying
- Cuisine: American
- Diet: Vegetarian
Ingredients
- 3 large Russet potatoes
- Vegetable oil, for deep frying (about 4 cups)
- 1 tablespoon salt, or to taste
- For seasoning (optional): 1 teaspoon paprika, 1/2 teaspoon garlic powder, 1/2 teaspoon onion powder
Instructions
- Prepare the potatoes: Peel the potatoes if desired, then slice them very thinly, aiming for 1/16 inch thickness. A mandoline slicer works best for uniform slices.
- Remove starch: Place the sliced potatoes in a large bowl of cold water. Soak for at least 30 minutes, or up to 2 hours, changing the water once. This step removes starch and is key for crispiness.
- Dry thoroughly: Drain the potatoes completely. Spread the slices in a single layer on clean kitchen towels or paper towels. Pat them completely dry. Moisture prevents crisping.
- Choose your method:
- Deep Fry Method (Maximum Crunch): Heat 3 inches of oil in a heavy-bottomed pot to 325°F (160°C). Fry the chips in small batches, stirring occasionally, until golden brown and crisp (about 3-5 minutes). Remove with a slotted spoon and drain on a wire rack set over paper towels. Immediately sprinkle with salt.
- Oven Baked Method (Healthier Option): Preheat your oven to 350°F (175°C). Toss the dry potato slices with 1 tablespoon of oil. Arrange them in a single layer on baking sheets lined with parchment paper. Bake for 15-20 minutes, flipping halfway, until edges brown and chips are crisp. Season immediately.
- Air Fryer Method (Quick Snack): Preheat the air fryer to 300°F (150°C). Lightly toss the dry slices with 1 teaspoon of oil. Place chips in a single layer in the basket (work in batches). Air fry for 10-15 minutes, shaking the basket every 5 minutes, until golden and crisp. Season immediately.
- Combine seasoning: If using, mix salt and optional seasonings together. Sprinkle evenly over the hot chips right after cooking.
Notes
- For kettle style chips, soak the slices in ice water for 1 hour, then rinse and dry completely before frying.
- If you want a ‘Lays style’ texture, ensure your slices are extremely thin, close to 1/20 inch.
- Always cook in small batches to maintain oil temperature for the best crunch.
Nutrition
- Serving Size: 1 cup
- Calories: 220
- Sugar: 0.5
- Sodium: 180
- Fat: 14
- Saturated Fat: 2.5
- Unsaturated Fat: 11.5
- Trans Fat: 0
- Carbohydrates: 23
- Fiber: 2
- Protein: 3
- Cholesterol: 0
