

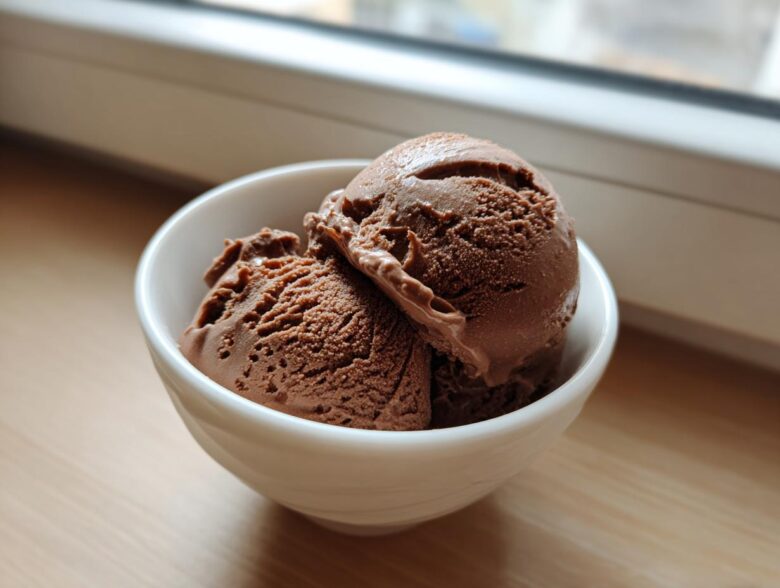
Oh my gosh, I know the feeling! You’ve crushed a workout, you’ve tracked your macros perfectly all day, and now, all you can think about is digging into a giant bowl of ice cream. But, you don’t want to ruin that hard-earned progress, right? That’s exactly why I’m so thrilled to share this recipe for chocolate protein ice cream with you. This isn’t some icy, sad excuse for a frozen treat; this is rich, wonderfully creamy, and it requires absolutely zero fancy machine!
When Sasha and Lena are stressing over complex layering or churning times, I always fall back on the basics my grandmother taught me: simple ingredients handled with care yield the best results. This no-churn protein ice cream is proof of that philosophy. We use hearty Greek yogurt to give it structure, meaning you just mix it up, pop it in the freezer, and wake up to what feels like a genuine indulgence. If you want to see more of our kitchen adventures, you can always check out our main blog here! Trust me, this delicious chocolate version is going to be your new go-to for satisfying those sweet fitness goals.
Why This No-Churn Chocolate Protein Ice Cream is Your New Favorite Healthy Homemade Ice Cream
Honestly, there’s nothing better than making a swap that tastes incredible but keeps you totally on track with your fitness journey. This is where our recipe truly shines! It’s proof that you don’t need complicated appliances to get that craveable, creamy finish. If you’re looking for truly healthy homemade ice cream, this is it. It’s designed to be one of those amazing, guilt free frozen treats that you can have ready faster than ordering takeout.
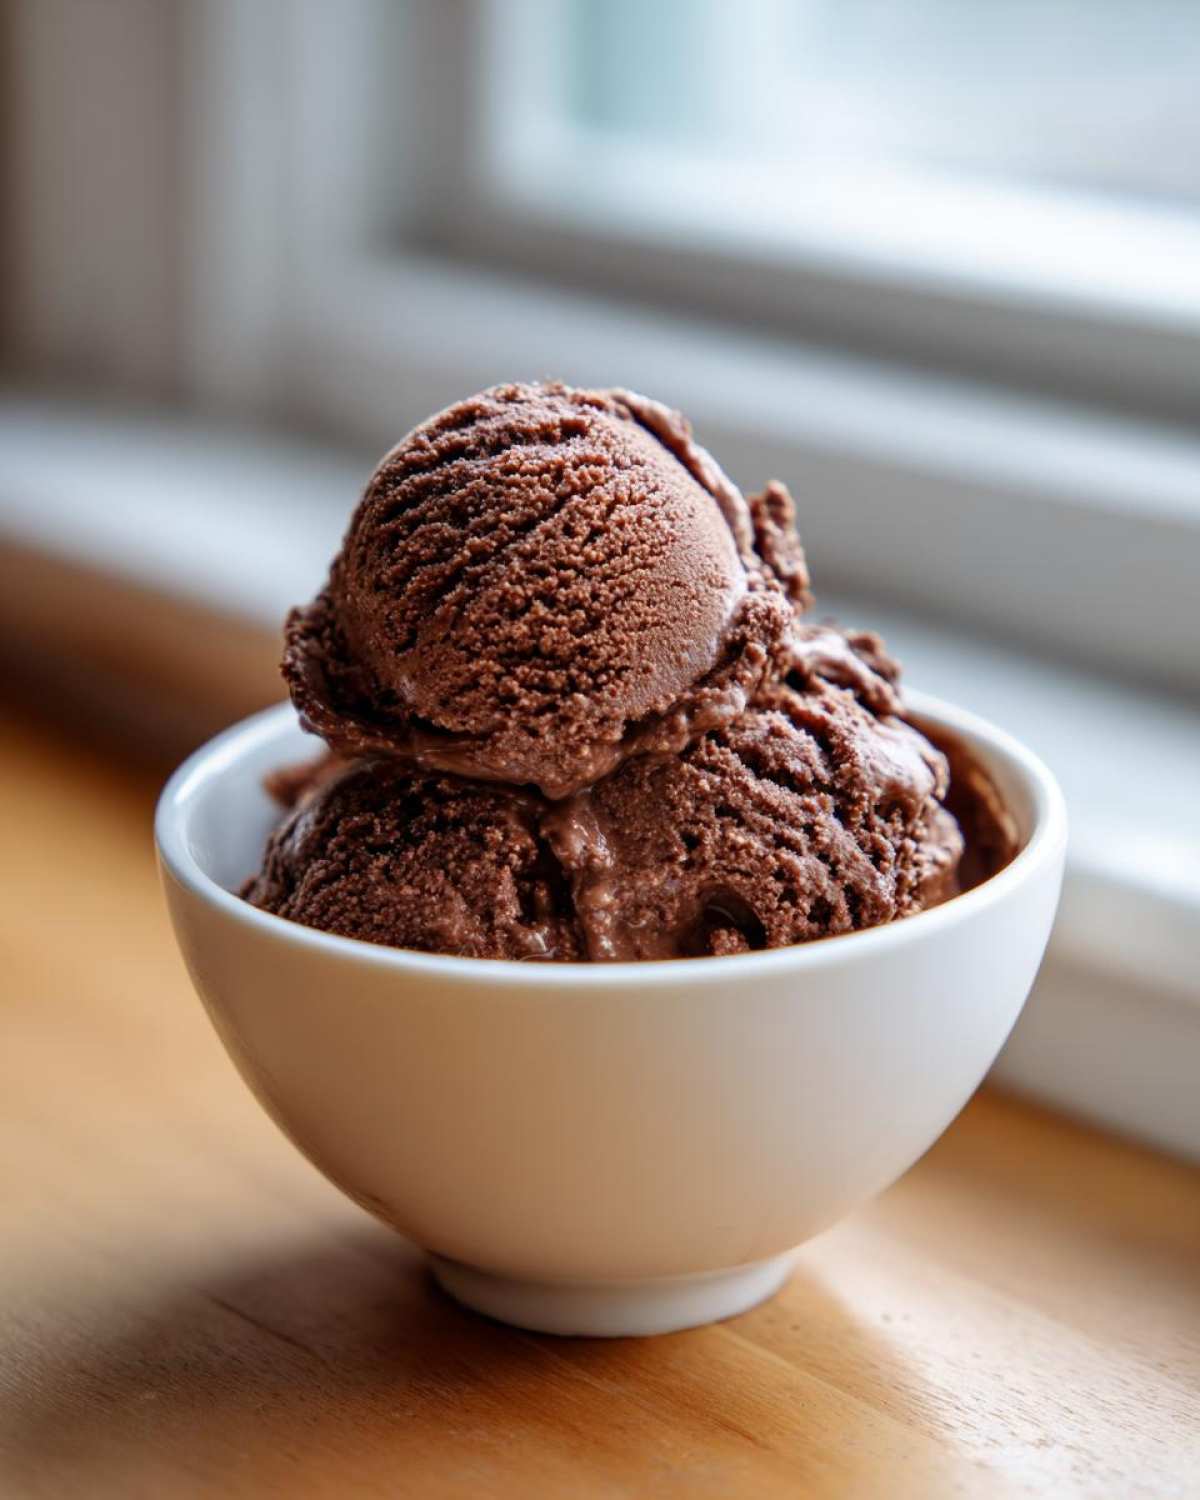
Key Benefits of Making Protein Ice Cream This Way
- No Ice Cream Maker Required! Seriously, just a bowl and a whisk!
- Incredible Protein Punch: It packs serious macros to keep you full.
- Deep, Dark Chocolate Flavor: We use double cocoa for a rich taste.
- Super Quick Prep Time: Ten minutes tops before it goes into the deep freeze.
It’s amazing how simple swaps, like using Greek yogurt, can transform a dessert into something you actually look forward to eating post-workout. If you love making those satisfying kitchen switches, you should check out my recipe for gluten-free chocolate chip muffins too!
Gathering Ingredients for the Best Protein Ice Cream Base
Okay, friend, now for my favorite part—the ingredients! Because we aren’t relying on a churning mechanism to incorporate air, the quality and type of our base ingredients are super important here. That’s where the Greek yogurt steps in! It brings the necessary density and creaminess to our protein ice cream. You absolutely need a good, thick yogurt, like 2% or full-fat, because the lower-fat or waterier kinds just don’t give you that satisfying, scoopable texture we’re aiming for.
Here is what you need to pull together this amazing, no-churn treat:
- 1 cup unsweetened almond milk (or milk of choice)
- 1 cup plain Greek yogurt (2% or full fat for best texture)
- 1 scoop (about 30g) chocolate protein powder
- 2 tablespoons unsweetened cocoa powder
- 1/4 cup granulated or powdered sweetener (adjust to taste)
- 1 teaspoon vanilla extract
- 1/4 teaspoon xanthan gum (optional, for extra creaminess)
If you’re looking for other ways to keep things moist and delicious in your baking, check out my secrets for chocolate chip zucchini muffins!
Ingredient Notes and Substitutions for Your Protein Ice Cream
I always get asked about swaps, and I’m happy to share what works! If almond milk isn’t your jam, feel free to use regular dairy milk—it might even freeze a touch softer. For the sweetener, I usually go with powdered monk fruit because it blends without grittiness, but feel free to use erythritol or even a little stevia, just start small and taste as you go!
That tiny bit of xanthan gum? That’s my secret weapon for extra silkiness! It’s a thickener, and in a no-churn situation, it dramatically improves the mouthfeel, preventing it from turning into an icy brick. If you leave it out, don’t panic—just make sure you let it soften up a bit longer on the counter when serving.
Step-by-Step Guide to No Churn Protein Ice Cream
Alright, let’s get mixing! This is the fun, super quick part. Remember how I said Sasha cooks with energy? Well, we need a touch of that energy here to make sure we don’t get any pesky lumps in our protein ice cream base. Don’t worry, Lena is always timing us to make sure we don’t overdo it, but you need to whisk thoroughly when combining the powders!
First things first: take that Greek yogurt and your sweetener and whisk them together until they are completely smooth. This is your foundation! Then, dump in the chocolate protein powder, cocoa powder, vanilla, and that optional xanthan gum. Mix this dry-ish batter until everything looks uniform—Sasha always reminds me to scrape down the sides so nothing hides. Next, and this is key, slowly stream in the almond milk while you keep whisking briskly. You want a thick, beautiful batter, not soup! Once it’s combined, pour it into your freezer-safe container. You absolutely must let this freeze for a minimum of six hours. I know, the waiting is torture, but if you try to rush it, you’ll end up with a weird, hard sheet!
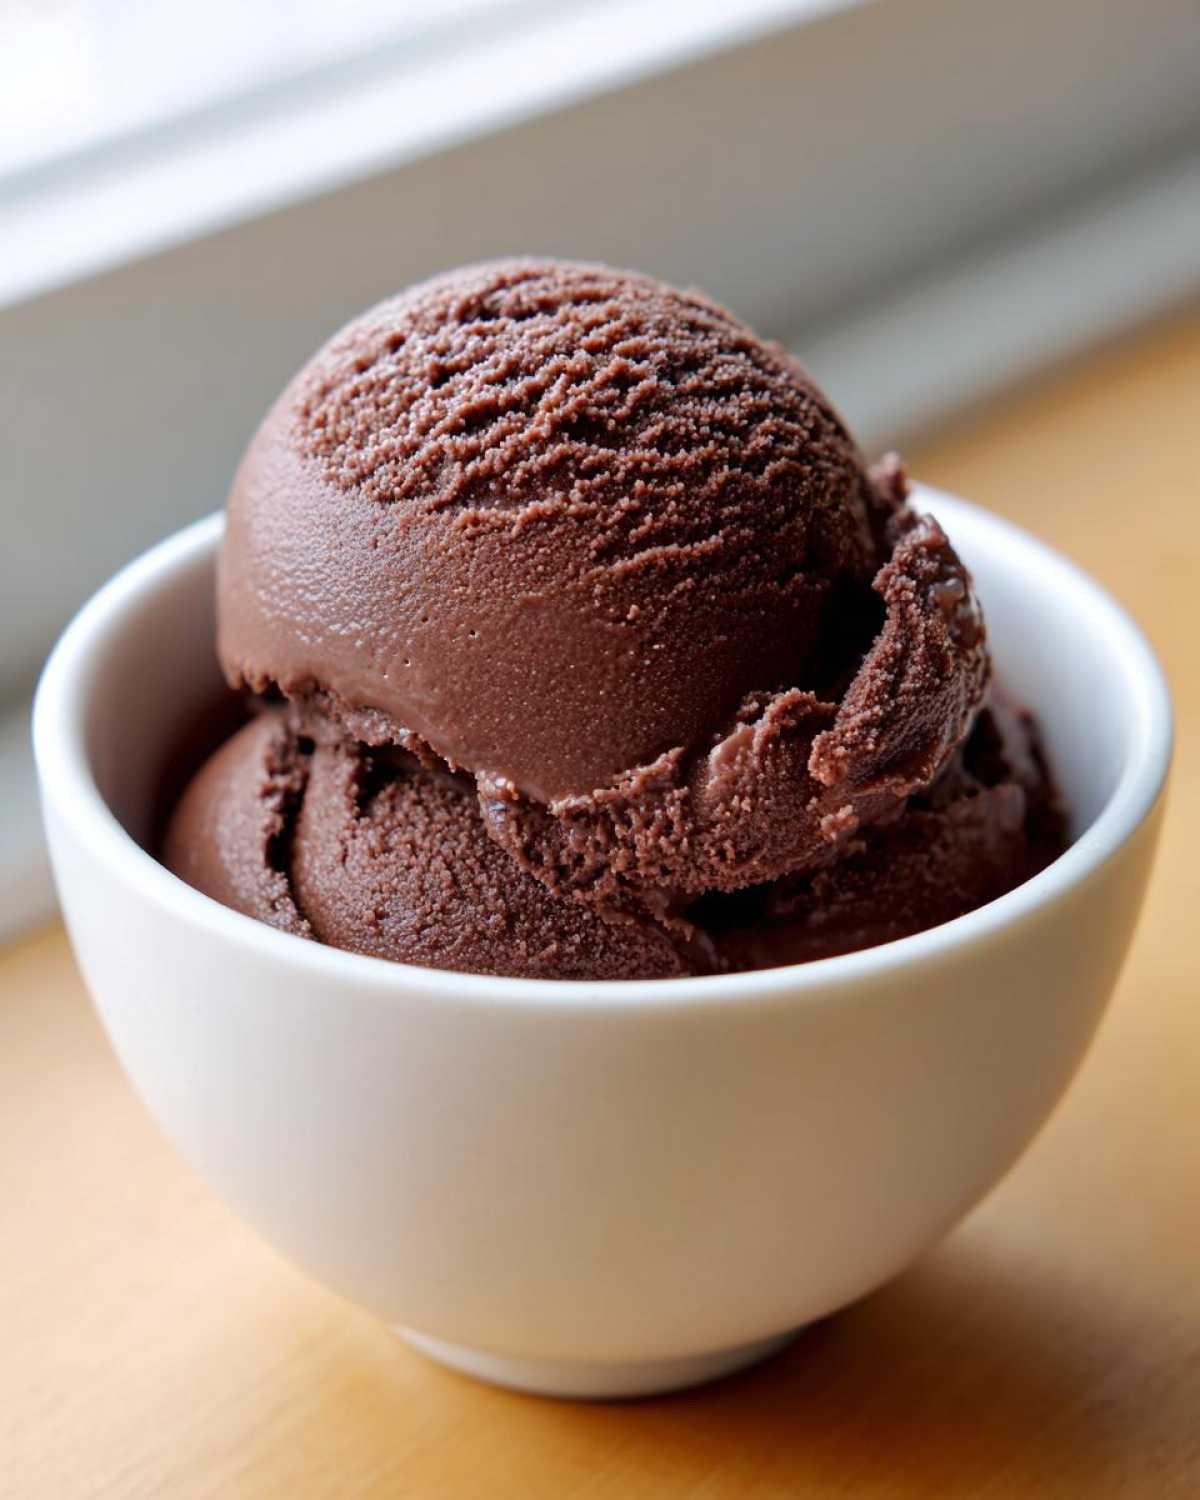
When you’re ready to serve those amazing easy protein snacks, take it out about 10 to 15 minutes early. If you need a little help scooping the hardened base, try running your scooper under hot water first. I’ve got a great recipe using classic protein muffins if you need something warm and baked next time!
Achieving Creamy Texture in Your Protein Ice Cream
The creaminess factor is everything here, right? Since we skipped the churning, we have to fake the air incorporation! That initial whisking of the yogurt and sweetener is crucial; it makes the yogurt smooth enough to accept the other ingredients without getting stringy. When you add the milk, add it slowly—this helps hydrate the protein powder evenly.
And that tiny pinch of xanthan gum? It’s a texture miracle worker! It keeps the ice crystals small, which tricks your mouth into thinking you’re eating something churned slowly. Without it, the ice cream is still great, but having it means you’re achieving that perfect, dense, yet yielding center every single time. That’s how we nail that creamy protein frozen yogurt feel!
Making Protein Ice Cream for the Ninja Creami
Now, I know some of you out there have invested in the fabulous Ninja Creami machine! If you own one, you should absolutely use this chocolate base, because it transforms beautifully under that spinning blade. The most important thing I learned—and I learned this the hard way after trying to rush it one week—is that you have to let your mixture freeze rock solid. I mean, completely unmovable!
Freeze this base for a minimum of 24 hours if you plan on using the Ninja. Once it’s fully frozen, just pop that pint cup into the machine and run a standard “Lite Ice Cream” or “Protein” cycle. If it comes out crumbly, run it on the “Re-spin” function! This is one of the best formulas for Ninja Creami Protein Recipes because it already has that perfect liquid-to-solids ratio when blended correctly. For more tips on maximizing that machine, check out my specific Ninja Creami posts. You can also find loads of inspiration from other great cooks over here!
Flavor Variations for Your Protein Ice Cream
The base recipe we just made is like a blank canvas – it tastes gorgeously chocolatey, but chocolate isn’t the only flavor game in town! We have so many readers trying out different Protein Ice Cream Flavors, and it’s so easy to pivot.
Want vanilla instead? Easy peasy. Just swap out the 2 tablespoons of cocoa powder for an extra tablespoon of your vanilla protein powder. If you use a vanilla casein or blend, the texture comes out wonderfully thick, too. For that indulgent, fancy feel, try making a Salted Caramel version! You can temper the chocolate base by adding about a teaspoon of quality sea salt right after you mix in the almond milk. If you want the full caramel experience, you need a good sugar-free caramel syrup additive—just remember that syrups add liquid, so maybe reduce your milk by a tablespoon.
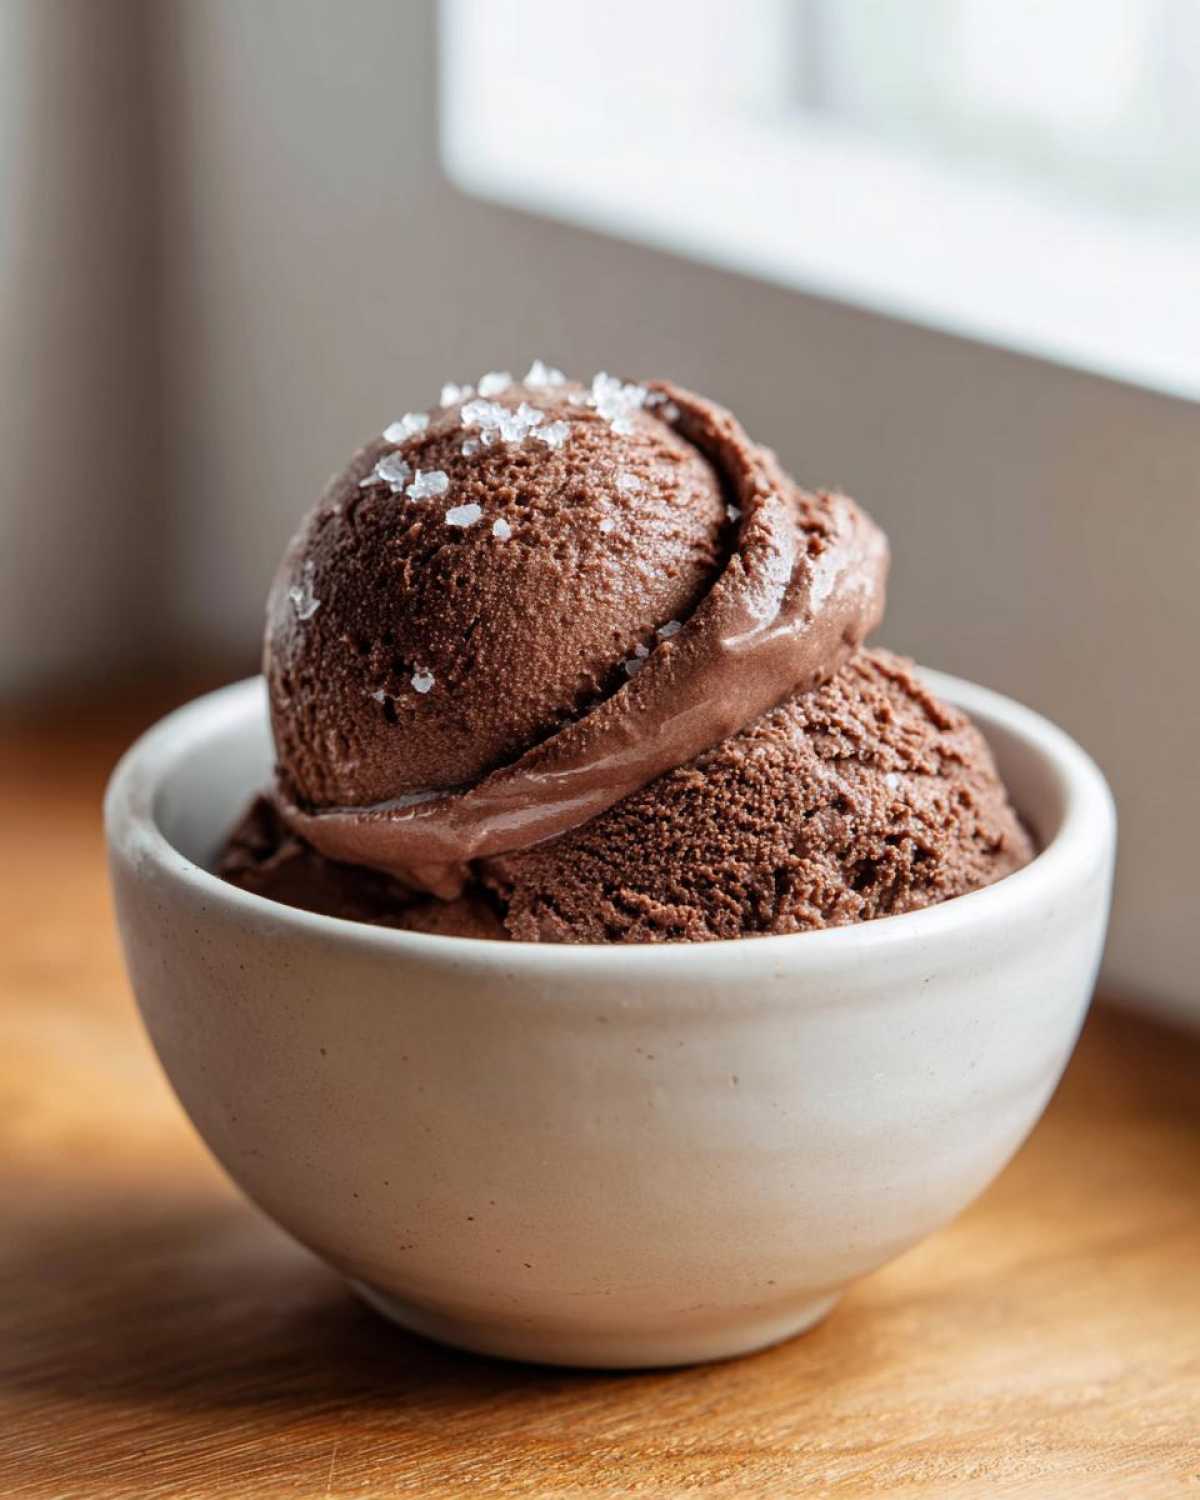
Speaking of additions, if you want mix-ins, like chopped peanut butter cups or mini dark chocolate chips—always a great idea for this protein powder dessert—the trick is timing. Don’t stir them in before freezing! Wait until the very end, perhaps when it’s been freezing for 4 or 5 hours and it’s starting to stiffen up but isn’t rock solid yet. That way, they stay suspended and don’t just sink to the bottom. If you enjoy adding chips to things, you have to look at my oatmeal chocolate chip muffins recipe!
For tons more creative ideas to keep your rotation fresh, check out this great list of 29 delicious protein ice cream recipes online!
Storage and Reheating Tips for Homemade Protein Ice Cream
Okay, you made it! You resisted eating the whole batch in one night (good job!). Now, we need to keep this beautiful protein ice cream perfect until you want another scoop—and trust me, you will want another scoop.
When you put it away, the biggest enemy is air. Air causes freezer burn, which is just no fun. So, here is my non-negotiable tip: take a piece of plastic wrap—the clingy kind—and press it *directly* onto the surface of the ice cream before you put the lid on the container. It squishes out all that extra air! If you love my apple cinnamon rolls, you know I’m serious about covering my baked goods safely!
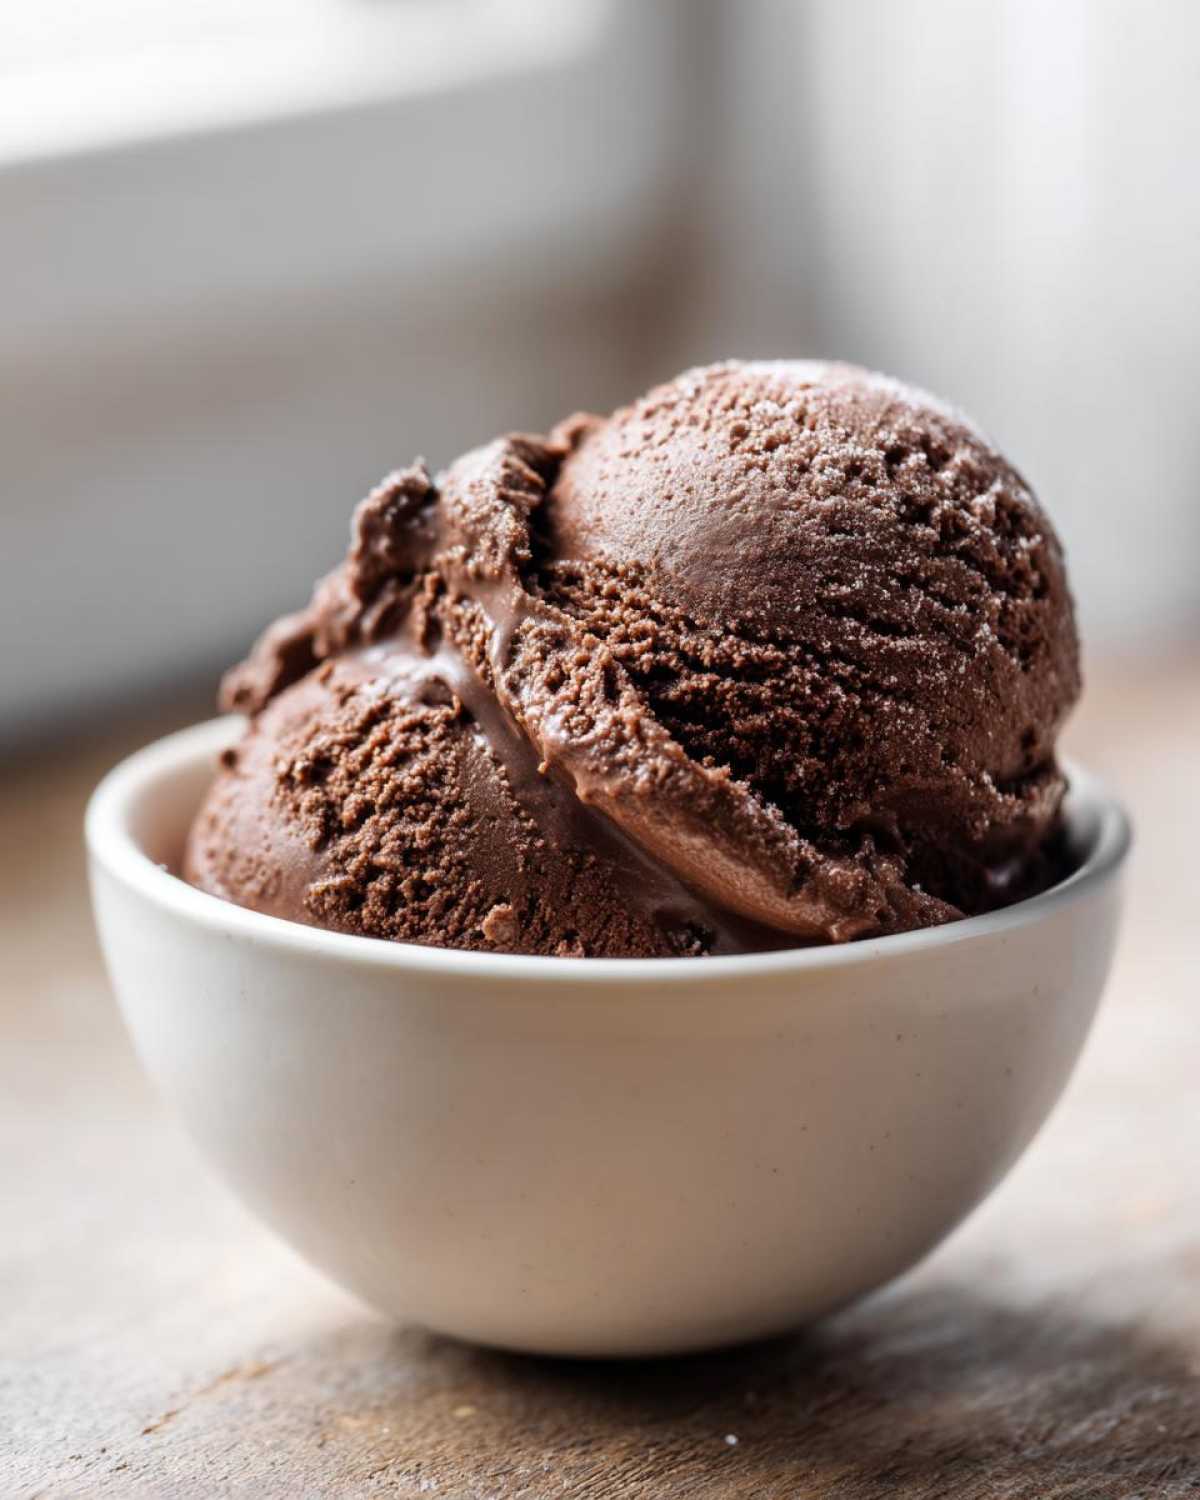
The other thing about healthy homemade ice cream bases like ours? They freeze hard as a rock compared to the stuff loaded with stabilizers. Don’t fight it! If you pull it out and it’s basically a chocolate hockey puck, just let it sit on the counter for 10 to 15 minutes. That little rest time is all it needs to get perfectly scoopable and creamy again. Patience is always rewarded in the kitchen, even when you’re waiting for ice cream!
Frequently Asked Questions About Making Protein Ice Cream
I knew you’d have questions! It’s the best part of cooking with friends—we troubleshoot together. Since this style of protein ice cream is so flexible, there are always a few things people wonder about before they freeze their first batch. Don’t worry if you need to peek back here a few times while you’re mixing up those sweet fitness treats!
We want everyone to find success in making these macro friendly desserts, so here are the most common things folks ask me about this recipe:
Can I make this protein ice cream without banana?
Yes, absolutely, you can skip the banana! Honestly, I know some people just aren’t fans of the flavor, or maybe they’re trying to keep their sugar intake lower. That’s why this recipe is perfect for you! We are relying completely on the thickness of the Greek yogurt and the protein powder to provide that structure. This recipe is an excellent example of one of the best High Protein Dessert Recipes No Banana you can find, making it super flexible for everyone.
How do I ensure my protein ice cream is low calorie?
That’s easy! If you are actively counting calories, you have control over the two biggest variables: the sweetener and the milk. Make sure you are using unsweetened milk, like the almond milk I mentioned, instead of regular milk. Just skipping the sugar in milk saves you a fair amount. Also, stick to a zero-calorie sweetener like monk fruit or stevia blend rather than using actual sugar or maple syrup. Following those steps keeps this right in the running for the best Low Calorie Ice Cream Ideas out there!
If you need inspiration for other healthy bakes, check out this broccoli cheddar squash casserole—sometimes you need savory to balance the sweet!
For the absolute best advice on avoiding bananas in your frozen treats, I always point people to check out the fantastic tips found right here.
Nutritional Snapshot of This Macro Friendly Dessert
I know that for many of us, keeping track of what we eat is just as important as making sure it tastes amazing. That’s why, when I share a recipe that’s designed to be a macro friendly dessert, I always try to give you the best estimate of what you’re getting, cup for hearty cup. Remember, these numbers are based on the specific ingredients detailed above—protein powders and sweeteners can change things slightly, so treat this as a great guideline!
This recipe is truly built to support those fitness goals while still delivering on that creamy chocolate craving. We are talking serious gains in your protein intake for a tiny calorie cost. If you’re into savory bakes too, don’t forget to check out my rich spinach and squash casserole recipe for dinner one night!
Here is the breakdown per serving (remember, this recipe yields about 4 scoops):
- Calories: Around 180 per serving
- Protein: A whopping 22 grams! That’s why we call it protein ice cream!
- Fat: Roughly 4 grams
- Carbohydrates: About 15 grams (mostly from the yogurt and cocoa)
See? You get that decadent, indulgent dessert feeling without blowing your daily targets. Enjoy every single spoonful!
Share Your Creamy Protein Frozen Treats
Now that you have mastered the art of guilt-free, no-churn protein ice cream, I truly want to see what you create! Cooking is so much more fun when we share the results, especially when those results are delicious, macro-friendly desserts.
If you tried this chocolate base and maybe added some peanut butter swirls or a different type of protein powder, please come back and tell us about it! Leaving a star rating right below the recipe card helps other folks know if this formula works just as well for them, and honestly, it always encourages Sasha to try a new variation next week!
Don’t be shy about tagging us on social media with your scoops! We love seeing your beautiful photos and hearing how this recipe fit into your busy fitness schedules. It really feels like a full-circle moment when one of my simple recipes brings a little joy to your day.
We are always looking for new, creative ways to eat healthier, so if you have a brilliant hack for freezing or serving, I want to hear it! Maybe you topped yours with crushed nuts, or maybe you found an amazing keto topping—share the wealth! And hey, if you need a savory side dish to go with your healthy efforts, you should definitely give my keto squash casserole a try!
Happy scooping, friends! I hope this frozen treat becomes a regular part of your routine!
PrintEasy No-Churn Chocolate Protein Ice Cream
Make a rich, creamy, and high-protein chocolate ice cream without needing an ice cream maker. This recipe is a guilt-free frozen treat perfect for satisfying sweet cravings.
- Prep Time: 10 min
- Cook Time: 0 min
- Total Time: 6 hr 10 min
- Yield: 4 servings
- Category: Dessert
- Method: No Churn
- Cuisine: American
- Diet: Low Fat
Ingredients
- 1 cup unsweetened almond milk (or milk of choice)
- 1 cup plain Greek yogurt (2% or full fat for best texture)
- 1 scoop (about 30g) chocolate protein powder
- 2 tablespoons unsweetened cocoa powder
- 1/4 cup granulated or powdered sweetener (adjust to taste)
- 1 teaspoon vanilla extract
- 1/4 teaspoon xanthan gum (optional, for extra creaminess)
Instructions
- In a large bowl, whisk together the Greek yogurt and sweetener until smooth.
- Add the chocolate protein powder, cocoa powder, vanilla extract, and xanthan gum (if using). Mix thoroughly until no lumps remain.
- Slowly pour in the almond milk while continuously stirring until you reach a thick, pourable batter consistency.
- Pour the mixture into a freezer-safe container, like a loaf pan or a plastic tub with a lid. Cover the container tightly.
- Freeze for at least 6 hours, or until firm.
- For the best texture, let the ice cream sit on the counter for 10-15 minutes before scooping. If it freezes very hard, you can briefly run a spoon under warm water to help scoop.
- Serve immediately and enjoy your **high protein dessert recipe**!
Notes
- For a richer chocolate flavor, use a high-quality Dutch-processed cocoa powder.
- If you prefer a thicker base without xanthan gum, reduce the milk slightly or use a thicker yogurt like Skyr.
- This recipe works well as a base for **Ninja Creami protein recipes**; freeze solid, then process according to your machine’s instructions.
- This is a great **macro friendly dessert** option.
Nutrition
- Serving Size: 1/2 cup
- Calories: 180
- Sugar: 5
- Sodium: 150
- Fat: 4
- Saturated Fat: 1
- Unsaturated Fat: 3
- Trans Fat: 0
- Carbohydrates: 15
- Fiber: 3
- Protein: 22
- Cholesterol: 15
