

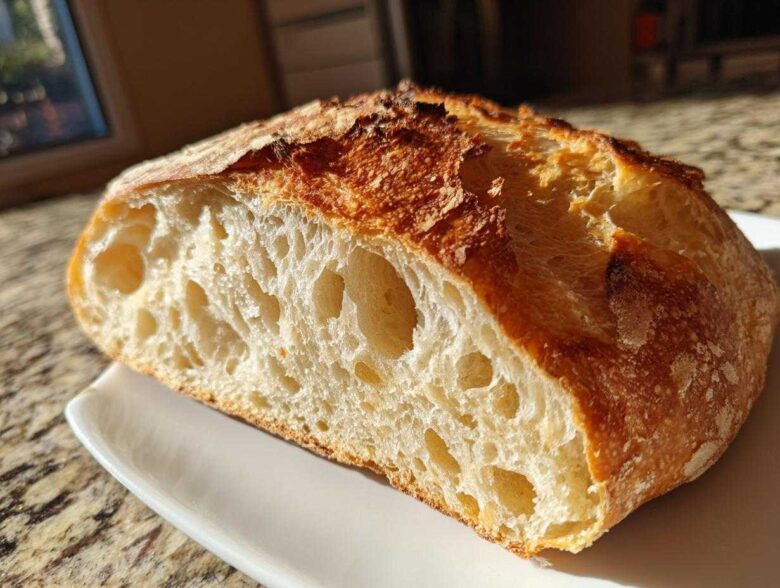
Listen, I know the world of baking can seem intimidating, especially when you start looking at those gorgeous, slightly ugly loaves in the fancy bakery windows. You see the word artisan bread and you think, “Nope, I’m going to mess that up.” Well, guess what? I used to think that way too! But I’m here to tell you that making truly stunning, bakery-quality bread at home is shockingly easy once you know the secret handshake. This is my go-to, no-knead method that practically does the work while you sleep. If you’re looking for that perfect, shatteringly crusty exterior paired with an interior full of soft, airy holes, this recipe is exactly what you need for your first foray into Beginner Bread Baking. Trust me, mastering this single technique changed everything for me. If you thought baking a crusty loaf was hard, wait until you see how simple the process is, much like my guide on making easy Italian bread.
Why This No-Knead Artisan Bread Recipe Works (Beginner Bread Baking)
I get it—most bread recipes start with aggressive kneading and promises of perfectly smooth dough. That’s where this recipe flips the script. We rely on time, not muscle power! The long, slow fermentation is the real engine behind this amazing artisan bread. We aren’t interested in fighting the gluten; we let the yeast do all the heavy lifting over 12 to 18 hours.
This prolonged rest lets the yeast develop deep, complex flavors we’d usually only find in a real, rustic bakery. It’s the magic secret to excellent No Knead Baking—the longer it sits, the better it tastes and the easier your job becomes. Honestly, it feels like cheating!
Achieving That Perfect Crust Bread Exterior
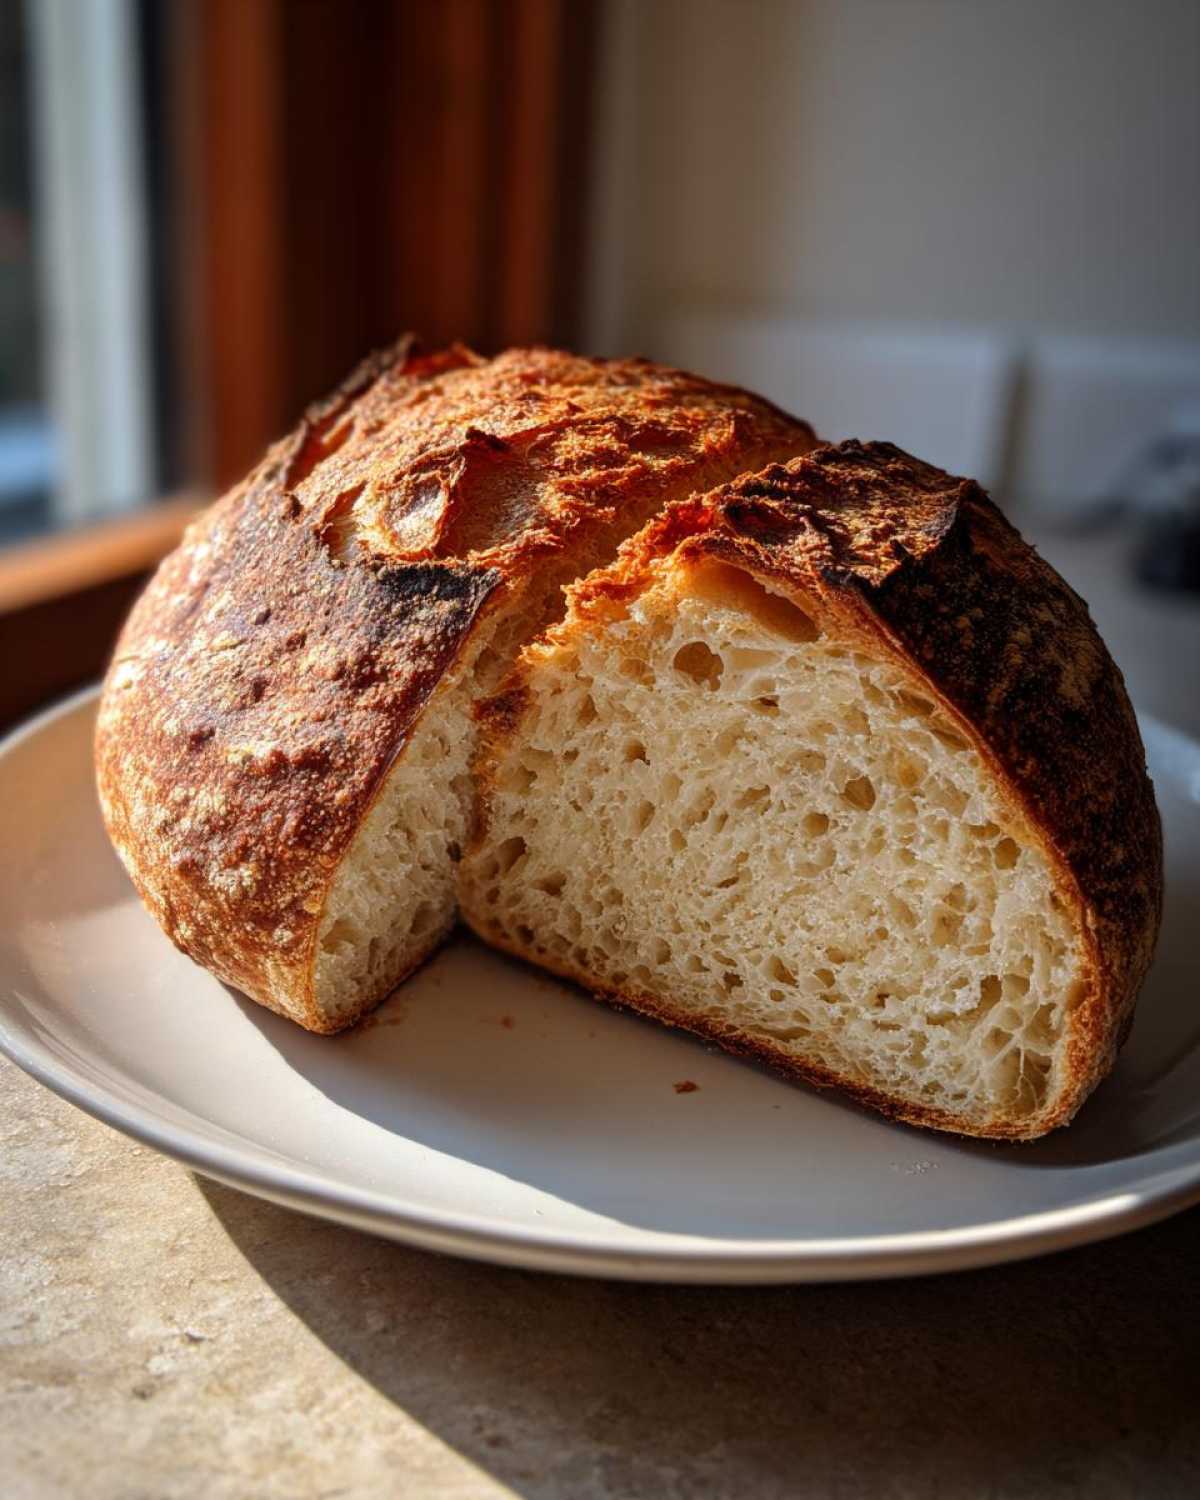
If you want that crisp, crackly shell—the one that shouts “bakery”—you absolutely must use a Dutch oven. We preheat this heavy pot until it’s screaming hot. When the dough drops inside, the trapped steam created by the trapped moisture in the dough blasts the exterior. That steam keeps the crust soft just long enough to expand fully during the initial bake, which locks in that stunning, shatteringly crisp texture. It’s the key to the Perfect Crust Bread!
Developing an Airy Interior Bread Structure
Because we aren’t knocking the air out through kneading, the carbon dioxide bubbles created during the long rest stay trapped in the dough. When it finally bakes, those bubbles form those beautiful, slightly irregular pockets you see in great loaves. This slow process maximizes gas retention, guaranteeing you get that wonderful, open, Airy Interior Bread structure every single time. It’s flavor and texture development happening simultaneously!
I found this technique works just as well as some of the more involved methods I’ve tried, like the one I use for easy bread pudding, because it relies on patience over technique.
Essential Ingredients for Your Homemade Artisan Bread
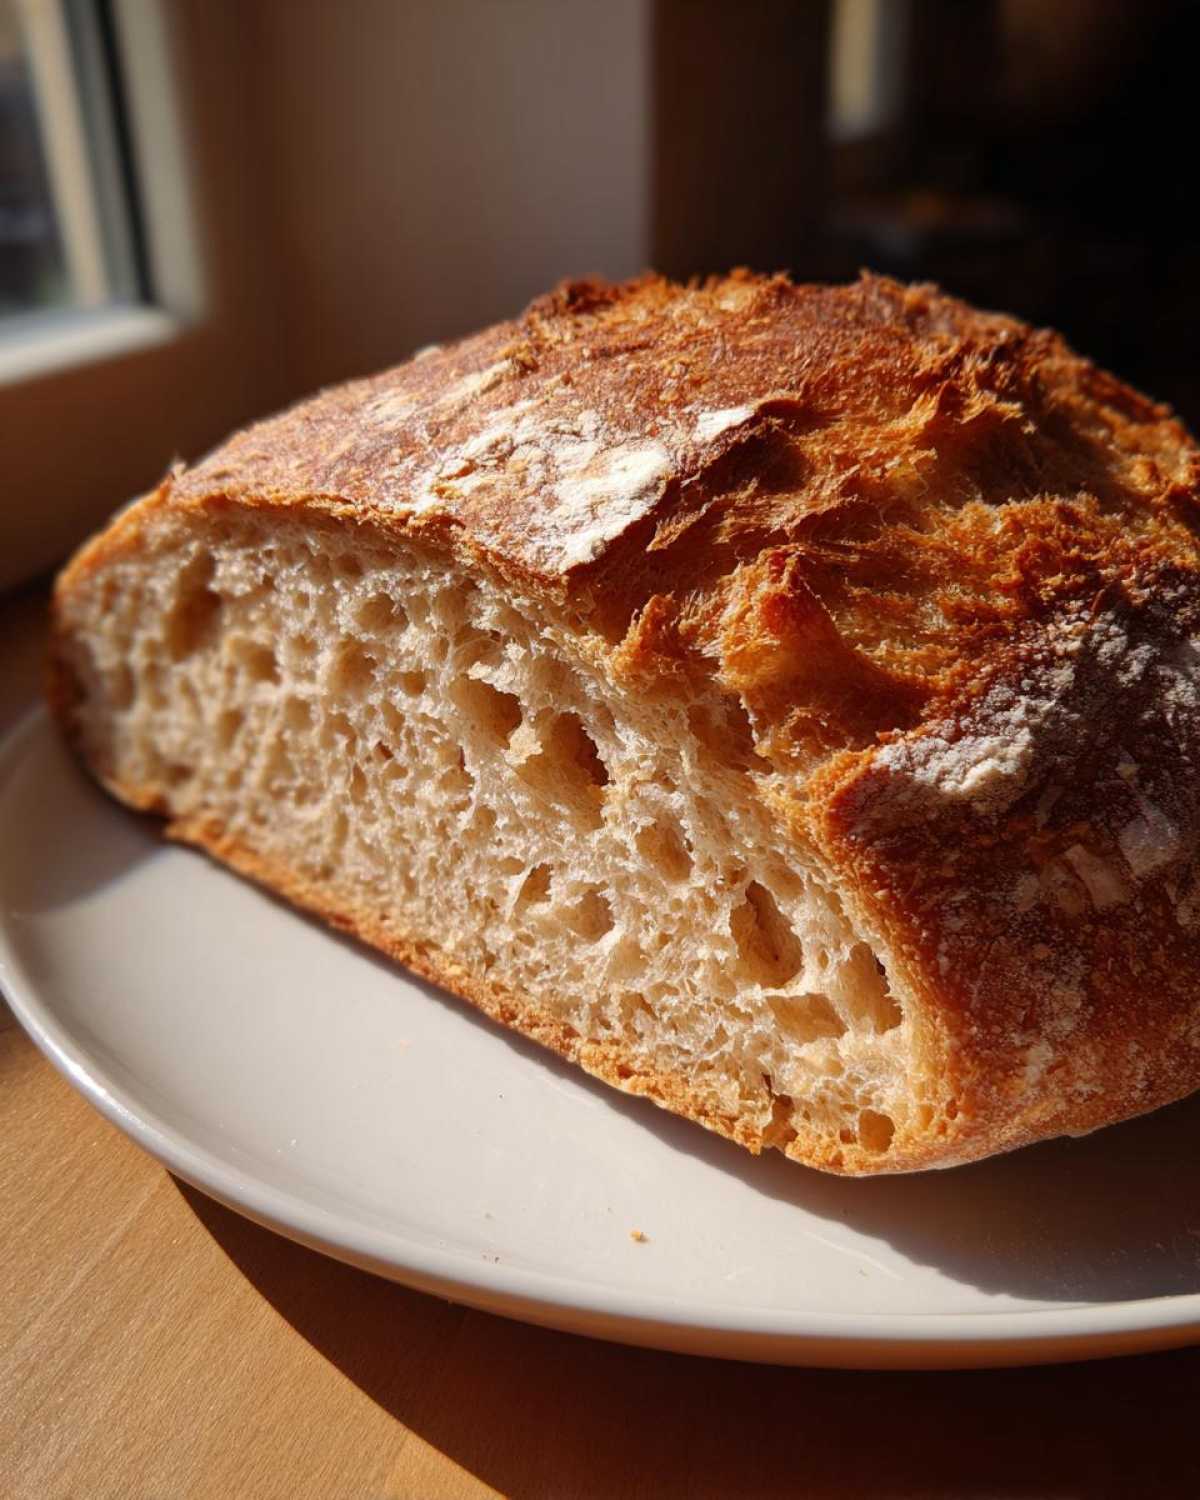
The beauty of this Homemade Artisan Bread is that you likely have most of what you need sitting in your pantry right now. Seriously, fewer ingredients mean fewer chances to mess things up! We are keeping this incredibly simple, which means we need to pay attention to the little details about what we *do* use.
You only need four main things! That’s it. Forget milk, eggs, or tons of sugar—this is pure, rustic bread at heart. But for that perfect flavor and rise, make sure you use these exact elements:
- All-purpose flour (3 cups) – Don’t swap this yet! We need the standard protein level for this method to work right.
- Salt (1 1/2 teaspoons) – Essential for flavor control and strengthening the dough structure.
- Instant yeast (1/4 teaspoon) – Yes, only that tiny bit! Remember, time does the work, not a huge pile of yeast.
- Cool water (1 1/2 cups) – Remember, cool, not warm! This is crucial for the long, slow rise.
- A little extra flour just for dusting when you handle the dough later.
If you want to see how I modify things when I want a heartier loaf, check out my thoughts on using different flours when making easy homemade whole wheat bread, but start here first!
Equipment Needed for Dutch Oven Bread Baking
You might think that to make a proper Dutch Oven Bread, you need a set of professional-grade bakery tools, but honestly, the equipment list here is super short. That’s part of why I love this recipe so much—it’s so accessible!
While you need the usual mixing bowls, the absolute MVP of this entire process is your Dutch oven. If you have one, pull it out. If you don’t, this recipe might be the excuse you need to finally get one, because nothing else achieves that steam-injected, perfectly textured crust.
Here’s what you need to gather up before you start mixing that dough:
- A large mixing bowl: Needs to be big enough to hold the dough as it swells up to triple its size! I use my biggest plastic one.
- Plastic wrap or a tightly fitting lid: To keep the moisture locked in during that long rest period.
- Parchment paper: This is your handle! You place the dough on this before the final rest. Trust me, trying to move the sticky dough ball into the hot pot without it is a recipe for a stressful mess.
- A sturdy Dutch oven (5 to 7 quarts works perfectly): This is your mini-oven inside your oven. Make sure it has a heavy lid.
- Oven mitts: Seriously, the Dutch oven will be blisteringly hot when it comes out—don’t take any chances here.
That’s it! No stand mixer required, no fancy scoring blades needed. Just simple gear for amazing results.
Step-by-Step Instructions for Simple Bread Loaf Success
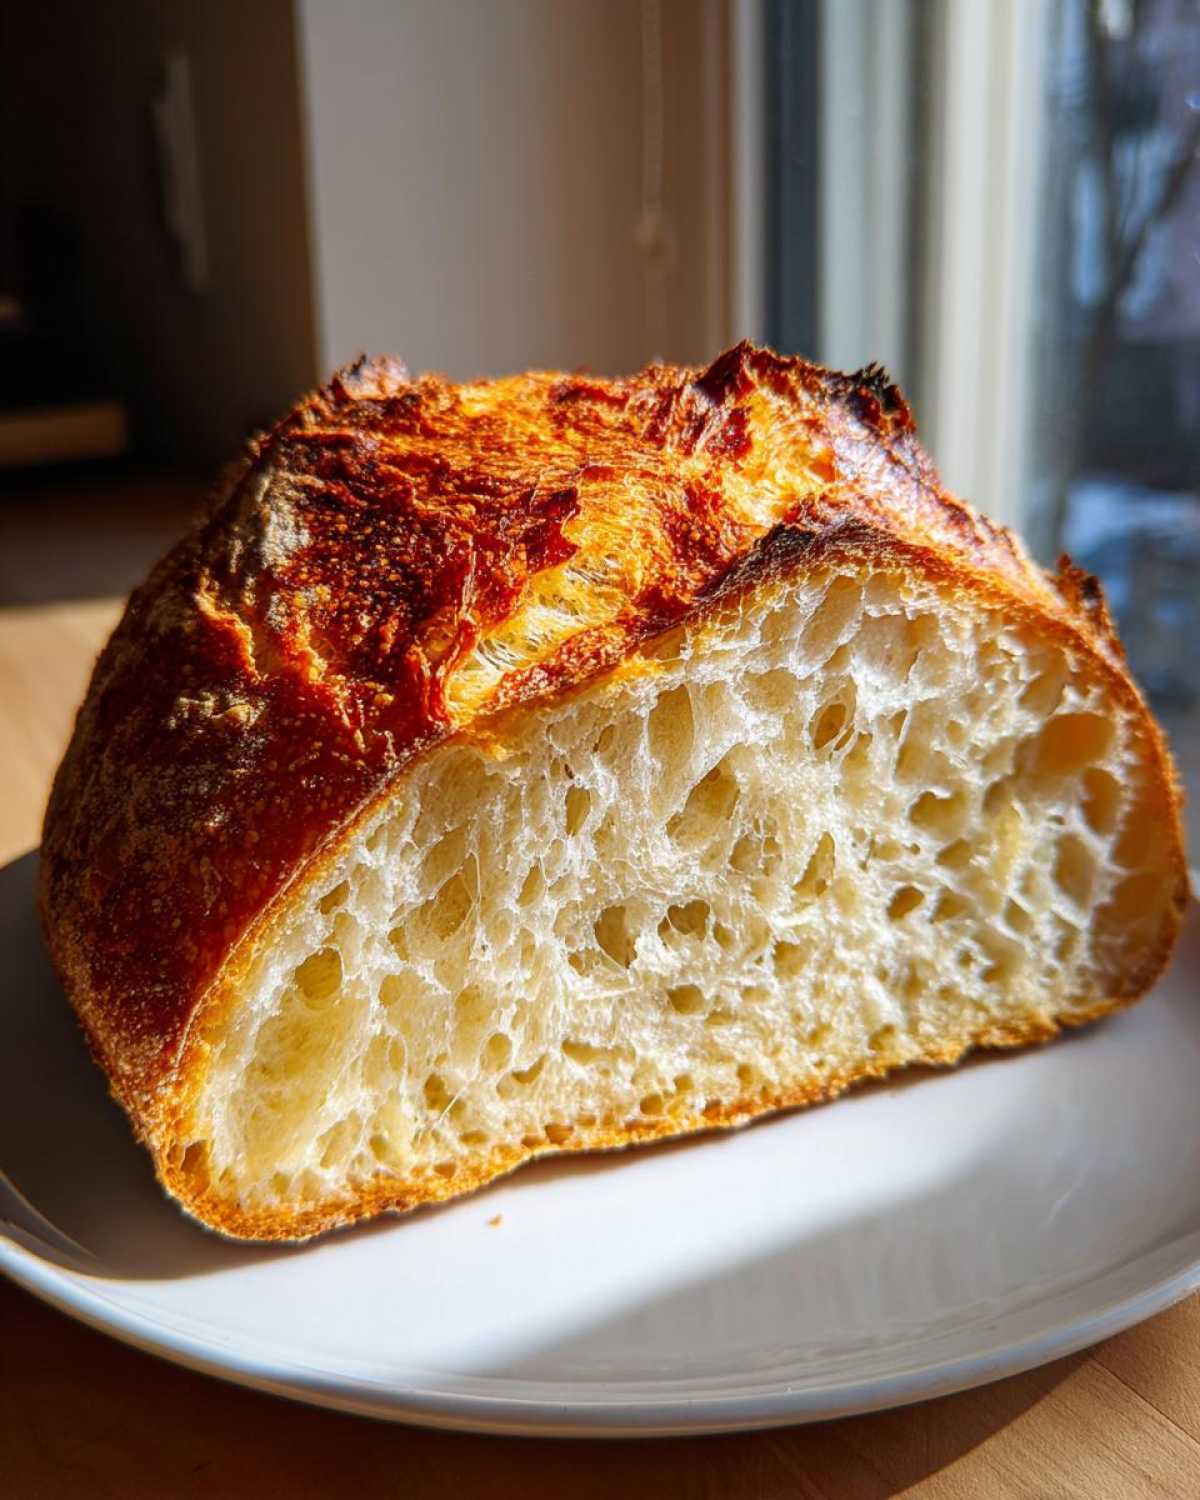
Okay, this is the part where you just need to trust the process and maybe go watch a movie while the dough works its magic. This recipe makes creating a Simple Bread Loaf so foolproof; it’s almost too easy!
Mixing the Dough and Long Fermentation for Artisan Bread
First, we tackle the mixing, and I mean *really* mix. Take your flour, salt, and yeast and whisk them together right in that big bowl. You want all those dry guys evenly distributed before we introduce the wet component. Now, pour in the cool water all at once. Grab a wooden spoon—don’t use your hands yet! Mix it just until you can’t see any dry flour left. It’s going to look ugly, shaggy, and wet; that is perfect, don’t worry about smoothness! Cover that bowl tightly with plastic wrap. Now, this is the big commitment: set it somewhere at room temperature for 12 to 18 hours. Yes, that long! This overnight rest is what builds all the structure and flavor.
Shaping and Final Proofing of the Artisan Bread Dough
When you come back tomorrow, you’ll see this bubbly, sticky mess of dough that has totally taken over the bowl. Generously flour a clean work surface—I mean, dust it well. Gently scrape the dough out. Now, we shape, but gently! You don’t want to deflate all the hard work the yeast did. Just fold the dough over itself a few times to form a rough ball shape. Place that ball right onto a piece of parchment paper. Cover it loosely and let it sit for just 30 minutes while your oven and pot heat up. That’s it for the final proof!
Baking Your Crusty Bread Tutorial in a Hot Dutch Oven
This next part needs your full attention because we’re dealing with high heat. About 20 minutes before that 30-minute rest is up, put your empty Dutch oven, lid and all, into the cold oven and set the temperature to 450°F. We want that cast iron piping hot! When the time is up, carefully use thick mitts to pull out that scorching pot. Using the parchment paper handles, gently lower your dough ball into the hot Dutch oven. Pop the lid back on its place and bake it covered for 30 minutes. This traps the steam! Then, take the lid off—watch out for steam—and bake for another 15 to 20 minutes until you have that deep golden, crackly shell for your Crusty Bread Tutorial.
You can find my recipe for easy bread pudding if you happen to have some day-old bread staring at you after you finish this loaf!
Tips for Success with Your Artisan Baking at Home
Getting that perfect loaf when you’re trying Artisan Baking at Home is less about luck and more about hitting just a couple of crucial checkpoints. I learned this the hard way with my first few attempts—they came out fine, but they weren’t *great*.
The number one non-negotiable for me is the water temperature. Please, stick to cool tap water, not warm or hot water. If you use warm water, you kick-start the yeast too fast, and you miss out on developing the complex flavors during that long fermentation window. It makes all the difference in the final loaf!
The other big tip is cooling. Seriously, I know it’s torture waiting when that amazing bread smell fills your house, but you have to let it cool completely—at least an hour, maybe more. Cutting into it too soon traps humidity inside, and that beautiful, crisp crust you worked so hard for will turn spongy and soft fast. You want that structure to set!
If you’re looking for another easy, hands-on bake, you should check out my recipe for easy bread pudding; it’s a great way to use up scraps!
Storing and Reheating Your Rustic Bakery Loaf
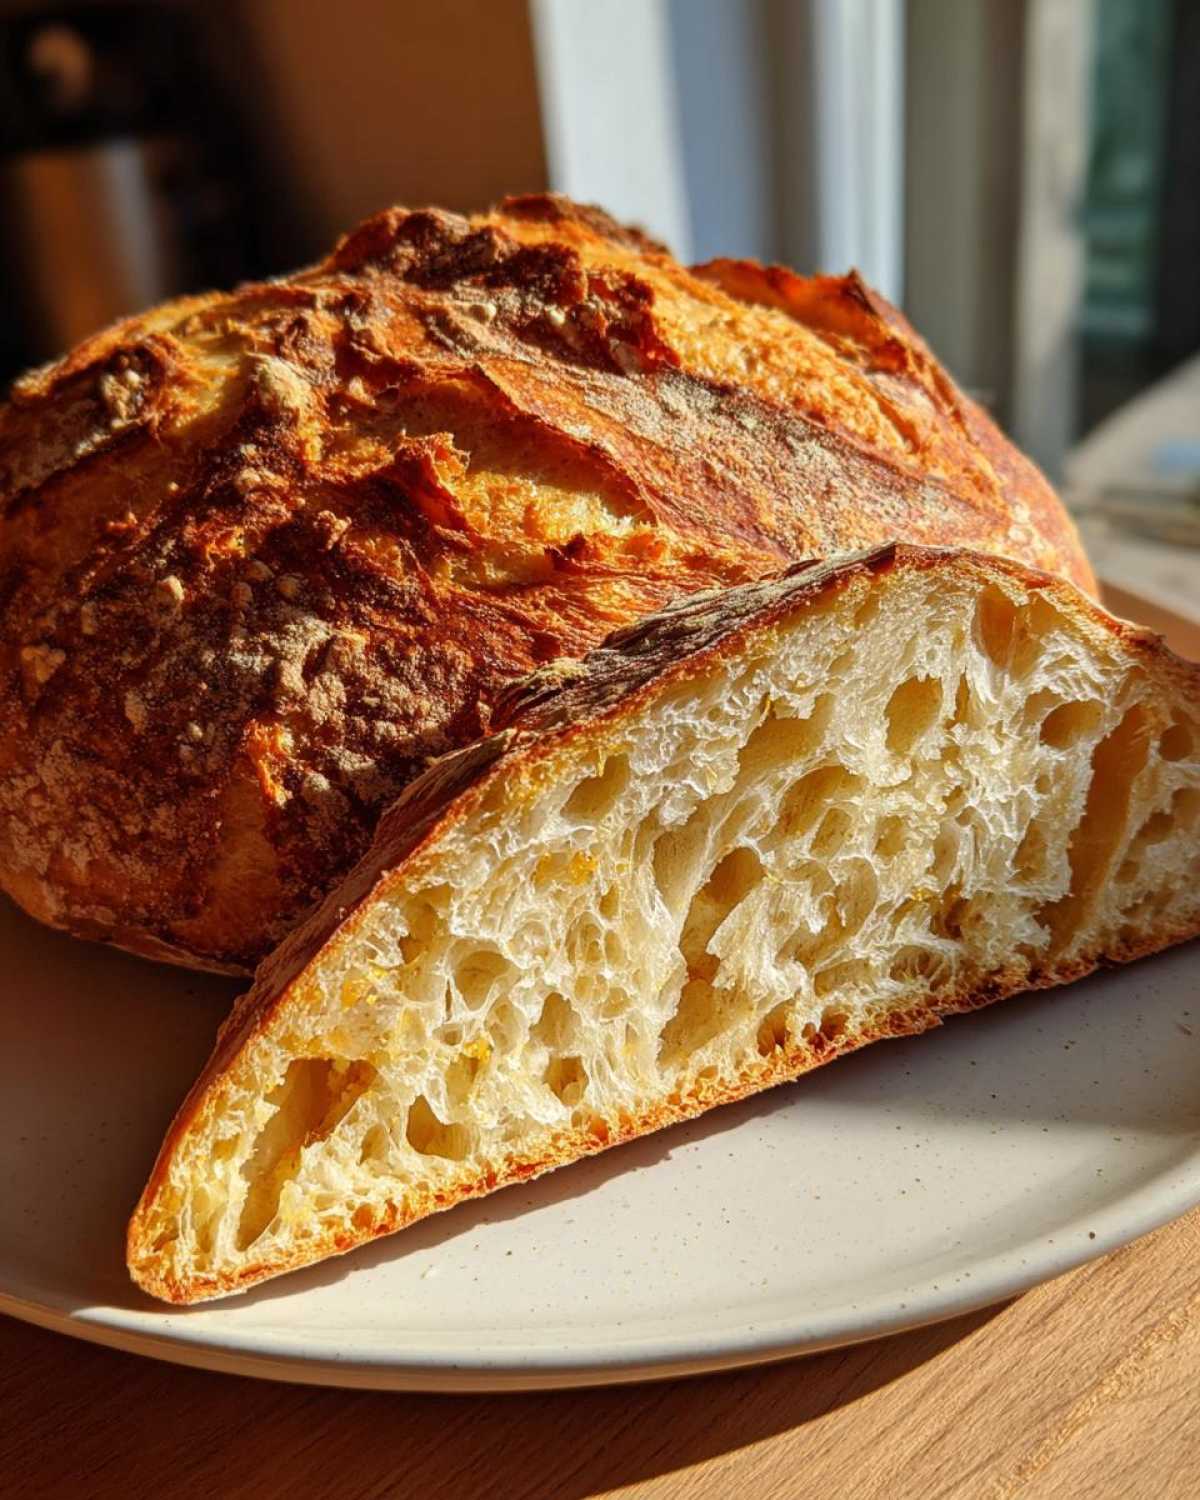
Once you pull that gorgeous, golden loaf out, the next challenge is keeping it tasting amazing for longer than five minutes—and believe me, that’s tough because it smells incredible!
For keeping this Rustic Bakery Loaf fresh, the enemy is air exposure. Crusty breads are tricky because the crust gets soft quickly when stored incorrectly. You should not store it in plastic bags, ever! That traps moisture and makes the crust go immediately limp.
How to Store Your Fresh Bread
The best way I’ve found is using a clean paper bag, maybe two layers thick, and then placing that paper bag inside a slightly larger plastic bag that’s left partially open. This balances air flow without drying the loaf out fast. Alternatively, if you have an old linen bread bag, that works wonders too! If you know you won’t finish it within two days, slice it up before storing and freeze what you won’t eat right away. Freezing saves the texture entirely.
Bringing Back the Crust Quickly
If your crust has gone a little soft after sitting out overnight—which happens—don’t despair! You don’t need to eat sad, chewy bread. Just reheat it briefly. Place the whole, unsliced loaf directly back into your 450°F oven for about five to seven minutes. If you sliced it, toss the slices directly onto the rack. That initial blast of dry heat essentially wakes the crust back up, making it crisp and crunchy again. It works like a charm and tastes almost freshly baked!
Frequently Asked Questions About Making Artisan Bread
I get asked about this no-knead method all the time, especially by folks who are taking their first real steps into making a good Homemade Artisan Bread. It’s great that you’re asking questions! It means you’re invested in getting that perfect outcome.
Can I use warm water instead of cool water?
I really, really advise against it! Warm water makes your yeast wake up way too fast. Remember, the whole point of this Yeast Bread Recipe is that slow, delicious development of flavor over 12 to 18 hours. If you use warm water, the dough will rise quickly, but it will taste bland and flat. Stick to cool tap water every time.
What if I don’t own a Dutch Oven? How can I bake this?
Oof, this one is tough because the Dutch oven is how we get that incredible crust. If you absolutely can’t use one, your best bet is to use a regular heavy baking sheet and place a cast-iron skillet filled with boiling water on the rack *below* your bread. This creates steam, mimicking the Dutch oven effect. It won’t be quite as dramatic, but it’s the closest second chance you’ll get!
My dough didn’t get very bubbly after 18 hours. Did I fail?
Don’t panic! Room temperature varies hugely depending on your kitchen, so the timing is just a guideline. If your dough hasn’t doubled or tripled and isn’t full of bubbles, it just needs more time. Let it sit an extra few hours, maybe even up to 24 hours total. It won’t hurt anything; it just means your kitchen is a little chilly. Patience is the backbone of this recipe!
If you end up with leftovers, I have a great way to use them up in my easy bread pudding recipe!
Estimated Nutritional Data for This Simple Bread Loaf
I know a lot of you are focused on flavor and that fantastic texture, but since we’re making the Best Homemade Bread right here in our own kitchens, it’s good to have a rough idea of what we’re eating! Since this relies on just flour, water, salt, and yeast, the values aren’t overly complicated, which is another bonus of keeping things simple.
These numbers are estimates based on dividing the entire recipe for one loaf into 16 slices, which is a pretty generous serving size for rustic bread like this.
Here is a quick look at the approximate breakdown per slice:
- Calories: About 200 per serving. Not bad for something that tastes like you bought it fresh from an artisan bakery!
- Total Fat: Very low, usually hovering around 0.5 grams. I told you it was simple ingredients! No butter or oil required in the dough itself.
- Carbohydrates: Around 42 grams. That’s the good energy from the flour we need for spreading jam or soaking up soup.
- Protein: Generally about 7 grams, which comes primarily from the wheat flour.
- Sugar & Cholesterol: Happily, very close to zero for both!
Just remember, these figures are based on the standard measurements for the flour and don’t account for flour used excessively on your counter during the shaping process! If you add cheese or seeds when you try your next batch, you’ll need to recalculate those numbers, naturally.
Share Your Best Homemade Bread Creations
Okay, now you’ve done it! You’ve navigated the long rise, you’ve managed the screaming-hot Dutch oven, and you’ve got a beautiful, crackly, Best Homemade Bread loaf cooling on your rack. I want to see the results of your hard work!
Seriously, there is nothing that makes me happier than hearing that someone conquered their fear of baking their own loaf. If you loved this recipe, please do me a huge favor and come back here, click that five-star rating button, and tell me exactly how the crust turned out for you. Positive ratings really help other folks find their way to easy, incredible bread.
And let’s see those loaves! Snap a great picture when you finally slice into it—I especially want to see those gorgeous, airy interiors we talked about. Tag me over on social media so I can admire your rustic handiwork. If you have any questions leftover after reading through all the tips, or if you want to share a fun variation you tried, drop a comment down below. I try to get back to everyone because we’re all learning together on this journey to better baking! Don’t forget to check out more tasty experiments over at my main blog.
PrintEasy No-Knead Artisan Bread with Crusty Exterior
Make delicious, rustic artisan bread at home using this simple no-knead method. This recipe produces a loaf with a beautiful, crisp crust and a soft, airy interior, perfect for beginners.
- Prep Time: 10 min
- Cook Time: 50 min
- Total Time: 13 hours 0 min
- Yield: 1 loaf
- Category: Baking
- Method: No-Knead Baking
- Cuisine: American
- Diet: Vegetarian
Ingredients
- 3 cups all-purpose flour
- 1 1/2 teaspoons salt
- 1/4 teaspoon instant yeast
- 1 1/2 cups cool water
- Extra flour for dusting
Instructions
- In a large bowl, whisk together the flour, salt, and yeast.
- Pour in the cool water and mix with a wooden spoon until a shaggy dough forms. Do not overmix.
- Cover the bowl tightly with plastic wrap. Let the dough rest at room temperature for 12 to 18 hours. The dough will become bubbly and increase in volume.
- Generously flour a work surface. Scrape the dough out onto the surface. Gently fold the dough over itself a few times to form a rough ball.
- Place the dough ball on a piece of parchment paper. Cover loosely with plastic wrap or a clean kitchen towel and let it rest for 30 minutes.
- About 20 minutes before the rest period ends, place a Dutch oven with its lid inside your oven. Preheat the oven to 450 degrees Fahrenheit (232 degrees Celsius).
- Carefully remove the hot Dutch oven from the oven using oven mitts. Lift the dough by the parchment paper handles and gently lower it into the hot pot.
- Cover the Dutch oven with the lid and place it in the oven. Bake for 30 minutes.
- Remove the lid and continue baking for another 15 to 20 minutes, or until the crust is deep golden brown.
- Carefully remove the bread from the Dutch oven and let it cool completely on a wire rack before slicing.
Notes
- Use cool water, not warm, to slow the initial fermentation, which develops better flavor.
- For the best crust, do not skip the preheating of the Dutch oven.
- Cool the bread for at least one hour before cutting to set the interior structure.
Nutrition
- Serving Size: 1 slice
- Calories: 200
- Sugar: 0.5
- Sodium: 380
- Fat: 0.5
- Saturated Fat: 0.1
- Unsaturated Fat: 0.4
- Trans Fat: 0
- Carbohydrates: 42
- Fiber: 2
- Protein: 7
- Cholesterol: 0
