

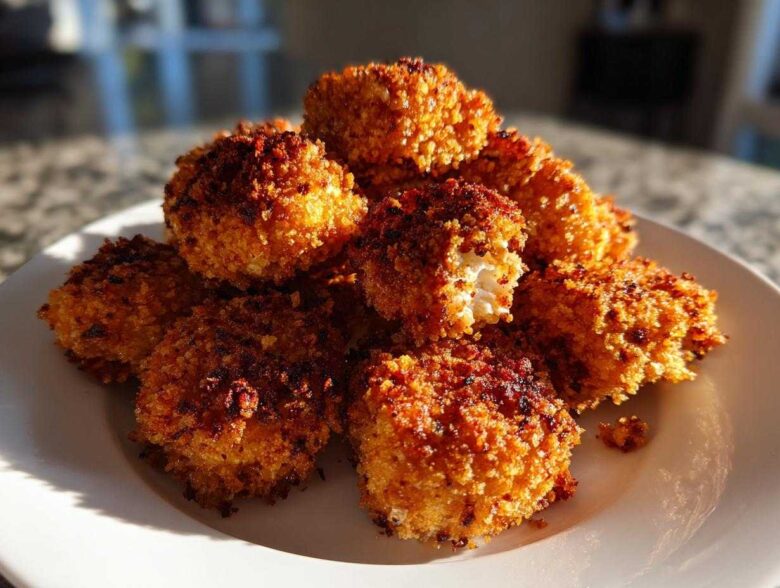
Honestly, who hasn’t been driving home after a long day, thinking, “Man, I just need a crispy, salty chicken nugget right now”? I get it! But that drive-thru stuff just doesn’t hit the same way when you consider what’s in it. That’s why I spent ages perfecting my homemade chicken nuggets recipe. Forget soggy interiors or flavorless breading; my goal was pure nostalgia but made in my own kitchen.
It took so many tries, but I finally cracked the code for getting that intense crunch we all love, whether you’re using an oven or, my favorite, the air fryer. Trust me, these nuggets are unbelievably juicy inside while being perfectly crisp on the outside. It’s the best chicken nugget recipe for kids and secretly the adults too! Since this whole process takes us less than 35 minutes total, it’s a total win for any quick weeknight chicken dinner.
Why This Is The Best Recipe for Homemade Chicken Nuggets
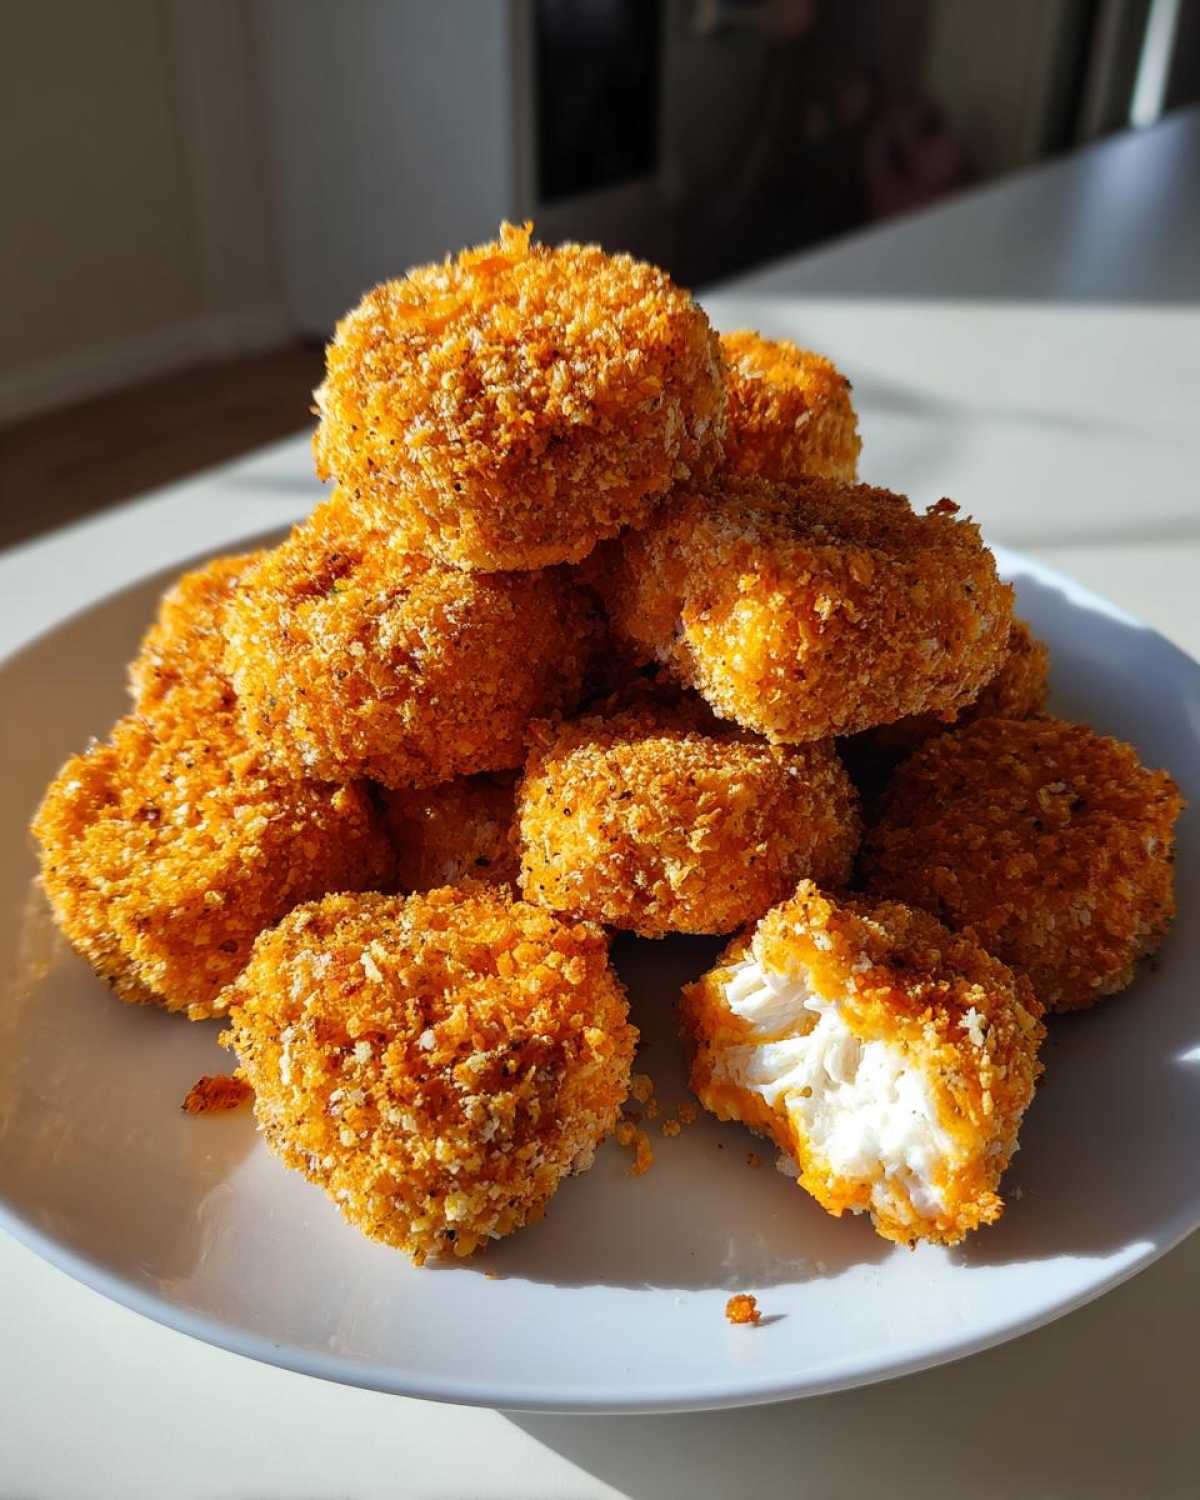
The reason I keep coming back to this recipe is simple: it delivers that nostalgic fast-food crunch without the deep-fry guilt. We’re talking ultimate texture flexibility here, people! You get to choose between the oven or the air fryer, both options delivering fantastic results. If you’ve been searching for crispy chicken nuggets from scratch that actually taste like they came from a restaurant, you’ve found your winner.
I’ve worked really hard on making this the go-to when I need kid friendly chicken recipes that don’t taste bland. You can see some fun inspiration over at my main recipe index, but this nugget technique is special, making them the best homemade chicken nuggets for any weeknight.
Achieving Crispy Chicken Nuggets From Scratch
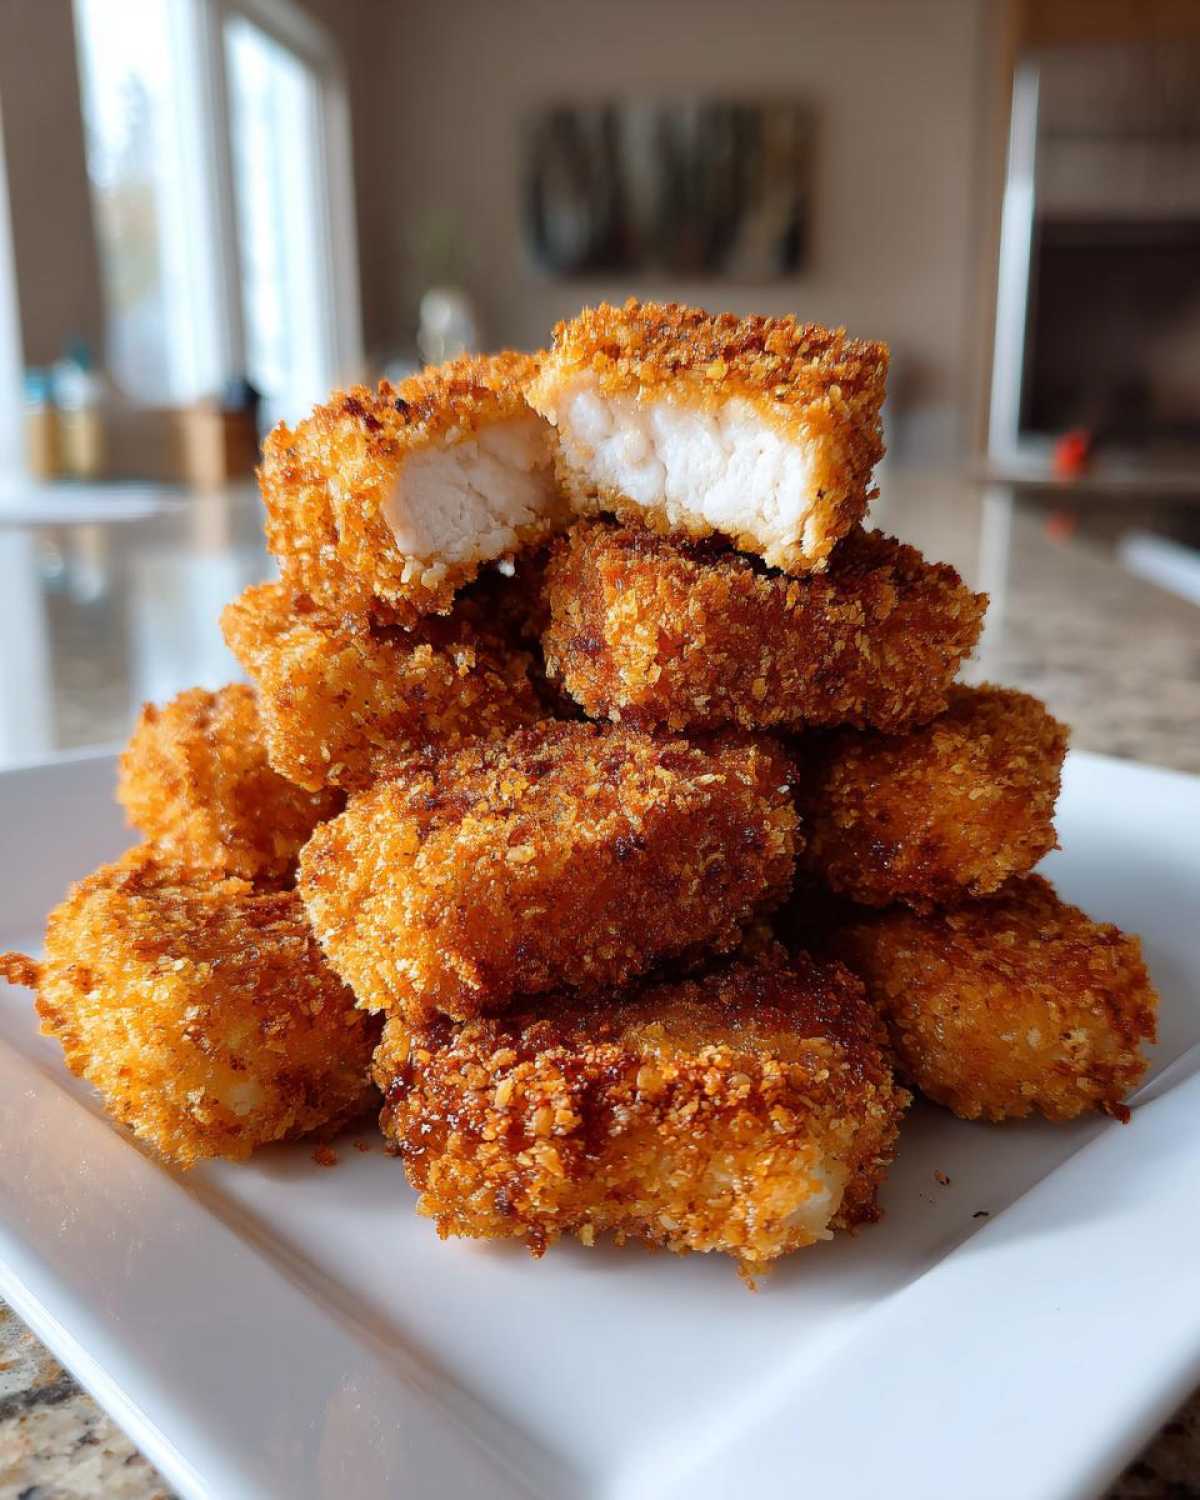
That crunch? It’s all about the Panko! Don’t try to substitute standard breadcrumbs here; Panko flakes are bigger and lighter, which means once they hit the heat, they puff up and create those perfect, jagged edges. This is the secret to truly classic crispy chicken nuggets that shatter when you bite them.
Tips for Juicy Homemade Nuggets Every Time
Juiciness is often the first thing to go when you try making healthy baked chicken nuggets at home. My tip is using uniform pieces of chicken, whether that’s ground chicken or finely diced breast meat. Keeping everything mixed lightly right at the start prevents the proteins from tightening up too much, locking in all the moisture so you get beautifully juicy homemade nuggets every single time.
Ingredients for Your Homemade Chicken Nuggets
Okay, let’s look at what you need to gather up. I’ve designed this to be super straightforward because when you’re making these for dinner, the last thing you want is a mile-long grocery list, right? We’re using ground chicken, which is great for speed, but I’ll remind you later how to substitute if you prefer diced breast meat.
Here is the lineup for making approximately four servings of our phenomenal homemade chicken nuggets. Don’t sweat the specific quantities; the ratios are what matter most for texture!
- 1 pound of ground chicken or chicken breast that you’ve finely diced yourself
- 1 large egg, make sure it’s lightly beaten—we don’t want scrambled bits floating around!
- 1/4 cup all-purpose flour, just for binding things together in the mix
- 1/2 teaspoon of salt—taste is everything!
- 1/4 teaspoon black pepper
- 1/4 teaspoon garlic powder
- 1/4 teaspoon onion powder
- 1 whole cup of Panko breadcrumbs—seriously, Panko is mandatory for that snap!
- 1/4 cup all-purpose flour, reserved expressly for the dredging station
- Some cooking spray or a little light oil if you’re baking or planning on using that air fryer
How to Prepare Quick Weeknight Homemade Chicken Nuggets
This is where the magic happens, and I promise you, we’re moving fast! With only 15 minutes of prep time involved, these easy homemade chicken nuggets recipe steps are designed to get dinner on the table swiftly. Don’t feel rushed, though; precision here guarantees a better final product!
We are skipping the complex brining or soaking times you see in overly complicated recipes. We just mix, shape, coat, and cook! For excellent results when you are in a hurry, you want to check out my guide for making soft, hearty wheat bread—the principles of mixing gently are actually the same!
Mixing and Shaping the Homemade Chicken Nuggets
Grab that medium bowl where you weighed out your meat mixture. You’re going to gently mix that chicken, the single egg, the 1/4 cup of flour we used for binding, salt, pepper, garlic powder, and onion powder. Now, this next part is crucial: only mix until they are *just combined*. Seriously, stop stirring the second you don’t see streaks of egg or dry flour anymore! Overmixing is the fastest way to make your juicy homemade nuggets tough and chewy, and we absolutely hate that.
Once everything is barely mixed, it’s shaping time. You can use a tiny cookie scoop, or honestly, I just use two spoons to portion out about a tablespoon or two of the mixture at a time. Roll them lightly between your palms into whatever satisfying shape you prefer—the classic “nugget shape” is totally optional, just keep them roughly the same size so they cook evenly.
The Best Coating for Homemade Nuggets: Dredging Station Setup
Now that you have your little mounds of spiced chicken ready, we must set up the dredging station. This two-step process is what gives us that incredible crust and is essential for getting that super-crispy texture people rave about.
You need two shallow dishes ready to go. In Dish One, put the remaining 1/4 cup of all-purpose flour. In Dish Two, pile up that gorgeous, flaky Panko breadcrumbs. Lay out a small tray for your finished, breaded nuggets. Follow this exact sequence or you risk a messy clump:
- First, take your shaped nugget and coat it completely in the flour (Dish One). Give it a little shake to knock off any excess clumps. This flour layer is the “glue.”
- Next, immediately transfer that floured nugget into the Panko (Dish Two). Press gently on all sides—especially the edges—to make sure those Panko flakes stick tight. You want maximum coverage!
Do this for all your nuggets and set them aside on your waiting tray. They are ready for cooking, which, thankfully, only takes around 18 minutes max!
Cooking Methods for Crispy Homemade Chicken Nuggets
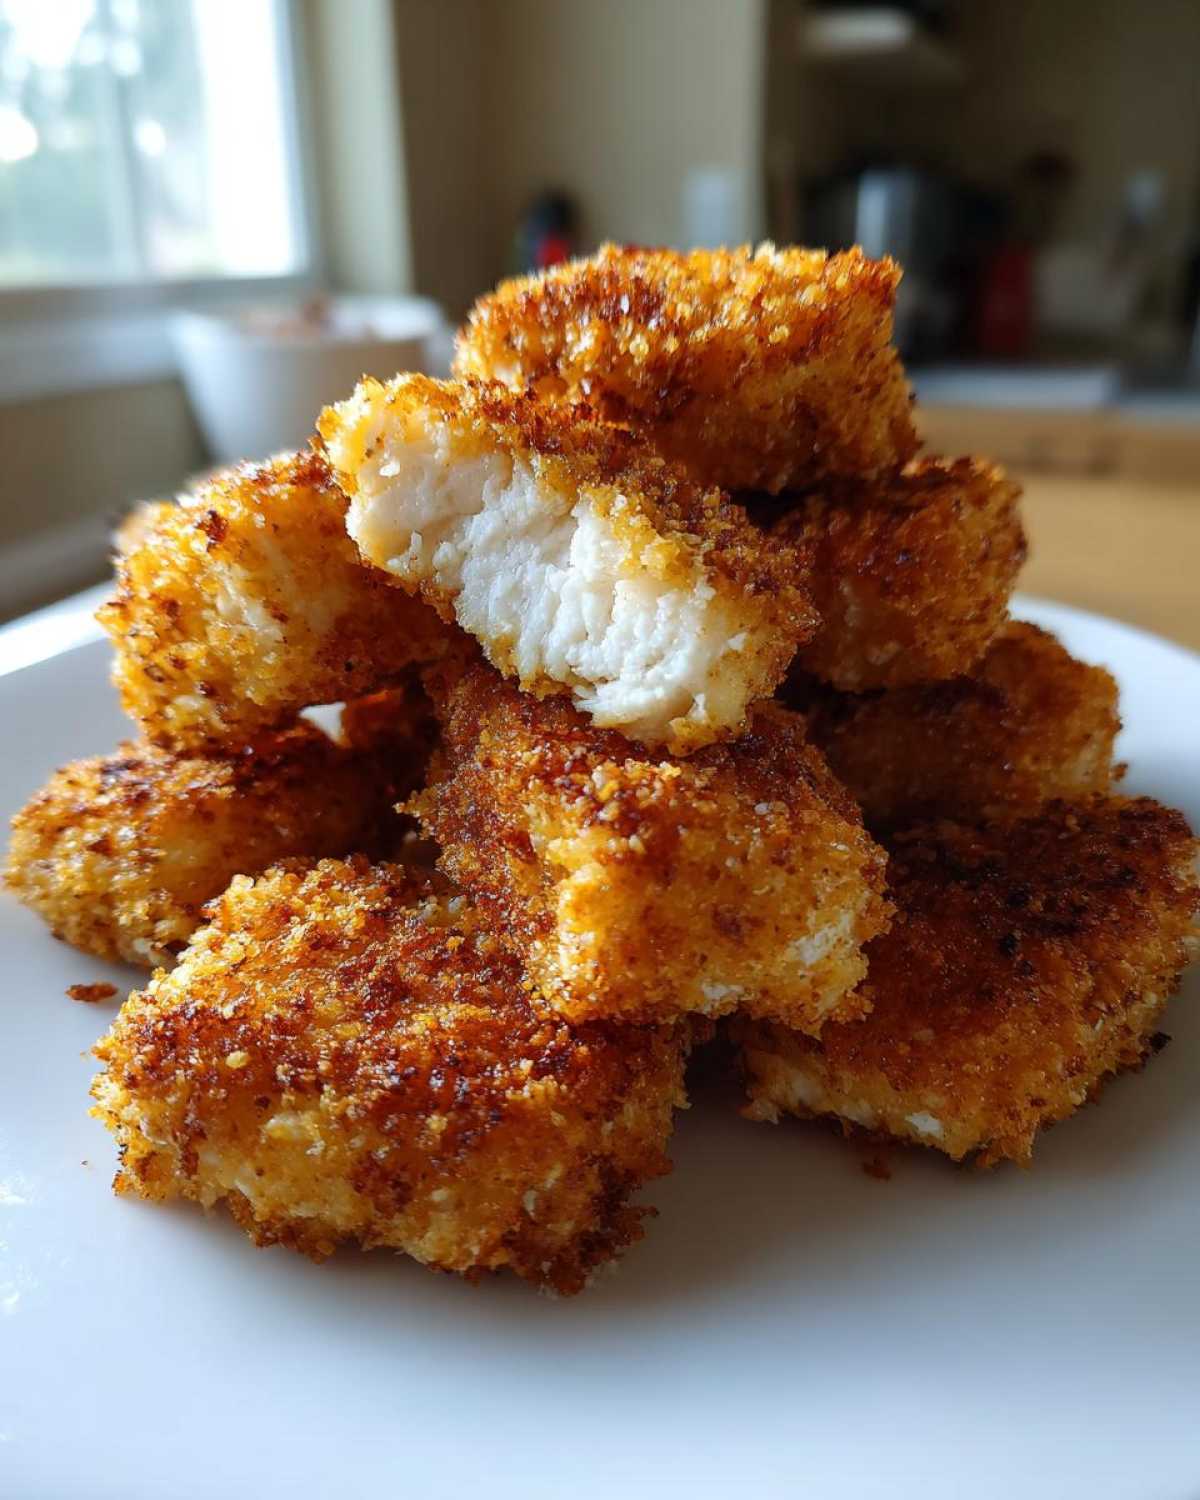
Alright, buckle up, because this is where we decide *how* we’re getting that satisfying crunch without drowning our beautiful homemade chicken nuggets in oil. Remember how I mentioned wanting healthier variations? This recipe is flexible! Whether you’re committed to your air fryer or just using the regular old oven, we can guarantee crispiness.
The goal here is high heat, and fast. I often think about that whole chicken recipe I did in the air fryer—high heat is what makes the outside instantly crisp before the inside has time to dry out. You can check that out later for more air frying tips!
Making Healthy Baked Chicken Nuggets
If the oven is your game, get that thing preheated to 400°F (200°C) right now. We’re wrapping these nuggets in parchment paper on a baking sheet because cleanup is the worst, and parchment helps the bottom brown just a little better. Lay your breaded nuggets down, but here is my biggest tip for that crust color: be generous with the spray!
You need to spray the tops of the nuggets—and I mean *really* spray them—with cooking spray or brush on a light coat of oil. This fat content helps the Panko mimic that fried texture. Pop them in and let them cook for about 15 to 18 minutes total. You must flip them halfway through, or you’ll get one beautifully crusted side and one sad, pale side. We want uniform color!
Perfect Air Fryer Chicken Nuggets Recipe
If you own an air fryer, this is where these nuggets truly shine. I swear, next to a deep fryer, this gives you the closest thing to restaurant quality. Set your air fryer temperature to 375°F (190°C).
When you place them in the basket, PLEASE—and I can’t stress this enough—make sure they are in a single layer. If they are touching or overlapping, they will steam instead of crisping up! They usually take between 10 to 12 minutes. Give that basket a good shake around the halfway point to ensure every surface gets cooked evenly underneath the heating element. When they come out, they should be deeply golden brown and ready for dipping!
Ingredient Notes and Substitutions for Homemade Chicken Nuggets
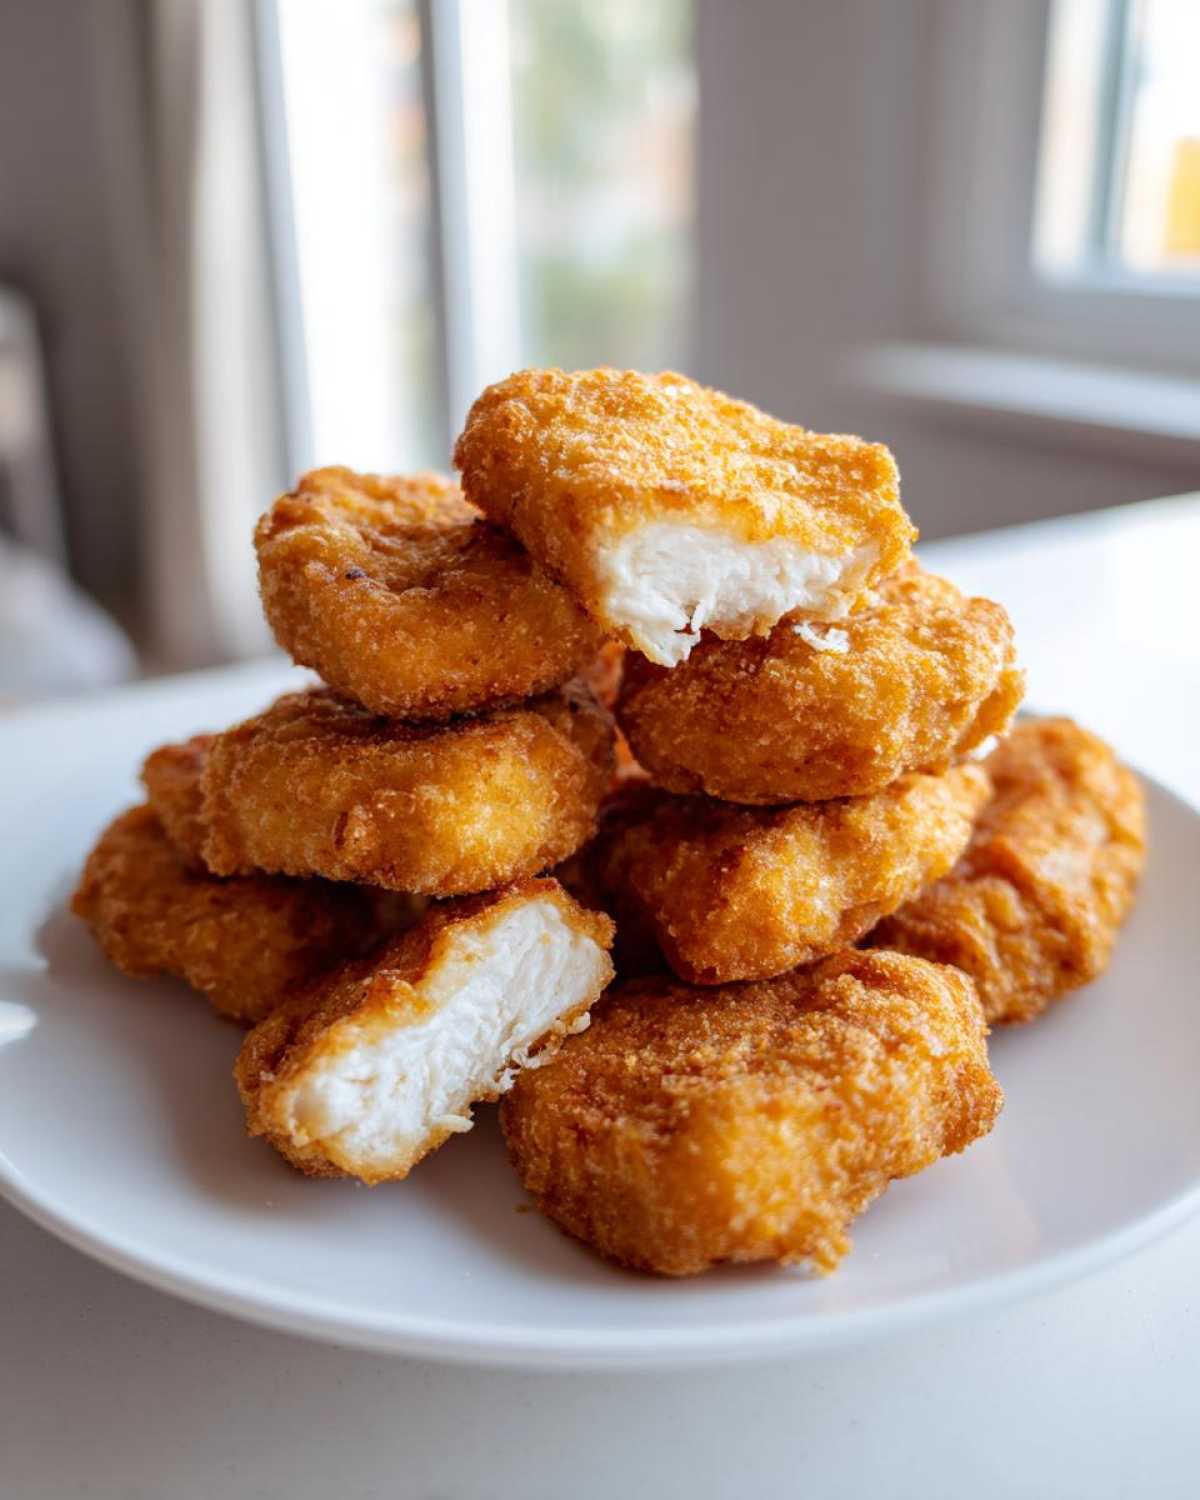
Now that you’ve seen how easy this is, let’s talk about mixing things up a bit. Even though I stand by my initial ingredient list, sometimes you need a substitution, or maybe you just want to sneak in a little something extra! That’s where those little notes I keep tucked in the recipe cards come in handy.
For instance, if you’re looking for an alternative to ground chicken, absolutely go for ground turkey. The texture and moisture content are very similar, making for a fantastic swap in this specific recipe. They cook the exact same way, so no need to adjust times at all—easy peasy!
And remember that little whisper from the recipe sheet about copycat flavor? If you are *really* trying to nail that specific fast-food taste we all remember, purists will tell you a tiny pinch of MSG in that initial flour dredge works wonders. It’s totally optional, of course, but I’m sharing all my secrets here, so you wanted to know!
Also, if you notice you ran out of salt, don’t worry about adding more seasoning! Since the flavor is balanced carefully using garlic and onion powder, you can usually get away with slightly less salt if your grocery store brand is heavy on sodium. Just trust your nose and taste the mixture slightly before you shape those homemade chicken nuggets!
Make Ahead Chicken Nuggets and Storage Instructions
One of my favorite things about a recipe that’s this easy is that you can totally batch cook! Making a big pile of homemade chicken nuggets on Sunday means you have future quick weeknight chicken dinners sorted out before you even start Monday. This is essential for busy families, and honestly, these freeze better than almost any other freezer meal I make.
The secret to successful freezing is simple: you have to freeze them *before* they cook. Trying to freeze leftovers, especially the air-fried ones, often ends up with soggy disappointment later on. But freezing them raw and breaded locks in everything perfectly. You can see some other great ideas for batch prepping things like my make-ahead egg muffin cups if you need more inspiration for your freezer stash!
Here’s my exact routine for turning these into grab-and-go meals:
- Finish shaping all your nuggets after dredging them in the Panko.
- Lay them out completely separated on a baking sheet lined with parchment paper.
- Place that whole tray in the deep freeze until they are rock solid. This usually takes an hour or two, depending on your freezer.
- Once they are totally frozen solid—no longer sticky at all—transfer them immediately into a heavy-duty freezer bag or an airtight container for long-term storage. This keeps them from freezer-burning!
Reheating to Keep That Crunch
Now for reheating! You absolutely cannot use the microwave unless you enjoy rubbery chicken. Stick to high heat methods to reactivate that beautiful Panko crust. If you’re heating up leftovers that were baked or air-fried previously, the air fryer is your best friend again.
Pop them back into the 350°F air fryer basket for about 4 to 6 minutes. They’ll crisp right back up! If you’re heating up the unbaked, frozen ones, just follow the original air fryer instructions but anticipate adding about 3 to 5 extra minutes to the cook time until they reach that safe 165°F internal temperature. Either way, you’ll have incredible texture, and nobody will ever know they weren’t just made!
Serving Suggestions for Kid Friendly Chicken Recipes
Making these homemade chicken nuggets feels like half the battle won when it comes to serving up a quick weeknight chicken dinner that everyone actually eats! The nuggets themselves are fantastic, but let’s be real—what is a nugget without its dipping buddy? This is where you can really make these simple chicken bites feel like a special meal, especially when you’re catering to picky eaters.
My philosophy is simple: if you have a great sauce, anything—even broccoli, sometimes—gets eaten faster. If you need a fast, cheesy option that pairs wonderfully with the salty crunch of these nuggets, you have to try my 10-minute nacho cheese sauce recipe. It comes together faster than you can set out forks!
For something a little lighter or tangier, here are my go-to partners for these kid friendly chicken recipes:
- Honey Mustard Madness: Mix equal parts Dijon mustard, honey, and a tiny splash of apple cider vinegar. It’s slightly sweet, slightly sharp, and highly addictive.
- BBQ Power Dip: Don’t just use the bottle! Stir in a little molasses or Worcestershire sauce into your favorite brand of BBQ sauce for depth.
- Homemade Ranch: Use a base of Greek yogurt instead of sour cream for a thicker, tangier ranch that feels healthier but tastes just as good.
When it comes to sides to round out your kid friendly chicken recipes, keep it simple. Nobody wants a complicated plate when nuggets are involved! Roasted sweet potato fries are always a HUGE hit because they offer that comforting starchiness. If you need something green, quickly roast some broccoli florets tossed just with olive oil and salt. Because the nuggets take minimal effort, you can afford to spend a little extra time getting a good veggie side perfectly crispy!
Frequently Asked Questions About Homemade Chicken Nuggets
I know when I’m trying a new recipe, my head is spinning with little questions! You want to make sure you get that perfect bite, especially when dealing with homemade chicken nuggets that you want to taste better than the drive-thru, right? Here are a few things I hear a lot, and hopefully, these answers help you feel totally confident.
Can I use chicken breast instead of ground chicken?
Absolutely, you totally can! This recipe works beautifully whether you use the ground chicken nuggets recipe base or if you prefer to dice up fresh chicken breast. If you dice it, just make sure those pieces are cut fairly small and as uniform as possible. Uniform size is key for ensuring every single nugget cooks through at roughly the same time, especially when you’re aiming for that quick cooking time!
What is the best way to get them extra crispy?
If you want truly crispy chicken nuggets from scratch, the number one most important step is using Panko breadcrumbs! Don’t skip that. After coating them in the flour, make sure you really press those Panko flakes onto the meat so you get maximum exterior coverage. Then, whether baking or air frying, the second most important thing is using plenty of cooking spray or oil on the outside before cooking. Fat equals crunch!
Can I make these nuggets without buttermilk?
Great question! You might see other recipes calling for buttermilk, but honestly, you don’t need it here at all. That’s what’s great about this easy homemade chicken nuggets recipe: we are using a small amount of egg and flour as the binder instead of a milk-based liquid. This keeps the recipe simple, cuts down on potential dairy allergens if you have sensitive eaters, and still allows those Panko crumbs to stick perfectly. No buttermilk required!
Can I freeze leftovers after cooking?
You *can* eat the leftovers the next day, but to keep them delicious, you need to reheat them properly. Microwaving will ruin that beautiful crisp exterior we worked so hard for! For reheating leftovers, the air fryer is your absolute best friend. Set it to about 375°F for about 4 minutes, and they should come back to life looking and tasting almost brand new.
Sharing Your Homemade Chicken Nuggets Success
Whew! Now that you’ve got a plate heaped high with crispy, juicy, homemade goodness, there’s just one thing left to do: tell me all about it!
Seriously, I need to know how your homemade chicken nuggets turned out. Did you stick to the air fryer method, or did you go old school with the oven? Did you try adding any secret spices to the dredge, or maybe you whipped up a sauce that blew your socks off? We’re building a community of home cooks here, and your feedback helps everyone else nail this recipe!
Don’t be shy about sharing your experiences. If you tried making the ground chicken version and it was way juicier than you expected, shout it out! If you’ve got a totally new take on these kid friendly chicken recipes, I want to hear the variation.
You can drop your rating right below the recipe card, or if you have specific questions or need troubleshooting advice on the texture, feel free to reach out through my contact page. I truly read every single note. Happy cooking, and thanks for trusting me with your weeknight dinner plans!
PrintThe Ultimate Crispy & Juicy Homemade Chicken Nuggets (Oven & Air Fryer Options)
Make crispy, juicy chicken nuggets from scratch. This recipe works well for baking or air frying for a healthier option.
- Prep Time: 15 min
- Cook Time: 18 min
- Total Time: 33 min
- Yield: 4 servings
- Category: Dinner
- Method: Baking or Air Frying
- Cuisine: American
- Diet: Low Fat
Ingredients
- 1 lb ground chicken or finely diced chicken breast
- 1 large egg, lightly beaten
- 1/4 cup all-purpose flour
- 1/2 teaspoon salt
- 1/4 teaspoon black pepper
- 1/4 teaspoon garlic powder
- 1/4 teaspoon onion powder
- 1 cup panko breadcrumbs (for extra crispiness)
- 1/4 cup all-purpose flour (for dredging)
- Cooking spray or oil for baking/air frying
Instructions
- In a medium bowl, combine the ground chicken, beaten egg, 1/4 cup flour, salt, pepper, garlic powder, and onion powder. Mix until just combined.
- Shape the mixture into small, bite-sized nugget shapes. If using diced chicken, ensure pieces are uniform.
- Set up a dredging station: Place the remaining 1/4 cup flour in one shallow dish and the panko breadcrumbs in another.
- Dredge each nugget first in the flour, shaking off excess. Then, coat thoroughly in the panko breadcrumbs, pressing lightly so the crumbs stick.
- For Baking: Preheat your oven to 400°F (200°C). Place nuggets on a baking sheet lined with parchment paper. Spray generously with cooking spray or brush lightly with oil. Bake for 15-18 minutes, flipping halfway, until golden brown and cooked through (internal temperature 165°F).
- For Air Frying: Preheat the air fryer to 375°F (190°C). Lightly spray the basket with cooking spray. Place nuggets in a single layer, ensuring they do not overlap. Cook for 10-12 minutes, shaking the basket halfway through, until crispy.
- Serve immediately with your favorite dipping sauce.
Notes
- For make-ahead nuggets, place the breaded, uncooked nuggets on a tray and freeze them solid. Once frozen, transfer them to a freezer bag. Cook directly from frozen, adding 3-5 minutes to the cooking time.
- You can substitute ground turkey for ground chicken.
- For a copycat flavor, add a pinch of MSG (optional) to the flour dredge.
Nutrition
- Serving Size: 4 nuggets
- Calories: 250
- Sugar: 1
- Sodium: 350
- Fat: 8
- Saturated Fat: 2
- Unsaturated Fat: 6
- Trans Fat: 0
- Carbohydrates: 15
- Fiber: 1
- Protein: 28
- Cholesterol: 85
