

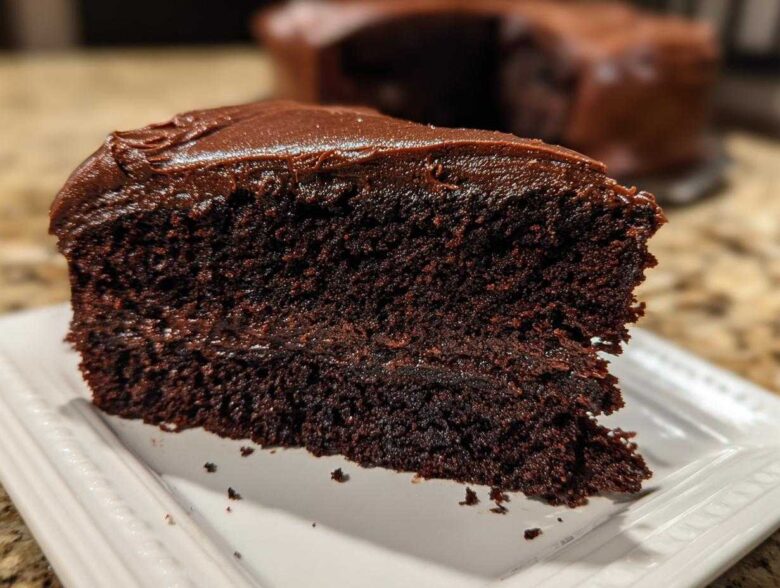
There’s just something unbeatable about that rich, deep warmth of a truly great chocolate cake, isn’t there? Forget those fussy double-bowl recipes that leave you scrubbing forever! I spent years trying to nail the perfect texture—deeply chocolatey, never dry, and so simple you can whip it up after work. Trust me when I say this: this homemade chocolate cake tutorial is the one you’ll keep forever. We’re talking about the Ultimate Easy, Moist, One-Bowl Homemade Chocolate Cake topped with Creamy Chocolate Buttercream. Every single step has been tested and refined in my kitchen over countless birthdays and random Tuesday cravings!
Why This is the Best Homemade Chocolate Cake Recipe
Honestly, if you’re looking for an easy homemade chocolate cake recipe that delivers that ‘wow’ factor, this is it. The real magic here is that everything—and I mean everything—goes into one big bowl! Cleanup is minimal, which is a huge win after a long day, but you don’t sacrifice flavor for convenience, I promise. This isn’t some dry, sad cake masquerading as chocolate; this is a genuinely moist chocolate cake from scratch.
I’ve even got a little trick up my sleeve to boost that richness. I always use hot brewed coffee instead of hot water when I mix the final batter. Don’t panic; your cake won’t taste like a mocha! The coffee acts like a secret booster for the cocoa powder, coaxing out the deepest, darkest chocolate notes. It’s one of those little bits of baking expertise that elevates this cake from good to absolutely necessary for your recipe collection.
Key Features of Our Homemade Chocolate Cake
- One-bowl cleanup! Mix everything right in the bowl you’ll use for the final batter.
- Incredibly tender crumb thanks to the specific ratio of oil and buttermilk.
- Rich dark chocolate flavor that tastes like it took hours of effort (but it didn’t!).
- It’s sturdy enough for layering, but soft enough for a simple afternoon snack.
You’ll find yourself reaching for this recipe again and again. If you’re ever looking for way to use up those extra zucchini you have lying around, check out my chocolate chip zucchini bread recipe—it uses some similar techniques for moisture!
Ingredients for Your Moist Homemade Chocolate Cake
Gathering your ingredients is half the fun, and for this cake? It’s super simple because it all lives in one spot! We’ll separate them out just so you don’t accidentally put salt in your frosting mix—oops! Remember, good results start with quality ingredients laid out right before you start mixing. If you ever need a slightly different but equally delicious topping, I have a fantastic best classic cream cheese frosting recipe post too!
For the Rich Dark Chocolate Cake Batter
Make sure your buttermilk is sitting out for a little bit before you start. Room temperature liquids mix in so much better and help create that light, airy texture we are aiming for in our moist chocolate cake from scratch.
- 1 3/4 cups all-purpose flour
- 1 3/4 cups granulated sugar
- 3/4 cup unsweetened cocoa powder (use a good quality one, trust me!)
- 1 1/2 teaspoons baking soda
- 1 1/2 teaspoons baking powder
- 1 teaspoon salt
- 2 large eggs
- 1 cup buttermilk (room temperature is best!)
- 1/2 cup vegetable oil
- 2 teaspoons vanilla extract
- 1 cup hot water or hot brewed coffee (still steaming!)
For the Homemade Chocolate Frosting Recipe
For the frosting, we need butter that is truly, properly softened. Not melted, not greasy, just soft enough that your finger easily sinks in. This makes beating it smooth so much easier!
- 1 cup powdered sugar
- 1/2 cup unsalted butter, softened
- 1/2 cup unsweetened cocoa powder
- 1/4 cup milk
- 1 teaspoon vanilla extract
Step-by-Step Instructions for the Homemade Chocolate Cake
Okay, now for the fun part! You’ve got your ingredients ready, and there’s no better feeling than knowing everything will end up in just one mixing bowl—that’s the beauty of this homemade chocolate cake. I usually preheat the oven first thing, so it’s blazing hot when the batter is ready. And don’t forget to grease and flour those two 9-inch round pans well; we want these beautiful cakes to slide right out!
Preparing the Pans and Dry Ingredients
First things first, get your oven going to 350°F (175°C). Prep those pans: grab some butter or baking spray, make sure every nook and cranny is coated, and then dust them generously with flour. Shake out the excess. Seriously, do not skip this part—nobody needs a beautiful layer cake stuck to the bottom!
Next, grab your biggest bowl. We’re combining all the dry stuff: flour, sugar, that beautiful cocoa powder, baking soda, baking powder, and salt. Whisk it all together until it looks uniform. This is a key step to making sure your leaveners and salt are evenly distributed before we introduce any wet ingredients.
Mixing the Batter and Baking the Homemade Chocolate Cake
Now, we add the liquids—but not all of them yet! Drop in your eggs, the buttermilk, the oil, and the vanilla extract. Start your mixer on low and then go up to medium speed. Beat this for a solid two minutes. This mixing time is crucial for developing the structure, so don’t rush it!
Here comes the one part where you need to be gentle: carefully pour in that cup of hot water or coffee. Mix it on low speed until it *just* disappears into the batter. I mean it—just combined! If you keep mixing now, you’ll deflate all that air you just worked to incorporate, and we want a tender crumb, not a brick. Divide that slightly thin batter between your two prepared pans.
Pop them in the oven for about 30 to 35 minutes. Start testing around the 30-minute mark by inserting a wooden pick into the center. If it comes out with moist crumbs attached, you’re golden! Let them chill in the pans for just 10 minutes before flipping them out onto a wire rack to cool completely. Cakes need to be 100% cool before frosting, otherwise, you’ll have a melted chocolate disaster spreading all over your counter. If you need more baking tips, check out my advice on chocolate chip zucchini muffins moist secrets!
Creating the Creamy Homemade Chocolate Frosting
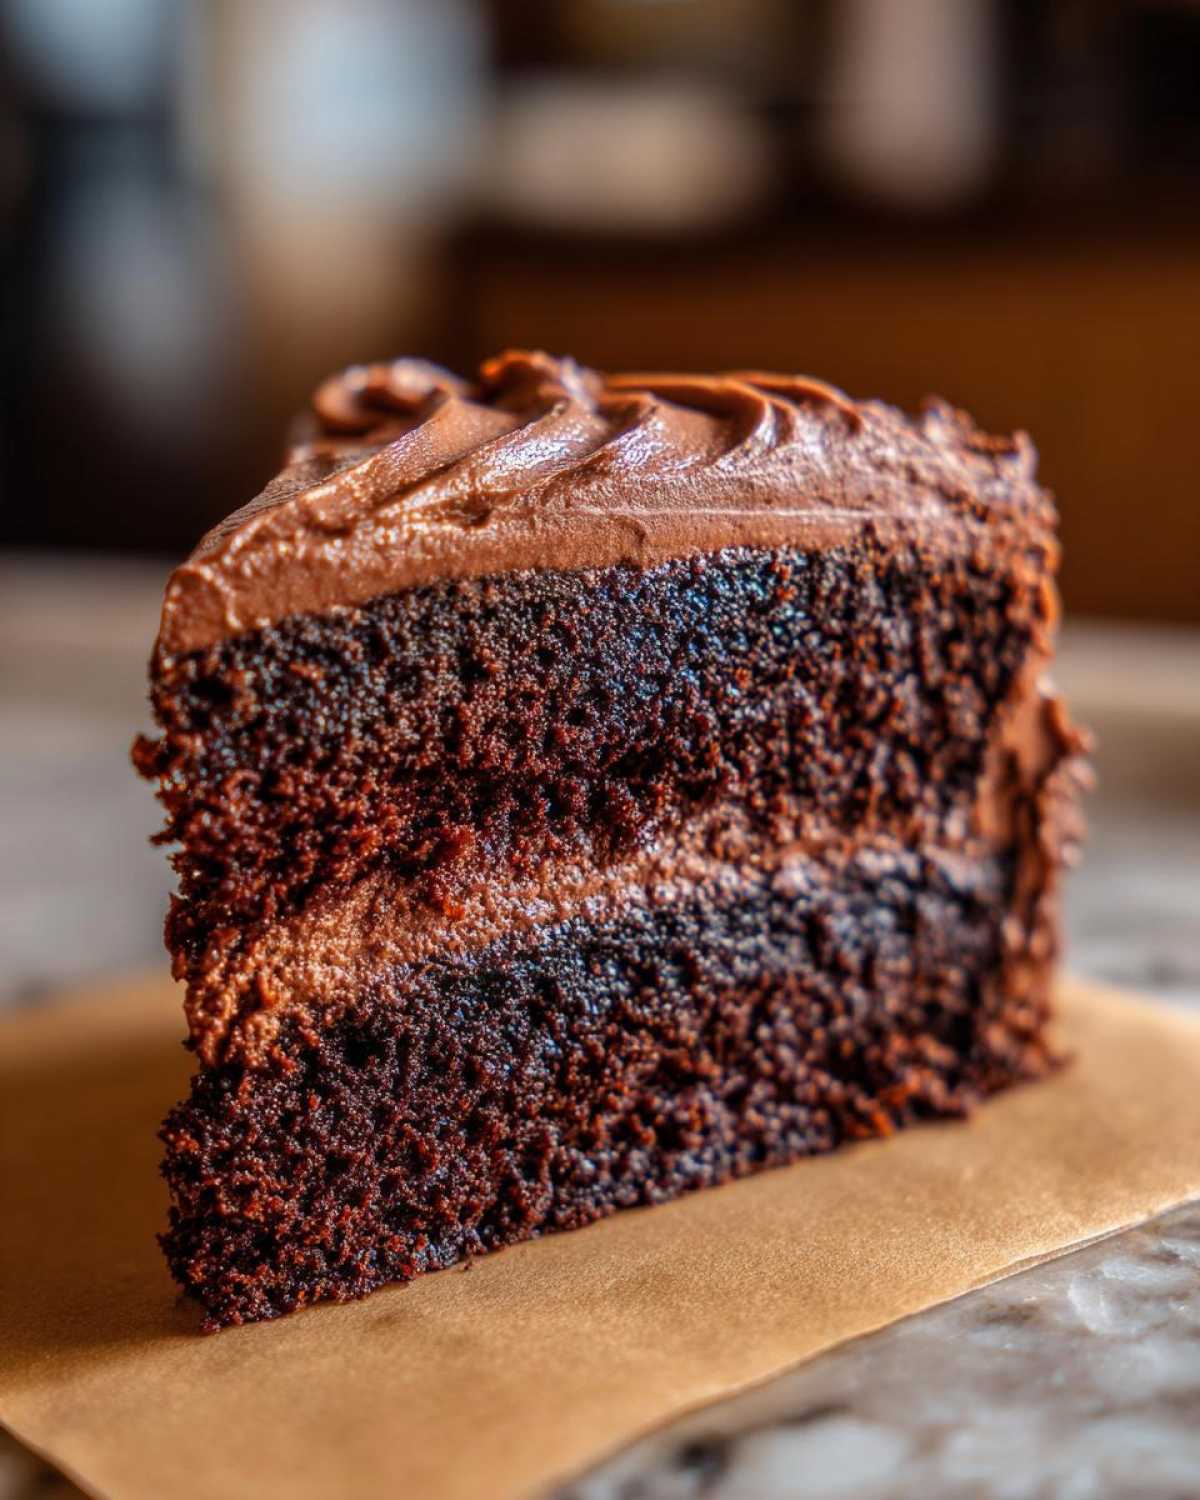
While the cakes are cooling down—and they must be cool!—we make the frosting. Beat that softened butter until it’s light and fluffy on its own. Then, you alternate adding the powdered sugar, the cocoa powder, and the milk. Start slow so you don’t get a chocolate powder cloud in your kitchen!
Beat it until it’s smooth. If it seems too stiff, add just a tiny splash more milk until you hit that perfect, spreadable consistency. Stir in that last bit of vanilla. Once those cake layers are totally cool to the touch, you can frost and stack them up into the amazing easy chocolate layer cake you’ve created!
Tips for the Perfect Homemade Chocolate Cake Every Time
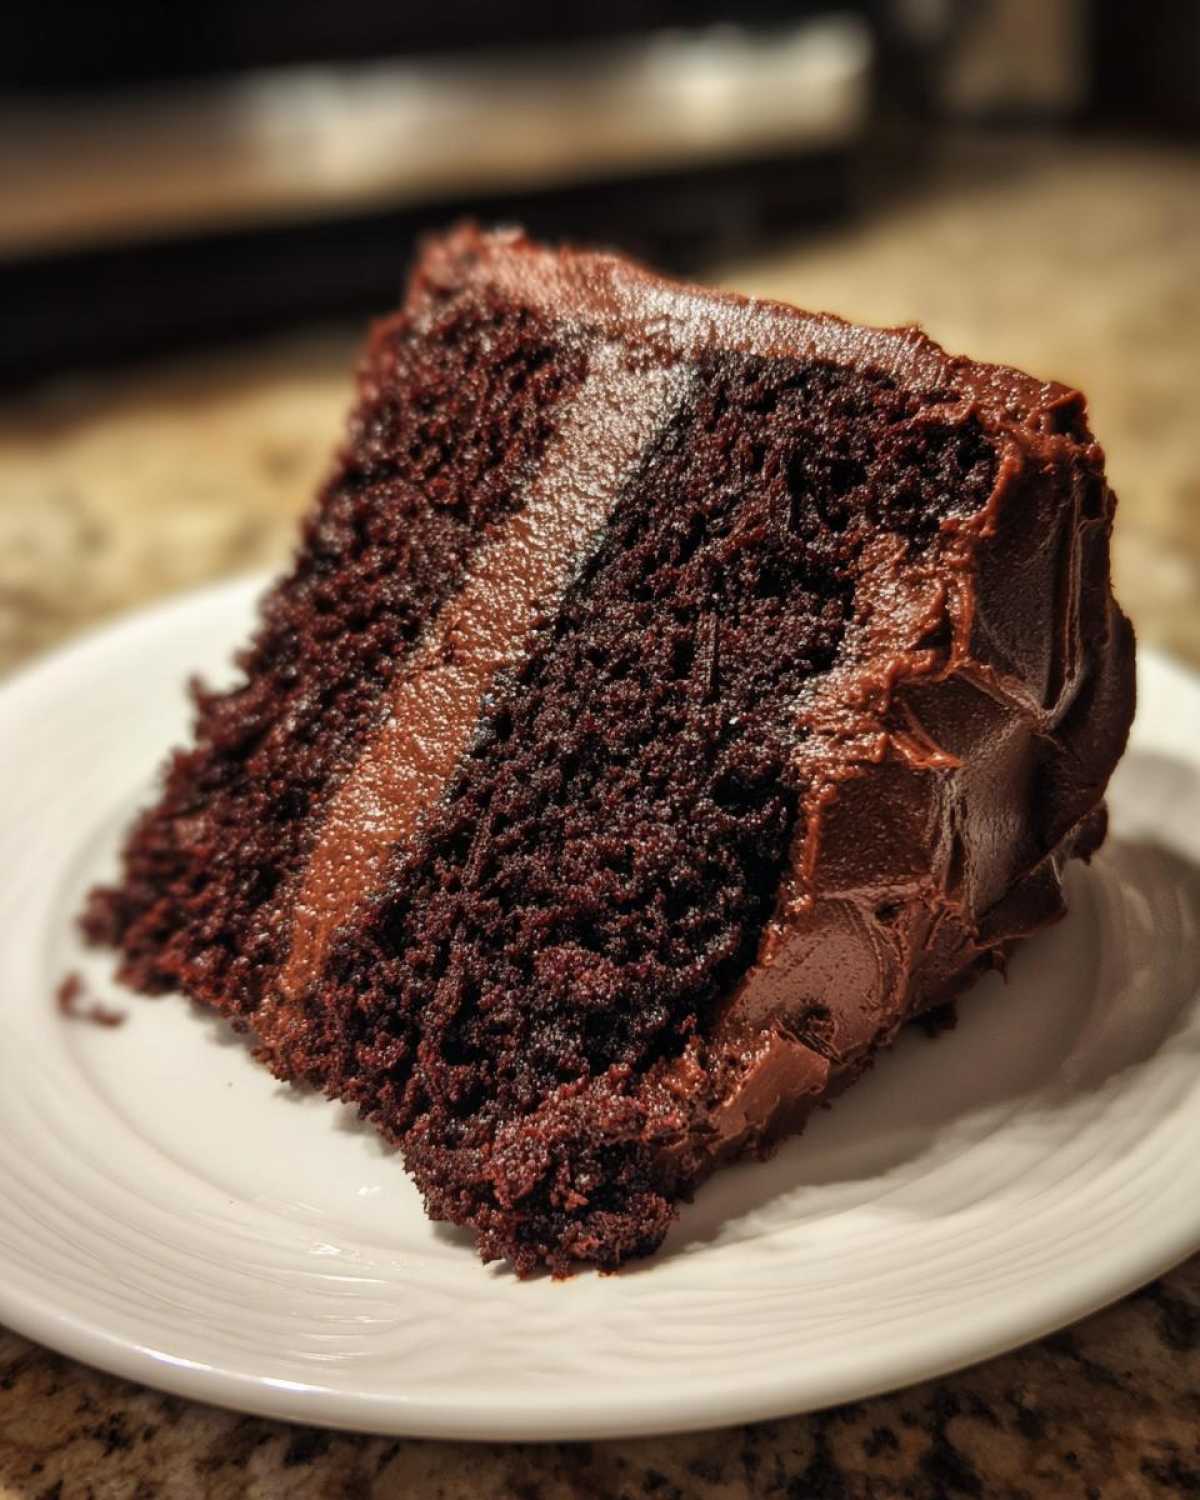
Even though this is designed to be such a beginner friendly chocolate cake, leaning into a couple of expert tricks really solidifies the ‘wow’ factor. I mentioned using hot coffee instead of water above, but I want to stress how much that enhances the richness. Seriously, try it once—it doesn’t compromise the flavor profile at all, it just makes the chocolate taste *more* like itself. It’s a simple adjustment that feels super expert!
Also, remember what I said about not overmixing after adding that hot liquid? I learned that the hard way once when I was distracted by a phone call. The cake baked up fine, but the texture was disappointingly dense and chewy instead of light. We want that gorgeous tender crumb chocolate cake texture, so mix just until you don’t see flour streaks!
And if you’re out of buttermilk? Don’t run to the store! This is the best kitchen hack. Just take a regular cup of milk and stir in one tablespoon of white vinegar or fresh lemon juice. Let it sit on the counter for about five minutes, and voila! You have perfect homemade buttermilk. It’s a lifesaver for making sure this homemade chocolate cake comes out perfectly tender every time. You can find more ways I hack recipes over on my post about chocolate chip zucchini bread moist secrets!
Variations for Your Homemade Chocolate Cake
Just because this recipe is already amazing doesn’t mean we can’t play around with it a little! This base structure is so reliable that it begs you to try new flavor combinations. If you’re looking to turn this into something truly unique—maybe a show-stopping centerpiece or just a surprise twist on a simple chocolate dessert—you have tons of options here. I love experimenting, especially when it comes to pleasing the ultimate chocolate lover desserts fanatic in my life! I even have a recipe for chili chocolate nut clusters recipe if you want to explore that flavor profile further!
Flavor Boosts for the Batter
If you want to double down on that deep, dark flavor you get from the hot coffee tip, try adding about a teaspoon of instant espresso powder right in with your dry ingredients before you add any liquid. It just amplifies the chocolate without adding coffee flavor. You can also substitute some of the vanilla extract for almond extract—just a half teaspoon of almond can make the chocolate notes seem brighter and richer, which is a fun change.
For a real kick, especially around the holidays or if you like bold tastes, try adding just a tiny pinch of cayenne pepper or chili powder to the dry mix. It doesn’t make the cake spicy, but it warms up the back of your throat and gives the chocolate a fantastic depth. It’s unexpected, but so good!
Frosting Swaps for the Homemade Chocolate Cake
Our basic chocolate buttercream is heavenly, but sometimes you want something a little different! If you want a tangier, lighter topping than buttercream, you can always use that cream cheese frosting recipe I worked on recently; it pairs so beautifully with the richness of this cake. I’ve got a full guide on the chocolate hazelnut layer cake recipe that shows how to stabilize cream cheese frosting if you need it to hold up under decoration.
Another favorite swap of mine is taking this chocolate frosting recipe and beating in about a half cup of creamy peanut butter once the butter and sugar are mixed. Suddenly, you have the most incredible peanut butter chocolate frosting! It makes for a really indulgent treat, perfect for those times you want maximum impact with minimal extra work.
Serving Suggestions for this Classic Chocolate Cake
This classic chocolate cake is so robust and flavorful, it stands up beautifully all on its own, especially once it’s smothered in that creamy frosting. But if you’re making it for a big party or just want to feel extra fancy, you need some great pairings. Think about contrasting temperatures!
A scoop of vanilla bean ice cream that’s just starting to melt over a warm slice is heaven. For something brighter, nothing beats fresh raspberries or sliced strawberries sprinkled on top. They cut through the richness perfectly. Since this is such an amazing easy chocolate layer cake for celebrations, try serving it alongside a simple, tart side dessert like my peach cobbler with fresh peaches recipe if you need variety!
Storage and Reheating for Your Homemade Chocolate Cake
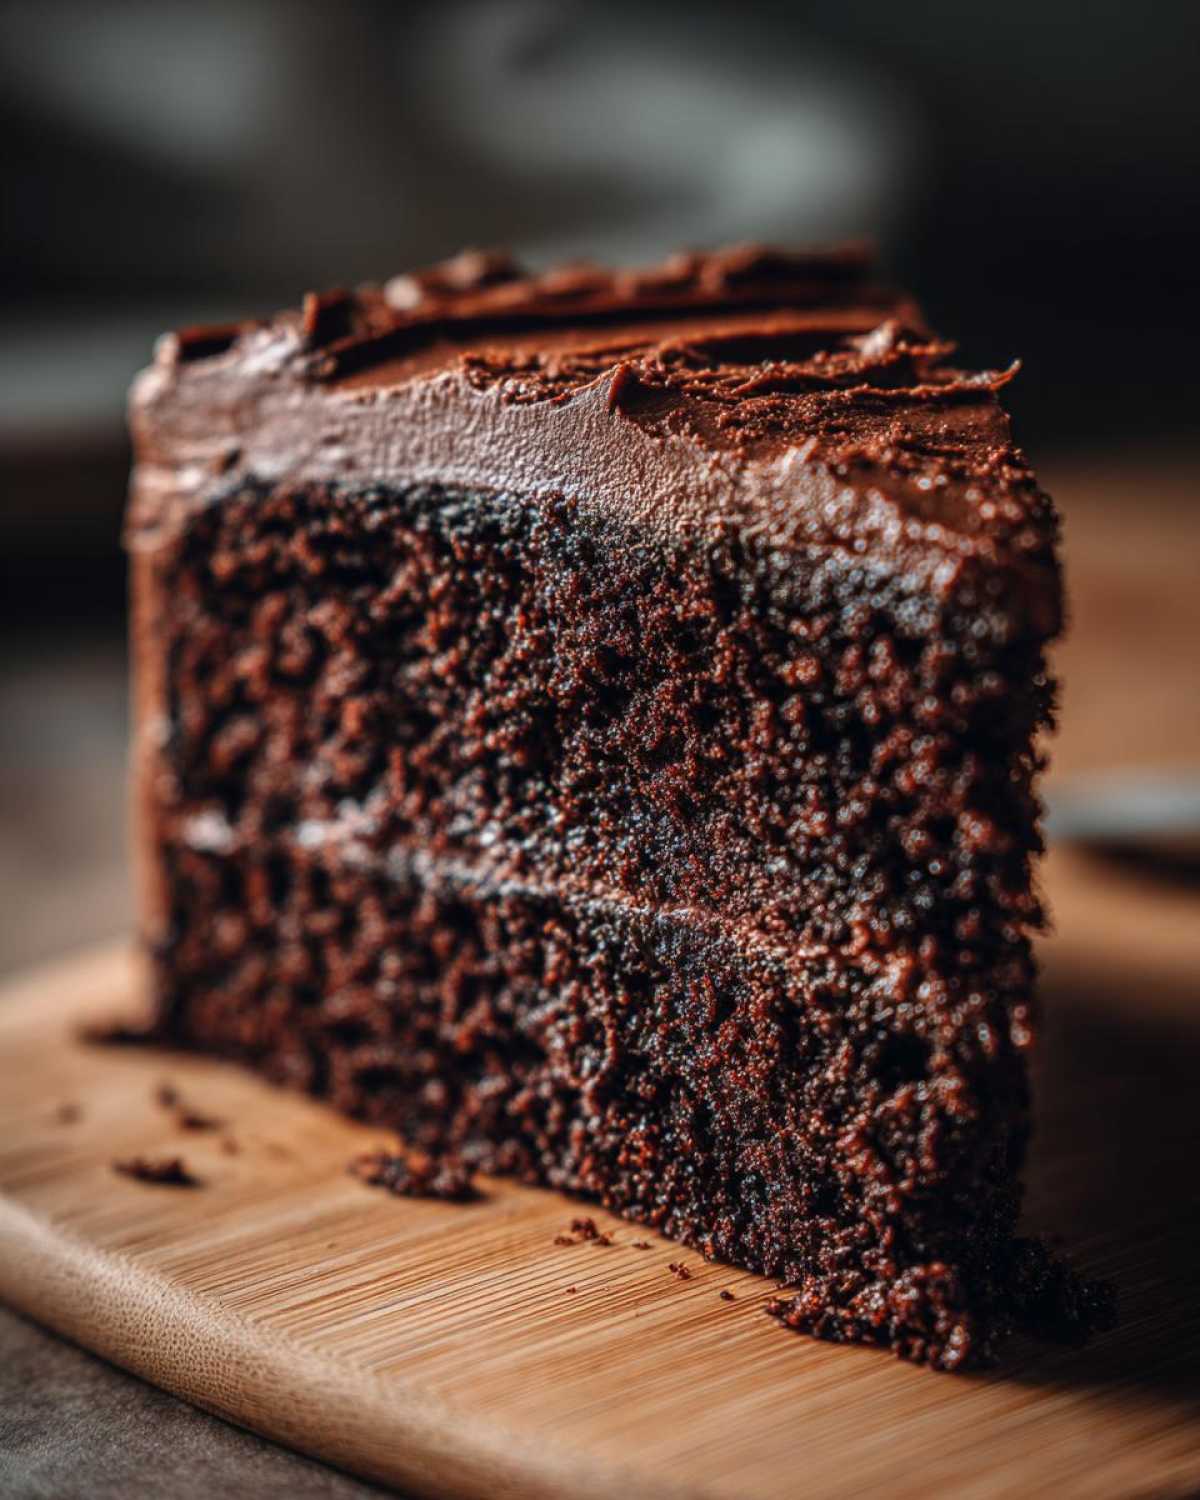
One thing I love about this recipe is that it actually tastes even better the next day, which is a huge plus when you’re baking for a crowd!
If your cake is frosted, just cover it loosely with a cake dome or even just a big bowl if you don’t have one. It will stay perfectly moist at room temperature for about three days. Make sure you keep it away from anything too sunny or hot, though!
For storing the cake layers unfrosted, wrap them really tightly in plastic wrap—like, tightly wrapped, then maybe another layer of foil. You can keep those wrapped layers on the counter for two days, or tucked away in the fridge for closer to five. They freeze beautifully too, which is fantastic for making ahead! Just wrap the cooled, unfrosted layers really well and pop them in the freezer for up to three months. When thawing, just let them come to room temperature overnight on the counter before frosting. It’s so reliable; I always feel confident storing leftovers because I know this homemade chocolate cake holds up so well!
Frequently Asked Questions About Homemade Chocolate Cake
I get so many questions about this cake because everyone wants their homemade version to be absolutely perfect! I tried to cover all the main points below, but if I missed something—like how to turn this into a super quick chocolate cake recipe for when you only have 30 minutes—just drop a comment!
Can I make this homemade chocolate cake ahead of time?
Absolutely, and I highly recommend it if you’re planning a gathering! The flavor actually deepens overnight, which is fantastic. If you are baking for a party, the best way to prep is to bake the two layers, let them cool completely, and then wrap each layer tightly in a double layer of plastic wrap and foil. Keep them wrapped and stored at cool room temperature for up to two days, or you can freeze them this way for about three months. Frost them the day before you plan to serve. They really are better than any store-bought box mix, even when made ahead!
How do I ensure my homemade chocolate cake is extra fudgy?
If you are chasing that dense, almost brownie-like experience, you can definitely nudge this recipe toward being more fudgy chocolate cake territory! The main secret is that hot liquid we added—if you want it extra fudgy, use the hot coffee instead of hot water, and maybe reduce the hot coffee amount just slightly, perhaps to 3/4 cup instead of a full cup. This slightly concentrates the chocolate flavor and reduces the overall liquid just a touch, giving you a denser, richer result. Also, make sure you’re using a high-quality, dark cocoa powder; it makes all the difference!
If you ever need a super fast chocolate fix, check out my quick easy chocolate mug cake recipe—it’s ready in under five minutes!
Estimated Nutritional Information for This Homemade Chocolate Cake
Now, I have to give you the usual disclaimer here: since home kitchens aren’t exactly certified labs, these numbers are just an educated guess based on the standard breakdown of the ingredients we used above. This is great for knowing approximately what you’re eating, but if you’re counting macros super strictly, you might want to tweak the amounts and do your own calculation! But for a slice of this incredible homemade chocolate cake, I think you’ll be happy with what you see.
This estimate breaks down the numbers per serving (which is one slice, assuming you cut it into 12 even pieces for your beautiful chocolate layer cake celebration).
- Serving Size: 1 slice (Makes 12 servings)
- Calories: Approximately 450
- Total Fat: 24g (including 10g saturated fat)
- Carbohydrates: 60g
- Sugar: 55g (Yes, it’s a treat, but oh so worth it!)
- Protein: 5g
It’s important to remember that this includes both the cake and a healthy dollop of that creamy homemade chocolate frosting we made. If you go light on the frosting, you can certainly knock down those sugar and fat counts a little! Either way, enjoy every bite of your perfectly baked, moist chocolate cake from scratch.
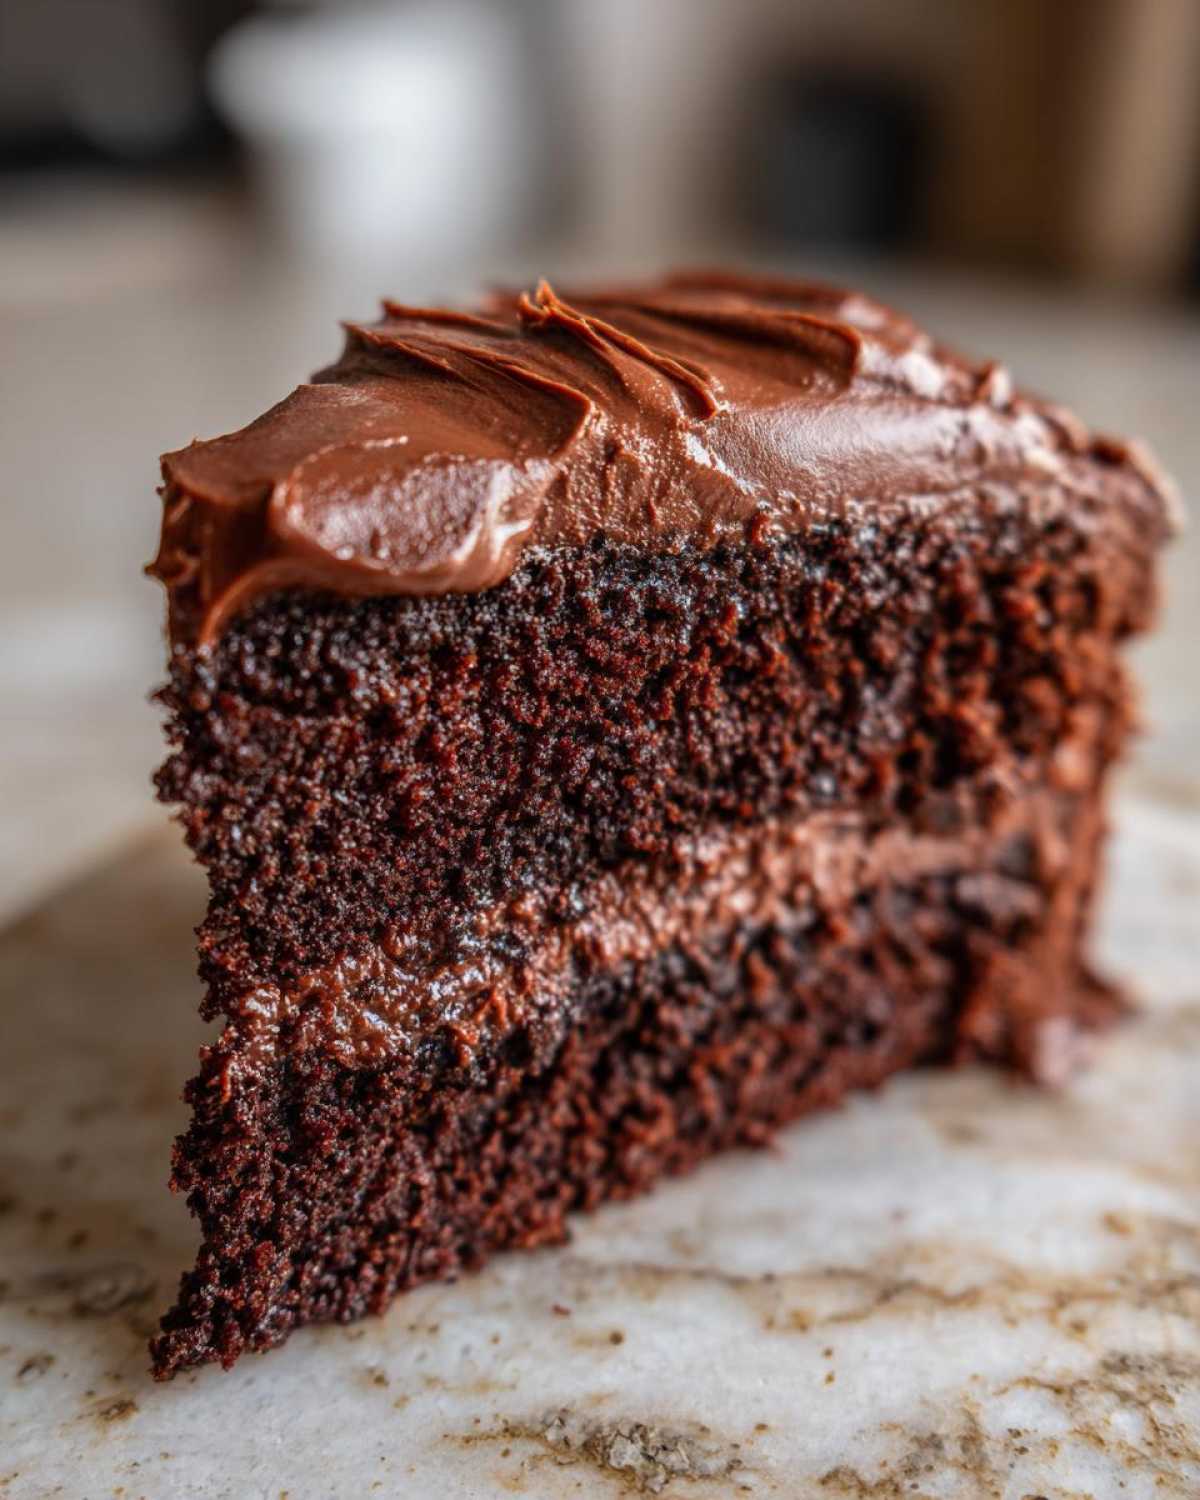
Share Your Homemade Chocolate Cake Creations
I’ve poured my heart and soul into making this the most reliable, delicious homemade chocolate cake recipe out there! Now it’s your turn to roll up your sleeves and get that oven warming up. I absolutely live to see your successes—the towering layer cakes, the perfectly spread frosting, or even just a simple slice enjoyed with a cup of coffee.
When you finish baking this beauty, please head back down to the comments section and let me know how it went! Did you try the hot coffee trick? Are you a 5-star baker for this recipe? Don’t be shy; rate it high if you loved it! Your feedback truly helps others trust this recipe, and I read every single comment.
If you snap a picture of your finished masterpiece—maybe you decorated it for a birthday or enjoyed it as a quick simple chocolate dessert—I’d be thrilled if you shared it on social media! Tag me so I can see your amazing work. And if you ever need to get in touch with me directly, just head over to my contact page. Happy baking, everyone!
PrintOne-Bowl Moist Homemade Chocolate Cake
A straightforward recipe for a rich, moist chocolate cake made entirely in one bowl, perfect for any occasion.
- Prep Time: 20 min
- Cook Time: 35 min
- Total Time: 55 min
- Yield: 12 servings
- Category: Dessert
- Method: Baking
- Cuisine: American
- Diet: Vegetarian
Ingredients
- 1 3/4 cups all-purpose flour
- 1 3/4 cups granulated sugar
- 3/4 cup unsweetened cocoa powder
- 1 1/2 teaspoons baking soda
- 1 1/2 teaspoons baking powder
- 1 teaspoon salt
- 2 large eggs
- 1 cup buttermilk
- 1/2 cup vegetable oil
- 2 teaspoons vanilla extract
- 1 cup hot water or hot brewed coffee
- 1 cup powdered sugar (for frosting)
- 1/2 cup unsalted butter, softened (for frosting)
- 1/2 cup unsweetened cocoa powder (for frosting)
- 1/4 cup milk (for frosting)
- 1 teaspoon vanilla extract (for frosting)
Instructions
- Preheat your oven to 350°F (175°C). Grease and flour two 9-inch round cake pans.
- In a very large bowl, whisk together the flour, sugar, 3/4 cup cocoa powder, baking soda, baking powder, and salt until combined.
- Add the eggs, buttermilk, oil, and 2 teaspoons of vanilla extract to the dry ingredients. Beat with an electric mixer on medium speed for two minutes.
- Carefully pour the hot water or coffee into the batter and mix on low speed until just combined. The batter will be thin.
- Divide the batter evenly between the prepared cake pans.
- Bake for 30 to 35 minutes, or until a wooden pick inserted into the center comes out clean.
- Let the cakes cool in the pans for 10 minutes before inverting them onto a wire rack to cool completely.
- To make the frosting, beat the softened butter in a bowl until creamy.
- Gradually add the powdered sugar and 1/2 cup cocoa powder, alternating with the milk, beating until smooth.
- Stir in 1 teaspoon of vanilla extract. Add more milk if needed for a thinner consistency.
- Once the cakes are completely cool, frost and stack them.
Notes
- Using hot coffee instead of hot water deepens the chocolate flavor without making the cake taste like coffee.
- Do not overmix the batter once the liquid is added; this keeps the cake tender.
- Buttermilk can be substituted with 1 cup of regular milk mixed with 1 tablespoon of white vinegar or lemon juice, left to sit for 5 minutes.
Nutrition
- Serving Size: 1 slice
- Calories: 450
- Sugar: 55g
- Sodium: 320mg
- Fat: 24g
- Saturated Fat: 10g
- Unsaturated Fat: 14g
- Trans Fat: 0g
- Carbohydrates: 60g
- Fiber: 3g
- Protein: 5g
- Cholesterol: 65mg
