

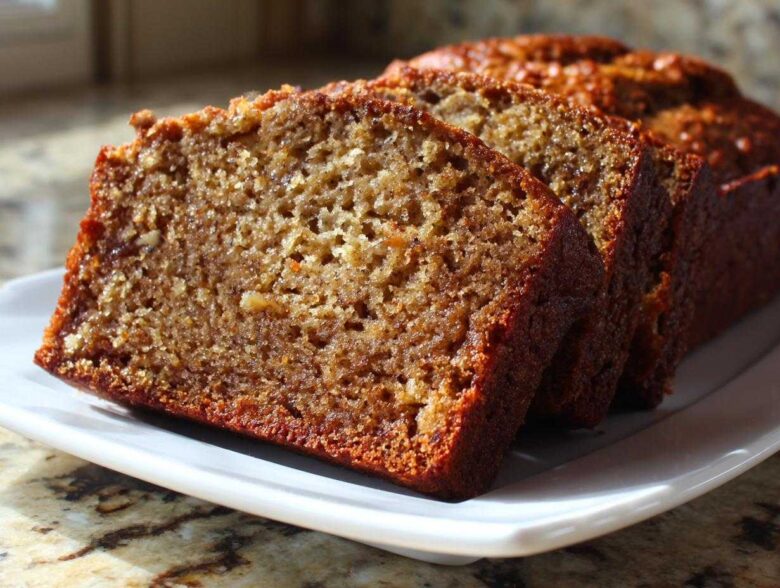
There’s just something about the smell of banana bread baking, isn’t there? It just screams *home*. I swear, it instantly calms me down after a crazy day. I’ve been whipping up loaves of this stuff since I was tall enough to see over the counter, stealing tips from every cookbook and relative who swore they had the best approach. I’ve learned a few things the hard way, trust me! So, I finally put together what I truly believe is the ultimate, foolproof guide: The Banana Bread Step by Step. If you’re new to quick breads or just looking to guarantee that unbelievably moist center every single time, stick with me. We’re breaking down every simple action so you can bake the perfect loaf!
Why The Banana Bread Step by Step is Your Go-To Recipe
Look, there are a million banana bread recipes out there, but this one cuts through the noise. I wrote this guide specifically so you don’t feel overwhelmed. We aren’t skipping steps; we’re just making sure every step makes sense for a first-time baker!
- It’s genuinely beginner-friendly—no fancy equipment needed, just simple mixing.
- We focus on technique to guarantee that signature, moist crumb nobody likes to mess up.
- Every single instruction is spelled out, so you know exactly what “mixed until just combined” actually looks like!
If you want to try something different after mastering this, check out my recipe for Bakery-Style Banana Nut Muffins soon!
Gathering Ingredients for The Banana Bread Step by Step
Before we even think about grabbing a whisk, we need to talk about the starting lineup. Making **the easiest banana bread you will ever make** starts right here! Good ingredients mean great bread, so pay close attention to the ripeness of those bananas—that’s our secret weapon for guaranteed moisture!
If you master this ingredient list, you’re halfway to a fantastic loaf. We’ll be using some simple pantry staples, but the quality of the bananas really makes the difference here. For more inspired quick breads, you might enjoy my Blueberry Banana Bread next!
Ingredient List Clarity
Here’s exactly what you’ll need for this batch. Remember, this is a **moist banana bread tutorial**, and the bananas are key! My expert tip? Don’t buy them yellow; wait until they are heavily spotted or even starting to look totally black!
- 3 large very ripe bananas, mashed
- 1/3 cup melted unsalted butter
- 1 teaspoon baking soda
- Pinch of salt
- 3/4 cup granulated sugar
- 1 large egg, lightly beaten
- 1 teaspoon vanilla extract
- 1 1/2 cups all-purpose flour
Essential Equipment for Banana Bread Success
You don’t need a fancy stand mixer for this, thank goodness! Since **The Banana Bread Step by Step** is designed to be simple, we’re sticking to the basics you probably already have hiding in your drawers. Having the right tools really helps keep things clean and organized, especially for you first-timers.
Make sure these few simple items are ready to go before you start mixing:
- A standard 9×5 inch loaf pan. This size is crucial for that perfect 50-60 minute bake time.
- Two mixing bowls—one medium one for the wet stuff and one smaller one for anything dry we might mix separately (though we keep it simple here!).
- A whisk for combining liquids and a good rubber spatula for folding the flour in gently later on.
- Measuring cups and spoons, obviously! Precision matters when you are learning a new recipe like this **easy banana bread recipe**.
The Banana Bread Mixing Method Explained
Okay, now we get into the real action—how we put this all together! The secret to a **moist banana bread tutorial** isn’t just the bananas; it’s how gently we treat the final batter. My technique keeps everything super easy, but you have to follow the order, especially right at the end. If you’re looking for another simple bread recipe, my Date Nut Bread is similar in method!
Preparing the Pan and Oven
First things first: We need the oven warmed up and ready. Set that heat to 350 degrees Fahrenheit (that’s 175 degrees Celsius if you use metric). While it’s warming, grab your 9×5 inch loaf pan. I always grease mine really well with butter or cooking spray, and then I dust it lightly with flour. This step seems fussy, but trust me, it guarantees that perfect release later on.
Combining Wet Ingredients for the Moist Banana Bread Tutorial
Time for the mushy stuff! Take those spotted bananas—the blacker the better!—and mash them up. I don’t use a blender; I just use the back of a fork right in the bowl. I like some texture, so I keep mashing until it’s mostly smooth but still has a few slightly bigger chunks; those melt into lovely pockets of banana flavor later. Next, whisk in the melted butter, then the baking soda, salt, sugar, that single egg, and the vanilla. Whisk this all until it looks unified and happy.
Folding in Dry Ingredients: The Key to Light Texture
This is where we earn our perfect loaf! Put the flour in last over the wet mixture. Now, grab your rubber spatula. You are going to fold—not stir!—just until the white streaks of flour completely disappear. Seriously, stop mixing the second you can’t see any more flour. If you overmix it here, you activate the gluten too much, and boom—you get tough, gummy bread instead of the tender crumb you want! We are aiming for **The Banana Bread Step by Step** success here, not a brick!
Classic Banana Bread Instructions: Baking and Cooling
It’s such a relief when you finally pour that slightly lumpy batter into your prepared loaf pan. Be gentle when pouring so you don’t deflate all the air we just mixed in! Now we wait, and the waiting is the hardest part of following The Banana Bread Step by Step, I know!
Baking Times and Testing Doneness
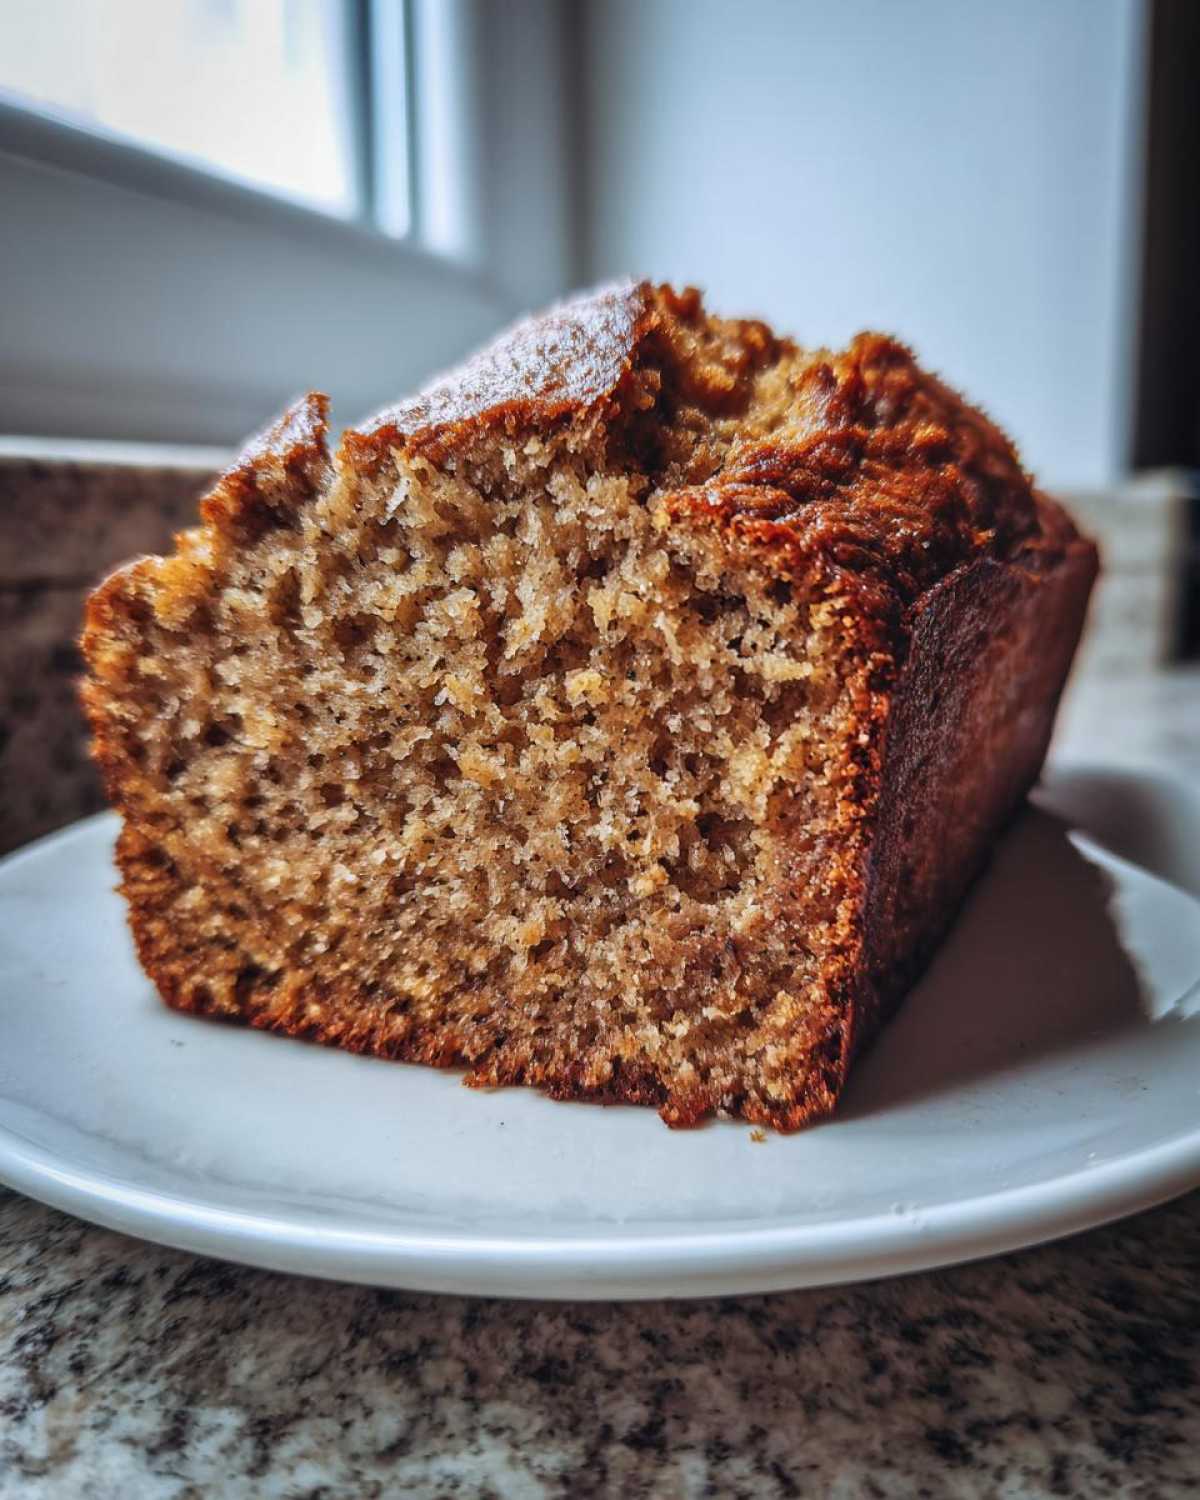
Pop that pan into your preheated 350°F oven. The standard bake time is right around 50 to 60 minutes, but every oven is different. I always give mine a quick peek around the 45-minute mark because if your oven runs hot, you could end up with dry edges! The real test is the skewer test: poke a wooden skewer or toothpick right into the center. If it comes out clean, or with just a few happy, moist crumbs attached, it’s done. No wet batter allowed!
The Cooling Process for Perfectly Baked Banana Bread Tips
This part is non-negotiable for the best texture! Let the bread chill out *in the pan* for a solid 10 minutes once you pull it out. If you try to pop it out immediately, it’s too delicate and might seriously crumble on you. After those 10 minutes, carefully run a knife around the edges and turn it out onto a wire rack. It needs to cool completely on that rack—I know, I know, waiting is hard!—but this pulls away any lingering steam and prevents that dreaded soggy bottom. If you’re craving it warm, save those slices for reheating later; don’t cut it piping hot!
If you want to see another great loaf recipe while this one bakes, check out my Chocolate Chip Zucchini Bread!
Ingredient Notes and Substitutions for Easy Banana Bread Recipe
I always tell folks that while these **classic banana bread instructions** are solid, baking is also about reading the room—or in this case, reading your pantry! I’ve included some notes down below on how you can swap things out without ruining this **beginner banana bread recipe**. The most important adaptation I always suggest is messing with the sugar a little bit.
If you look at the recipe notes, you’ll see I suggested swapping half the white sugar for packed light brown sugar. Try it! It adds this deep, caramel note that just elevates the whole experience. If you need **sugar-free banana bread** options, I have a whole post about that, but for this basic recipe, swapping sugar types is the easiest flavor booster.
For those of you looking at your flour bag thinking, “What if I only have self-rising?” I’d advise against it for this specific quick bread. Self-rising flour already has salt and leavening agents included, and since we are relying on *baking soda* reacting with the acids in the bananas, adding that extra leavening often makes the bread rise way too fast, then collapse right in the middle. Stick to all-purpose flour on your first run!
If you’re interested in other ways to sweeten breads, check out my post on Sugar-Free Banana Bread Adventures for some lighter ideas!
Troubleshooting Common Issues in The Banana Bread Step by Step
Don’t panic if your first loaf isn’t exactly magazine-perfect! Even in my years of making this, I’ve run into issues. The good news is that most problems in **The Banana Bread Step by Step** come down to one of two things: bananas or mixing. If your bread turns out gummy or heavy, it’s almost always because you overmixed the flour. Remember how strict I was about stopping when the flour streaks disappear? That’s why!
For a sunken center, double-check your baking soda. If it’s old, it won’t give the bread the lift it needs, and the heavy banana batter will collapse as it cools. If your bread seems dry, it means you didn’t use bananas that were ripe enough, or you checked it too early! If you want to explore healthier versions for the future, my Banana Protein Muffins are fantastic for packing in nutrition!
Serving Suggestions for Your **Moist Banana Bread Tutorial**
The absolute best part of finishing **how to make banana bread from scratch** is knowing you get to eat it! But *how* you serve it can make a good loaf a great experience. Honestly, cutting a thick slice while it’s still slightly warm—not scalding hot, but pleasantly warm—and slathering it with good quality, slightly softened butter is heaven on earth.
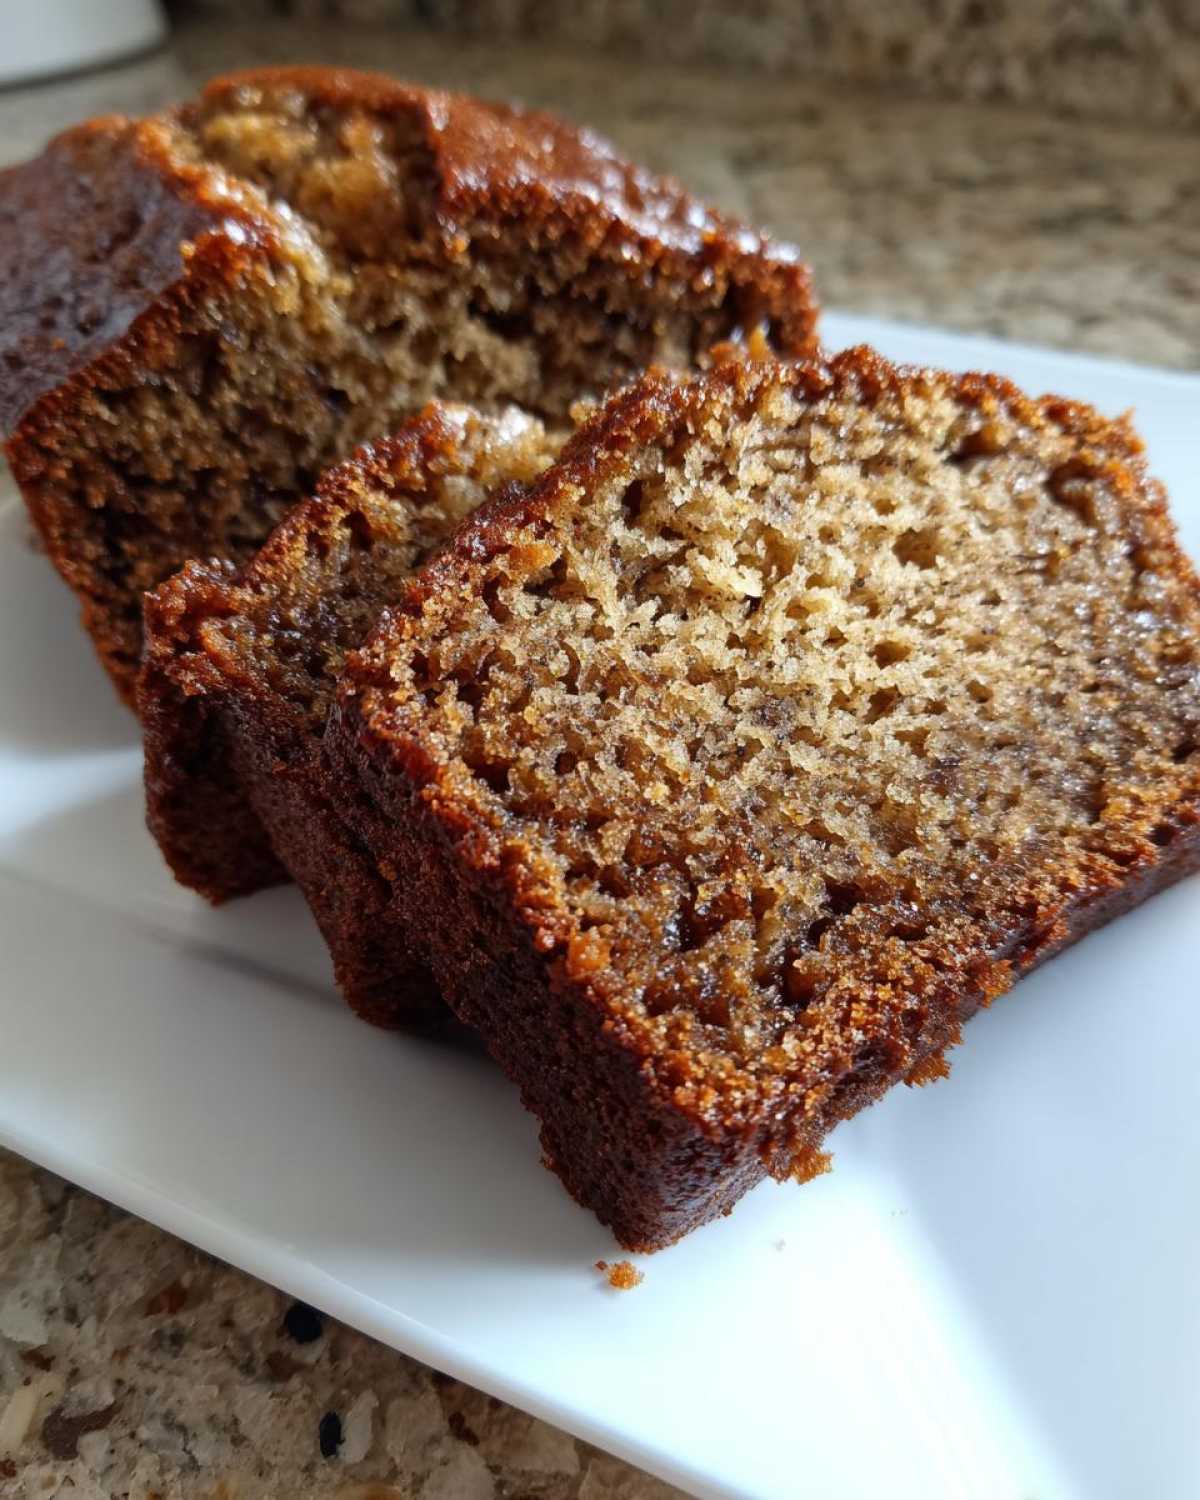
Don’t discount the toast factor either! Once that loaf cools completely, slicing it up and popping it in the toaster oven the next morning is amazing. It brings out the sweetness of the bananas again and gives the edges that perfect little crispness. It’s fantastic with a big mug of coffee.
If you want to get fancier, a thin layer of cream cheese is wonderful, or even a drizzle of honey or pure maple syrup right before serving elevates it immediately. For something heartier, you could try topping it with toasted nuts or perhaps even a scoop of vanilla bean ice cream if you’re feeling decadent! If you’re looking for other breakfast/snack ideas, you have to try my Maple Pecan Banana Oatmeal next time!
Storage and Reheating for The Banana Bread Step by Step
Even the best loaves don’t last long in my house, but sometimes you just have leftovers! For the best experience while following **The Banana Bread Step by Step**, you should store it wrapped tightly in plastic wrap at room temperature for up to three days. I never refrigerate it unless the weather is super humid, because the fridge can dry it out quickly! If you do need to keep it longer, foil wrap it tightly and freeze it for up to three months.
When you want to enjoy a slice later, pop it in a low oven (about 325°F) for about five to eight minutes, or just microwave it for 15 seconds. That little bit of heat brings the moisture right back to life! If you’re looking for savory side dishes like Sweet Potato Mash, let me know!
Frequently Asked Questions About Baking Banana Bread
I get so many questions about this recipe, which just proves how many of you are trying **how to make banana bread from scratch** at home! It’s the little details that often get people stuck, so let’s clear up the most common worries I hear from folks trying out this **beginner banana bread recipe** for the first time.
Can I use yellow bananas instead of very ripe ones for this beginner banana bread recipe?
Oh, you absolutely *can*, but you’re going to miss out on so much flavor and moisture! A yellow banana is still sweet, but the starch hasn’t fully converted to sugar yet. If you use yellow ones, your bread will be noticeably less flavorful and potentially a little drier. For this recipe to truly sing, those bananas need to be spotted, nearly black, and soft to the touch. That’s where the magic comes from!
What is the best way to tell if my **classic banana bread instructions** are done baking?
The skewer test is your best friend here, but let me remind you what you’re looking for. You want that wooden skewer or toothpick inserted into the absolute center to come out with just a few moist crumbs sticking to it. If you pull it out and it’s completely dry, you’ve baked it a little too long, but don’t worry, it will still be tasty! If there’s wet batter clinging to it, just slide it back in for another five minutes and check again. Never rely only on just looking at the top!
Can I freeze how to make banana bread from scratch for later?
Yes, freezing is one of the best ways to enjoy this bread later! Once the loaf has completely cooled—and I mean totally cool, no residual heat—wrap it tightly first in plastic wrap, and then wrap it again in aluminum foil. This double layer is important to stop freezer burn. It keeps beautifully for about three months this way. When you’re ready to eat it, just let it thaw on the counter, or slice it while frozen and microwave individual slices for about 30 seconds to bring that fresh-out-of-the-oven texture back quickly. For other easy baking ideas, you should check out my Classic French Toast recipe!
PrintThe Banana Bread Step by Step
A detailed, easy-to-follow guide for making moist, classic banana bread from scratch, perfect for first-time bakers.
- Prep Time: 15 min
- Cook Time: 60 min
- Total Time: 75 min
- Yield: 1 loaf
- Category: Dessert
- Method: Baking
- Cuisine: American
- Diet: Vegetarian
Ingredients
- 3 large very ripe bananas, mashed
- 1/3 cup melted unsalted butter
- 1 teaspoon baking soda
- Pinch of salt
- 3/4 cup granulated sugar
- 1 large egg, lightly beaten
- 1 teaspoon vanilla extract
- 1 1/2 cups all-purpose flour
Instructions
- Preheat your oven to 350 degrees Fahrenheit (175 degrees Celsius). Grease and flour a standard 9×5 inch loaf pan.
- In a medium bowl, mash the ripe bananas until mostly smooth.
- Stir the melted butter into the mashed bananas.
- Add the baking soda and salt to the banana mixture and stir well.
- Mix in the sugar, beaten egg, and vanilla extract until just combined.
- Add the flour to the wet ingredients. Mix with a spoon only until the flour disappears. Do not overmix the batter.
- Pour the batter evenly into the prepared loaf pan.
- Bake for 50 to 60 minutes, or until a wooden skewer inserted into the center comes out clean.
- Let the bread cool in the pan for 10 minutes before carefully removing it to a wire rack to cool completely before slicing.
Notes
- Use bananas that are heavily spotted or almost black for the best flavor and moisture.
- If your oven tends to run hot, check the bread at 45 minutes.
- For a richer flavor, substitute half of the granulated sugar with packed light brown sugar.
Nutrition
- Serving Size: 1 slice
- Calories: 230
- Sugar: 15g
- Sodium: 150mg
- Fat: 10g
- Saturated Fat: 6g
- Unsaturated Fat: 4g
- Trans Fat: 0g
- Carbohydrates: 35g
- Fiber: 2g
- Protein: 3g
- Cholesterol: 35mg
